Buttons (and buttonholes) are one of those closures that many sewists may fear and avoid.
I’ll admit that I still get a bit nervous when working on projects with lots of buttons. I think a lot of that anxiety comes from the fact that they are usually one of the last steps in a project. Buttons are relatively easy to reposition, buttonholes not so much.
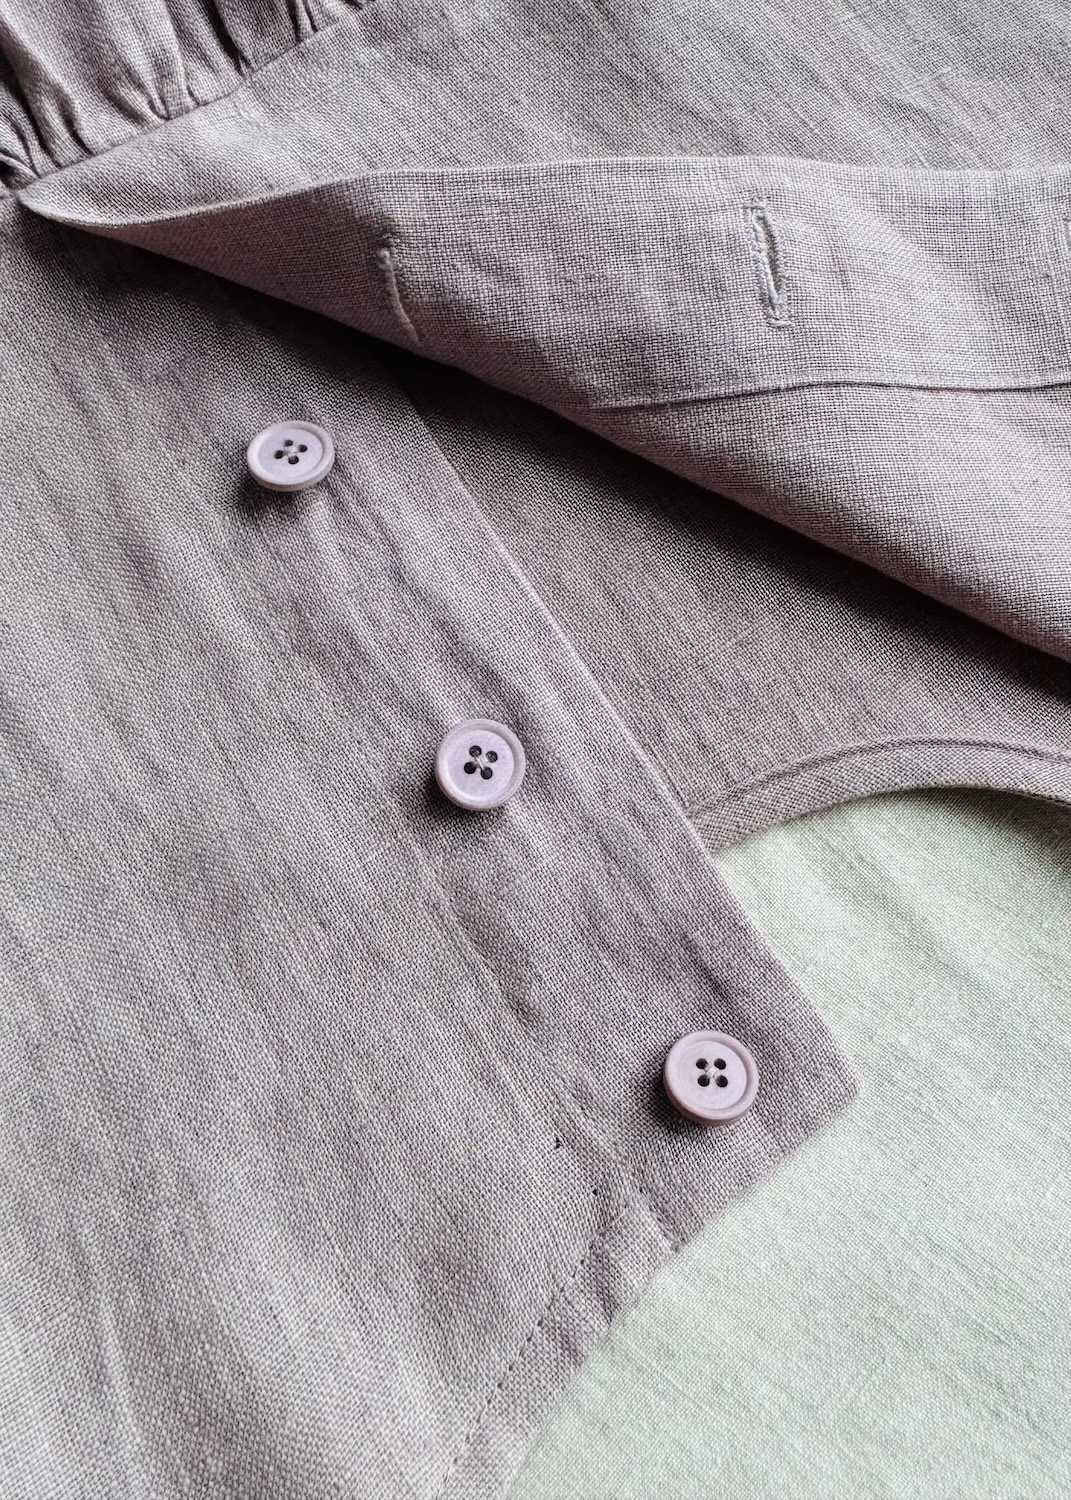
If they’re done poorly, they can lead to issues like gaping, misalignment, or simply not looking quite right. They can make or break a project. However, when chosen well and positioned correctly, buttons can really lift a garment.
Now, I didn’t realise there was quite so much to say about buttons and buttonholes until I sat down to write this. In my head, I thought it would be a relatively straightforward article to write, but I soon discovered there is a lot more to buttons than I initially thought. So, I’ve decided to spread this topic over three articles.
This first part will focus on understanding buttons, including the different types, how buttons are sized, the most common materials, and what to consider when choosing buttons for a project. The second part will look at how to sew buttons on by hand. Finally, I will focus on understanding buttonholes, including the different types, how they are constructed, how to determine the correct size, and how to position them correctly on a garment.
Understanding Buttons
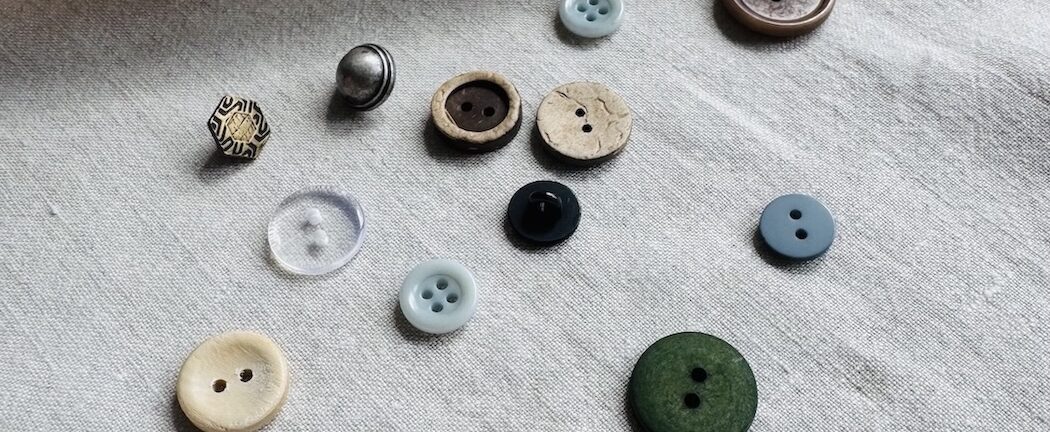
There are so many different types, materials, colours, finishes, and sizes of buttons available. If you have ever been shopping for buttons, you’ll know that it can be pretty intimidating. I have stood in store facing a wall of buttons, feeling almost paralysed by choice many times. So, let’s begin by looking at some of the more common button types, materials, and sizing.
Common types of buttons:
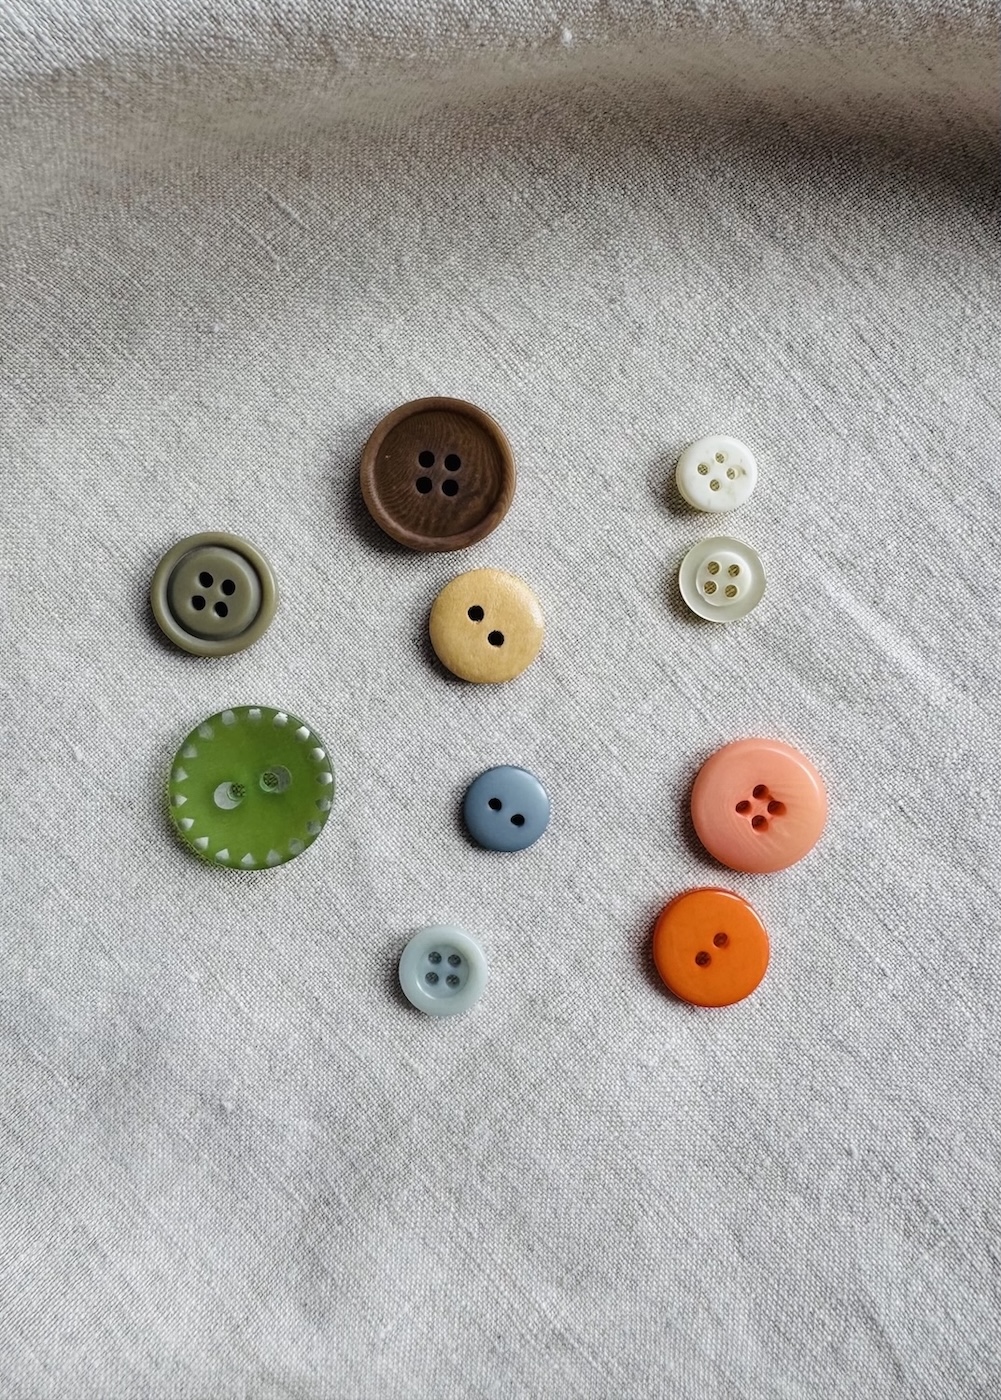
- Standard (flat): These are the most common type of button. They sit flat against the fabric, generally having a flat face and back, though they can vary in thickness. They typically feature two or four holes in the centre, which are used to sew the button onto the fabric.
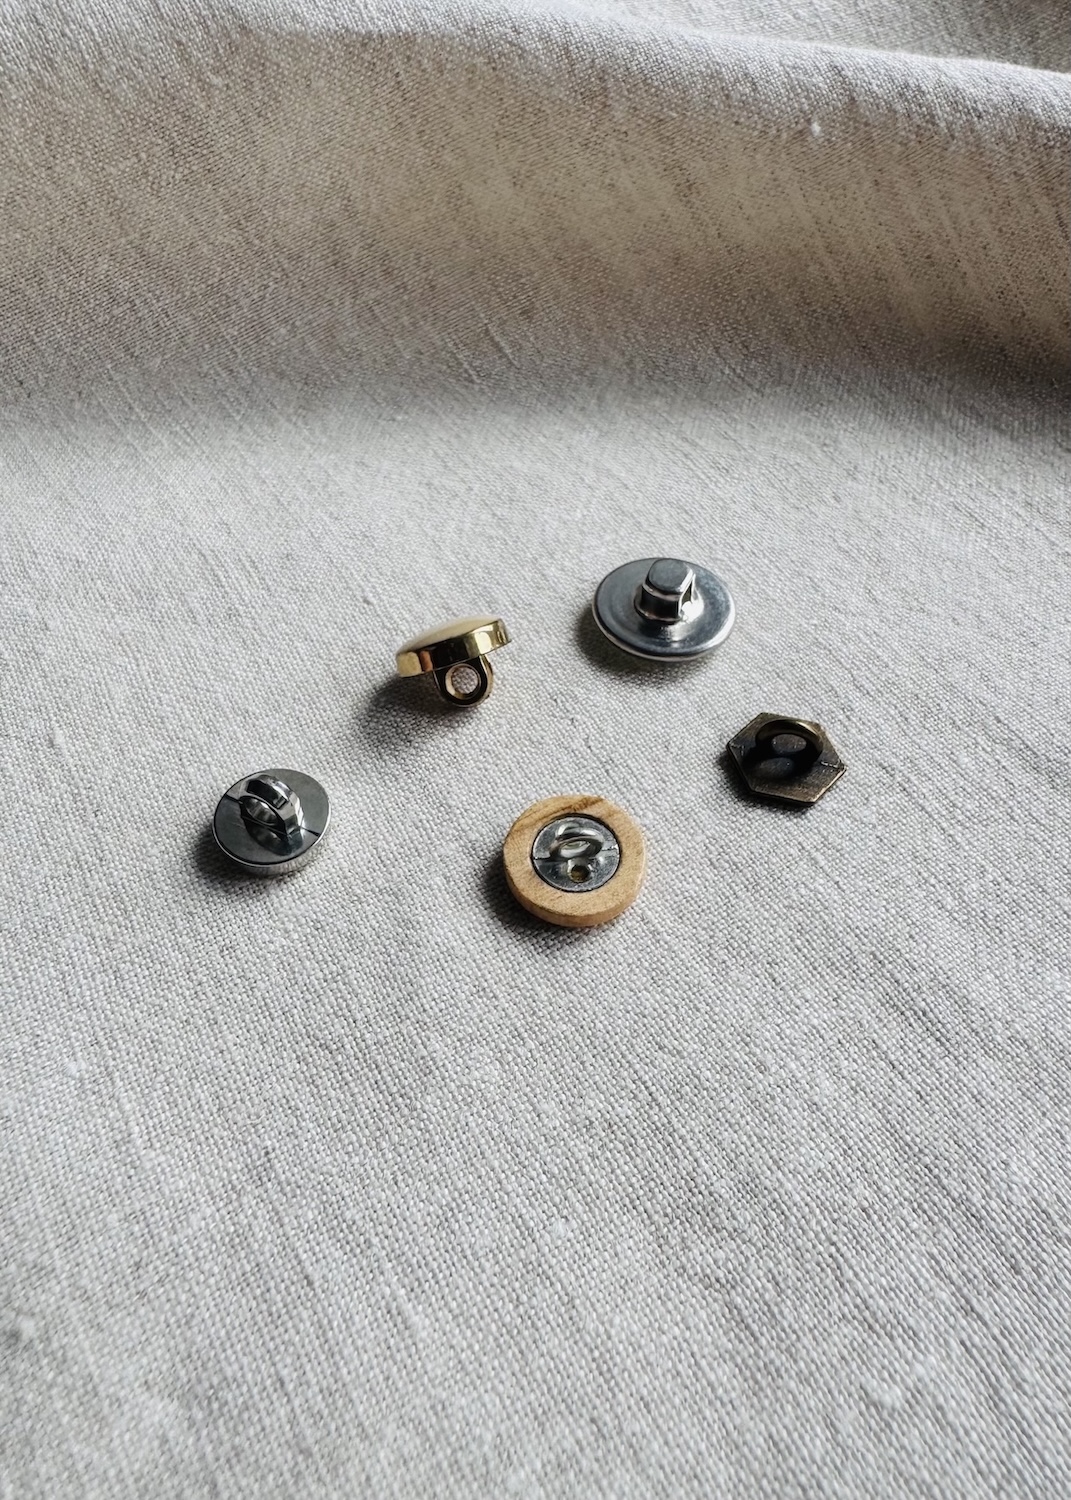
- Shank: These are designed to sit above the fabric. A raised extension on the back of the button (the shank) creates space between the button and the fabric. The shank may be moulded as part of the button itself or as a separate loop. The face may be flat, domed, shaped, or decorative, while the shank itself can be rounded, rectangular, or tunnel-like in shape. Because the button is attached through the shank rather than holes in the face, the stitching is hidden underneath.
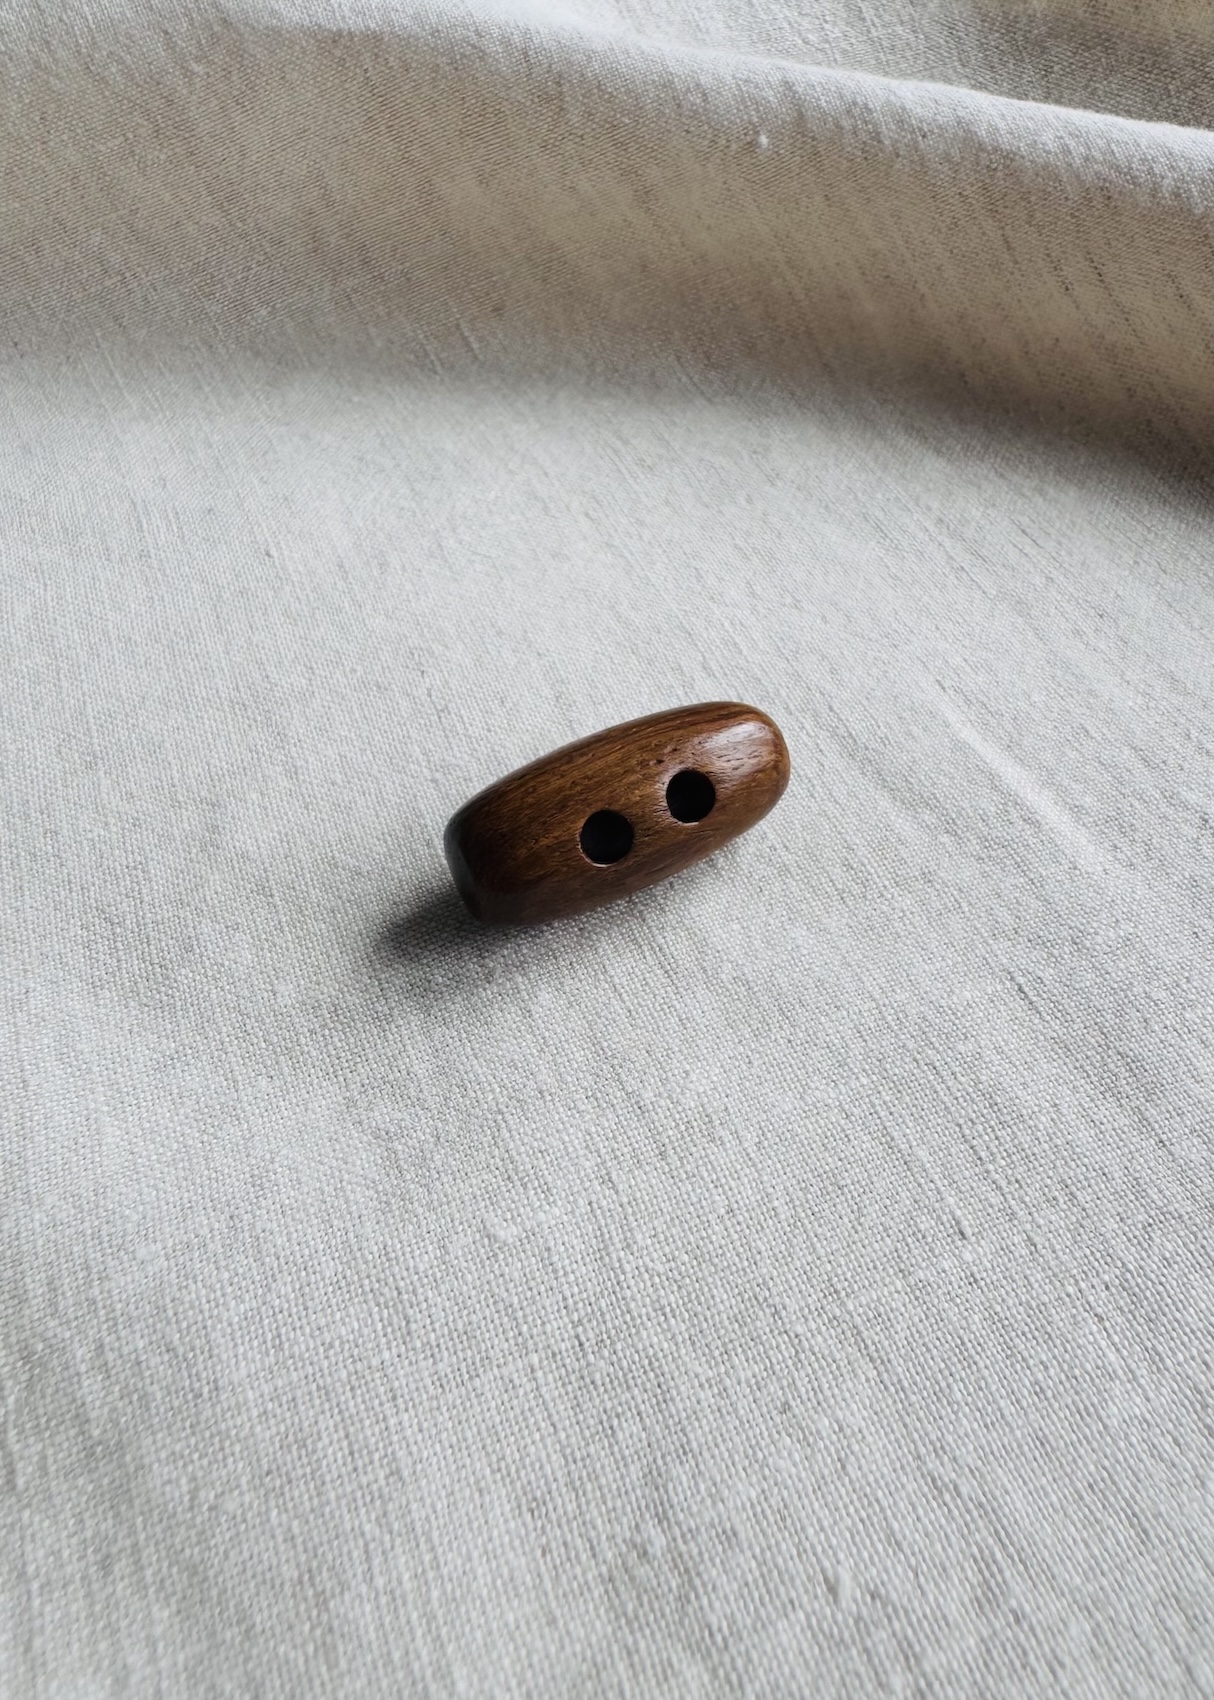
- Toggle: Toggle buttons are long, often cylindrical fastenings commonly seen on coats, capes, or cloaks, and are a great decorative option. They are not sewn on in the same way as standard buttons. Instead, fabric or cord is threaded through the holes. The toggle is then fastened by feeding it through a loop on the opposite side of the garment.
- Covered: Covered buttons are made by wrapping fabric over the top of the button (usually a metal or plastic shell) and securing it with a backing piece that locks it in place. They are often used on more tailored garments or when a perfect fabric match is needed. Covered buttons can be bought pre-covered, or you can do it yourself at home.
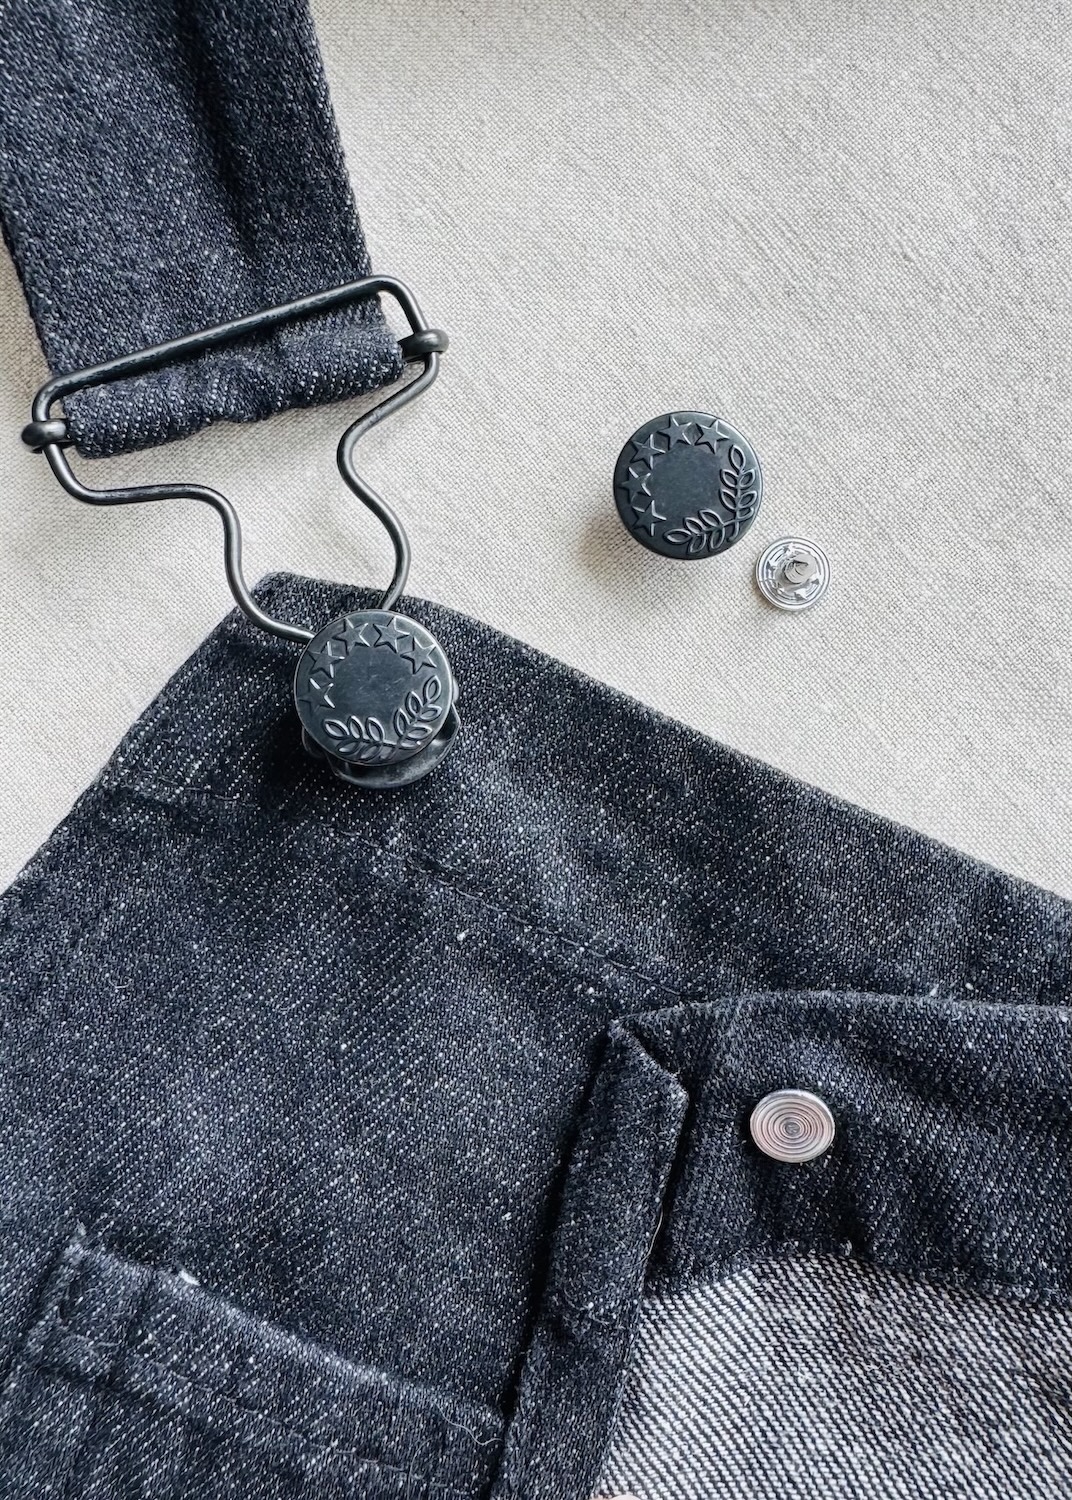
Check out the article ‘How to Make Fabric Buttons’ for more detail. - Jeans/Denim: These consist of two parts: a decorative button-like top and a stud or tack on the back. Instead of being sewn on, these are attached by piercing the fabric using a special tool or press. They are strong, durable, and designed for more heavy-duty use and wear.
Other button-style fasteners
Although not technically buttons, I thought these types were still worth mentioning.
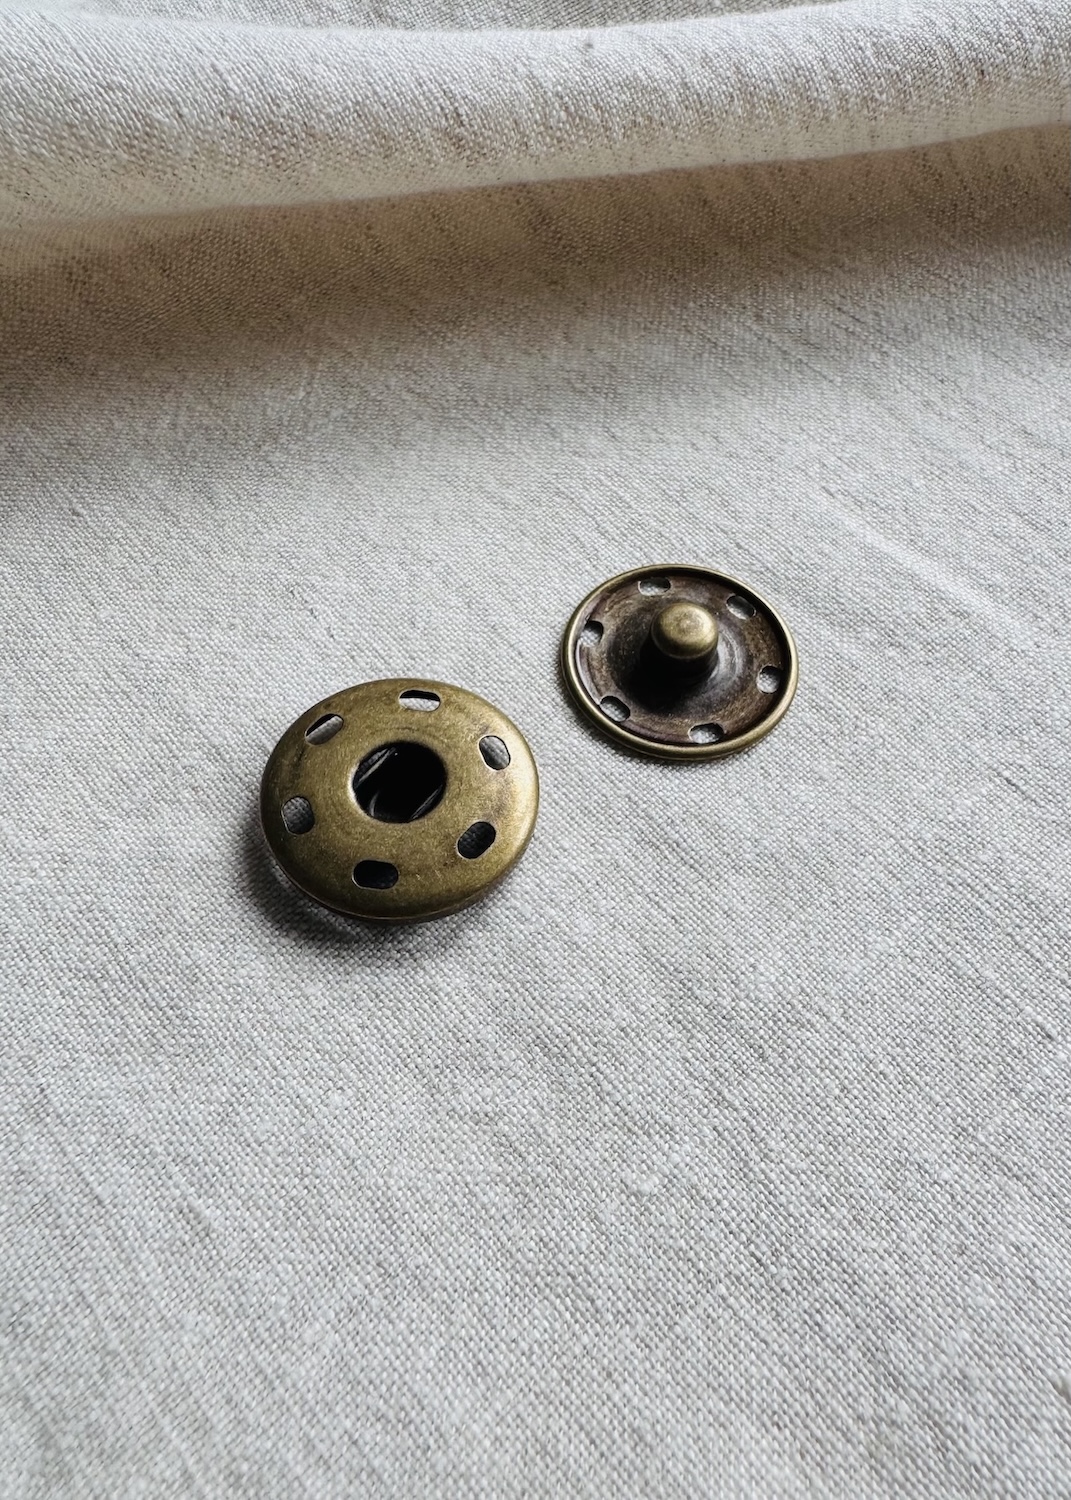
- Snap fastener: Also known as a press stud, snap fasteners consist of two interlocking parts that are pressed together to close and pulled apart to open. I recently used these as a decorative option on a denim jacket when I couldn’t find a button to match.
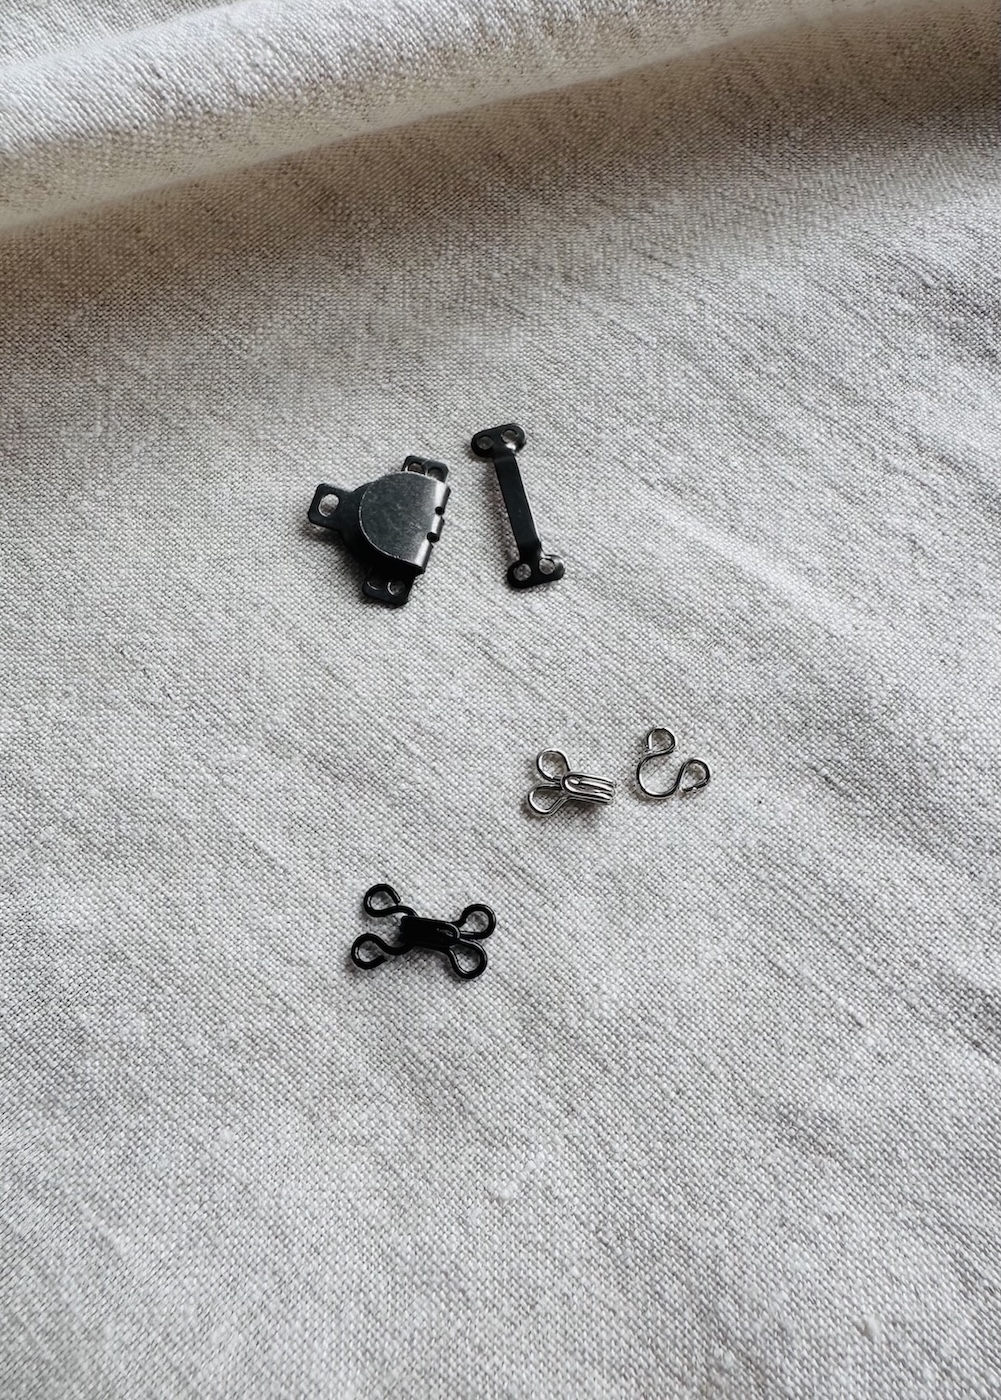
- Hook and eye/hook and bar: These also consist of two parts: a small hook and either an eye or a bar. These are sewn onto opposite sides of the garment, with the hook latching around the eye or bar to create an almost invisible closure. You might have seen hook and bar closures on waistbands, with hook and eyes often placed above a zipper to reduce stress.
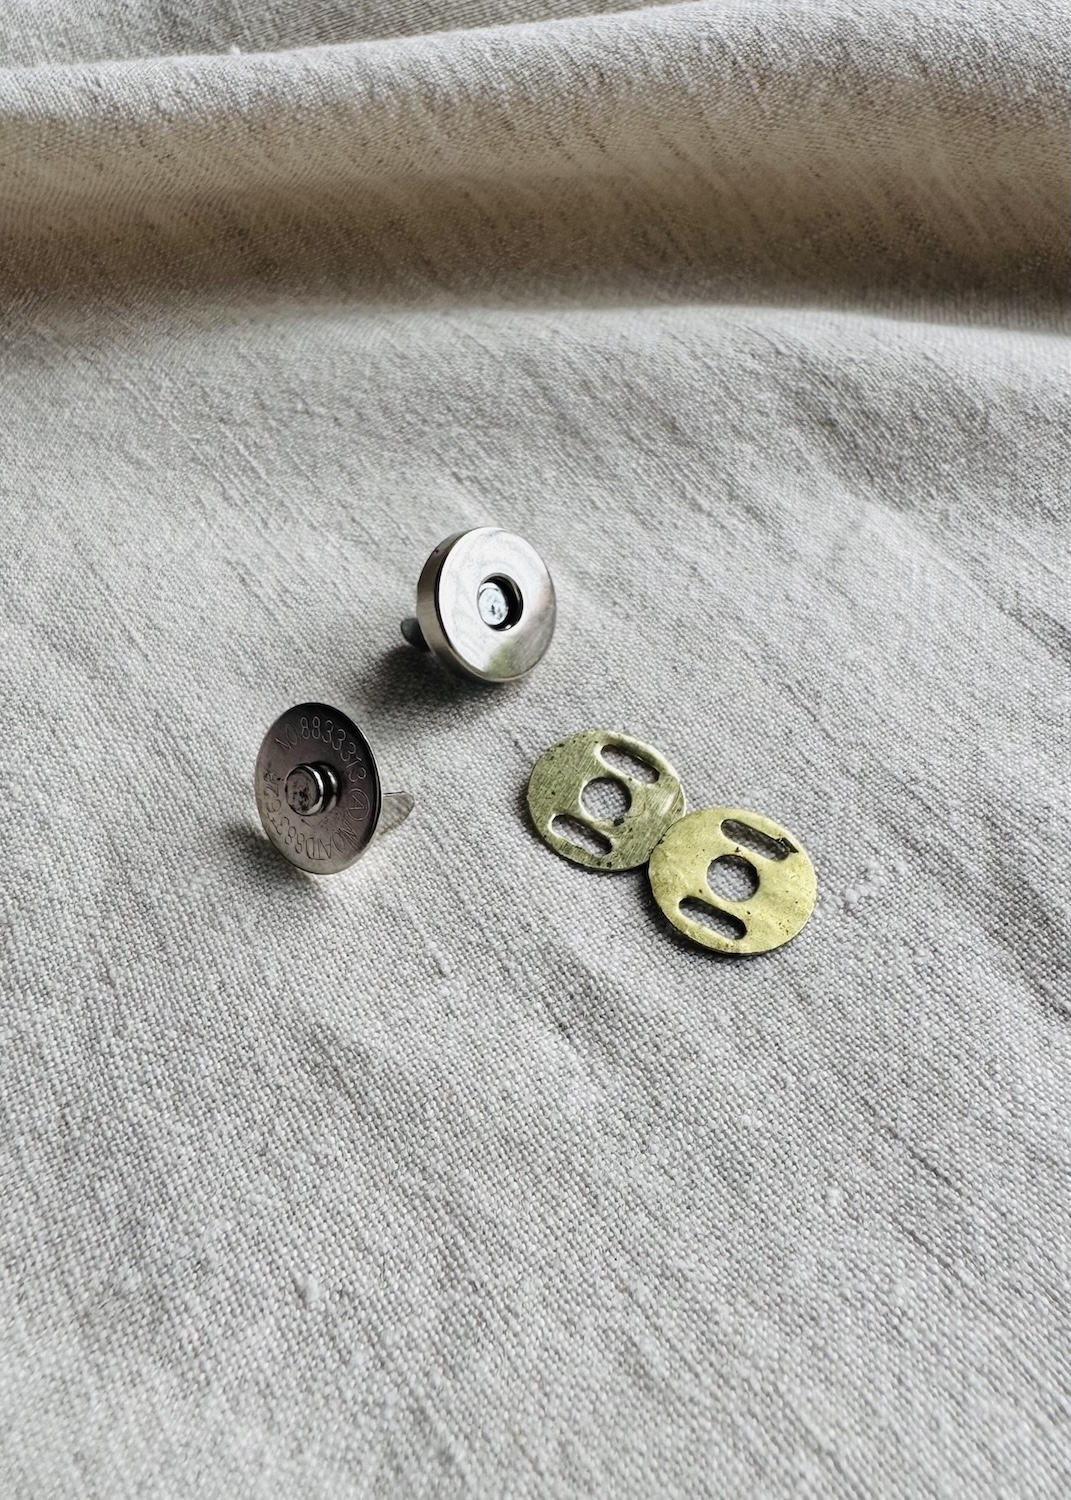
- Magnetic: These consist of two magnetic halves, one with a raised bump and the other with a corresponding recess. Some magnetic clasps are sewn on through holes around the edge, while others feature prongs that pierce the fabric and are either secured with a backing piece or inserted like a push pin. Magnetic fasteners are most commonly found on bags, purses, and some jackets.
Button sizing
There are two key measurements to consider when determining a button’s size, its diameter and thickness.
- Diameter: Buttons come in a huge range of sizes, and you may encounter their diameter being measured in lignes or, more commonly millimetres.
Ligne is simply French for ‘line’, and 1 ligne equates to 0.635 mm, or 1/40 of an inch. Honestly, I haven’t really come across ligne measurements, as they are more commonly used within the fashion and textiles industry. Retail stores are generally going to refer to button sizes in millimetres.
When it comes to measuring a button, you want to be measuring its diameter. For a simple rounded button, this is fairly straightforward: just grab a ruler or measuring tape and measure across its widest point, from one edge to the other. For buttons with more irregular or unusual shapes, measure across their widest point, straight across rather than following their shape. For a button with a shank, I like to measure the flatter underside.
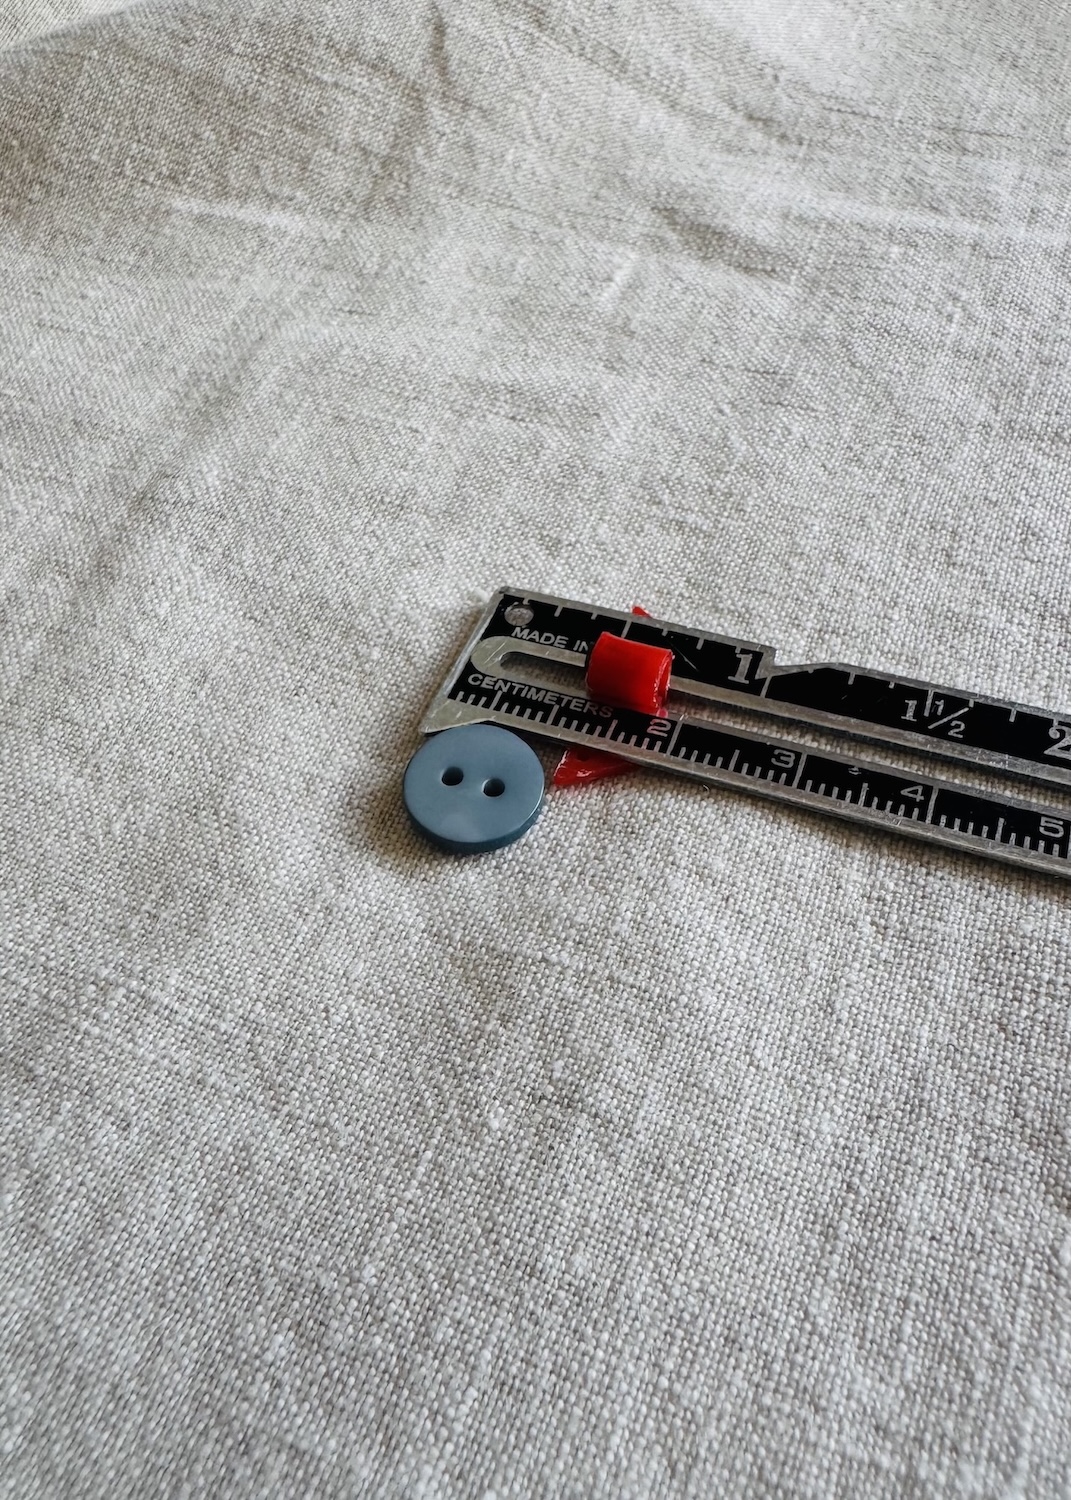
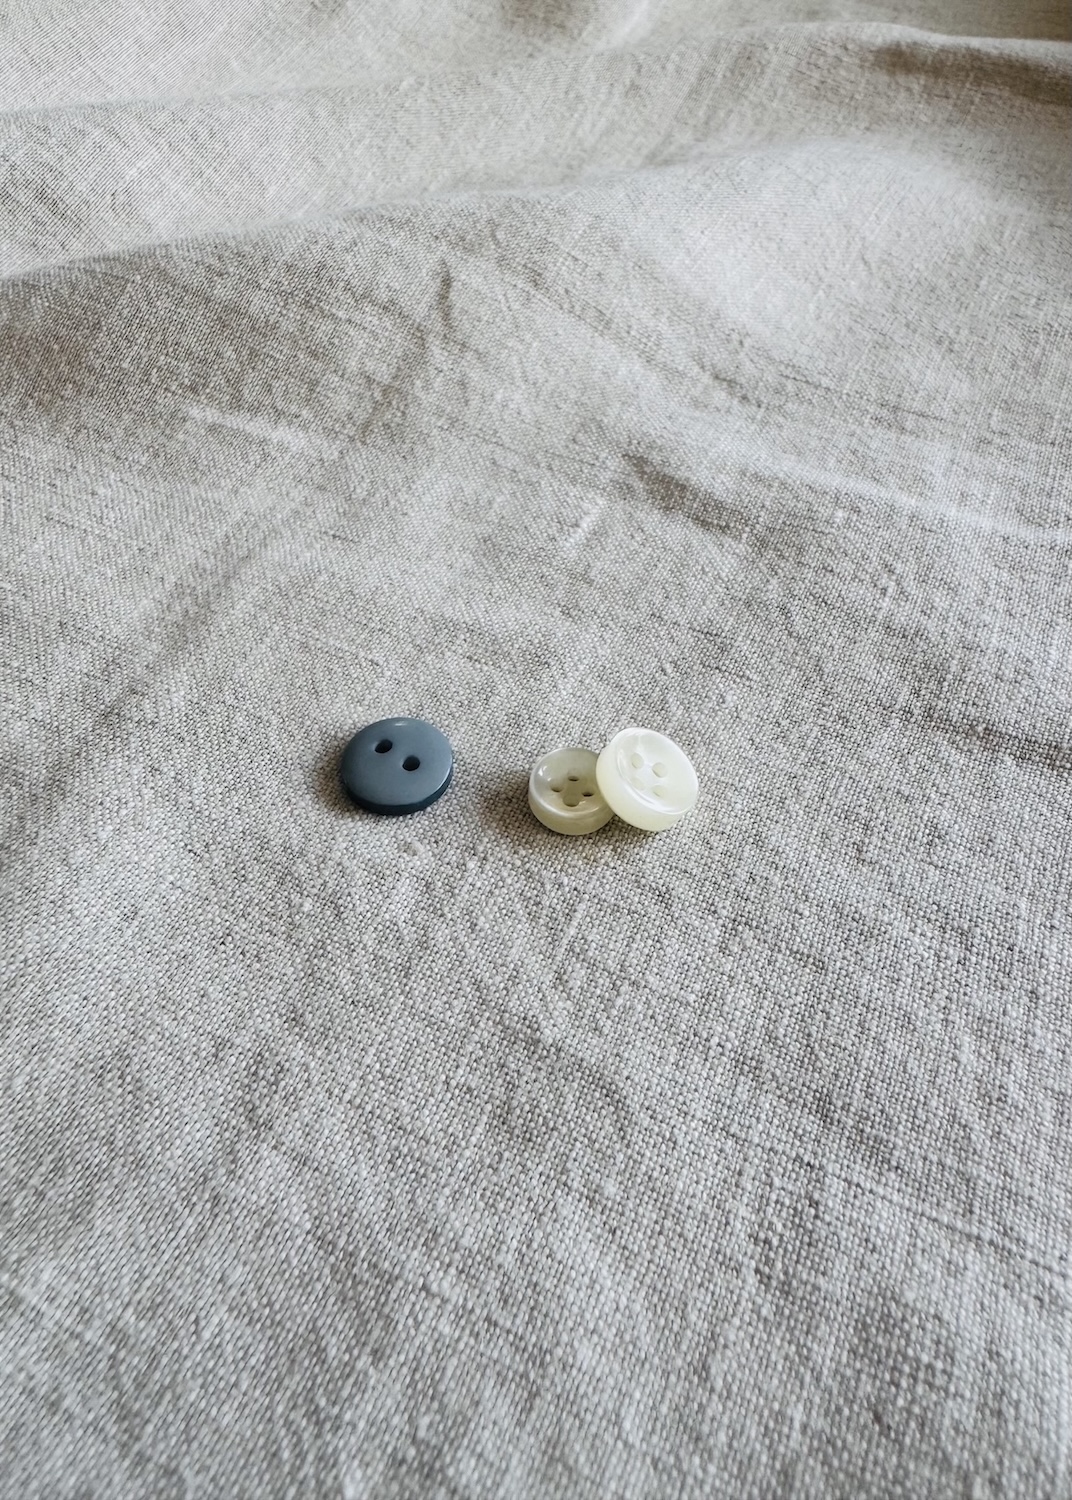
- Thickness: The thickness of a button can be just as important as its diameter. For example, two buttons could both be 20 mm in diameter but vary in thickness. This can impact the size of the buttonhole and how the button is sewn on.
 Common button materials
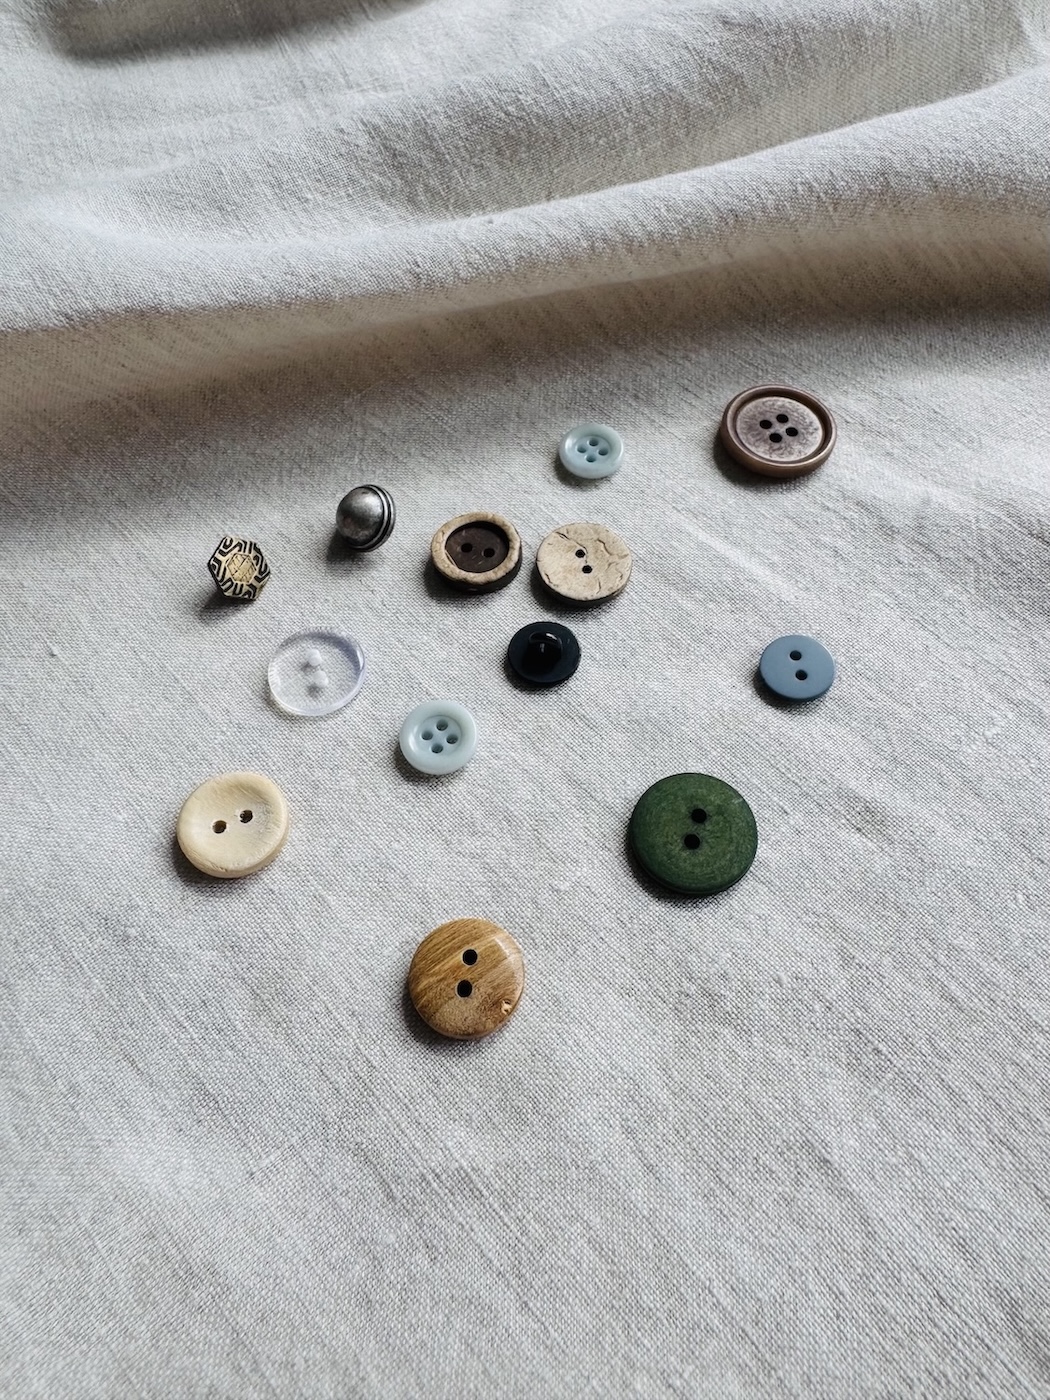
The material a button is made from isn’t just something to consider from a purely aesthetic point of view. The material of a button can influence things like its weight, durability, how to care for and wash it, its strength, and even its cost (buttons can be quite pricey).
- Plastic: The most common and versatile option. Plastic buttons are available in a huge range of shapes, sizes, and colours, and are usually a good, inexpensive option.
- Metal: A strong and durable option, and available in a range of metals and finishes.
- Wood: These can be painted or stained, offering a range of tones and finishes. They offer a really nice natural appearance but are sometimes less durable.
- Corozo: Another natural option (and my go-to). These are made from the tagua nut and have a lovely natural, grainy appearance and are available in a wide range of colours. These are quite durable and scratch resistant.
- Cotton: These have a lovely soft, matte and almost chalky-like appearance and can be left natural or dyed. Some may even take dye after sewing, making them a useful option when a close colour match is required.
- Coconut: Made from coconut shells, these are available in various shades of brown. They are a lightweight and natural-looking option, although a little less durable than other materials.
- Shell (mother of pearl): These have a lovely natural pearlescent lustre in white, cream, and brown tones. These are lightweight and delicate.
- Ceramic: Often handmade from clay, these buttons come in a variety of shapes, sizes, textures, and colours, but are generally more delicate and easy to break.
- Glass: Shiny and often used for more formal or decorative garments. They can be clear or coloured, but are also delicate and easy to break.
Choosing the right button
Buttons serve both a functional and decorative purpose, so they pop up in all kinds of sewing projects. When selecting which type of button to use for your project, there are a few questions to ask yourself:
- Is the button serving a functional or purely decorative purpose?
- Do you want the buttons to complement or contrast with the fabric?
- Where will the buttons be positioned on the garment?
- Will the button be under a lot of tension when the garment is worn?
- How often will it be opened and closed?
- Does its size and weight suit the fabric’s weight and drape?
- What kind of wear and washing will the button need to withstand?
- How many buttons are needed, and how will they be spaced?
- Are the buttons in proportion with the garment and appropriately sized?
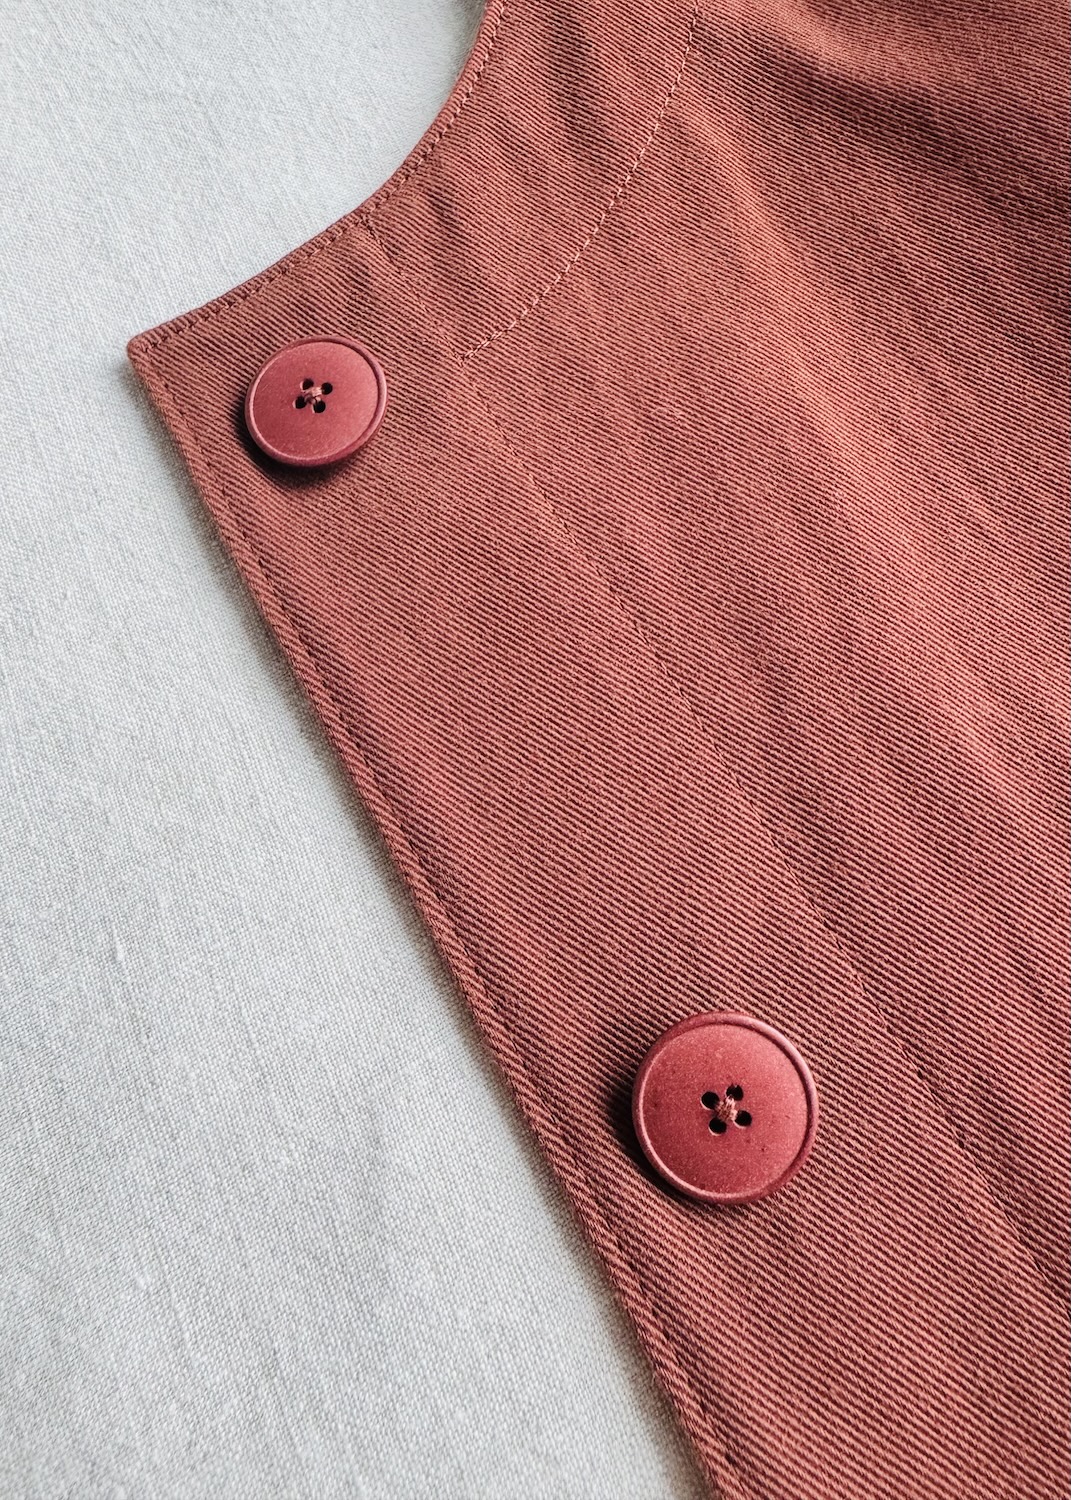
Buttons may seem like a small detail, but they really can have a big impact on both the function and appearance of a garment.
Hopefully, this article has given you a good introductory overview of buttons, from the different types and common materials to how buttons are sized and how to choose the right ones for your project.
In my next article (coming soon), I’ll look at how to hand sew on a button, before turning to buttonholes, delving into the different types, how they’re constructed, how to determine the correct size, and where to position them.