Pressing is one of those often underestimated steps in the sewing process. And I get it. It’s easy to get caught up in your sewing project, eager to plough on, and skip the pressing as you go, leaving it all until the end.
But pressing does more than just improve the finished look of your project. It also makes the sewing itself easier, helping you to align your fabric pieces and sew more accurately.
I’ve only recently learnt to love pressing, and have really made it a habit after sewing almost every seam. It’s also a great way to slow things down a bit and enjoy the process itself, instead of racing through to finish the project.
The right tools can make pressing easier and help elevate your sewing. Everybody’s sewing needs are different, so I am not suggesting you go out and buy everything on this list, but I hope it gives you a few ideas for what might add value to your pressing kit.
I am just going to cover pressing tools here, but for more on why and how to press, take a read of my earlier article ‘How to Press: A Simple Guide’.
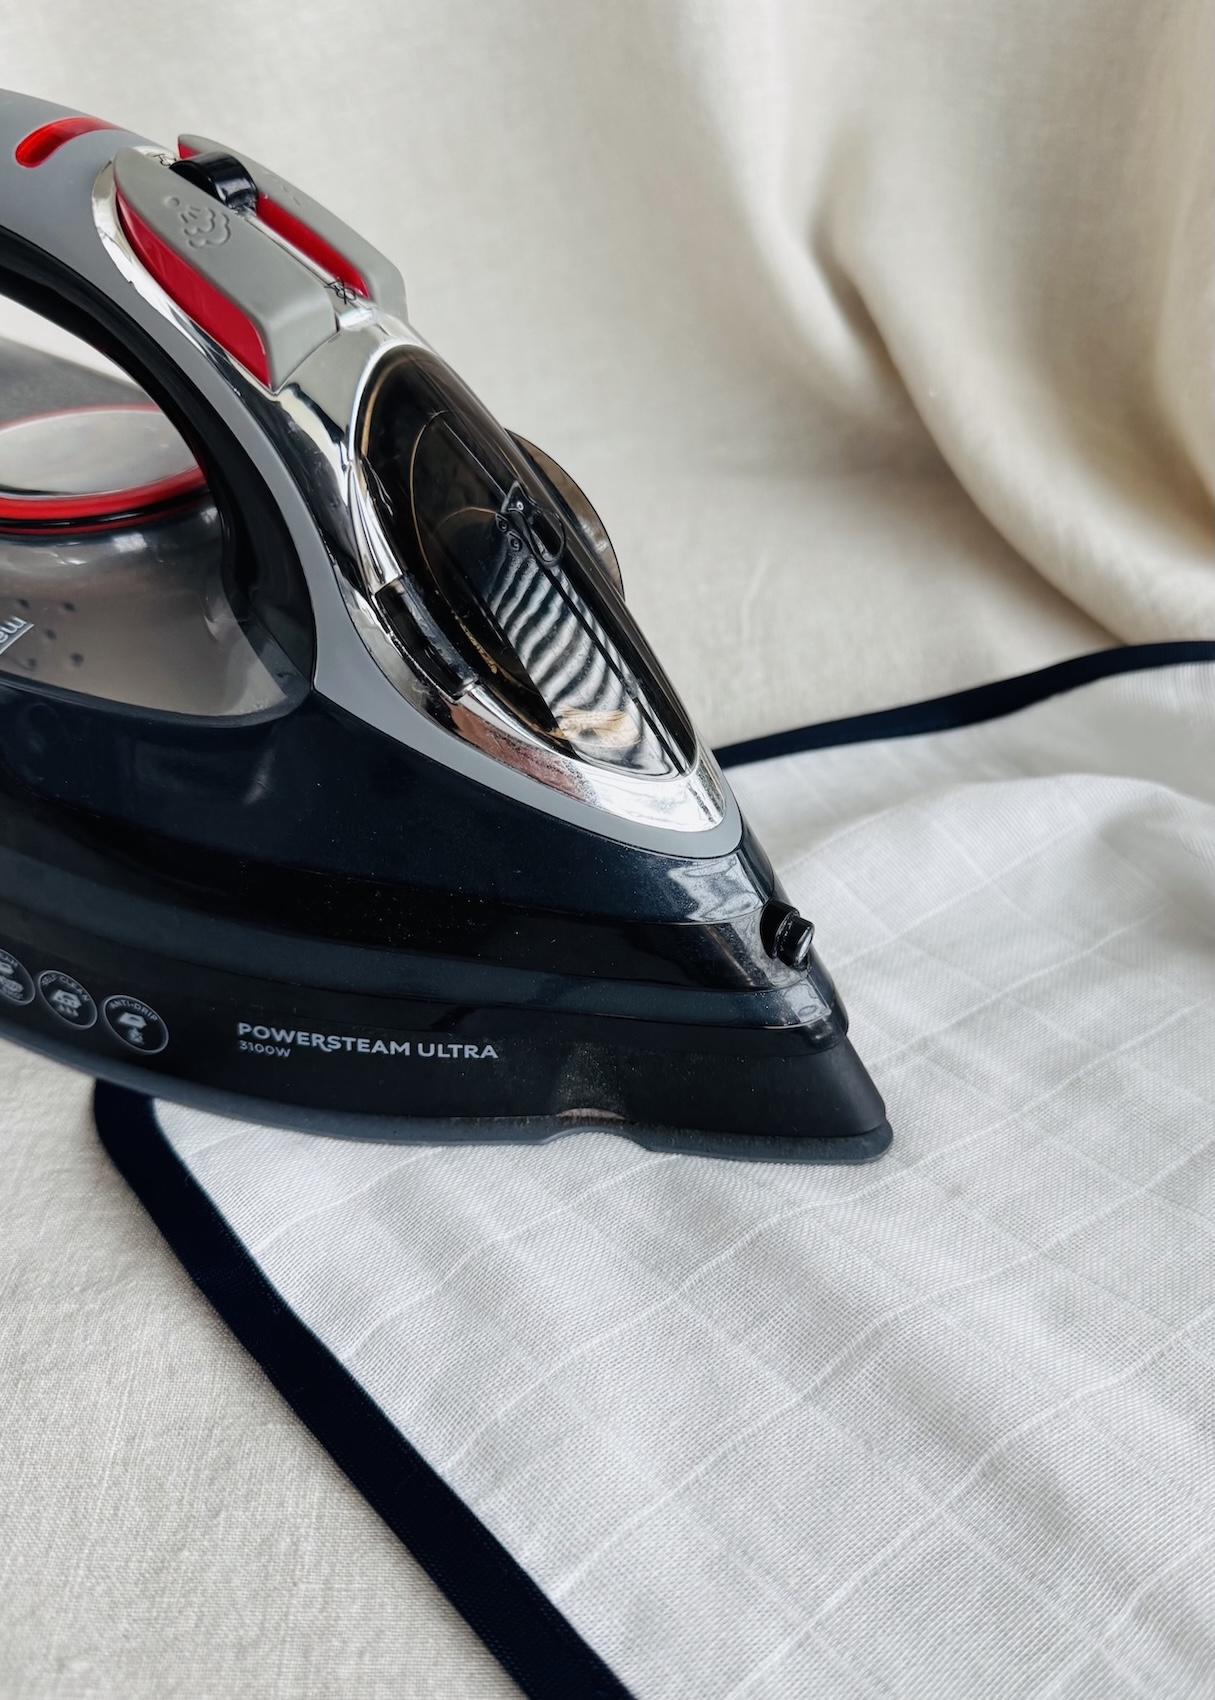 Pressing vs. Ironing
I think it’s important to start by defining and differentiating pressing and ironing, as they are different.
In simple terms, pressing is a more deliberate technique that involves lifting and lowering the iron to apply pressure. Ironing, on the other hand, involves gliding the iron back and forth over the fabric to essentially remove wrinkles.
Useful Tools for Better Pressing Results
 Pressing Cloth
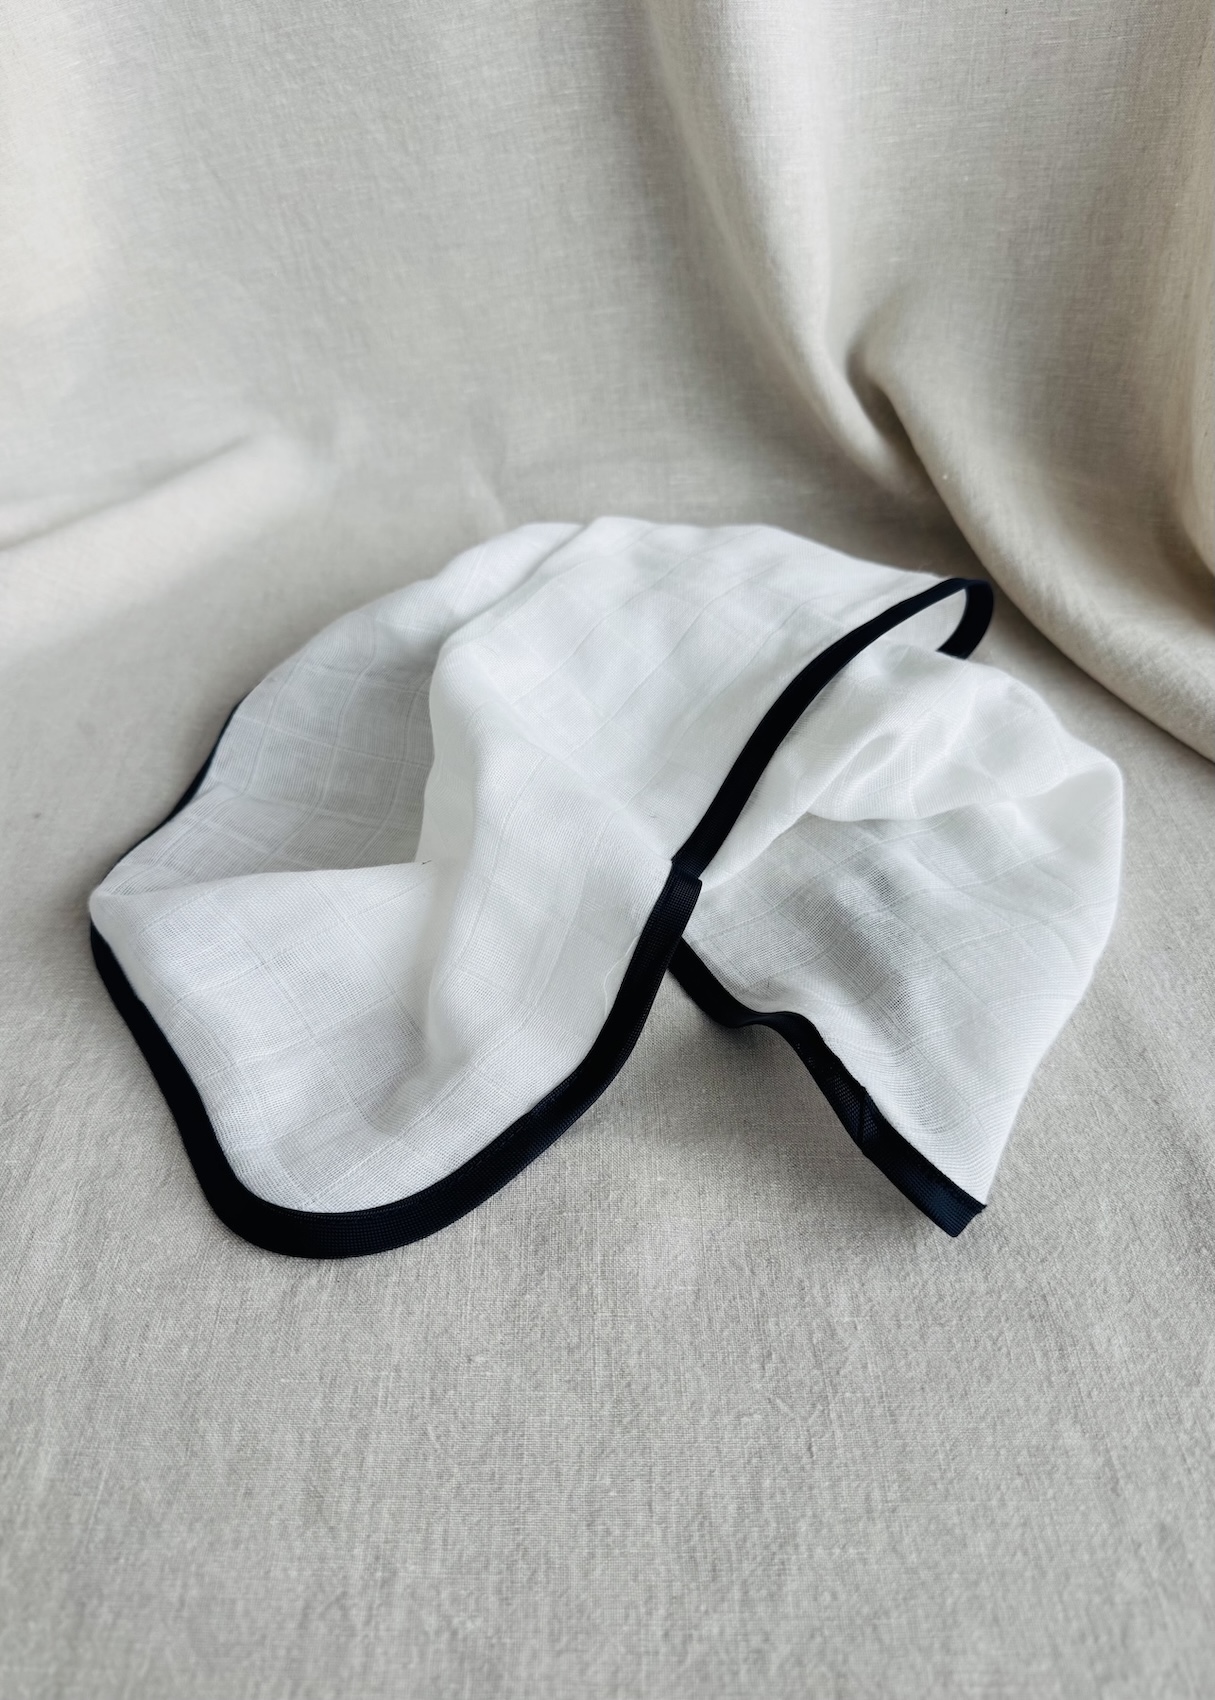
A pressing cloth in my opinion is an essential thing to have in your pressing kit.
These cloths form a protective layer between the iron and fabric, avoiding those annoying sheen and shine marks, scorching or melting, and water or iron stains. They are also handy when ironing on interfacing as they just reduce the amount of direct heat, and reduce the chances of the glue sticking to your iron or ironing board (I have had this happen to me before and it’s messy!).
Now you can buy a pressing cloth, like the cotton one I have here in the photo below, or you can make one yourself. If you do decide to make your own however, choose a fabric that is:
- Made from a natural fibre that can tolerate heat, such as cotton, silk organza (a bit fancy I know), or canvas.
- Transparent, as this helps to see what you are actually pressing underneath. This is when silk organza really can be a good option.
- Smooth, with no texture on the surface that could leave an imprint on your fabric.
- White or off-white, as you may want to dampen the cloth or fabric and you don’t want to risk colour transfer.
 Spray Bottle
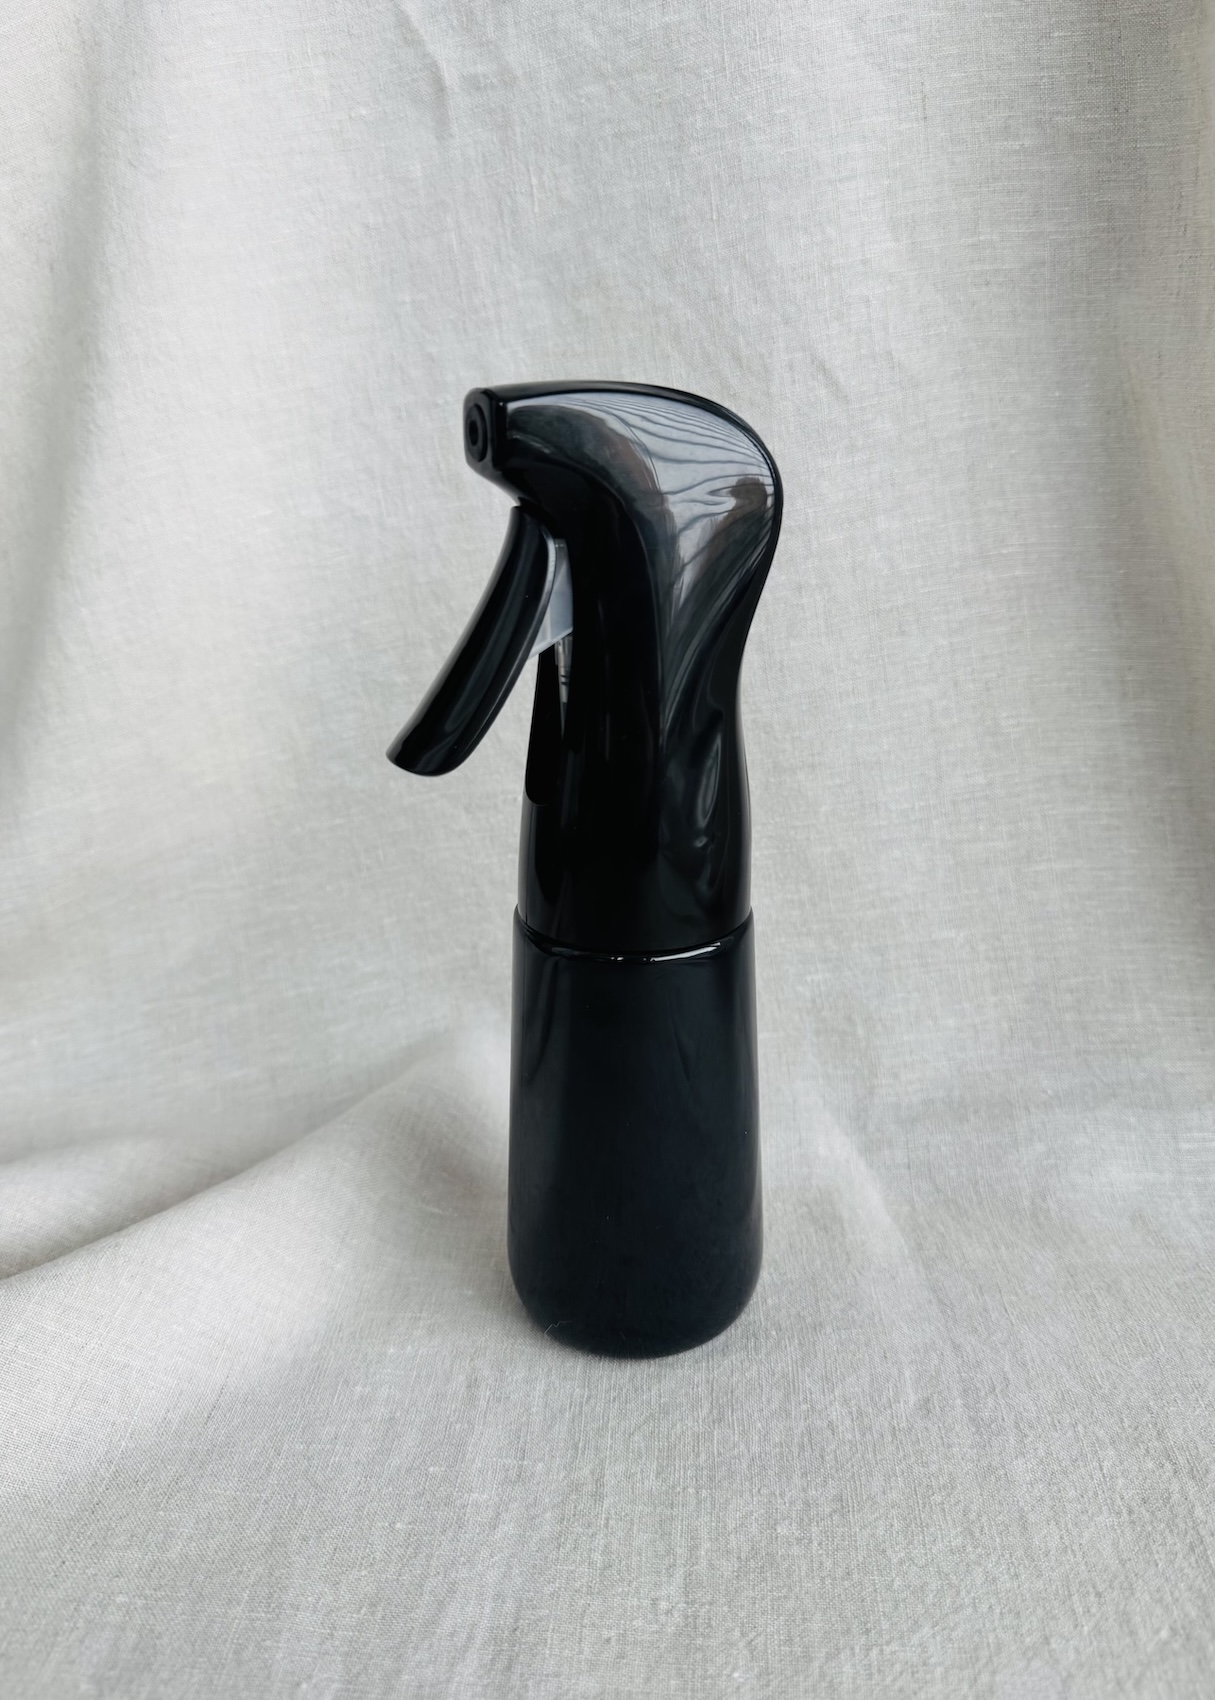
Not a tool as such, I know, but a spray bottle is a super handy thing to have, and they are cheap. I use mine almost every time I iron.
Many fabrics are a lot easier to press and iron when damp (especially linen) as the moisture helps the fibres to relax and also creates more steam for the iron. A spray bottle just helps to apply moisture in a light, more controlled way.
Pressing Tailor’s Ham and Sleeve Roll
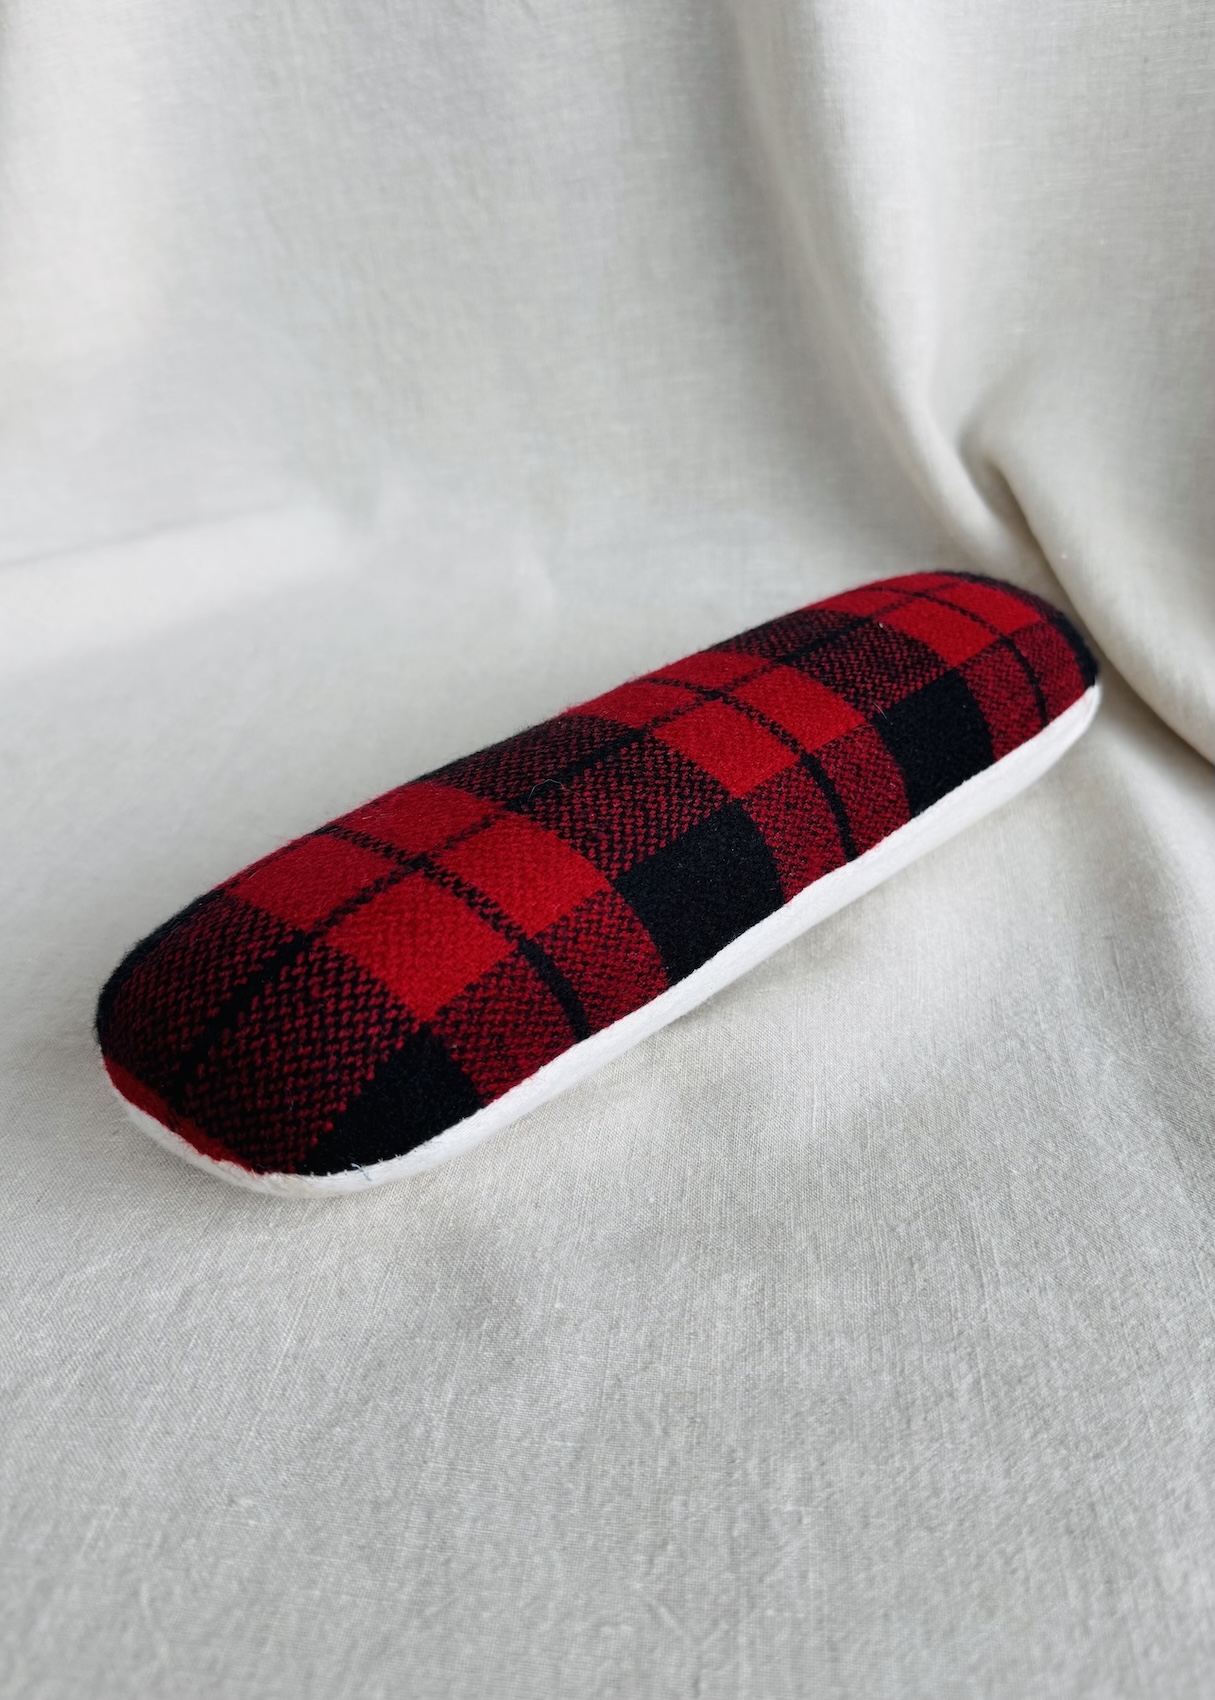
Ironing on the flat surface of an ironing board doesn’t always work for those curved and shaped areas like a sleeve head or dart. This is where a tailor’s ham or sleeve roll (also called a tailor’s sausage) can be useful.
They are basically just shaped, but firm, fabric cushions. Their contoured shape helps mould and press these more difficult areas.
The only real difference between a tailor’s ham and sleeve roll is their shape, which makes each better suited to different areas of a garment. A tailors ham tends to be wider and thicker, with a more rounded “ham” shape that works well for larger areas such as the sleeve head or hip area. A sleeve roll (like the one in the photo below) is longer, narrower, and a bit more sausage-shaped, so it fits inside narrow sections such as a sleeve or pant leg, allowing you to press one layer at a time.
Now you may not need both. I only have a sleeve roll for instance, as I find it suffices for a lot of the sewing I tend to do.
My sleeve roll has a plaid wool fabric on one side and a plain cotton on the other. Which side you use simply depends on the fabric type and the heat it can tolerate.
You could also make one yourself. There are some great patterns and instructions out there. Alternatively, for a quick solution, you could always just roll up and shape a piece of fabric (a tea towel could even work!).
Sleeve Ironing Board
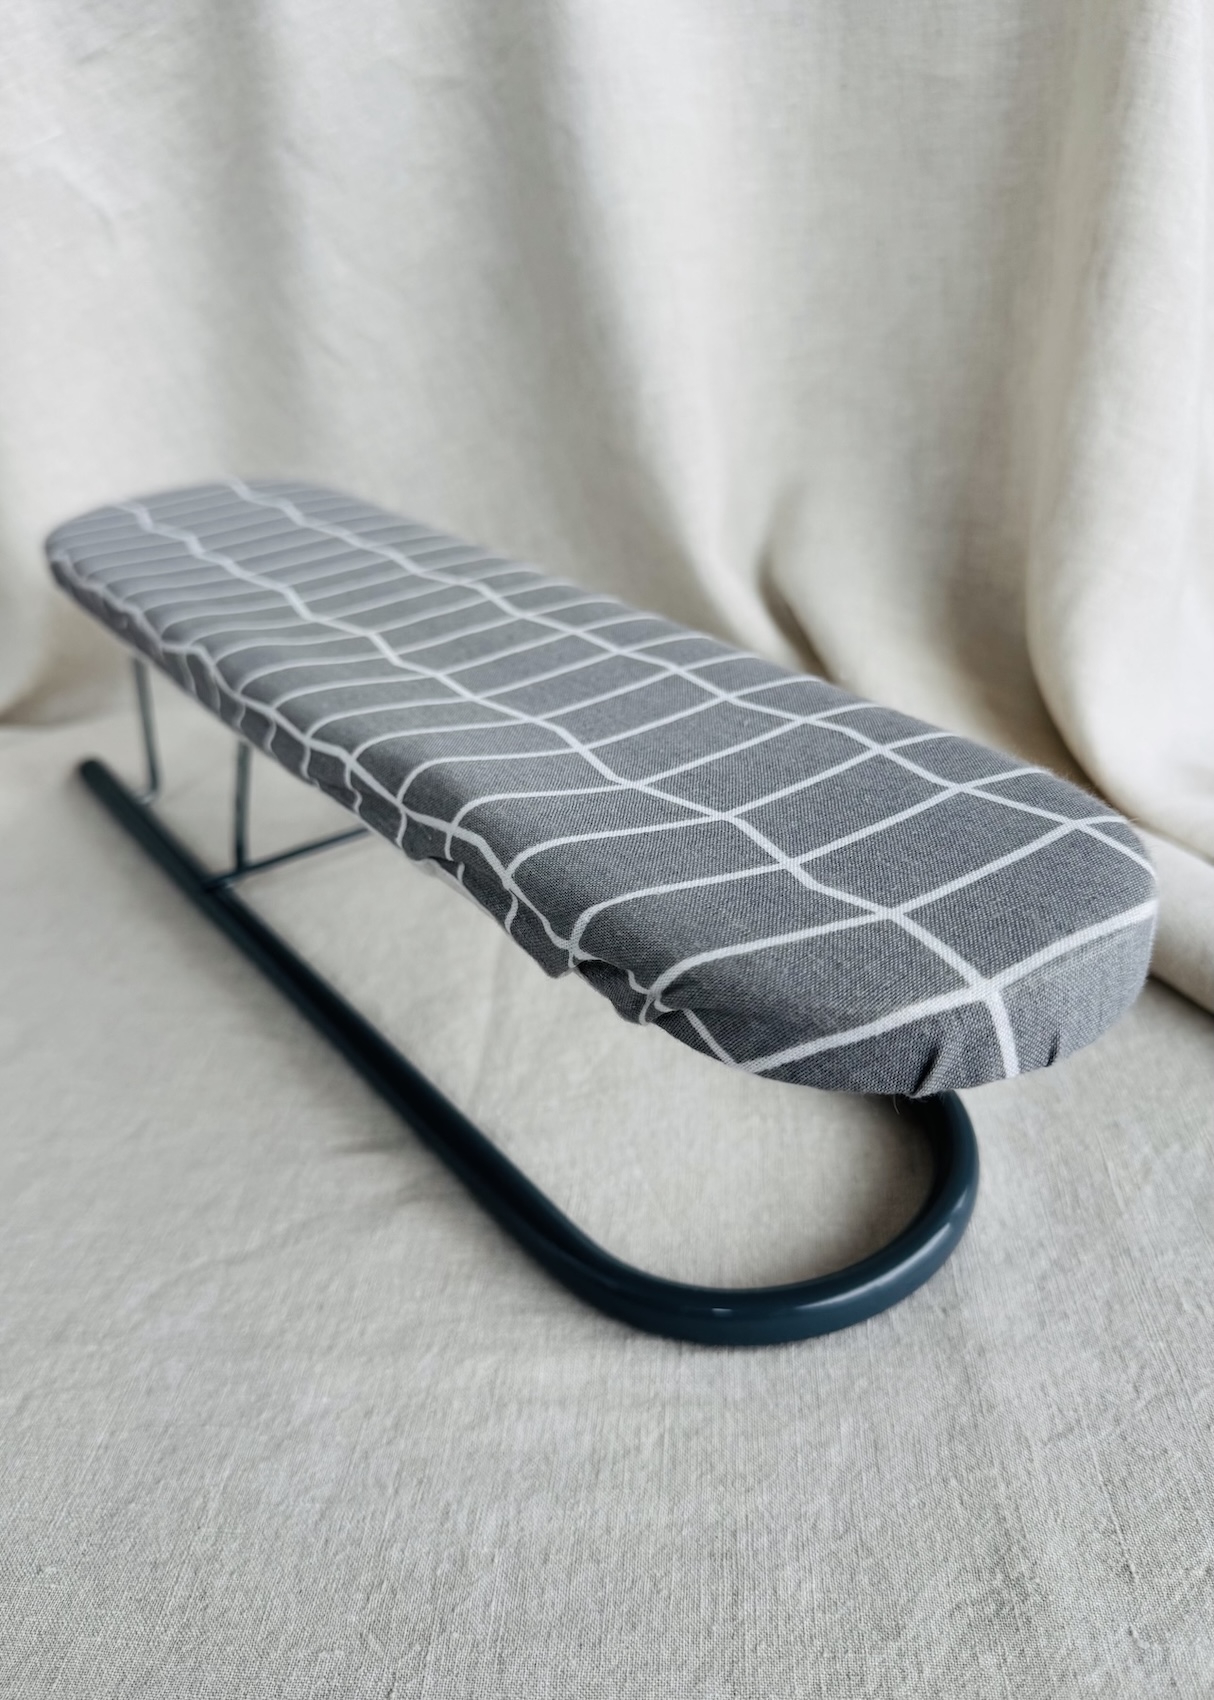
A sleeve ironing board is simply a narrower, mini version of a regular ironing board, that folds up and stores flat. Plus they can be positioned on any flat surface, not just on an ironing board.
These are useful as they allow you to slide tubular or narrow parts of a garment, such as a sleeve or pant leg over the arm, separating the two layers. This works in a similar manner, for example, as when sliding a waist over the tapered end of a regular ironing board.
I love mine, and use it all the time, especially for a pair of pants I own that have a gusset, knee darts, and multiple seams along the legs. Therefore, pressing the two layers together would just leave marks and seam imprints. A sleeve ironing board allows me to seperate the two layers of fabric, and makes pressing so much easier.
Sure a sleeve roll can do many of the functions of a sleeve ironing board, and vice versa, but the added advantage of a sleeve ironing board is that it is raised, so there is less chance of creasing the under layer.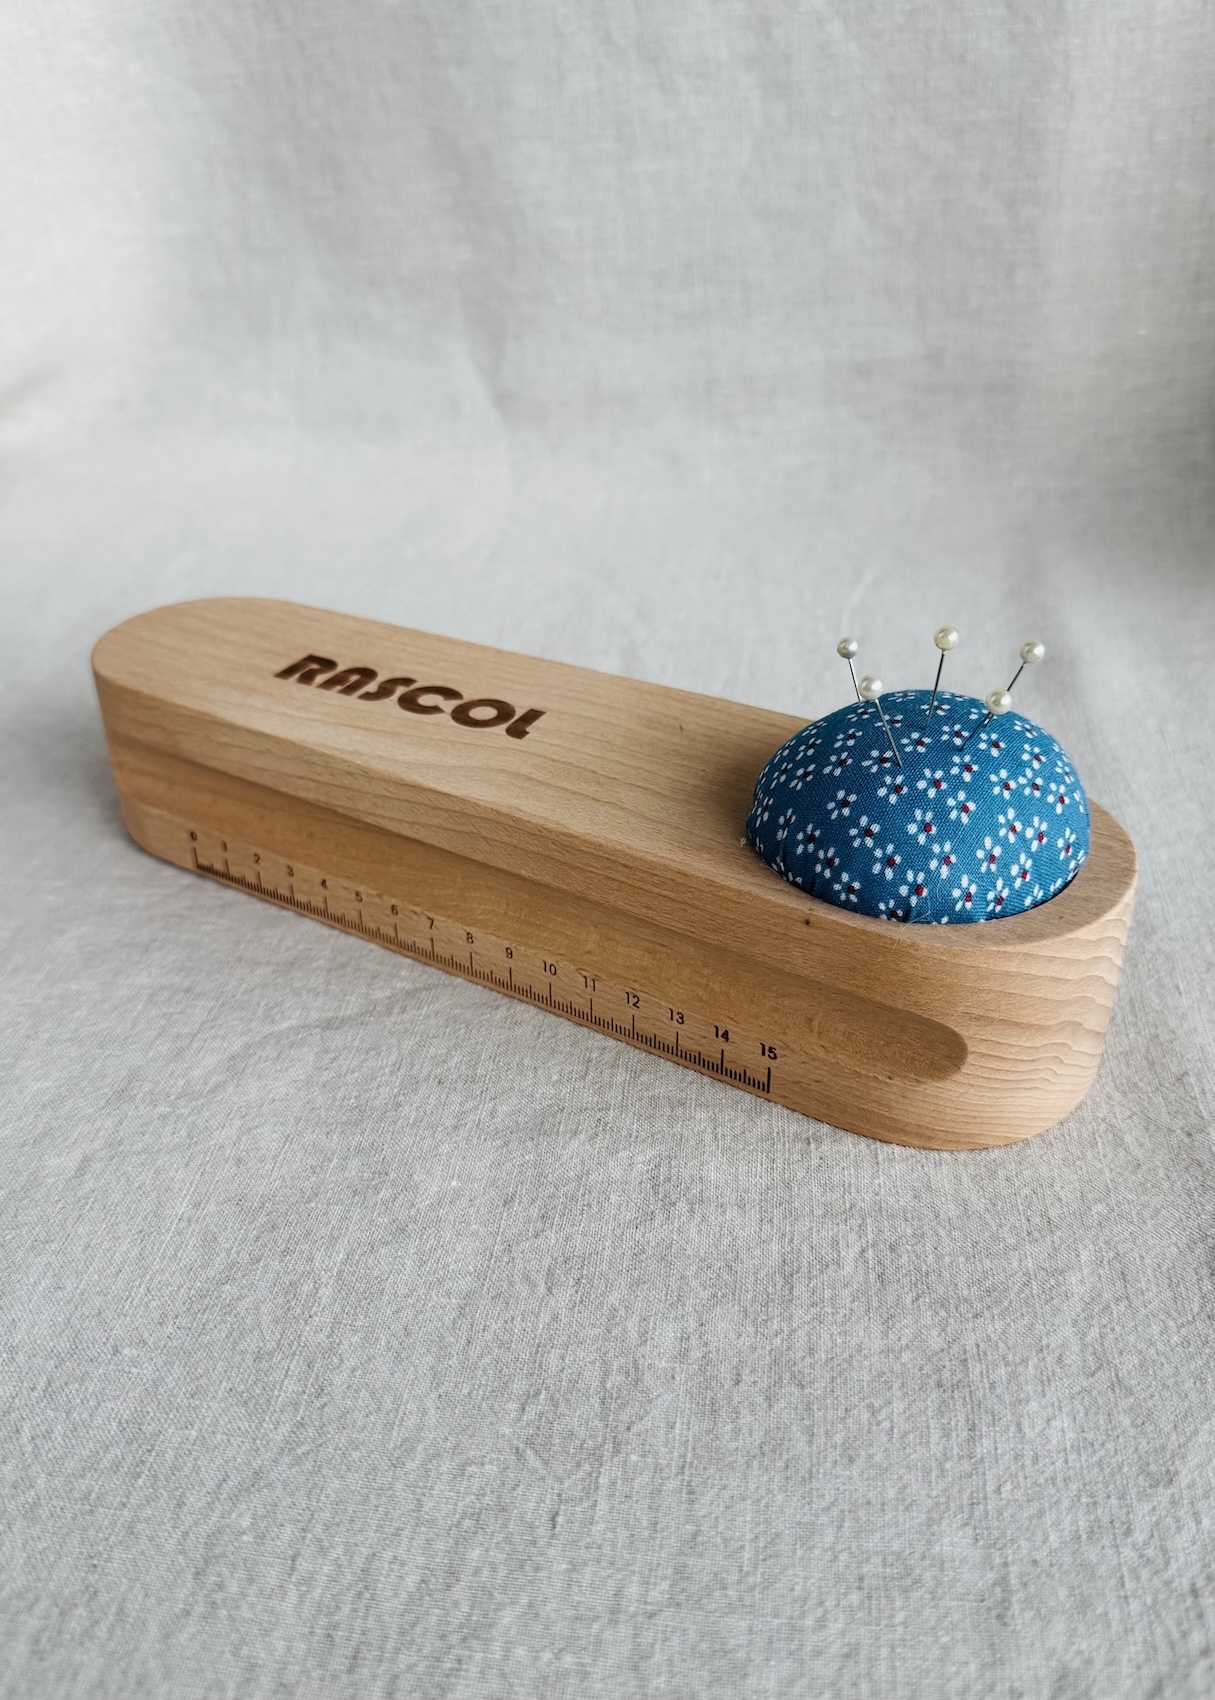
Tailor’s Clapper
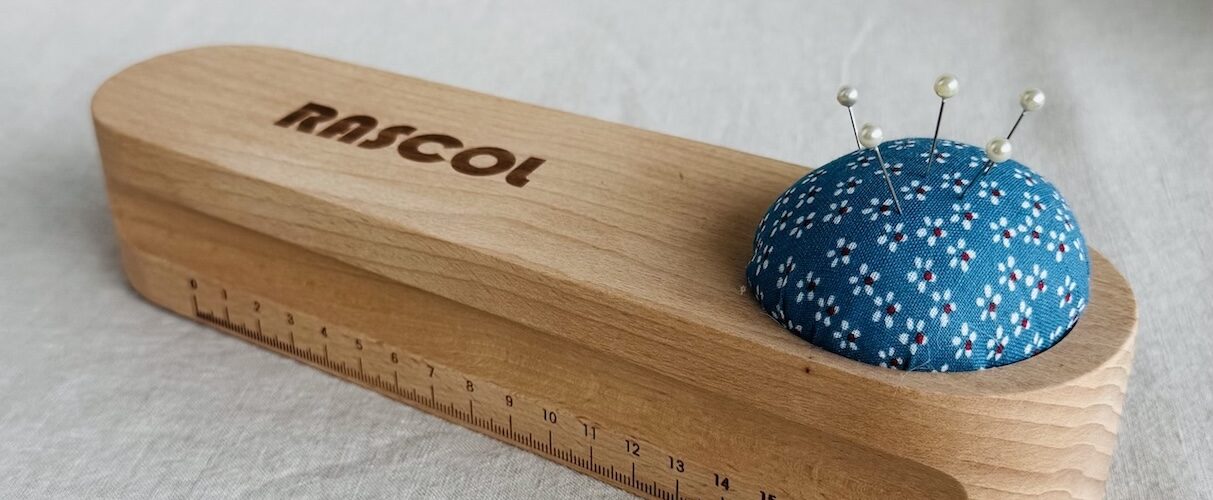
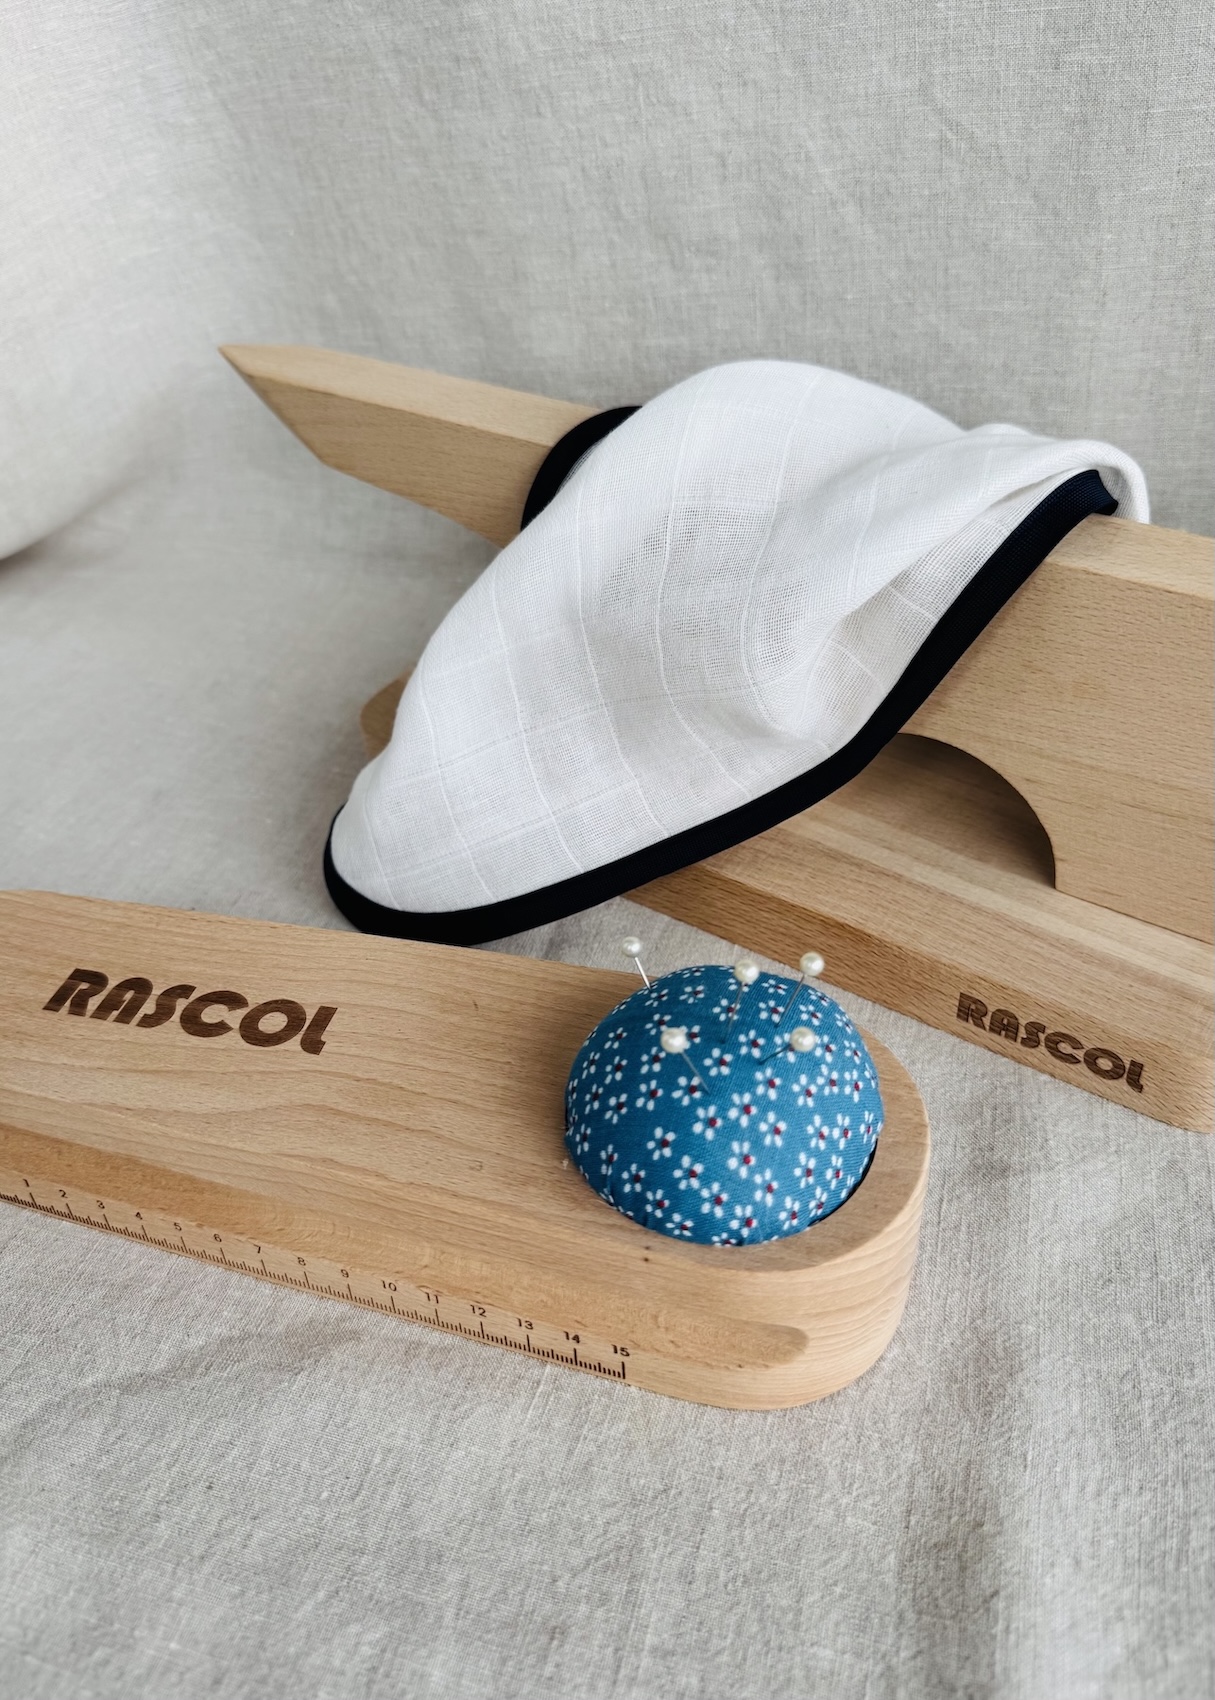
A tailor’s clapper is basically just a smooth wooden block (not much to them). They are usually made of a hard wood like maple or oak, or like mine, beech wood. Mine also features a handy integrated pin cushion.
This tool is fairly new to my pressing kit, but it came in handy on my latest project as the fabric was prone to shine marks from the iron.
So how does it work?
Let’s have a (very basic) physics lesson.
Essentially, when heat and steam are applied to fabric, the fibres soften and relax, becoming more flexible and mouldable. As the fabric cools and dries, the fibres become somewhat more rigid and settle into shape. Wool, in particular, can be moulded and reshaped quite easily.
Now, if you think about using an iron, what you are doing is applying heat and pressure, then removing it, allowing the fabric to cool straight away.
However, when you place a wooden clapper over warm, damp fabric, it applies additional pressure, while also drawing heat and moisture away from the fabric. By holding the fabric under pressure as it cools, the clapper helps the fibres settle into their new shape and position. This helps compress and flatten the fibres, allowing the fabric to settle into its new shape as it cools and dries, but more slowly.
So how exactly do you use one?
Start by finger pressing the seams open or in the desired direction.
Dampen, but don’t wet the fabric (this is where our spray bottle comes in handy).
Hover the iron just above the fabric and apply steam to the area.
Straight away, position the clapper on top of the warm, damp fabric and apply firm and even pressure. The weight of the clapper helps distribute that pressure consistently across the surface. You want to hold it in place for around 5-10 seconds, giving it time to absorb the heat and moisture while pressing the fabric.
When moving on to the next section, simply lift the clapper and reposition, overlapping slightly with the section that was just pressed to ensure no sections are missed.
Lastly, remember to wipe down the clapper after use.
 Point and Edge Presser
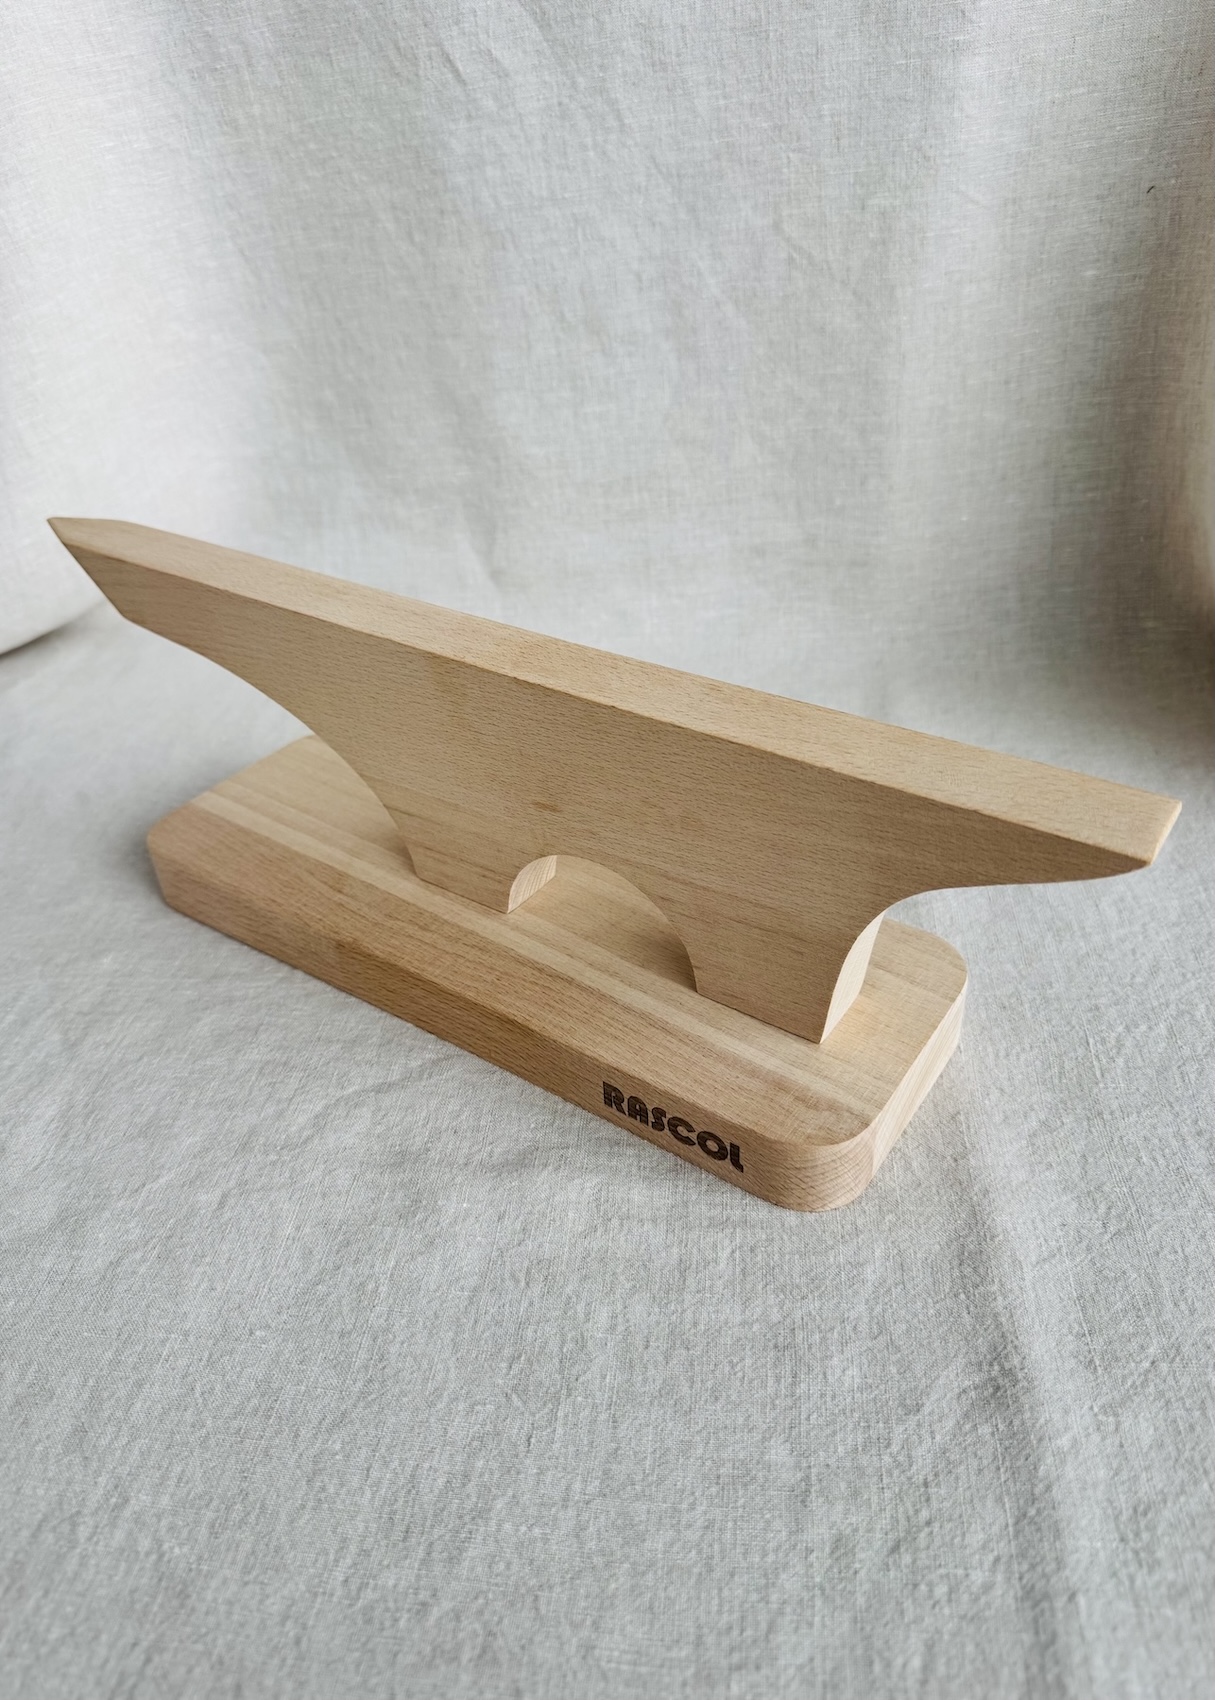
You get two for one with a point presser and clapper like this one. It does the job of a ordinary clapper like the one above. But it also comes with a weird looking shaped block on top, that features long, smooth edges and a point. Again, mine is made from beech wood.
Therefore, if you only want to buy one of either a tailor’s clapper or a point and edge presser, this is probably a good option, as it covers both functions. I do own both, but that is simply because I find the section on top of my point and edge presser a bit cumbersome when I just want to use it as a clapper. I tend to reserve this one for more difficult-to-reach, narrower areas, such as collars or darts.
 Hot Ruler
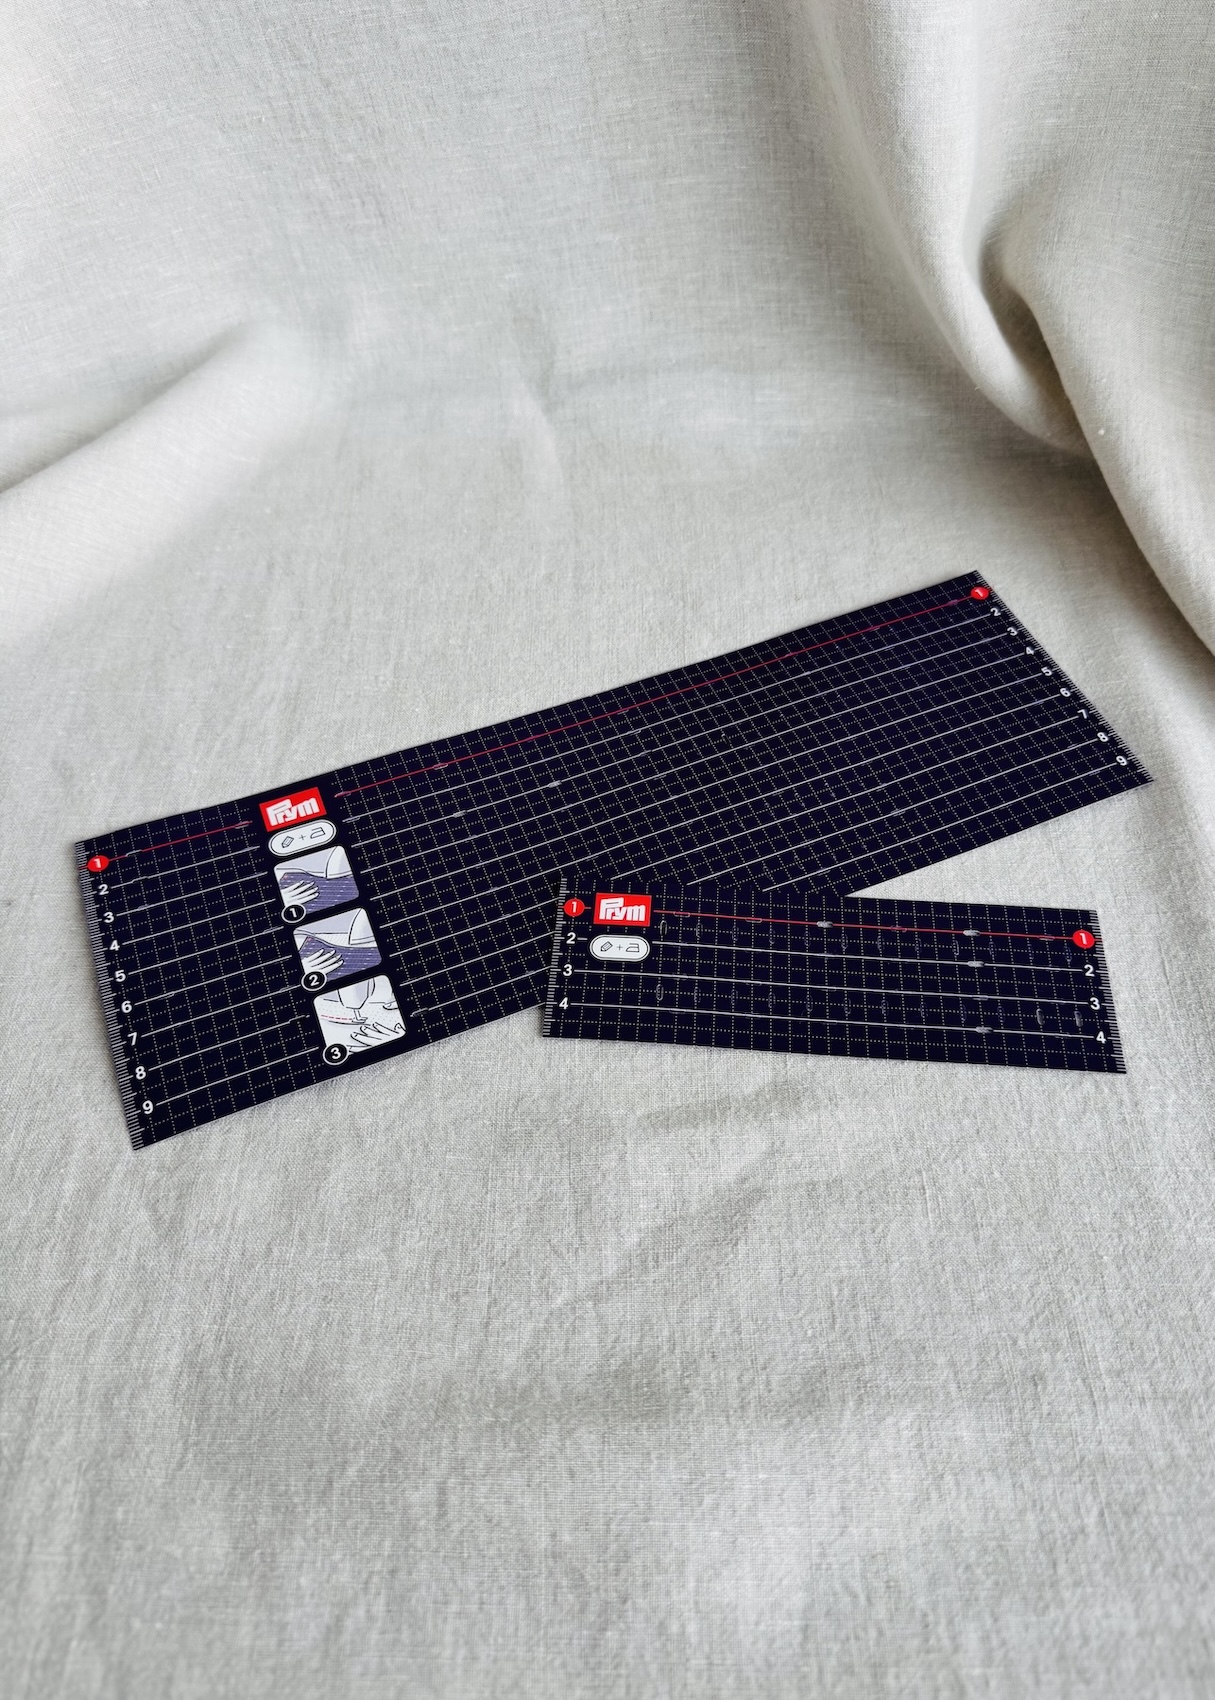
These heat-resistant rulers are available in a variety of sizes and shapes, from the rectangular ones I have, to more curved versions.
They can be useful when turning under even edges, such as when creating a hem. You can simply position the ruler between the two layers of fabric and pressing directly over the top. This removes the need to measure, pin and then press the fabric, allowing you to measure and press in one step. This can be particularly useful when working with more delicate fabrics that may be marked or damaged by pins.
Some fabrics are better suited to these rulers than others, so a bit of trial and error may be needed.
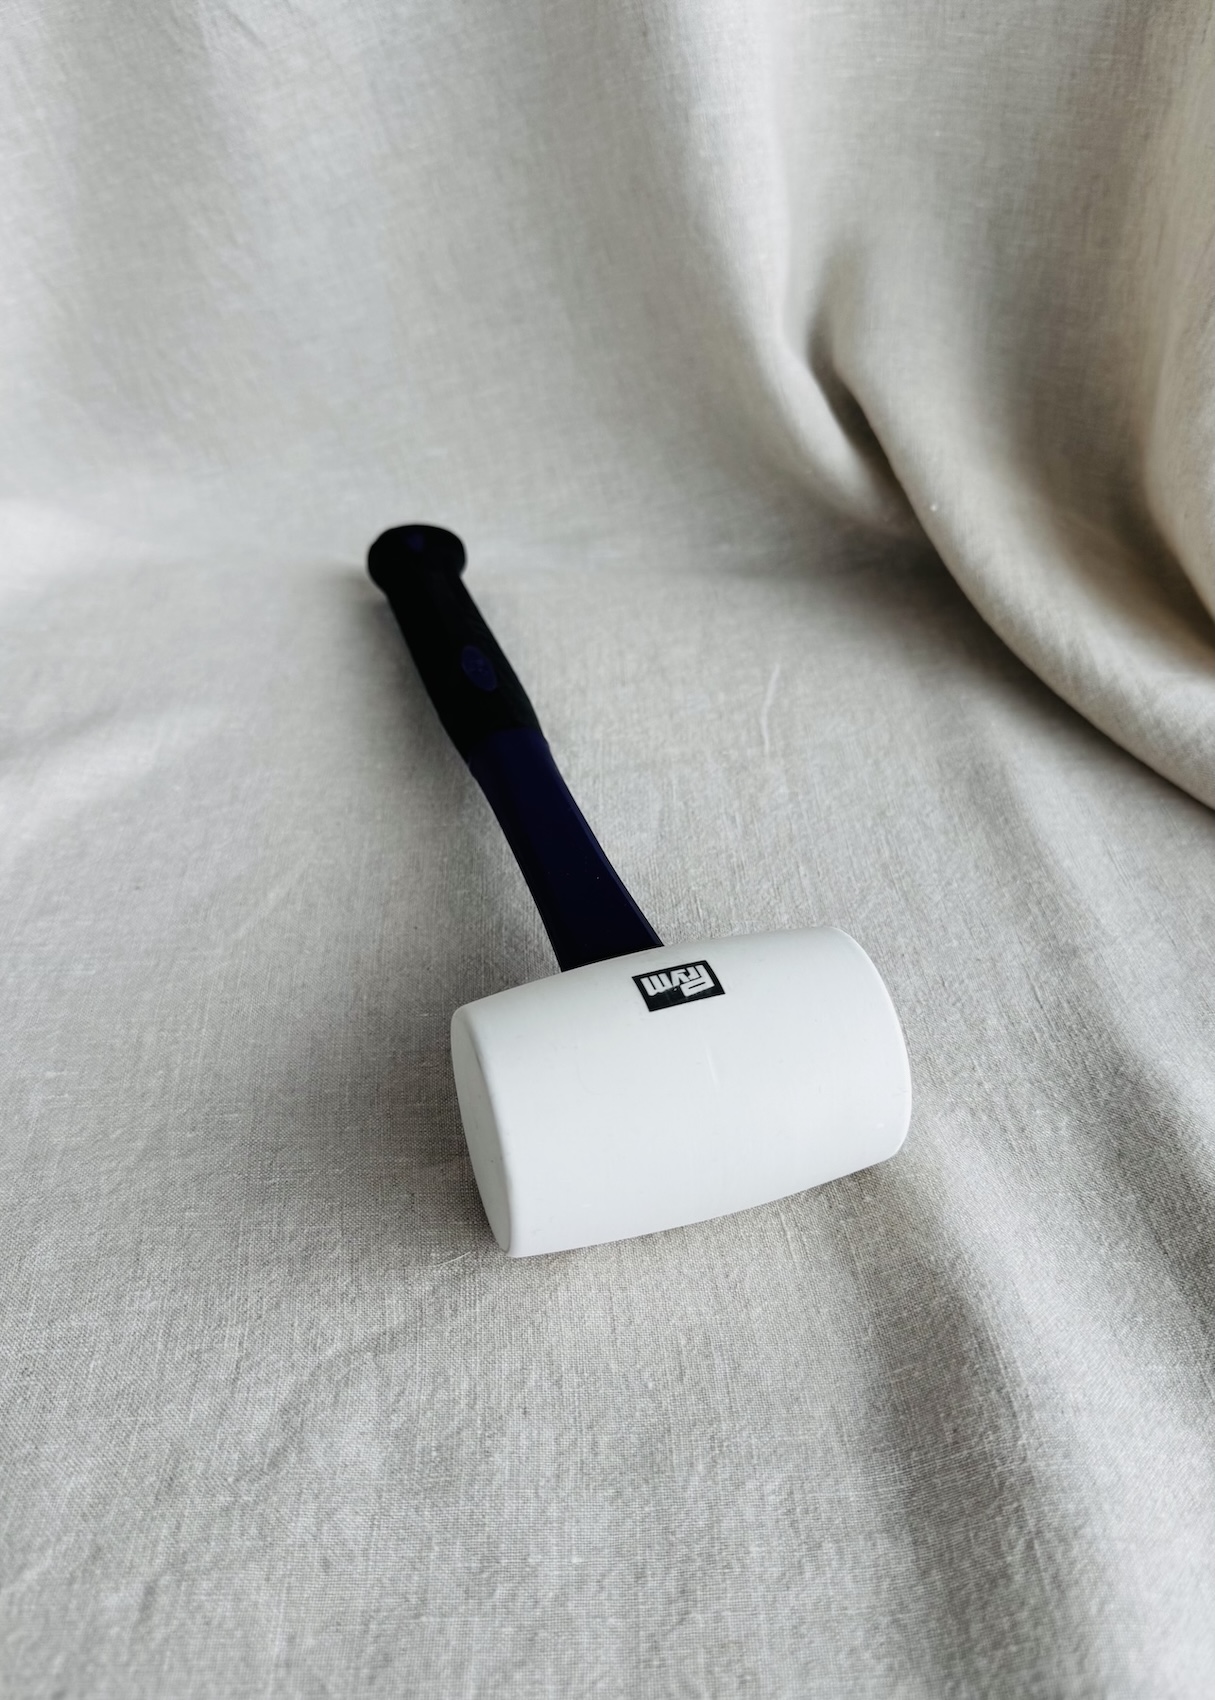 Rubber Hammer
A rubber ended hammer (or mallet) is actually great for flattening seams, as the rubber ends shouldn’t mark the fabric. These are also handy for attaching things like press studs.
I wish I had of had one when I made of pair of denim dungarees and was struggling with the bulk of the fabric at some of the seam junctions.
Obviously, be careful with these, and test first.
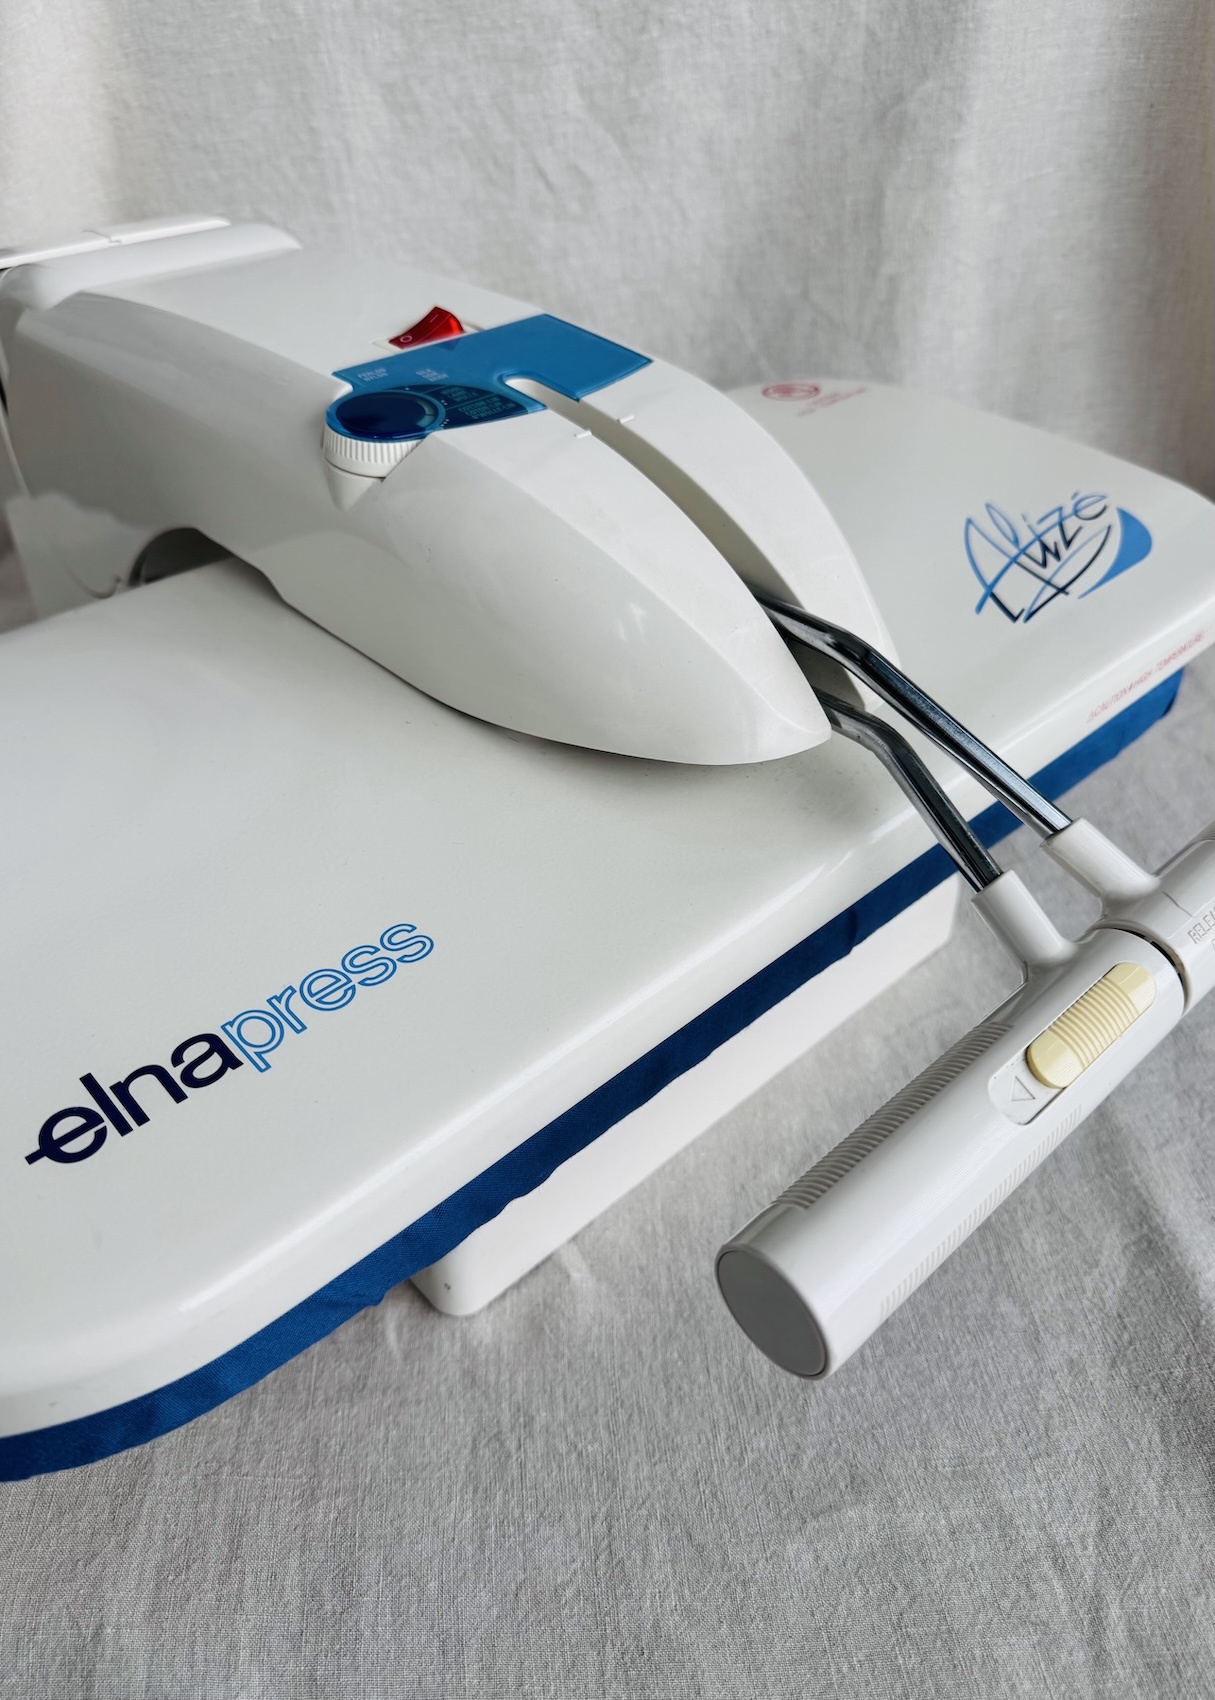
Heat Press
Also known as an iron press, a heat press applies heat and pressure evenly across a larger surface area than your regular iron.
Mine is an older Elna Press Alize that I got during my university days, and it’s still going strong. At university, we often weren’t allowed to apply interfacing with a regular iron. We had to either use a heat press like this one, or have our fabric professionally block-fused (i.e. the interfacing is applied to the fabric before the pattern pieces are cut out). Both methods can help the interfacing bond more evenly, particularly across larger pieces of fabric, reducing the risk of bubbles, wrinkles, or spots that haven’t stuck properly. I recently used mine to fuse interfacing to the centre front facing for a duster coat as it was quite a large piece.
The downside to these presses is that they’re a bigger investment than a regular iron, and they also take up a lot of space. That’s why I keep mine in our downstairs storage unit and only bring it up when I need it.
Some Extra Pressinng Tips
- Whenever possible, press from the wrong side of the fabric to help prevent marking the right side.
- Avoid pressing over pins as they can scratch or mark your iron and leave impressions and a shine on the fabric.
- Test your irons temperature and steam settings on a scrap of fabric first.
- Make sure your ironing board is well padded. This helps ensure the heat and steam is distributed evenly, avoids the criss cross pattern of the boards metal top from imprinting on the fabric, and allows for the better absorption of any notions like buttons, and seams, ensuring things sit flat.
- If you’re concerned that overlocking may leave an impression or shine on the fabric, press the seam before overlocking. A pressing cloth between the seam allowance and the main body of the garment can also help protect the fabric.
- Have your ironing board set up, and pressing tools within reach before you start any sewing. I keep mine together in a drawer next to my iron and ironing board. It makes pressing as I sew (and everyday ironing) much easier. I know it probably sounds like common sense but I know it helps me as I can get lazy, so if they aren’t set up and in reach I am more likely to skip pressing.
There are so many handy tools available that can make pressing easier, more enjoyable, and really elevate your sewing. This is not an exhaustive list, just some of the tools I own and reach for most often.
While everyone’s sewing needs are different, I hope this has given you some inspiration to check out a few new tools and perhaps find something that would add value to your own pressing kit.
Happy pressing!