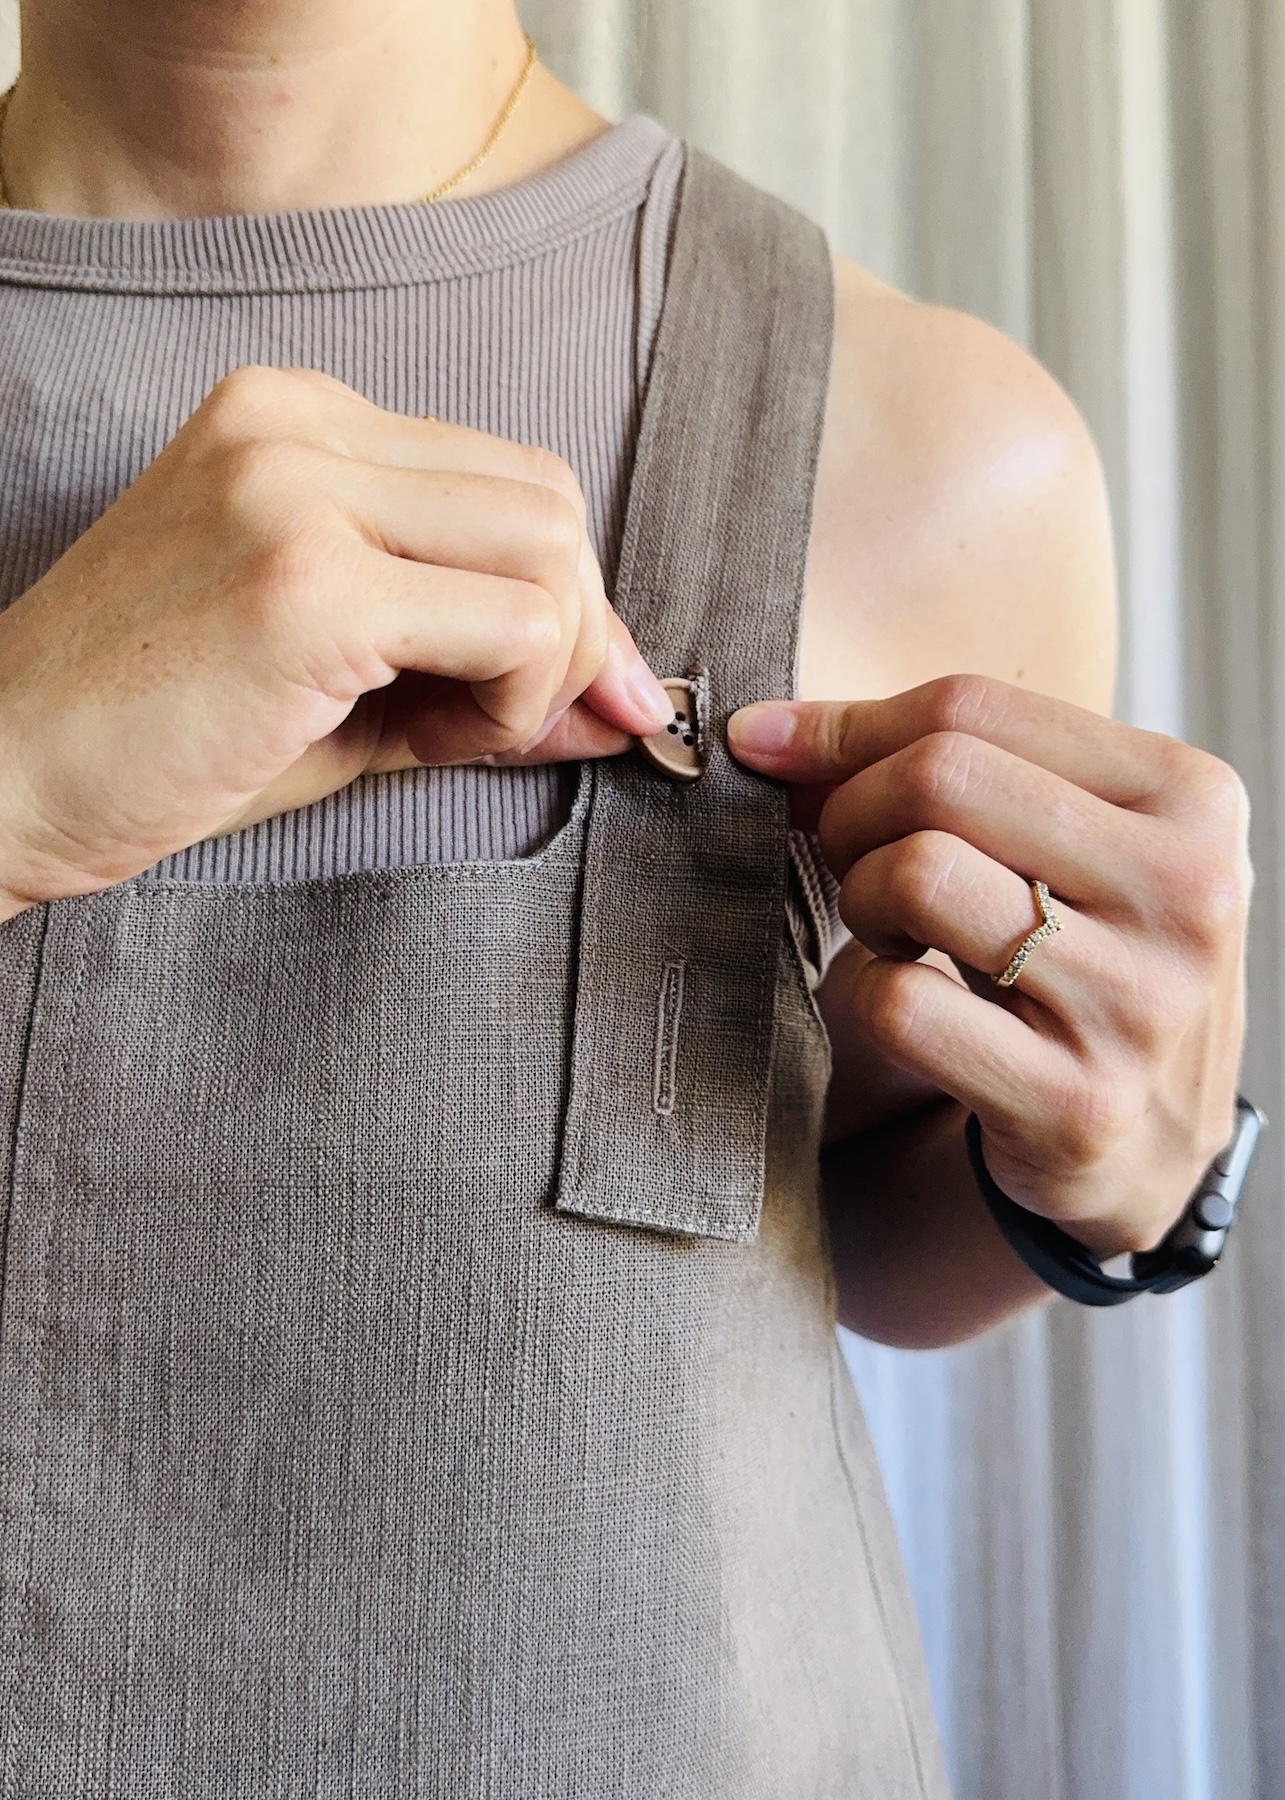
How many garments have gone unworn, or even been thrown away, simply because they were missing a button? I’m guessing a lot.
In my opinion, sewing a button on by hand is one of those skills that everyone should have. It is such a simple and useful thing to know how to do, whether you’re making a garment from scratch or repairing an existing one.
Sure, buttons can be sewn on with some sewing machines, but I’m going to explain how to sew them on by hand, a skill that’s accessible to most people.
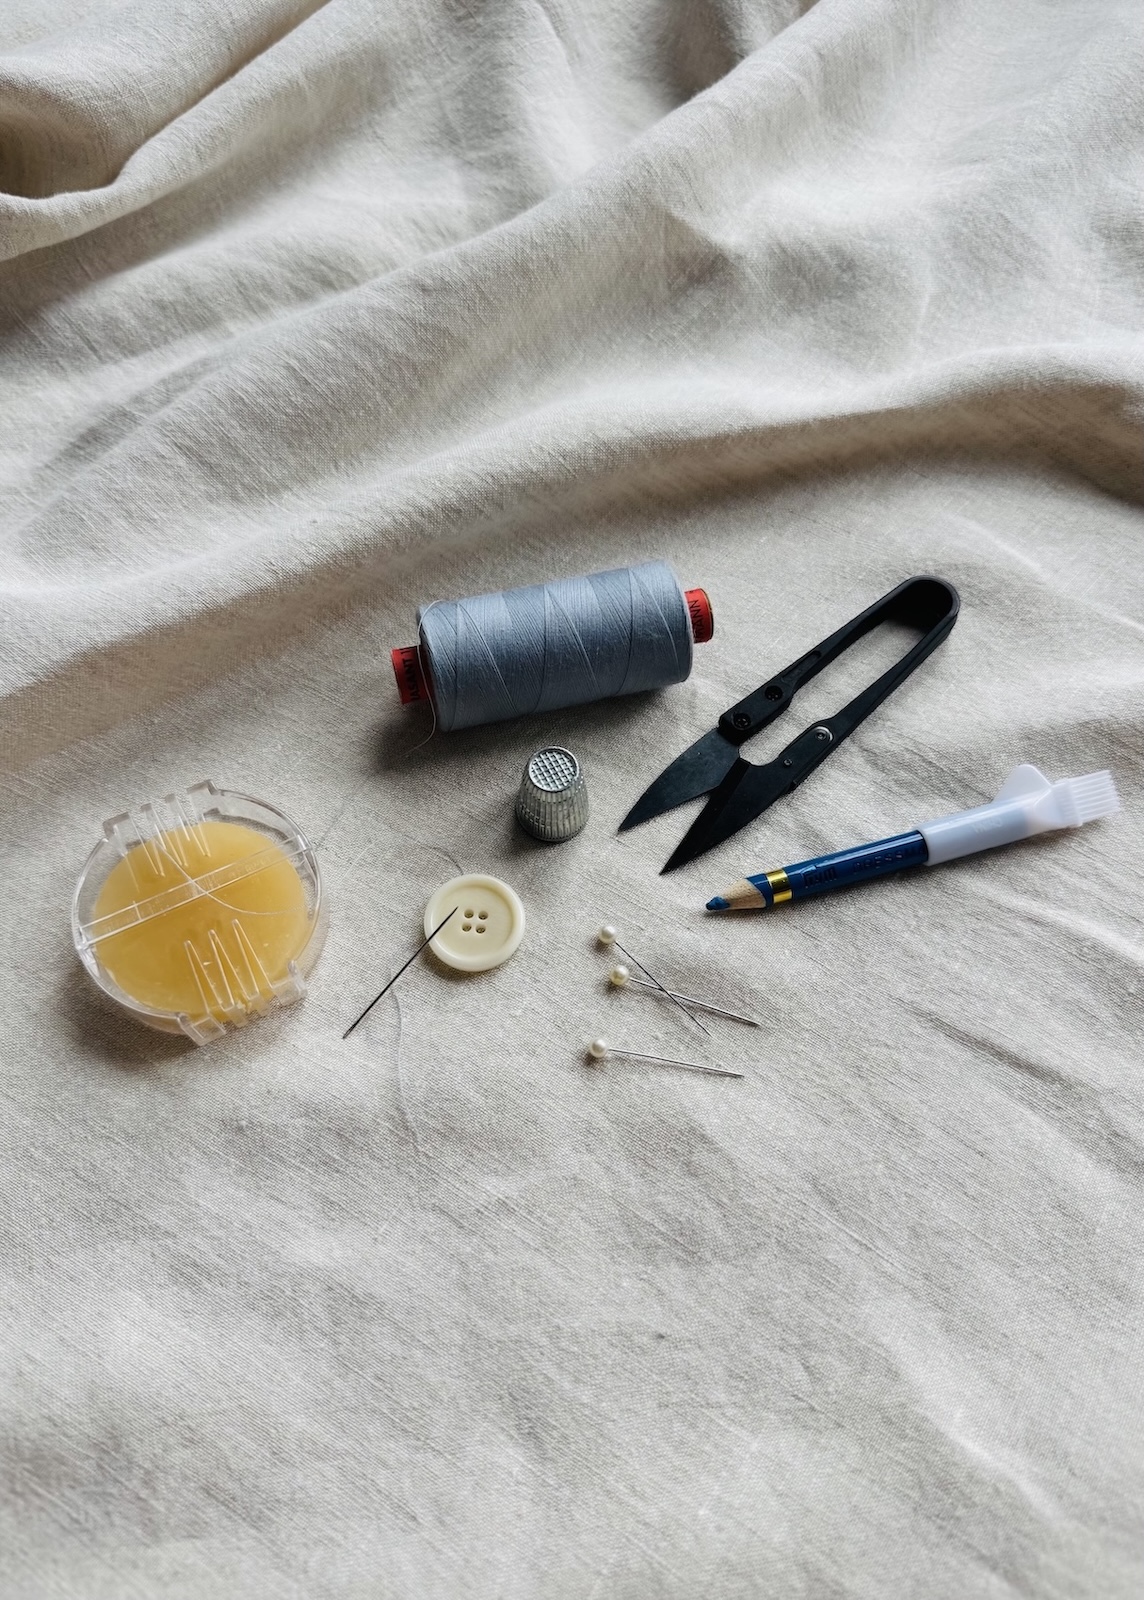
Equipment
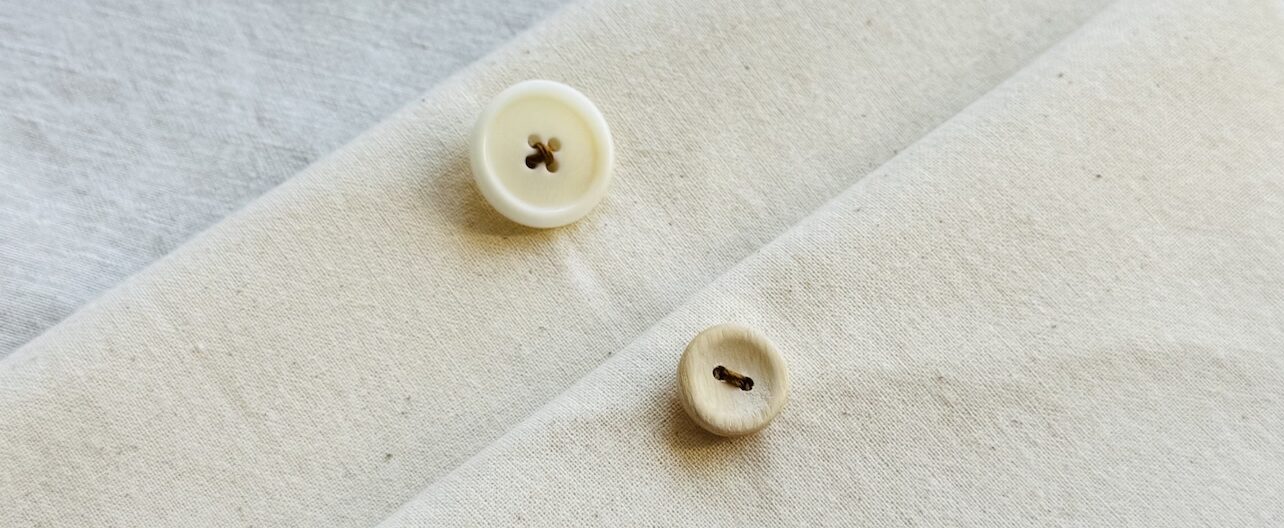
- Button(s)
- Hand sewing needle: A standard, sharp needle works best.
- Thread: I tend to just sew buttons on with good quality all purpose thread, but a heavier thread may be needed for greater visibility (for example, for a more decorative finish) or for extra strength and durability.
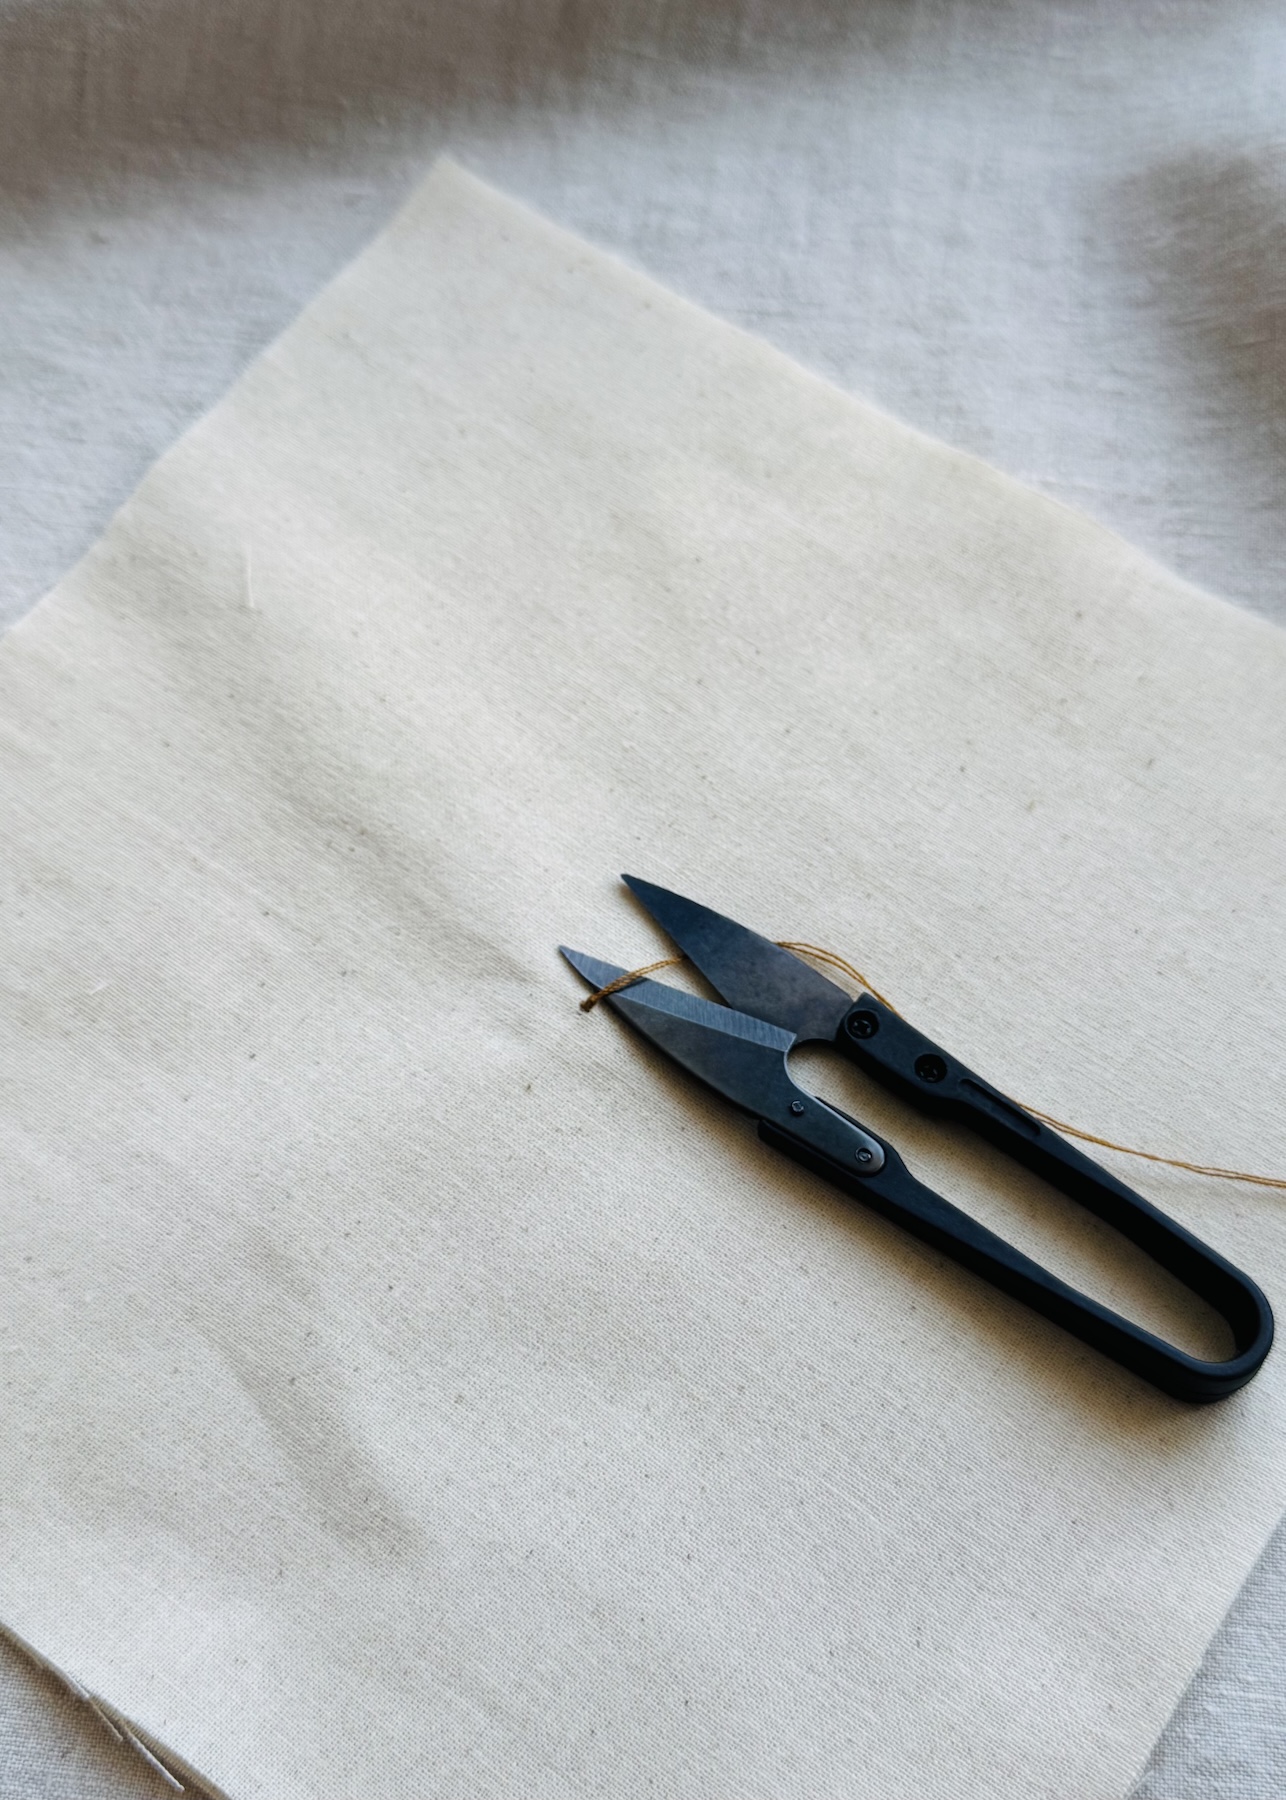
- Snips or scissors
- Fabric pencil or marker
- Pins
- Thimble (optional, but really useful)
- Wax (optional)
Note: For the following examples, I have deliberately used a thick denim topstitching thread that I had in my thread drawer, simply to make the stitches more visible in the photos. This is just for demonstrative purposes and is not necessarily the type of thread I would use for these types of buttons.
How to Sew a Two Hole Button
Step 1: Mark the position of the button
Identify the position of the button on the right side of the fabric, as this is the side you will be sewing from. Mark the position with a small dot using a fabric pencil or marker (I like chalk pencils), or simply insert a pin into the fabric in that spot.
The position will obviously vary depending on the garment. I’ll go into more detail on positioning buttons and buttonholes in a separate article.
Step 2: Thread your needle
Cut a piece of thread. I like to simply pull the thread from the spool until my arm is almost fully outstretched, creating roughly an “arm’s length” of thread. I find this is usually more than enough.
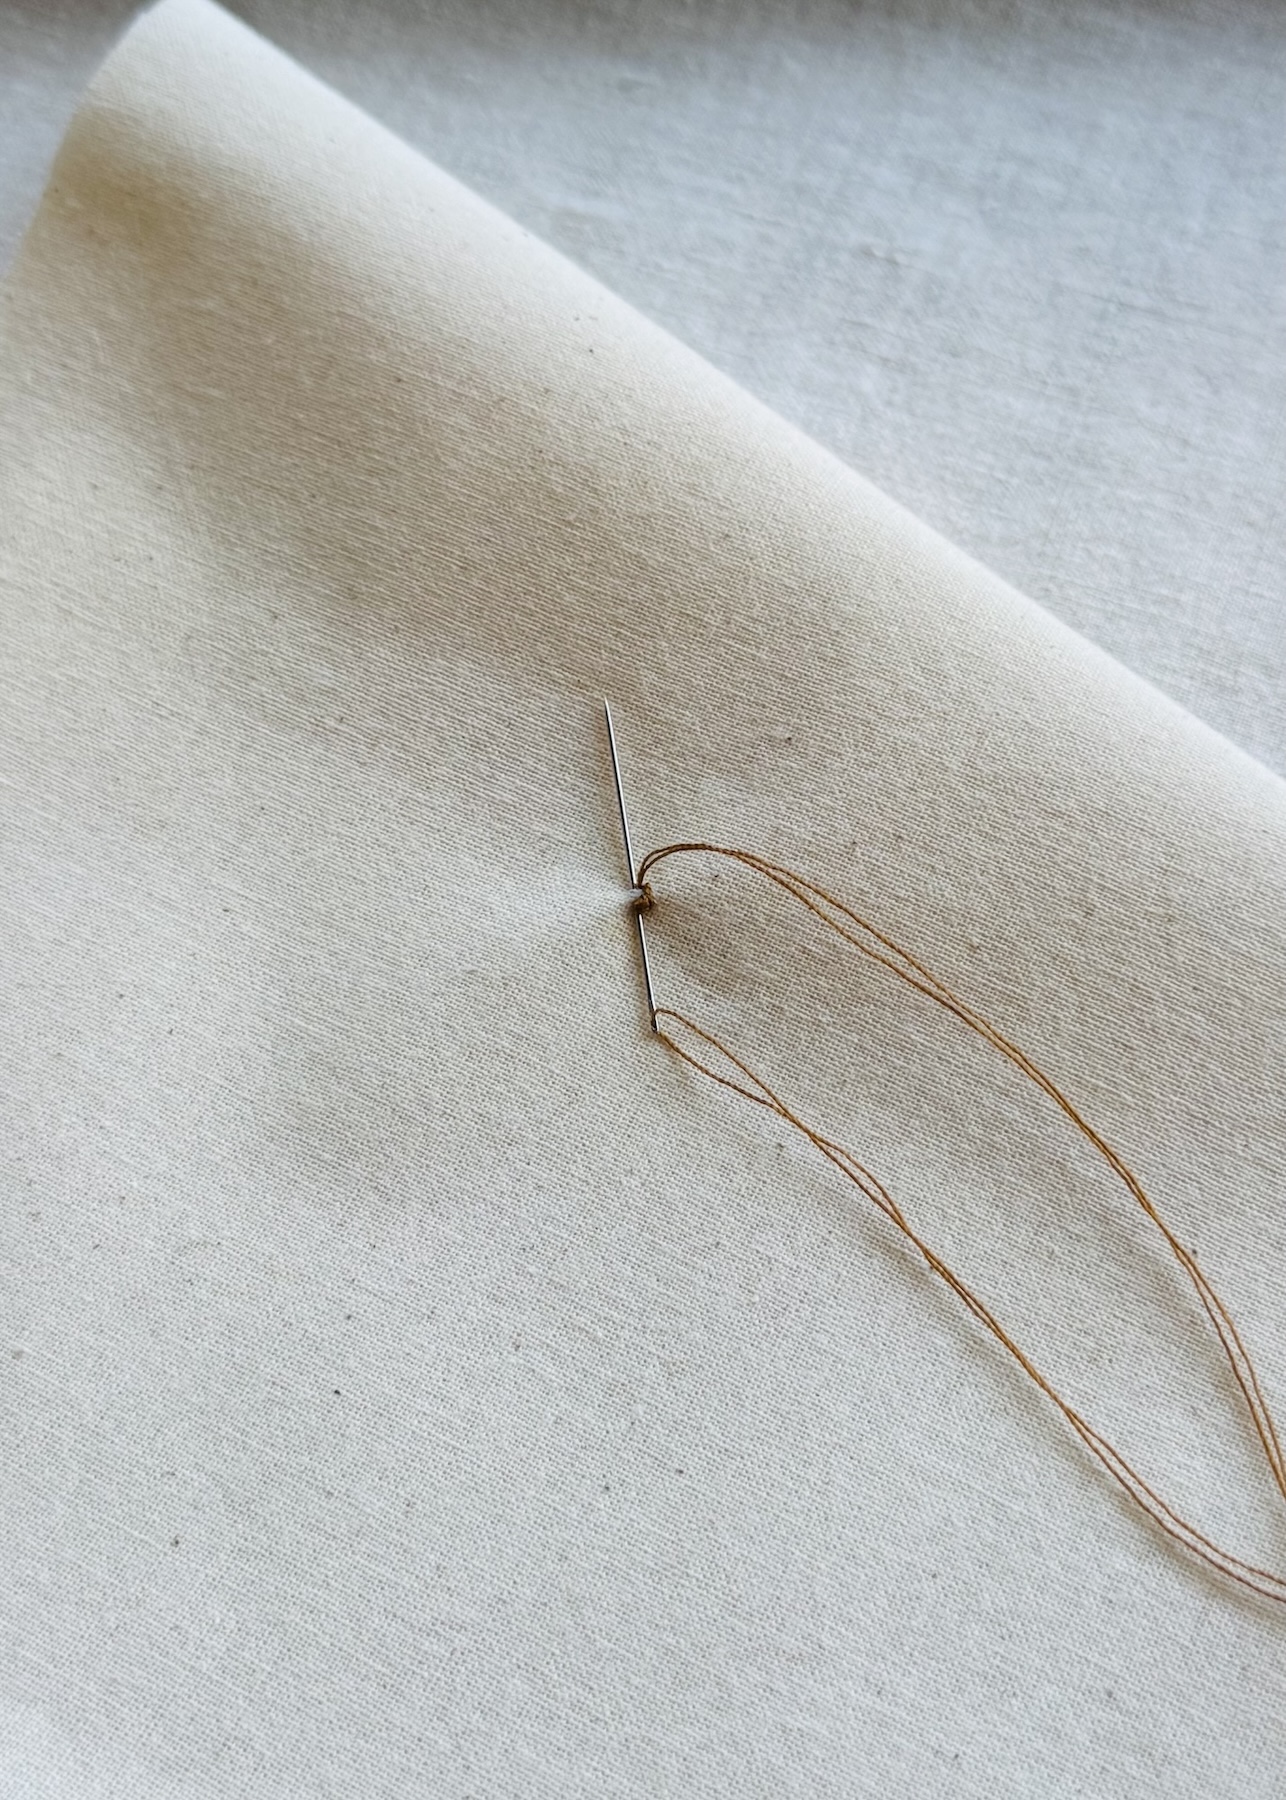
Insert the thread through the eye of the needle, making sure there is an equal length of thread tail on either side. This creates a double thread, which provides a extra strength.
Step 3: Knot the end of the thread
Tie the two thread tails together using a basic knot. I use a double knot for added strength.
Trim the tail close to the knot, but be careful not to cut so close that the knot comes undone.
Step 4: Secure the thread
Bring the needle down and up through the right side of the fabric at the position you marked previously for the button in Step 1. You just want to catch a little of the fabric.
Repeat this a couple of times, making small stitches in the same spot to secure and anchor the thread.
Step 5: Sew on the button
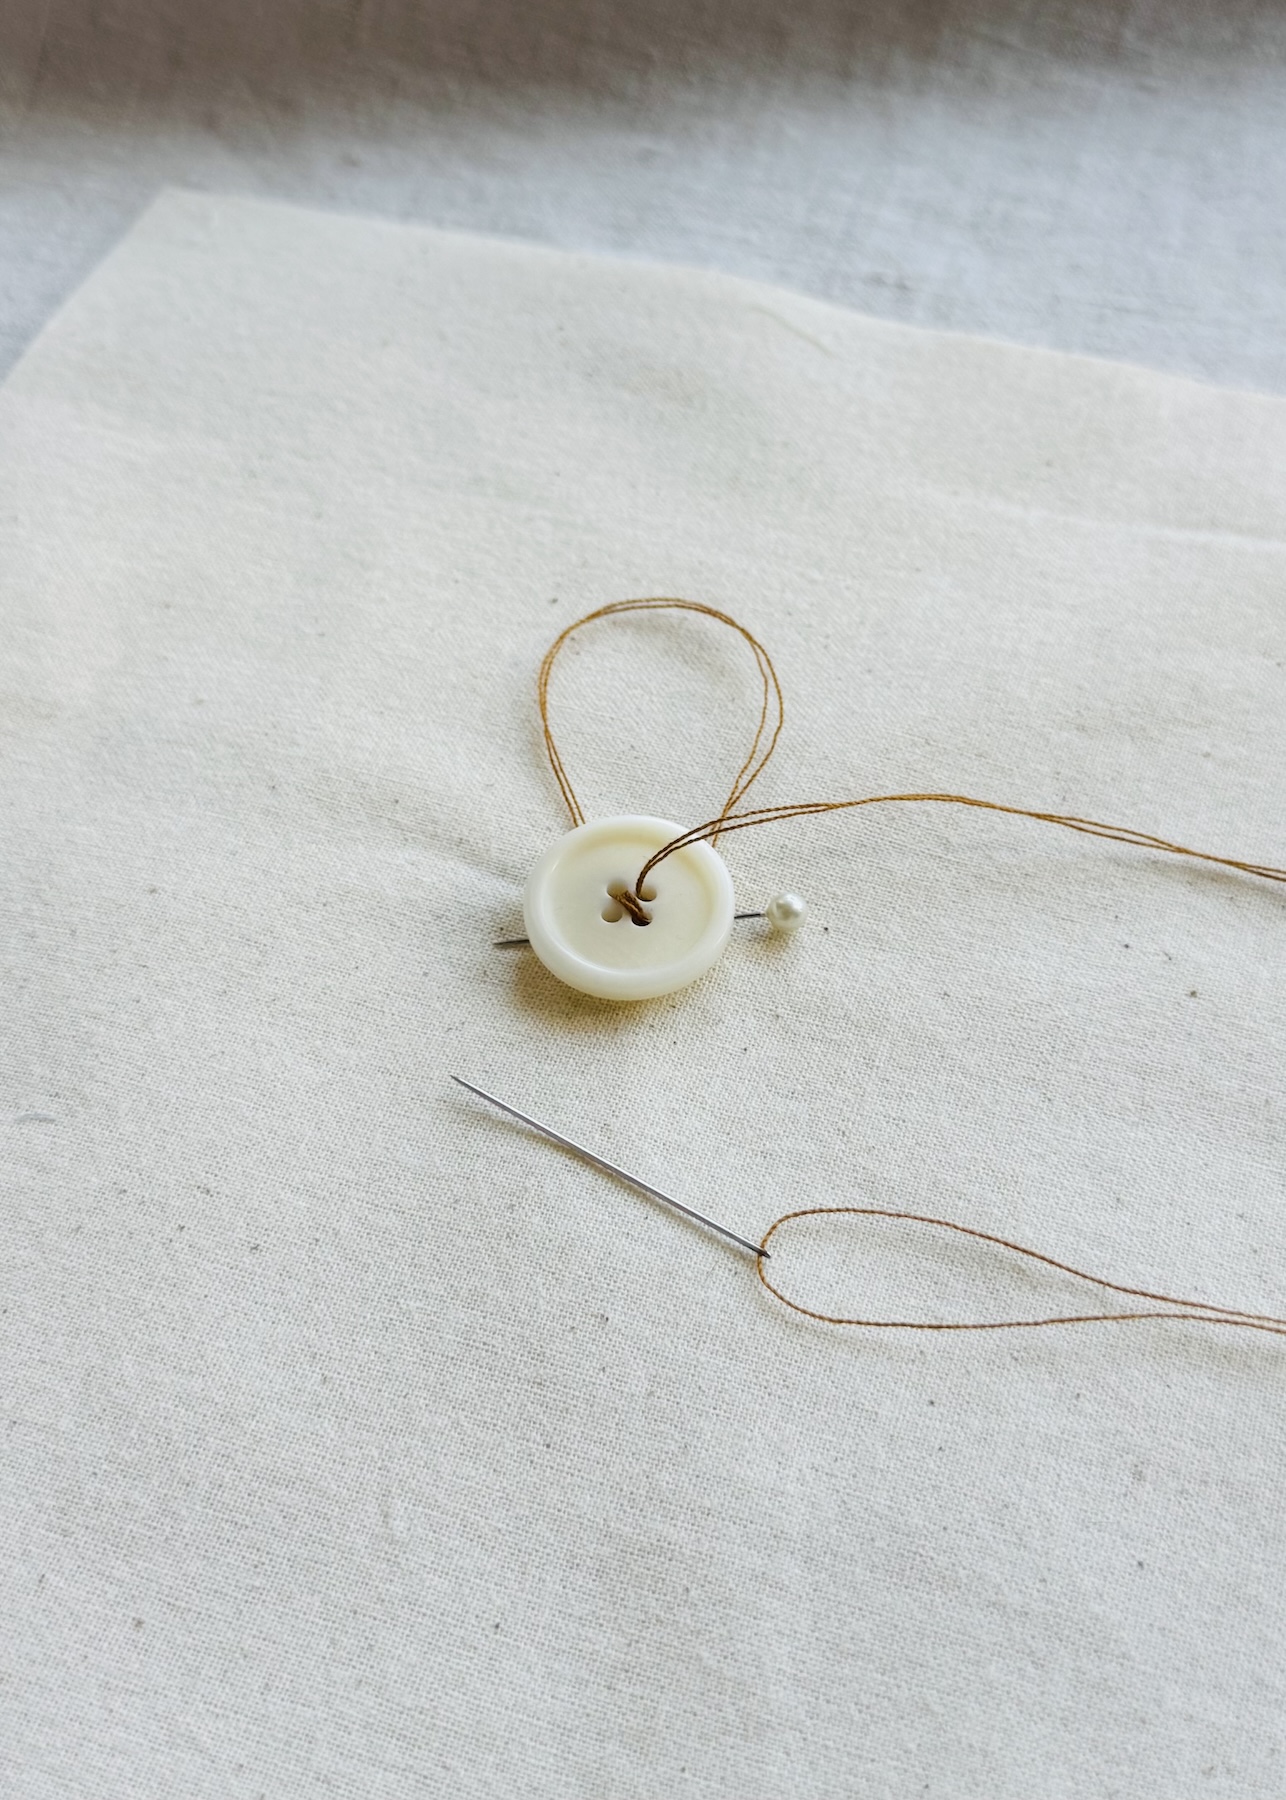
Pass the needle through one of the buttons holes, then bring it back down through the other hole.
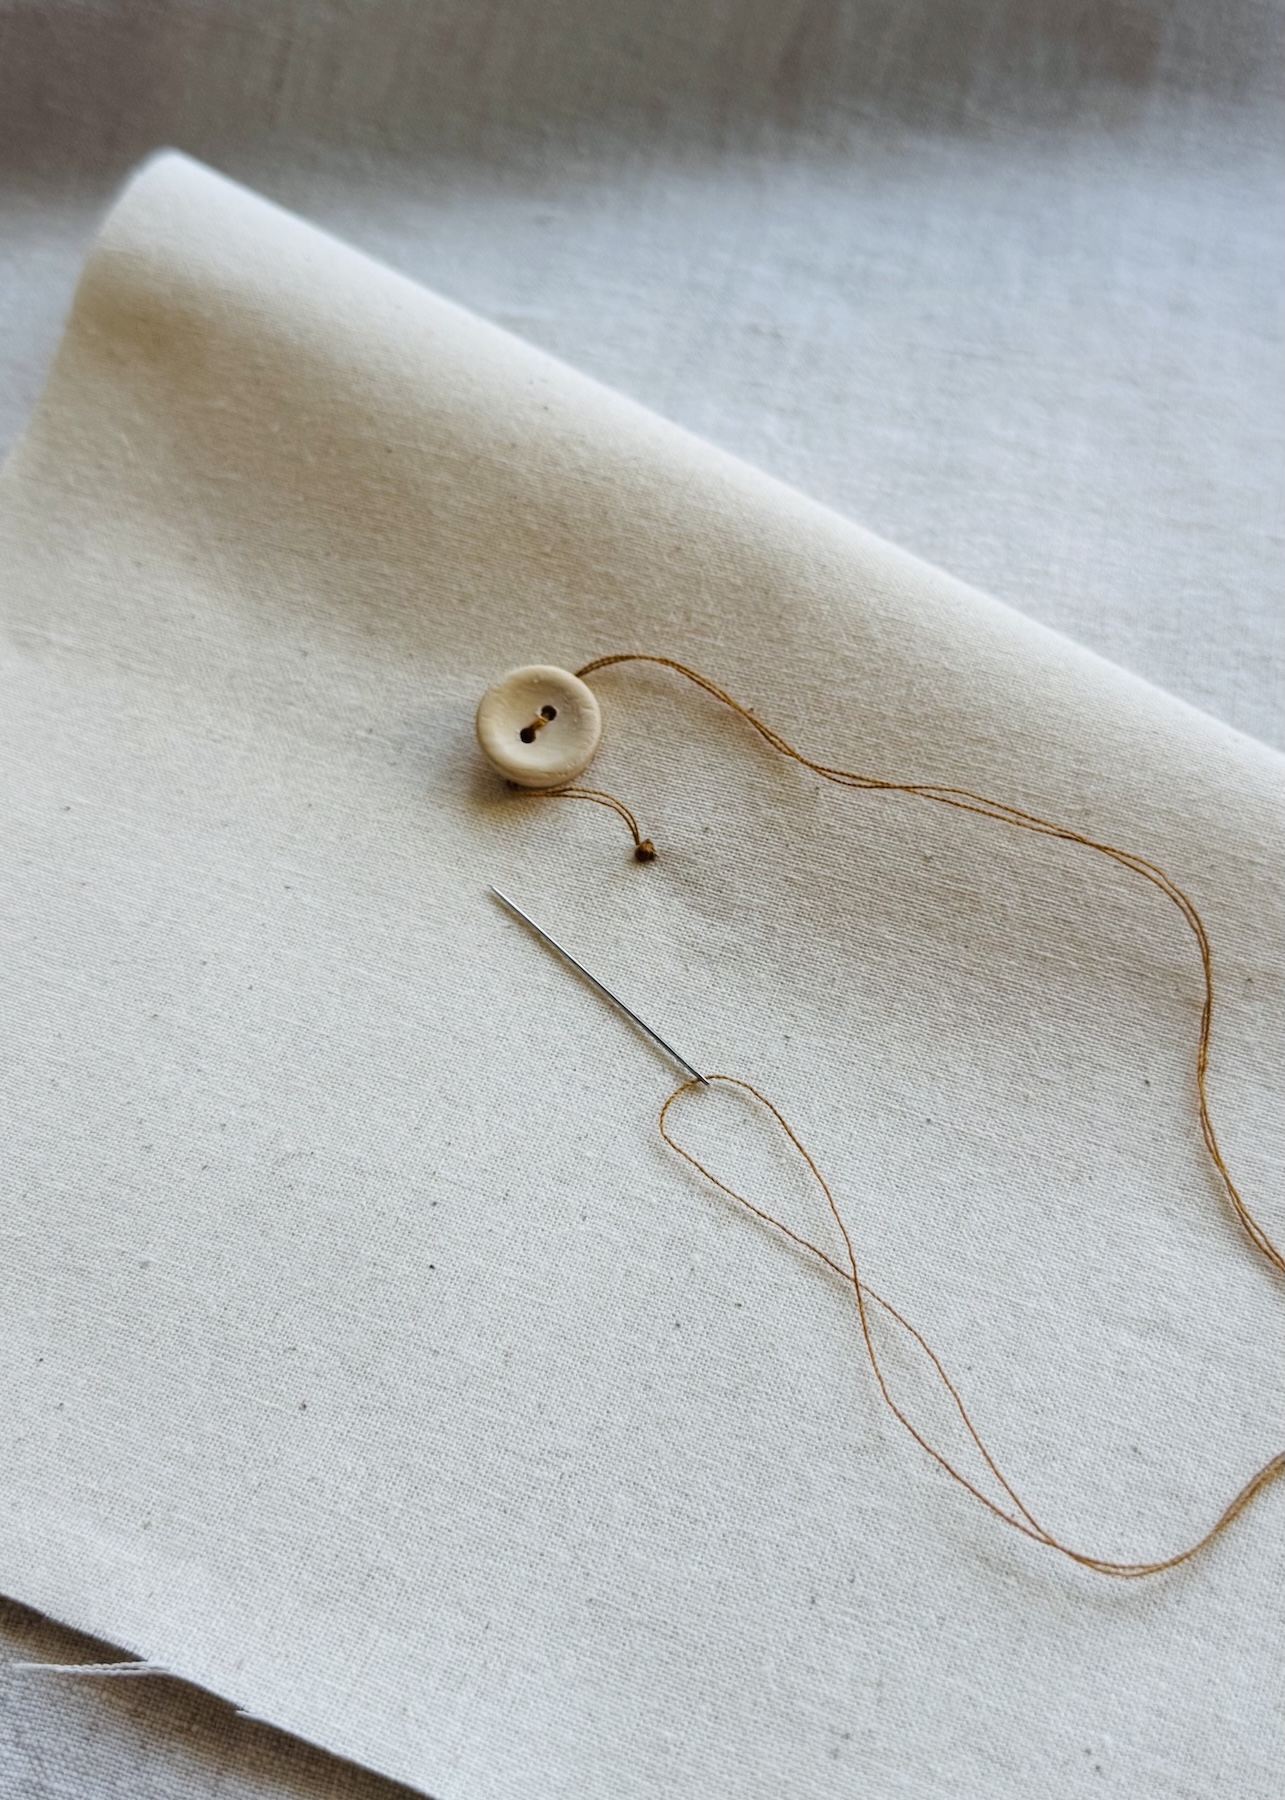
At this point, I like to position a pin or needle between the button and the fabric through the stitches created in Step 4. What this does is create a little space, ensuring the button isn’t sewn on too tightly. Remember, another layer (or layers) of fabric will eventually need to pass between the button and the fabric when the garment is fastened.
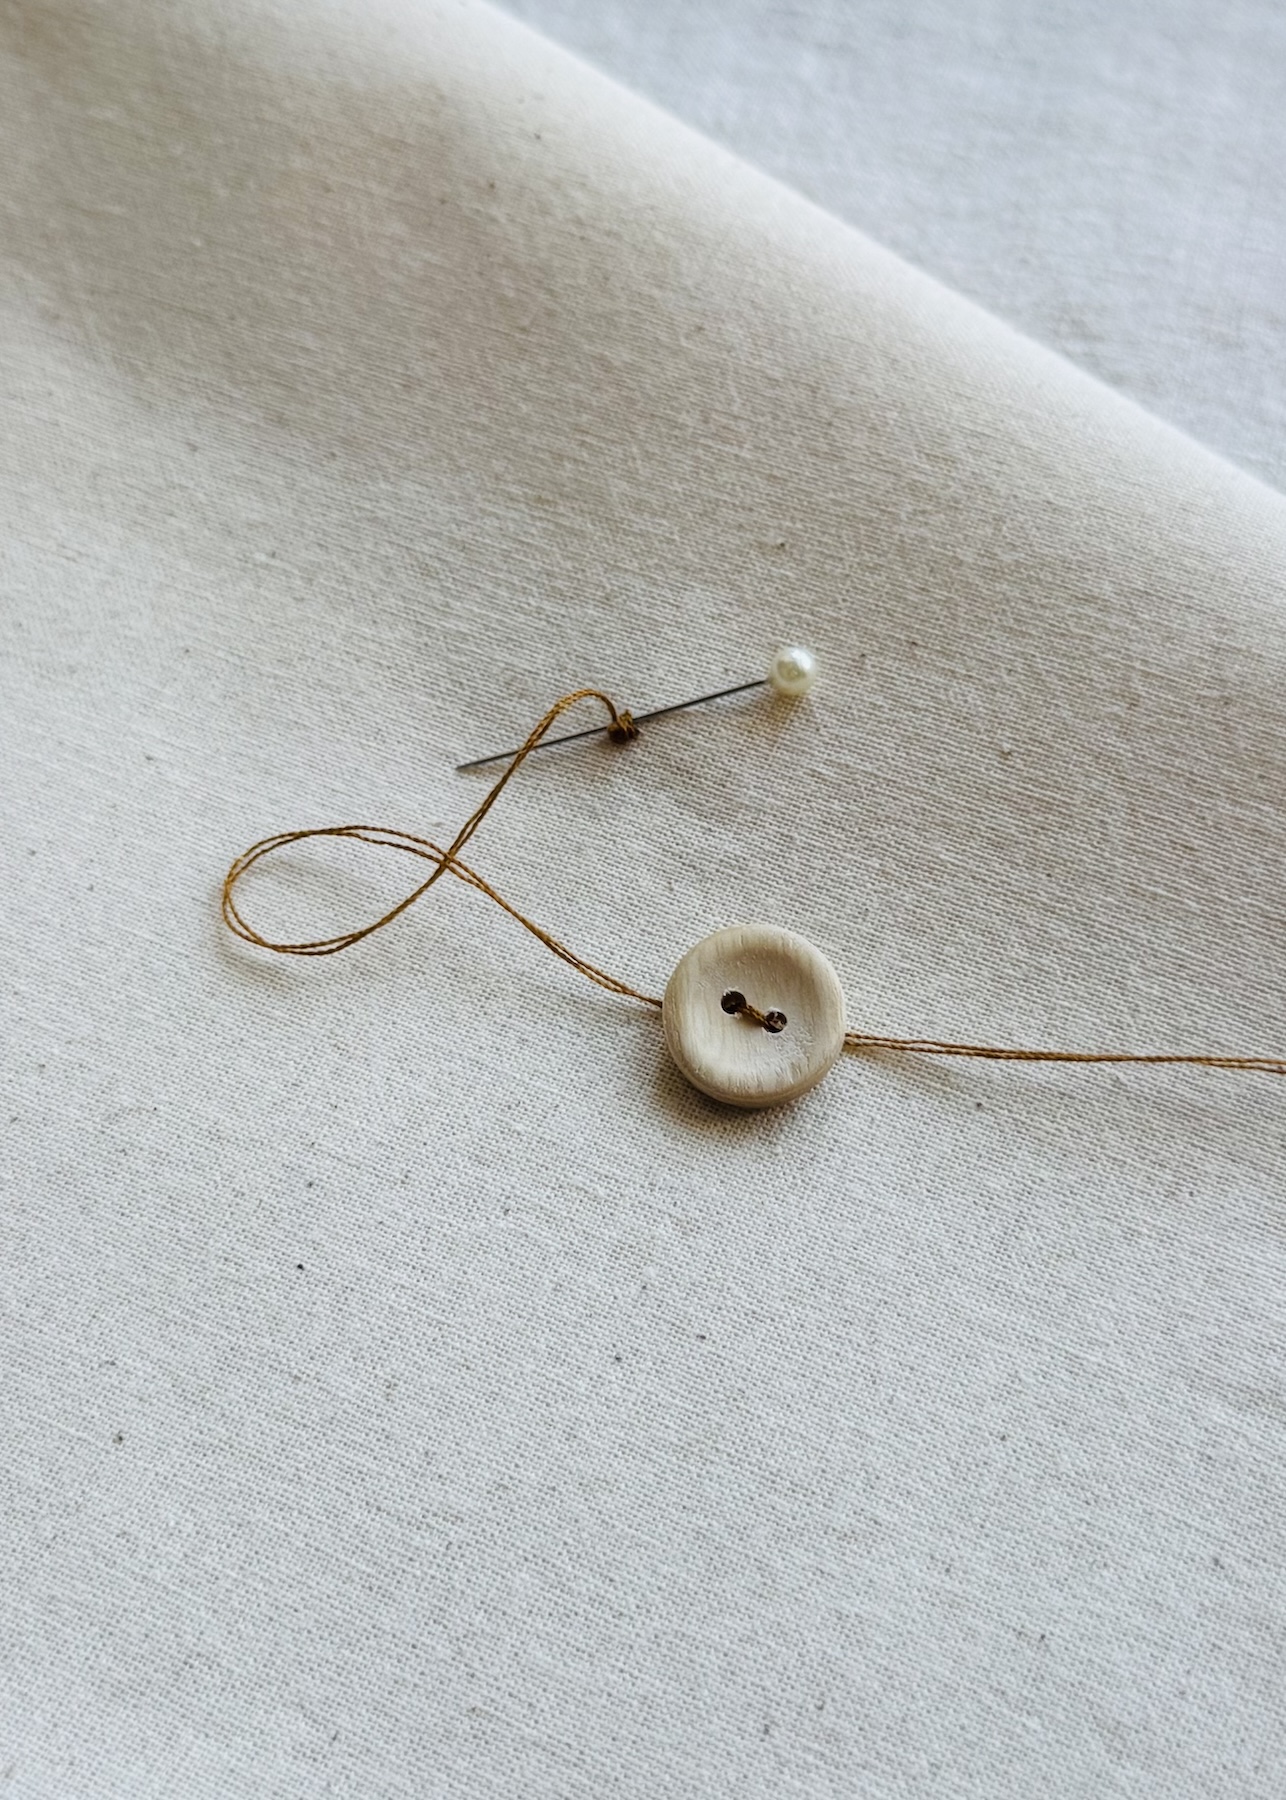
Once the pin or needle is in place, continue sewing the button on. Catch a little of the fabric with each stitch before bringing the needle back up through the first hole, then down through the second hole and back into the fabric.
Keep an eye out for tangles or loops in the thread as it can become twisted really easily.
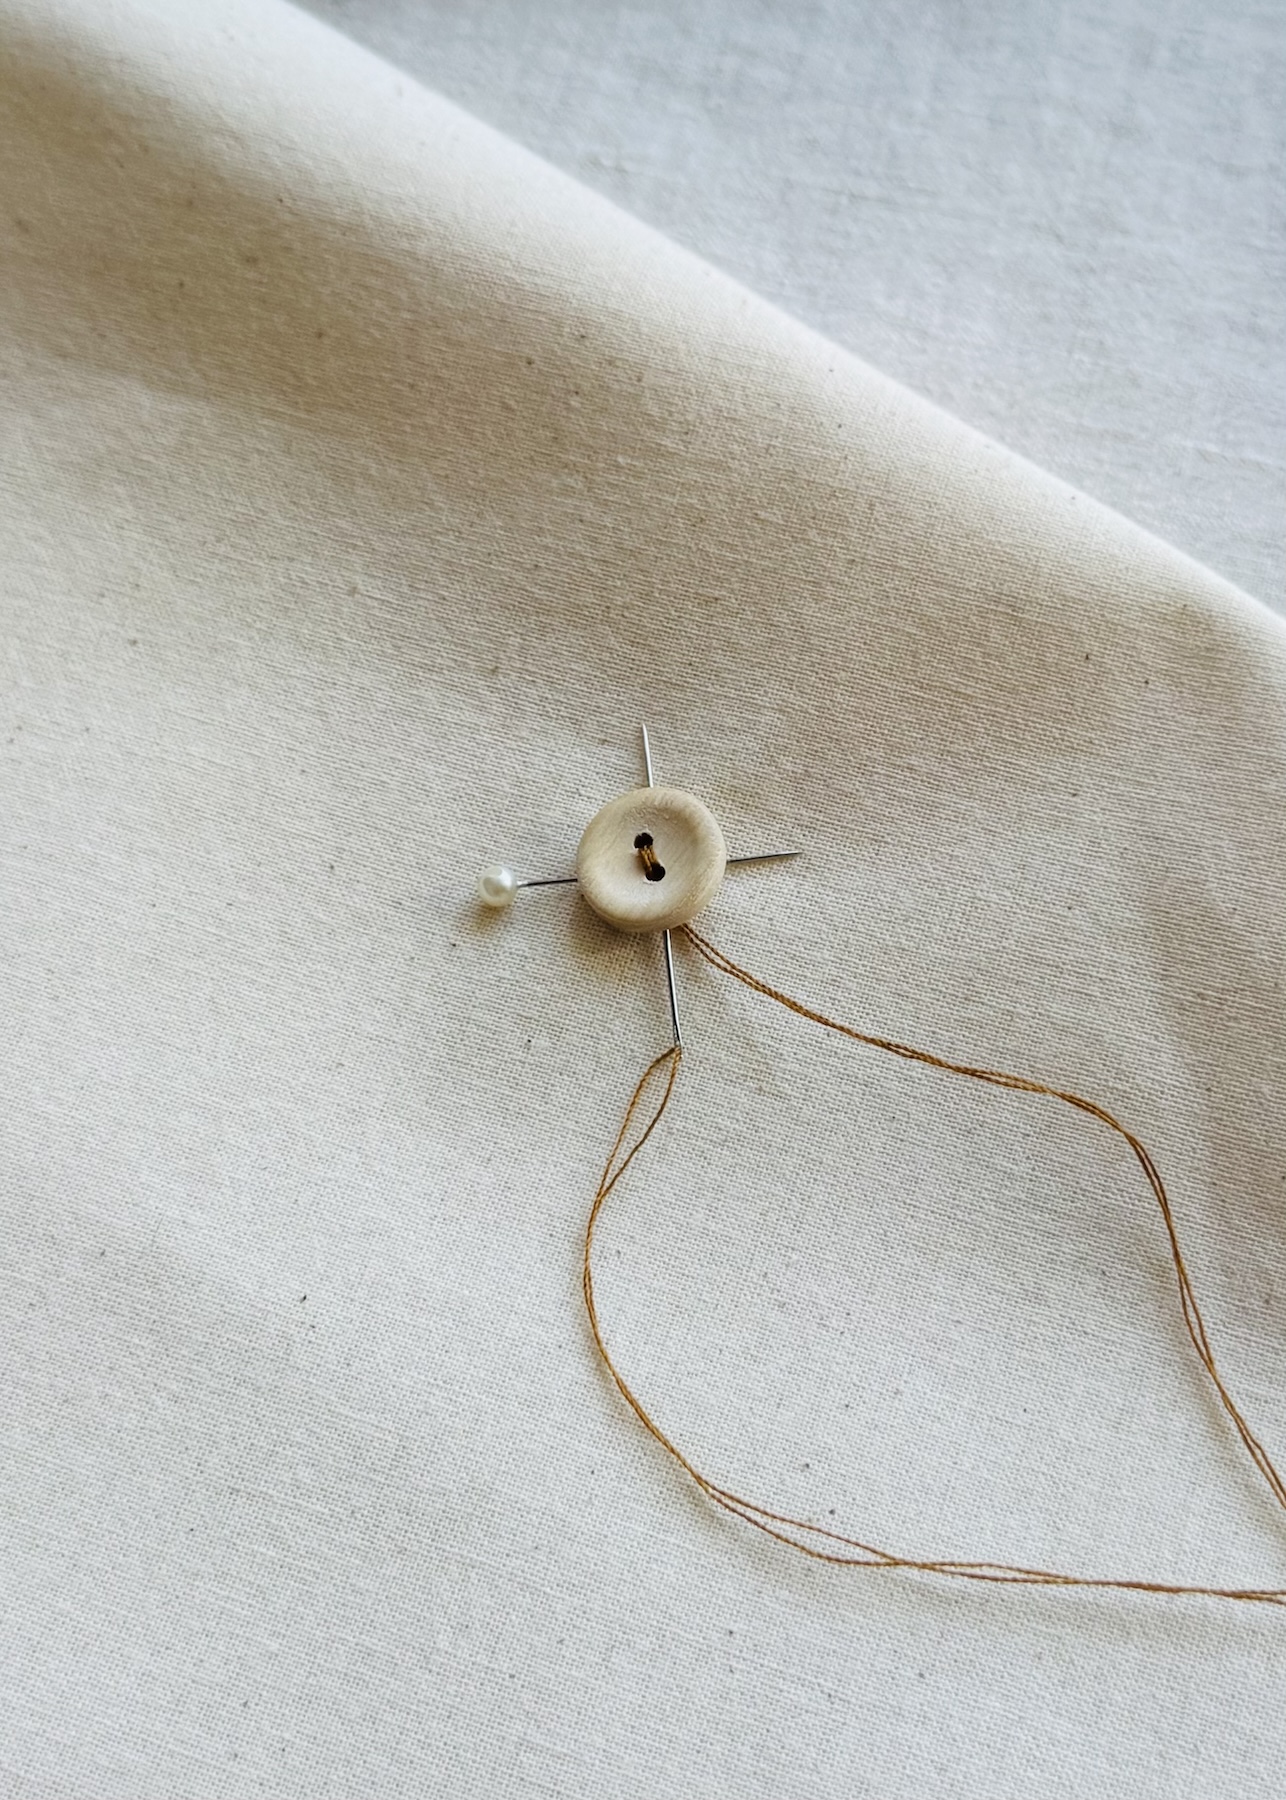
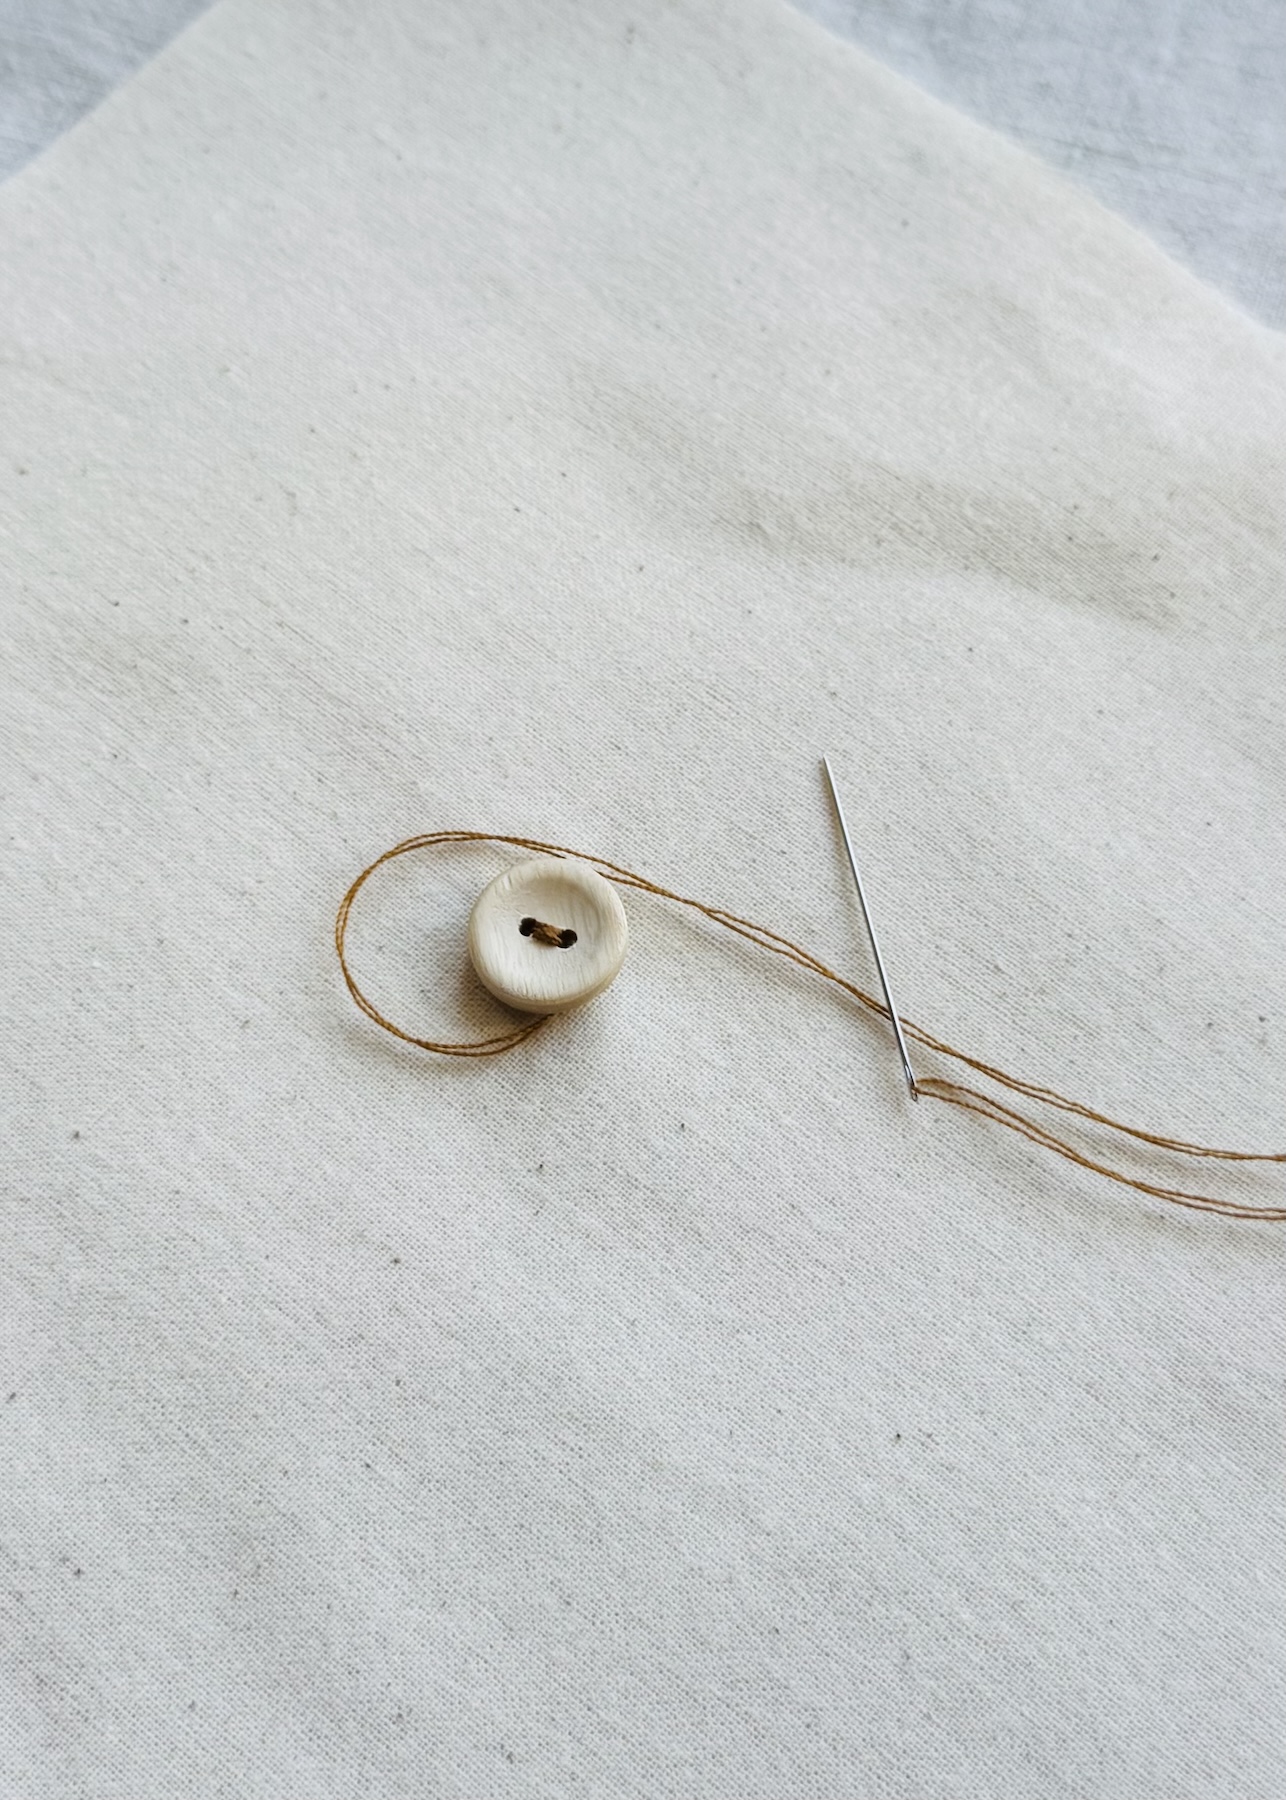
How many passes should you do through the button? This will really depend on the button, the garment and the weight of the fabric. As a general guide, around 4–5 passes should be sufficient for a shirt for example, increasing to 6–8 passes for pieces like a jacket or a trouser waistband that will be under more strain.
Note: You can either sew through both layers of fabric or, for an invisible finish, sew just through the top/outer layer. The best method depends on the fabric and button. Sewing through both layers is stronger and more secure, while sewing through only the outer layer can provide a neater, more invisible finish because the thread won’t show on the wrong side of the garment.
Step 6: Create a thread shank
Once you’ve made your final pass through the button, push the needle through the fabric, but not through the button.
Remove the pin or needle from underneath the button.
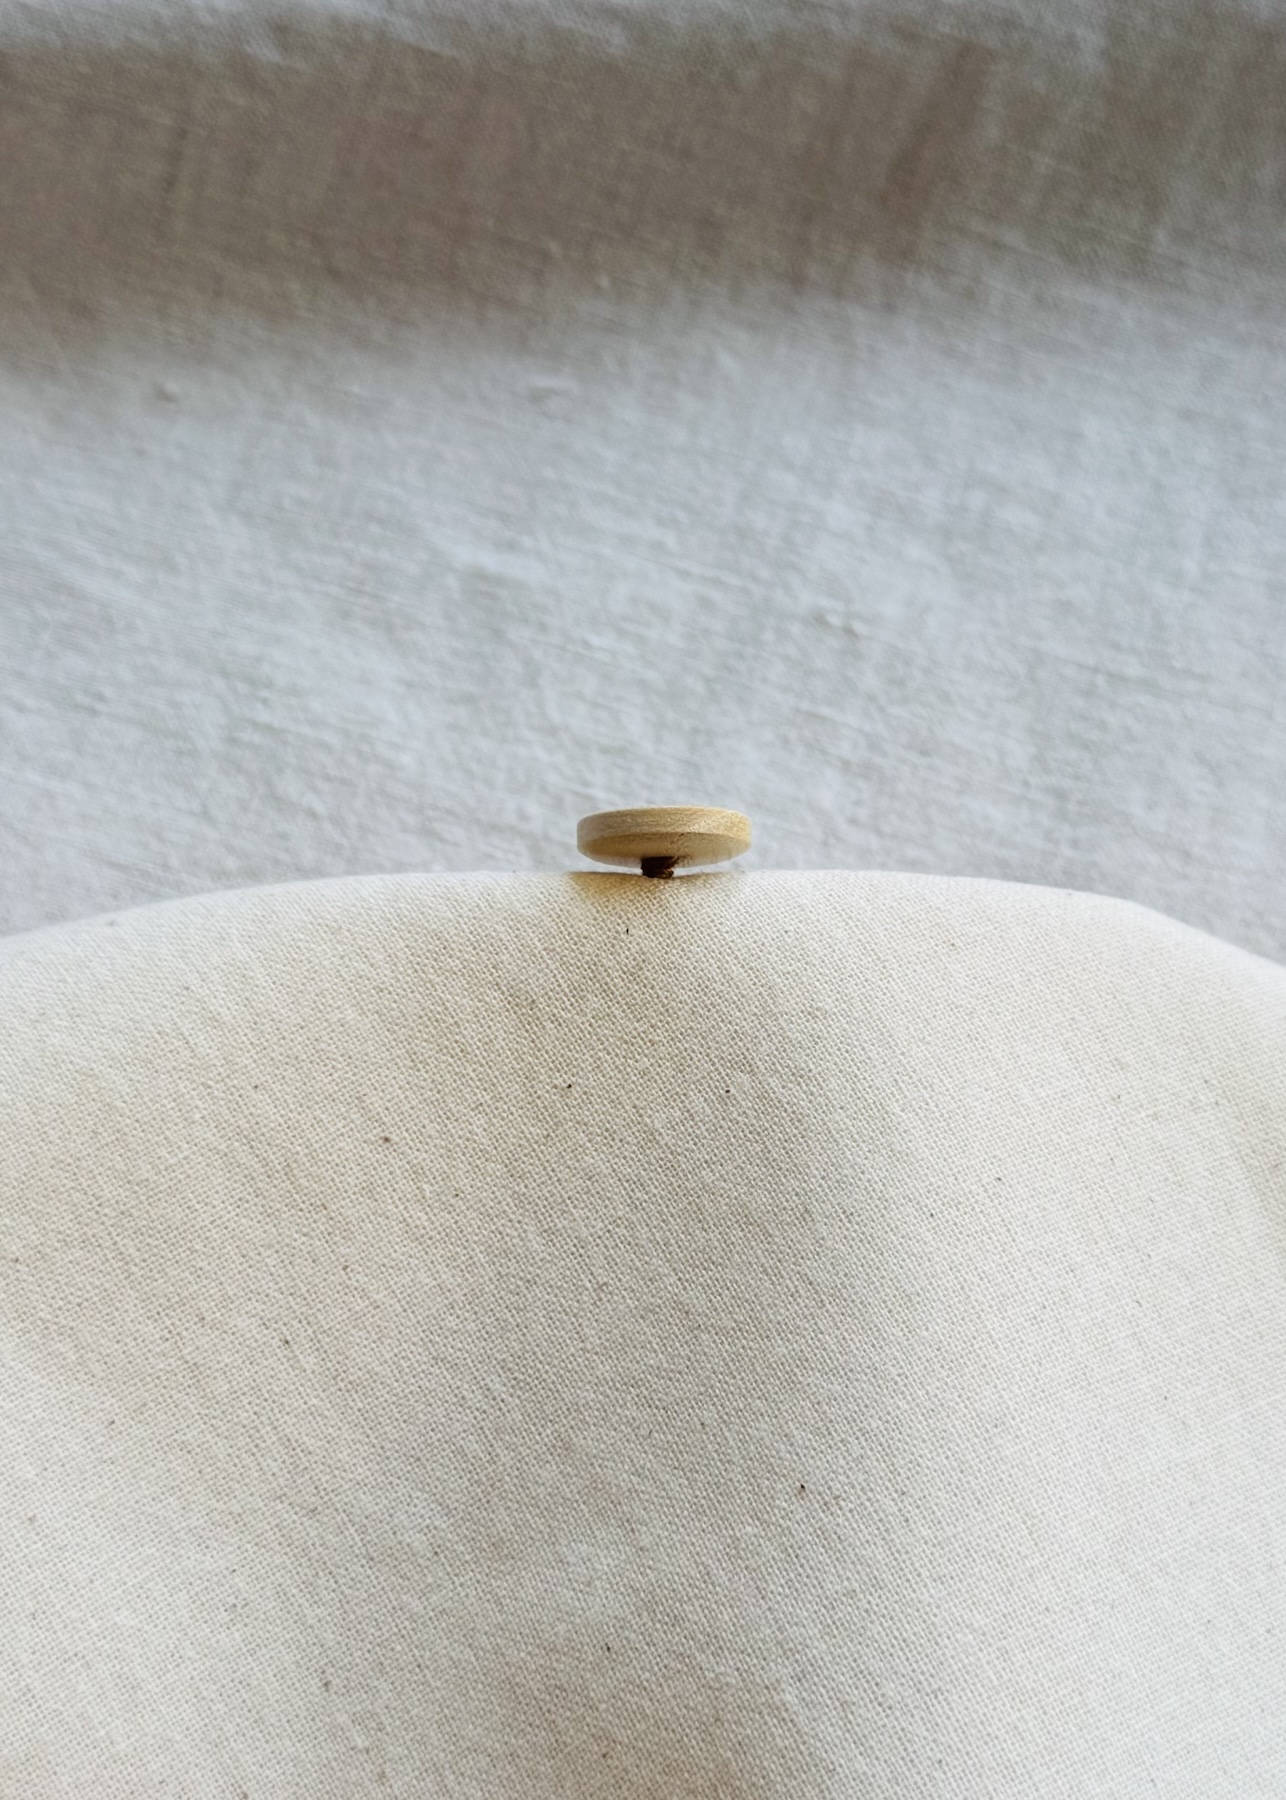
Wrap the thread around the stitches between the button and fabric a few times to create a small thread shank. Obviously, you would skip this step if your button has a shank, which I’ll get into later.
A thread shank is particularly useful when sewing buttons onto thicker or heavier-weight fabrics, as it gives the button a little more room to accommodate the layers of fabric that will sit between the button and the garment.
Tip: The thread often becomes tangled and can break (and usually at the most inconvenient time) when sewing on buttons. For a little added strength and to make stitching a little easier, try running your thread over a little wax before threading the needle and starting to sew.
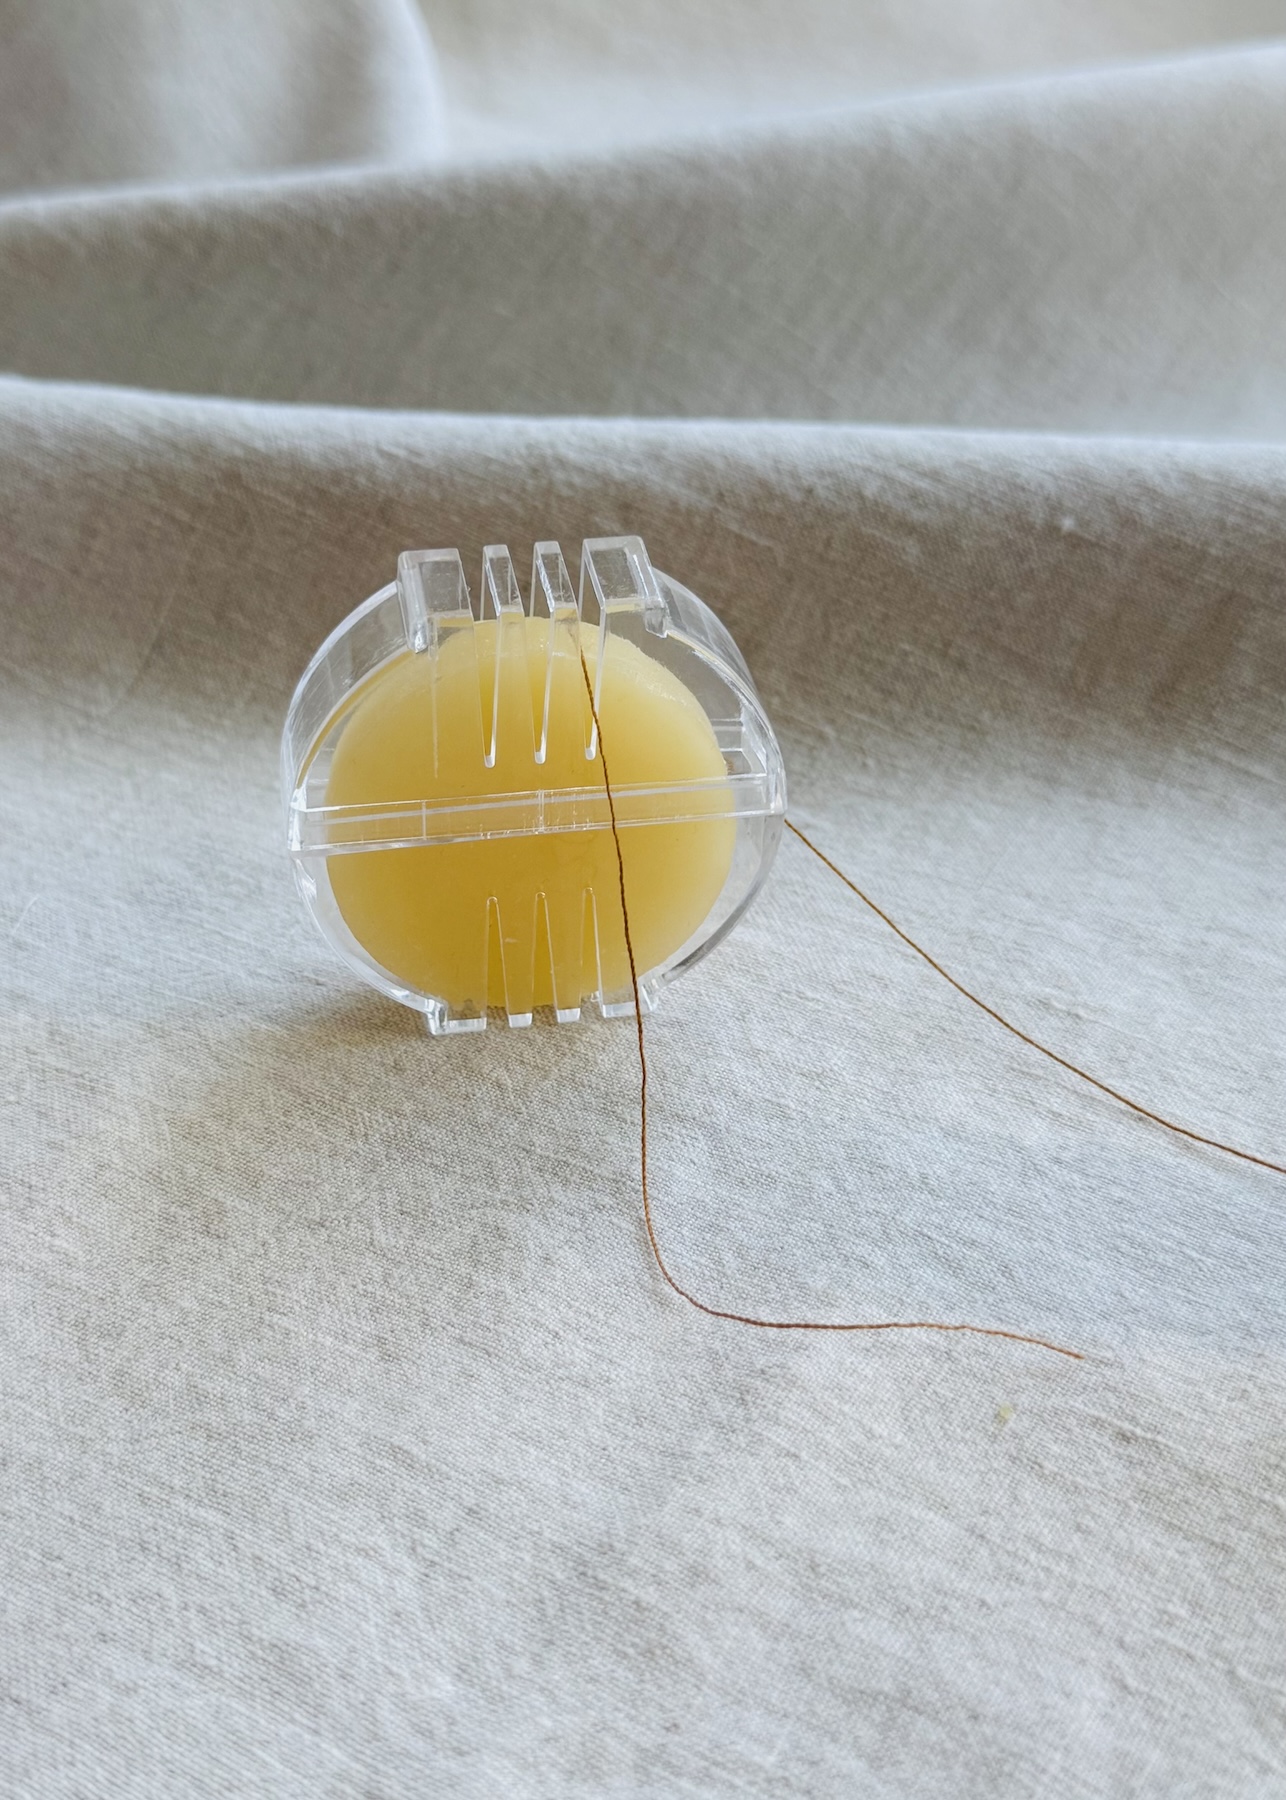
Step 7: Secure the thread
If you are sewing through both layers of fabric: Bring the needle to the wrong side of the fabric and pass the needle through the stitches.
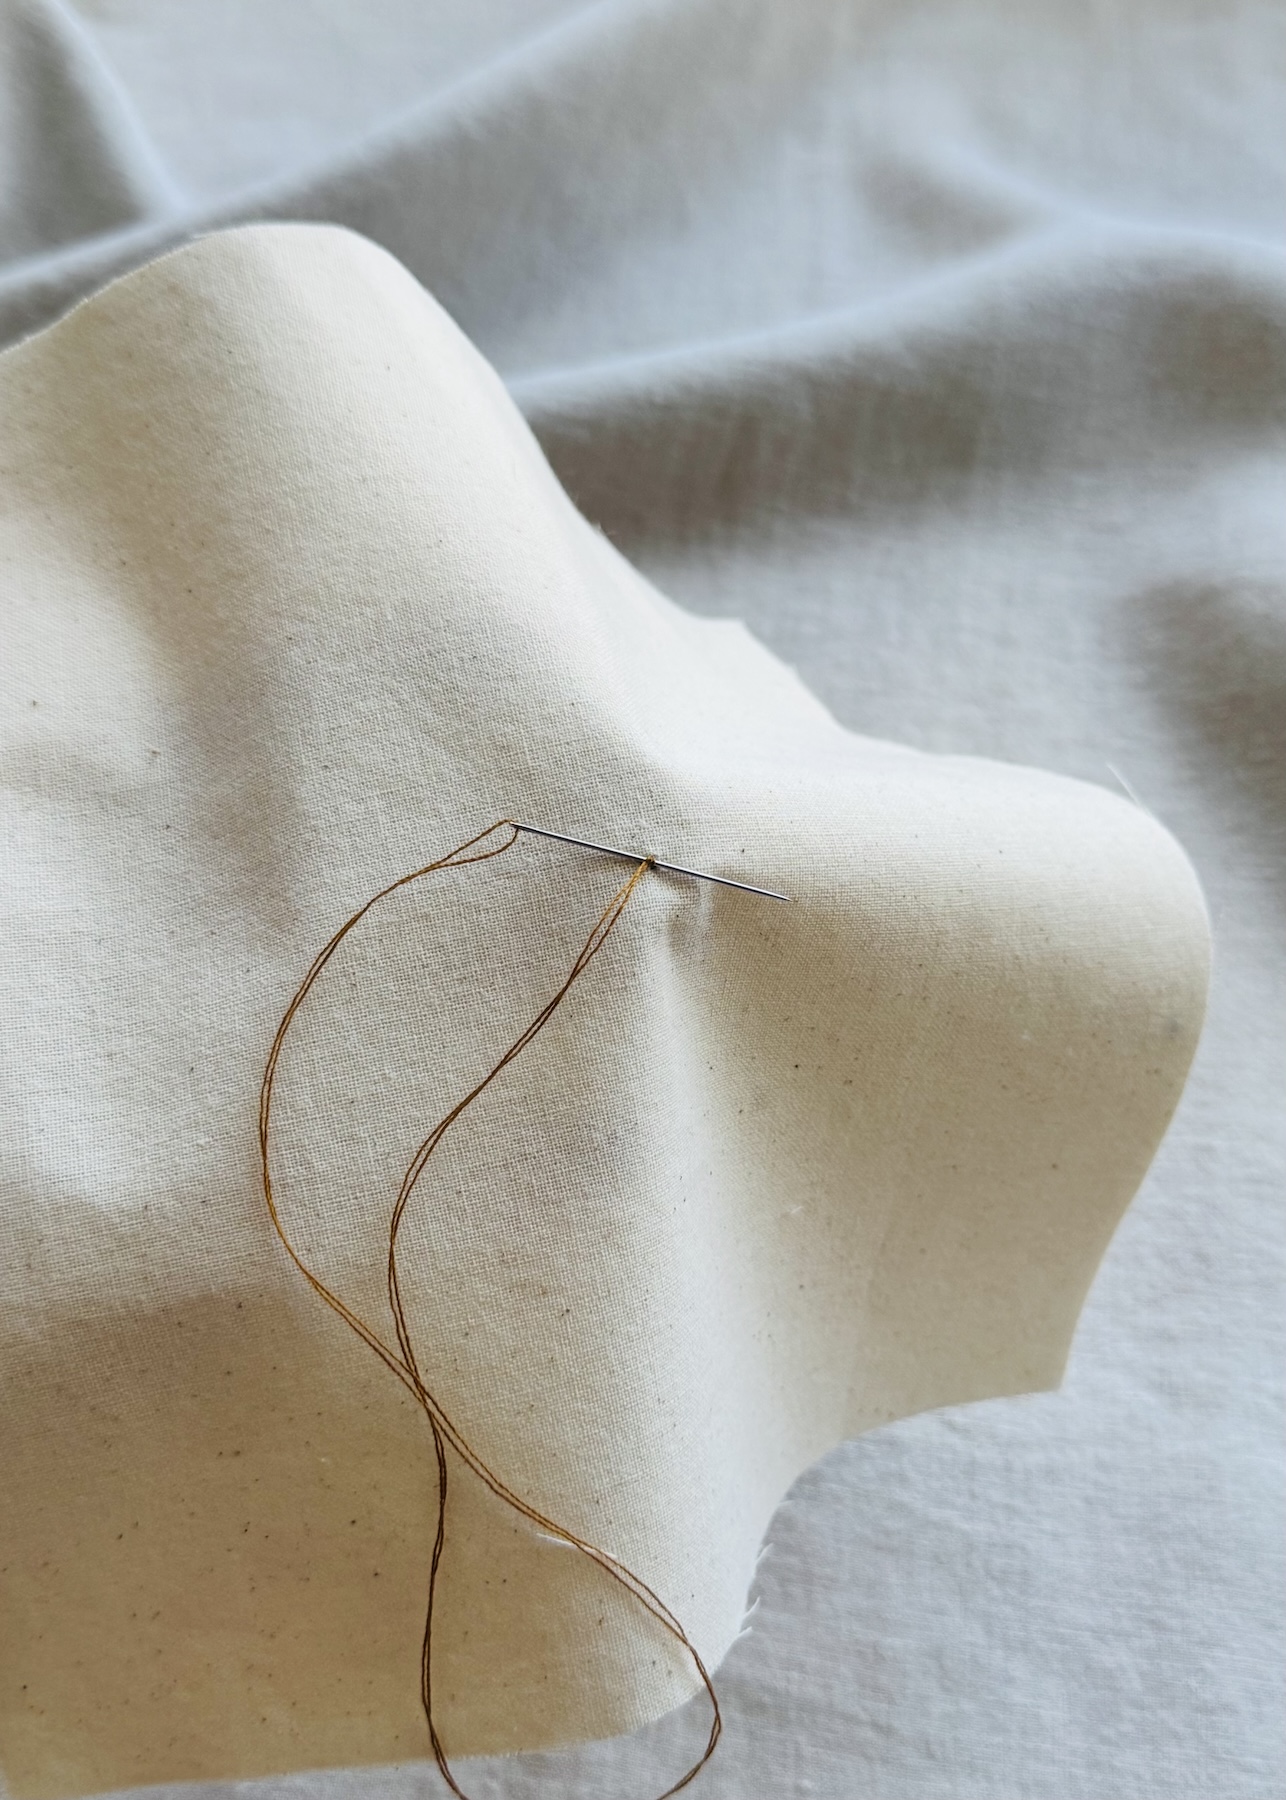
Pull the thread through until you are left with a small loop. Pass the needle back through this loop to create a knot, then pull the thread tight. Repeat to create a second knot.
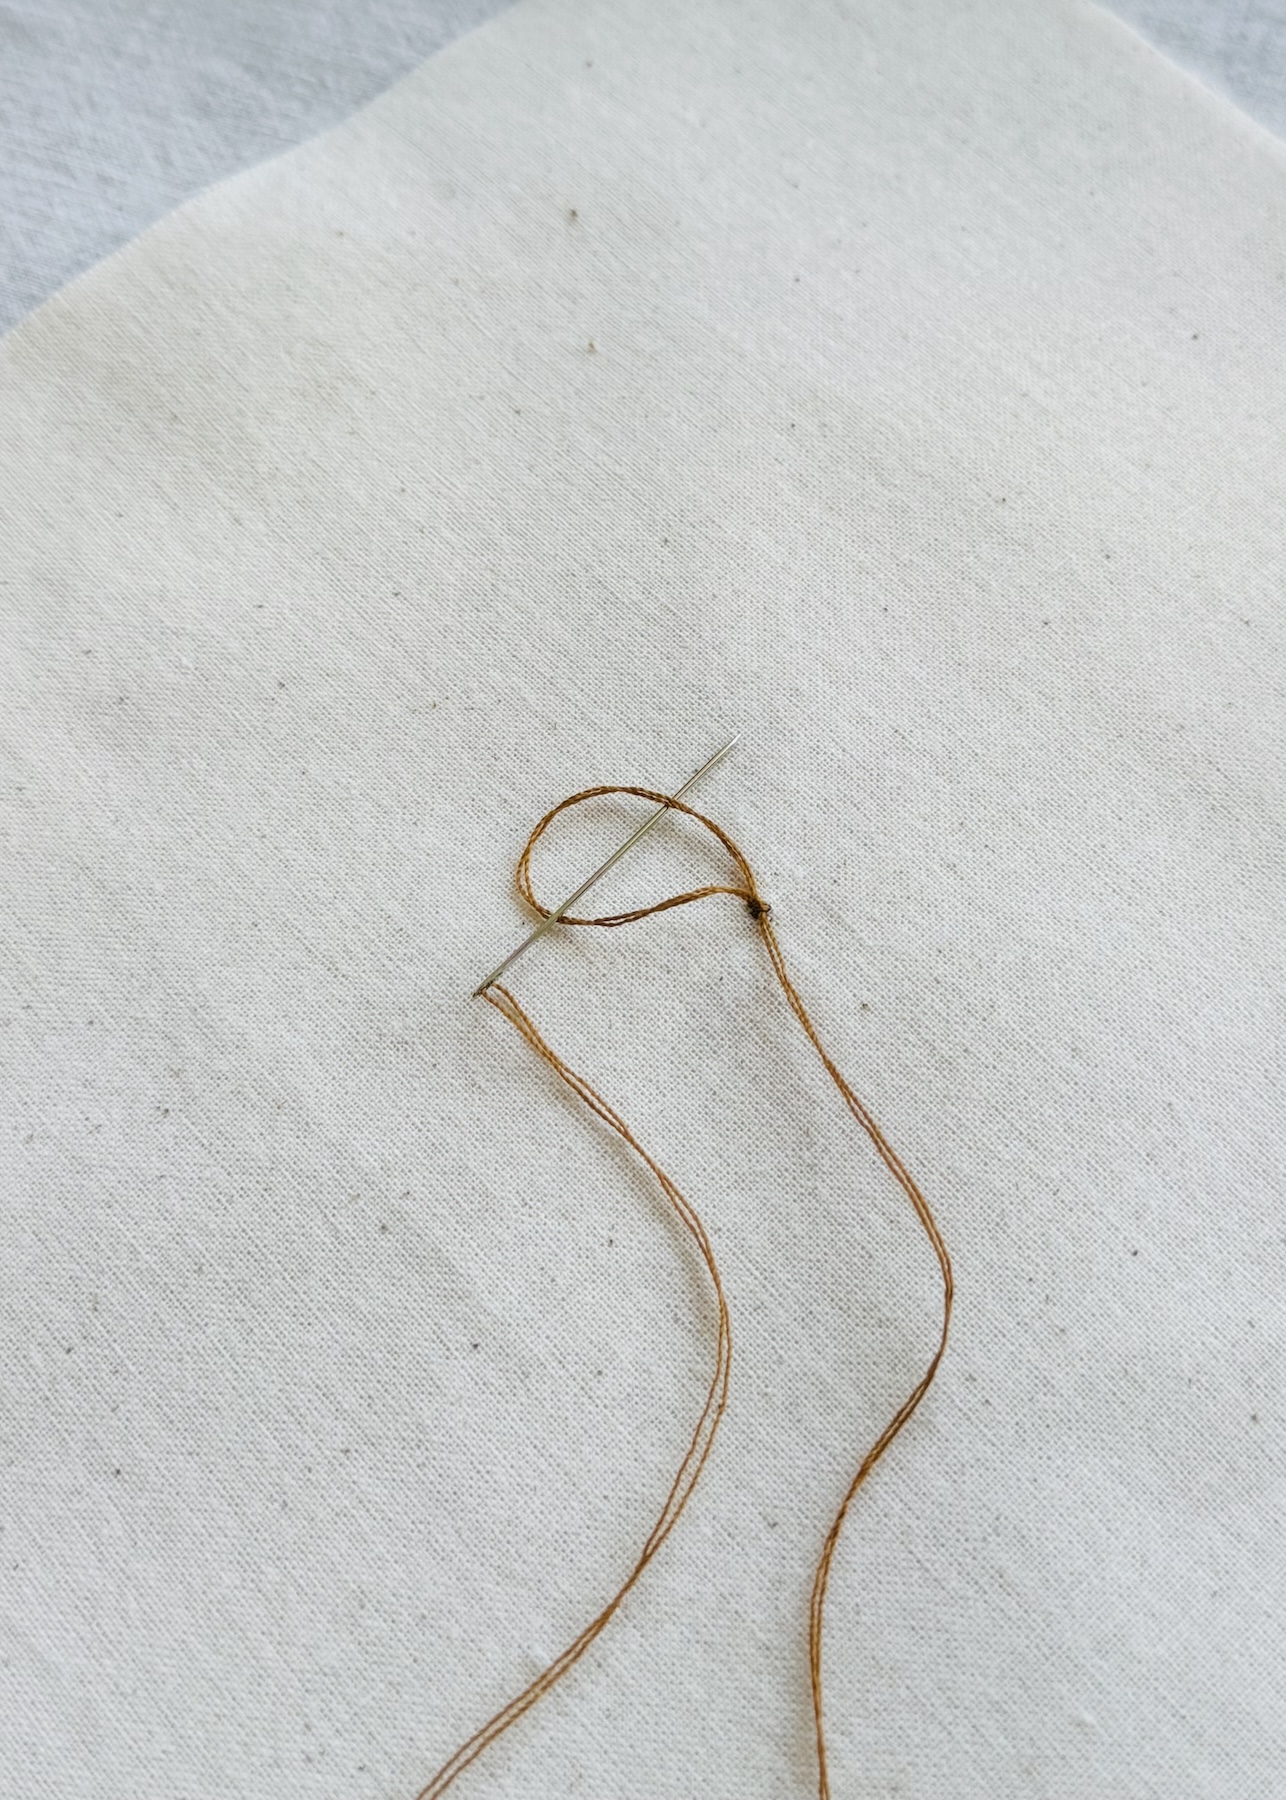
If you are sewing through the outer layer of fabric only: Insert the needle through the thread shank you just created in Step 6. This is when a thimble comes in handy, helping to protect your fingers. Loosely wind the thread around the button, then pass the needle under the thread to create a knot. Repeat this a couple of times to secure the thread.
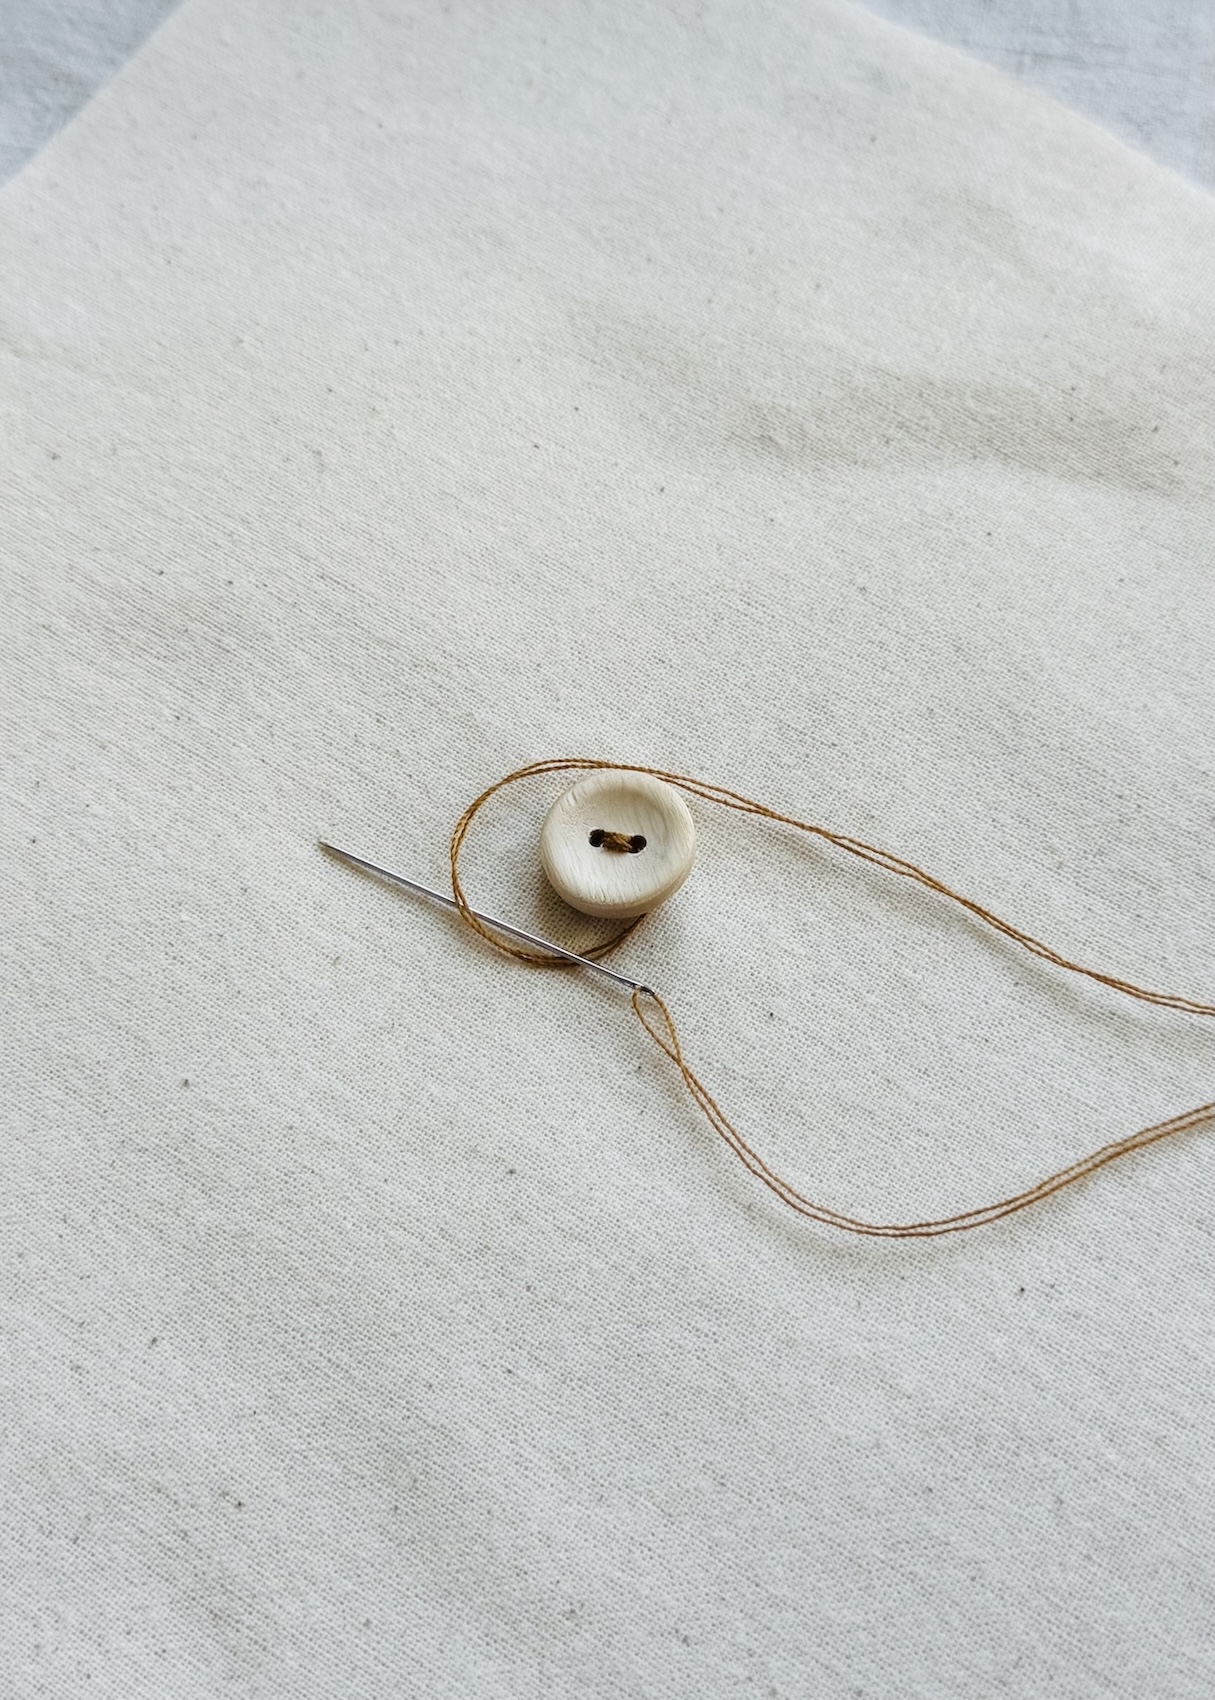
Step 8: Cut the thread
Simply cut the thread close to the knots whether that’s on the wrong side of the fabric, or near the thread shank.
How to Sew a Four Hole Button
When it comes to sewing a four hole button, the only real difference is the stitching pattern between the holes. The basic sewing technique is pretty much the same as for a two hole button.
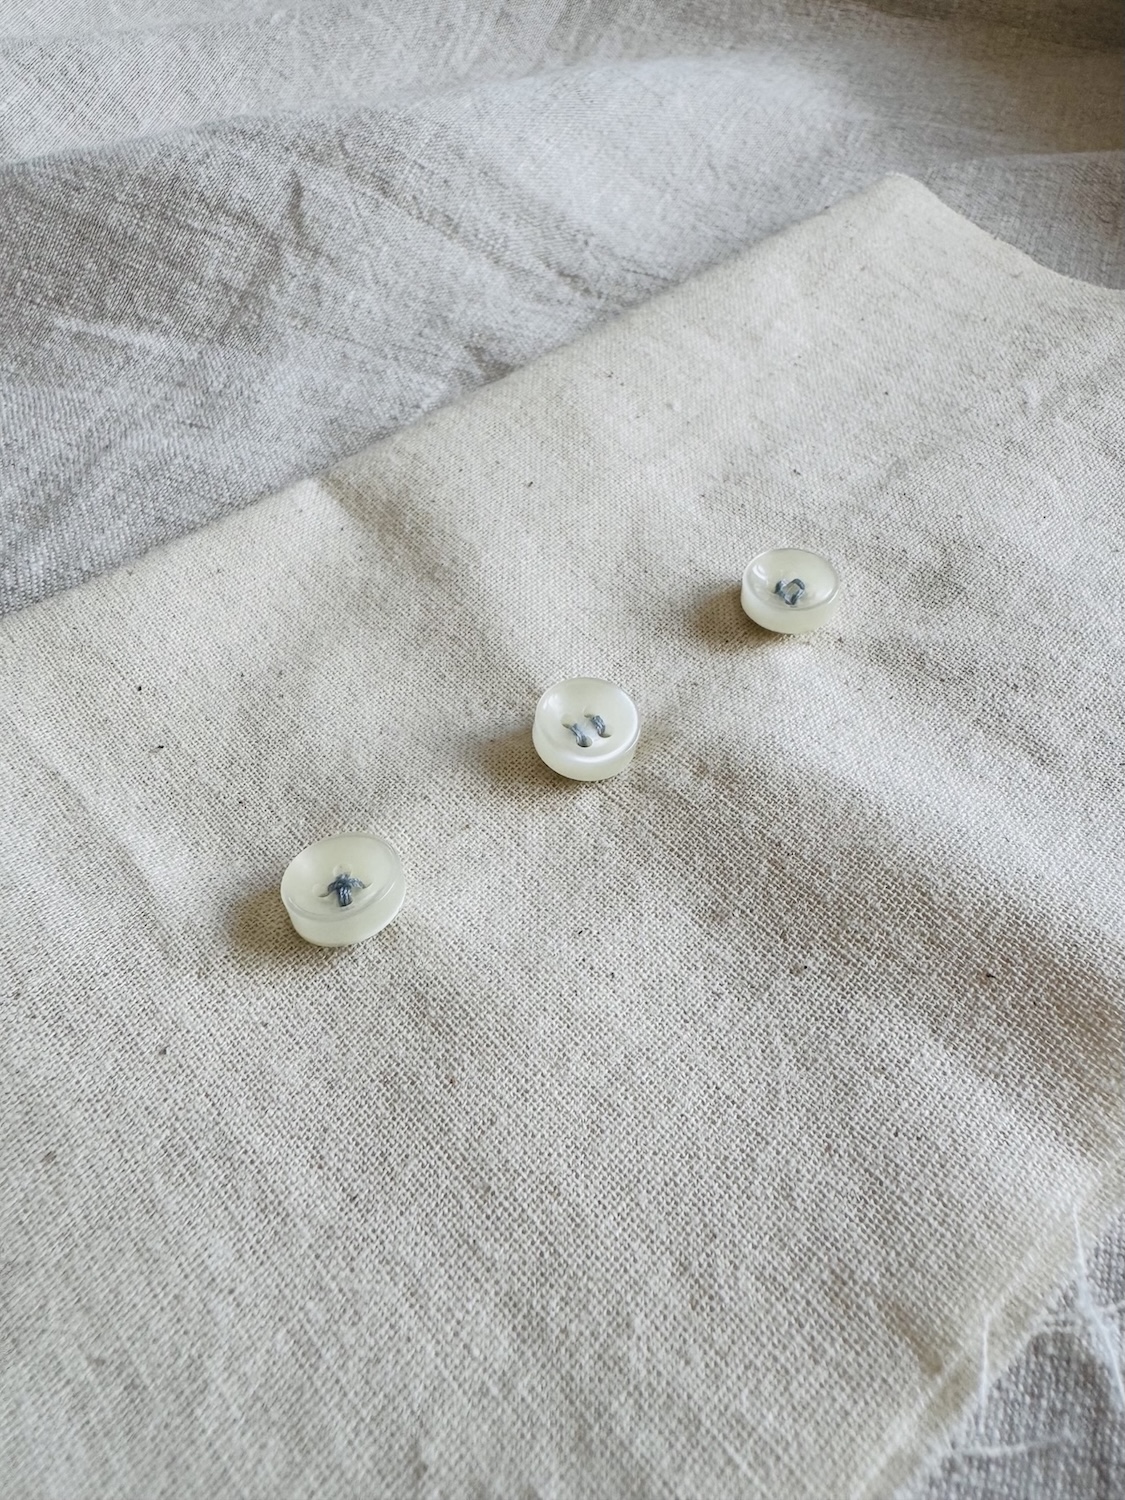
Common stitching patterns include:
- Cross: Probably the most common, and my go-to, with the stitches running diagonally between the holes to create a simple X shape.
- Parallel: The stitches run between the holes in two parallel lines.
- Square/box: Seen less often, with the stitches following around the four holes to create a simple box shape.
The choice really comes down to personal preference, the look you like, or simply matching what is already on the garment.
How to Sew a Button With a Shank
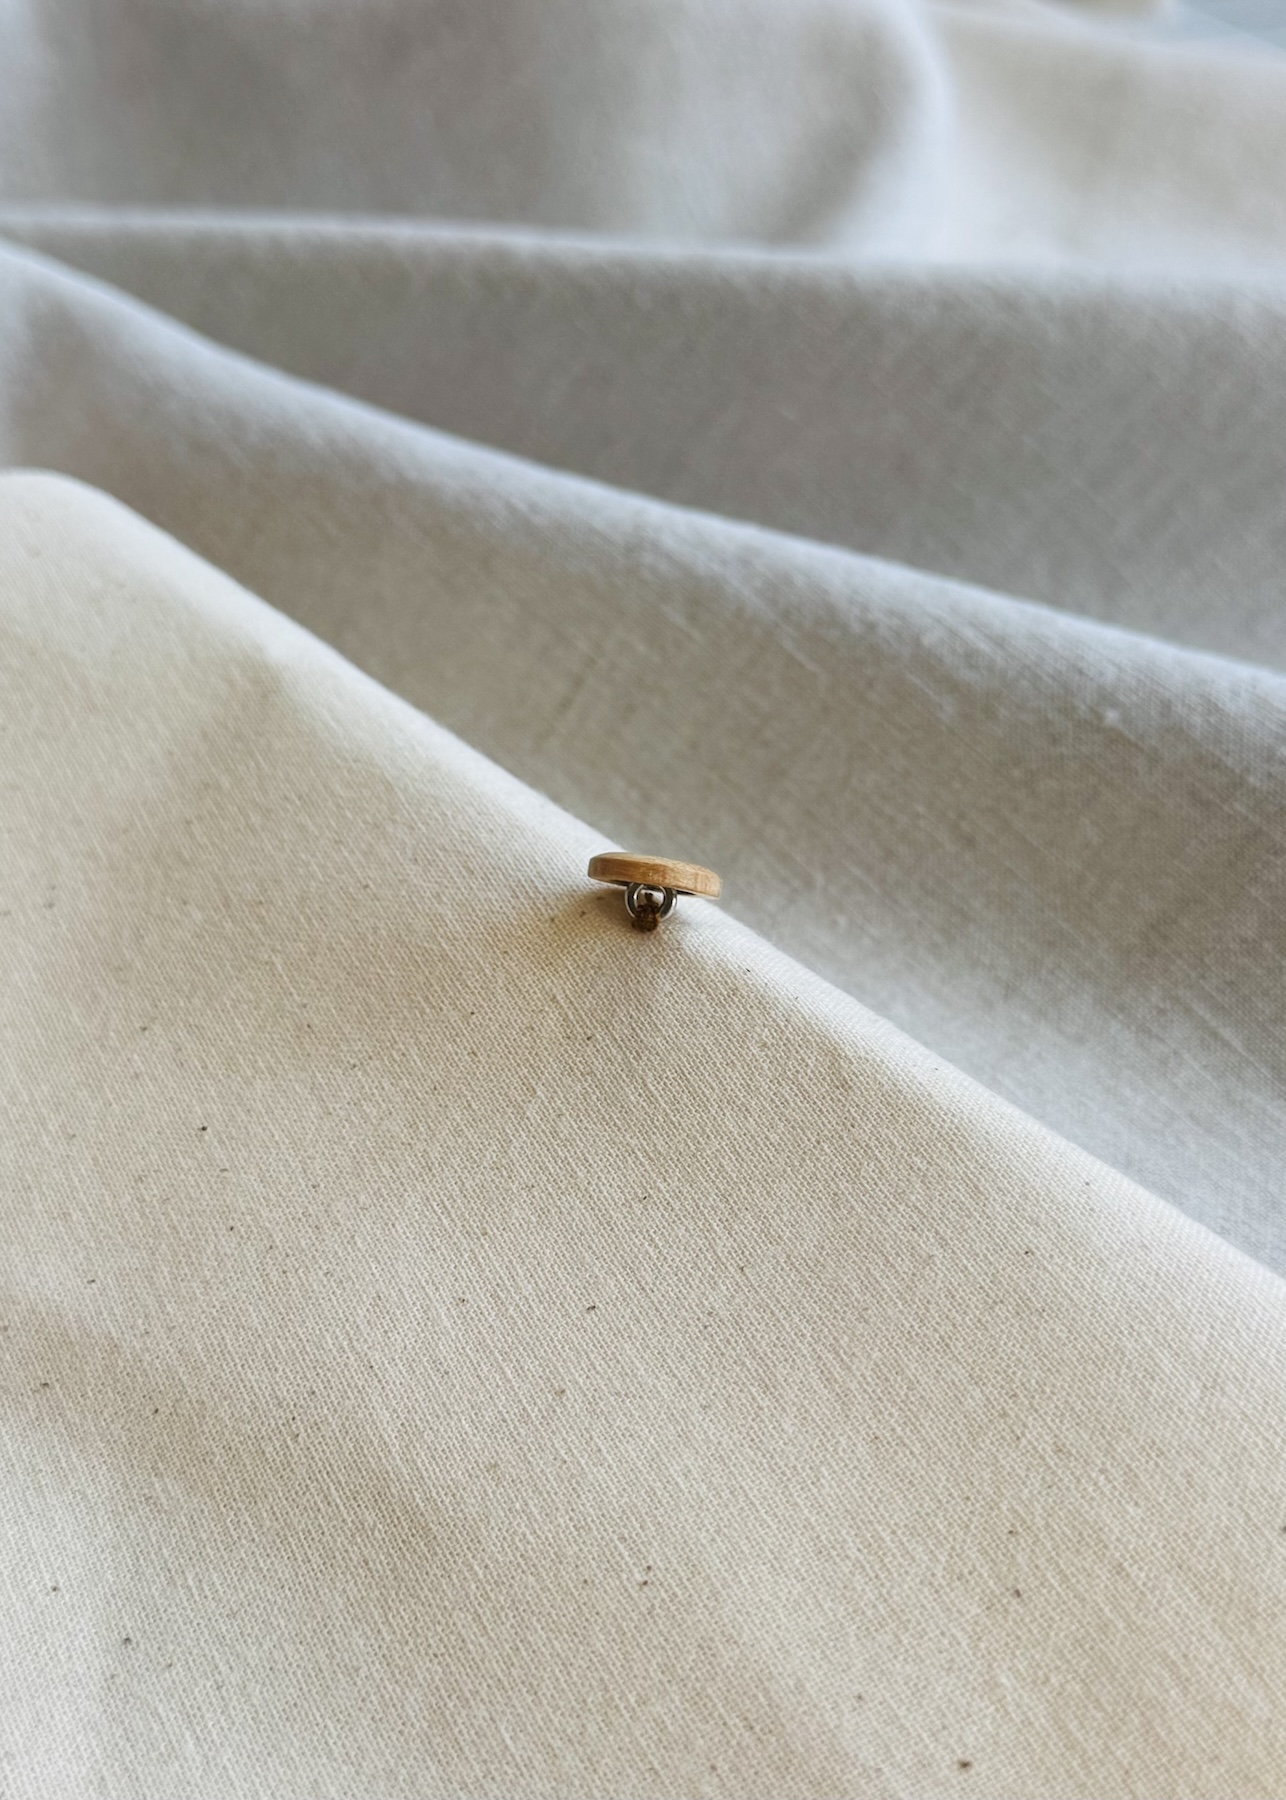
A button with a shank is designed to sit above the fabric. A raised extension on the back of the button (the shank) creates space between the button and the garment. The shank may be moulded as part of the button itself or formed from a loop of the same material, or even made from wire.
When it comes to sewing on a button with a shank, the process only varies a little from sewing on a standard button.
To begin, simply follow Steps 1-4 as you would for a two or four hole button.
Step 5: Sew on the button
Pass the needle through the shank of the button, then bring the needle back down through the fabric creating a small stitch.
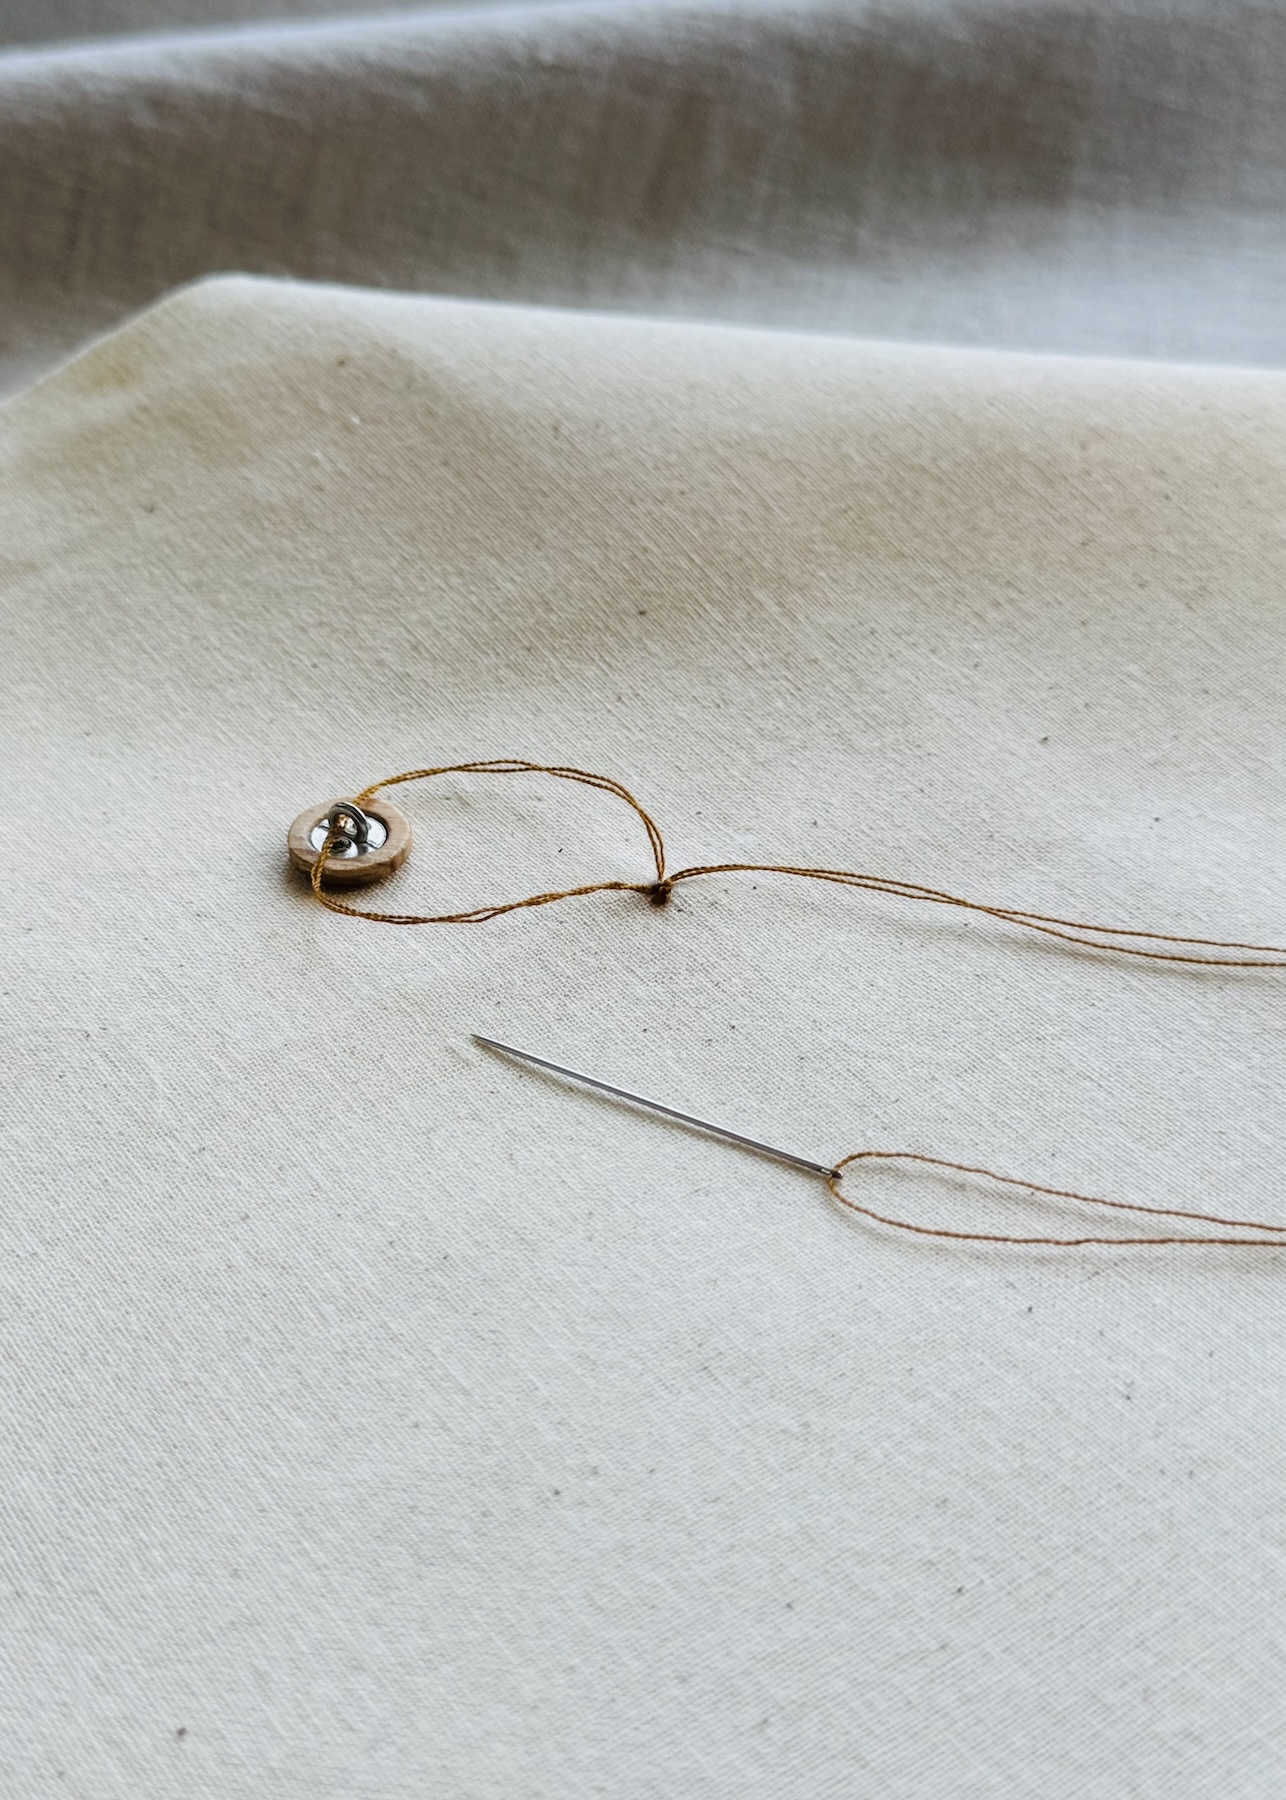
Continue passing the needle through the shank and fabric, keeping the shank flat against the garment. Don’t pull the thread too tightly as you still want a little movement.
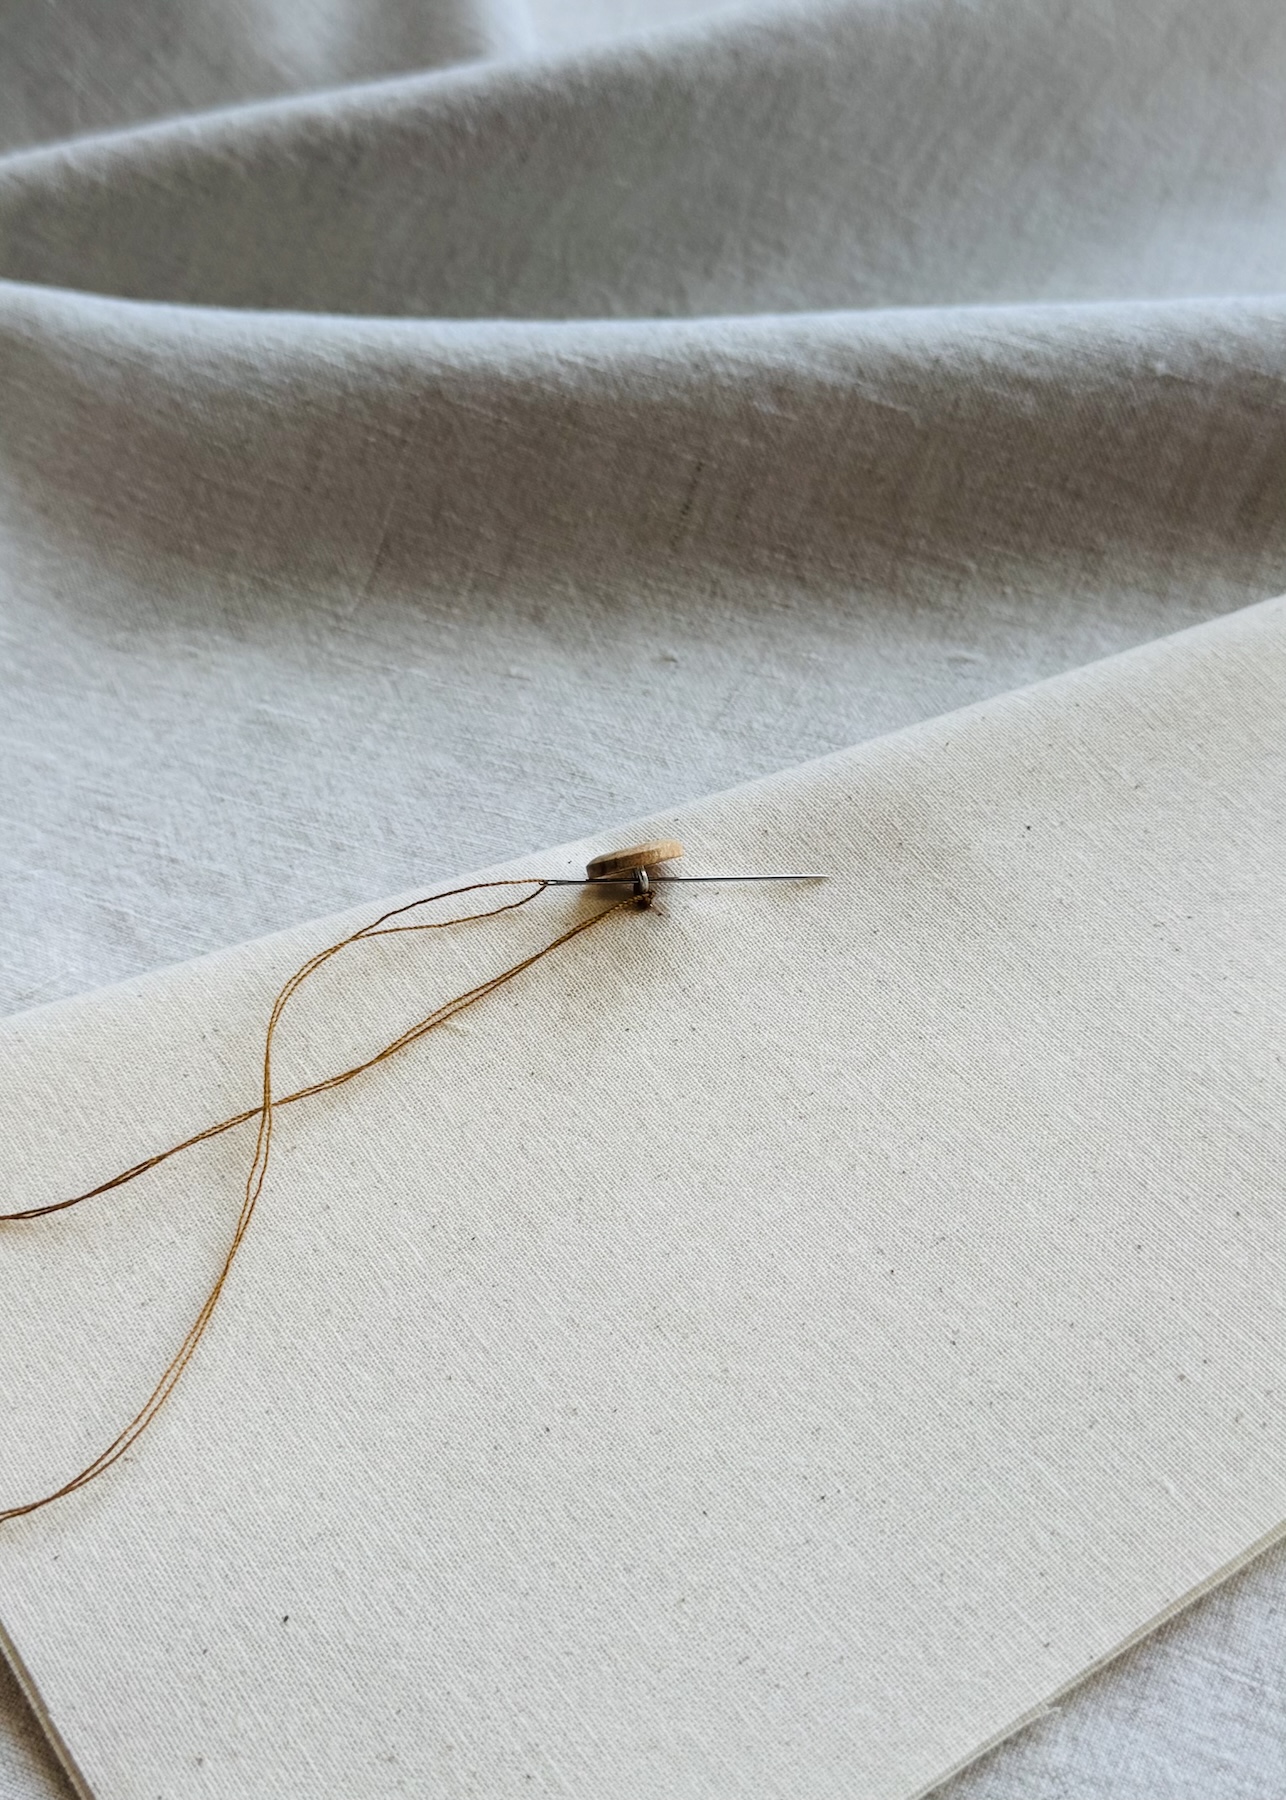
Again, the number of passes depends on the weight of the fabric, the size of the button, and ultimately how much wear the garment will receive. But the guide given above should work here too.
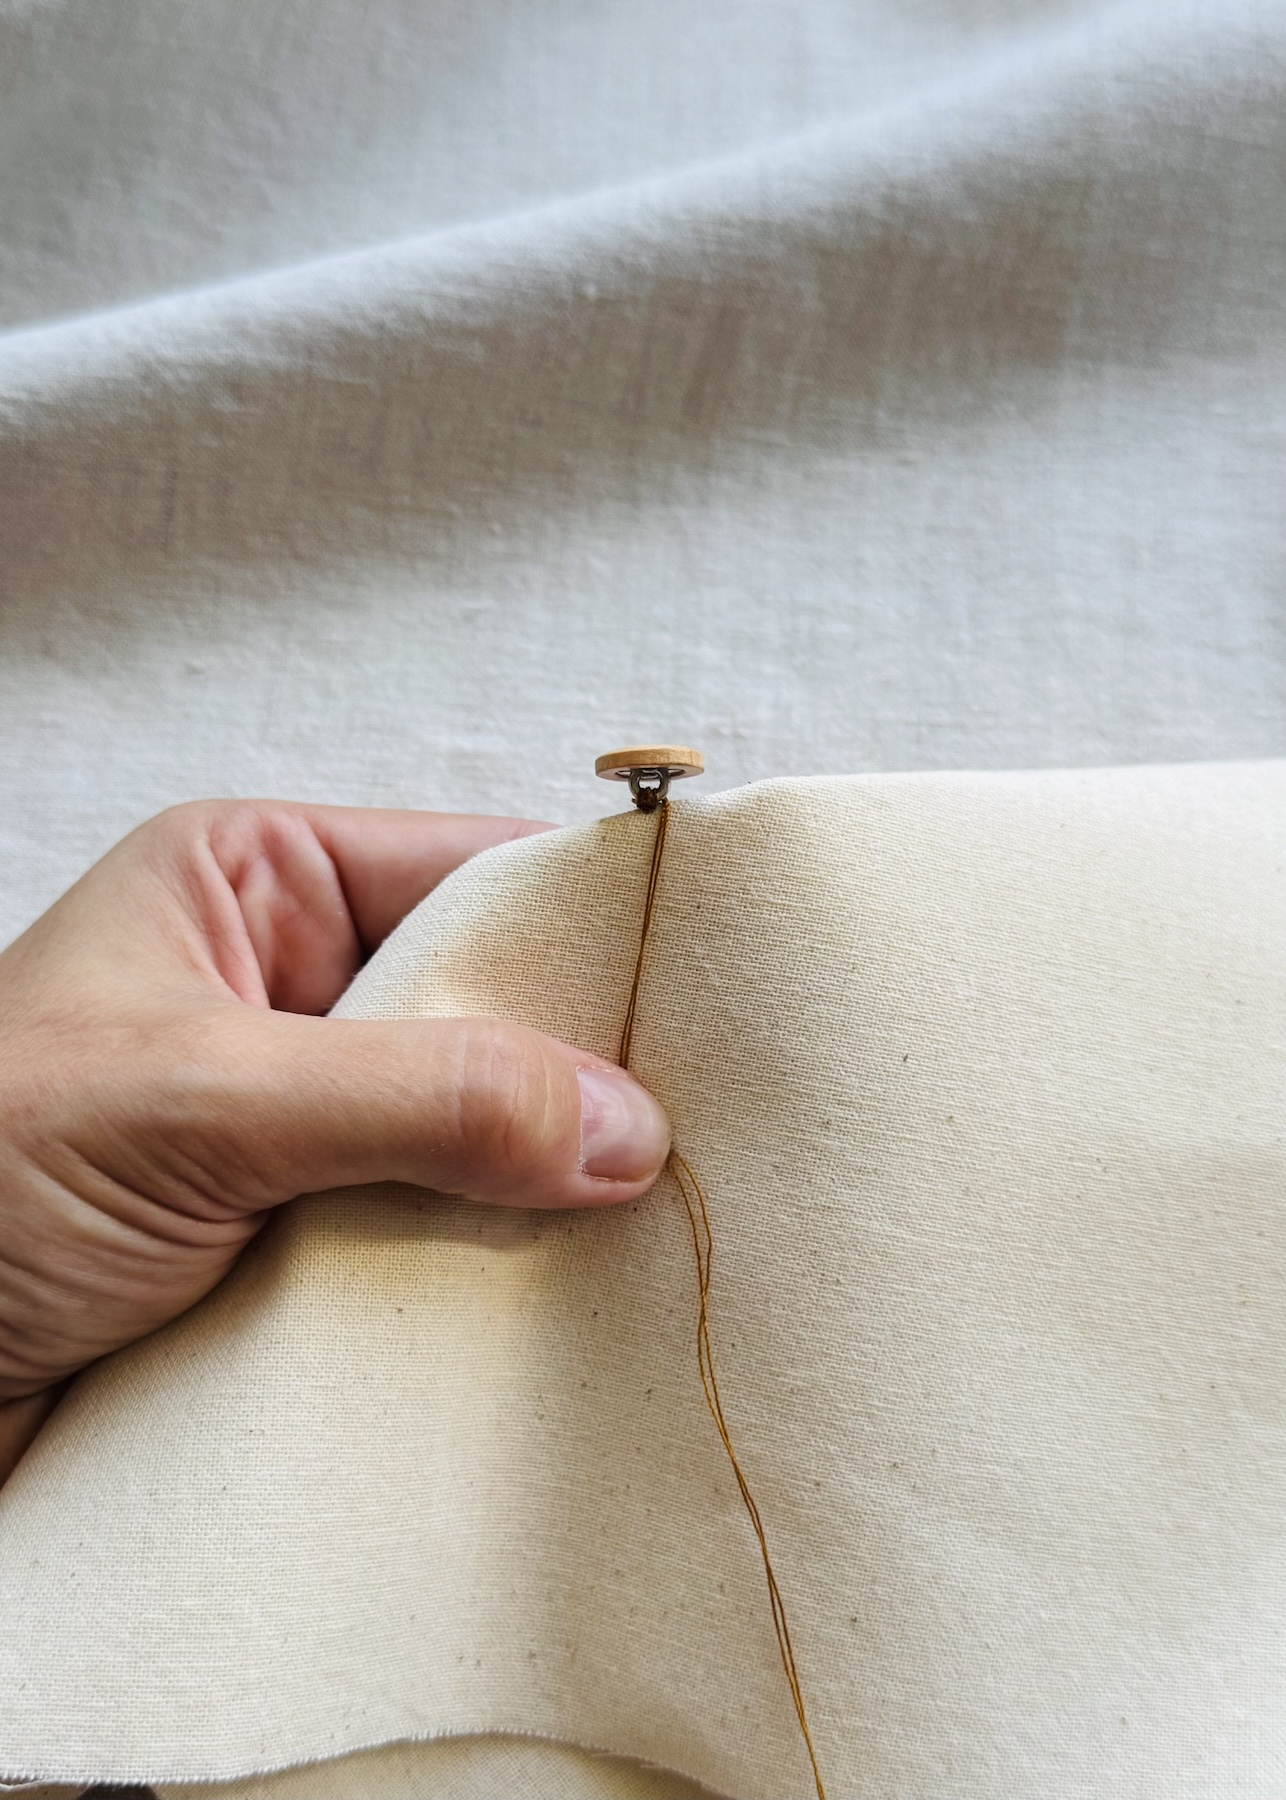
Step 6: Secure and cut the thread
To finish simply follow Step 7-8 as outlined above.
Reinforcing Buttons
It’s worth mentioning that buttons often need a little reinforcement. There can be a surprising amount of stress and pressure put on the fabric around the button.
One way to reinforce the fabric is to add interfacing to the wrong side of the fabric, behind where the button will be sewn. This just adds support and helps to prevent the fabric from stretching, distorting or even tearing.
When choosing an interfacing, match it appropriately to the weight of the garment. You want it to add support without making the fabric unnecessarily bulky or stiff. For more on interfacing, take a read of ‘How to Select and Use Interfacing: A Simple Guide’.
Adding reinforcement is particularly important in areas that are under a lot of tension or frequent use, such as shirt fronts, waistbands, and outerwear.
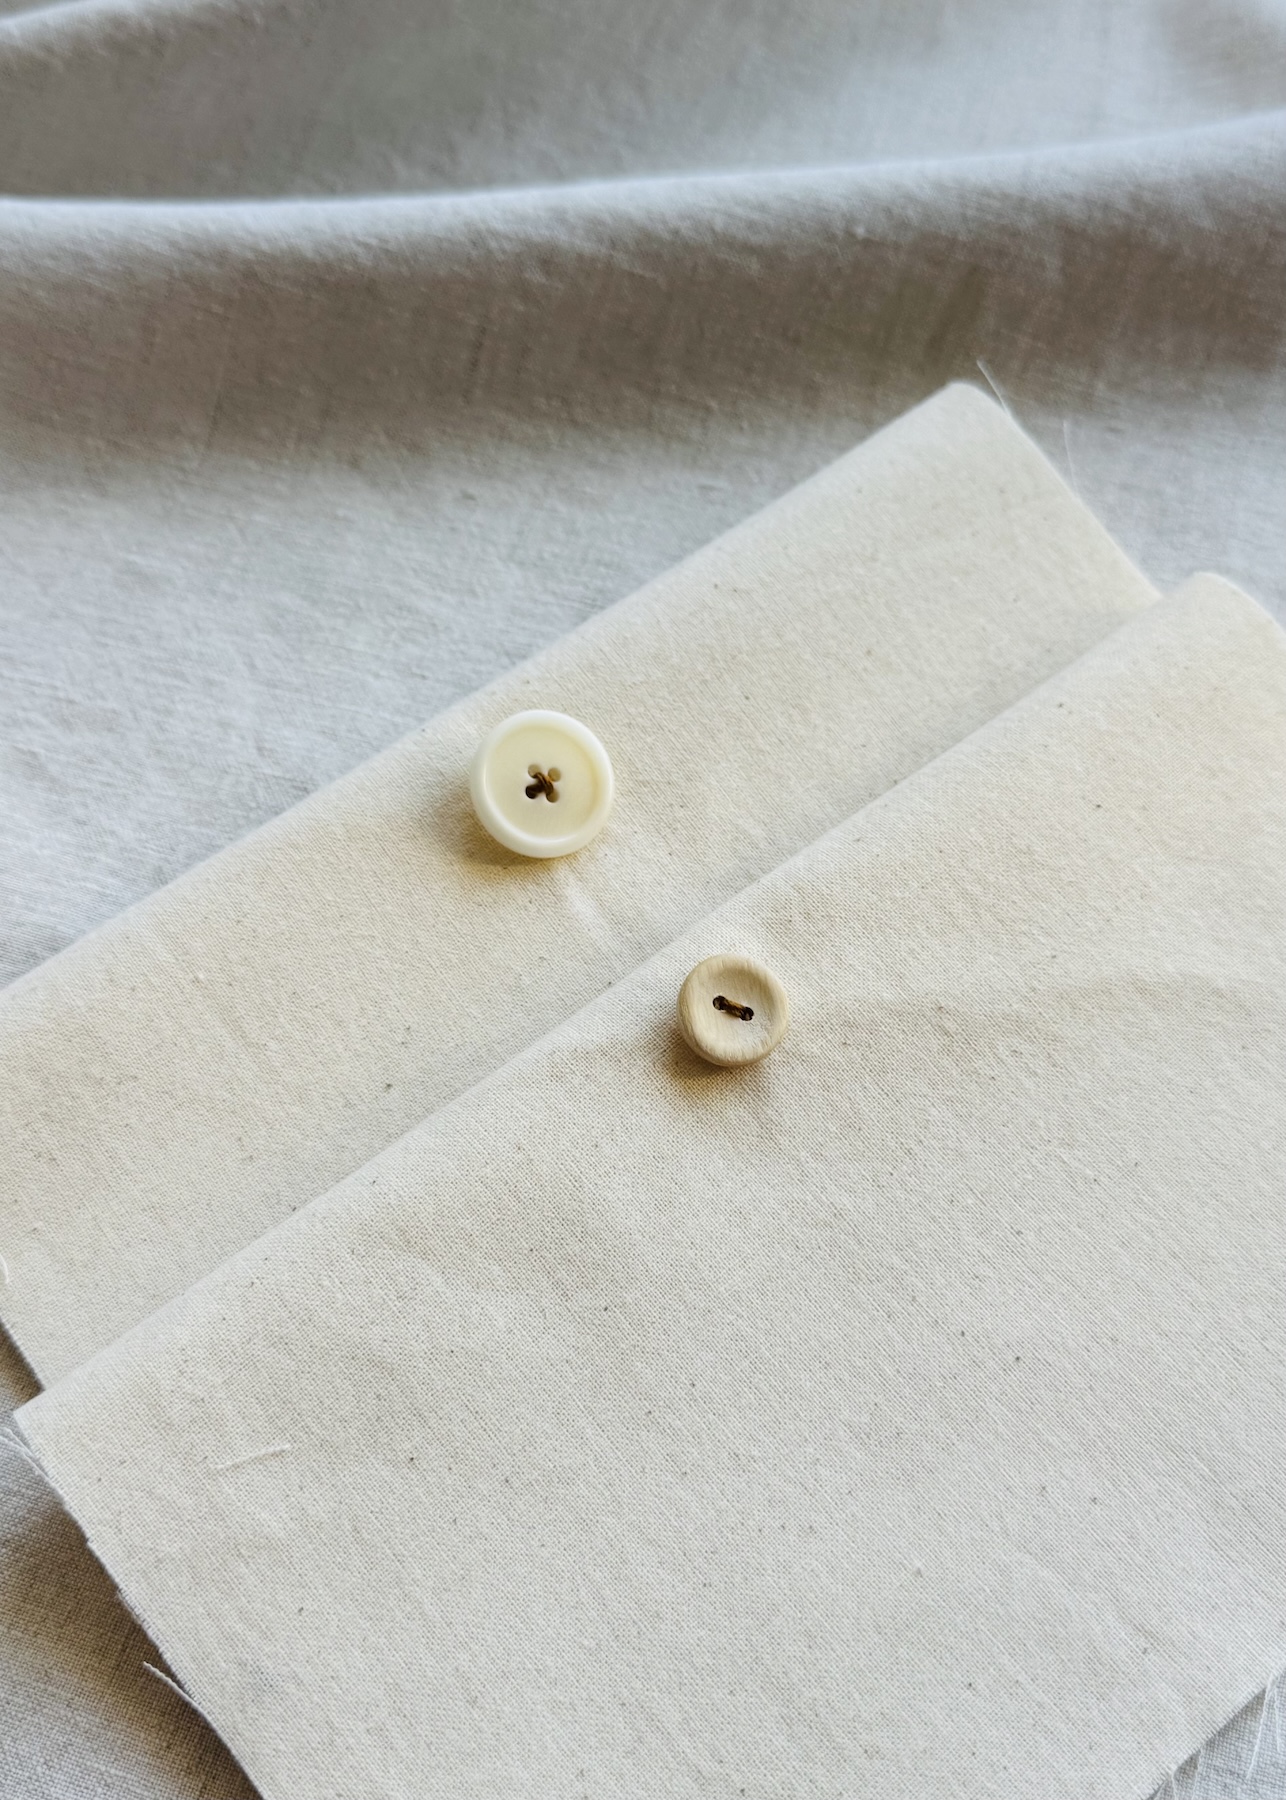
And that’s really it! As I mentioned, there isn’t a lot to it. Once you’ve sewn on a few buttons, you’ll find yourself hardly even thinking about it, as it quickly becomes second nature.
It’s a simple skill, but a super useful one to have, whether you’re making, altering, or repairing your own clothes. And who knows, understanding how to sew on a button might just save a garment from being forgotten at the back of your wardrobe, or even thrown away.
Buttons and buttonholes go hand in hand, so stay tuned for a guide to understanding buttonholes, covering the different buttonhole types, how they are constructed, how to determine the correct size, and how to position them correctly on a garment.