
For some time now, I’ve been eyeing a remnant piece of waterproof nylon in my fabric storage that would be perfect for a new hat to wear for midday hikes, runs, and the occasional music festival. With its two brim design, three size offering, and optional drawcord channel, the Utility Hat A707 available to download for free from The Assembly Line was a perfect match for the versatile summer hat I had in mind.
Despite interfacing, lining, and topstitching – some of the more time-intensive tasks in sewing – the pattern comes together quickly. Hats are small, and while small can be finicky, this was an easy and enjoyable sewing process. There were a few things I did, or would do, differently from the original sewing instructions, which I’m including below in my condensed tutorial of sewing the small size of the Bucket Hat view with the drawcord tunnel.
Materials:

The Utility Hat Pattern, 0.7 meters (3/4 yard) of Material, Fusible Interfacing, Drawcord, One (1) Cordlock, Thread
Tools:
Scissors, Pins or Clips, Safety Pin, Sewing Machine, Iron
Difficulty: Advanced Beginner
Sewing Time: 2 hours 30 minutes
Steps:
- Cut out the pattern pieces from your chosen fabric. Fuse interfacing to the necessary pieces for your chosen view. Fold the bottom edge of the side lining and the top edge of the drawcord tunnel with wrong-sides together.
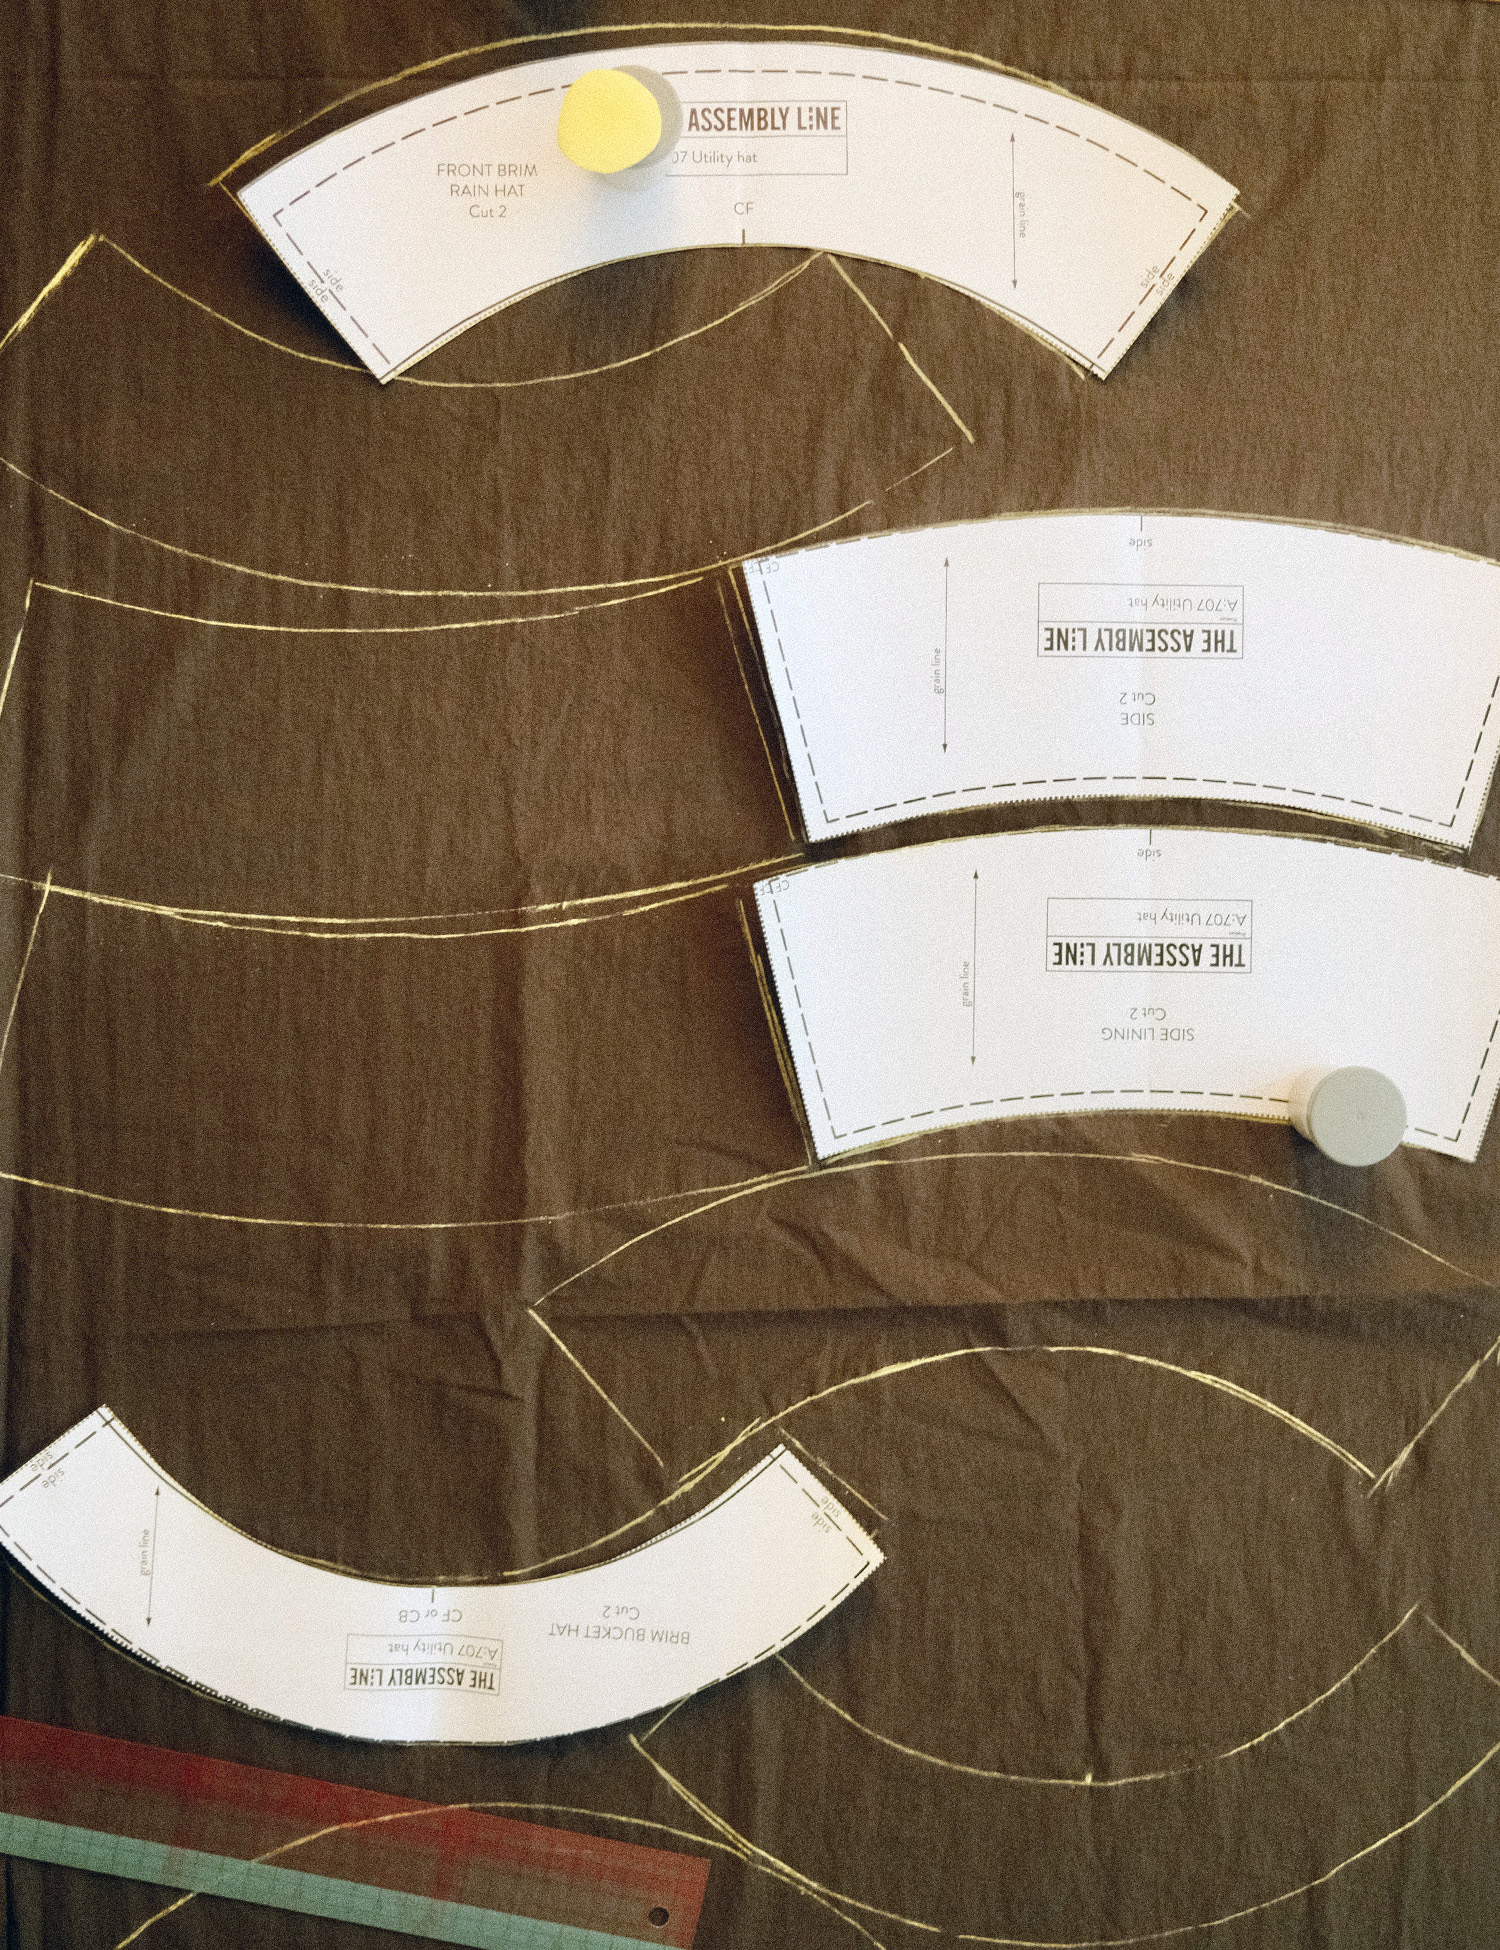
Cutting out the pattern pieces.
- Sew the main sides of the hat with right sides together. Pin the top edge of the side pieces along the hat’s top and sew. Repeat with lining pieces. Note: The pattern is written/notched with the top of the hat in “halves”. I ended up quartering the top and side pieces before pinning them together so the fabric distribution is more precise and quicker to align.
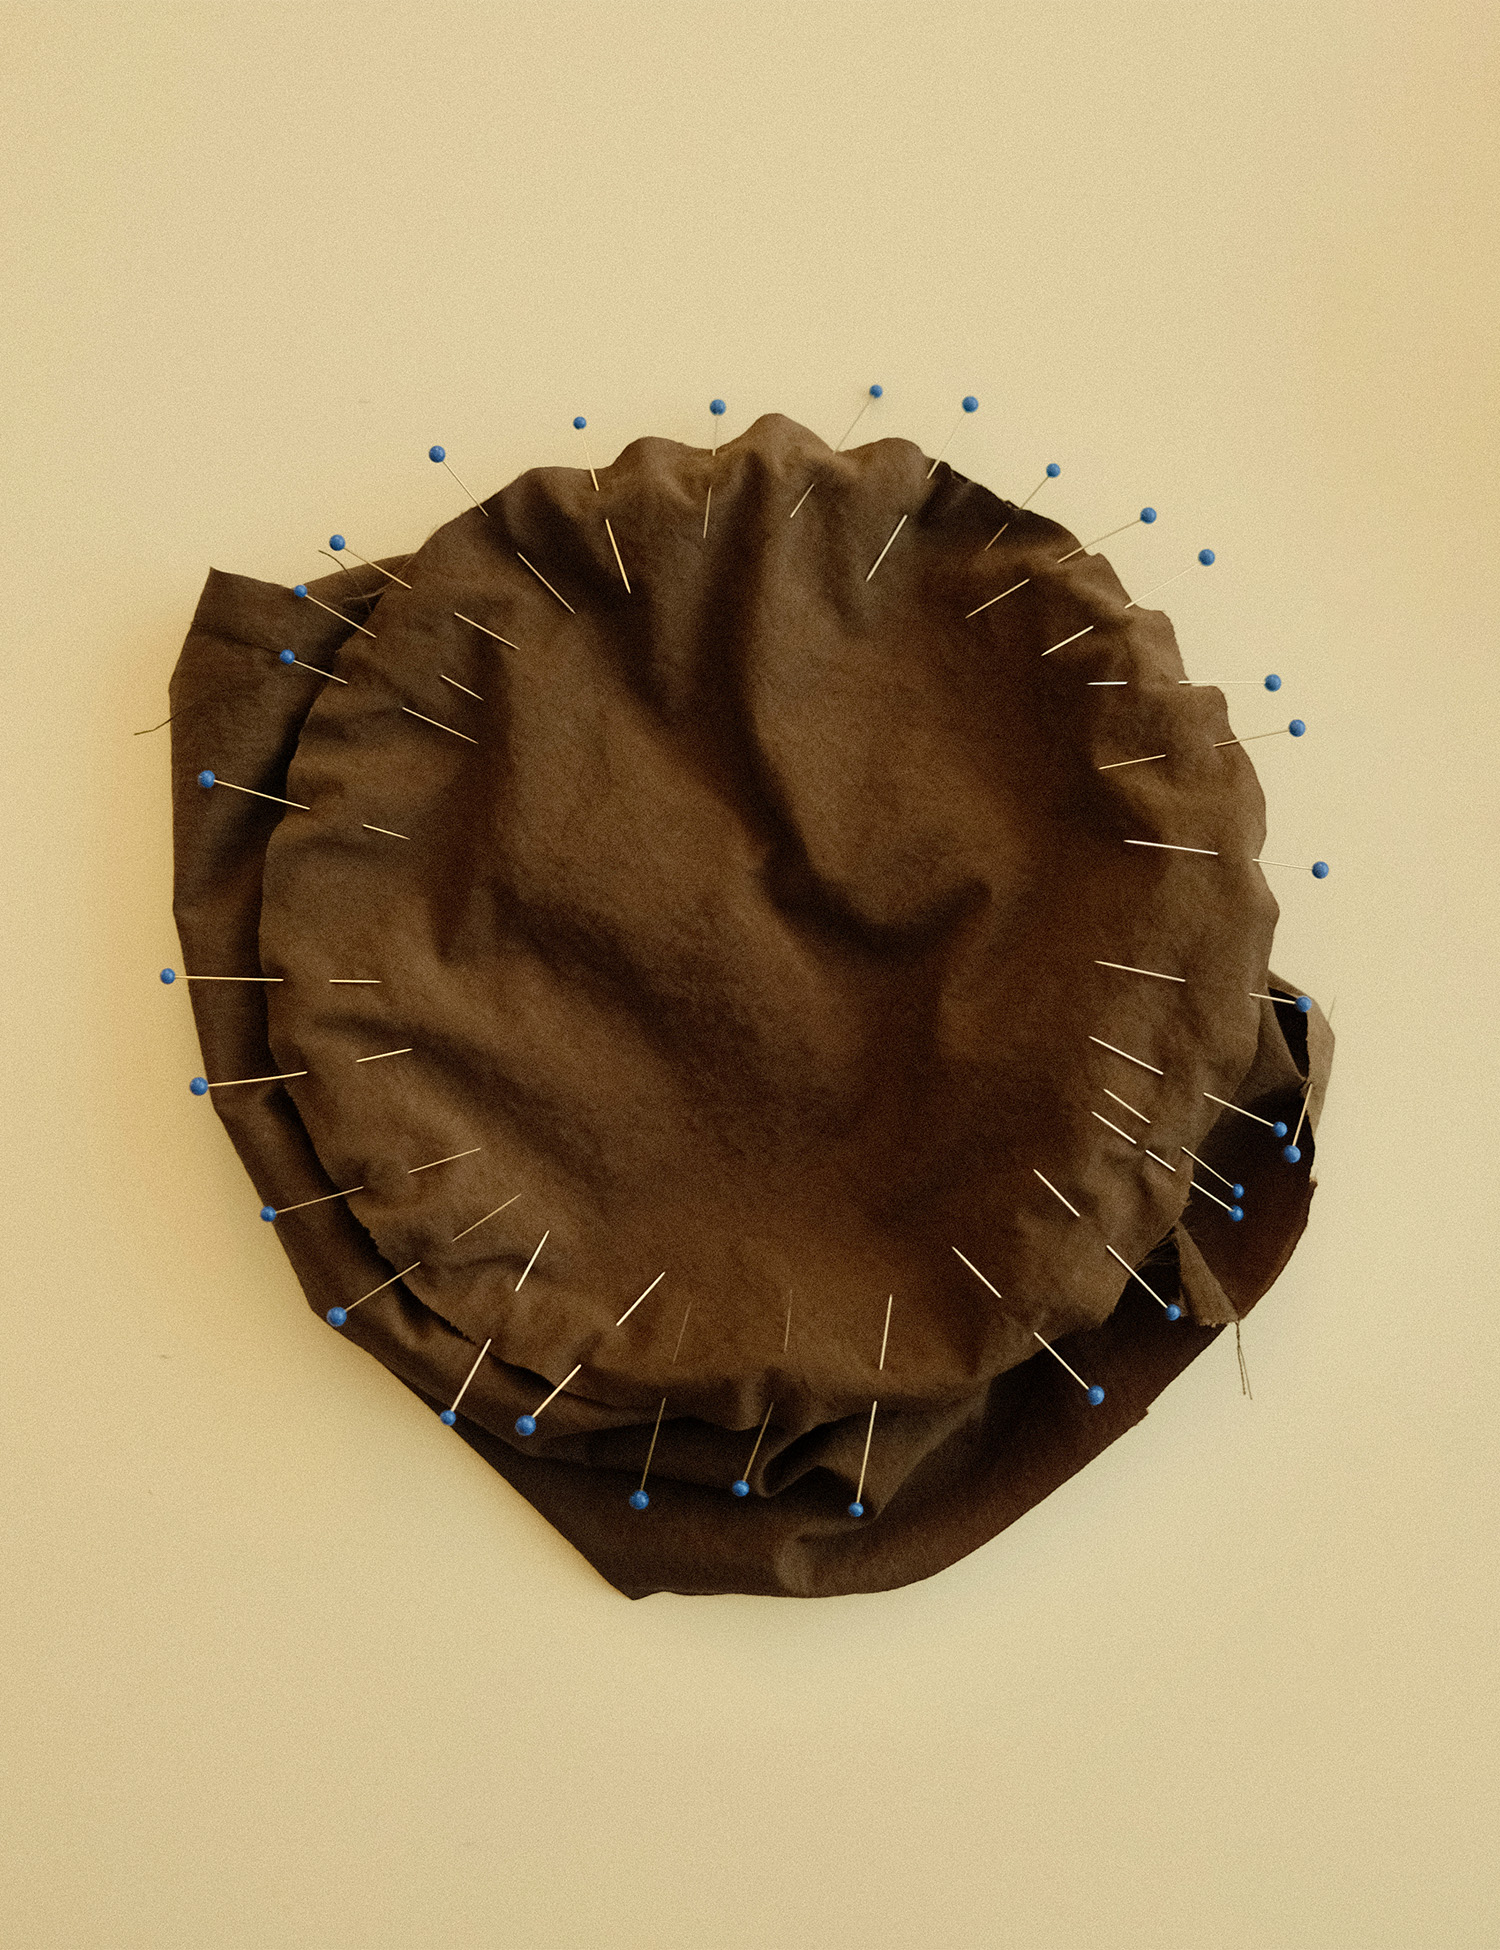
Pinning the top of the hat to the sides.
- Place the main brims right sides together along the short side and sew. Repeat with lining brims. Now place the main and lining brims right sides together, aligning the side seams. Press the brim’s seam allowance towards the lining. Trim back the seam allowance and then understitch through the lining and seam allowance layers. Note: Next time, I would press and understitch the seam allowance first, then trim. This way I could be sure all of the seam allowance is tightly captured in the understitching.
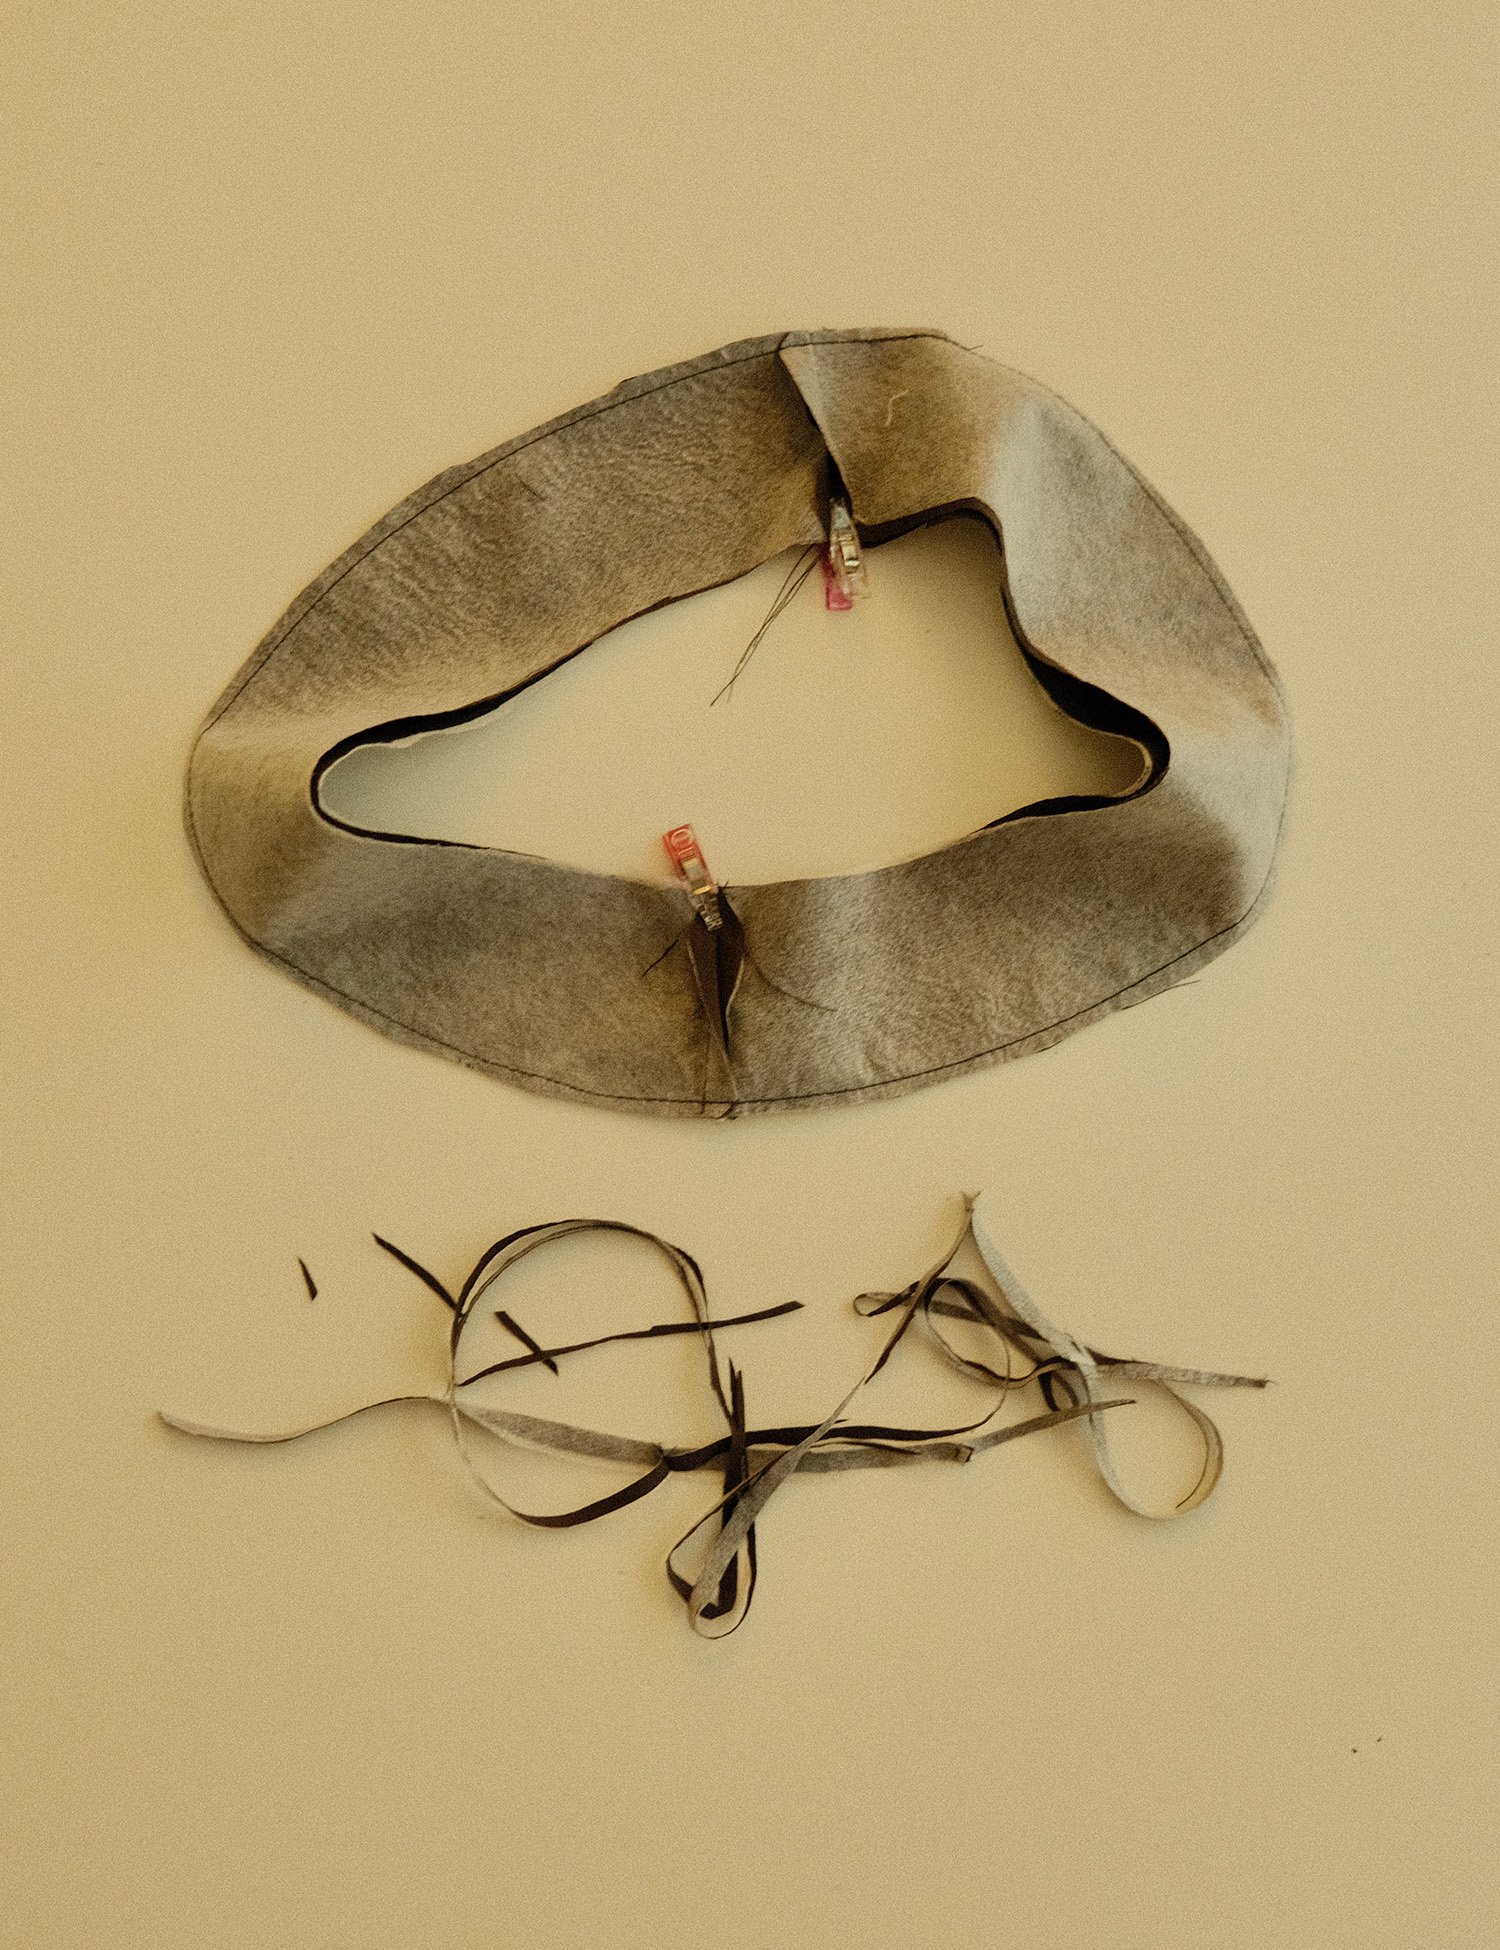
Trimming back the interfaced brims after sewing the outer edge together.
- Sew the short edges of the drawcord tunnel with right sides together while leaving space between the notches for the drawcord to exit through. Press the seam open and stitched around the gap to secure the seam allowance in place.
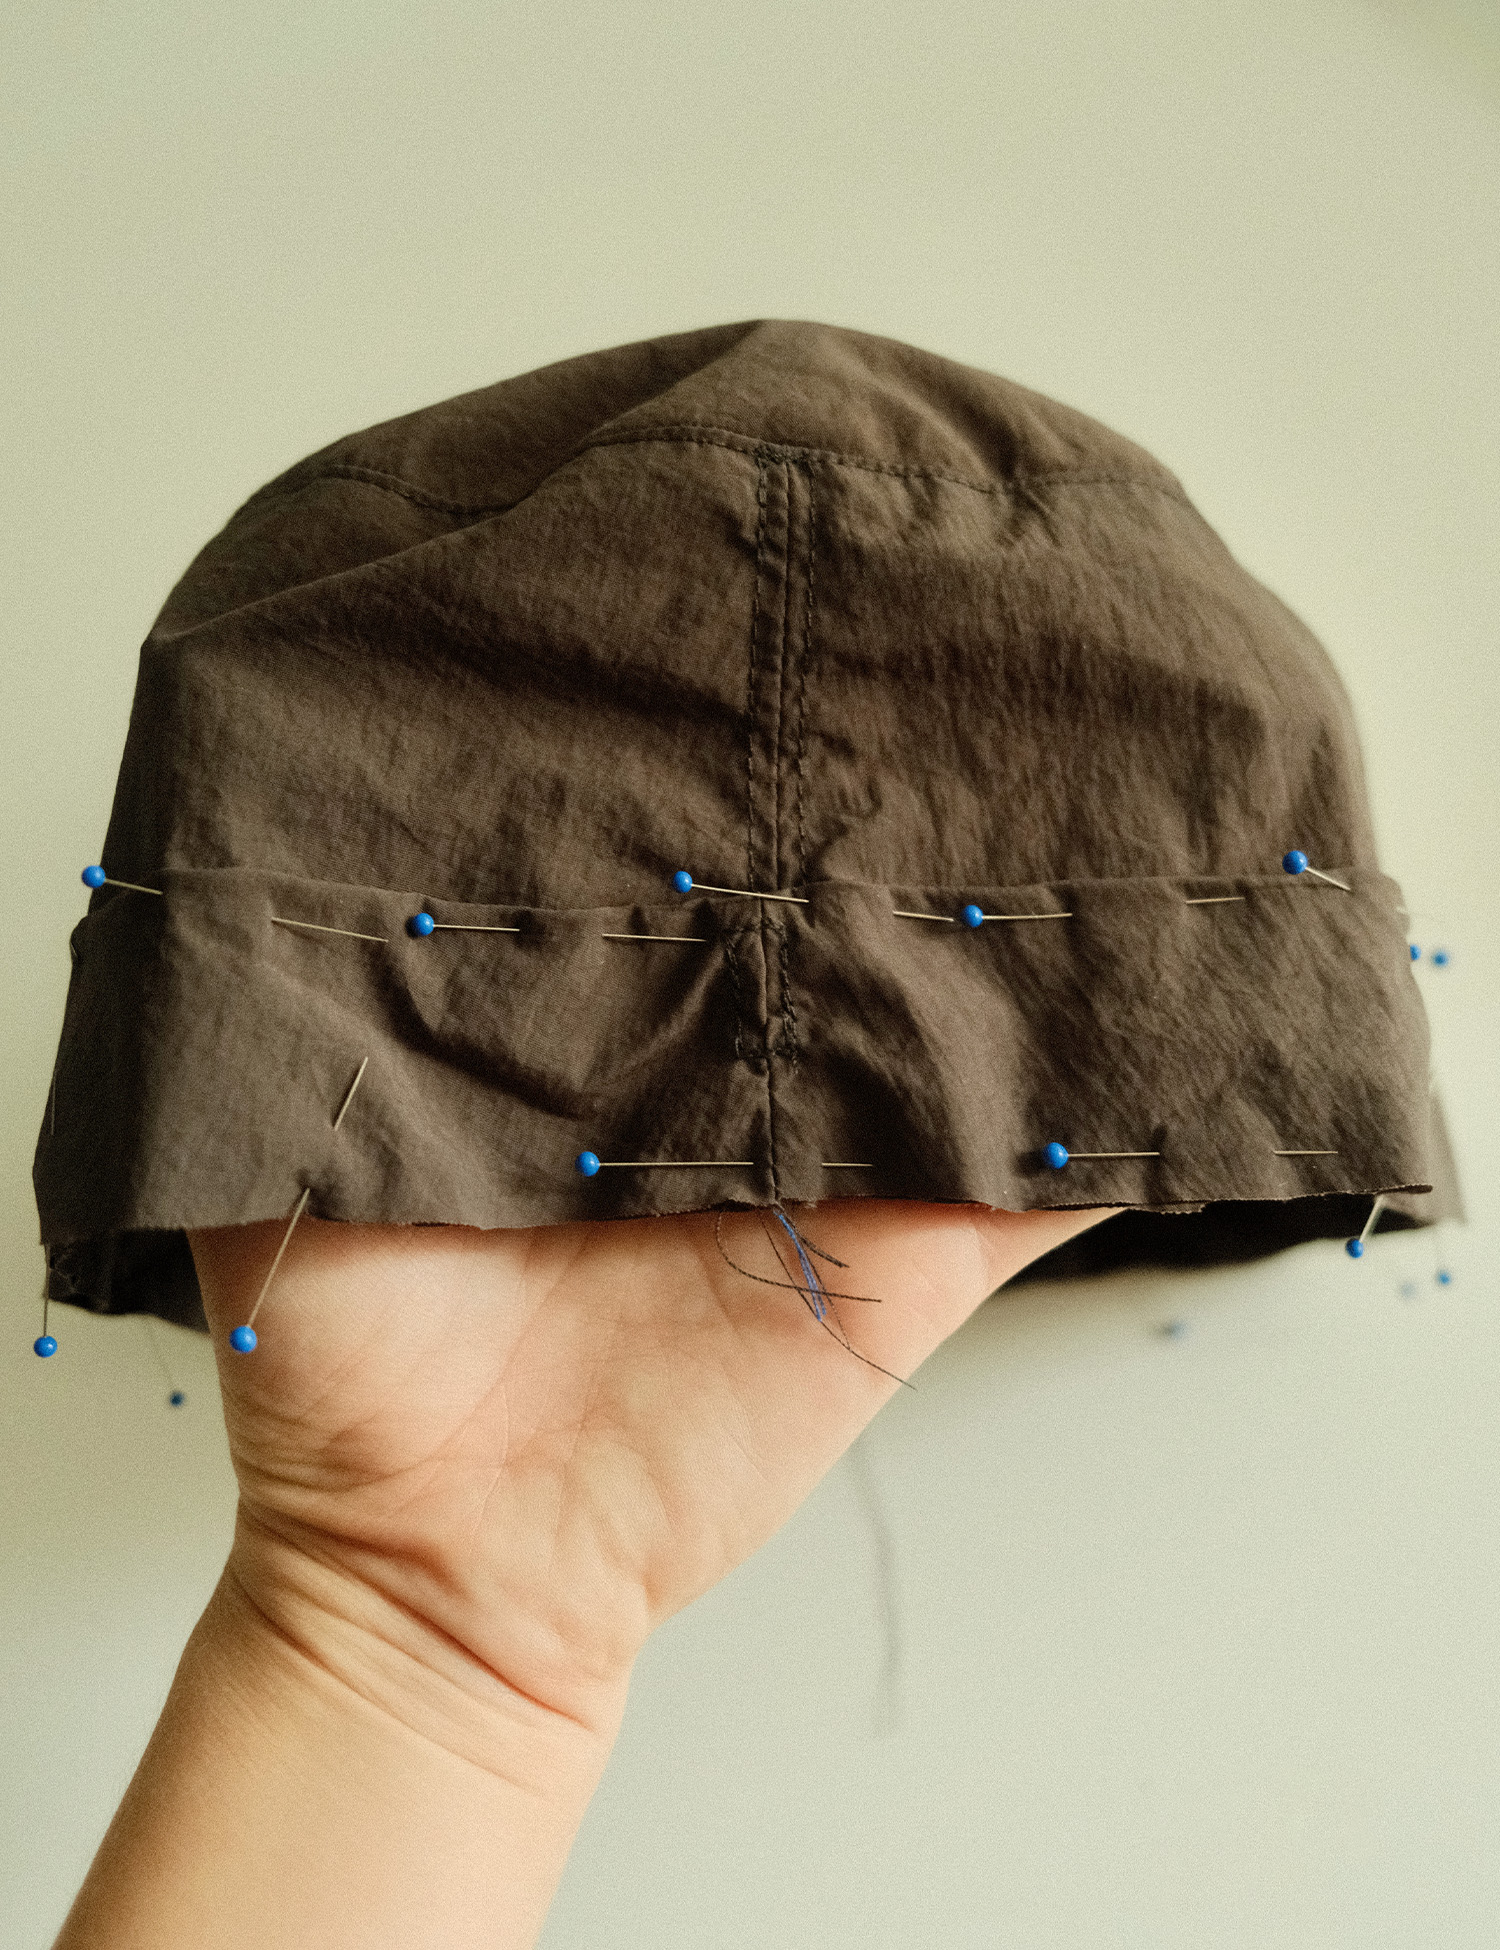
Positioning the drawcord tunnel’s secured seam allowance over one of the side seams of the main hat.
- Align the right side of one of the main hat’s side seams to the wrong side of the drawcord tunnel’s seam and pin in place. Topstitch the drawcord tunnel to the main hat along the tunnel’s previously folded top edge. Baste the bottom of the tunnel and the bottom of the main hat together.
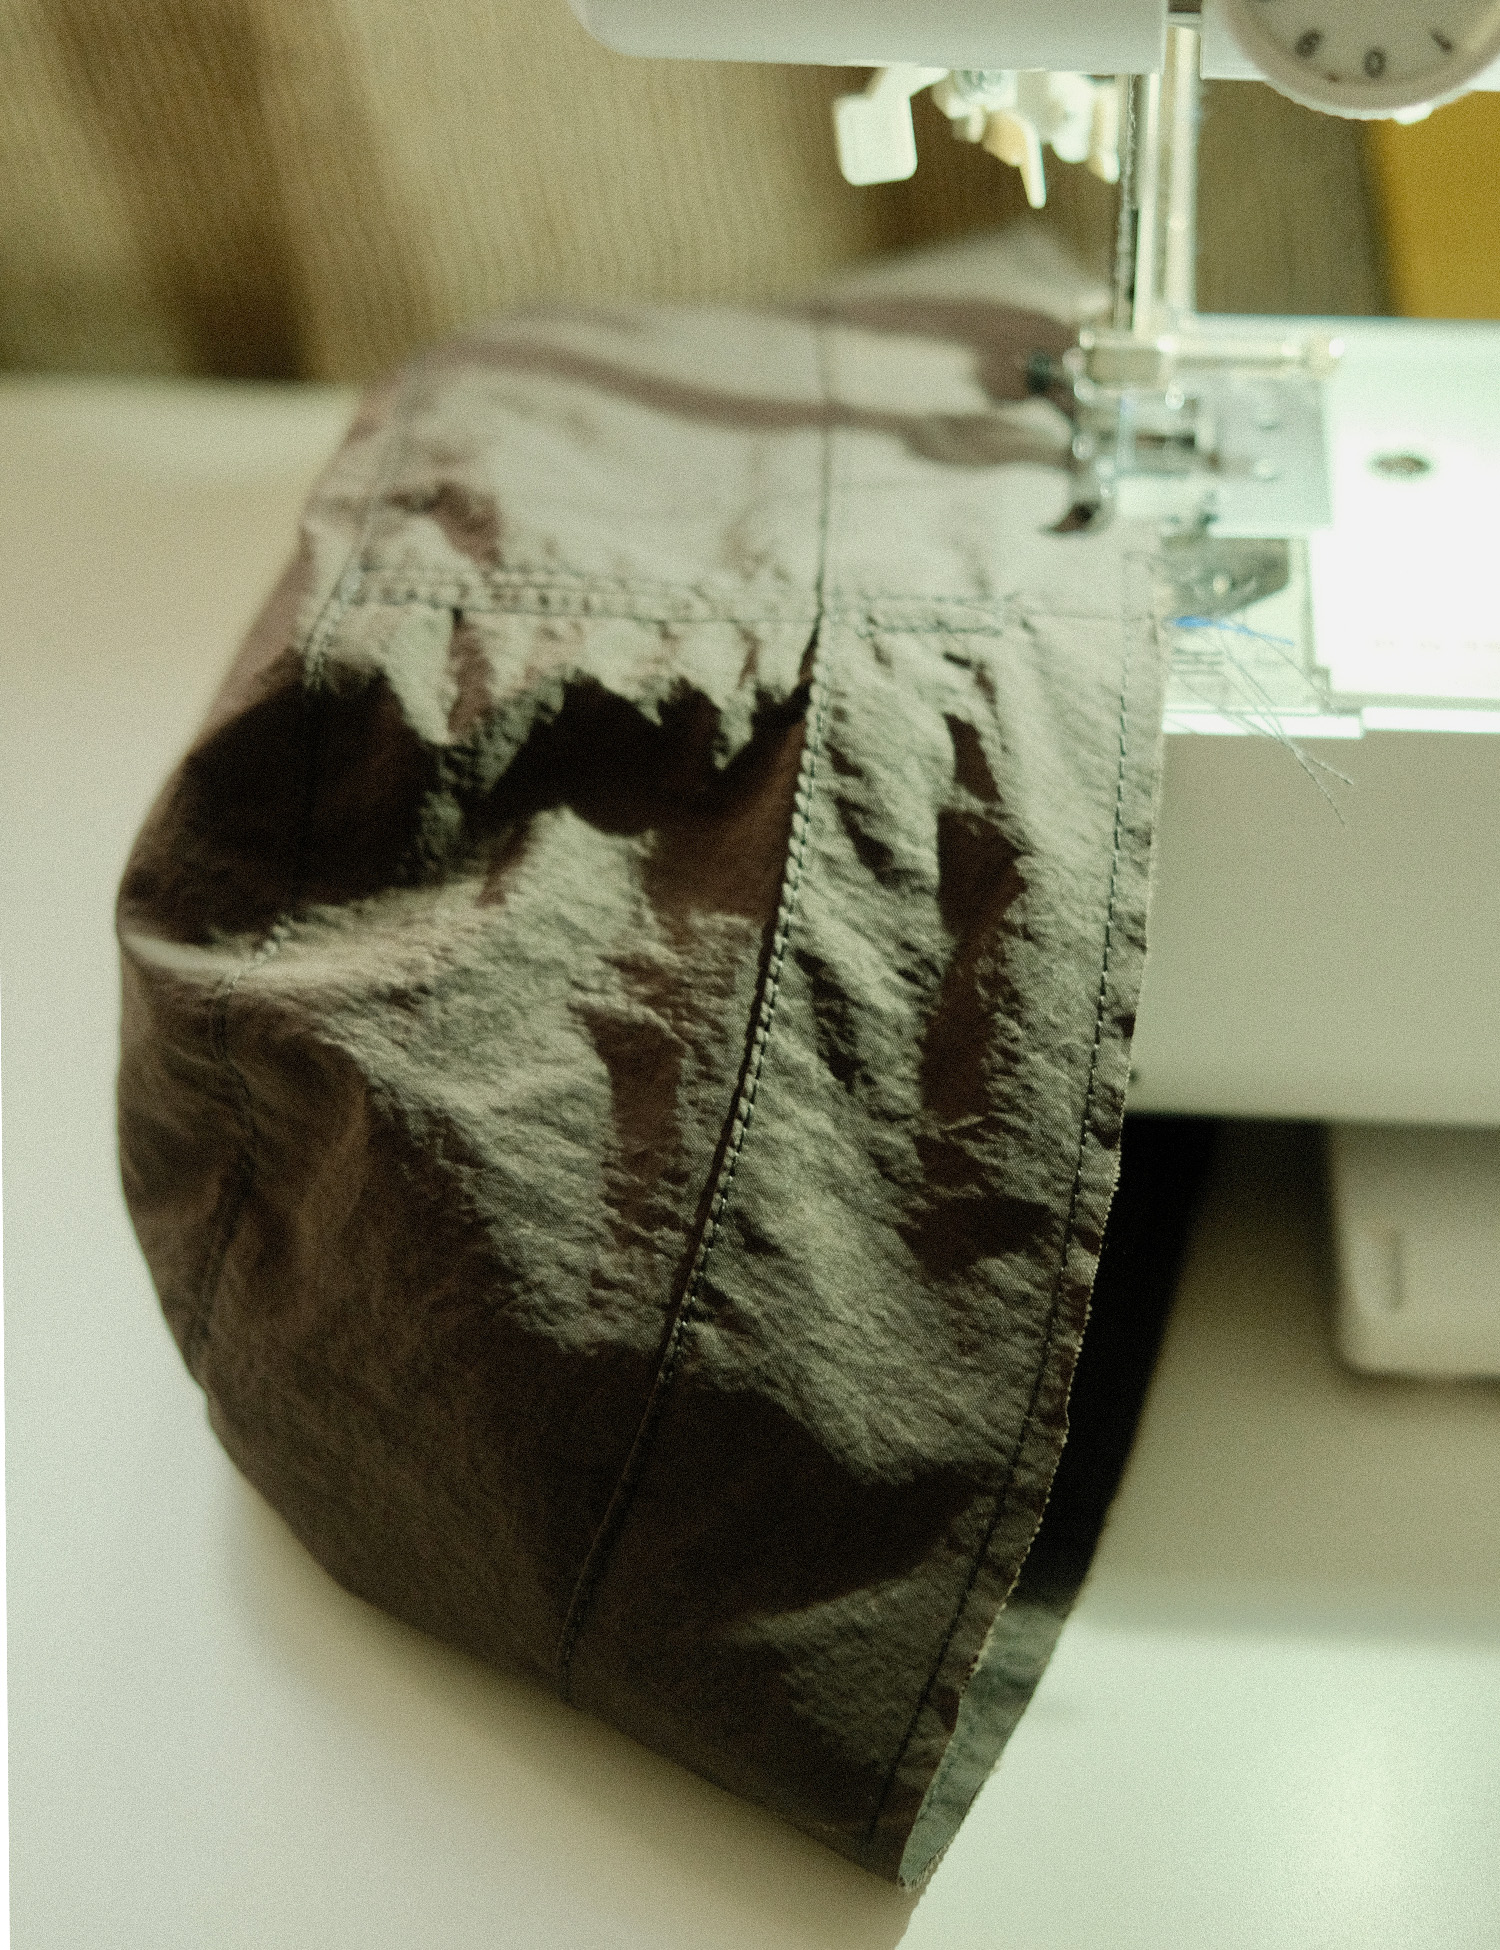
Basting down the drawcord tunnel to the bottom edge of the main hat’s side.
- Pin both the main and lining brims together to the main hat/drawcord tunnel bottom edge and sew. Note: Next time, I would baste the main and lining brims together before sewing it to the hat as an extra step to secure that the brim would sit even and flat.
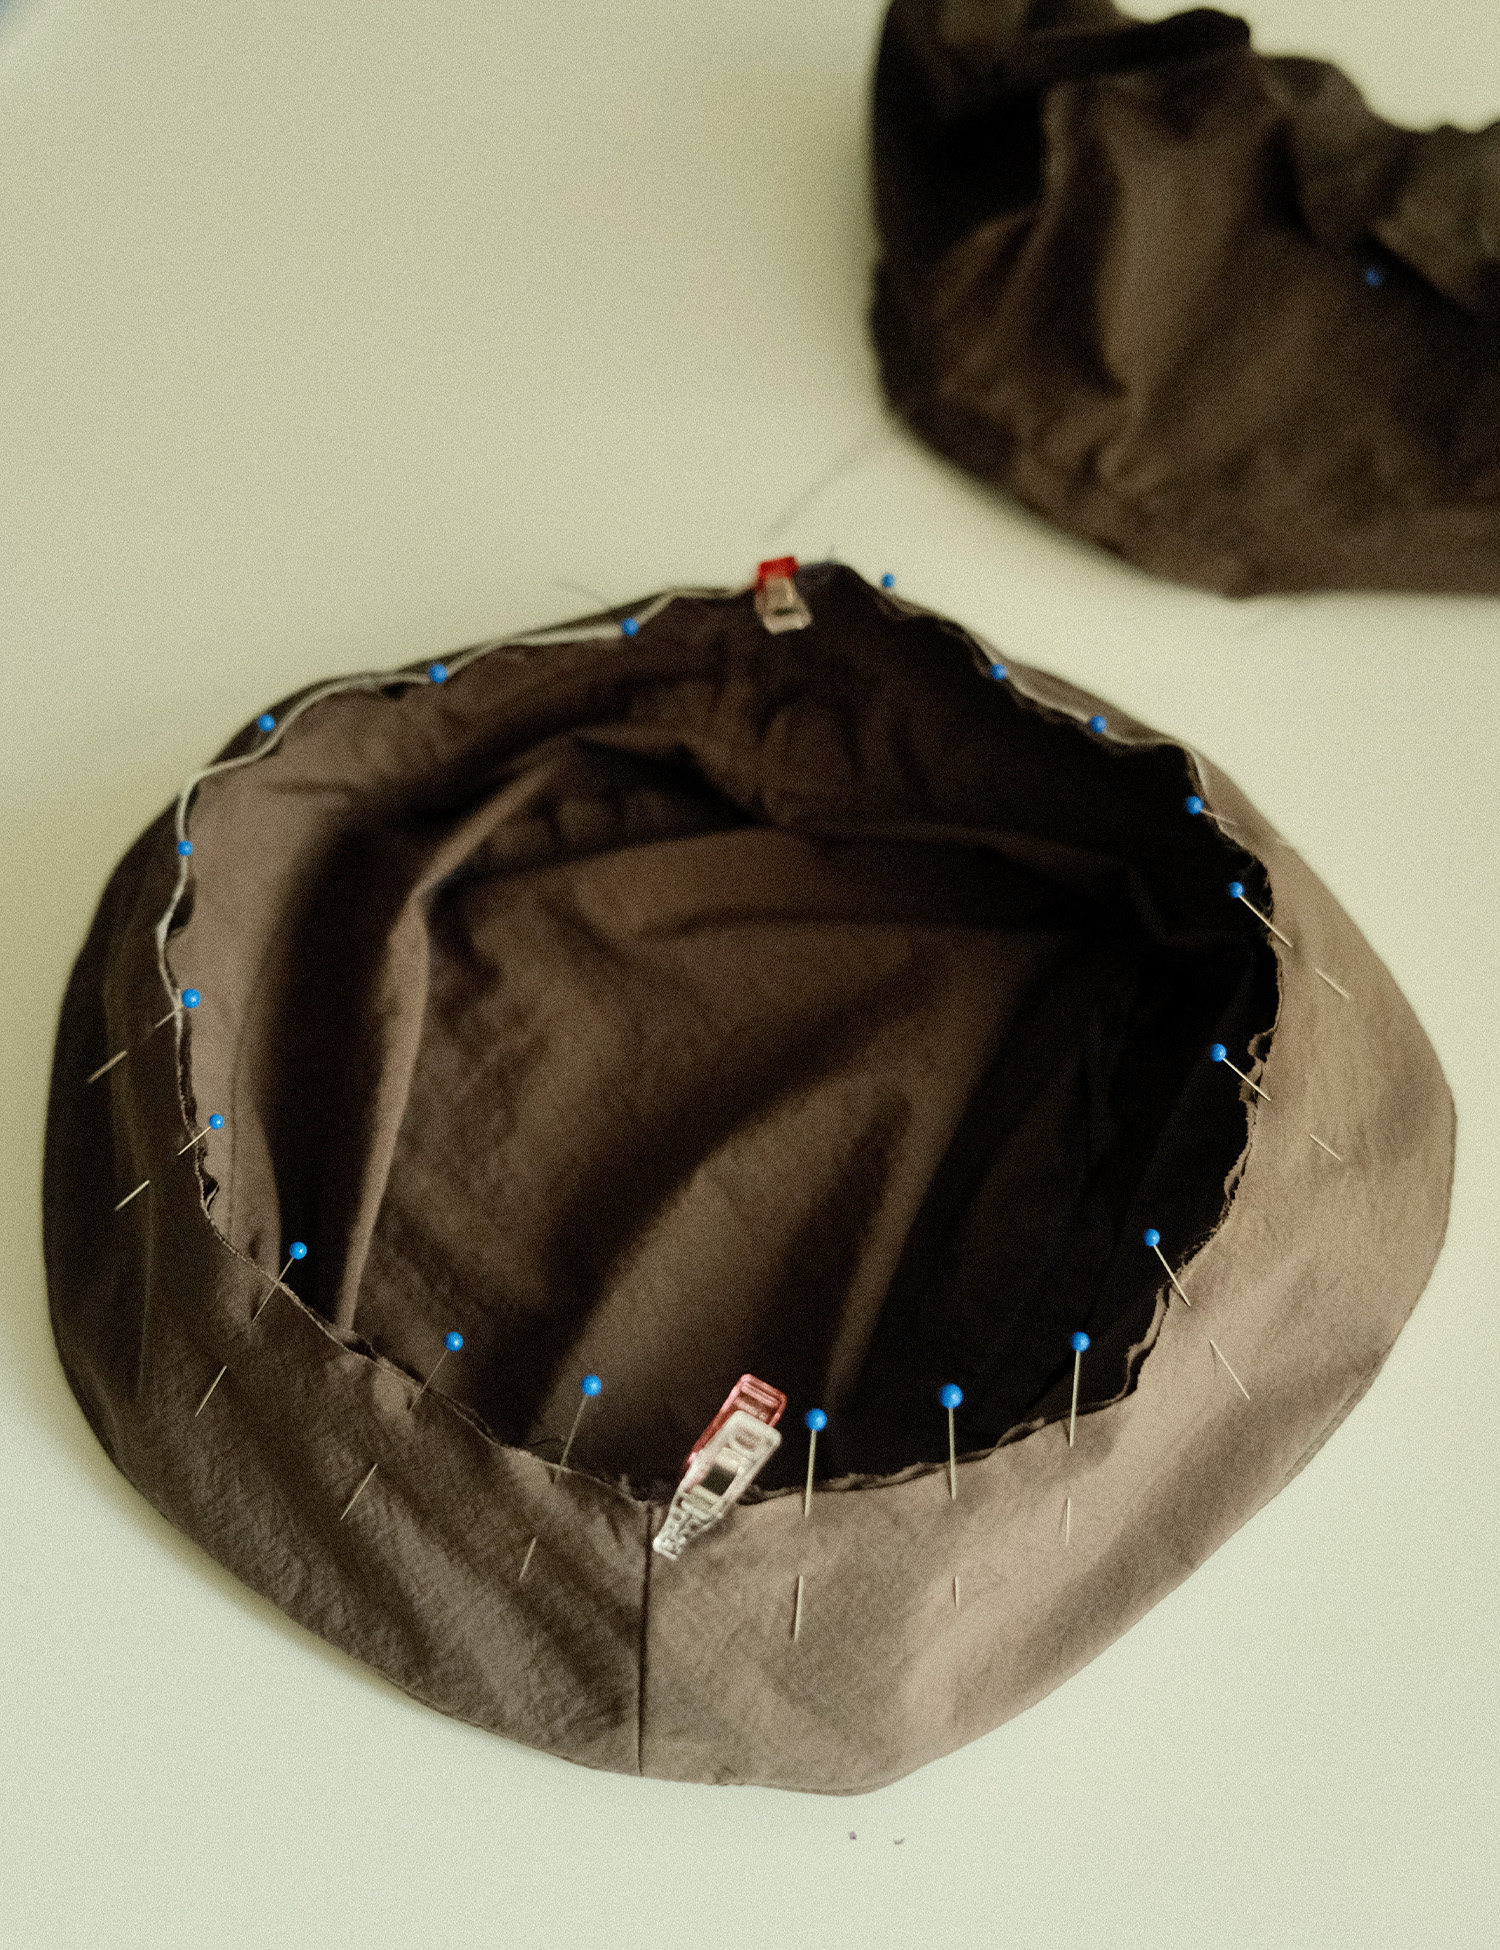
Pinning the brims to the side seams of the main hat.
- Place the hat lining inside the main hat, aligning the side seams. The lining’s previously folded bottom edge is pinned into place covering the brim, drawcord tunnel, and main hat’s raw edges, before sewing with the stitch-in-the-ditch.
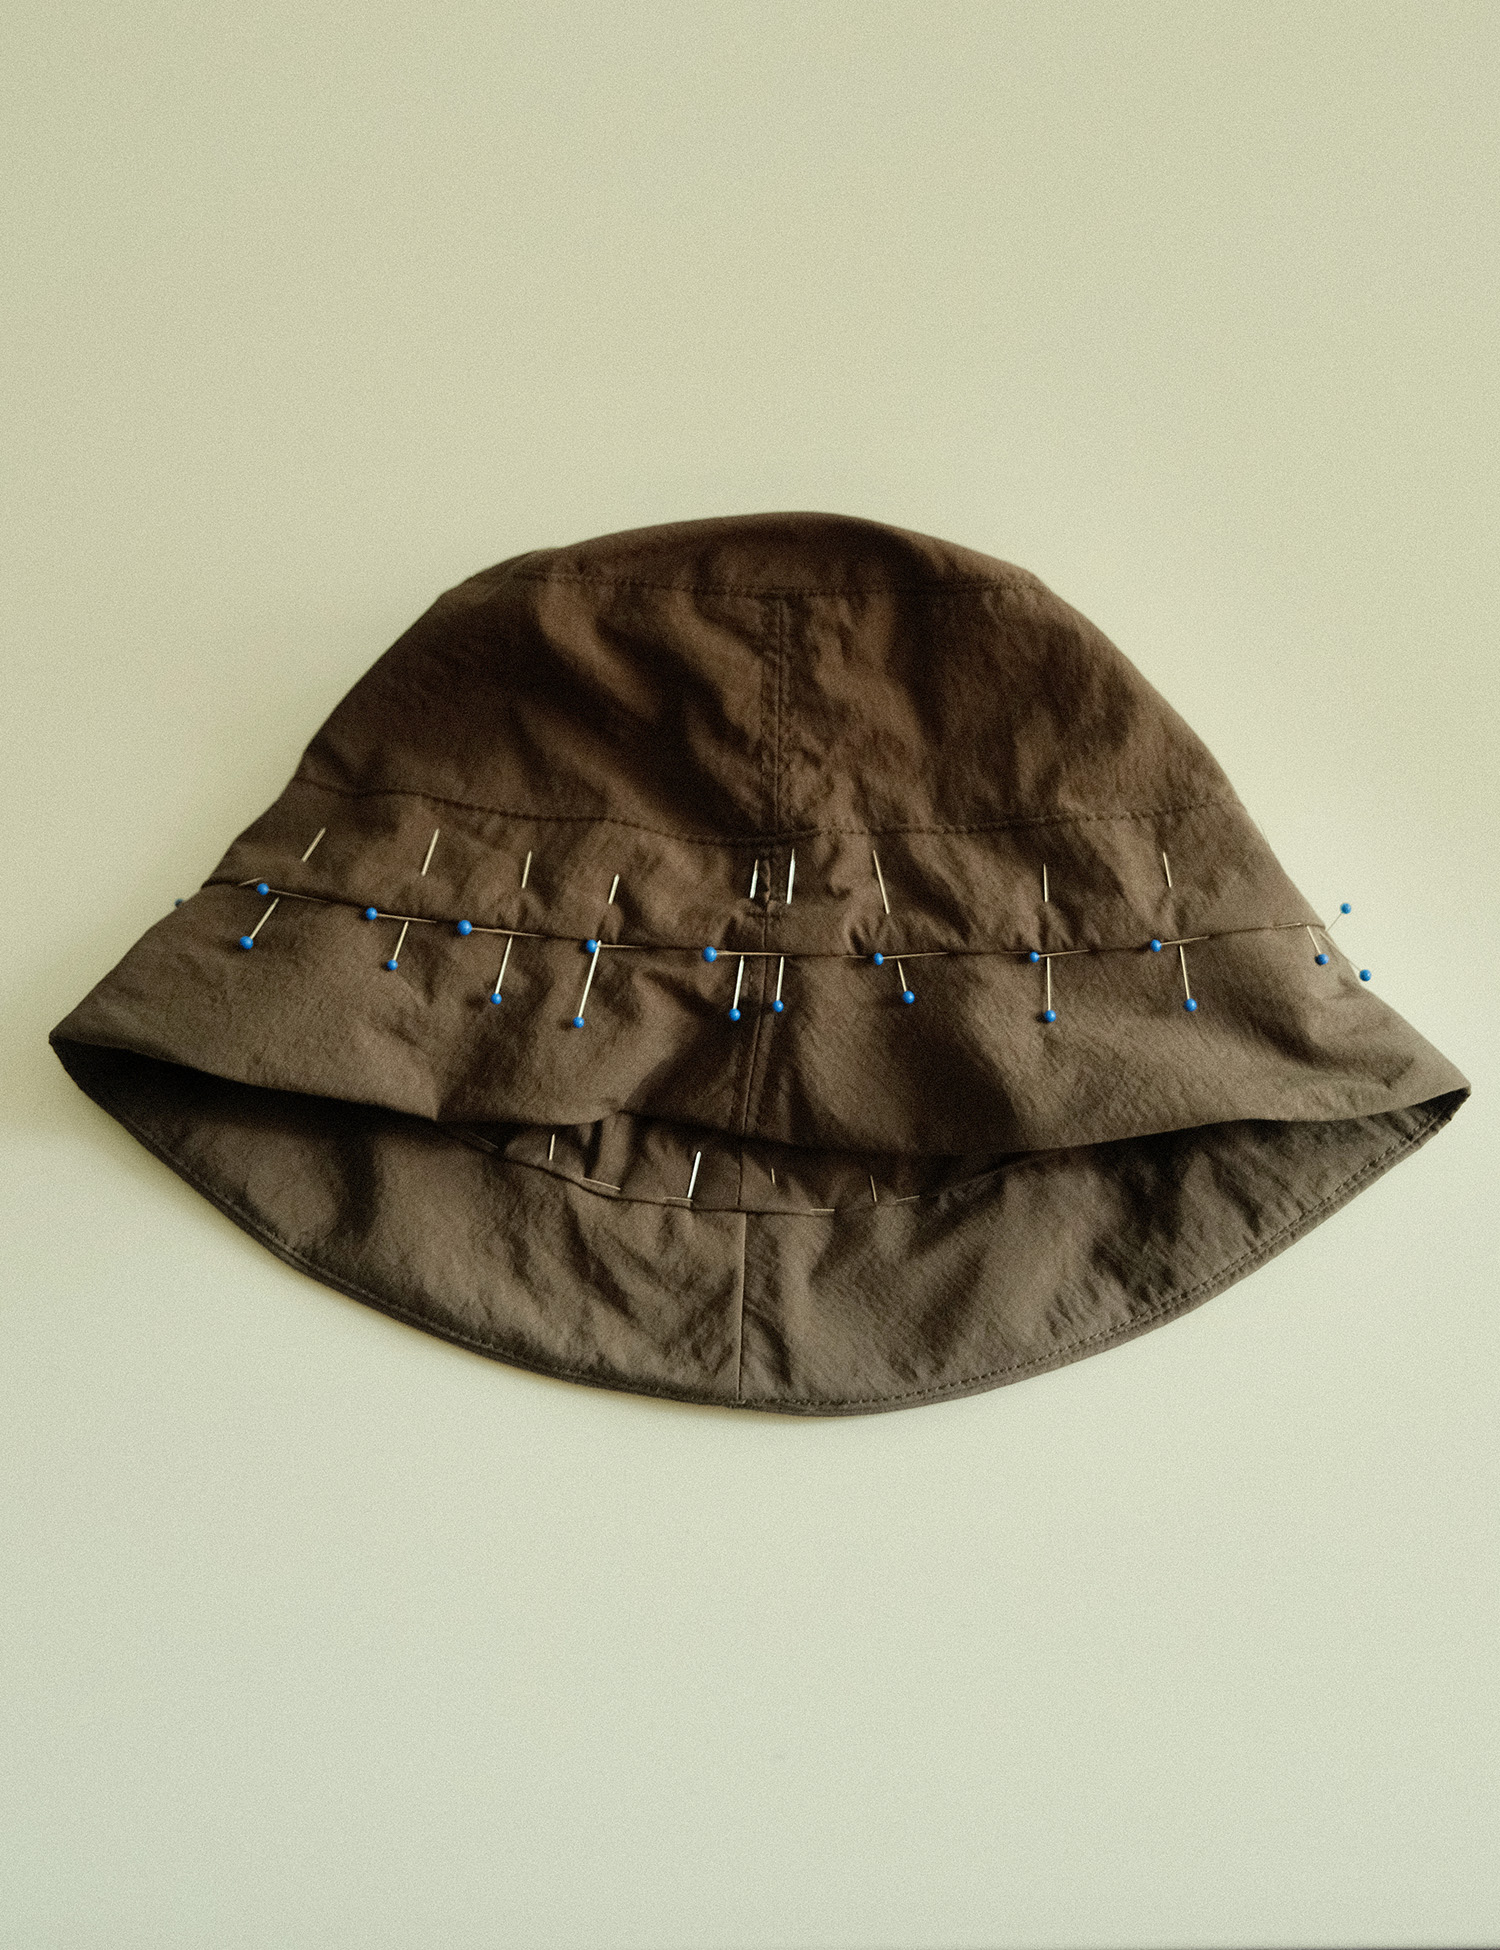
Covering the raw edges of the brims and main hat with the hat’s lining.
- Attach a safety pin one of the ends of the drawcord and feed it through the tunnel. Secure the cord ends through a cordlock and either knot the ends or stitch together using scrap material. Hide the cord ends back into the tunnel.
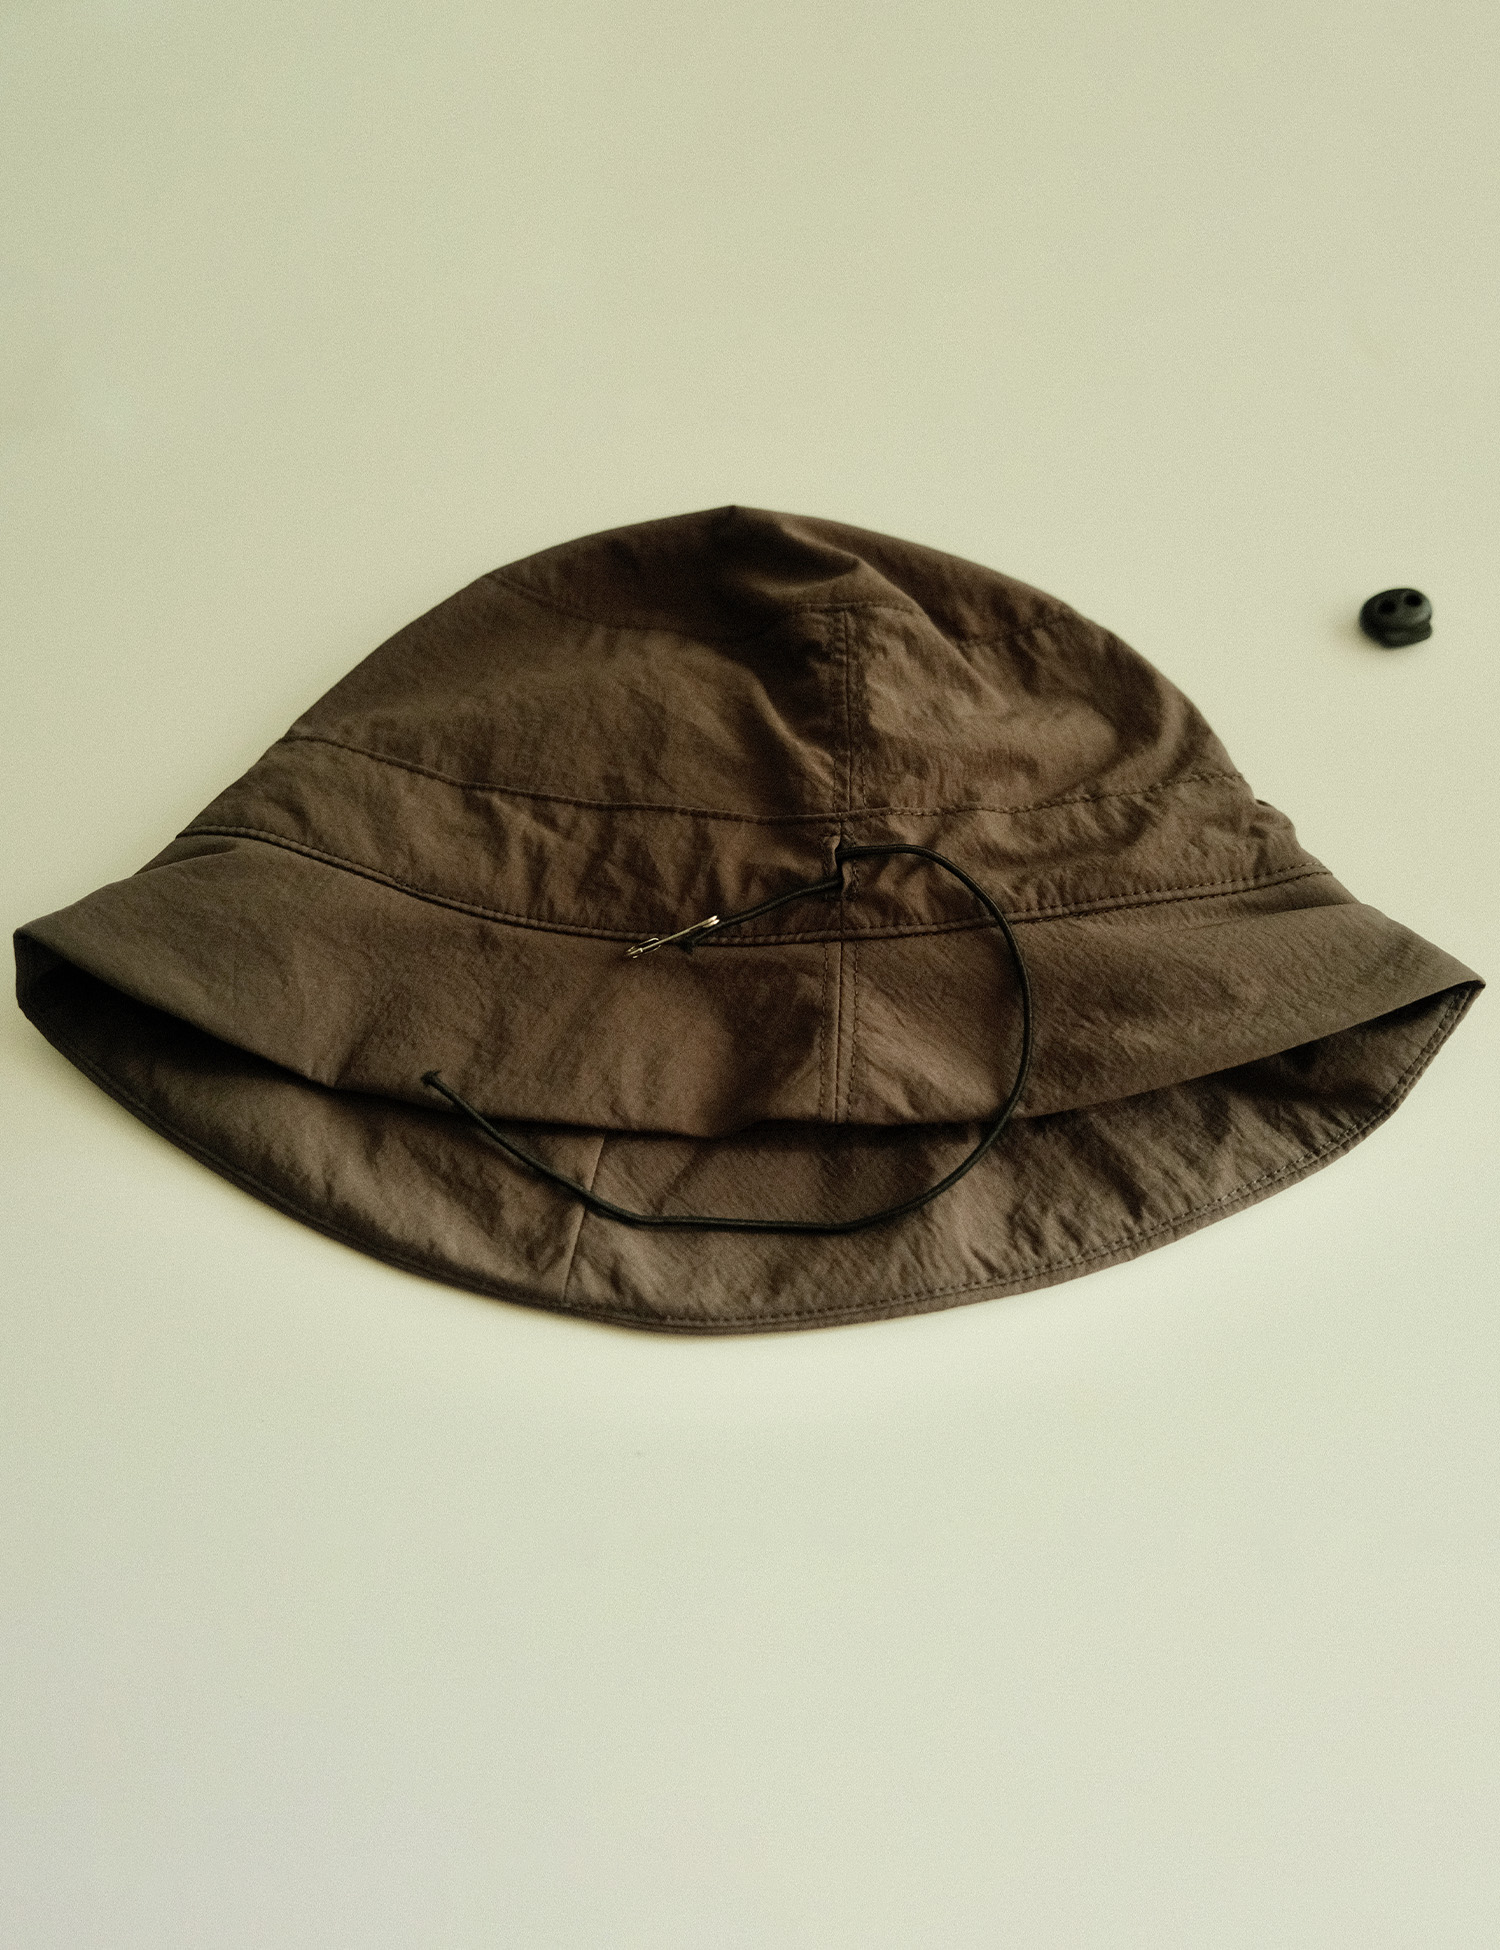
Guiding the drawcord through the tunnel using a safety pin.

There are two final changes I made from the original instructions that I would do again. The first is adding a round of topstitching to the main side of the hat’s side seams which added stability to the base of the hat. The second is change is adding topstitching to the drawcord tunnel after sewing it down with the stitch-in-the-ditch, which was purely for aesthetic purposes.
Happy Sewing!