Twin needling is one of those techniques that can really elevate your sewing project, making it look just that bit more professional.
Maybe you haven’t come across twin needles before, or needed one for that matter, and often they aren’t mentioned or recommended specifically in sewing patterns. But trust me, once you use one, you will never go back.
What Is a Twin Needle?
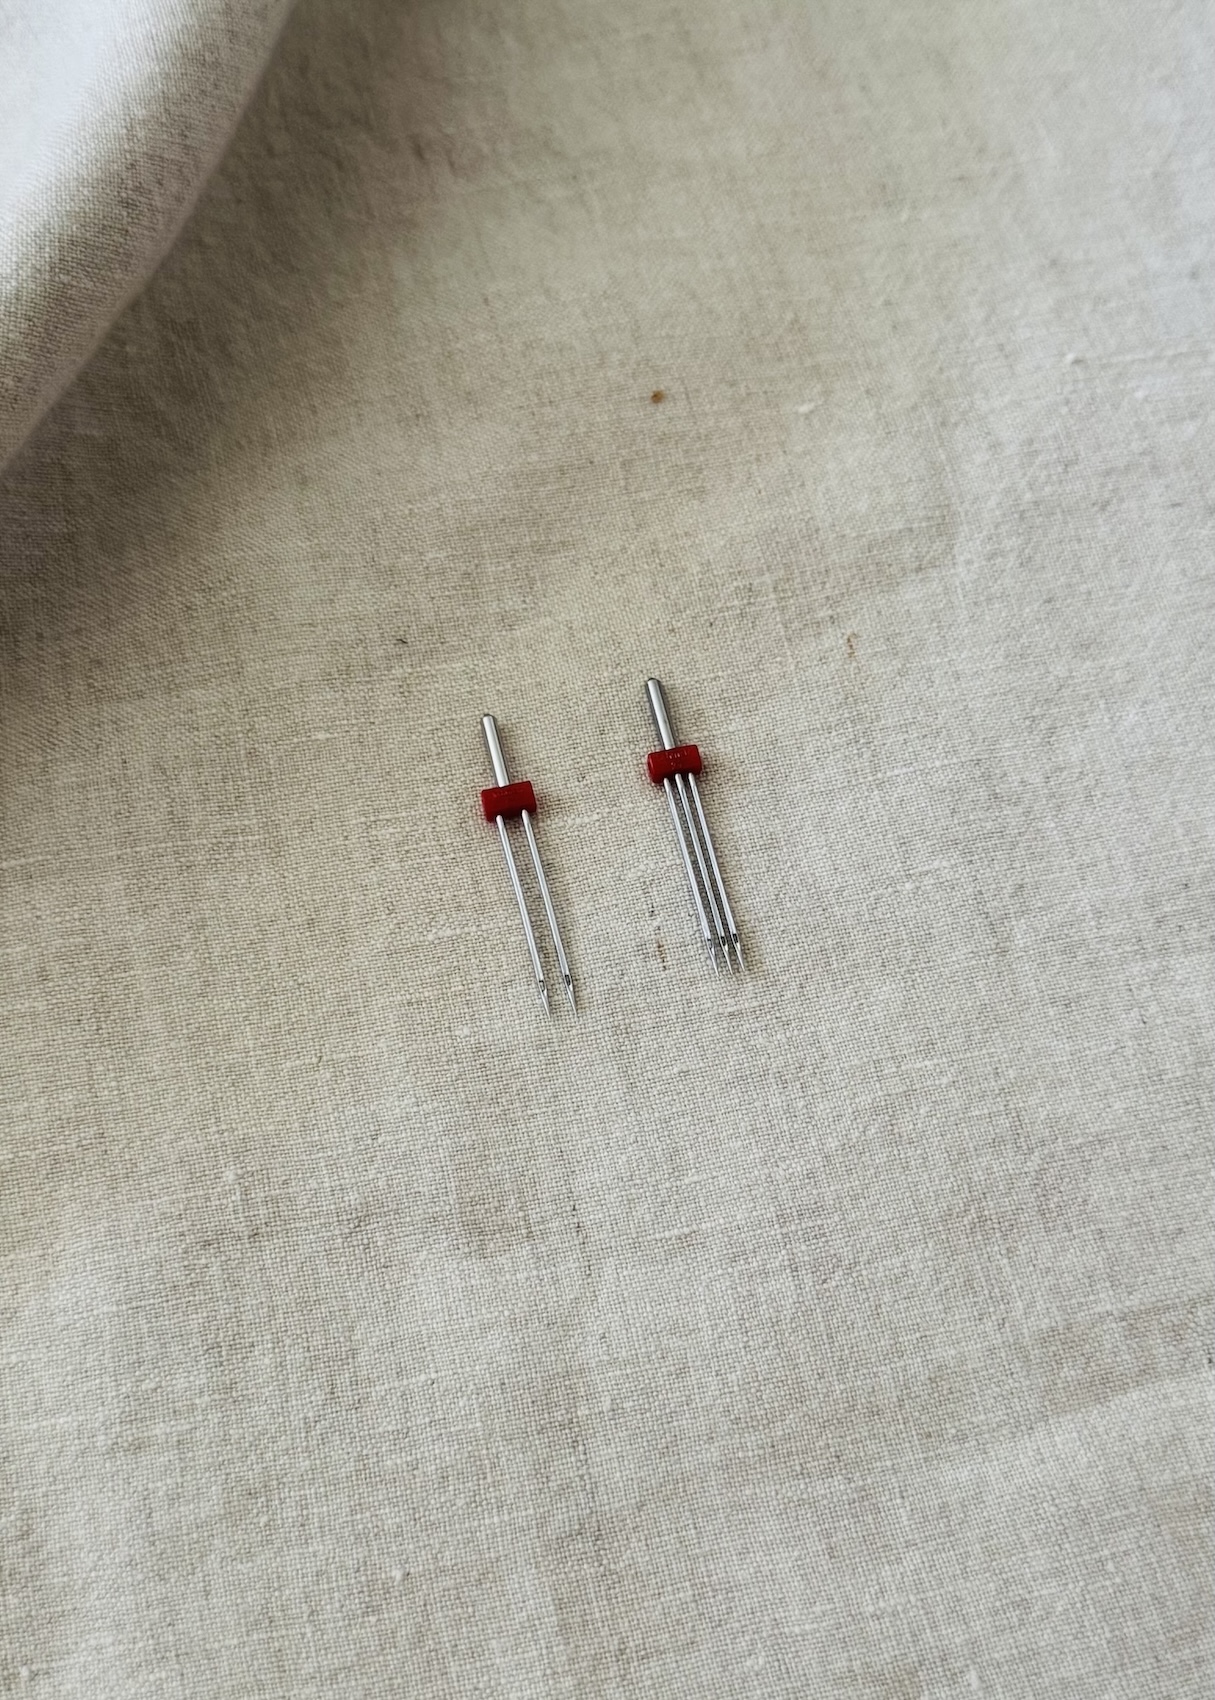
Twin needles feature a similar shank to a regular sewing needle, but they branch out into two (sometimes three) needles. The needles are parallel to one another and their distance apart can vary.
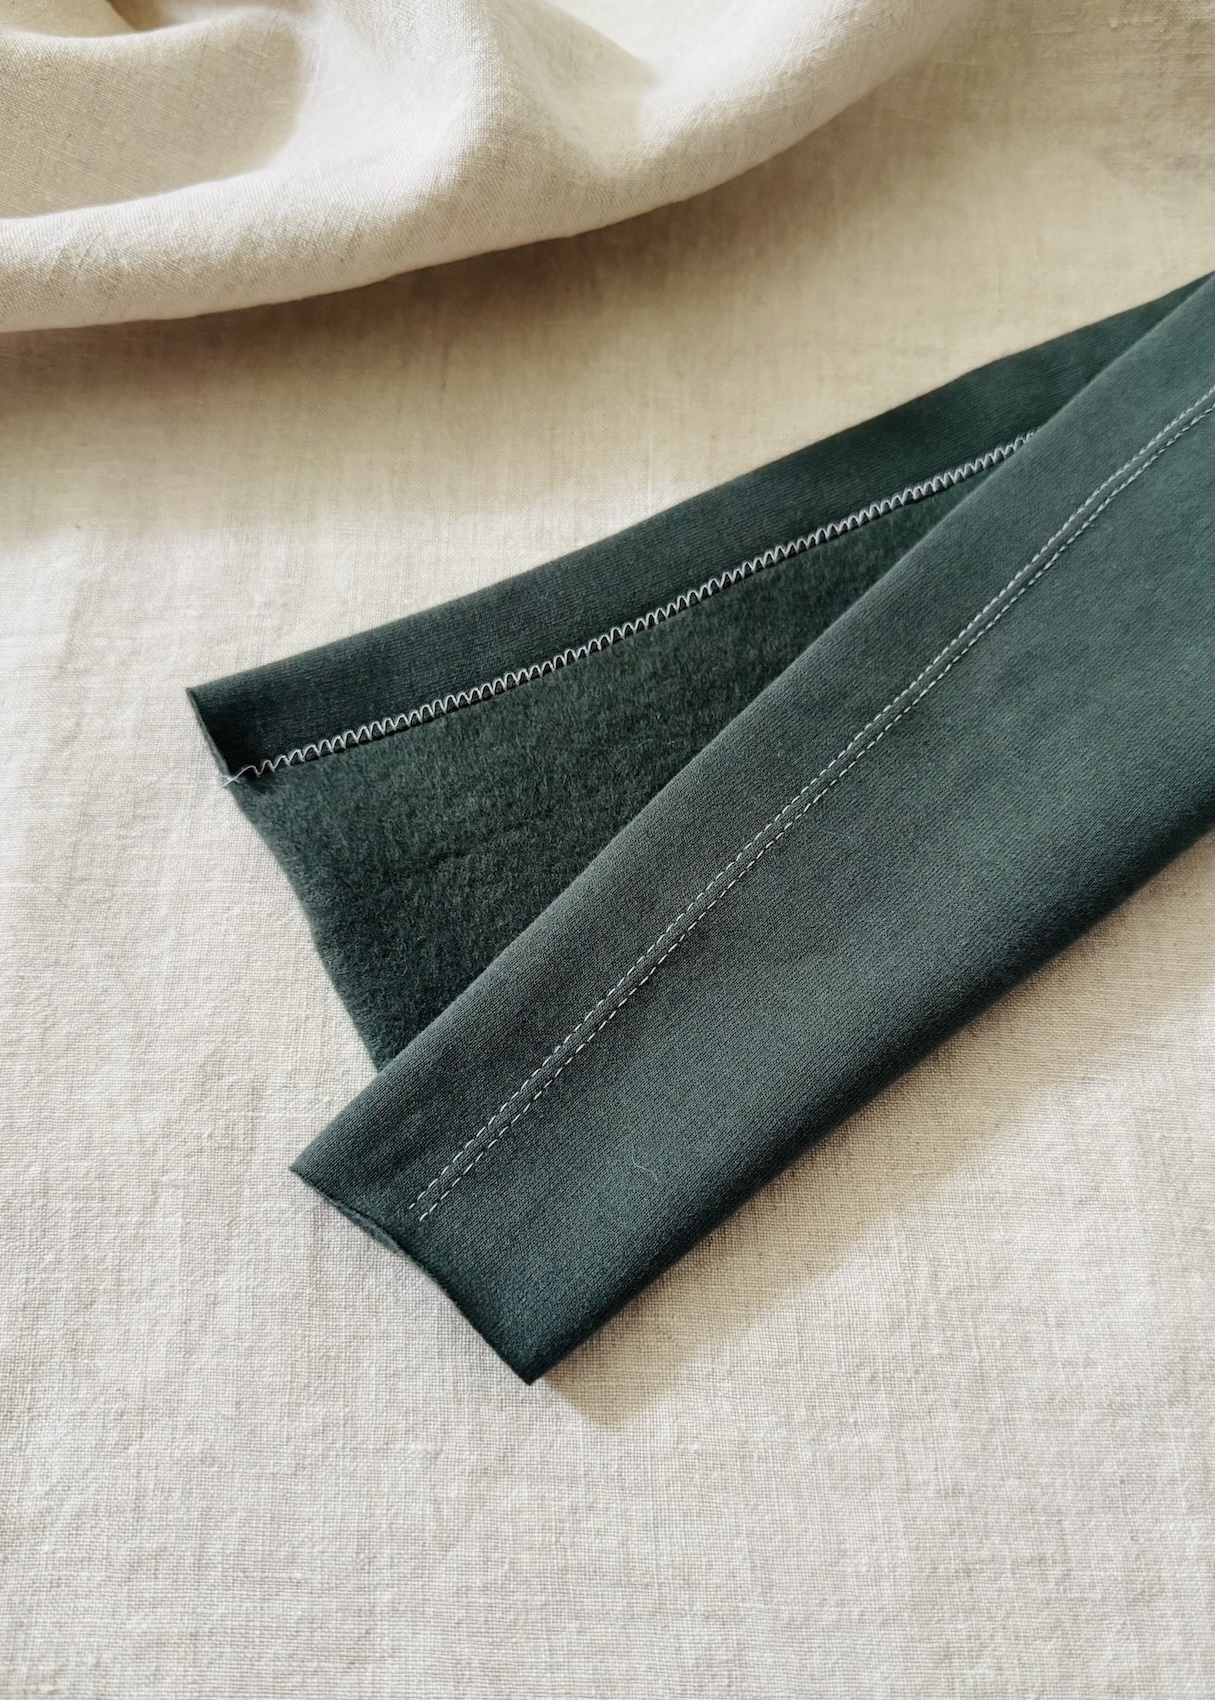
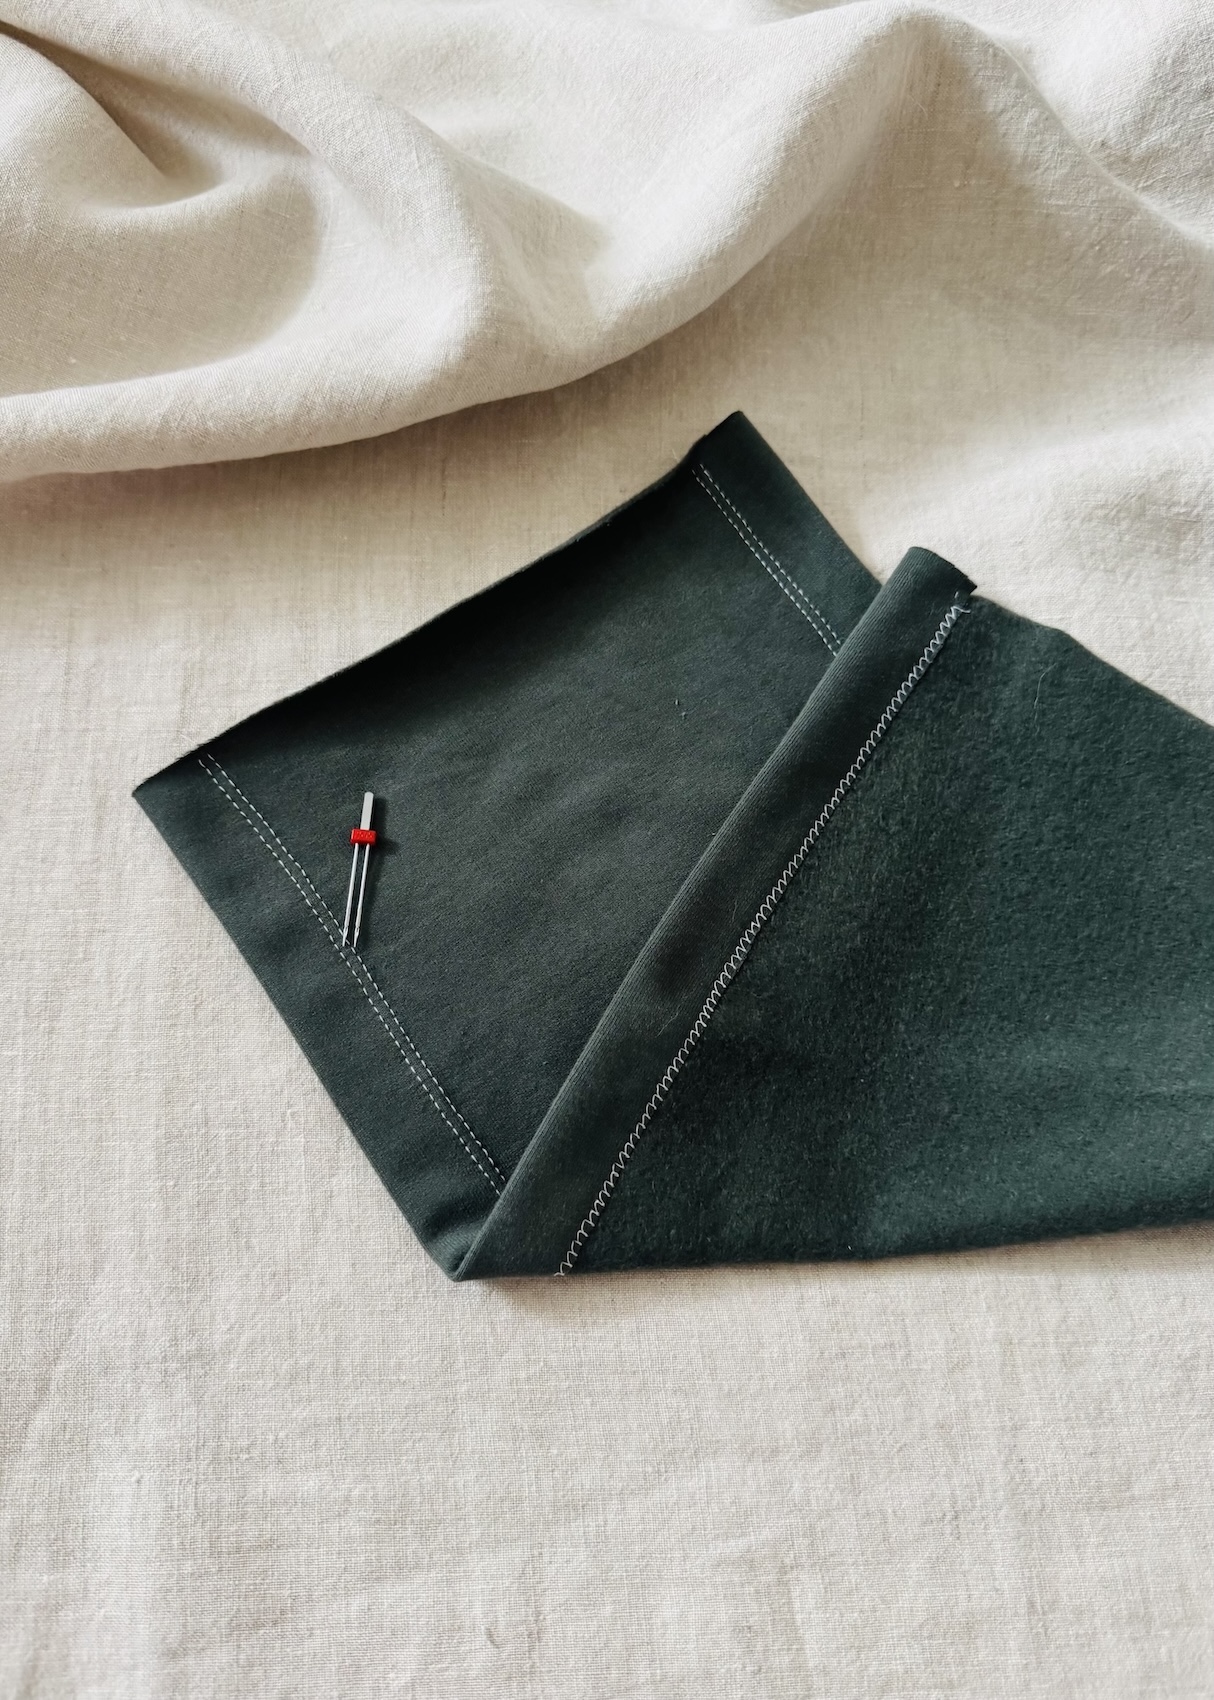
Sewing with a twin needle creates two rows of parallel stitching on the right side of the fabric and a zig zag stitch (which joins the two rows) underneath on the wrong side. You’ll often see this type of stitching on stretch and knit garment hems, such as t-shirts. It can also be used as a more decorative stitch on woven fabrics.
What Are the Different Types and Sizes of Twin Needles?
Twin needles are available in a range of types, widths and sizes, each designed for different fabrics. They are classified in much the same way as single sewing machine needles.
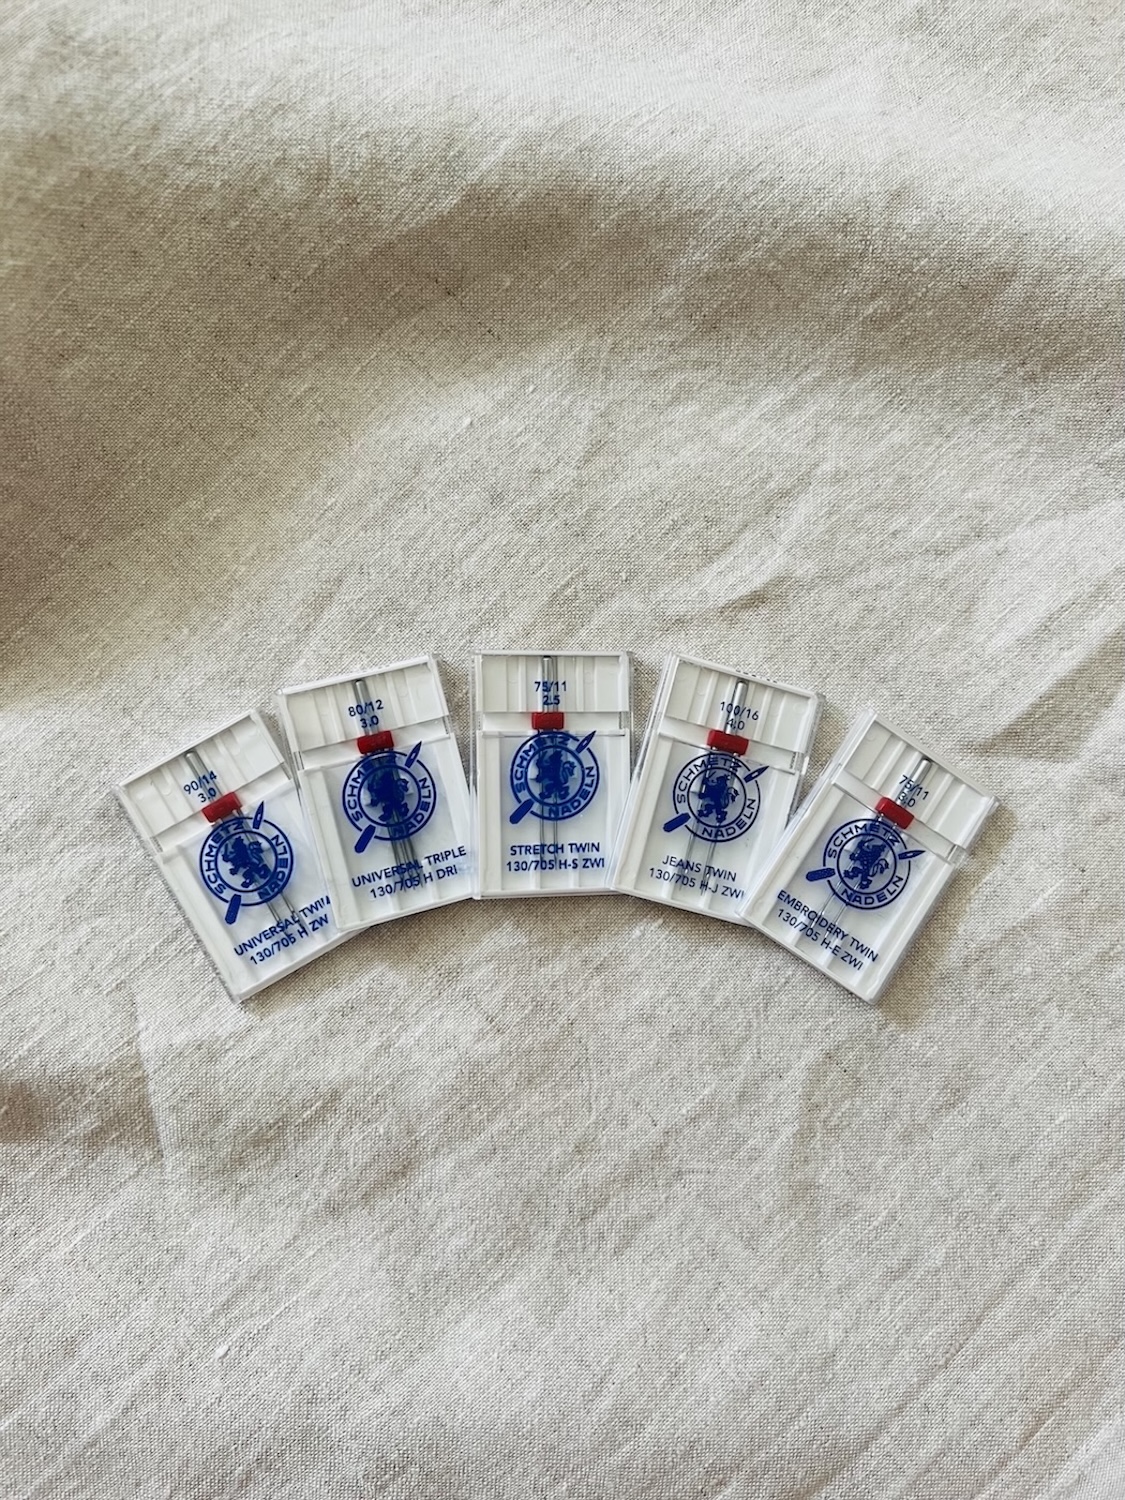
Types of twin needles:
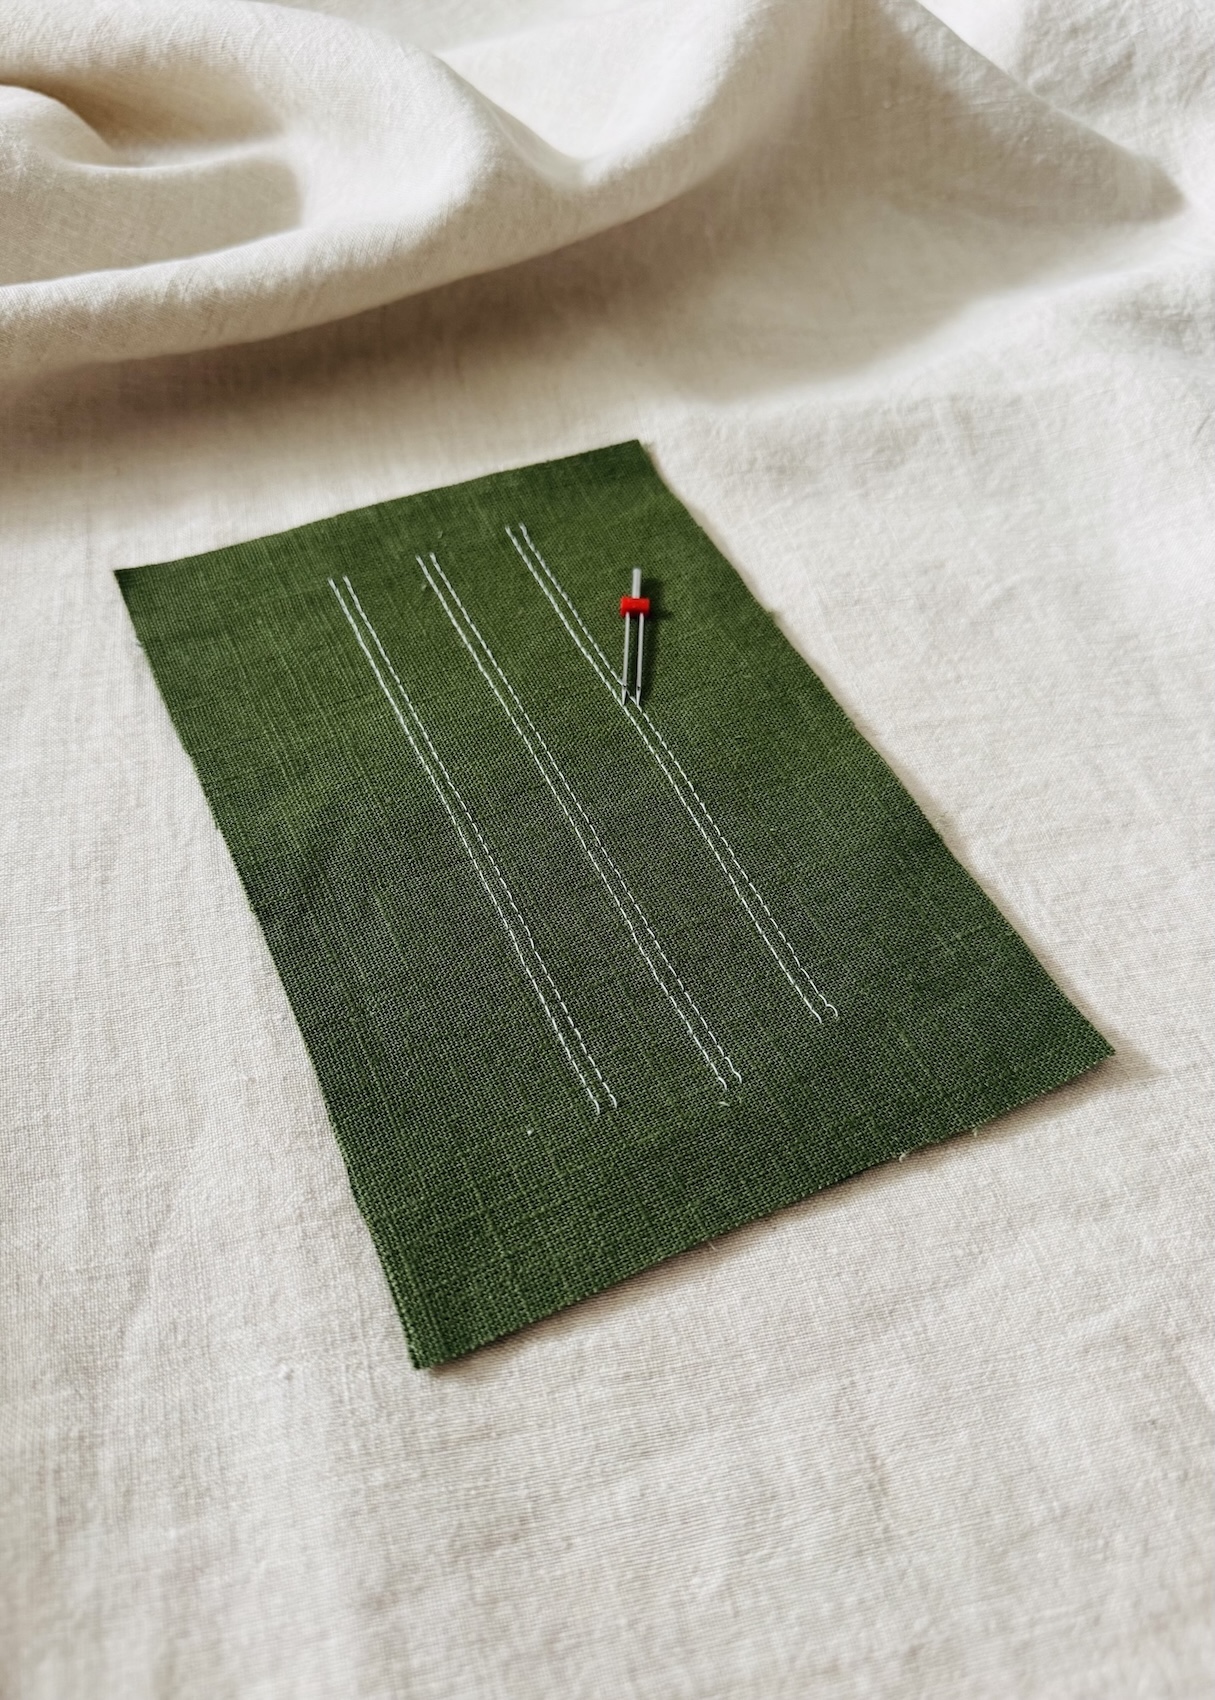
- Universal: These needles have two slightly rounded universal tips and regular sized eyes. They are suitable for both woven and some knit fabrics, making them a good versatile choice for general sewing. Universal needles are also available as triple needles, which like the name suggests, simply means that there are three needles instead of two.
- Stretch: These feature two stretch needles with medium ballpoint tips that roll and push aside the fibres rather than piercing them. They also have a slightly smaller eye. These needles are best suited to stretch fabrics and knits such as jersey, spandex and fabrics containing elastane.
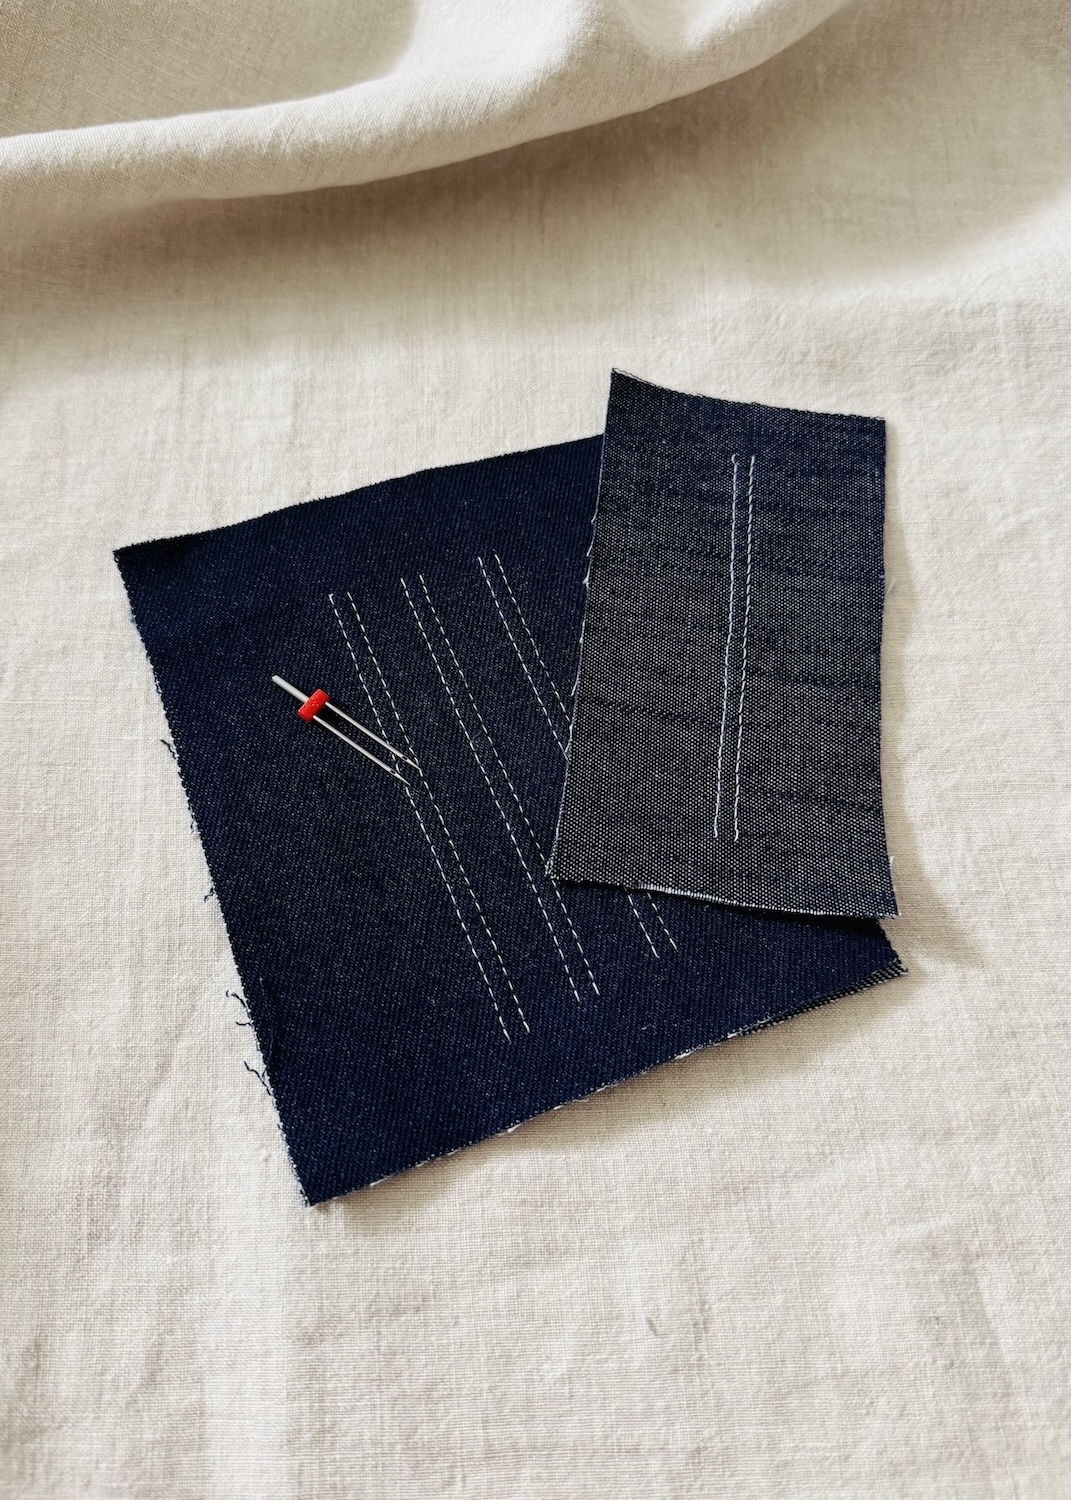
- Jeans: These are made up of two denim needles with reinforced blades, medium ballpoint tips and regular-sized eyes. As the name suggests, they are suited for heavy and densely woven fabrics like denim and canvas.
- Embroidery: These have two embroidery needles with medium ballpoint tips, a wider thread groove, and enlarged eyes that better accommodate specialty embroidery threads.
Understanding twin needle sizing:
There are four key pieces of information used to identify a twin needle.
- Needle size: This relates to the diameter of each individual needle. For example, a size of 75/11 equates to a needle that is 0.75mm in diameter. The first number is the European size and the second is the American. Generally speaking, smaller needle sizes work best with finer fabrics, while larger ones are more suited to heavier fabrics.
- Needle width: This refers to the distance between the needles and therefore stitching. For example, a needle width of 2.5 means that the needles are 2.5mm apart.
- Needle type: As described above, this tells you the style of needle and what it is essentially designed for.
- Needle system: This relates to the machine compatibility and the needle design. I think this number will be easier to explain in a specific example below.
Let’s break it down even more.
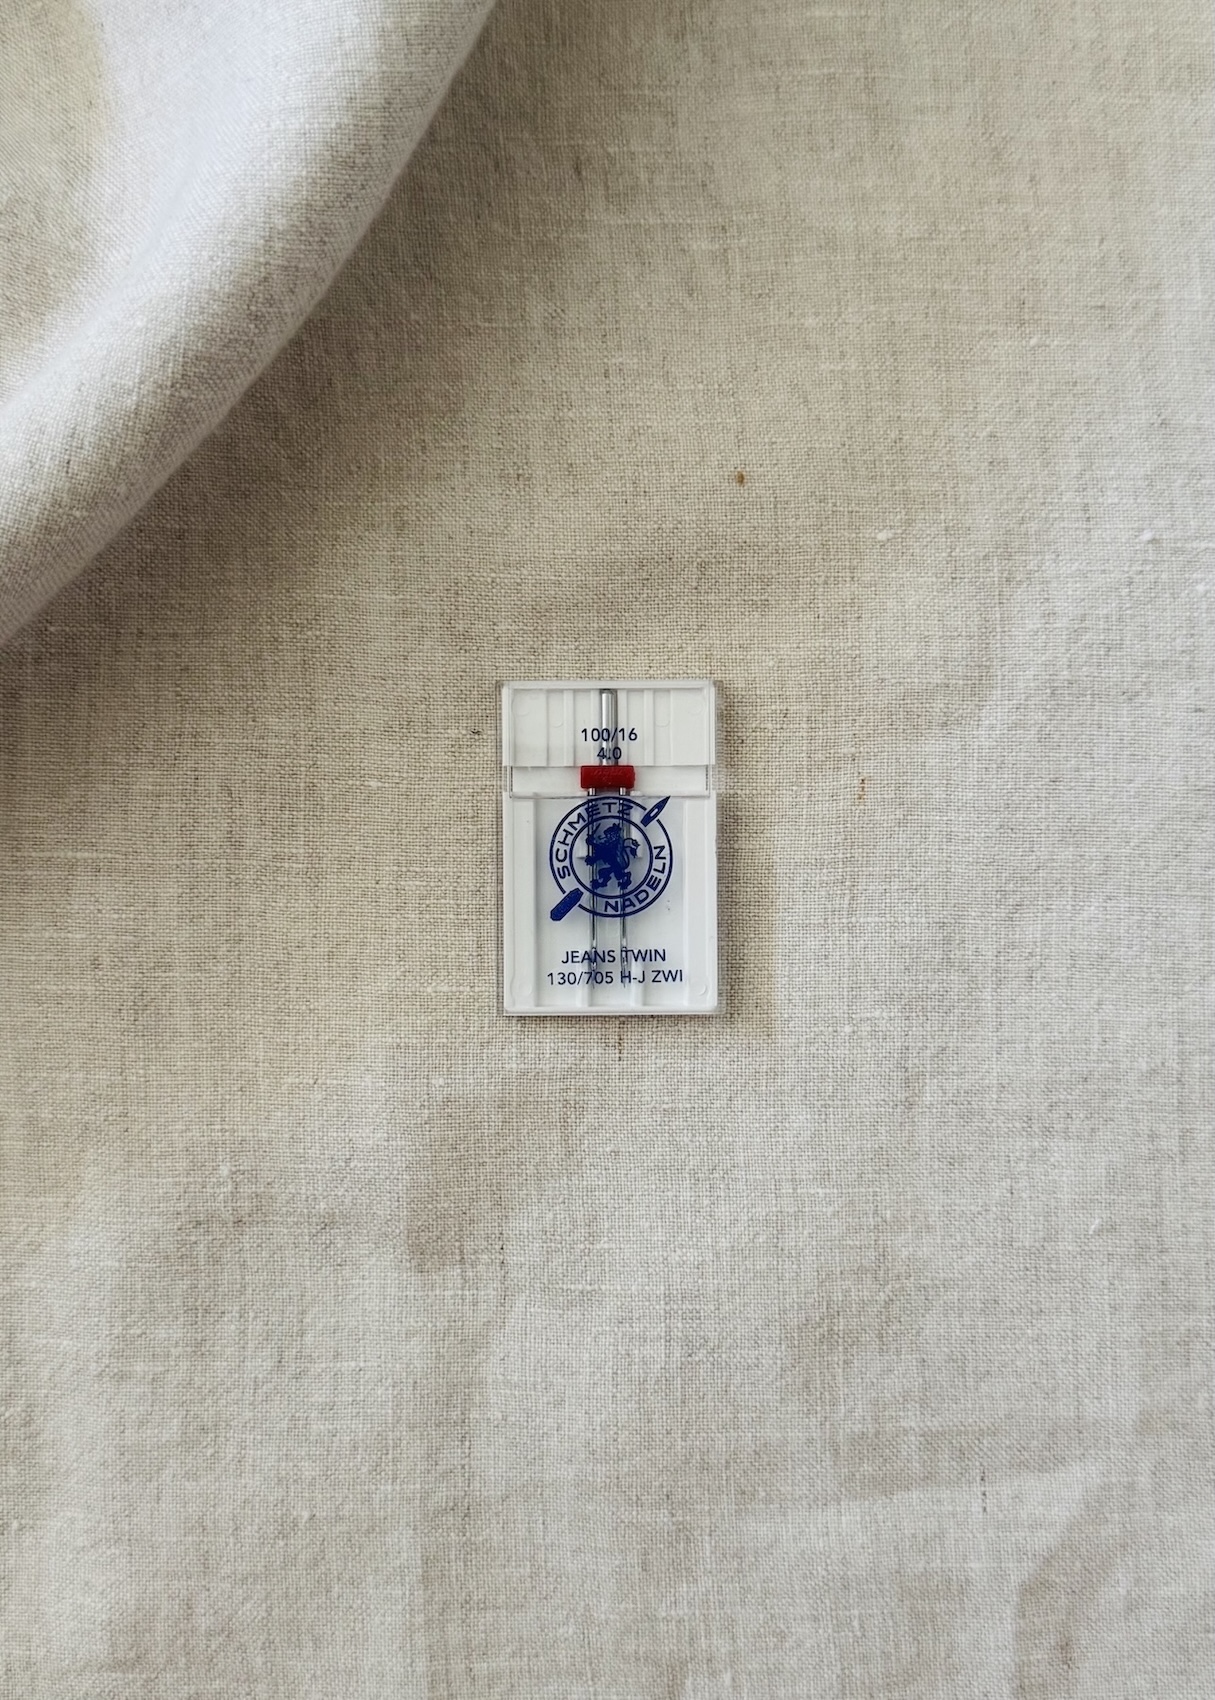
The needle above has a:
- Needle size of 100/16, meaning the needle is 1.00mm in diameter.
- Needle width of 4.0, indicating that there is a distance of 4mm between the two needles.
- Needle type of “Jeans” (see above description).
- Needle system of 130/705 H-J ZWI. Each letter and number group will tell you something:
-
-
- Most domestic twin needles will use the 130/705 H system. The ‘130/705’ indicates a needle with a flat back shank that can be used with most home sewing machines. The ‘H’ stands for the German word “Hohlkehle”, meaning “hollow groove”, and refers to the small indentation (or scarf) found on the needle.
- The J refers to the needle type, which in this case is “Jeans”.
- ZWI simply indicates that it is a twin needle.
-
If you are interested in finding out more about sewing needles in general, check out my article ‘Understanding Sewing Machine Needles’.
When Are Twin Needles Used?
- Sewing stretch fabrics: Twin needles are especially useful when sewing stretch and knit fabrics, in particular hemming. It is the zig zag stitching on the underside that allows the stitches to stretch with the fabric, helping to prevent the thread from breaking during wear.
- Topstitching and decorative finishes: The perfectly spaced rows of stitching that twin needles create are ideal for decorative topstitching on both knits and woven fabrics.
- Creating a tunnel: The space between the two rows of stitching can create a perfect tunnel when sewing through two layers of fabric. This channel can be used to thread narrow elastic for gathering or even insert boning.
How to Sew With a Twin Needle?
Equipment:
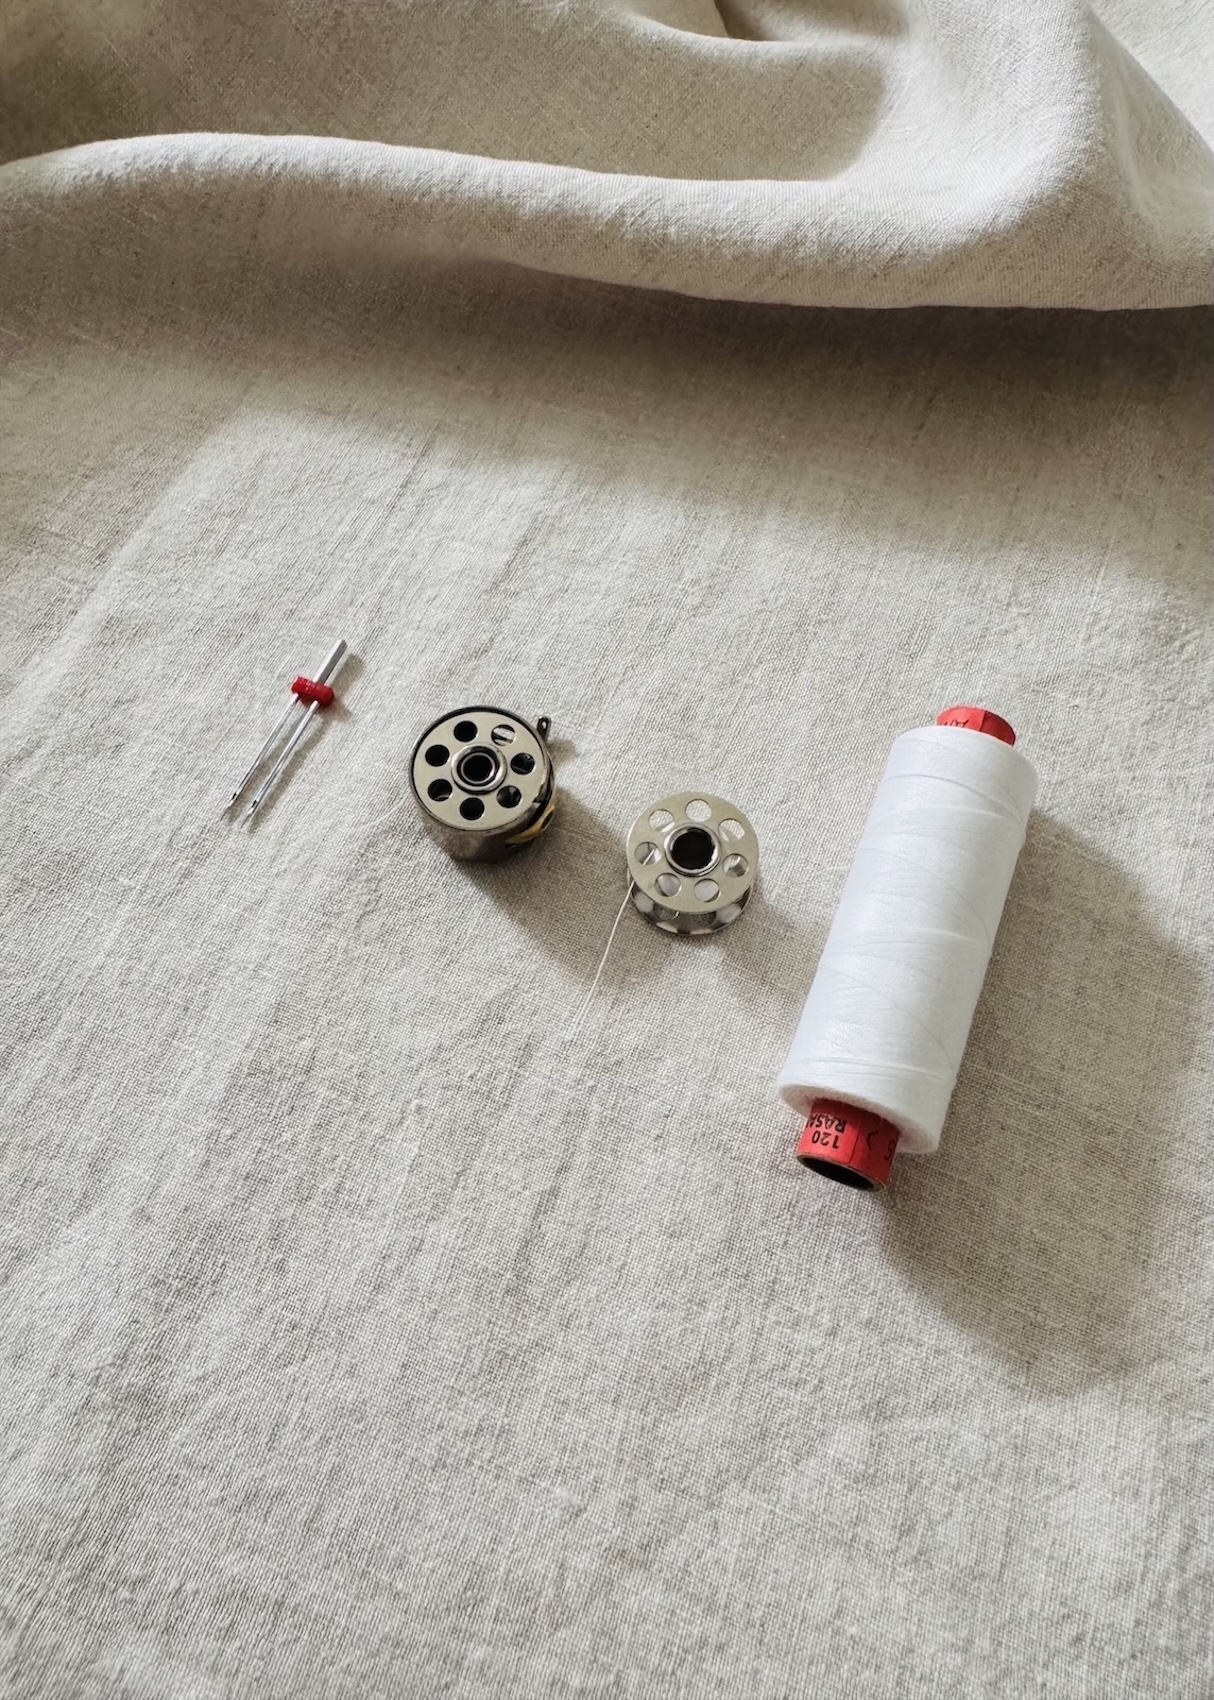
- A twin needle that is suitable for your project.
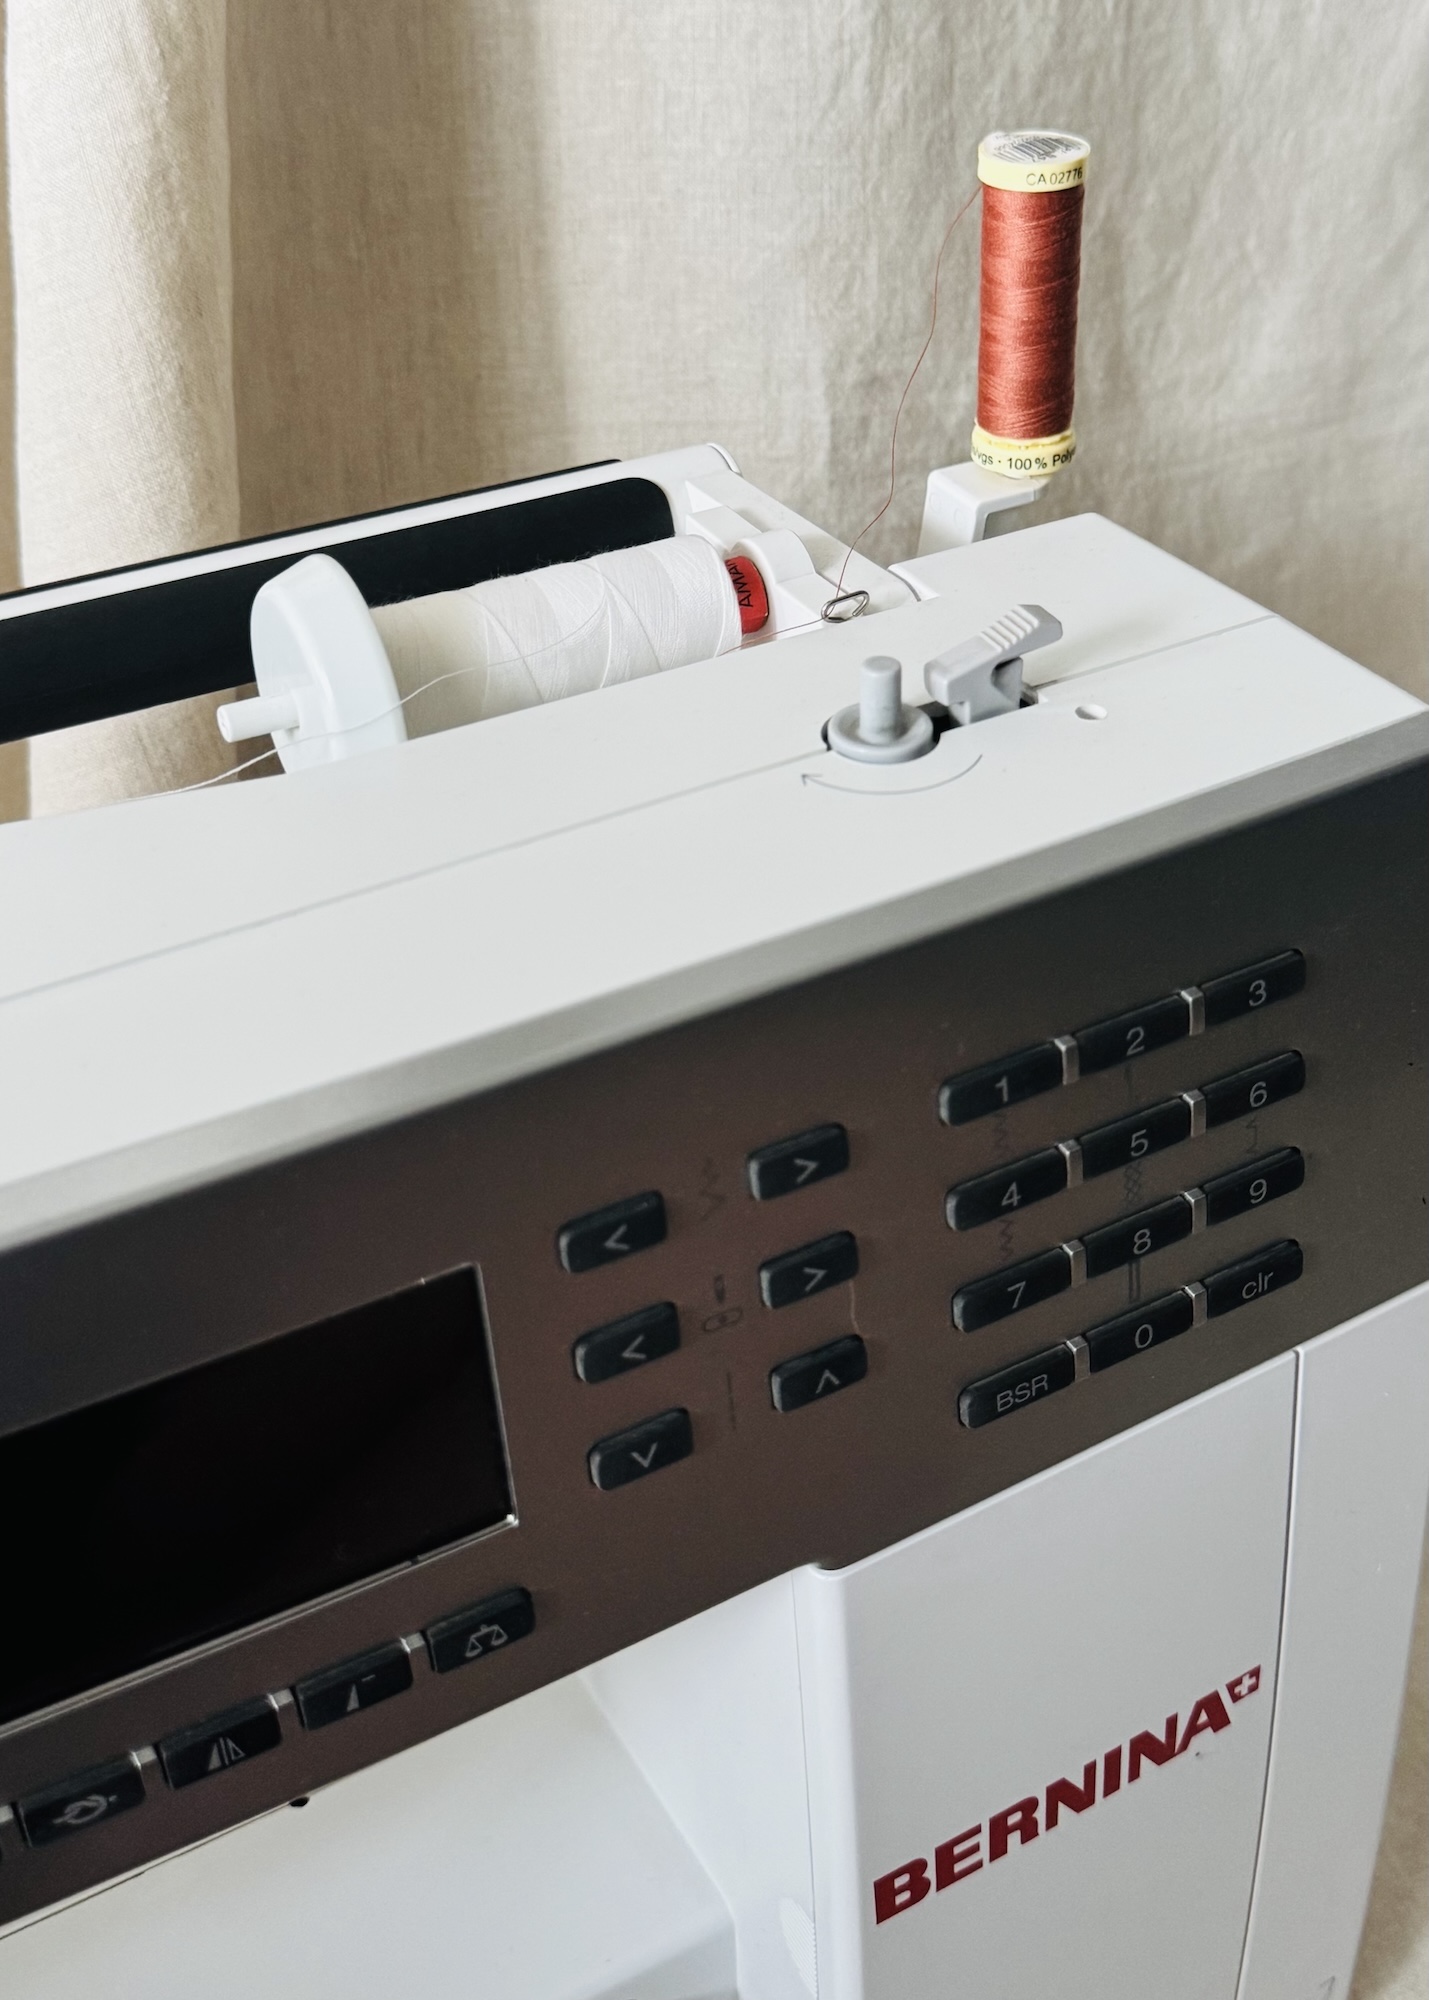
- Two spools of thread (or three in the case of a triple needle). If you don’t have a second spool of thread, simply wind some thread onto an empty bobbin.
- A threaded bobbin.
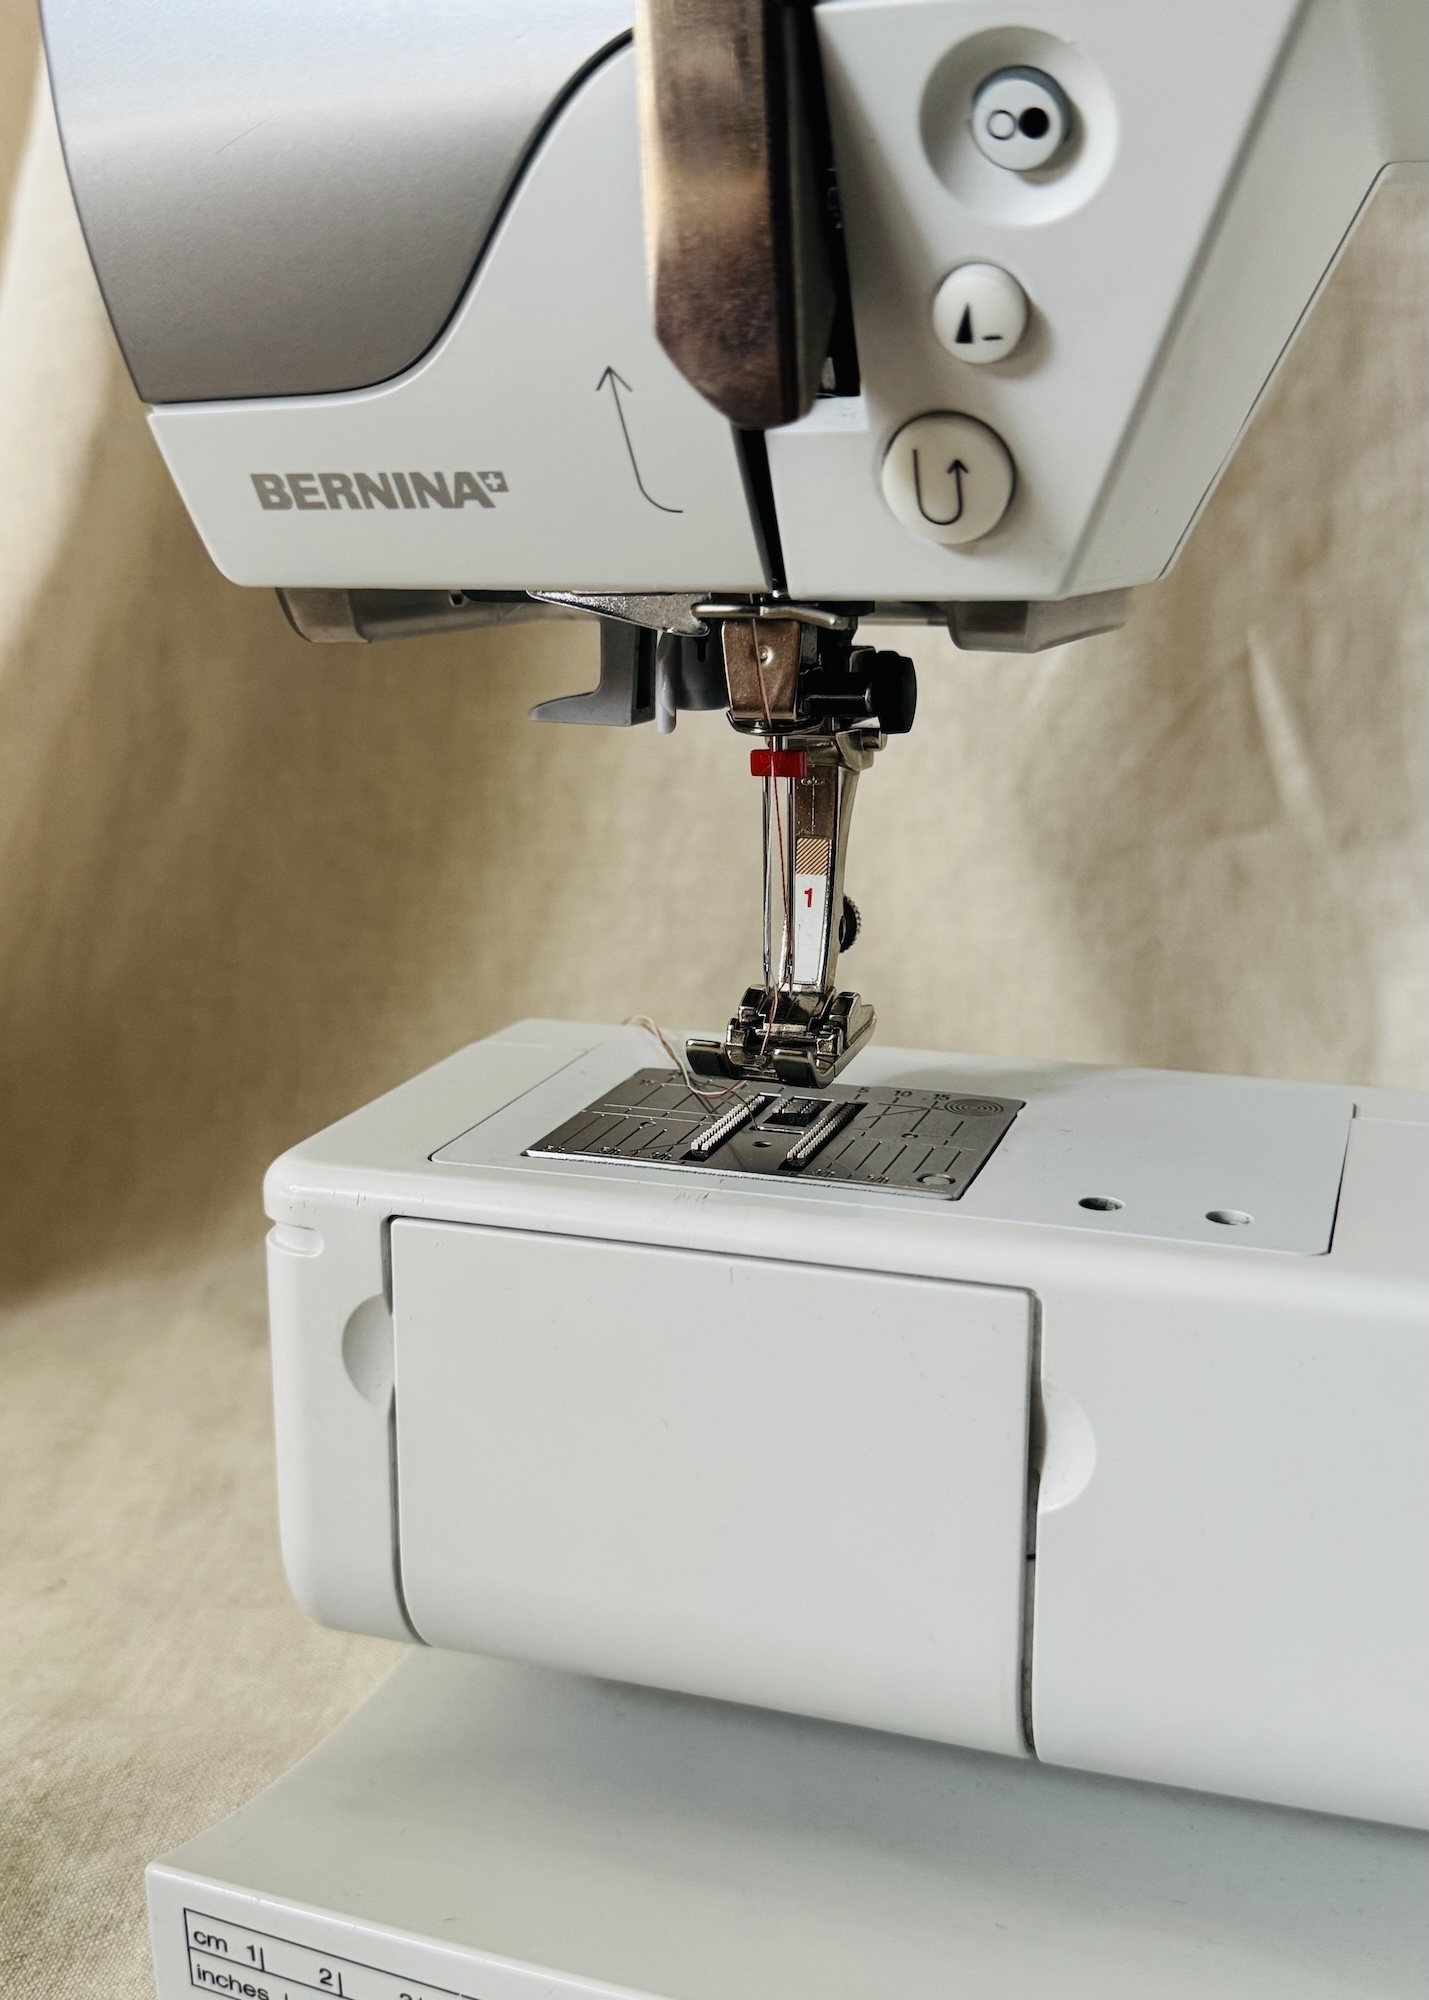
- Presser foot with a wide needle opening. I tend to use a Reverse Pattern Foot – (Bernina Foot #1), that has a wide needle opening. To check whether the presser foot is suitable, attach the twin needle and presser foot, then slowly lower the needles by turning the hand wheel. You want to make sure that the needles pass through the needle opening of the foot without hitting it.
For a guide on how to insert and remove, and thread a twin needle, check out my article ‘How to Thread a Sewing Machine: A Beginners Guide – Part 2’.
 Sewing:
Sewing with a twin needle is actually pretty straightforward. There are just a few settings and things to take into account:
1. Checking your machine: As I mentioned, twin needles come in a variety of widths so it is worth checking in with your machine and manual to ensure it can accommodate the width of the twin needle you plan to use. While my machine doesn’t have one, some machines also have a specific twin needle setting.
2. Needle position: Ensure your needle position is set to the centre to avoid the needles hitting the presser foot.
3. Stitch type: A twin needle should generally only be used with a straight stitch. You don’t want the needles to swing from side to side and hit the presser foot.
4. Stitch length: I always like to increase my stitch length a little, as a slightly longer stitch often produces a neater and more pronounced finish.
5. Sew from the right side of the fabric: Twin needle stitching has a right side (straight stitching) and a wrong side (zig zag stitching), so you have to sew from the right side of the fabric.
6. Test your settings: As always, I recommend testing your stitching on a scrap of the same fabric, using the same number of layers as your final project. Check the appearance of the stitching, the tension, the spacing between the rows, and whether the fabric tunnels or puckers.
7. Align your stitching: Because you are stitching from the right side of the fabric, correct alignment can be a bit trickier, especially when hemming. To help guide your stitching, you can always just use the seam allowance markings on your needle plate, or (as I often do) place pins along the desired stitching line as a visual guide.
8. Take it slow: Sew at a slow, steady pace to ensure the stitching is neat and even.
9. Broken or damaged needles: Unfortunately twin needles come as a package deal so if one needle is broken or damaged, the whole thing needs to be replaced.
Troubleshooting:
Here are some common problems that can arise when using a twin needle and a few simple fixes you can try:
1. Double check the basics: If you are having any issues, I always recommend checking the basics and ensuring you are using good quality thread, the correct needle type and size for your fabric, and that the machine is threaded correctly.
2. Tunnelling: If your stitching is creating a raised ridge (like a tunnel) between the two rows of stitching, this could be the result of the bobbin thread being too tight, resulting in the straight stitches being pulled together. You could try:
- Reduce the bobbin thread tension.
- Increase the stitch length slightly.
- Adjust the presser foot pressure.
- Use a narrower twin needle, as a smaller needle width is often less prone to tunnelling.
- Give the finished seam or hem a good press with steam.
- Add a stabiliser underneath the fabric while sewing.
3. Wavy seams or hems: If the fabric ripples or stretches as you sew. You could try:
- Reduce the presser foot pressure.
- Increase the stitch length.
- Sew with a stabiliser.
Tip: This happened to me recently when hemming a stretch sweatshirt fabric. The fabric kept rolling upwards and outwards, resulting in a really unattractive edge finish. I simply ironed on a stabiliser, specifically ‘Stretchfix’ from Vlieseline, to the hem before stitching. I found it solved the curling issue, and also made the overall hemming process that little bit smoother.
Twin needling can really elevate your sewing projects, creating a really professional-looking finish. While twin needles may look a little intimidating at first, they are much easier to use than they appear. With a little practice, some patience, and a few simple adjustments, they can become a really useful (and fun) tool to add to your sewing kit.
Hopefully, this article has been helpful in introducing these needles, and given you the confidence to give them a try. Happy twin needling!




6 Comments
I found several useful ideas to consider this morning and I look forward to reading more from you
Thank you! I am glad you found it useful.
Great article.
Thank you! I am glad you liked it.
I’ve never sewn with a twin needle and this will be helpful information when I try it for the first time.
Hi Karen, I’m so glad you found this article helpful! Twin needles can seem a little tricky at first, but once you get the hang of them, they can actually be kind of fun to sew with.