
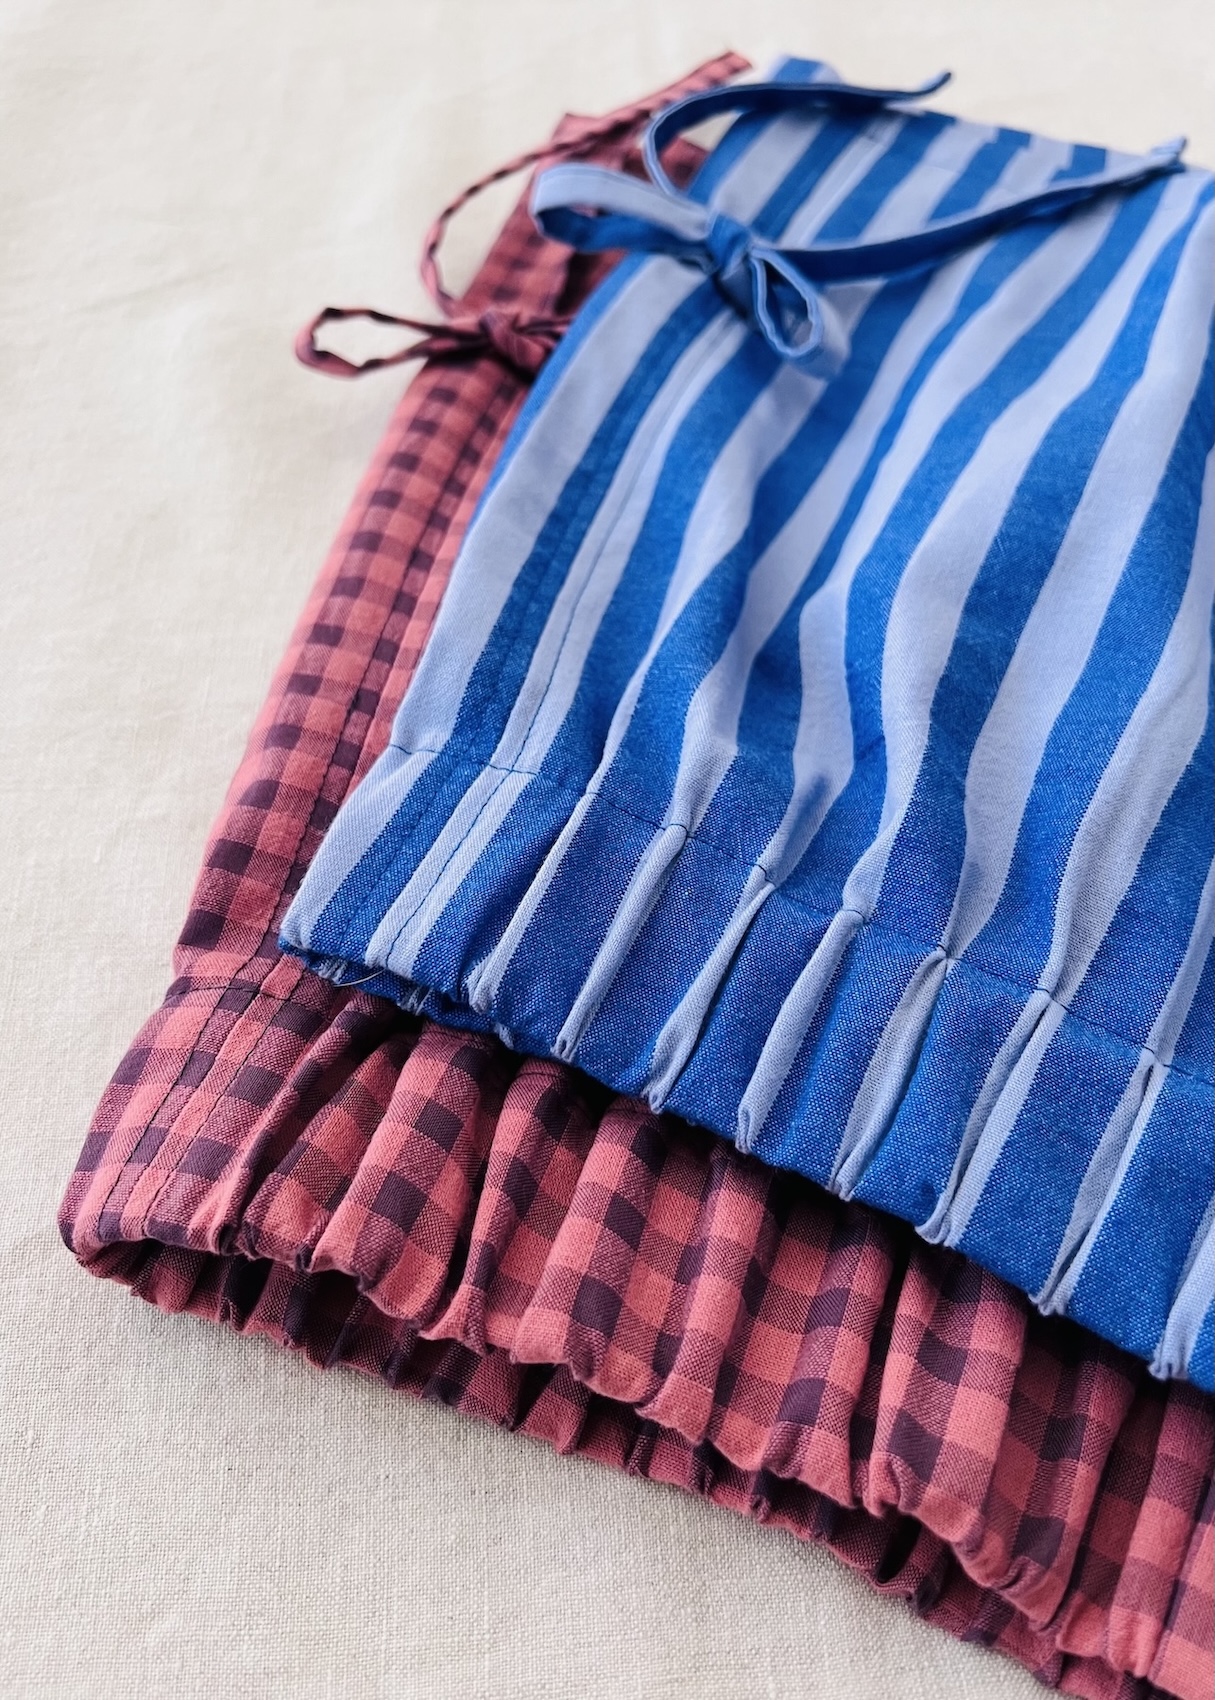
I love the comfort of an elasticised pant. But there is nothing more annoying than when the elastic twists and rolls around inside the waistband casing.
It happened to me just the other week. I was stuck wearing a pair of trousers all day at work with the waistband constantly twisting and folding over on itself. It was uncomfortable, I was forever stopping to readjust it, and it just didn’t look good.
If you’ve ever experienced this, you know exactly how frustrating it can be.
The good news is that there are a few simple things you can do to help prevent it from happening.
Why Does Elastic Twist and Roll?
The most common causes of elastic shifting around within a waistband include:
- The wrong type of elastic: There are so many different types available, from knit, woven, braided, and specialty (just to name a few). That’s not to mention varying widths, compositions, and qualities. Some are just simply more prone to twisting and rolling than others.
- Incorrect measurements: The size of both the elastic and the casing can play a big role. For example, the elastic may be too tight, causing too much tension, which can result in it folding over on itself. Or the waistband could be too wide meaning the elastic has too much room to move around. Or the elastic could simply be too narrow.
- It not being anchored: If the elastic isn’t anchored to the waistband it is free to slide around and move within the casing.
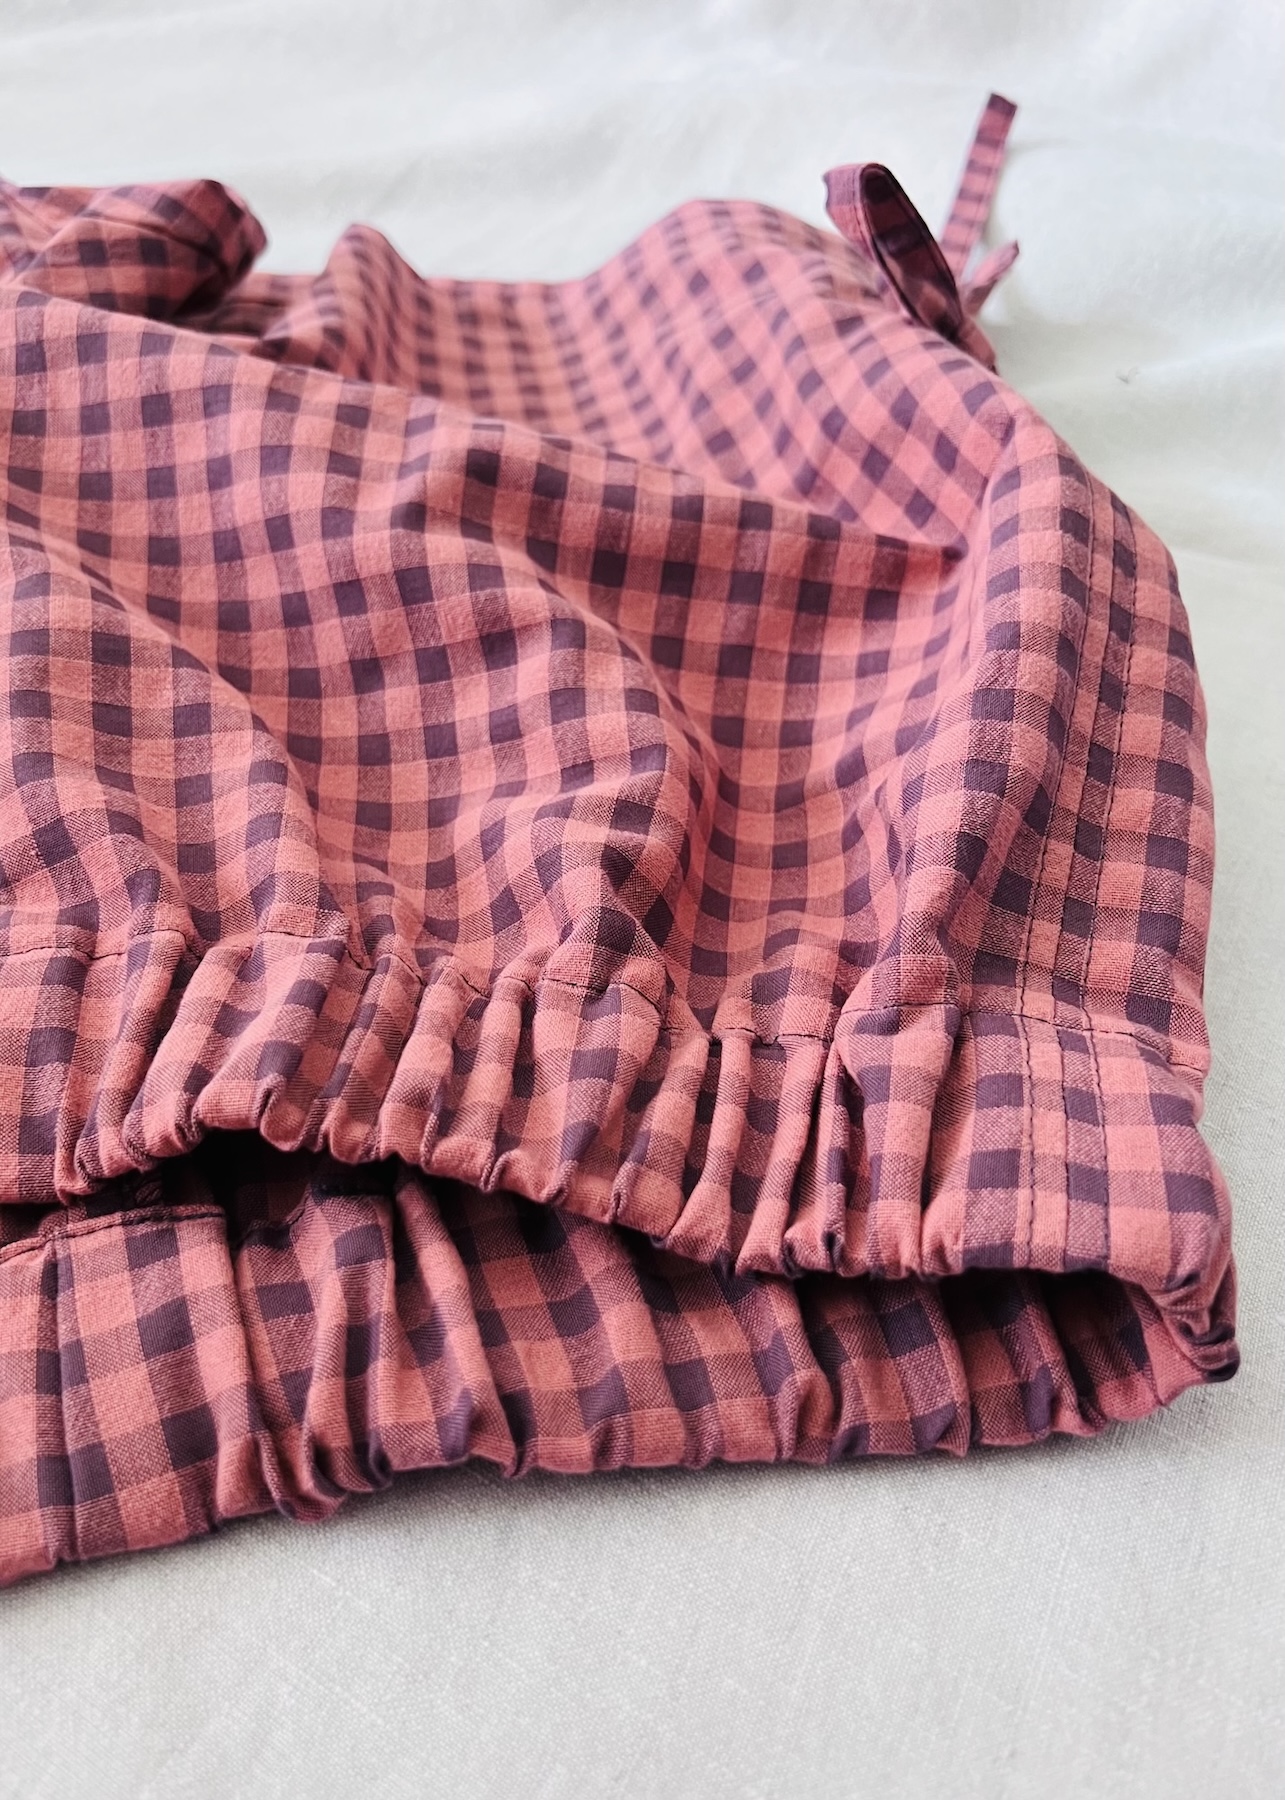
How to Stop Elastic from Moving Within the Waistband
Fortunately, there are several things you can do to keep your waistband elastic lying flat and being comfortable to wear.
Buy non-roll elastic
I think this is key.
Obviously, you need to take into consideration the project and the fabric you are using, but generally speaking for a standard waistband, I always recommend using a firmer, stiffer woven elastic, specifically one that is labelled non-roll.
The benefit of using a non-roll woven elastic in this instance is that it:
- Maintains its full width when stretched, offering good stretch and recovery.
- Comes in a variety of widths.
- Doesn’t roll, twist, or collapse inside a casing or channel.
- Can be sewn through without losing structure (just use a slightly stronger needle, as it can be quite thick and dense.
I am not going to go into too much detail here on different types and properties of elastic as I have already covered this in an earlier article “Sewing Essentials: Understanding Different Types of Sewing Elastic”. Check it out if you want to find out more.
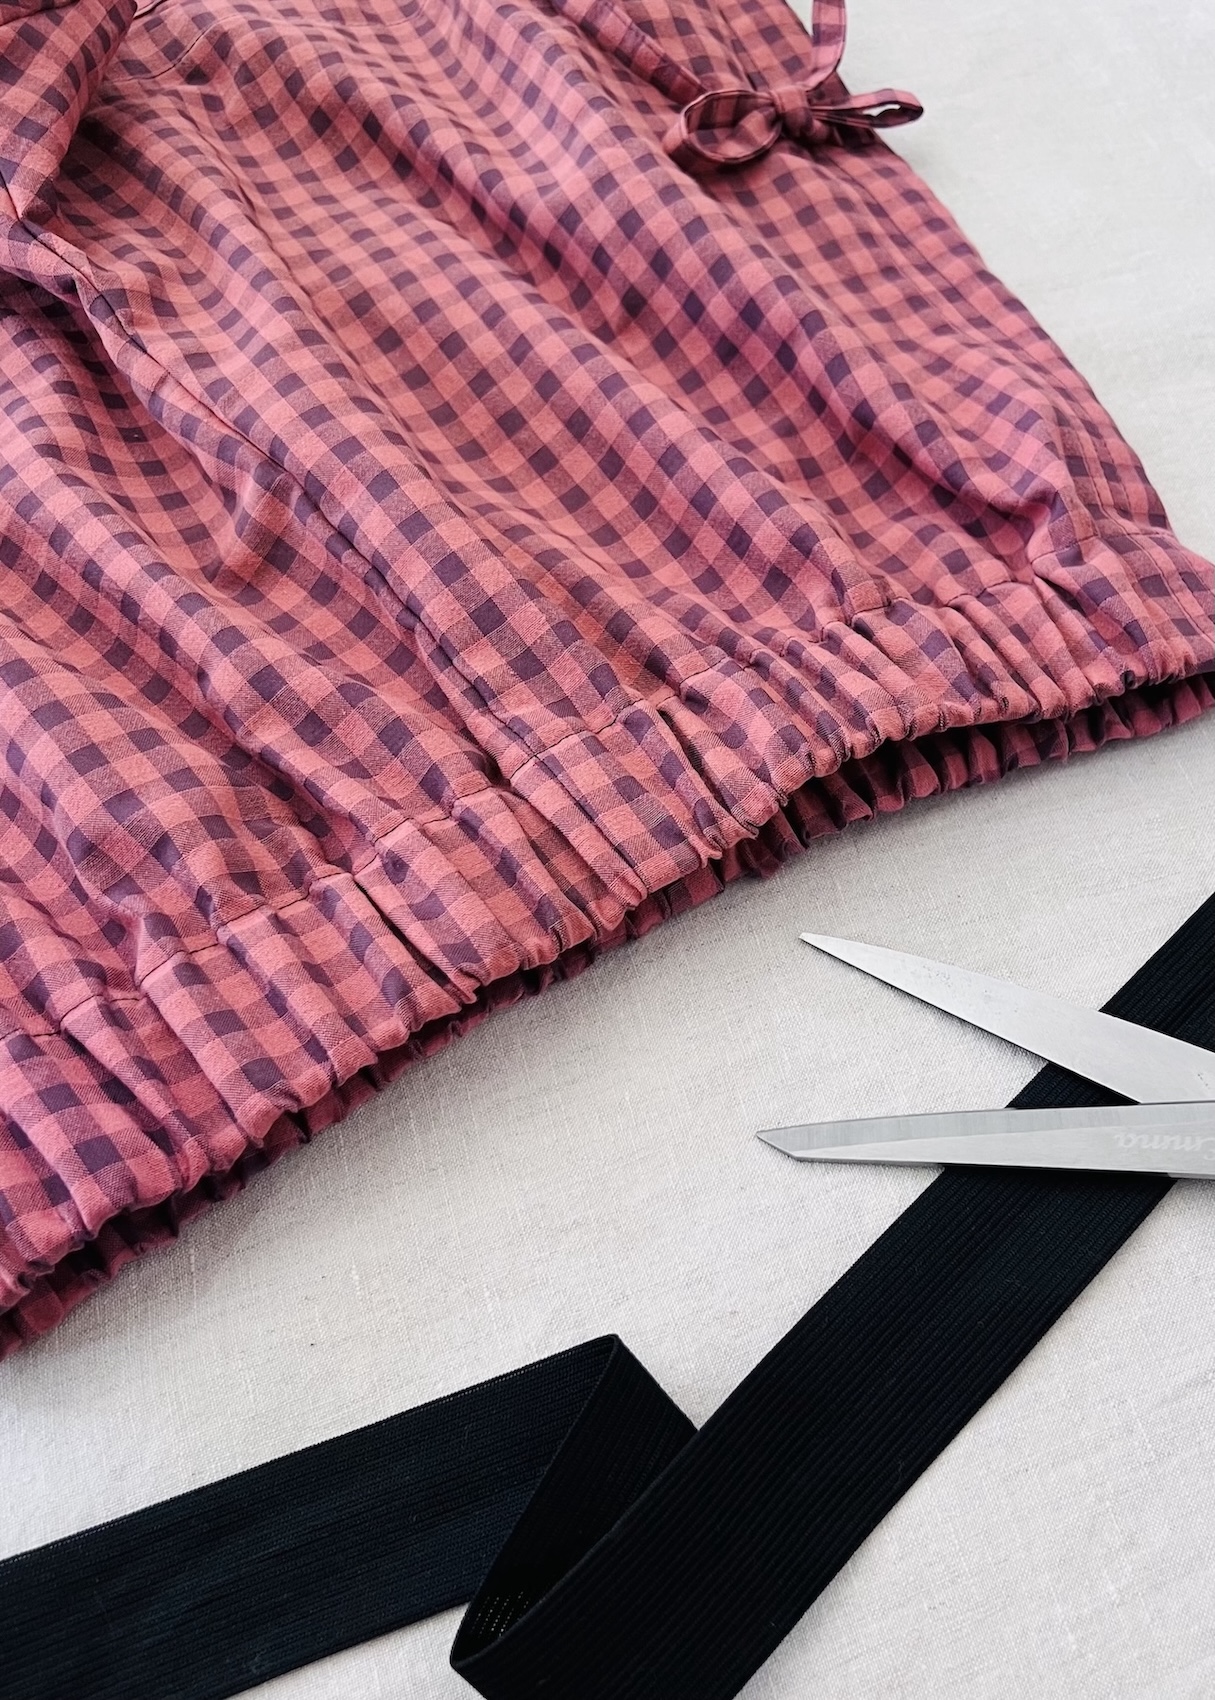
Ensure the elastic and the waistband are the correct widths
When it comes to choosing the correct width of elastic for the waistband casing, ideally, the elastic should only really be a few millimetres narrower than the finished waistband casing it is being threaded through. It should fit snugly but not be too tight.
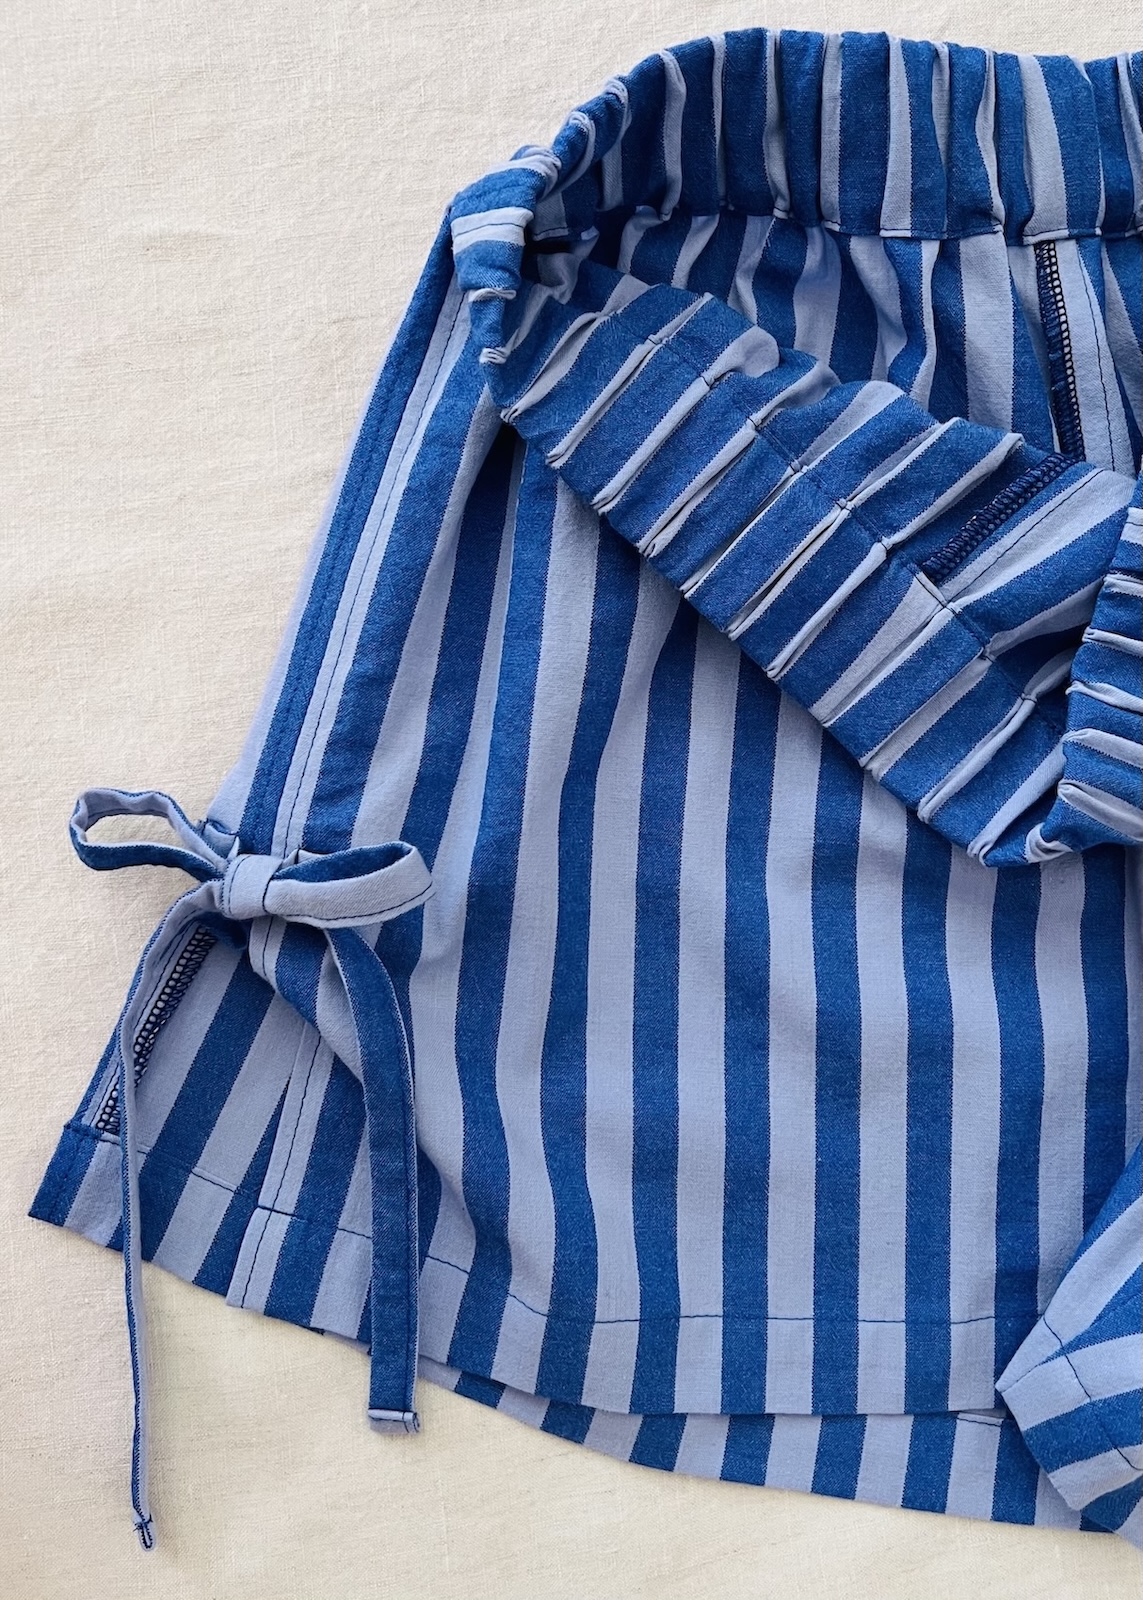
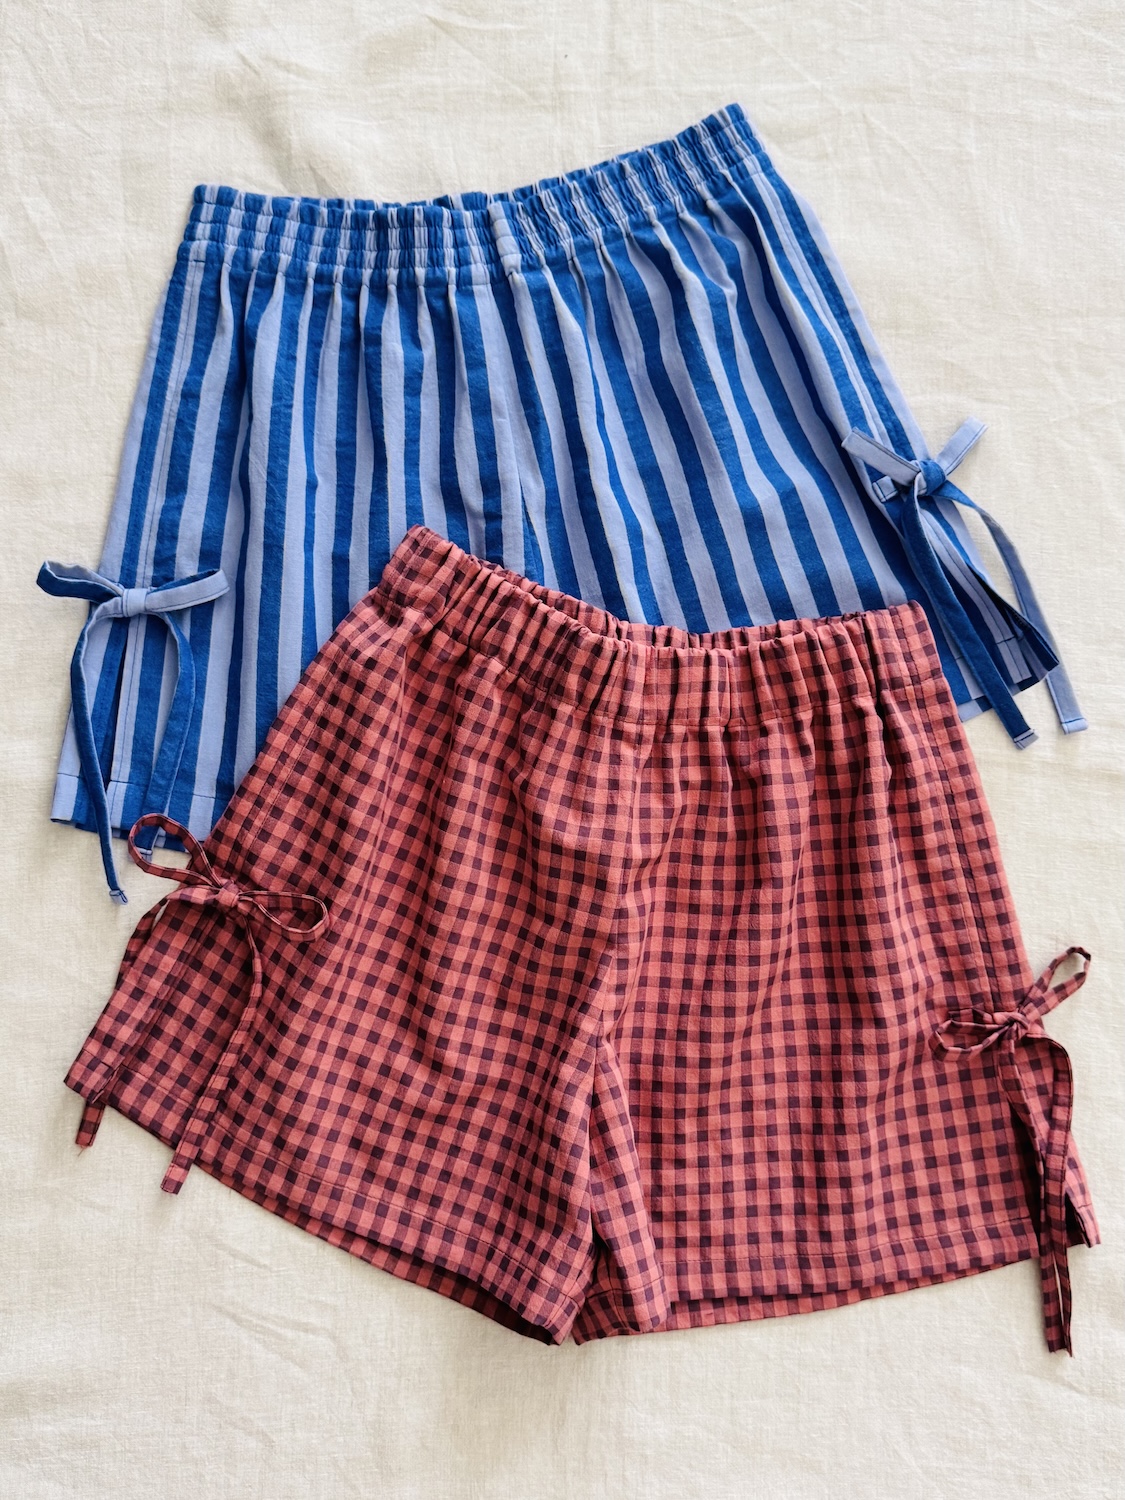
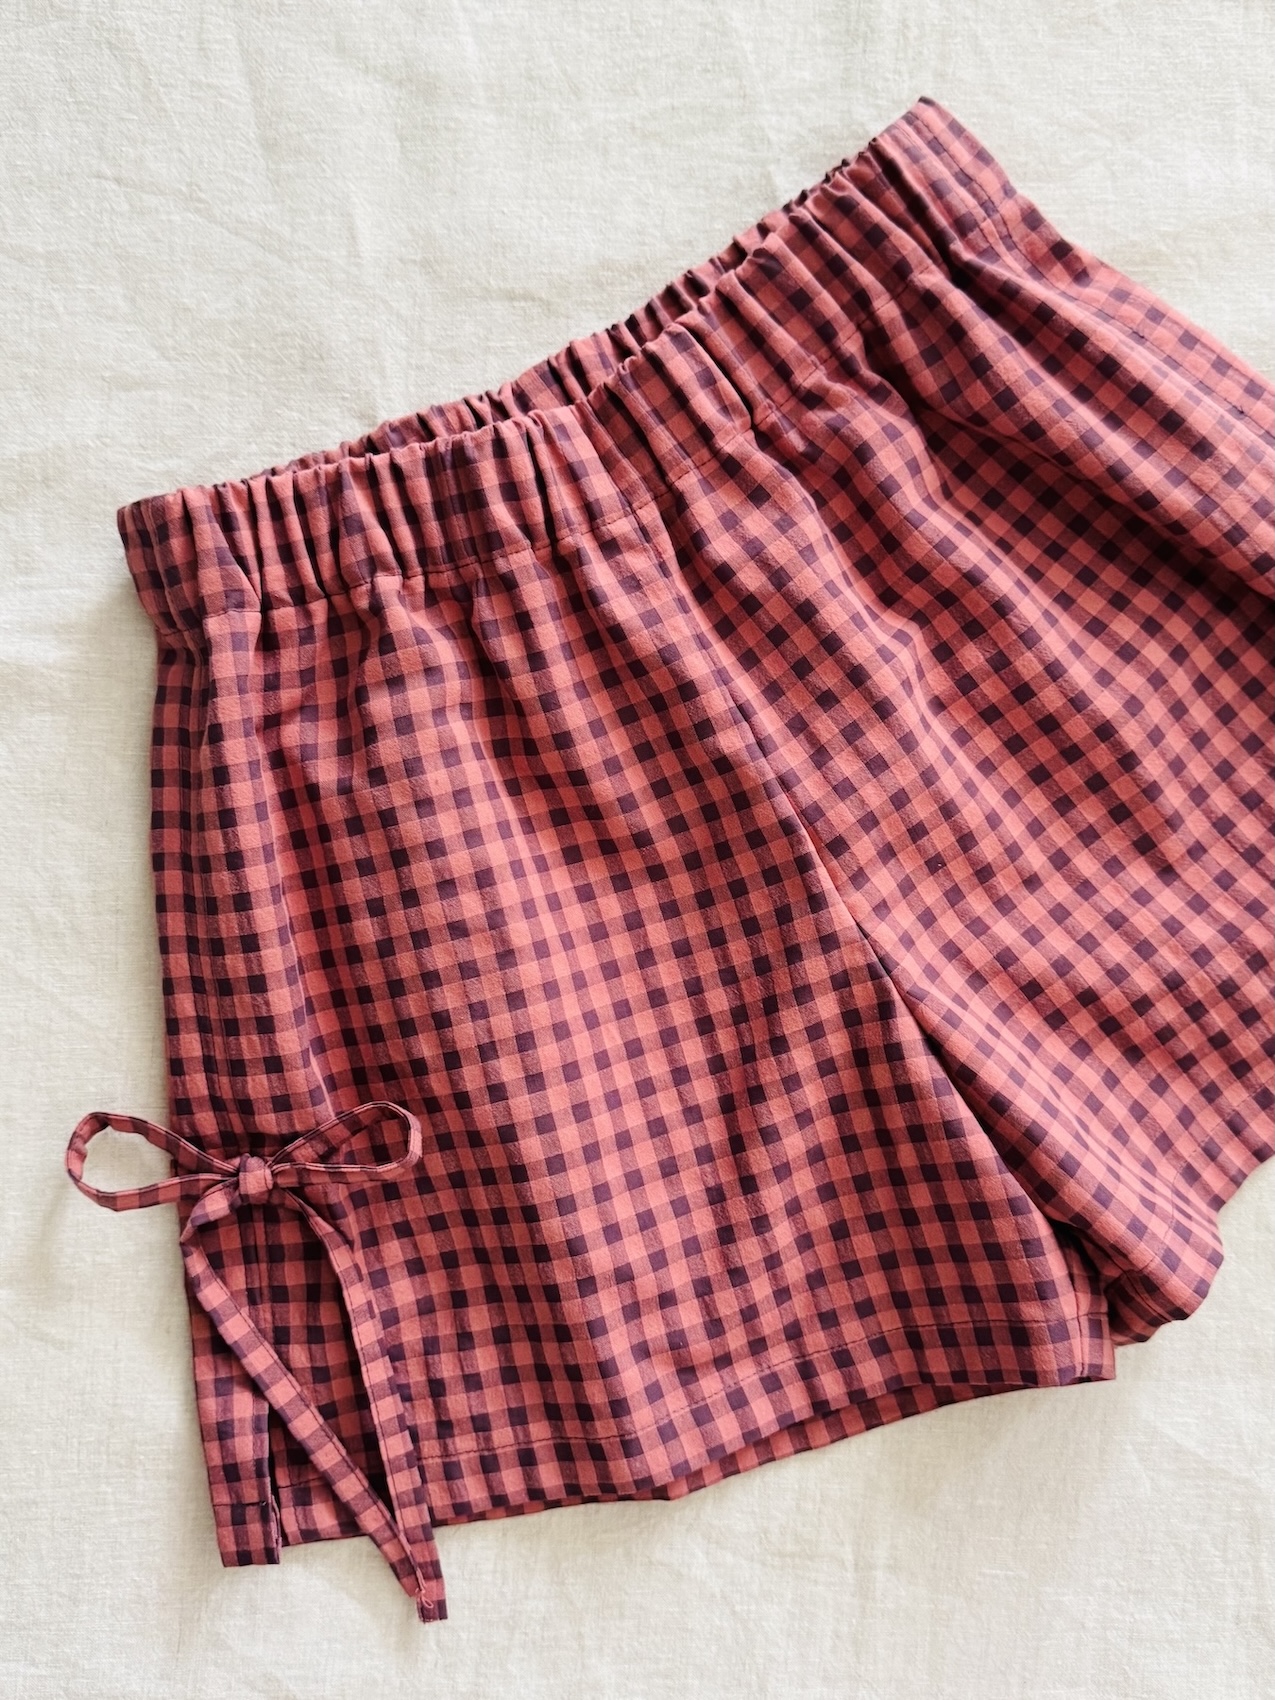
Note: I am getting ready for a summer getaway so will be demonstrating the following two different methods on a couple of pairs of elasticised waist shorts I have been’ working on. In explaining the steps involved, I am assuming the waistband has already been constructed, with the elastic inserted and the waistband opening closed.
 Anchor the elastic to the waistband
This is a simple, and generally invisible, way of securing elastic inside a waistband and preventing it from twisting or rolling.
This method simply involves stitching the elastic to the waistband at pre-sewn seams. This could be the side seams, the centre front, or centre back. As you are essentially sewing directly through an existing seam line (also known as stitching in the ditch), the stitching is almost invisible from the right side of the garment.
 How to do it:
1. Stretch the waistband: I like to stretch the waistband over an ironing board to help distribute the fullness of the fabric evenly around the elastic. You want to prevent one section of the waistband from having more fullness than another.
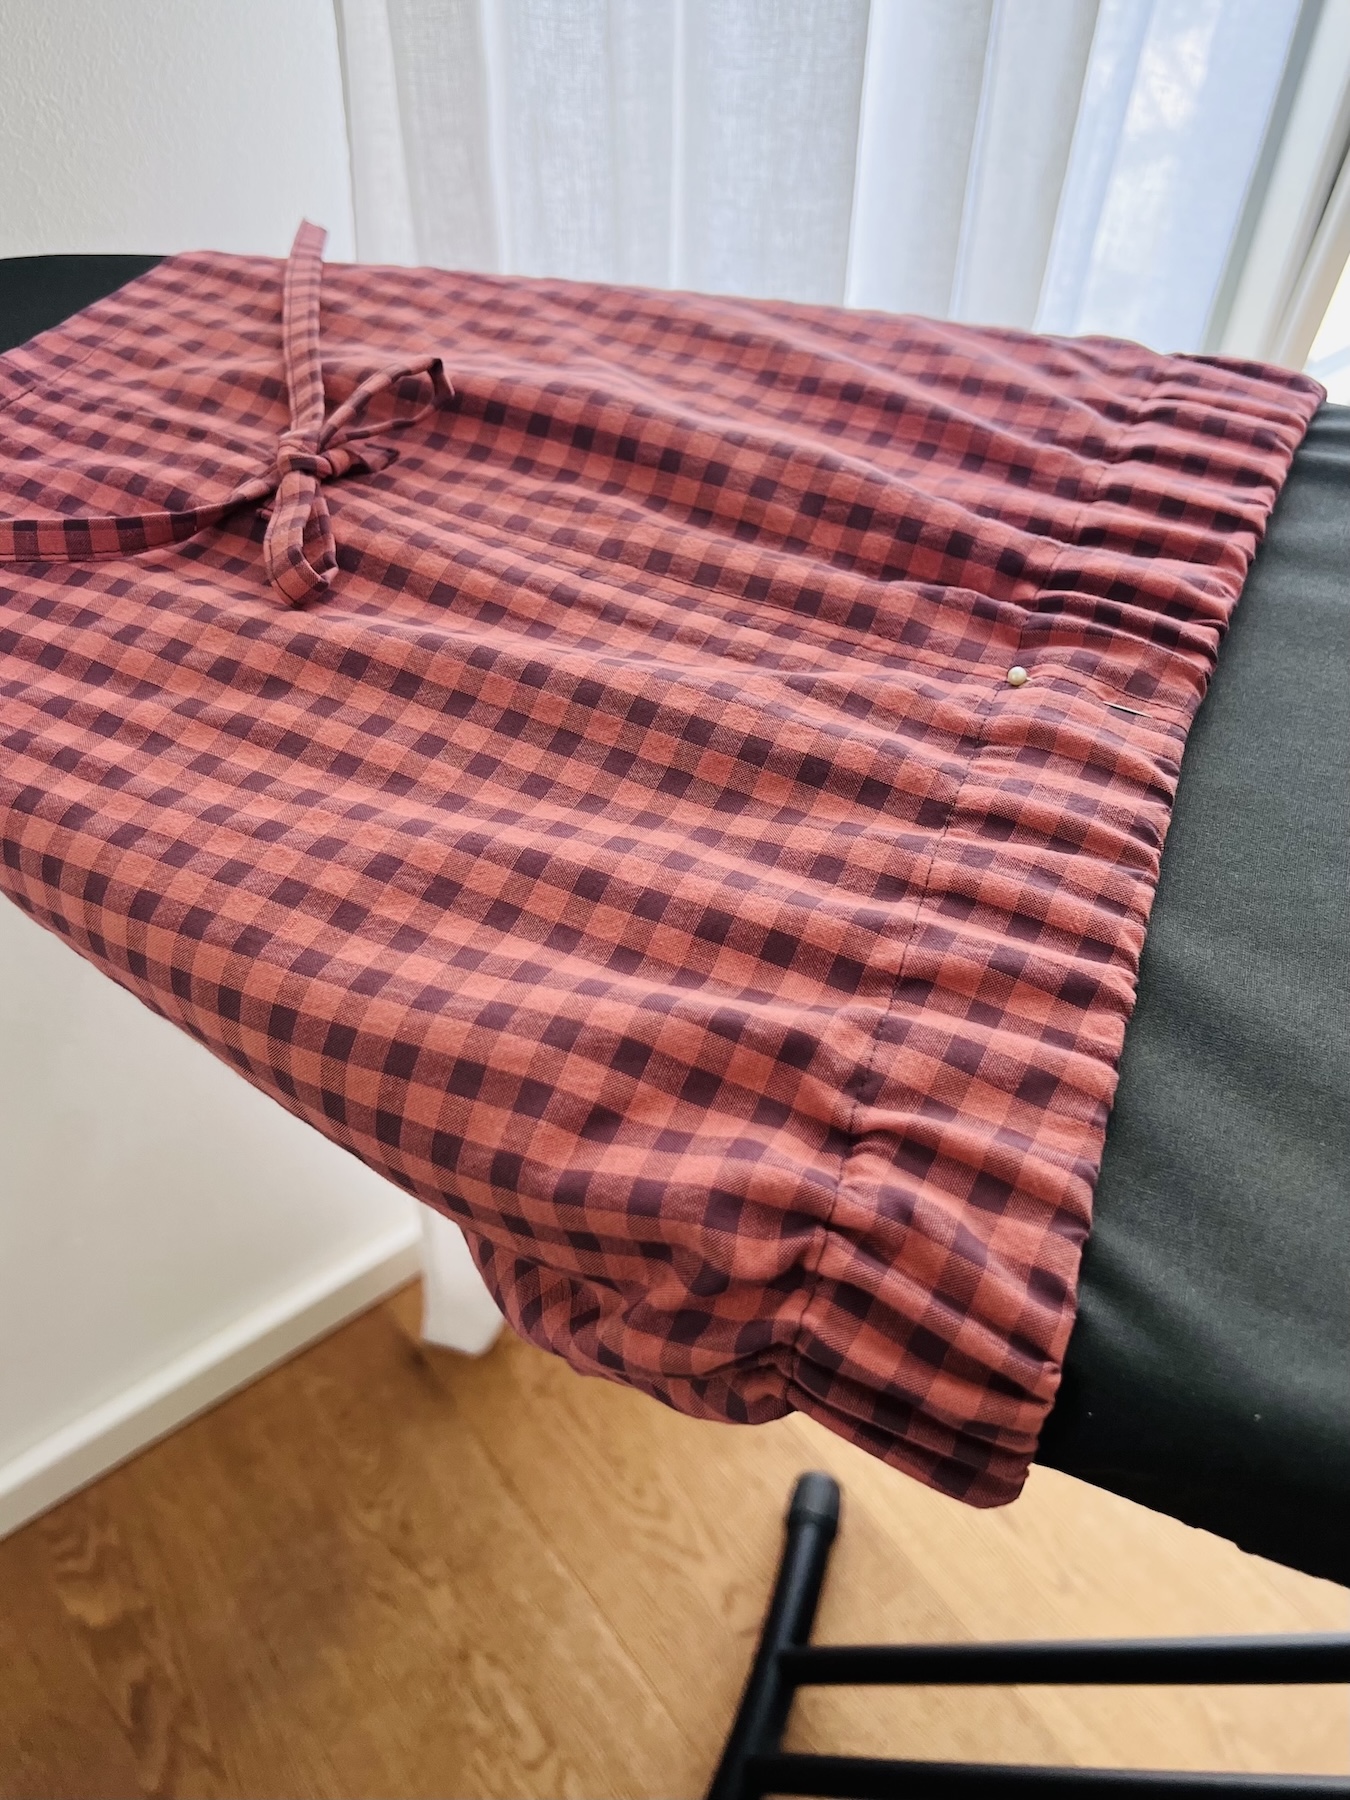
2. Pin in place: Insert pins through the waistband at the points you want to anchor. In this example I have pinned the side seams, and the centre front and back. I recommend pinning on the right side as this is the side you will sew from. You want to make sure that the pins pass through the seam on the right side of the garment, the elastic, and the seam on the wrong side. You could also tack in place instead of using pins.
3. Release the waistband: Allow the waistband to return to its natural shape.
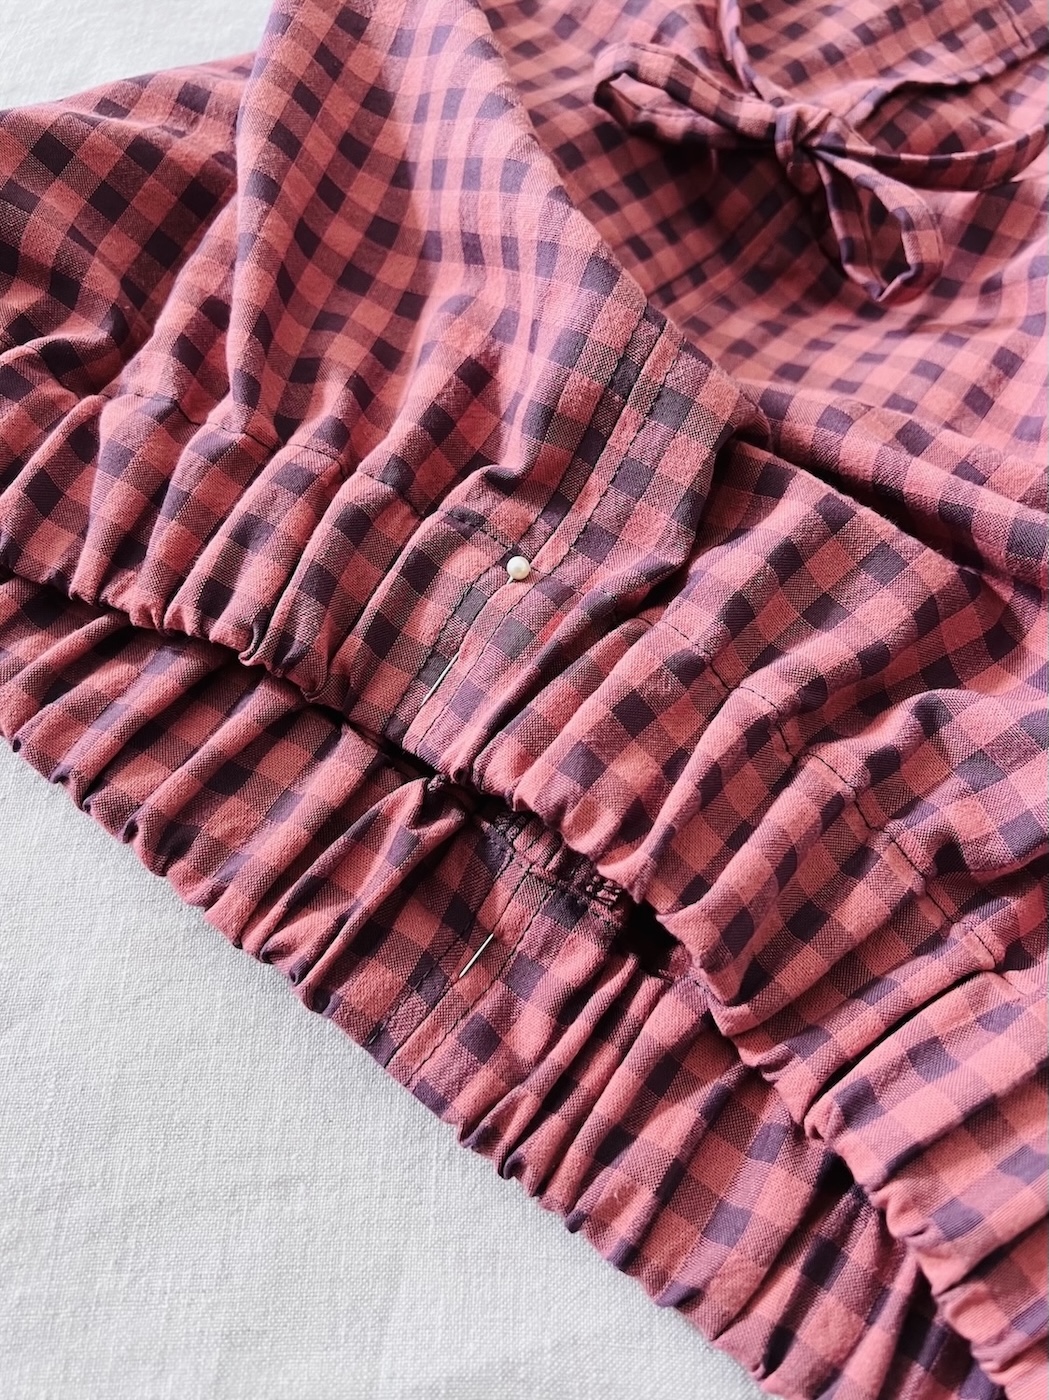
4. Sew: You want to sew in the ditch, following the existing seam line as closely as possible. This secures the elastic while keeping the stitching virtually invisible. As you will be sewing through multiple layers of fabric and thick elastic, I recommend increasing your stitch length.
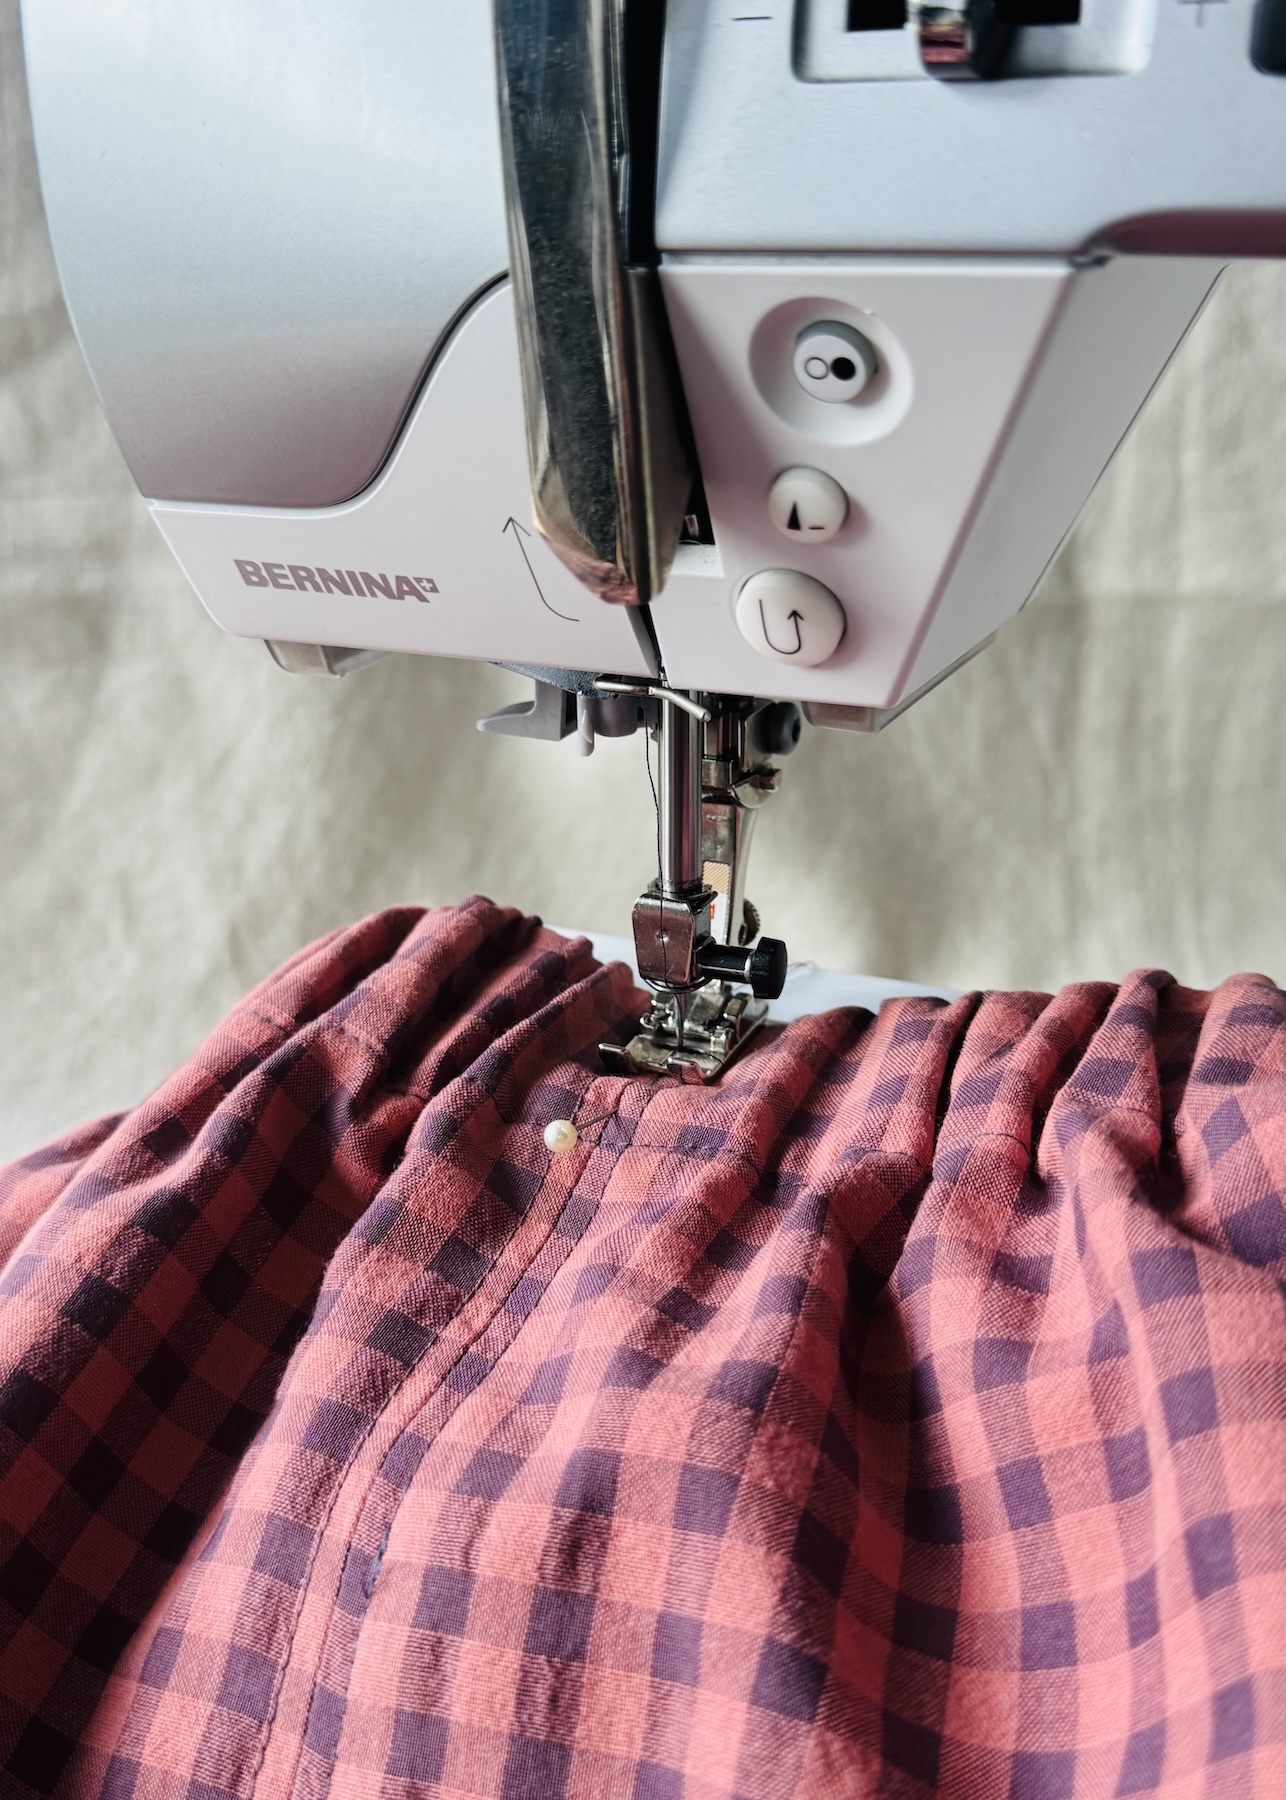
Stitch through the waistband
This is another common way of anchoring elastic, and it’s the method that the particular pattern I am demonstrating on recommends.
This method involves sewing one or more horizontal rows of stitching around the circumference of the waistband. It creates a really secure finish, with no chance of the elastic rolling or twisting. However, it is slightly more fiddly, particularly while sewing, because you’ll need to stretch the elastic as you sew.
Unlike stitching in the ditch, the rows of stitching are visible on the outside of the garment, but this also gives you the opportunity to turn the stitching into a bit of a design feature.
Again, I’m assuming the waistband has already been constructed, the elastic inserted, and the opening closed.
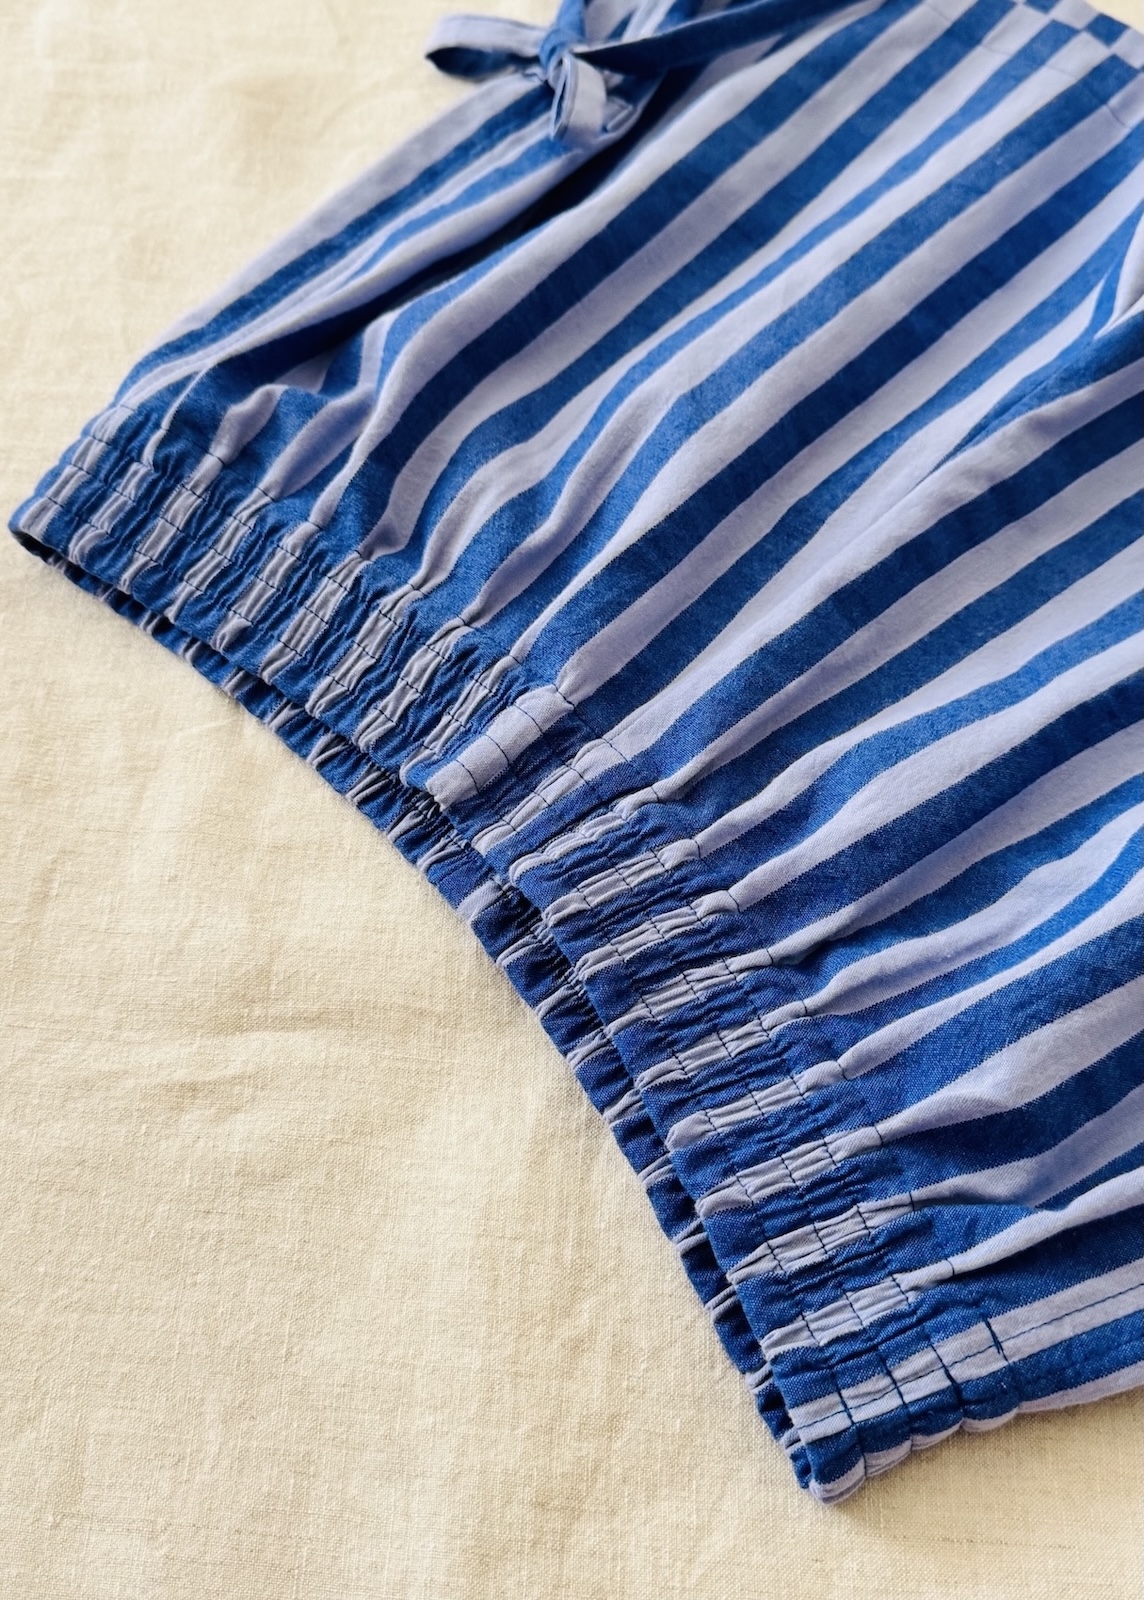
How to do it:
1. Stretch the waistband: Again, I like to stretch the waistband over the ironing board to distribute the fabric gathers evenly around the elastic.
2. Pin in place: Pin the waistband and the elastic together at even intervals around the circumference on the right side of the fabric. I like to start by pinning the halfway points, then quarter points and so on. You can add more or fewer pins as required to keep everything even.
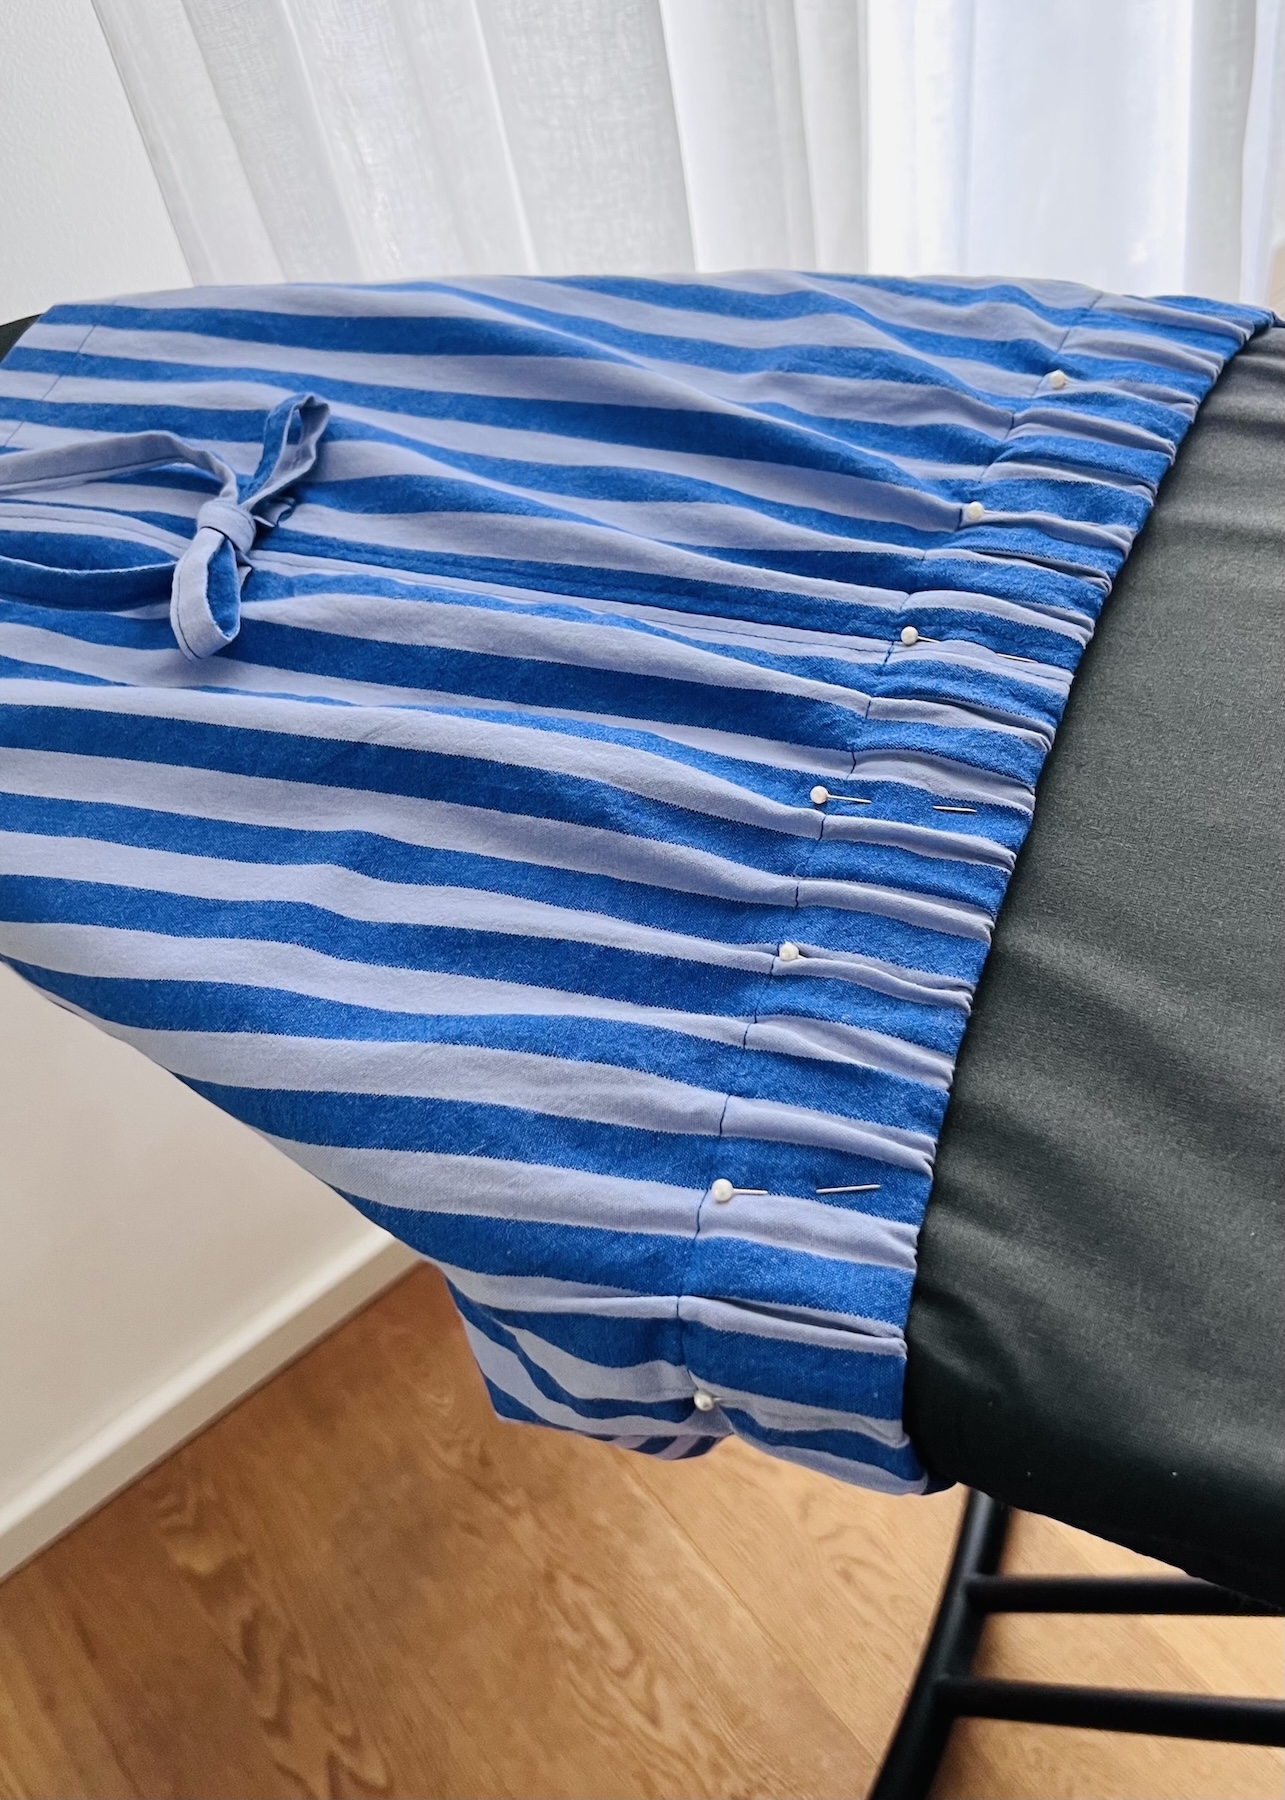
3. Release the waistband: Allow the waistband to return to its natural shape.
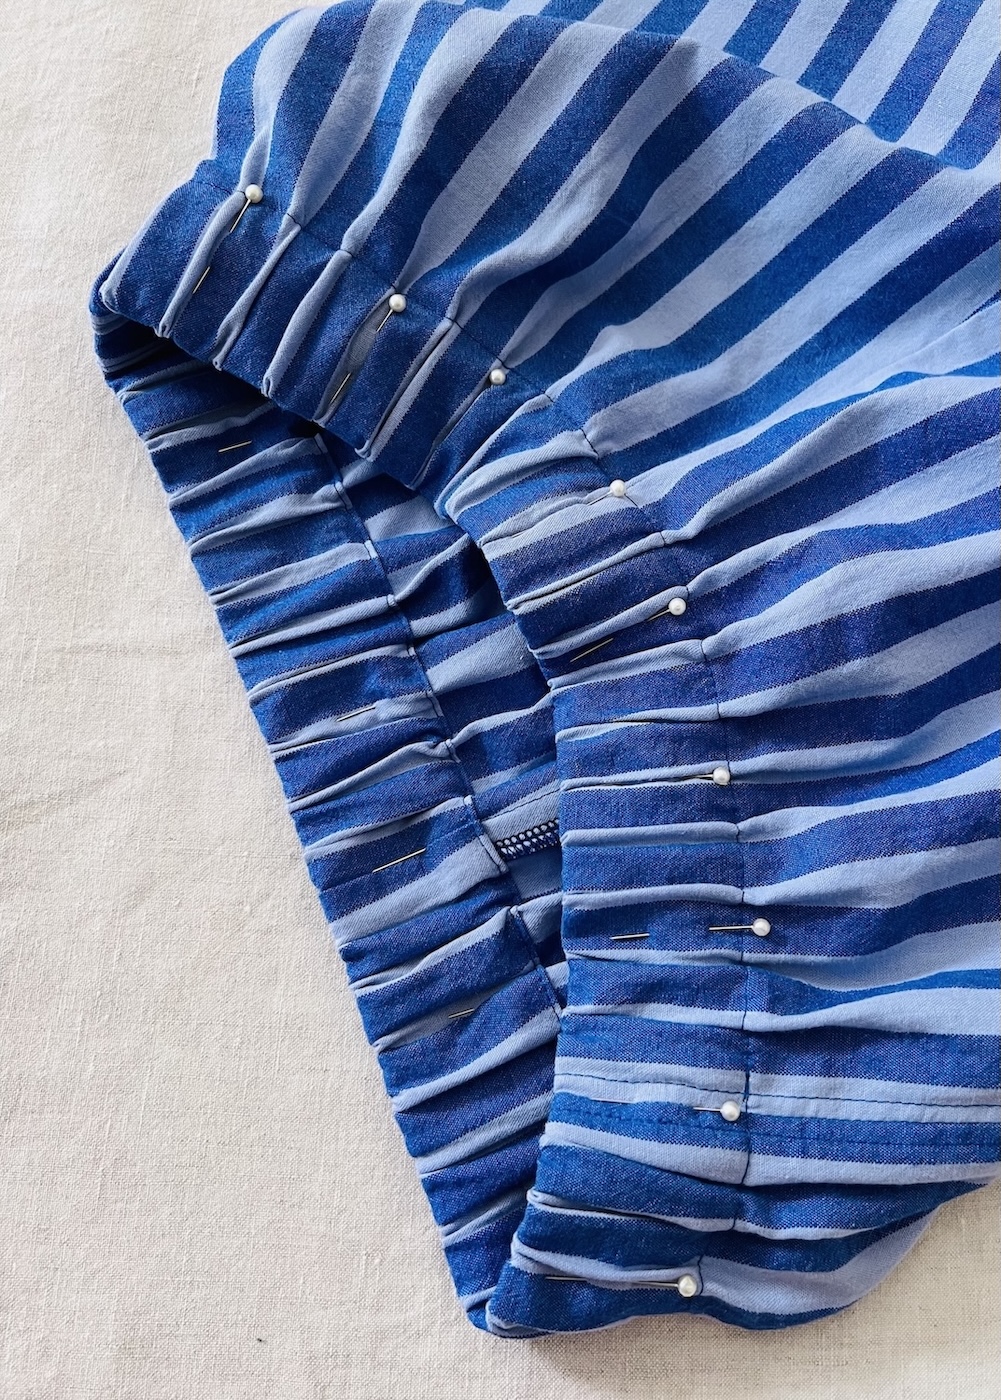
4. Stretch and sew: Using a longer stitch length, sew from the right side of the fabric around the circumference of the waistband. You want to gently stretch the elastic as you sew so that it sits flat under the presser foot and you avoid any tucks. Try to apply a consistent amount of tension as you sew to ensure the elastic and fabric is distributed evenly.
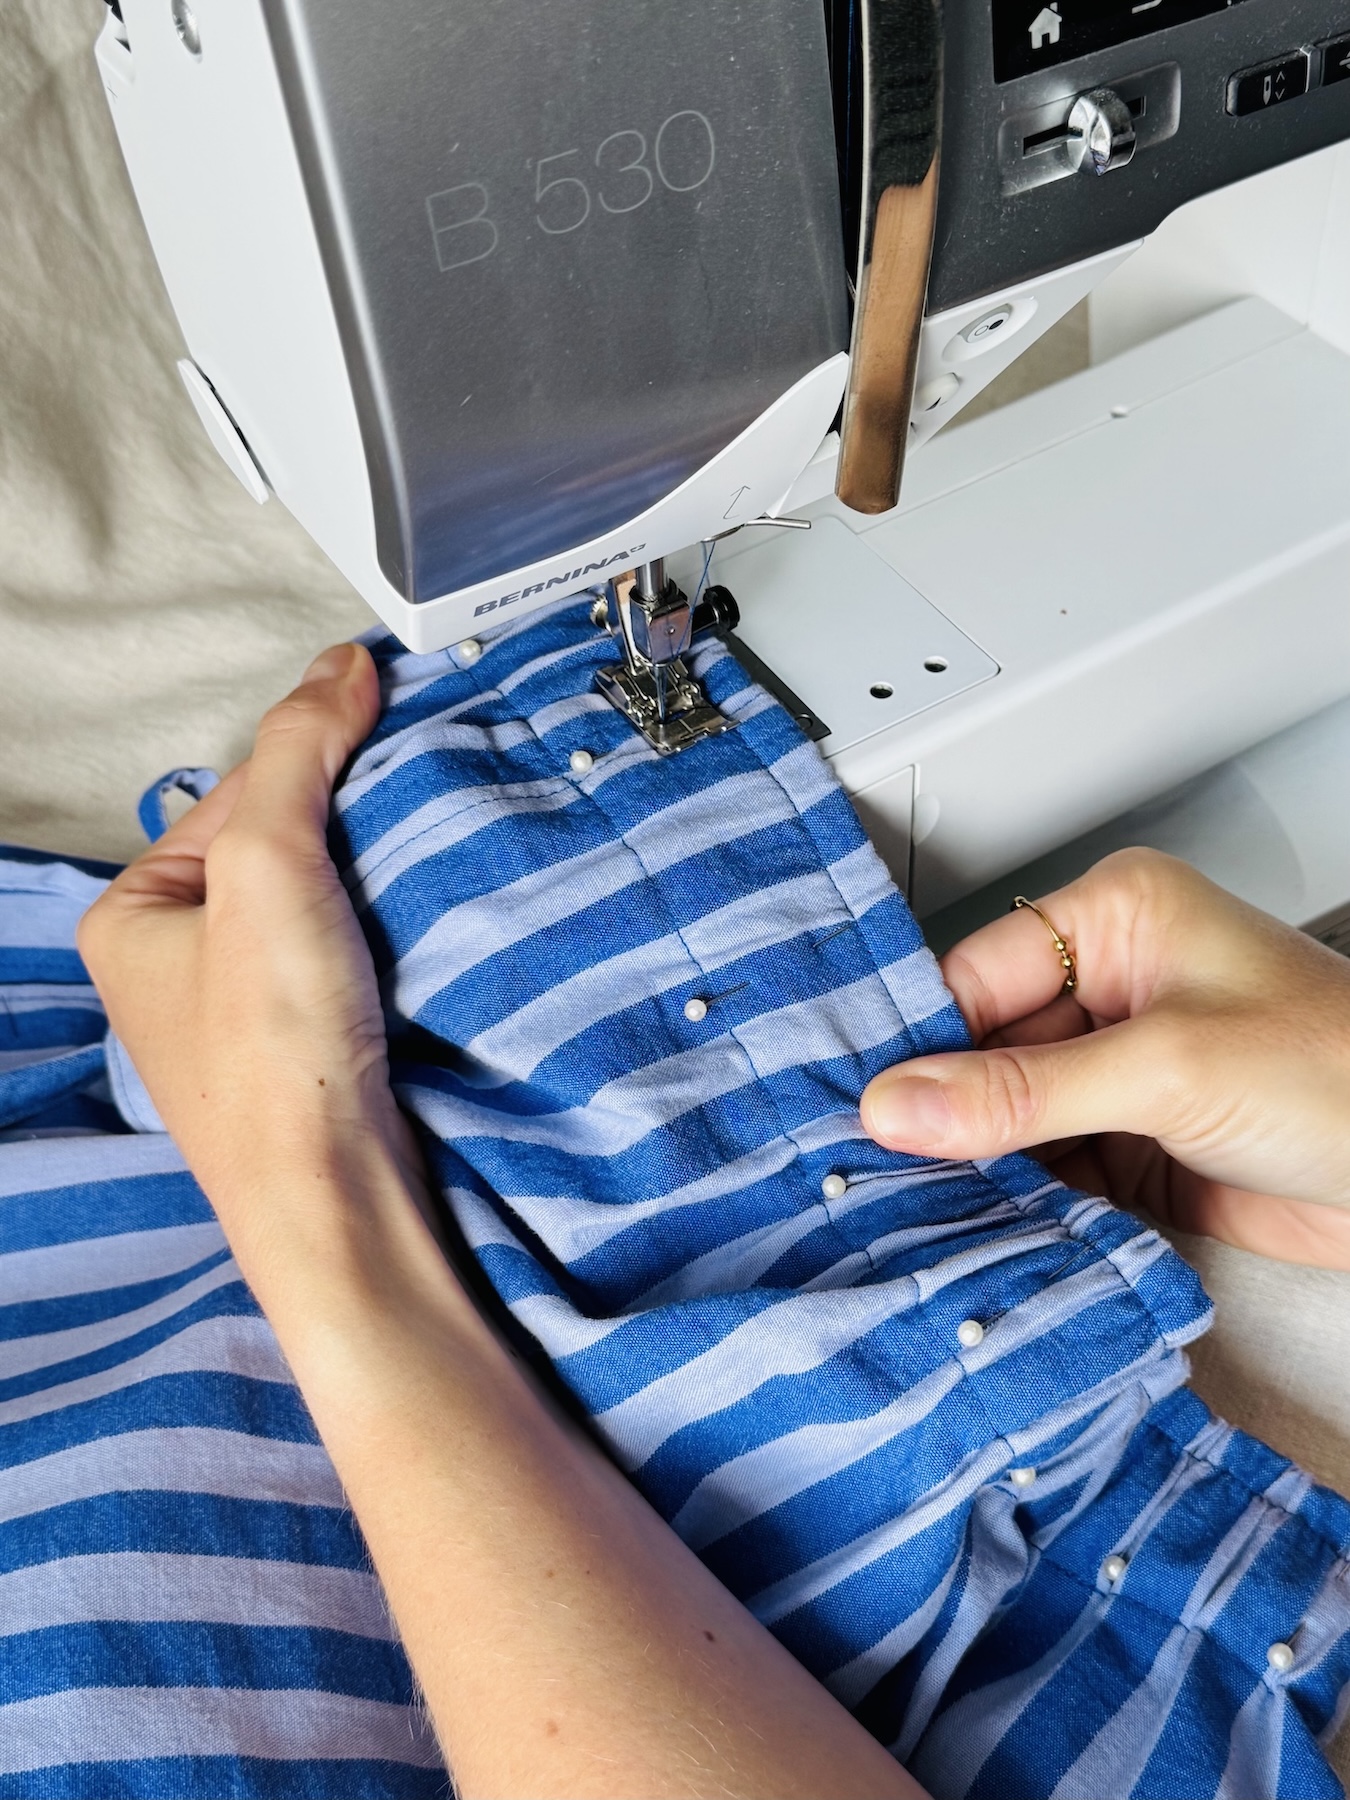
Tip: These channels created by the rows of stitching are also perfect for threading a drawstring through!
While twisted or rolling elastic is a common issue with elastic waistbands, it’s good to know that it’s usually pretty straightforward to avoid or fix. The key is choosing the right elastic, making sure it fits comfortably within the casing, and securing it properly so it stays in place.
Whether you’re trying to fix a pair of elastic-waist pants that you already have, or you’re planning to sew your own, I hope these tips help you avoid this super annoying problem in the first place, or to fix it if it does happen!






10 Comments
Fantastic article explaining the two ways using elastic!
Hi Michelle, thank you! I’m glad you found it useful.
Excellent article. So glad to see you used the correct word…elasticized…to describe the waistband.
Hi Charlotte, thank you! I’m glad you enjoyed the article.
Great tutorial. Excellent instructions and photos. Thank you.
Hi Barbara, thank you! I’m really glad you enjoyed the tutorial and found the photos helpful.
I would love to know what pattern and fabrics you are using.
Hi Vicki, the pattern is the ‘Bow Boxer Shorts’ from Matchy Matchy Sewing Club. The blue pair is made from a striped cotton poplin, and the rose/plum pair is made in seersucker.
Thanks! I struggle with this all the time. Will try these techniques. BTW what shorts pattern are you using?
Hi Leigh, thanks for your comment. I am glad you found the article helpful. The pattern is the ‘Bow Boxer Shorts’ from Matchy Matchy Sewing Club 🙂