If you are new to sewing, overlockers can be a bit intimidating. And understandably so, with their multiple threads, needles, and dials, not to mention a cutting blade. It’s easy to feel overwhelmed. I remember being really nervous around them when I first started sewing, especially when it came to threading, and I was always too scared to adjust the tension.
These days though, I find overlocking kind of therapeutic. There’s something strangely satisfying about watching messy raw fabric edges get cleaned up so neatly. And once you get the hang of them, an overlocker can really transform your sewing, making things faster, neater, and much more professional-looking.
With Part 1 of this article, I hope to provide a beginner-friendly overview of what an overlocker is and what it can do. In Part 2, I’ll look at some common adjustments and how to troubleshoot typical setting issues that may arise.
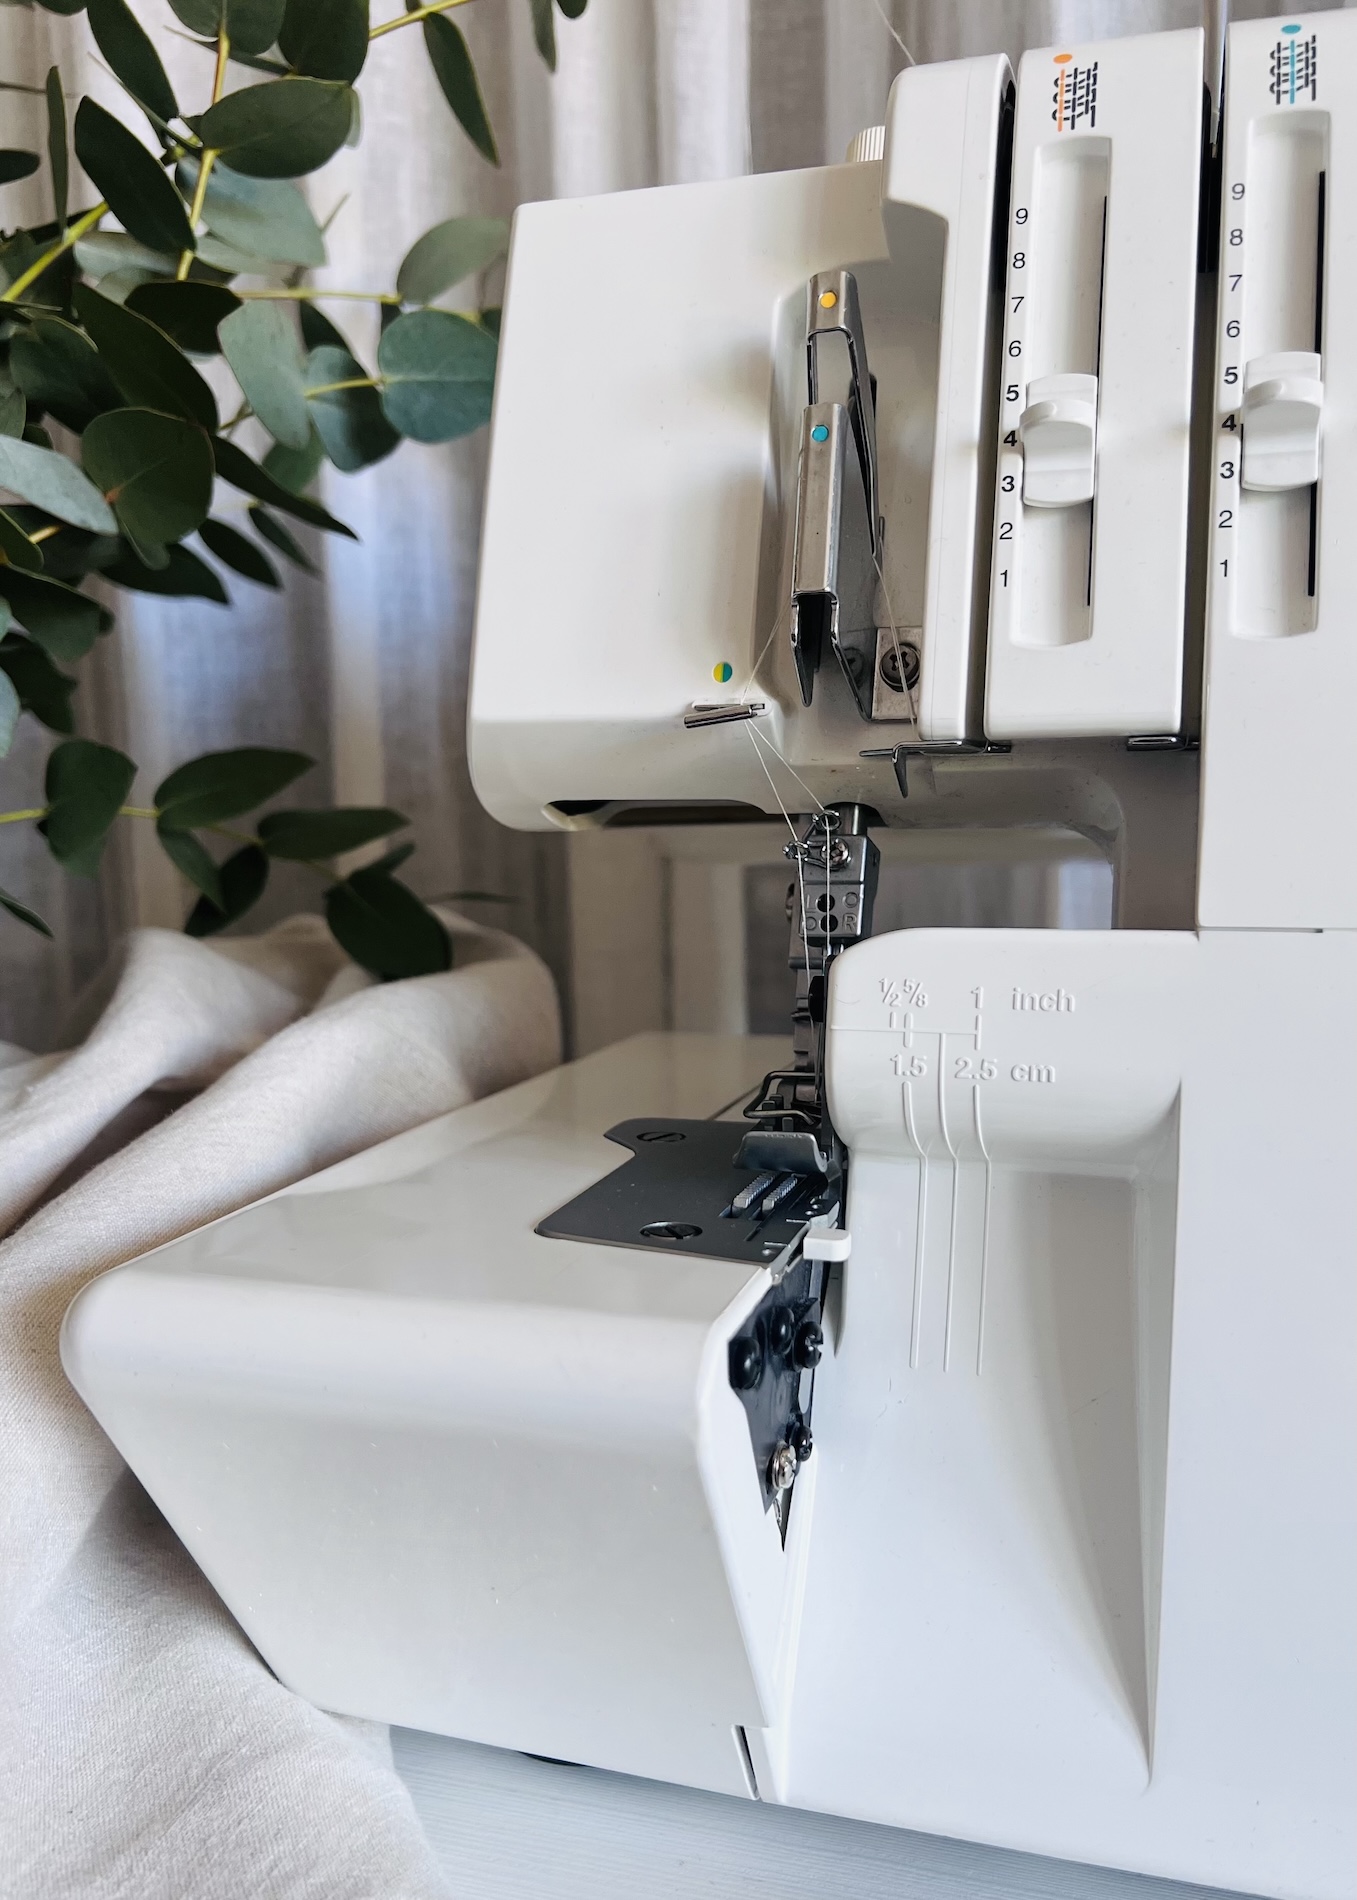
I’ll be demonstrating on my Bernina 800DL. But even if your machine looks a little different, the basic process is pretty similar. You may just need to tweak a step or two depending on your machine.
Note: Whether you call them overlockers or sergers depends on where you live. They are the same thing. I’m Aussie, so I’ve always called them overlockers, and that’s what I’ll stick with here.
What Does an Overlocker Actually Do?
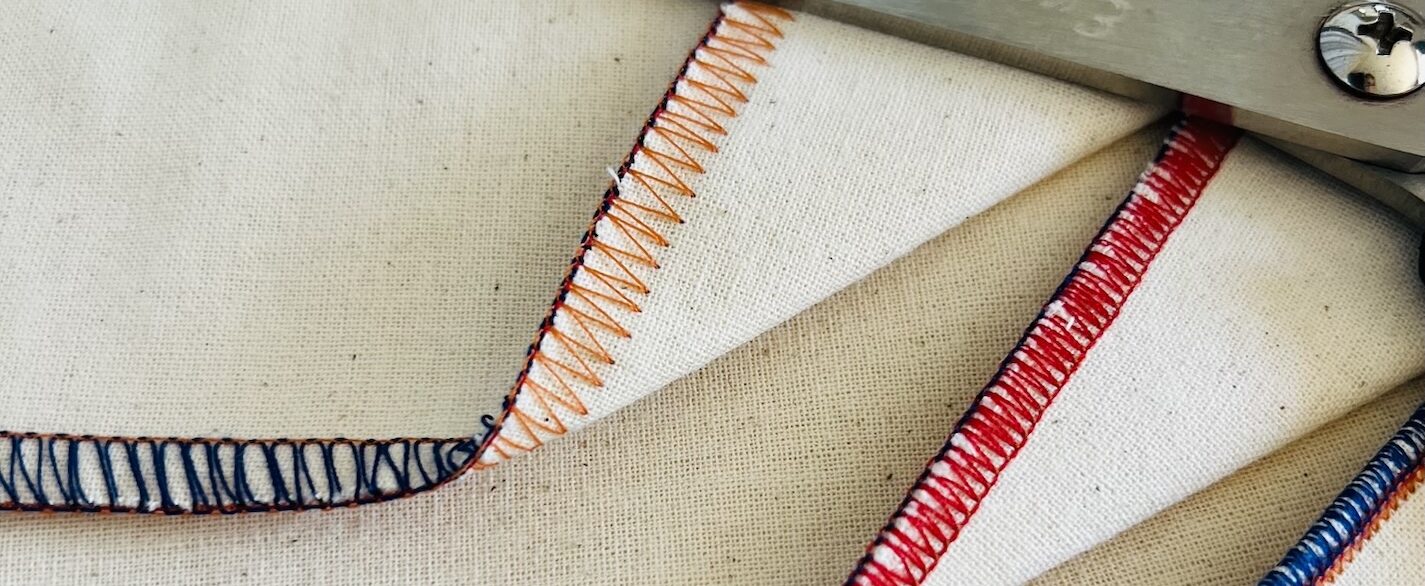
Overlockers are pretty cool machines, being used for both functional and decorative purposes. Most people will probably know them for neatly finishing fabric edges in order to prevent fraying and unravelling. They are also especially useful when working with knit and stretchy fabrics, as overlocker stitching is flexible and moves with the fabric without breaking. But beyond these practical purposes, overlockers can also create decorative finishes, such as rolled hems.
Is an Overlocker Necessary?
No, not necessarily.
Whether you need an overlocker or not really comes down to how often you sew, the types of projects you make, and how important professional finishes are to you.
While an overlocker can make your sewing faster, neater, and more professional-looking, many of its functions can actually be achieved with most regular sewing machines. For example, with a sewing machine you can often:
- Neaten (but not trim) raw edges or sew knit and stretch fabrics using a zigzag stitch. Or if your machine has them, with an overlock-style or stretch specific stitch.
- Finish seams with methods like binding, French seams, flat-felled seams, or a simple double turn.
So, if you are more of an occasional sewist, you can absolutely get by without one.
That said, if you sew regularly, especially with stretch or knit fabrics, an overlocker can be a really great investment. Personally, I couldn’t live without mine. I sew almost every day, and it makes such a difference in both speed and finish.
Anatomy of an Overlocker
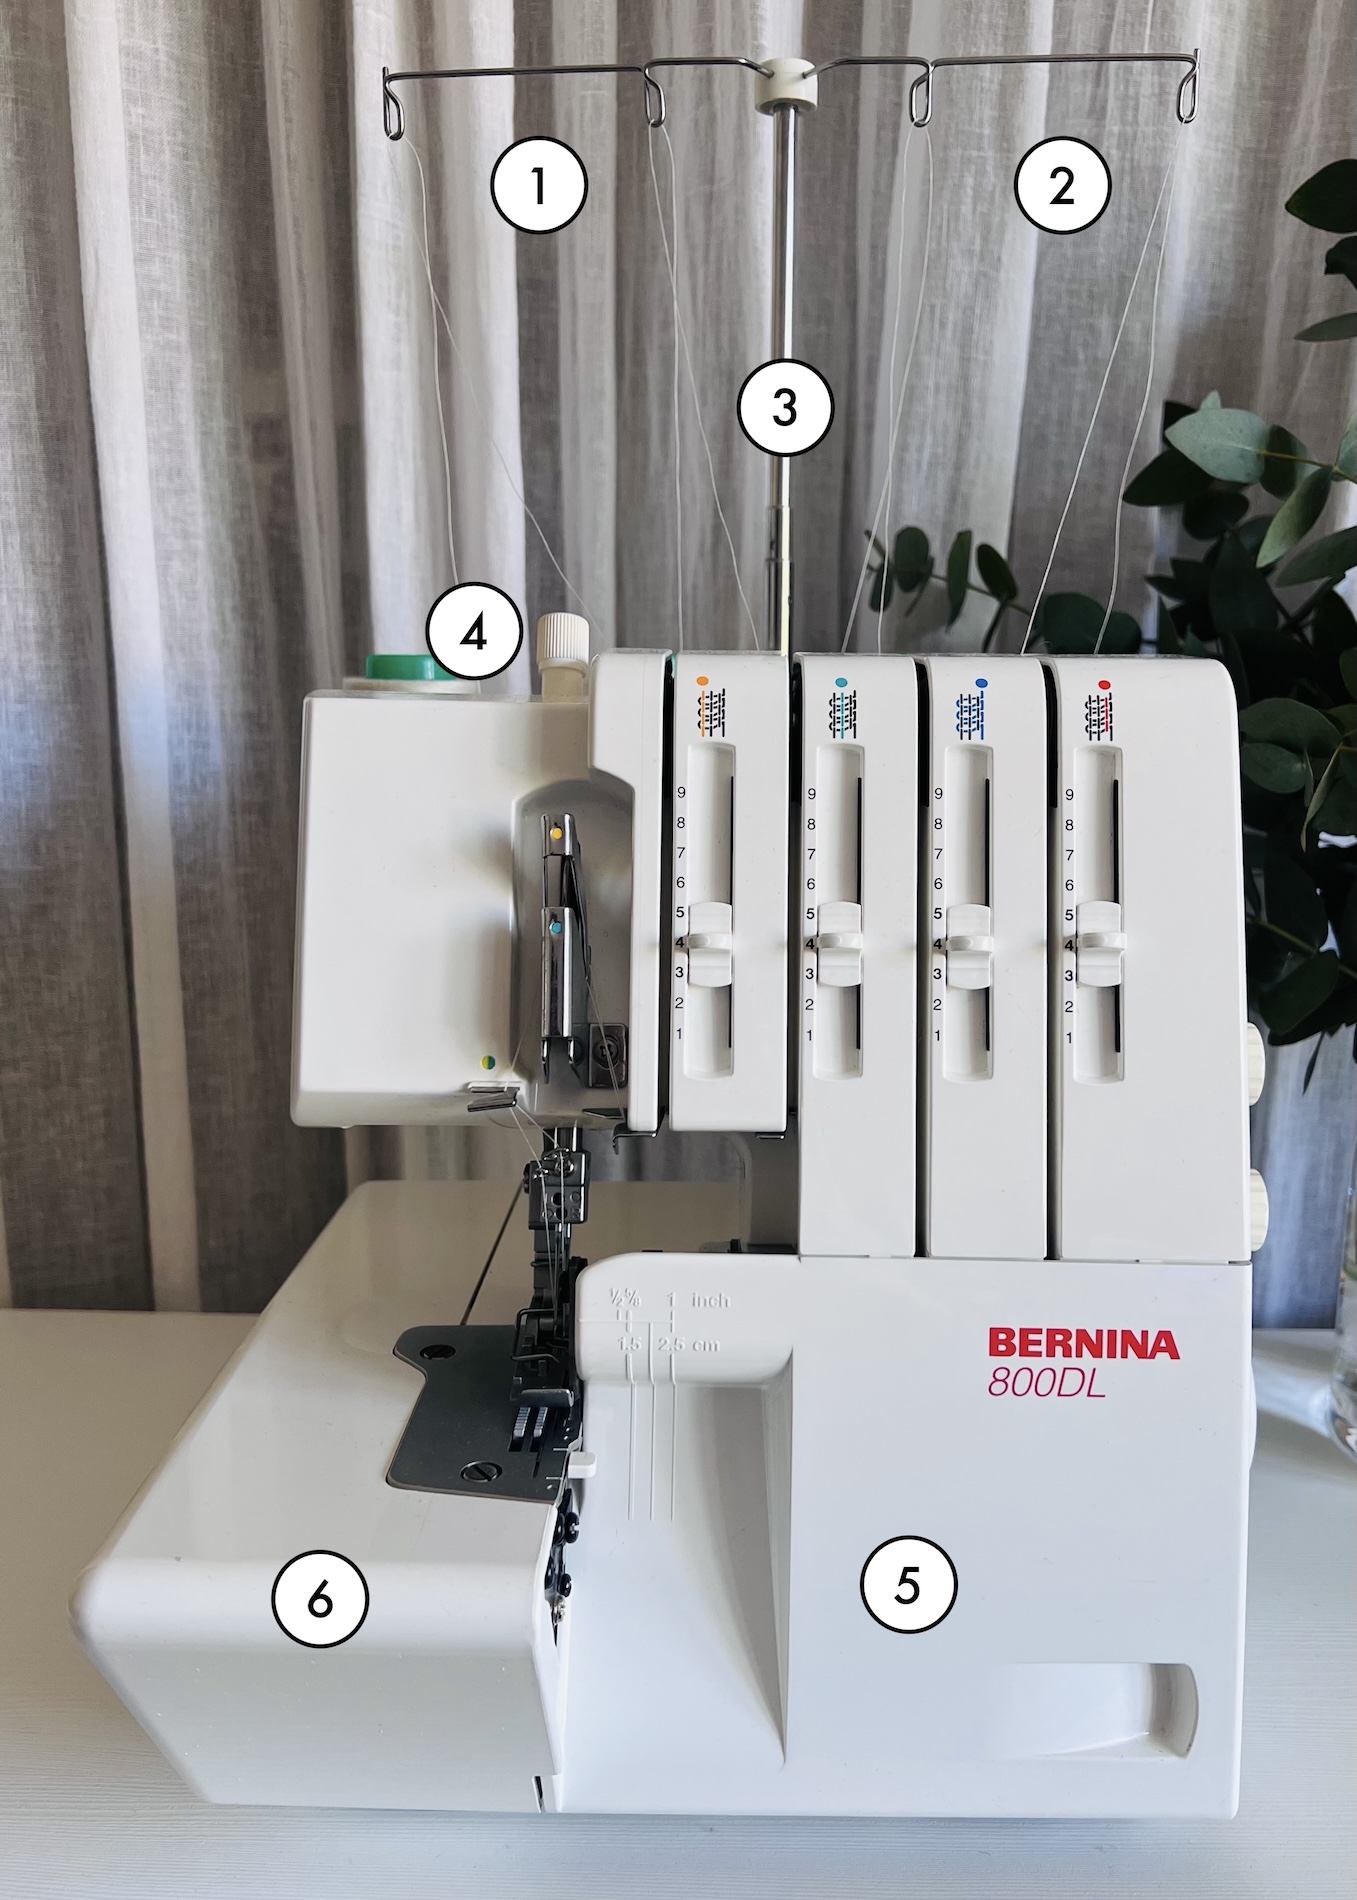
Overlockers can look quite complicated, so let’s break them down into some of their key and most common parts:
1. Needle threads (left and right): These two threads produce one or two lines of stitching, depending on whether you are using one or two needles and the stitch type.
2. Upper and lower loopers: These work together to create the overlock stitch by looping around the fabric edge and interlocking with the needle threads. The upper looper is visible on the right side of the fabric, while the lower looper sits underneath and is visible on the wrong side.
3. Thread stand: Holds the cones of thread at the back of the machine, while also guiding the thread smoothly through the machine.
4. Presser foot pressure dial: This adjusts the pressure applied by the presser foot, with more pressure often being needed for thicker or stiffer fabrics such as denim or canvas, and less pressure for lighter weight or sheer fabrics and knits.
5. Looper cover: This is a hinged cover on the machine that encloses the threading path, looper threads, cutting blade, lower blade, and the selection lever for overlocking or roll hemming.
6. Cloth plate cover: This is a sliding cover that encloses the cutting width adjustment dial.
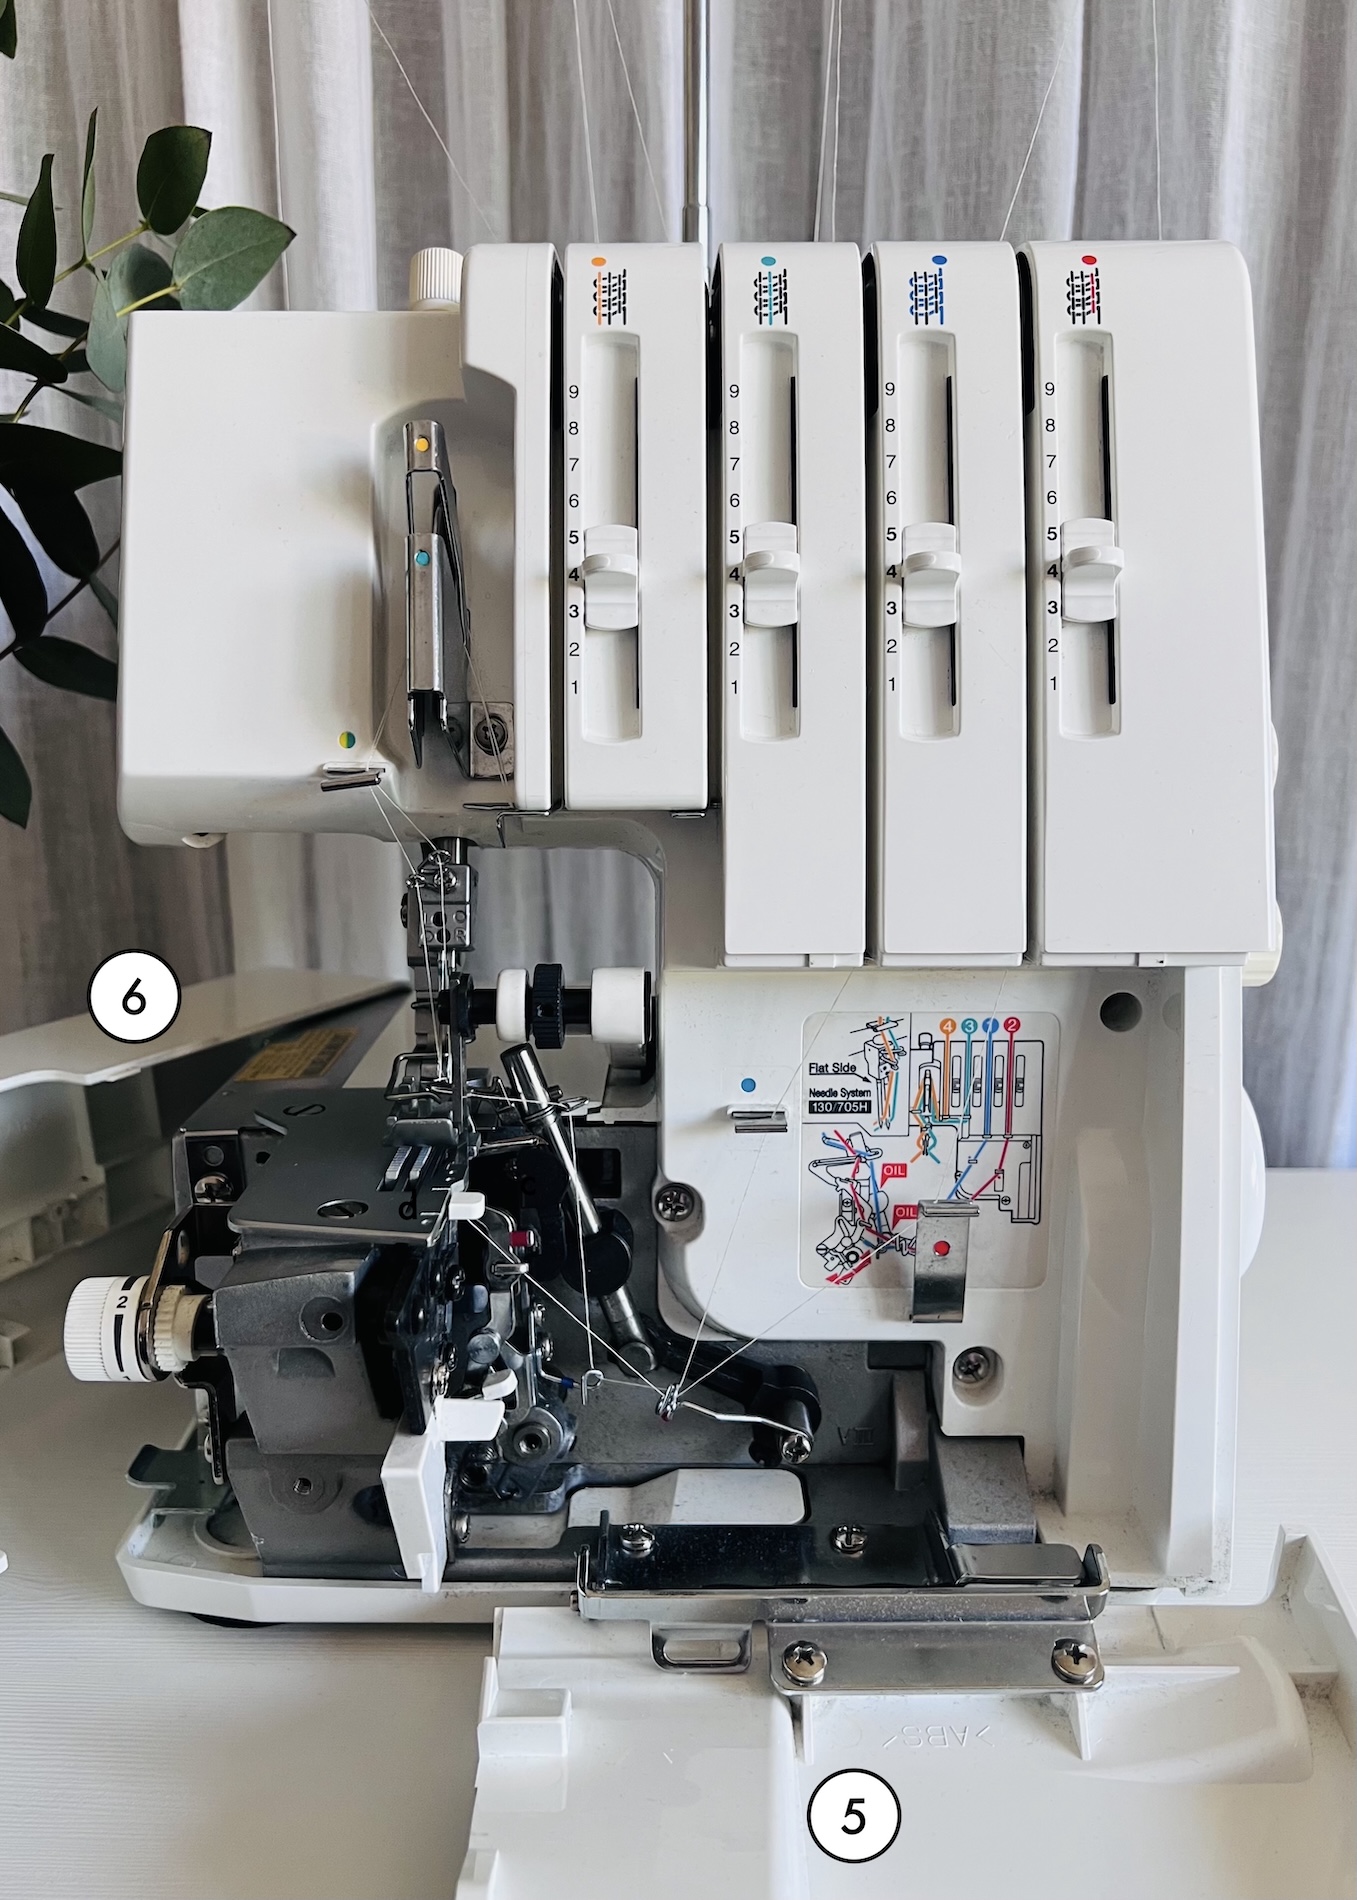
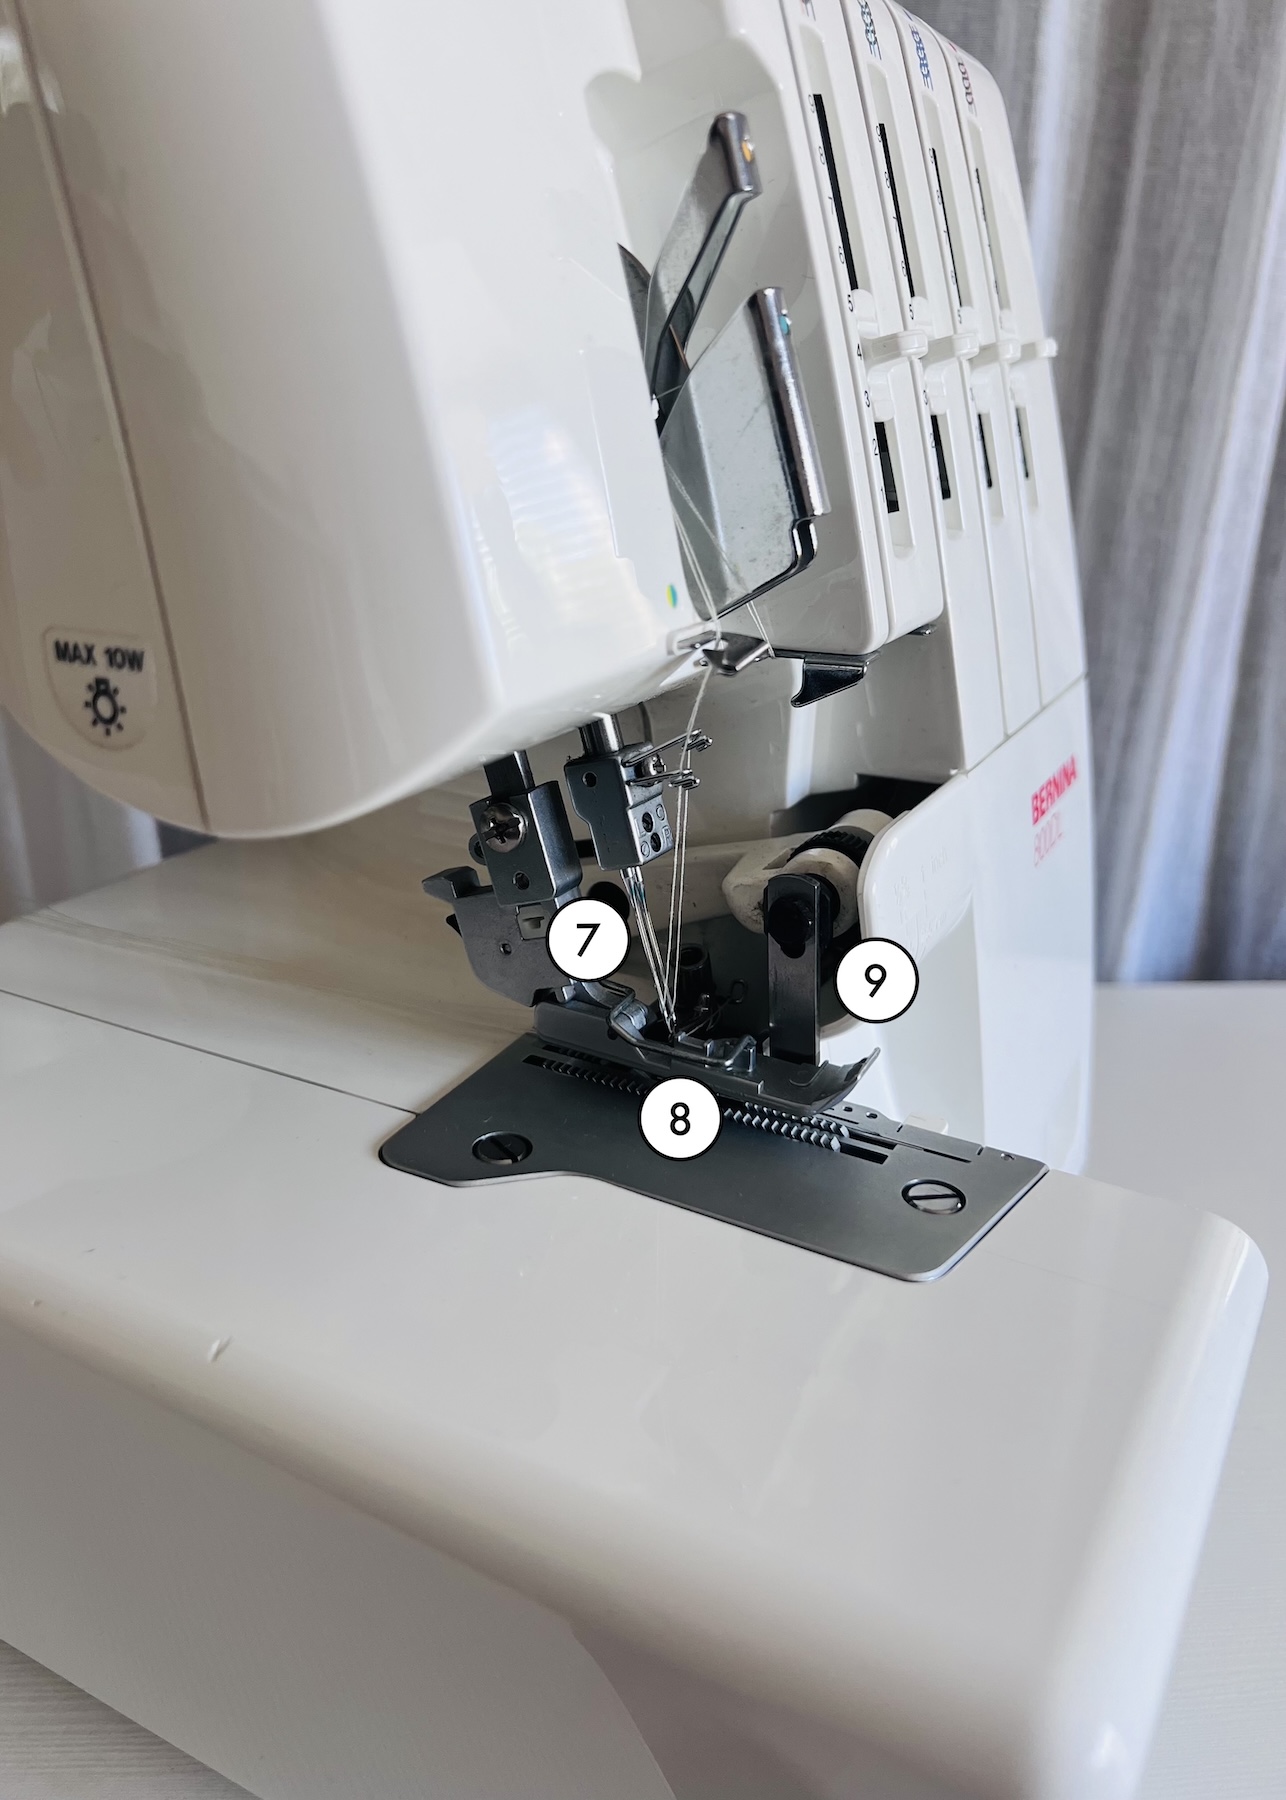
7. Needles: One or two needles are used to carry thread through the fabric to form strong, flexible stitches.
8. Presser foot: Like a sewing machine, this holds the fabric securely in place while sewing. A presser foot lifter (lever at the back of the machine) raises and lowers the foot.
9. Cutting blade: This trims the fabric edge as you sew, creating a clean, even finish. It can also be disengaged for certain techniques.
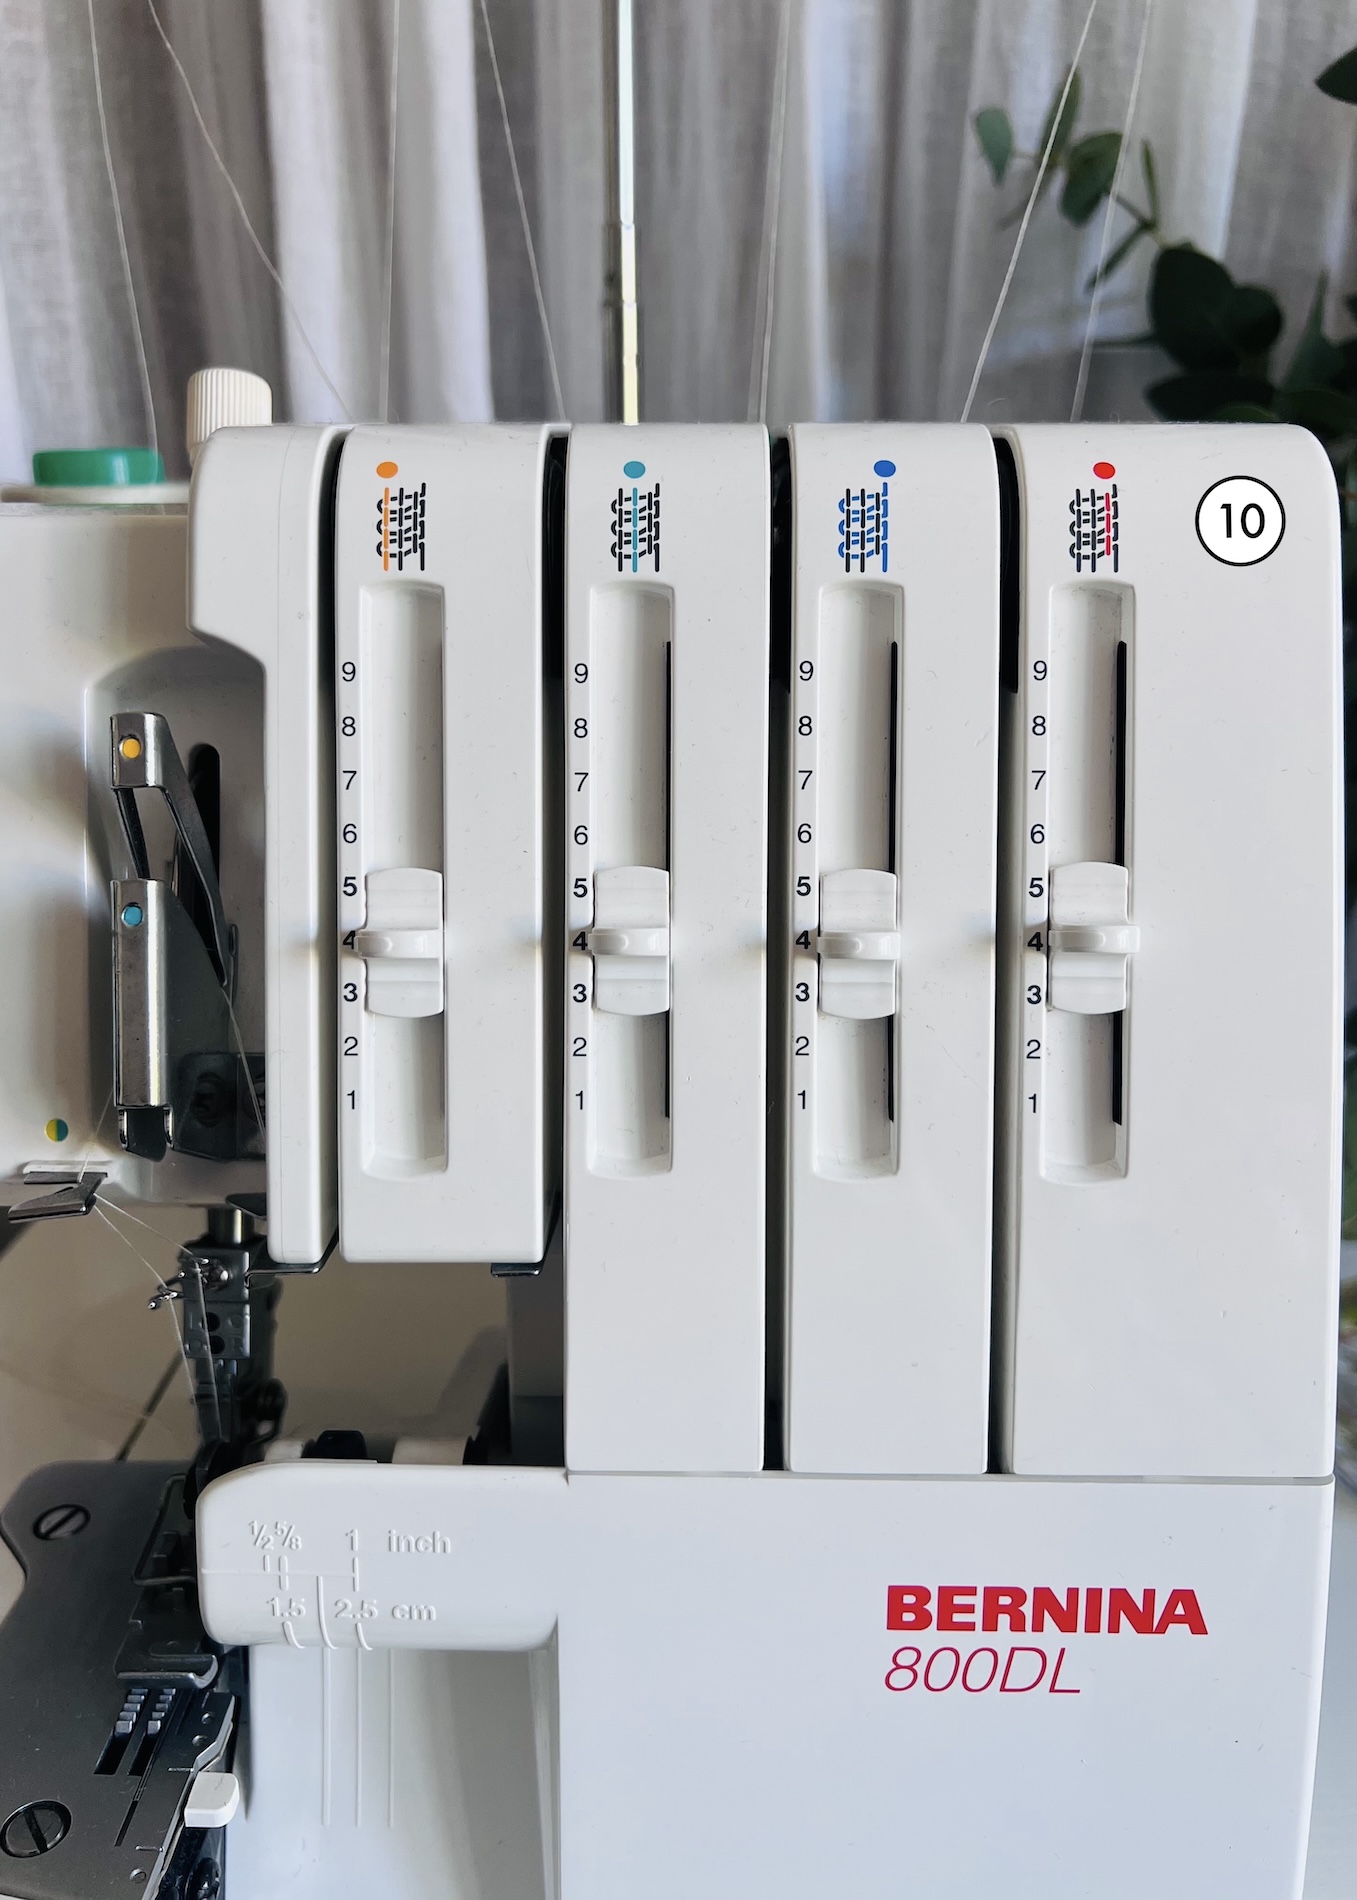
10. Thread tension controls: These are used to adjust and fine tune the tension of each thread for balanced and even stitches.
- Orange = Left needle
- Green = Right needle
- Blue = Upper looper
- Red = Lower looper
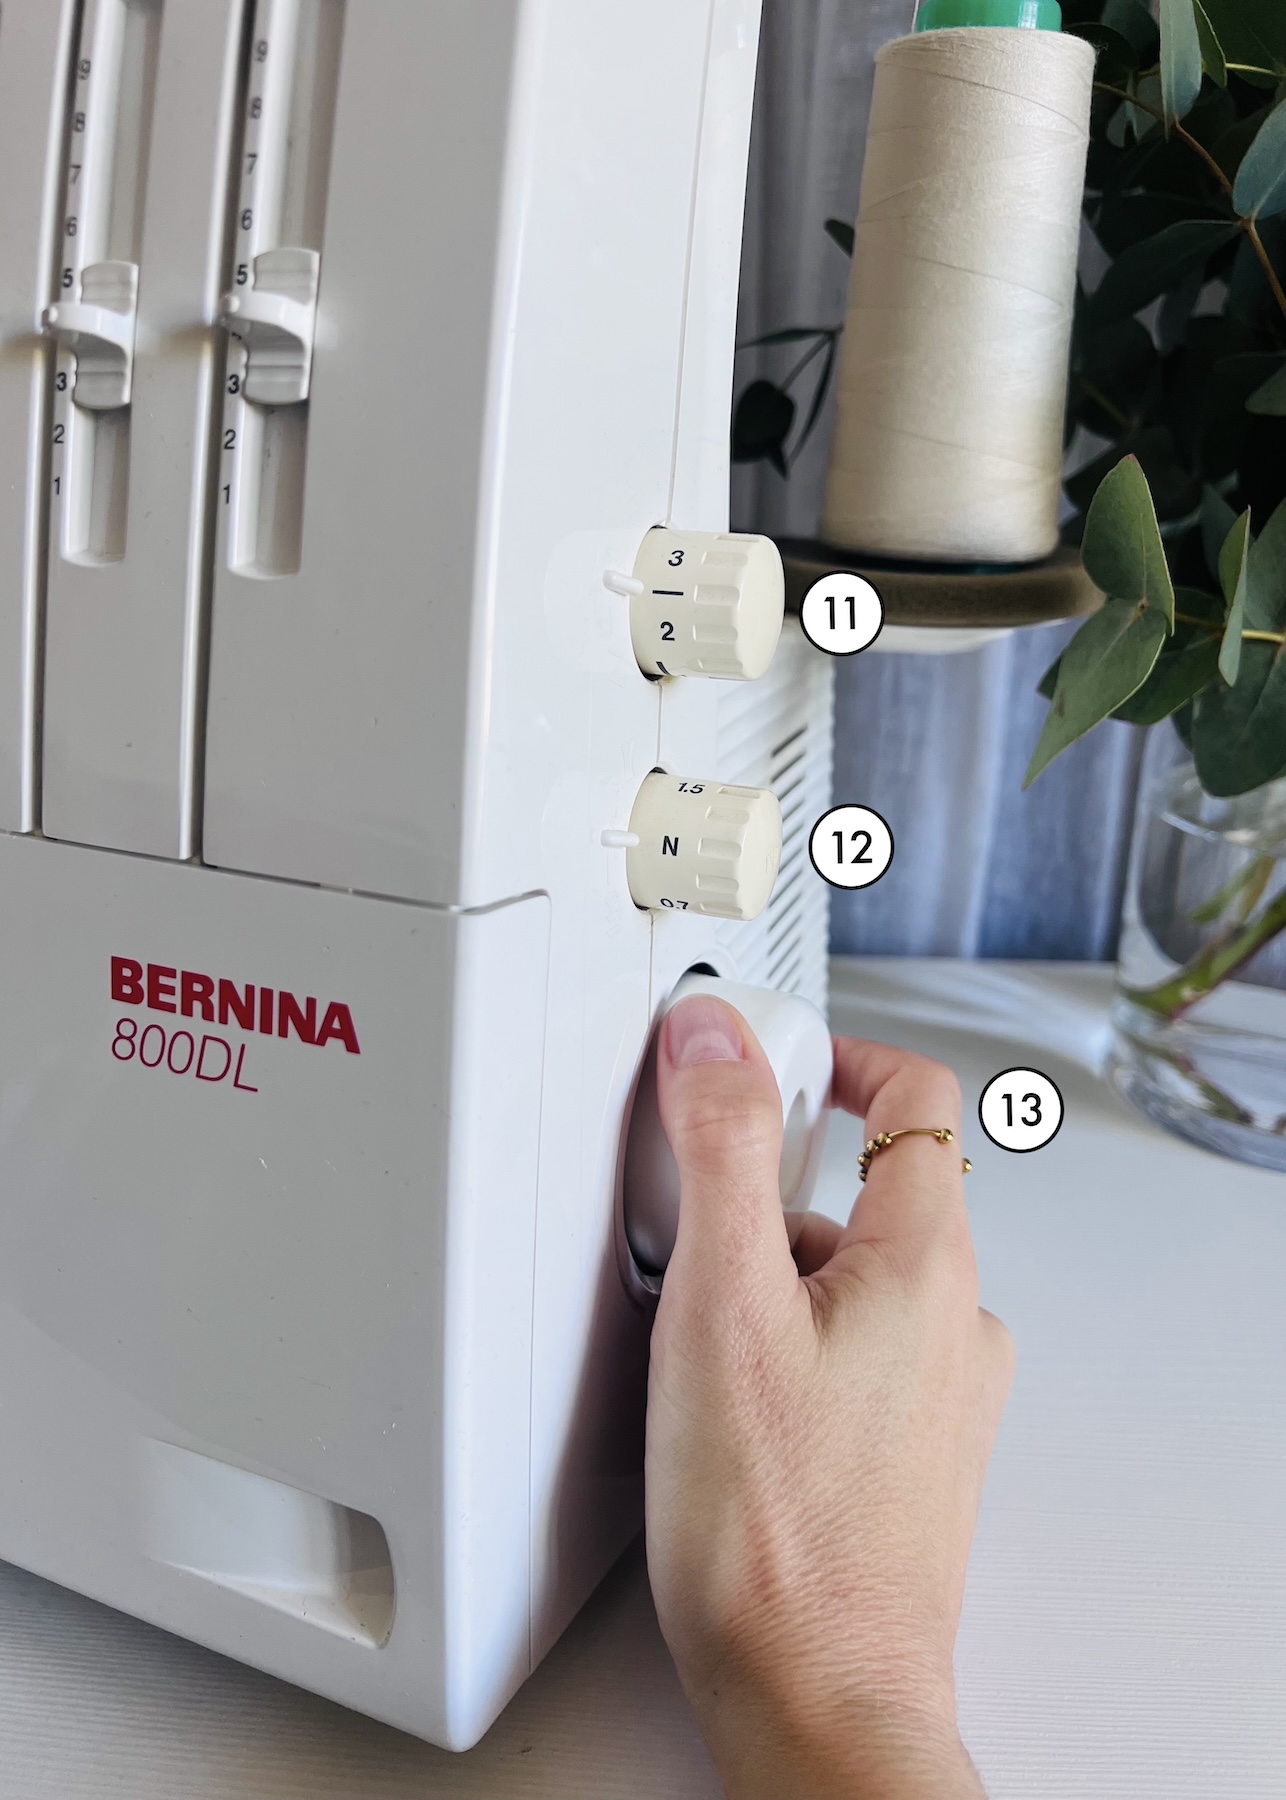
11. Differential feed dial: Adjusts the speed of the feed dogs controlling how the fabric is fed through the machine.
12. Stitch length dial: Adjusts the length of the stitch.
13. Hand wheel: Used to manually raise or lower the needles for more precise positioning.
Accessories:
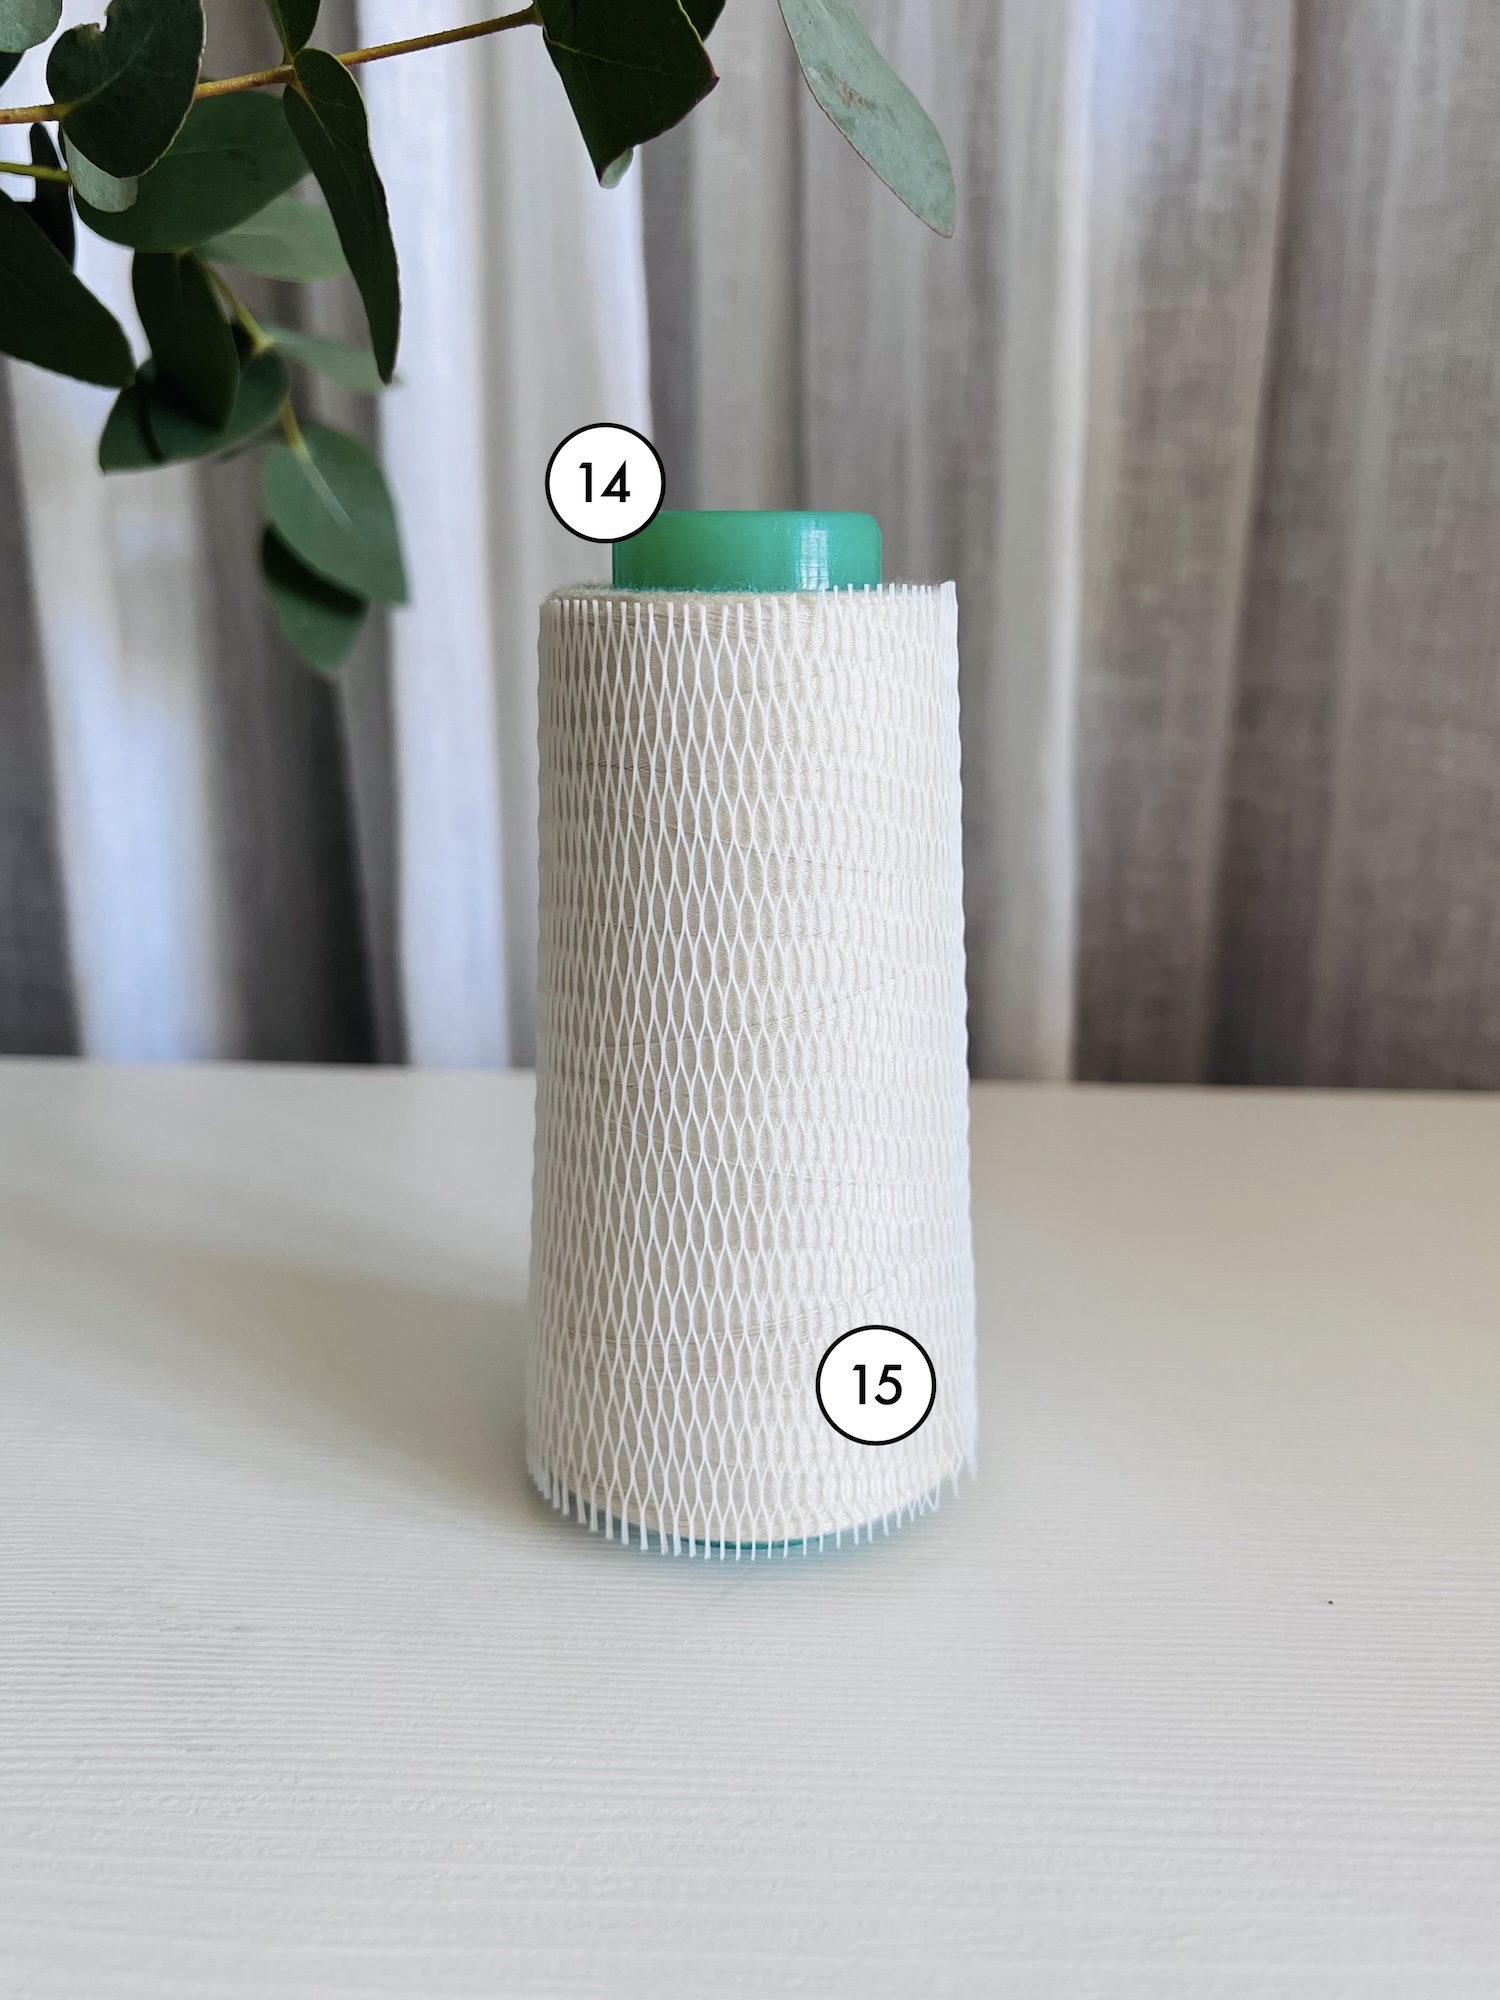
14. Thread cones: These are large cone-shaped spools of thread.
15. Thread net: A stretchy mesh sleeve that goes over the thread cone. They help to keep slippery threads from unwinding too fast or becoming tangled.
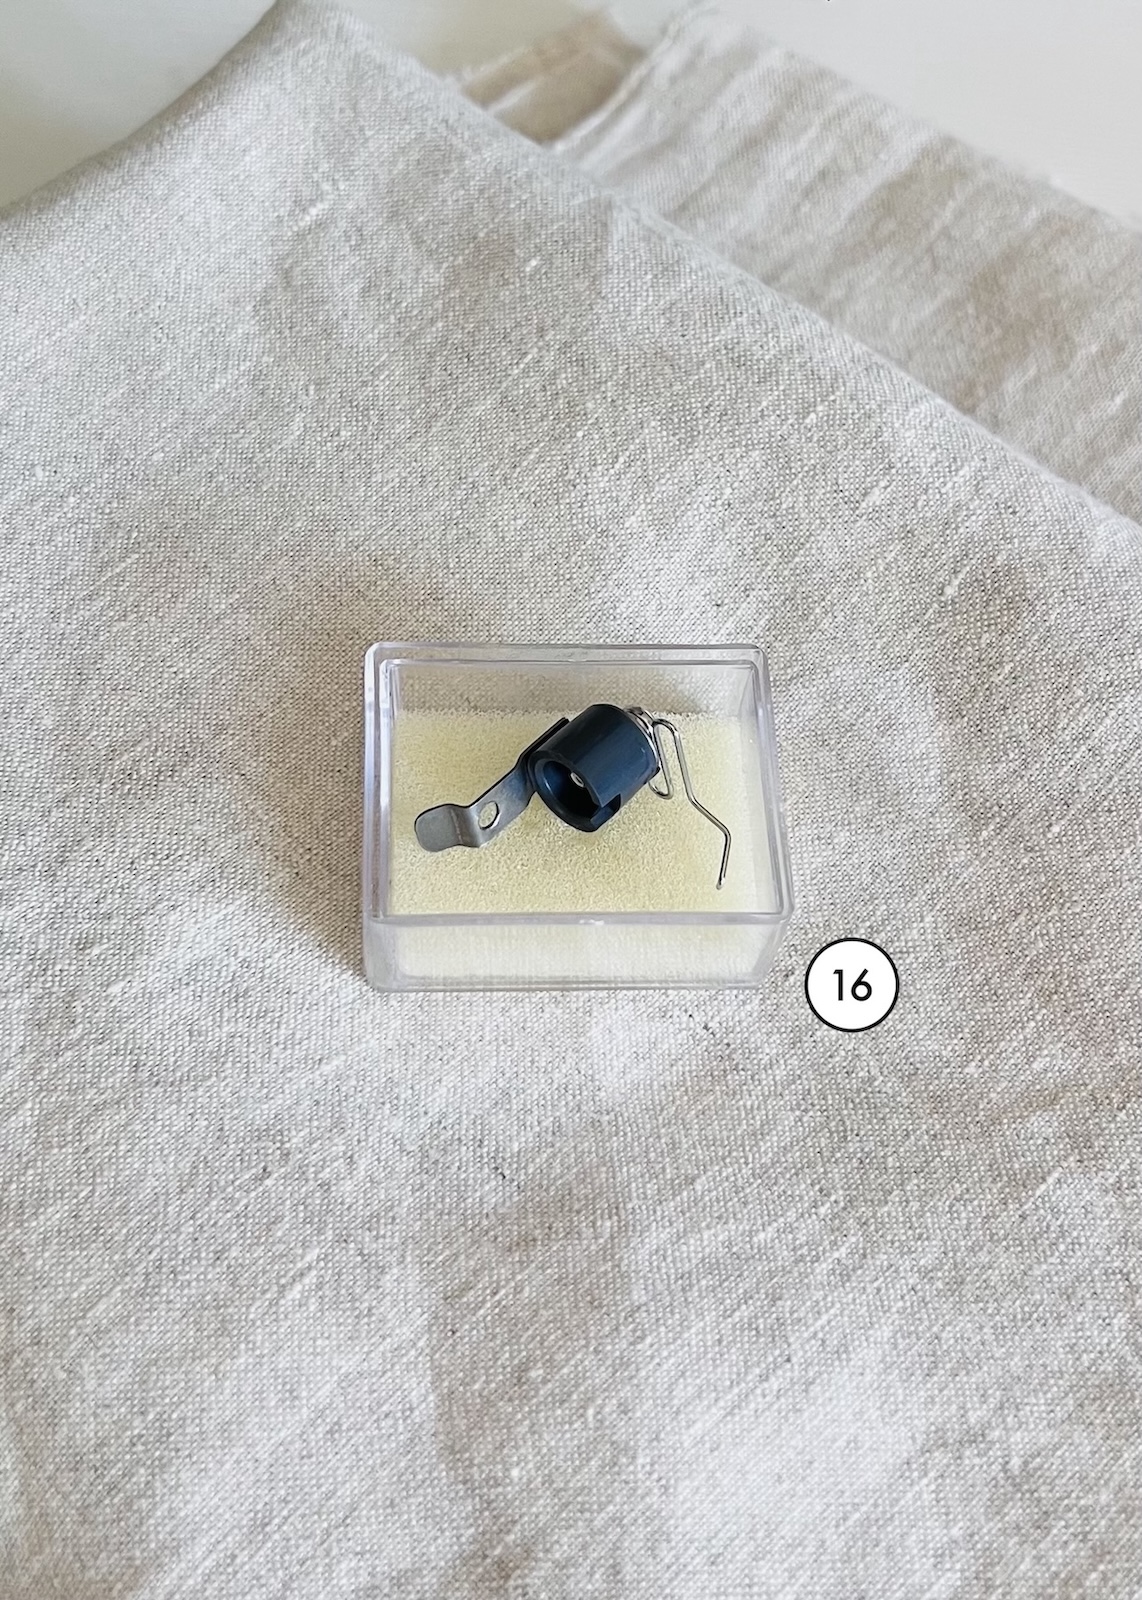
16. Upper looper converter: This little attachment allows you to sew with only one looper thread instead of two (I will get into this more later).
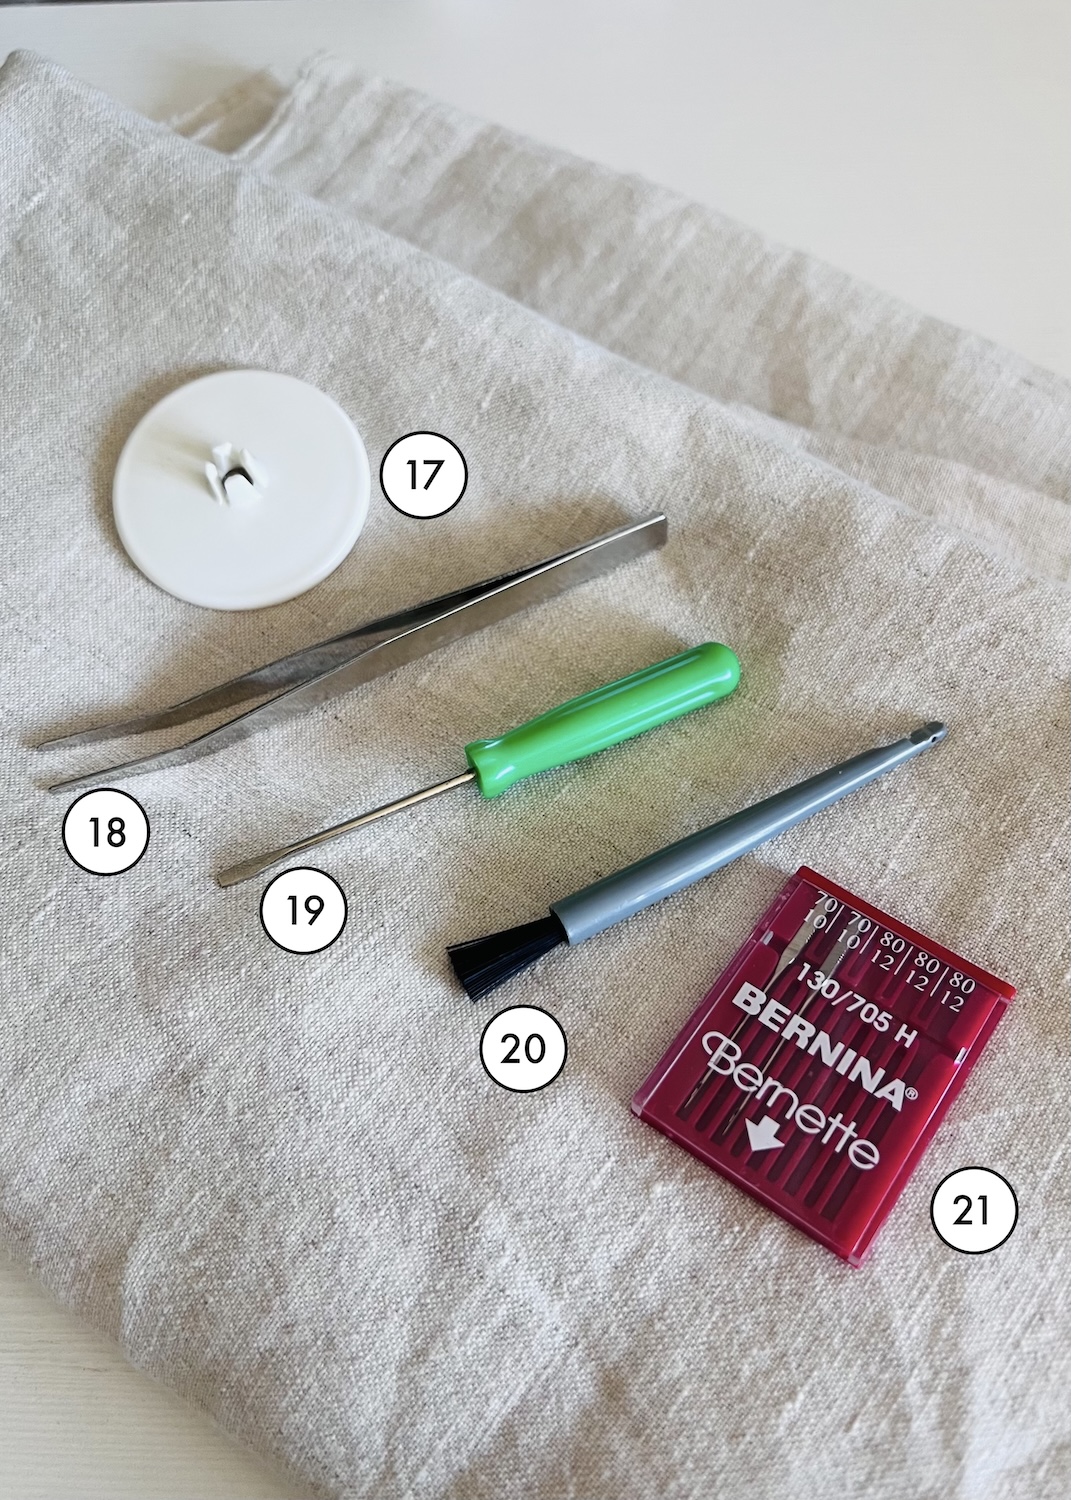
17. Spool caps: These small caps can go on top of smaller thread spools to keep them from wobbling or slipping off while sewing.
18. Tweezers: Used to help thread the loopers and needles, being especially handy in those tight spaces where it’s hard to get your fingers in.
19. Screwdriver: Used to change needles or adjust parts.
20. Cleaning brush/needle inserter: One end of this tool is a brush which is used to clean the machine, and the other end is used to help insert the needles.
21. Overlocker needles: No explanation needed here!
Common Overlocker Stitches
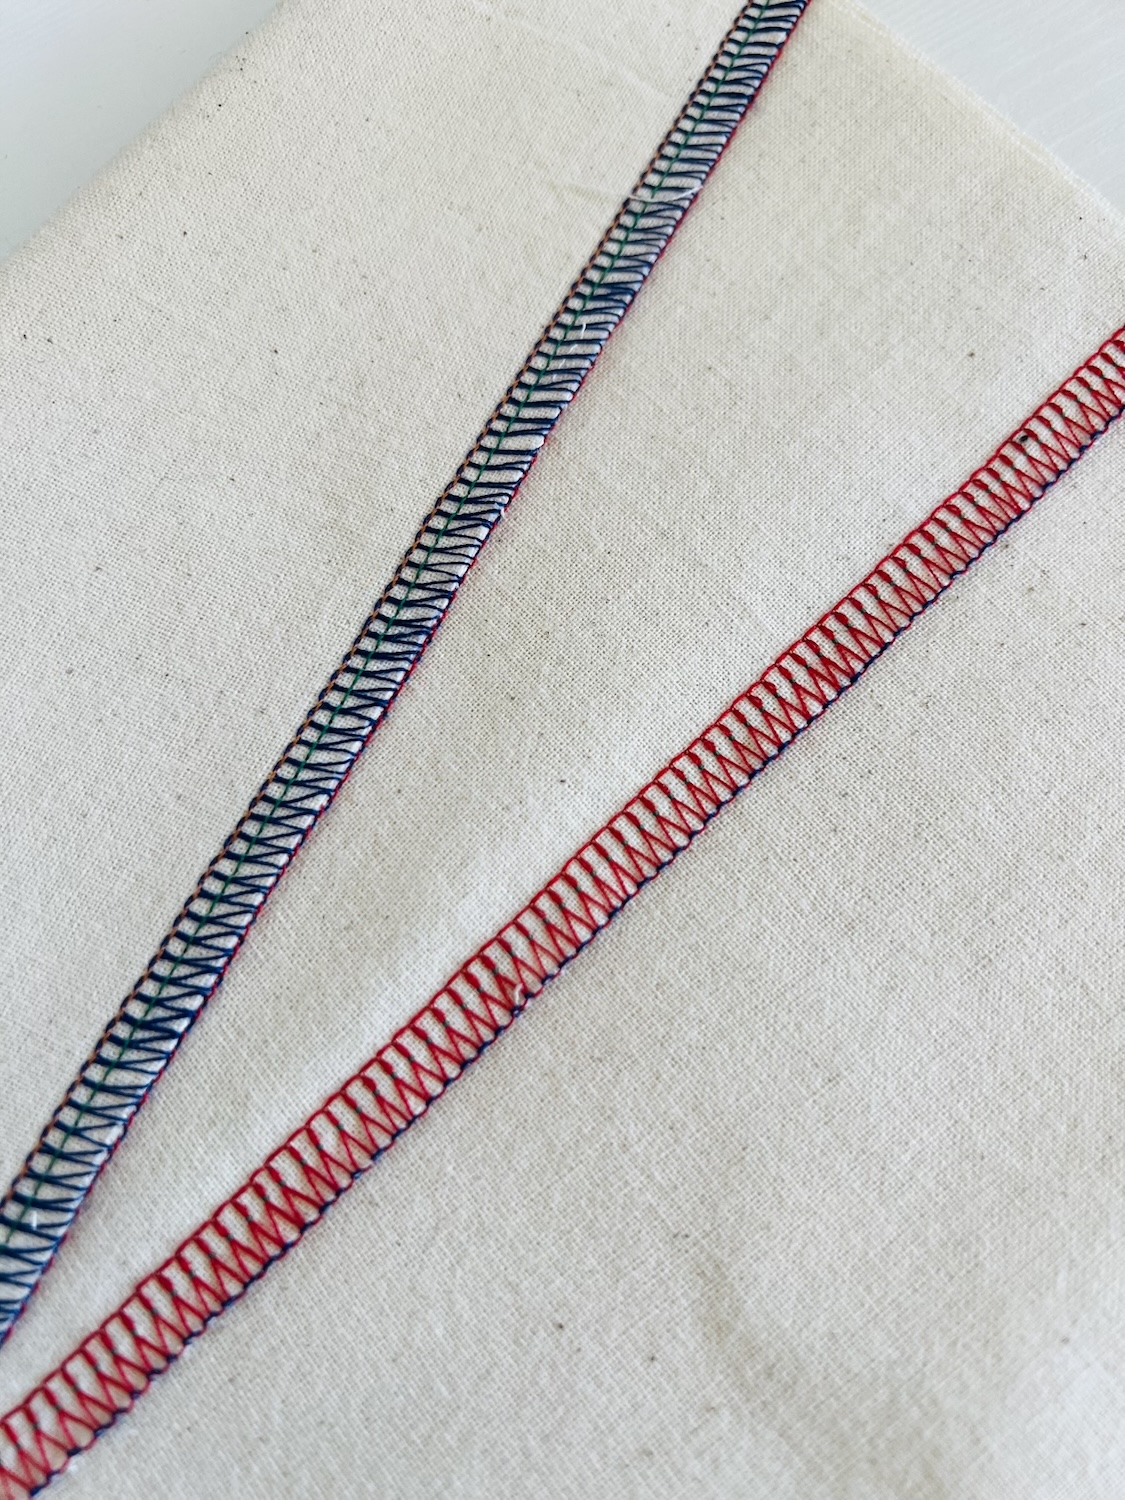
Four thread overlock stitch:
This is the standard setup on my machine. I rarely have it set up any other way.
A four thread overlock stitch uses two needle threads to create two rows of stitching (orange and green), and two looper threads that wrap around the fabric edge (blue and red). At the same time, a cutting blade trims the fabric. Together, these actions neatly finish the edge in one, easy step.
This is the strongest, most durable of overlock stitches and is ideal for both edge finishing and construction seams, making it a pretty versatile stitch. It works well for more medium to heavier weight fabrics and seams that will be placed under some stress.
Three thread overlock stitch:
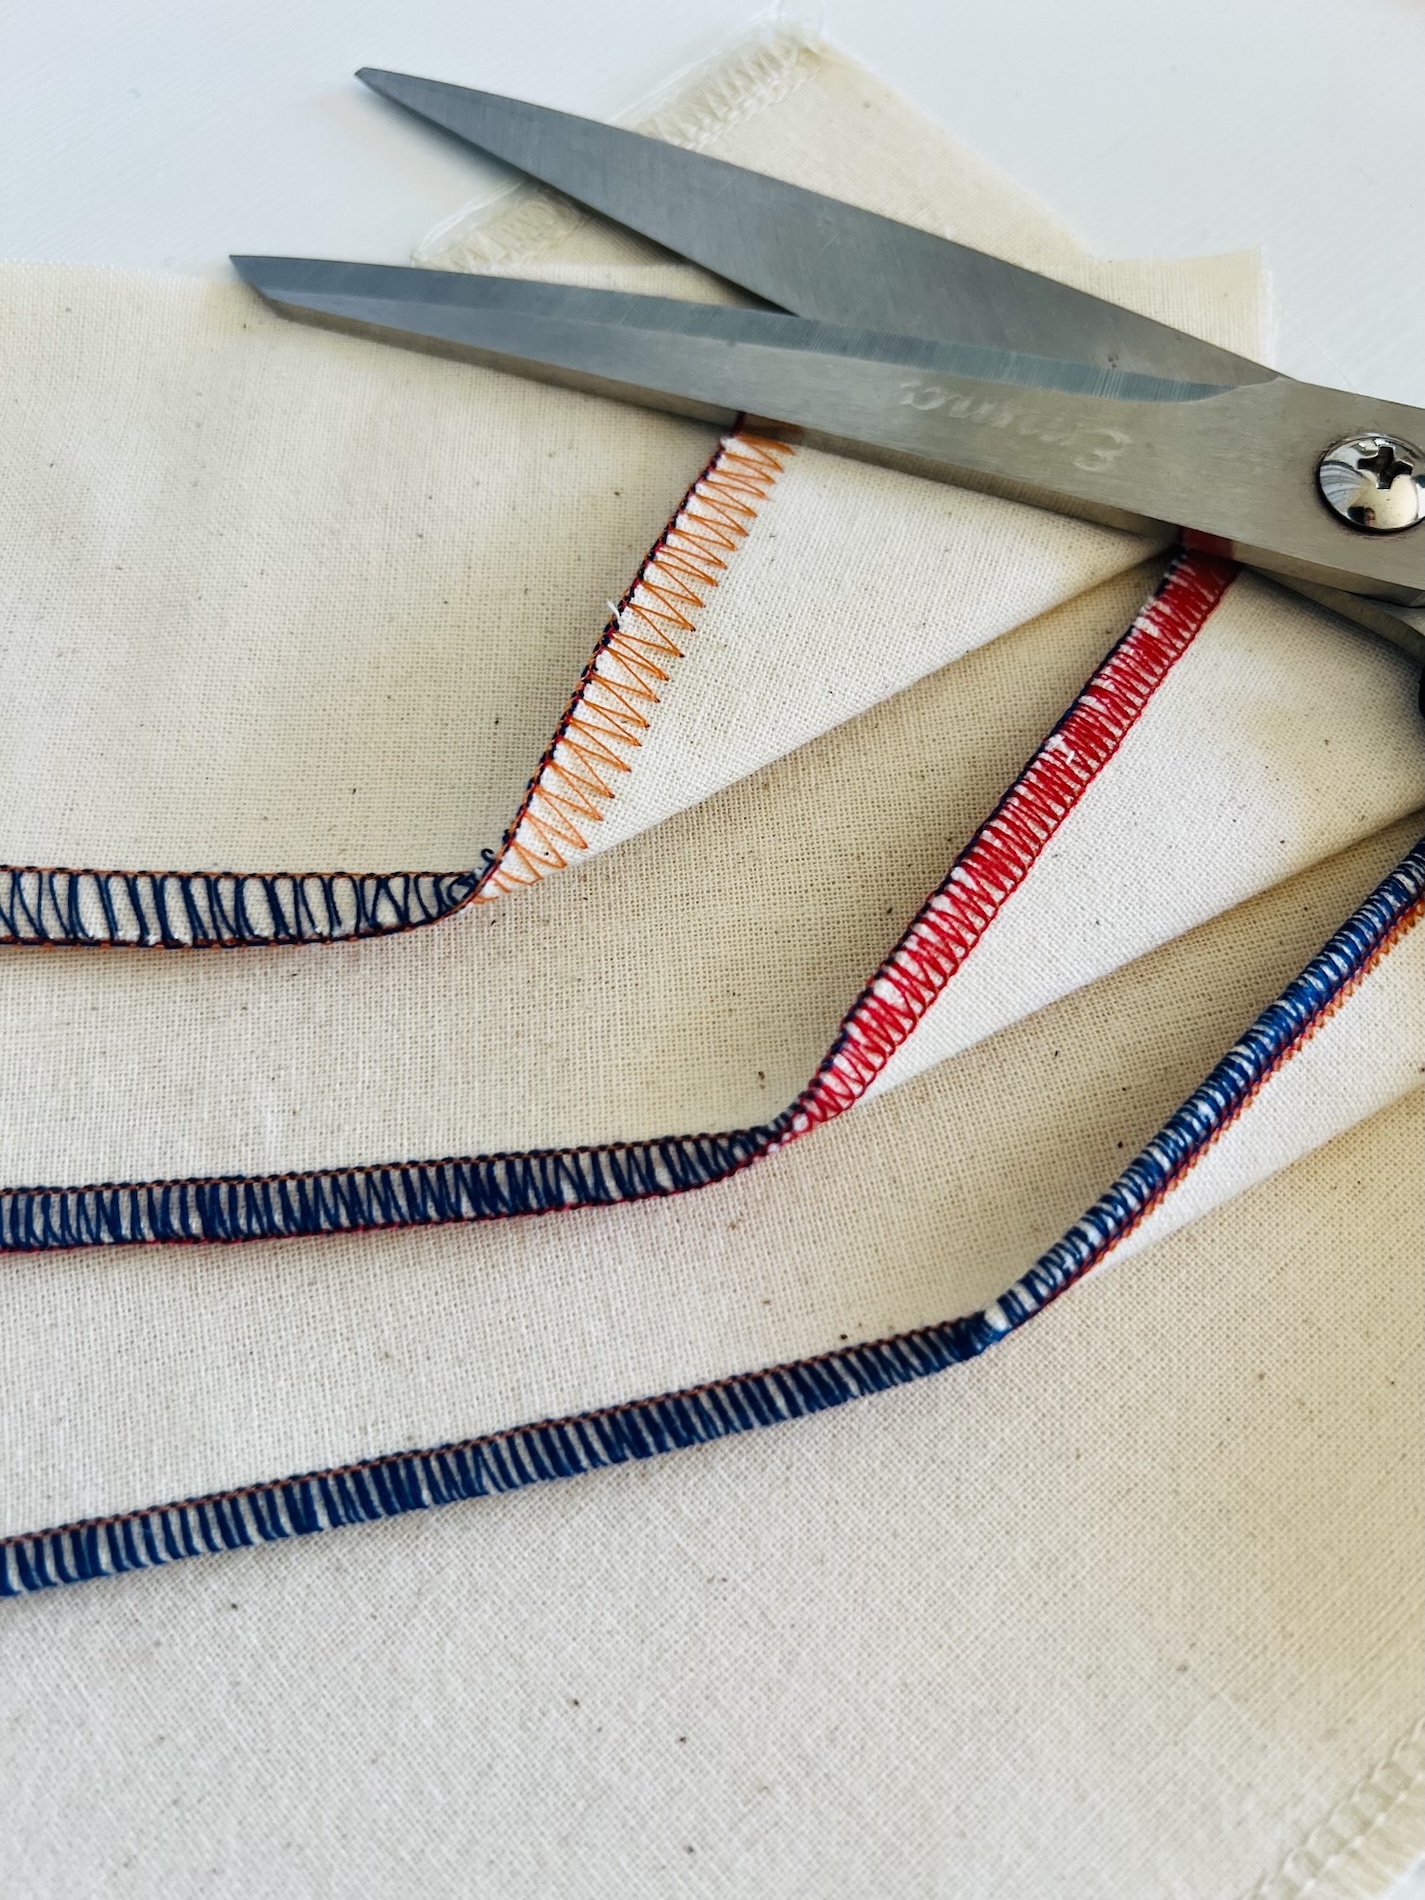
A three thread overlock stitch uses just one needle thread (orange), and two looper threads (blue and red). Whether to use the left or right needle can depend on the desired stitch width. The left needle creates a wider seam, while the right needle creates a slightly narrower seam.
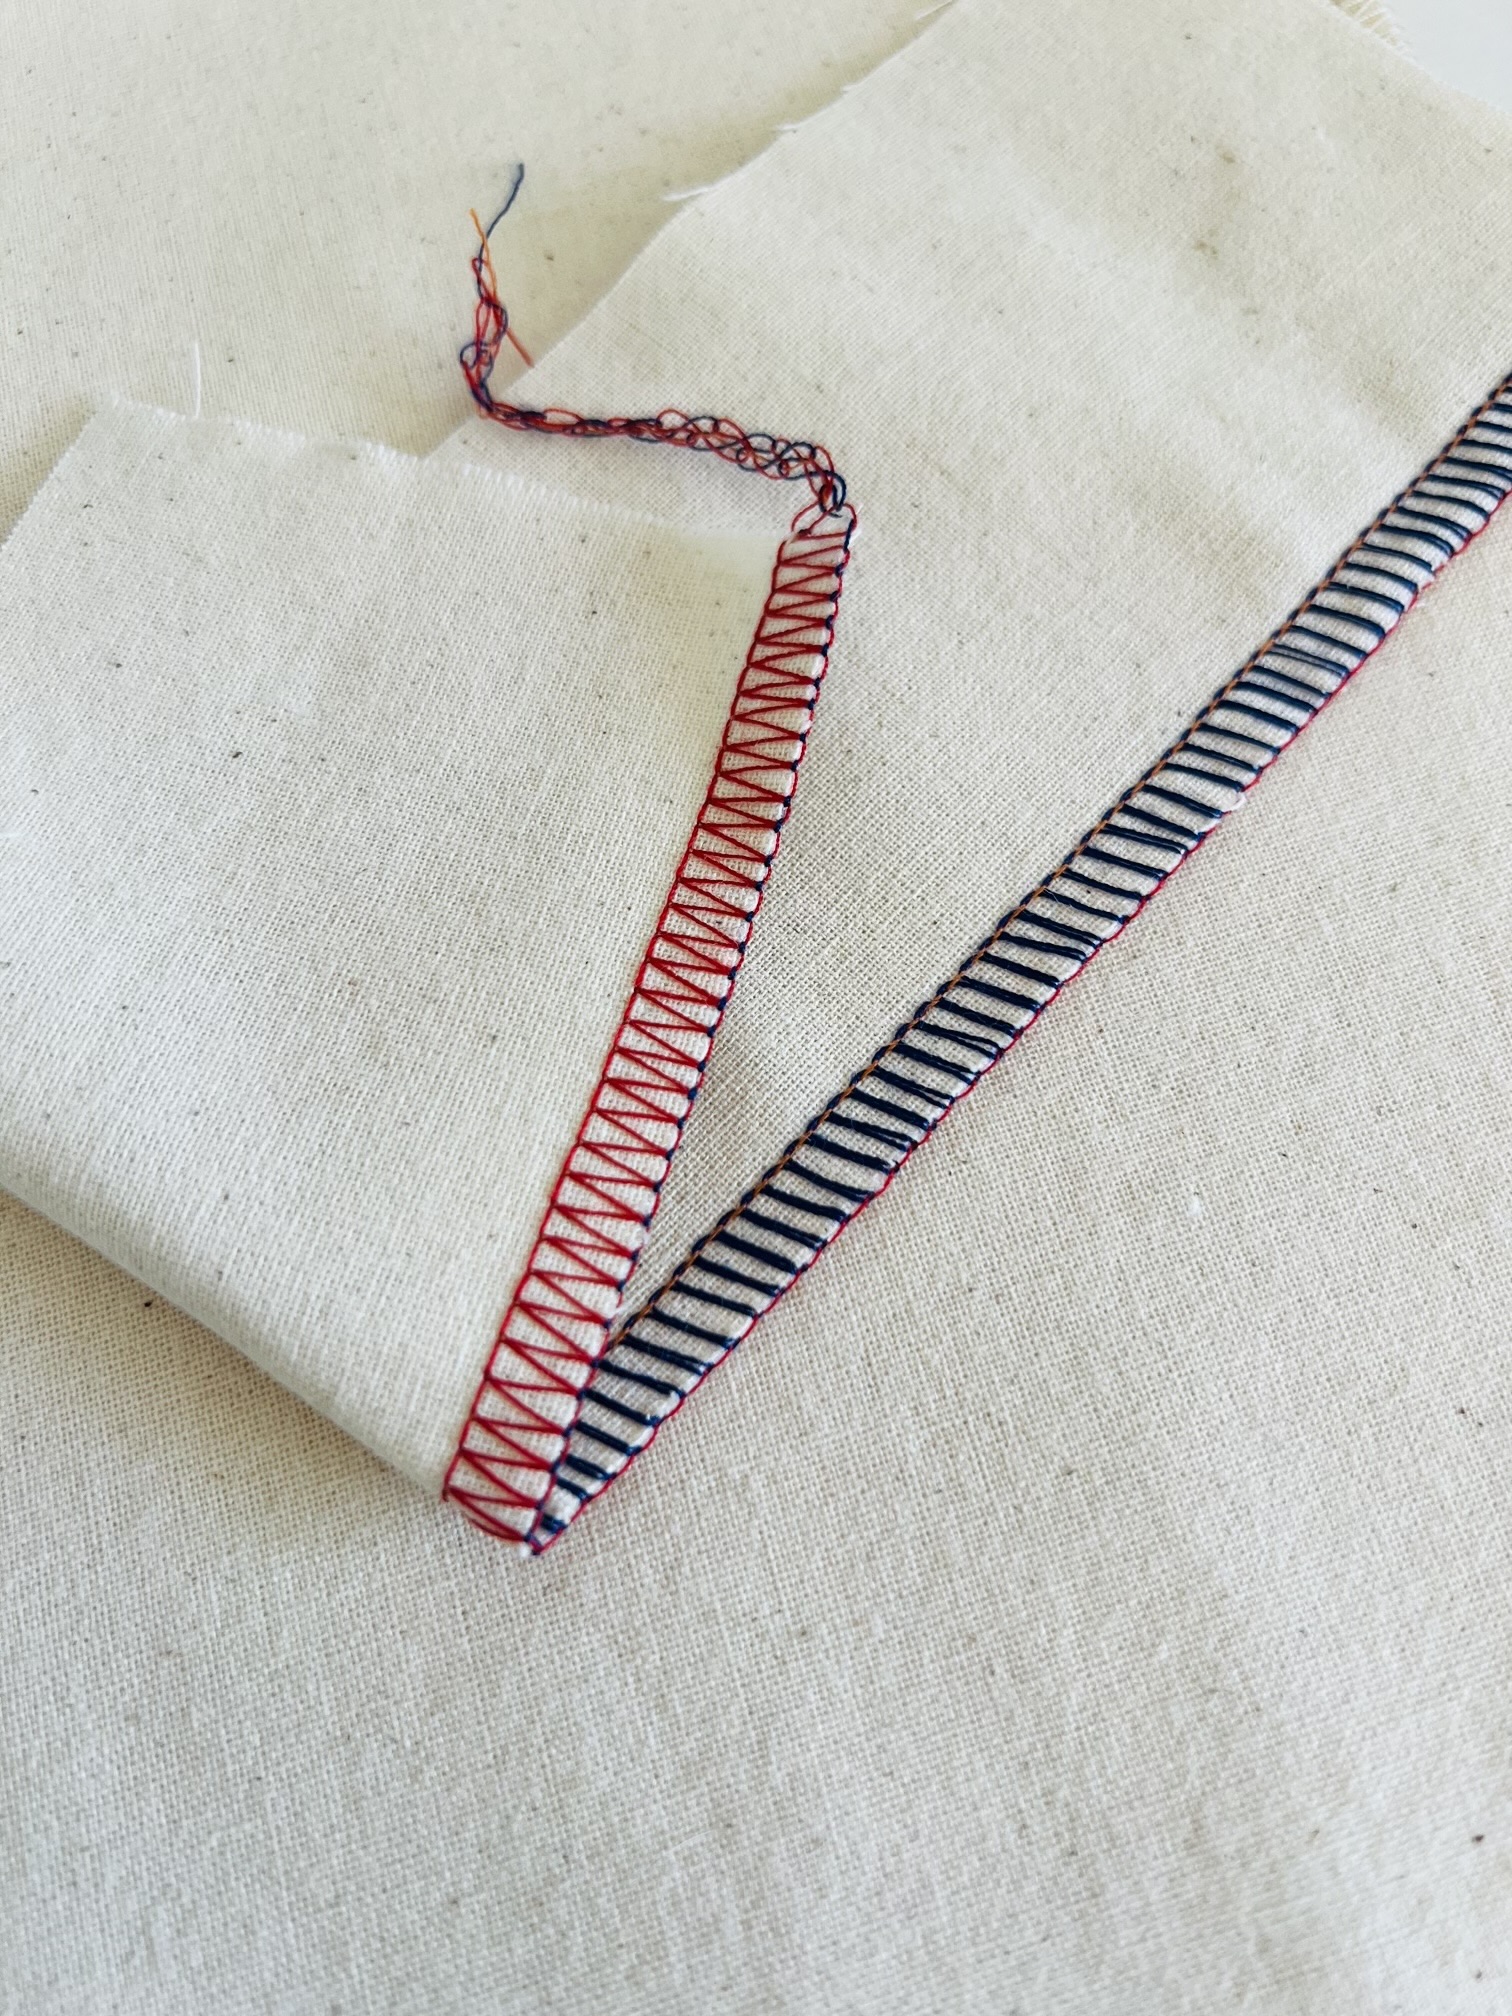
The use of three threads is more suitable for finishing edges or construction seams that won’t be under too much stress (e.g. a looser fitting tee). It is also well suited to lighter weight fabrics.
 Two thread overlock stitch:
A two thread overlock stitch is less common. It only uses one needle thread (orange) and one looper thread (red). To overlock with only two threads on my machine, I need to attach that upper-looper converter I mentioned earlier. In a nutshell, what this does is it “converts” (or diverts) the upper looper so it no longer carries thread, allowing the machine to create a stitch using just the lower looper.
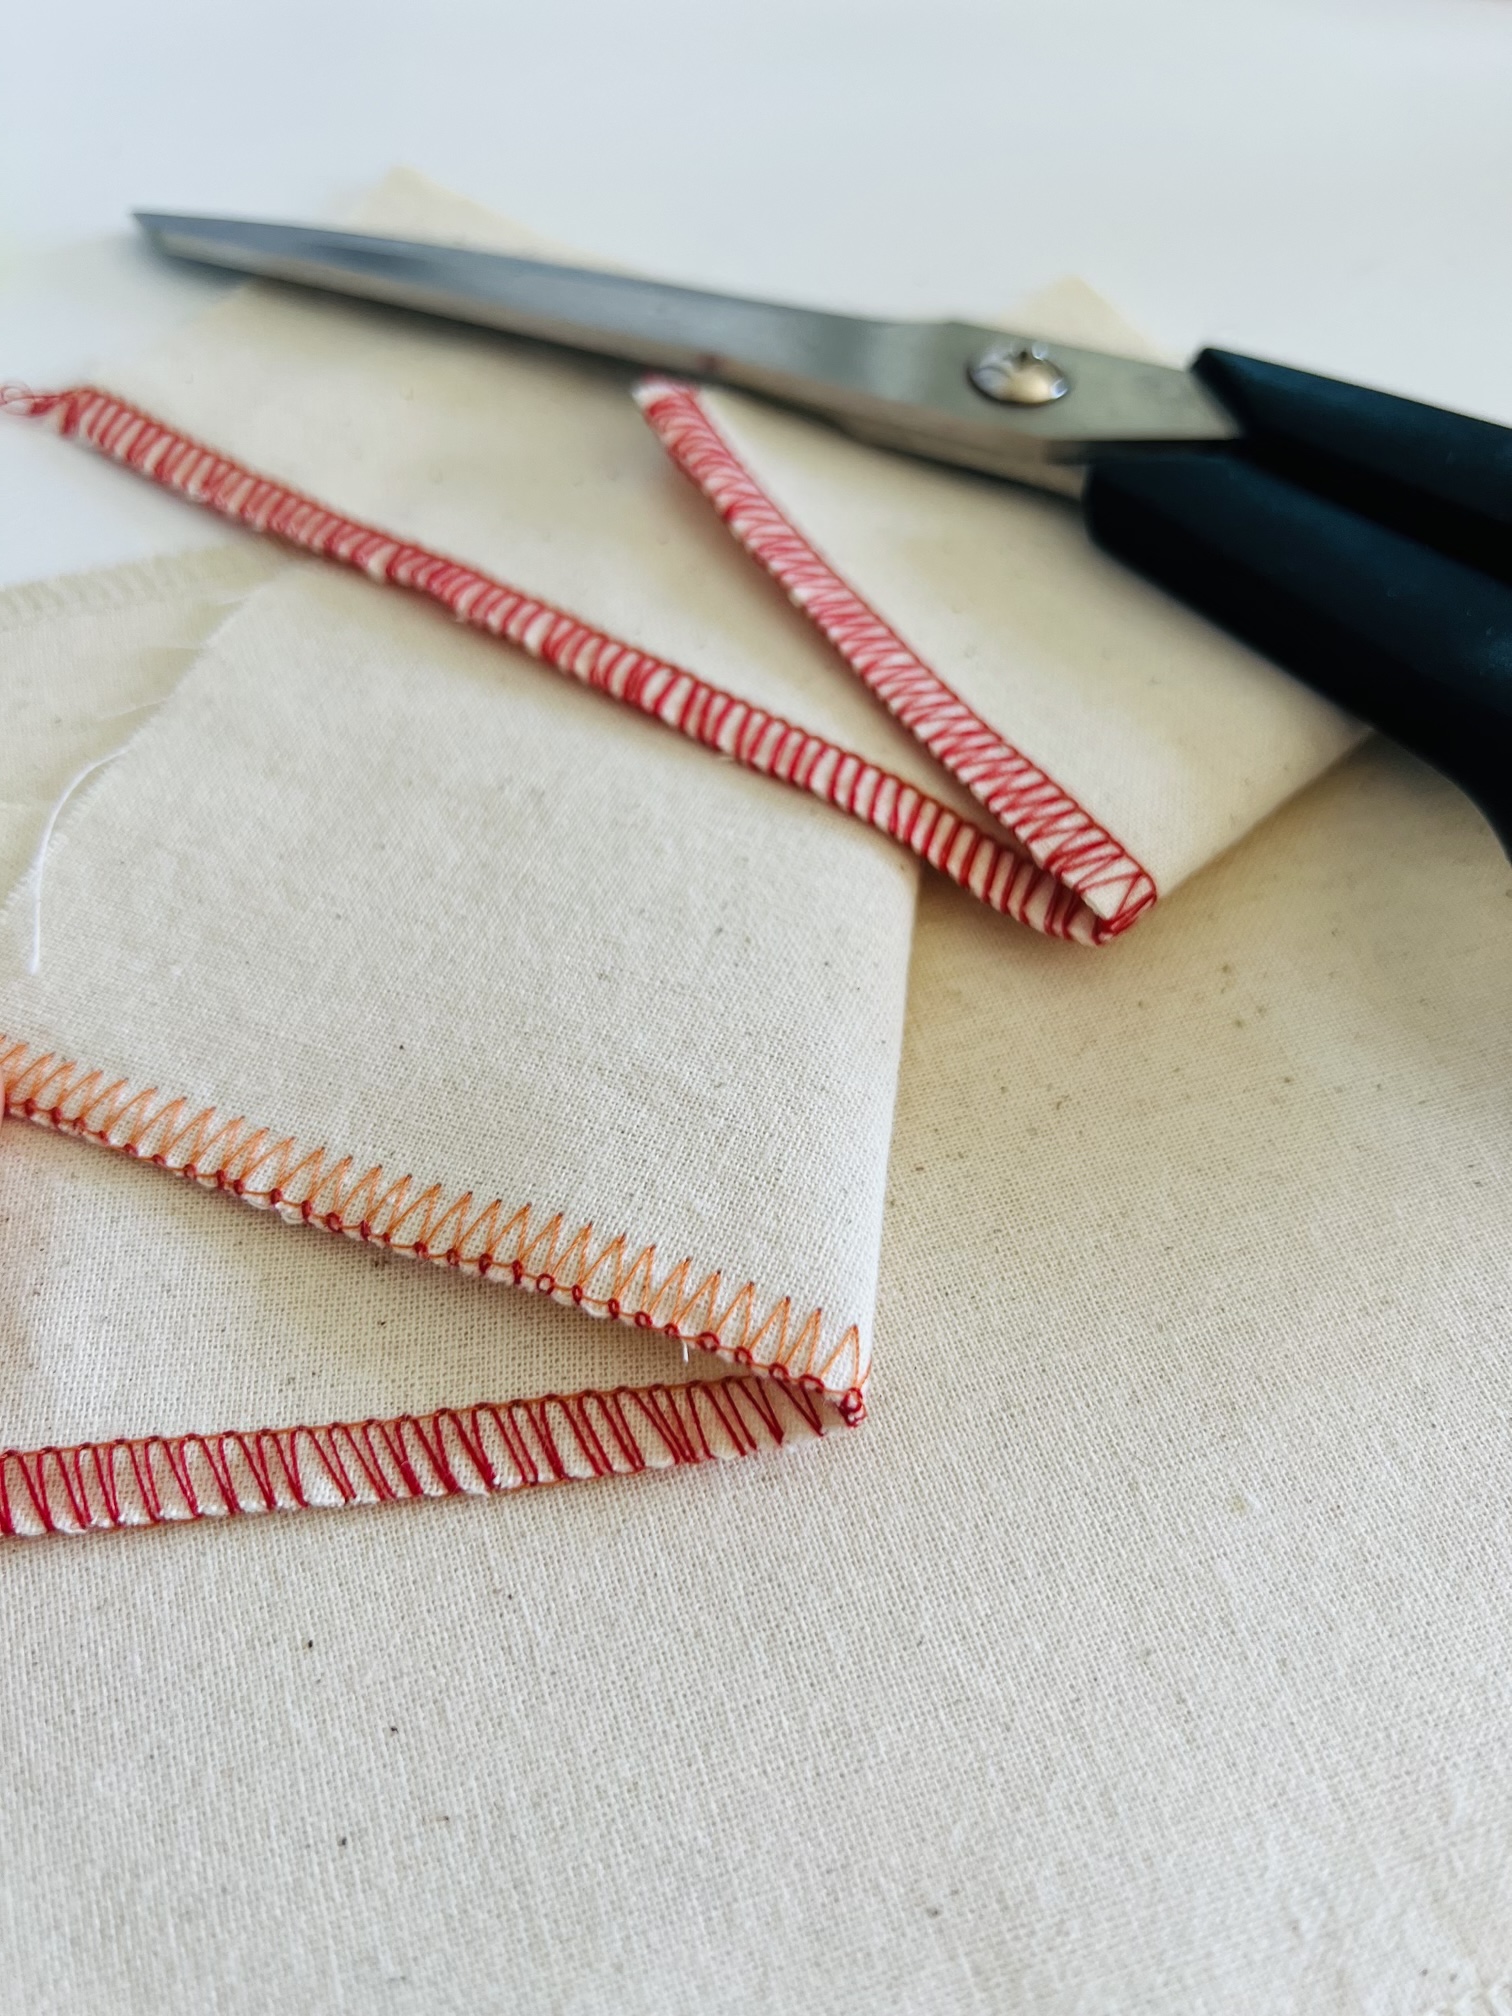
Two thread overlocking is better suited to finishing edges of more delicate or lightweight fabrics rather than construction seams.
And there is one big benefit of two thread overlock stitch. It uses less thread!
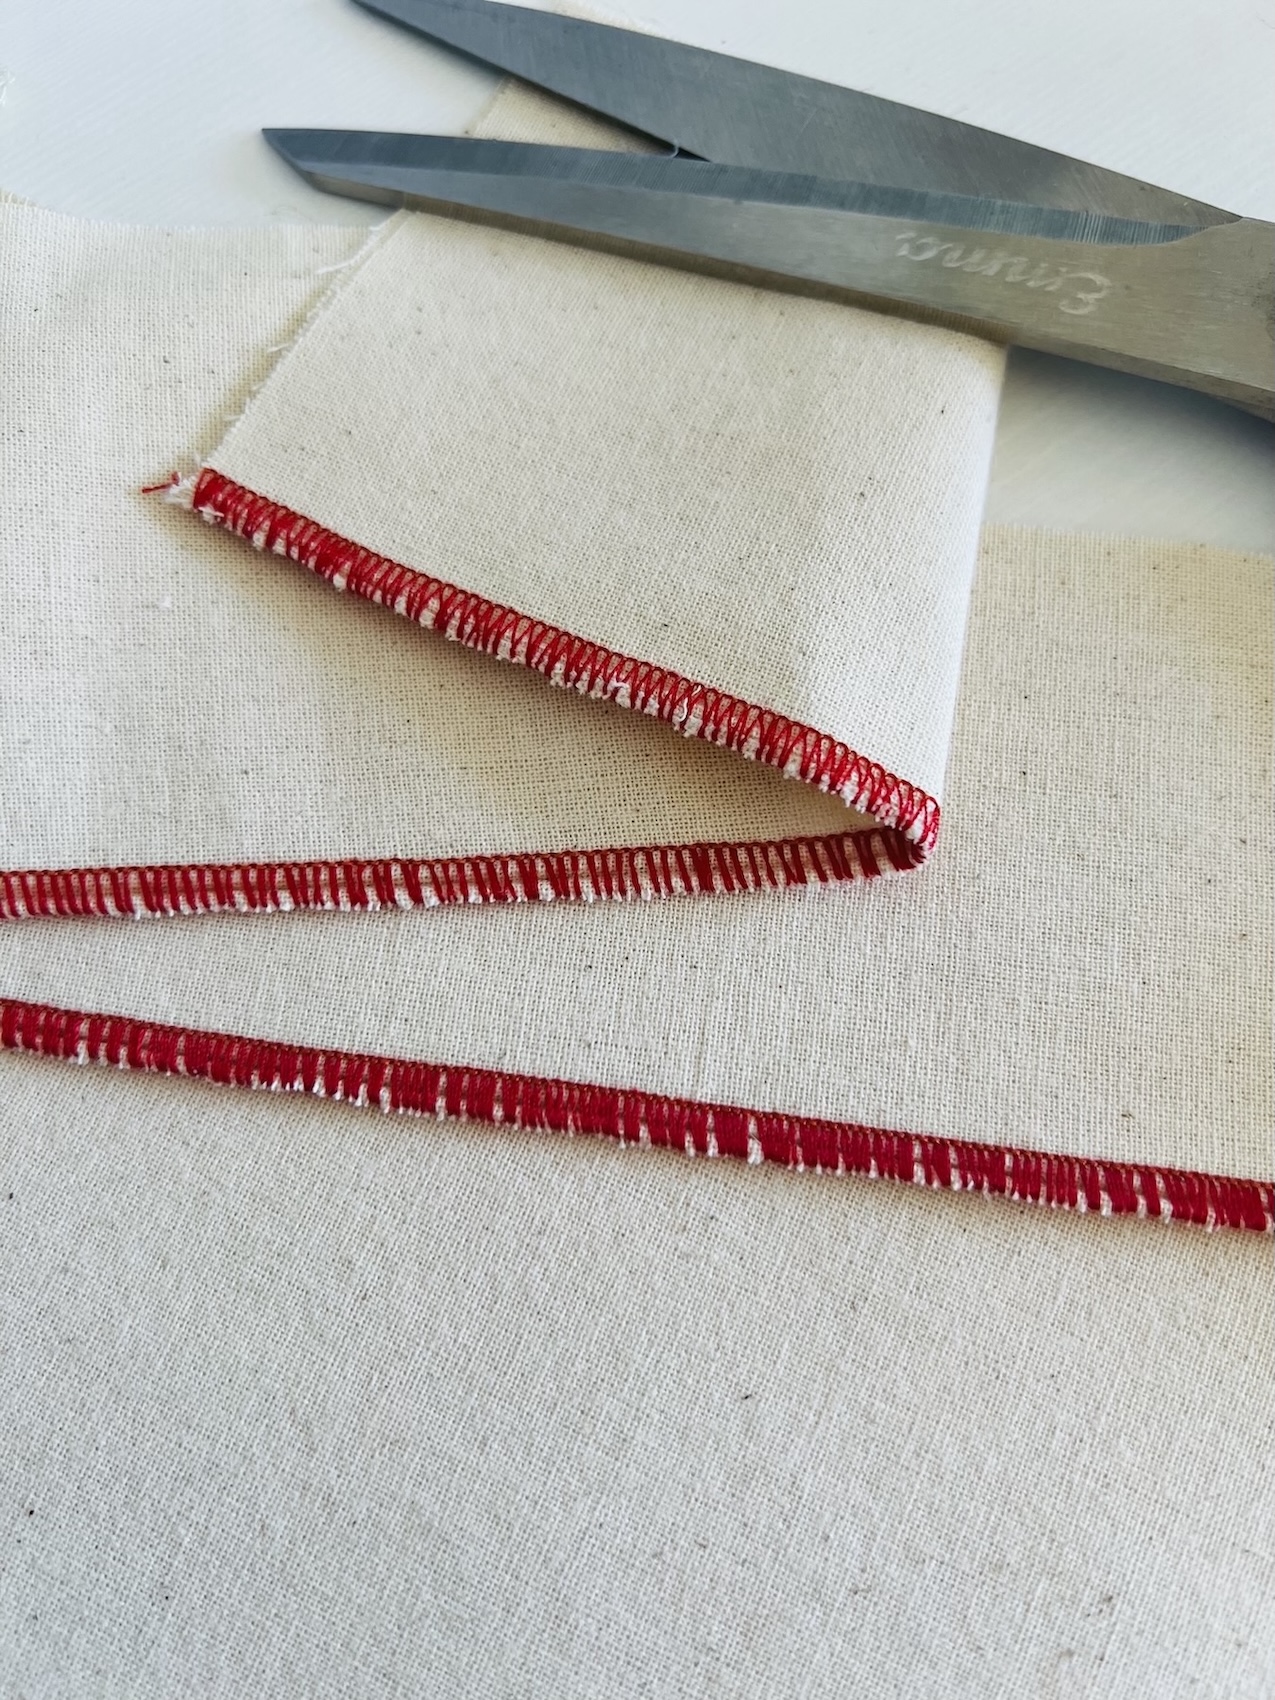
Rolled hemming:
To be honest I haven’t used this stitch since high school. But rolled hemming does create a neat, narrow, and decorative edge finish for a single layer of fabric, preferably lightweight. It works by rolling the fabric edge under and encasing it in a tight, close stitch. The rolled hem stitch is integrated in my machine. I simply need to slide the selection lever at the front of the machine from overlocking to rolled hemming.
Gathering stitch:
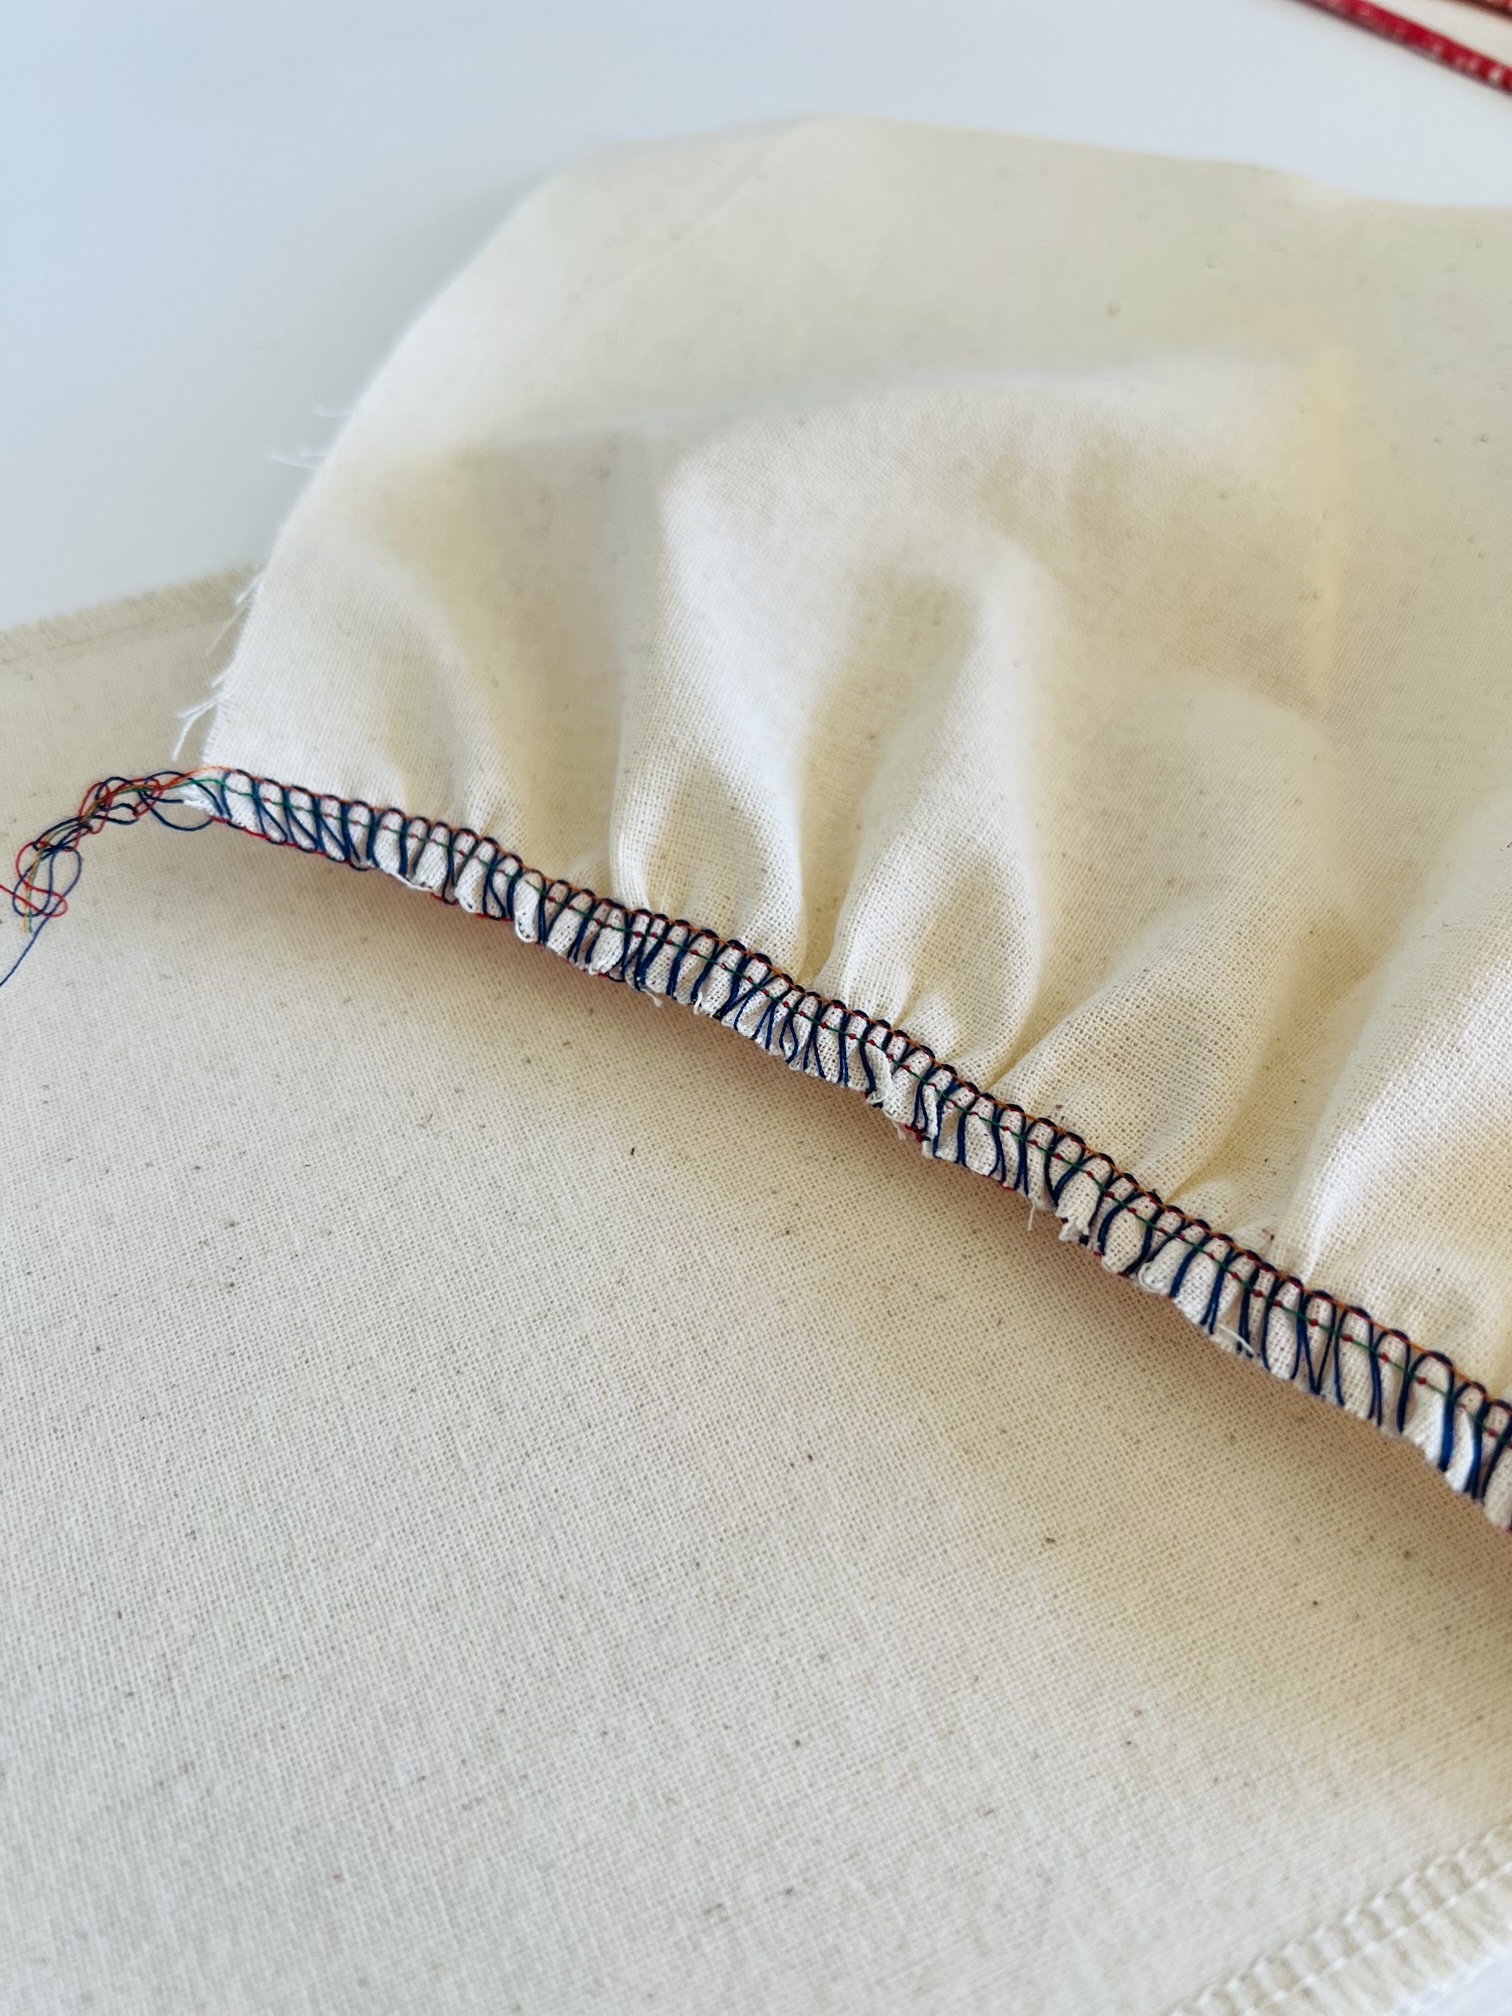
A single layer of fabric can be gathered with the overlocker before sewing it to a garment, by making adjustments to the differential feed and thread tension. This setting can be useful in areas like sleeve heads, or simple frills.
Threading Your Overlocker
Threading an overlocker will vary from machine to machine. But thankfully most overlockers include a threading guide somewhere on the machine itself. On my machine, a colour coded threading path diagram is included inside the looper cover, which makes following the correct path so much easier.
I am not going to go into detail on threading here, as I’ve already covered the basics in my guide “How to Thread an Overlocker the Easy Way” so check that out if you need a simple step-by-step guide.
Overlockers might seem complicated at first, but once you understand the basics of how they work and what they can do, they become much less intimidating and eventually fun!
Stay tuned for Part 2 where I’ll walk you through some adjustments you might want to make, and how to troubleshoot those common stitching issues.