
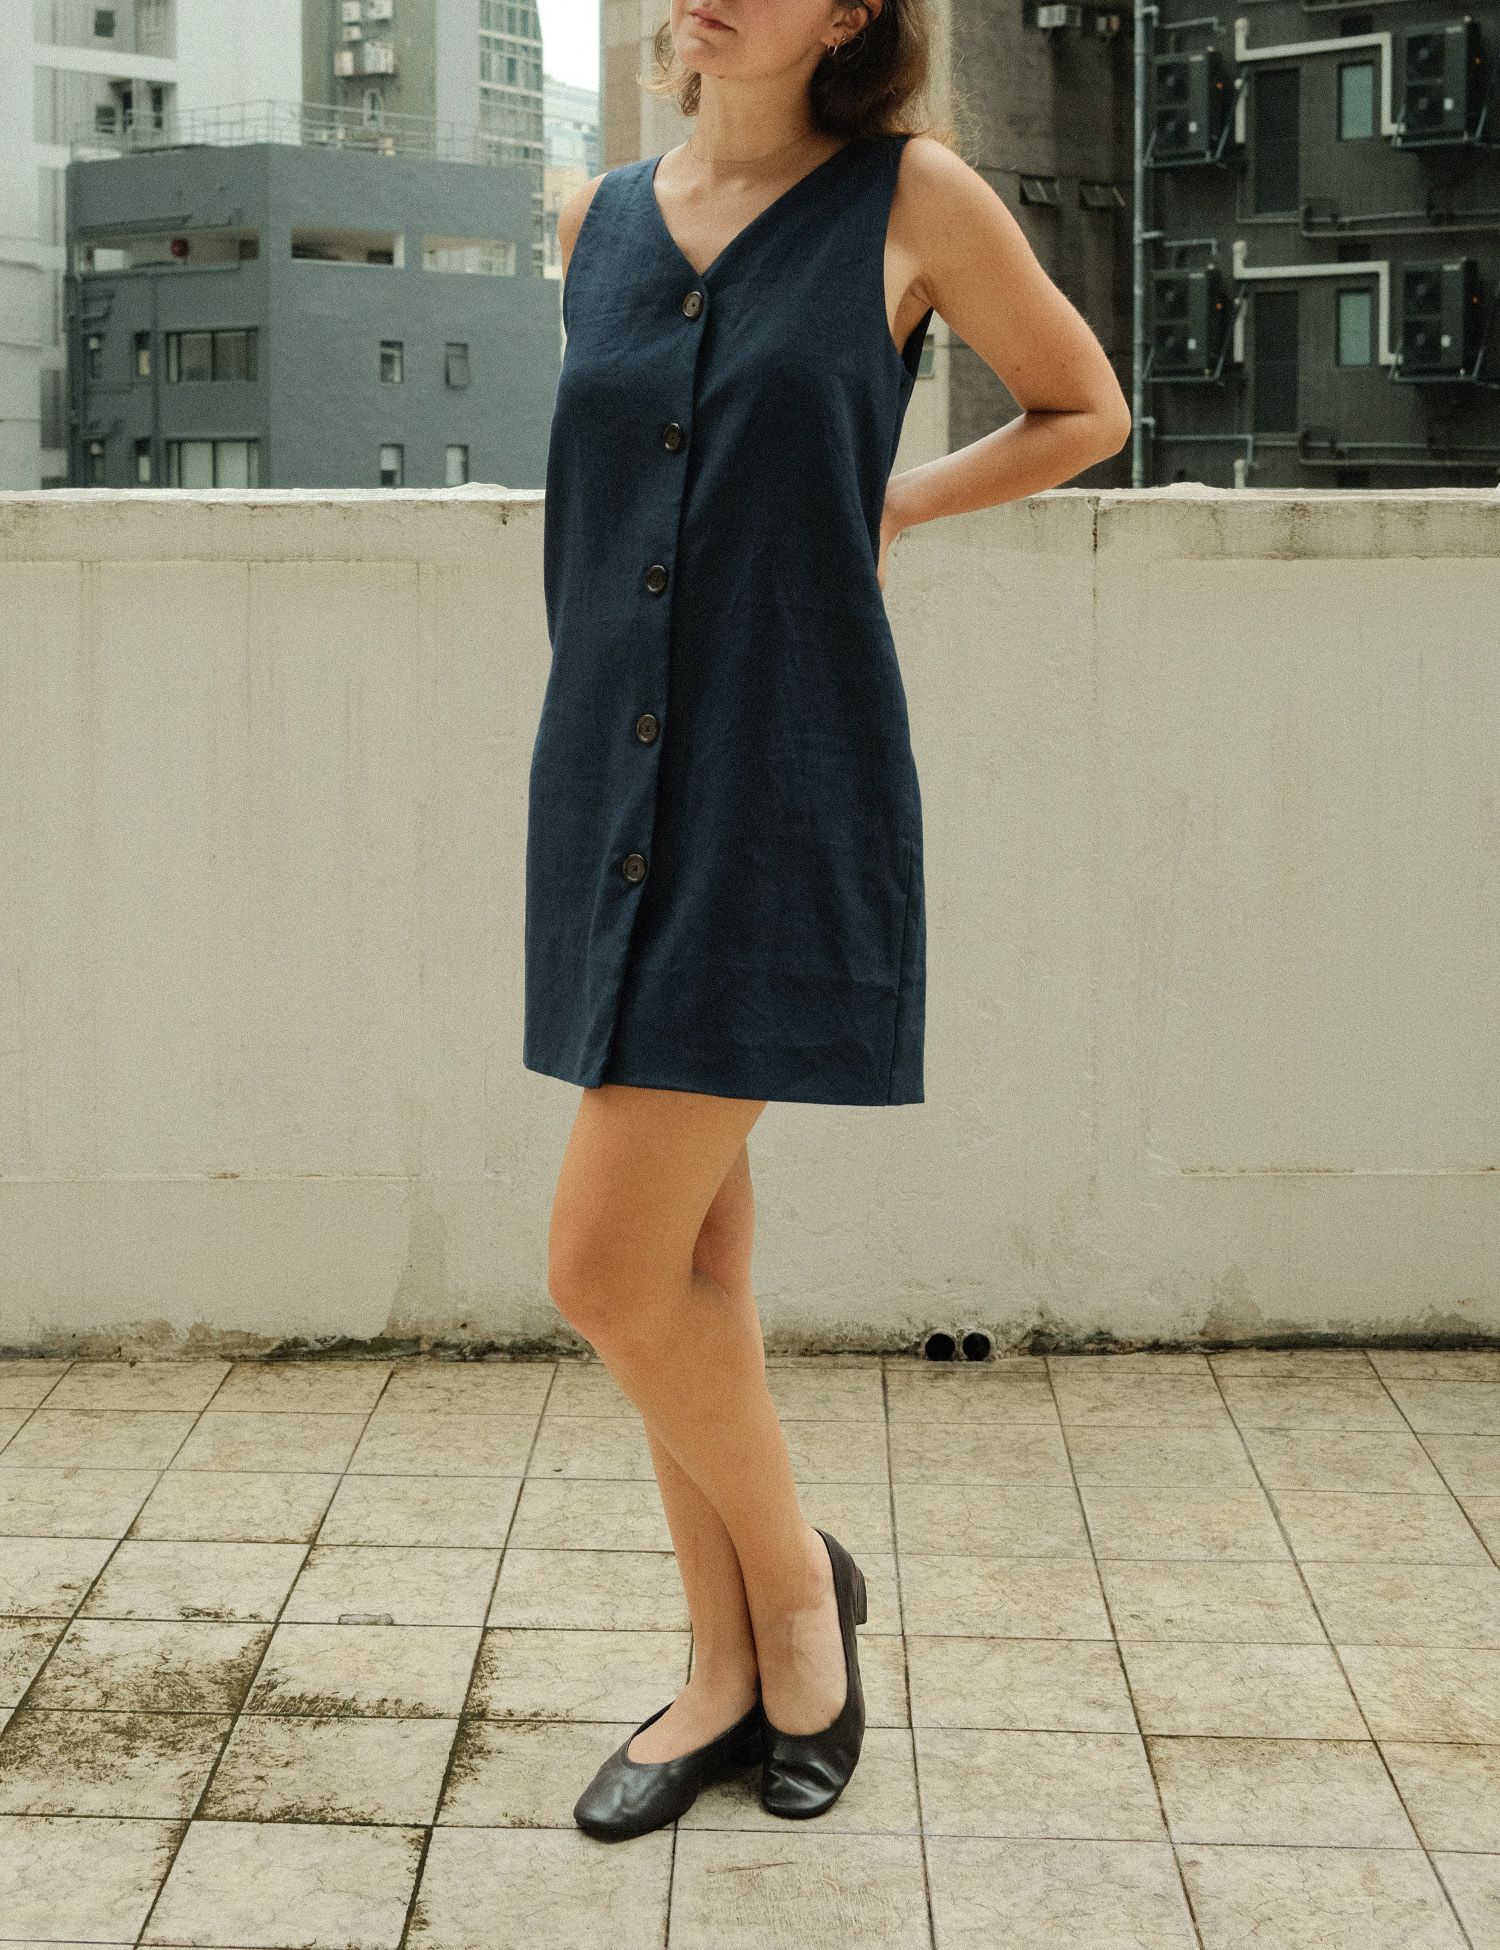
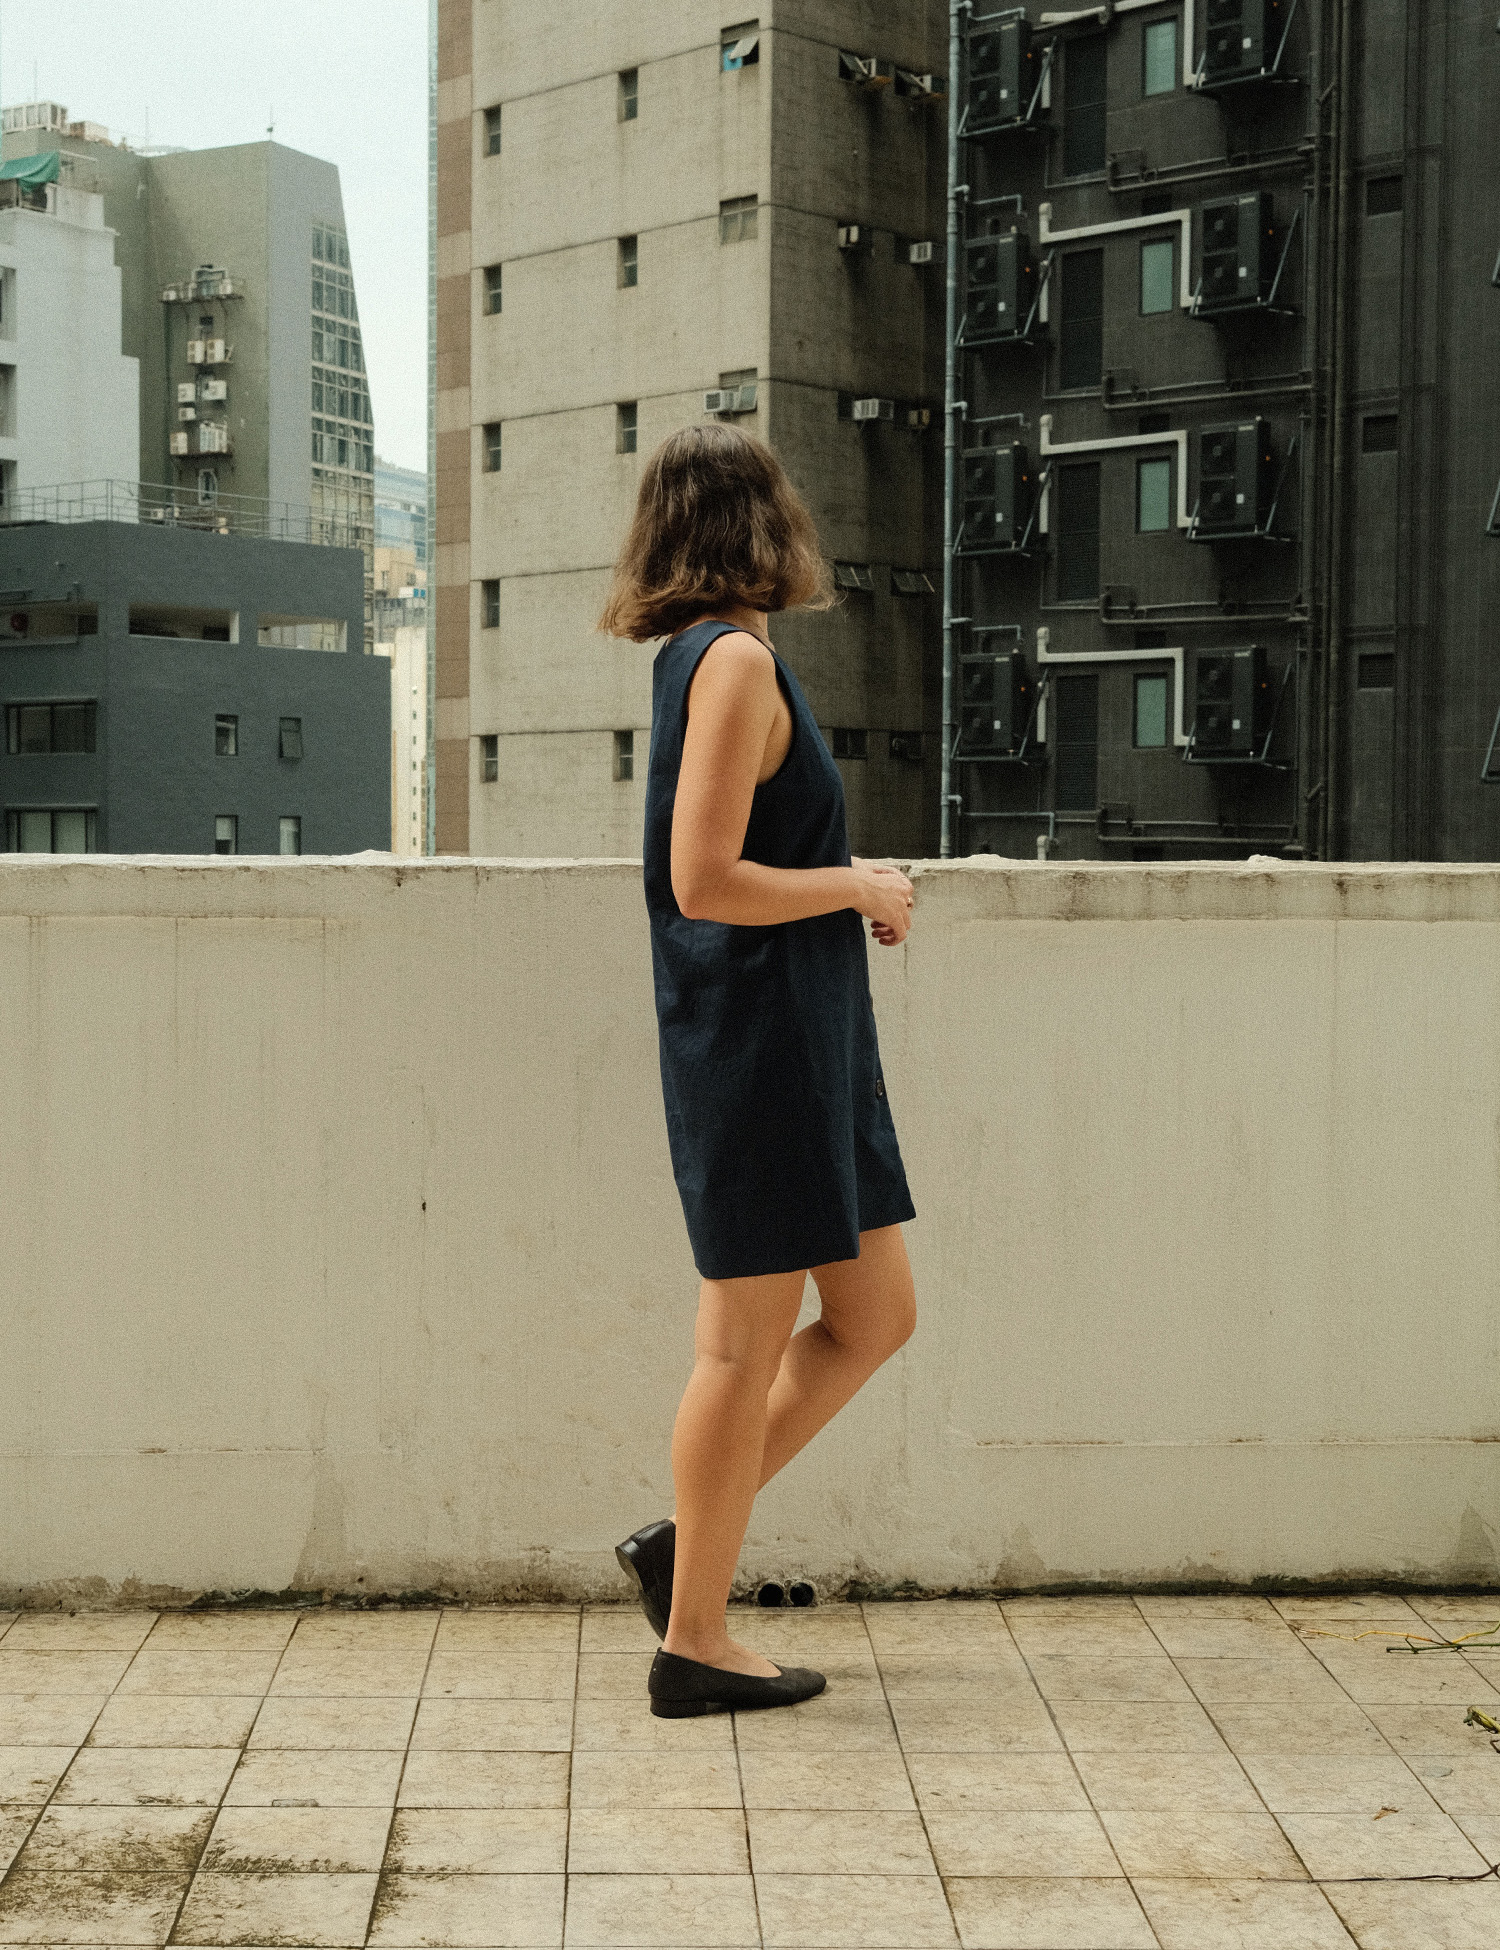
Every year as summer rolls around, I get excited to add new styles to my closet to make the heat and humidity more bearable. This year, I’ve hacked the Fabrics-Store’s Skye Dress pattern into a tailored mini dress. The modifications include a shortened hem, armhole and neckline facings, and a raised back neck.
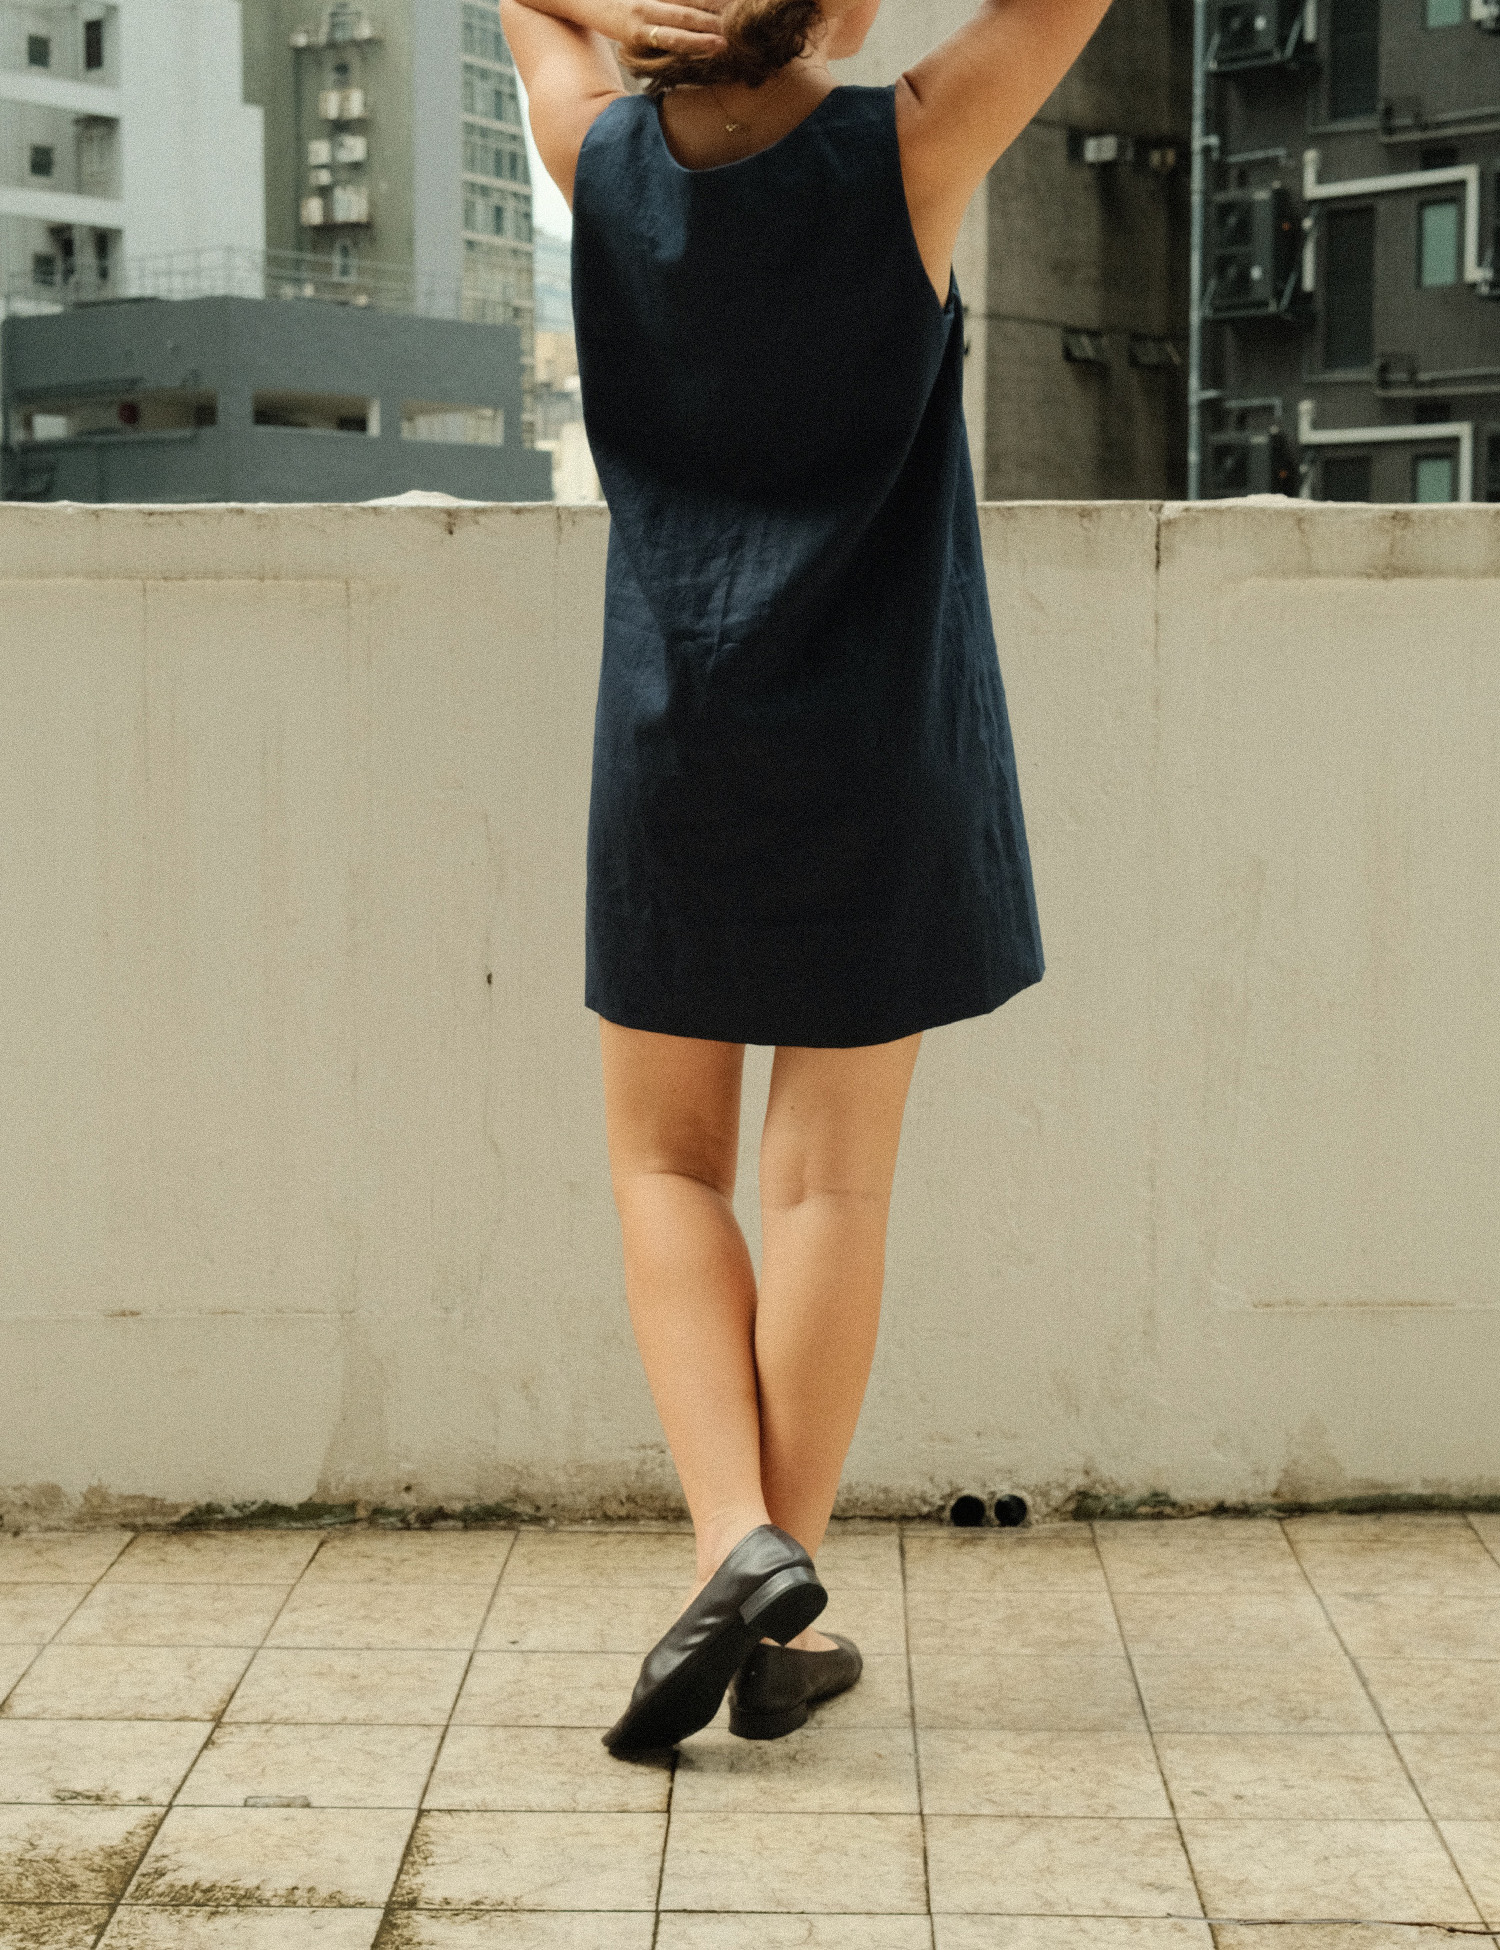
Follow the tutorial below to transform the Skye Dress into a heat-wave ready mini dress. For this hack, 5 buttons 2.5cm / 1″ in diameter are used.
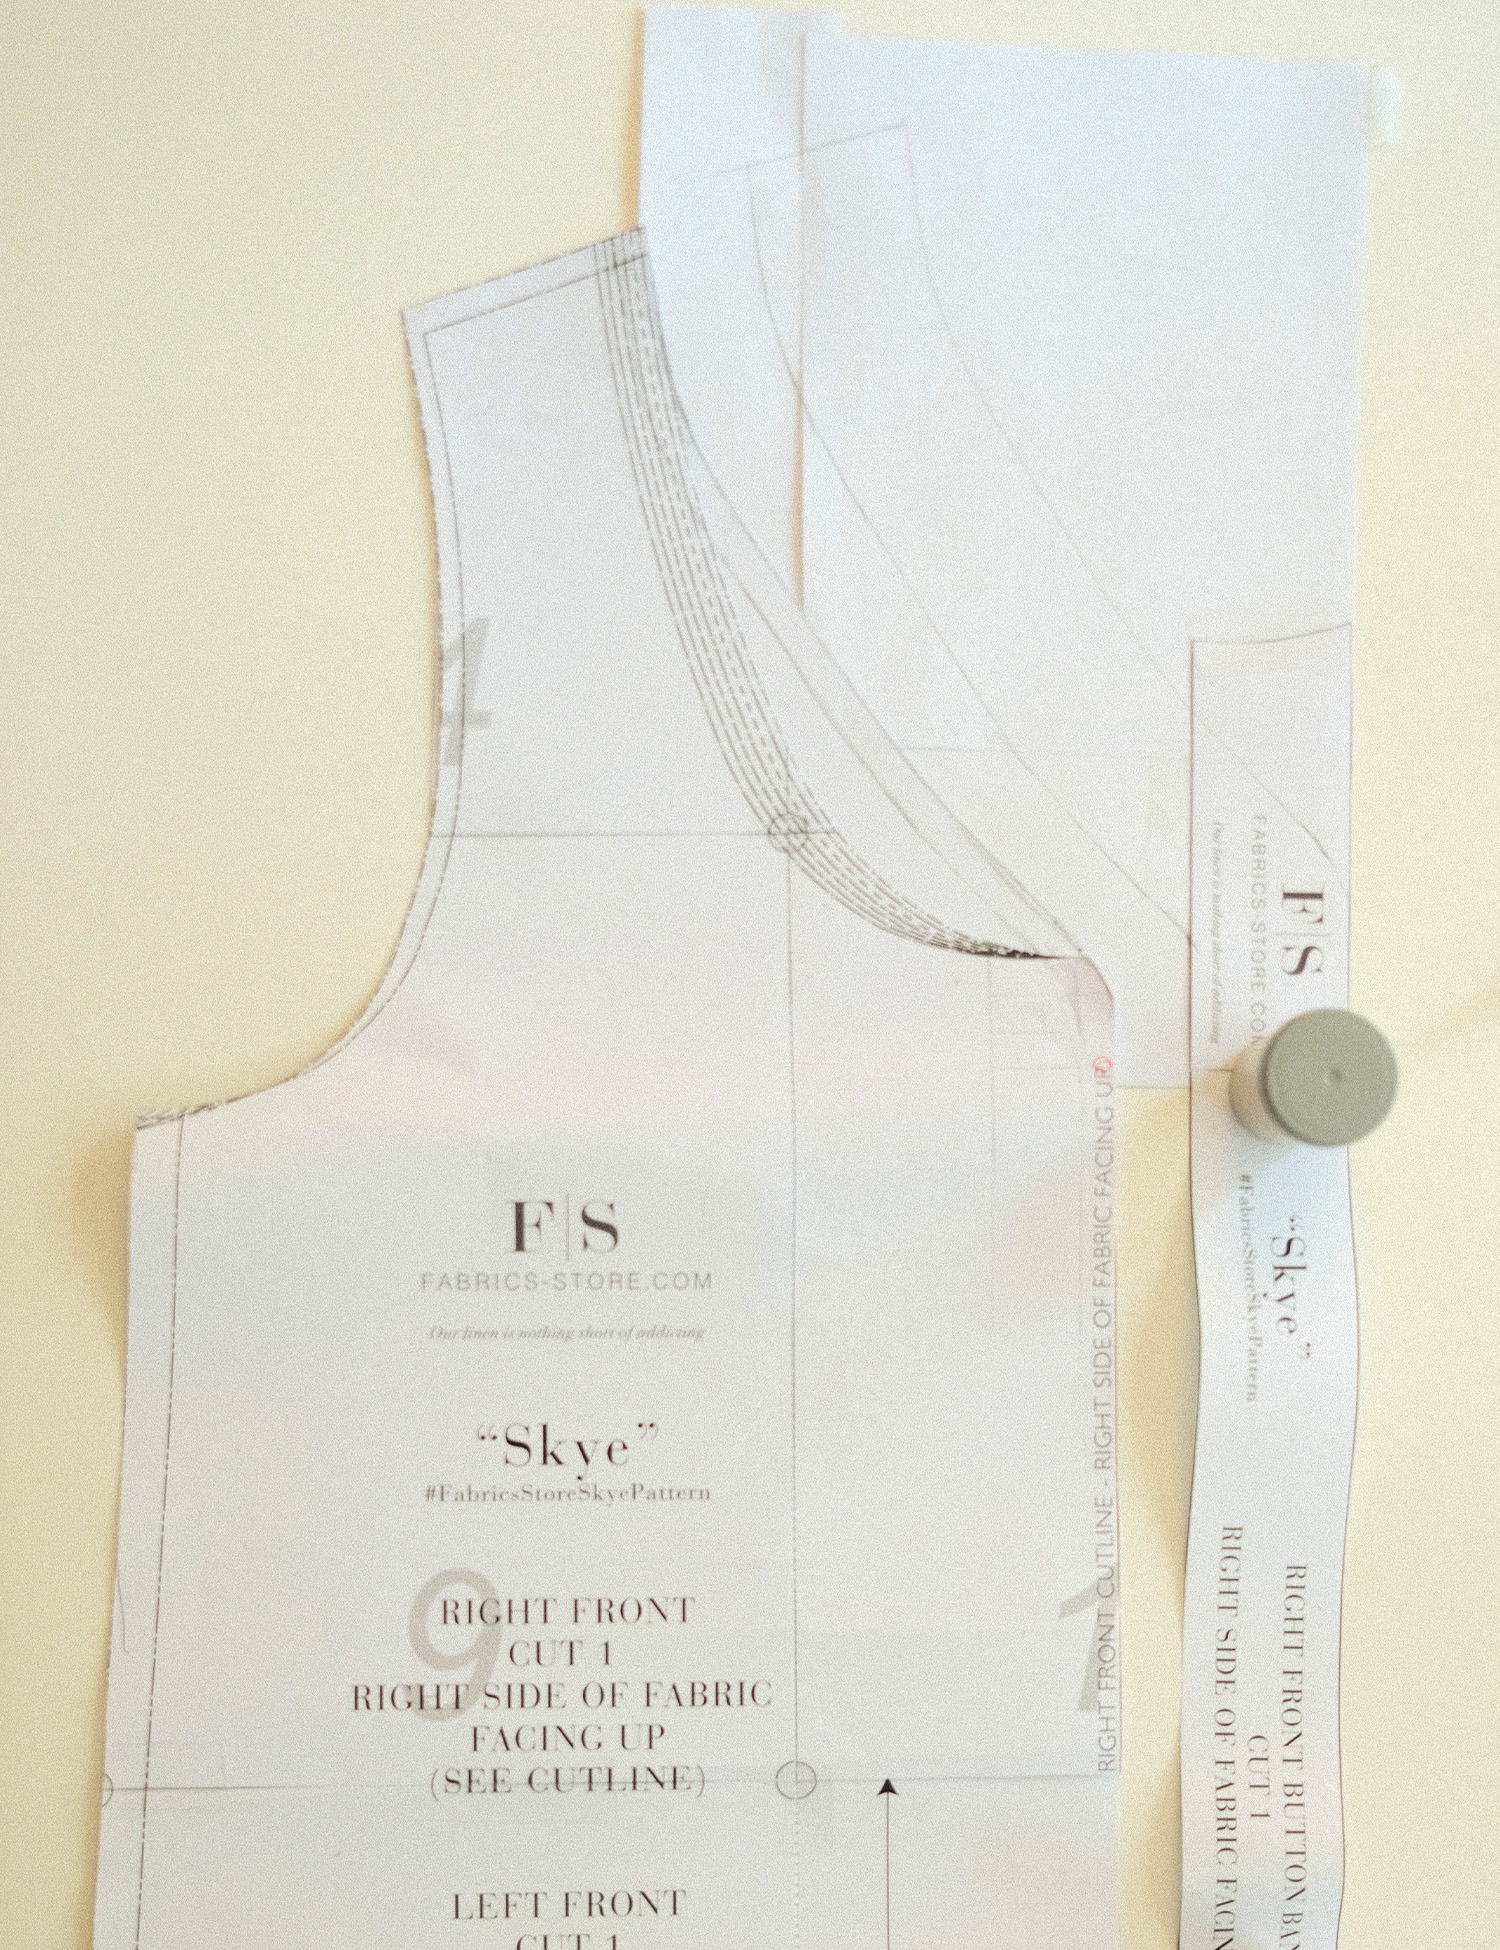
Steps
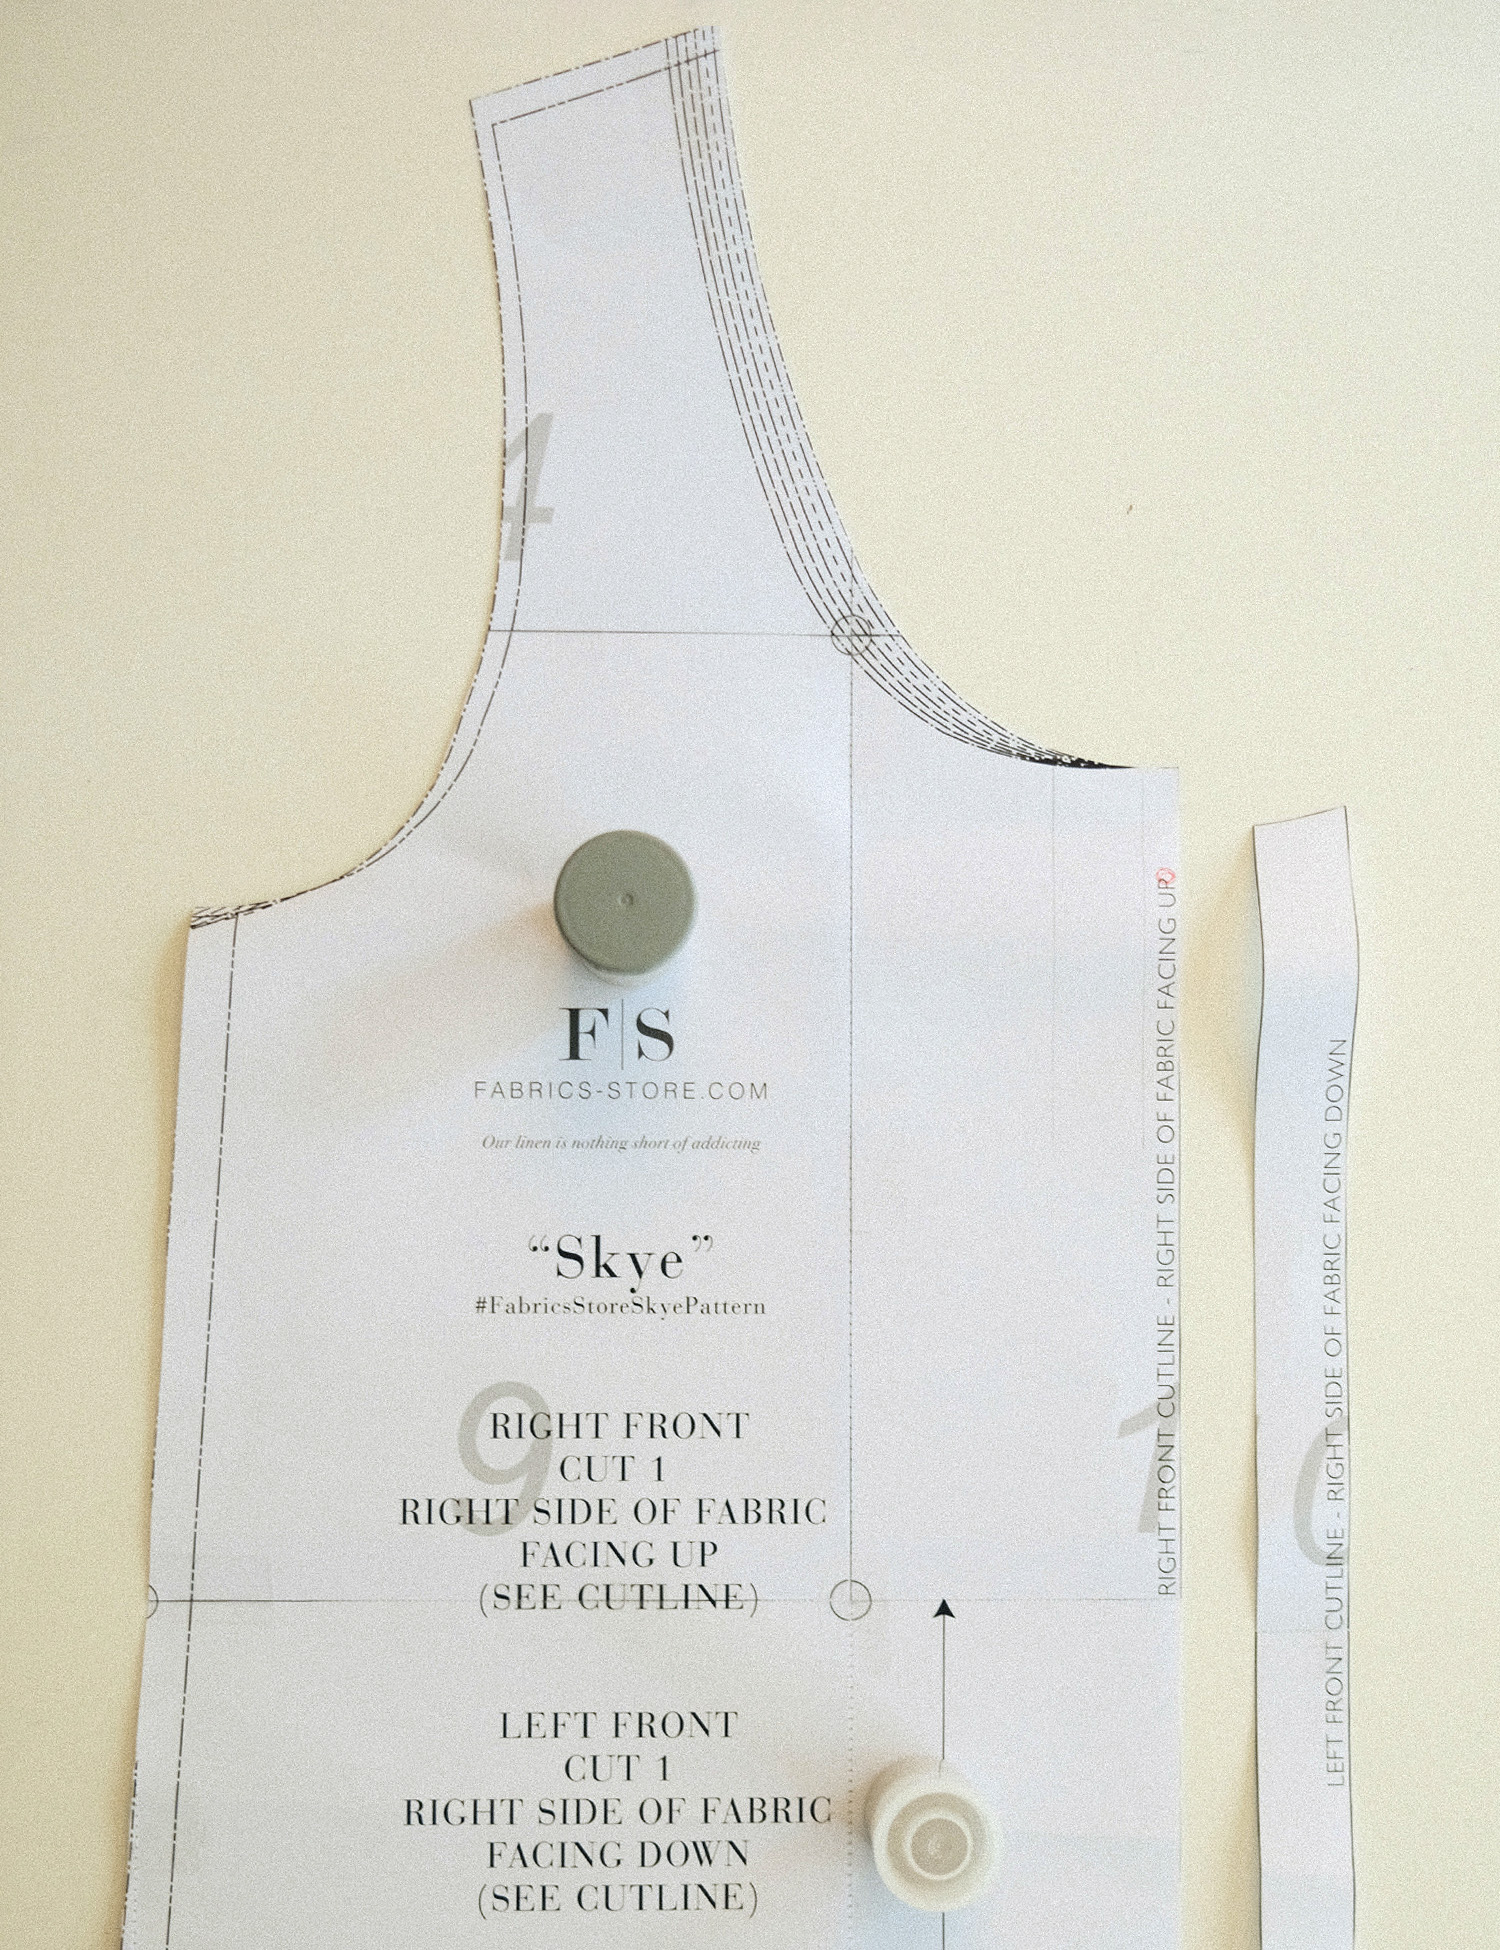
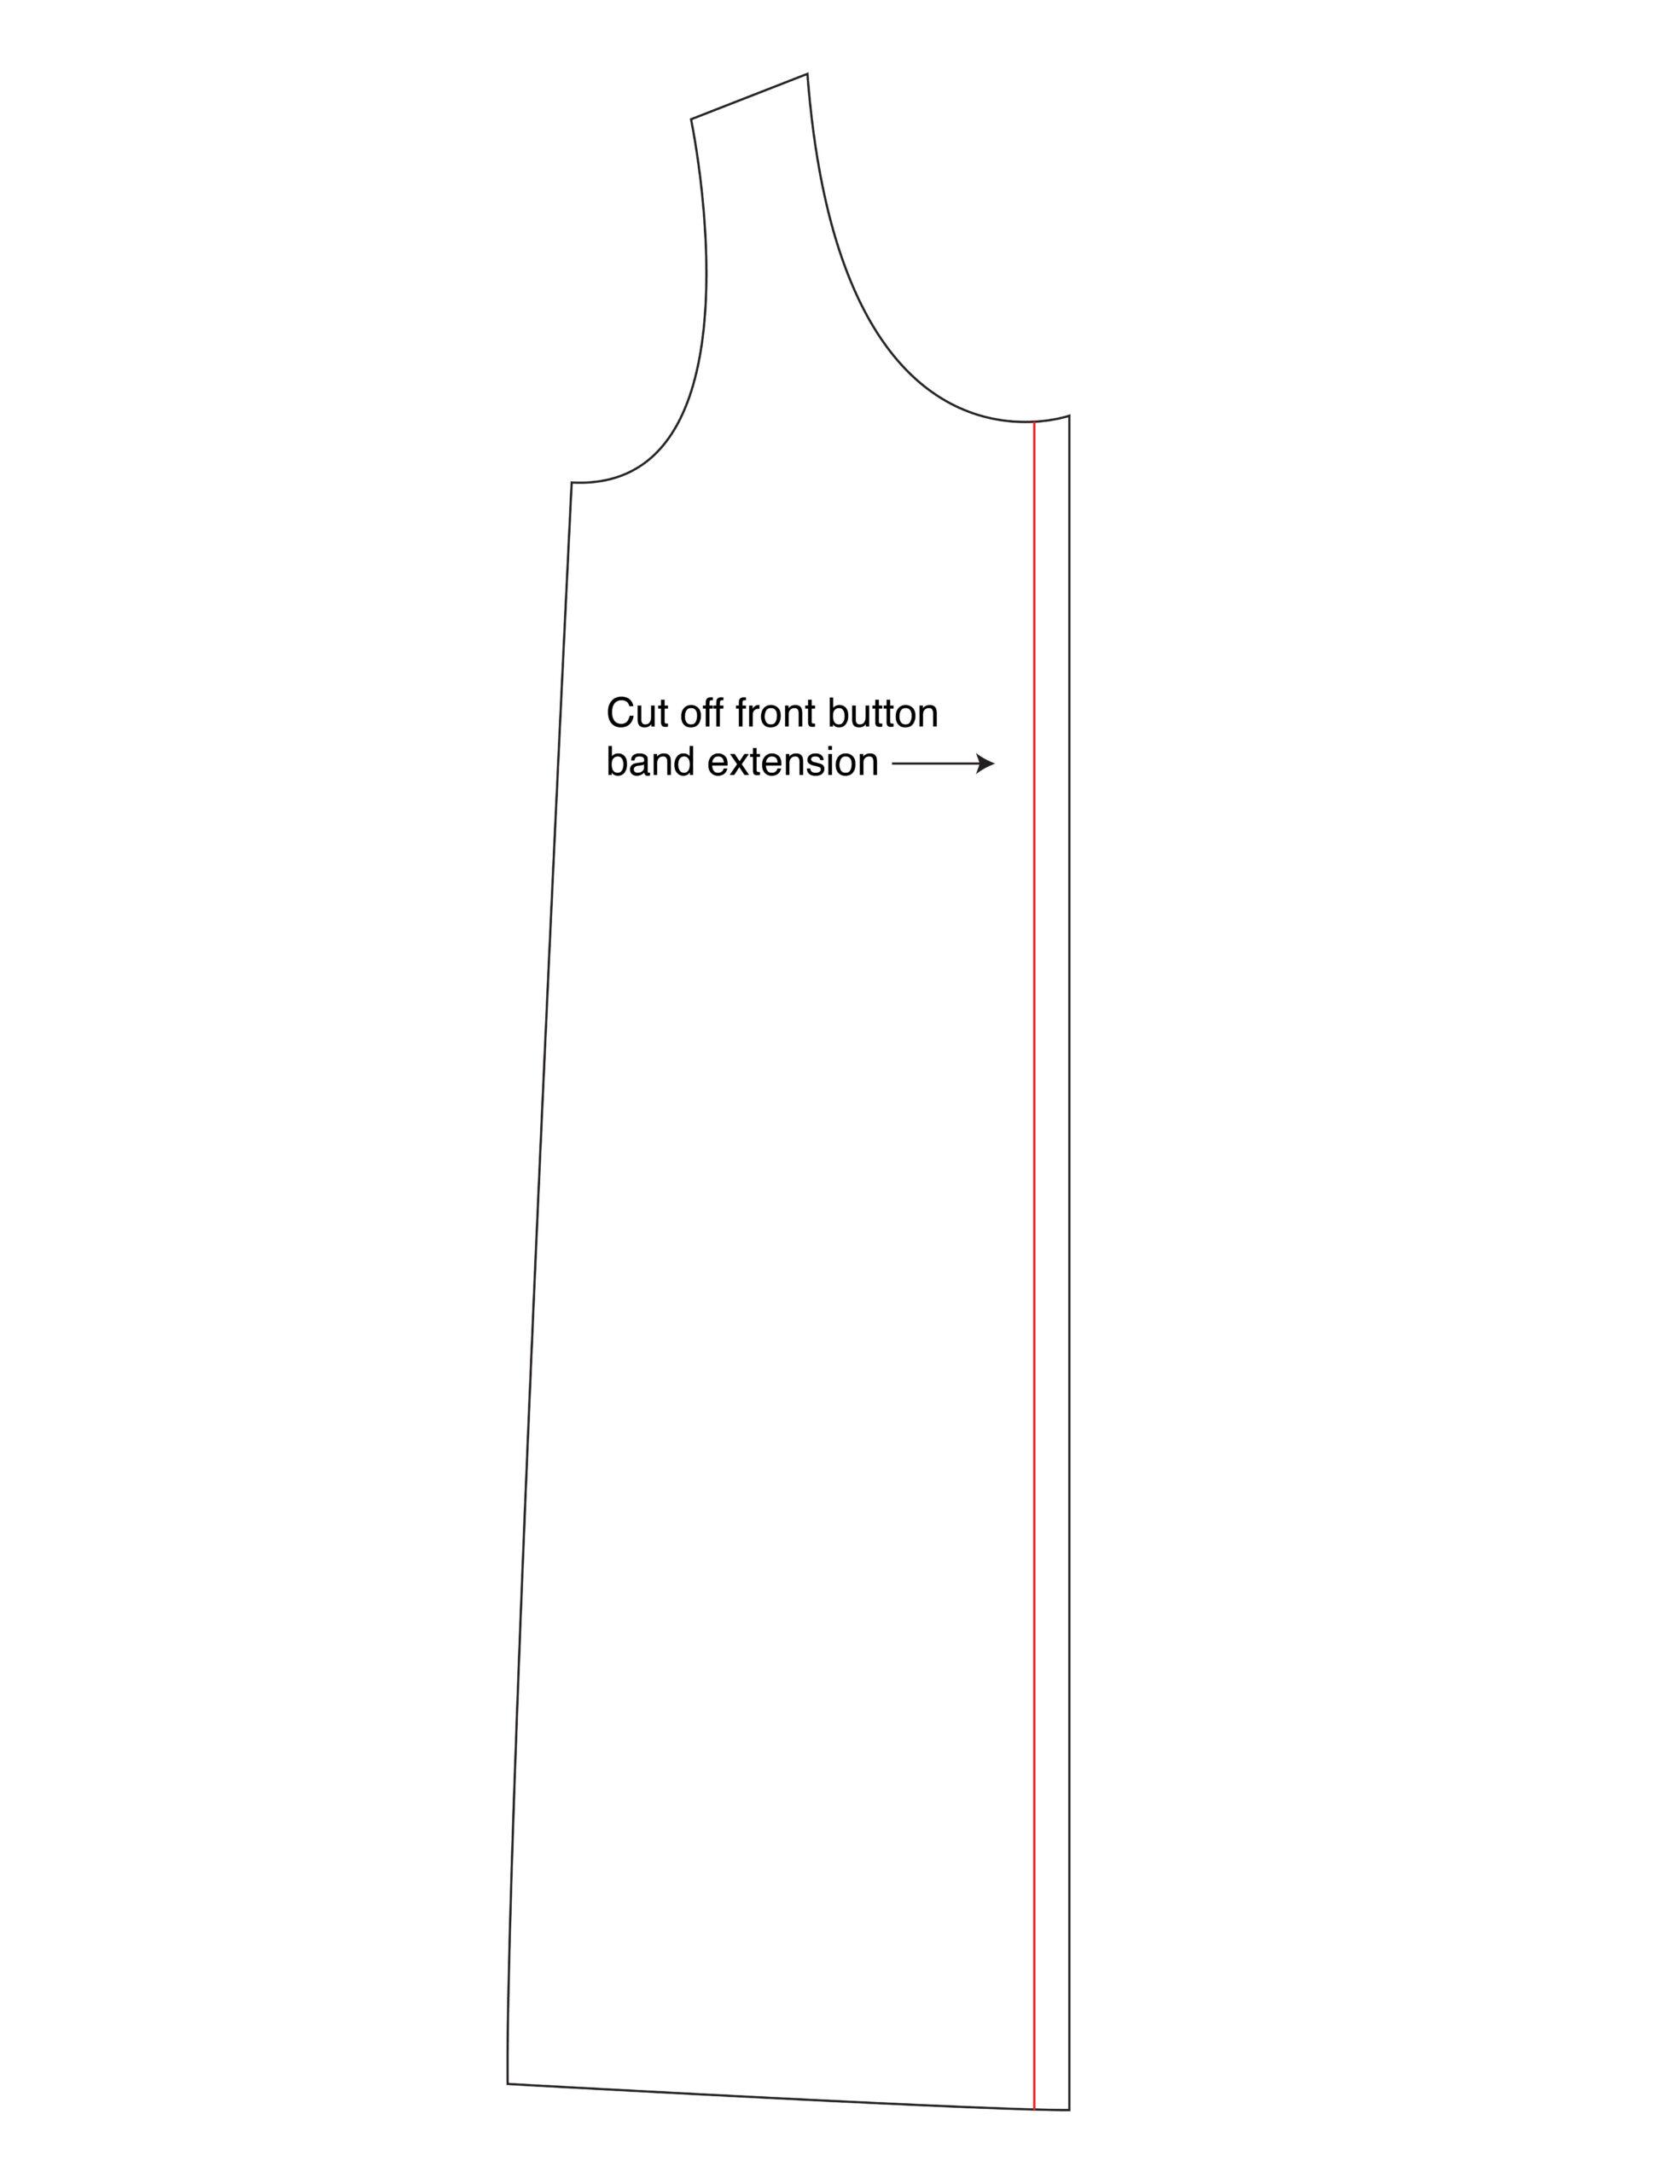
1. Trim off the left button band extension from the front dress pattern.
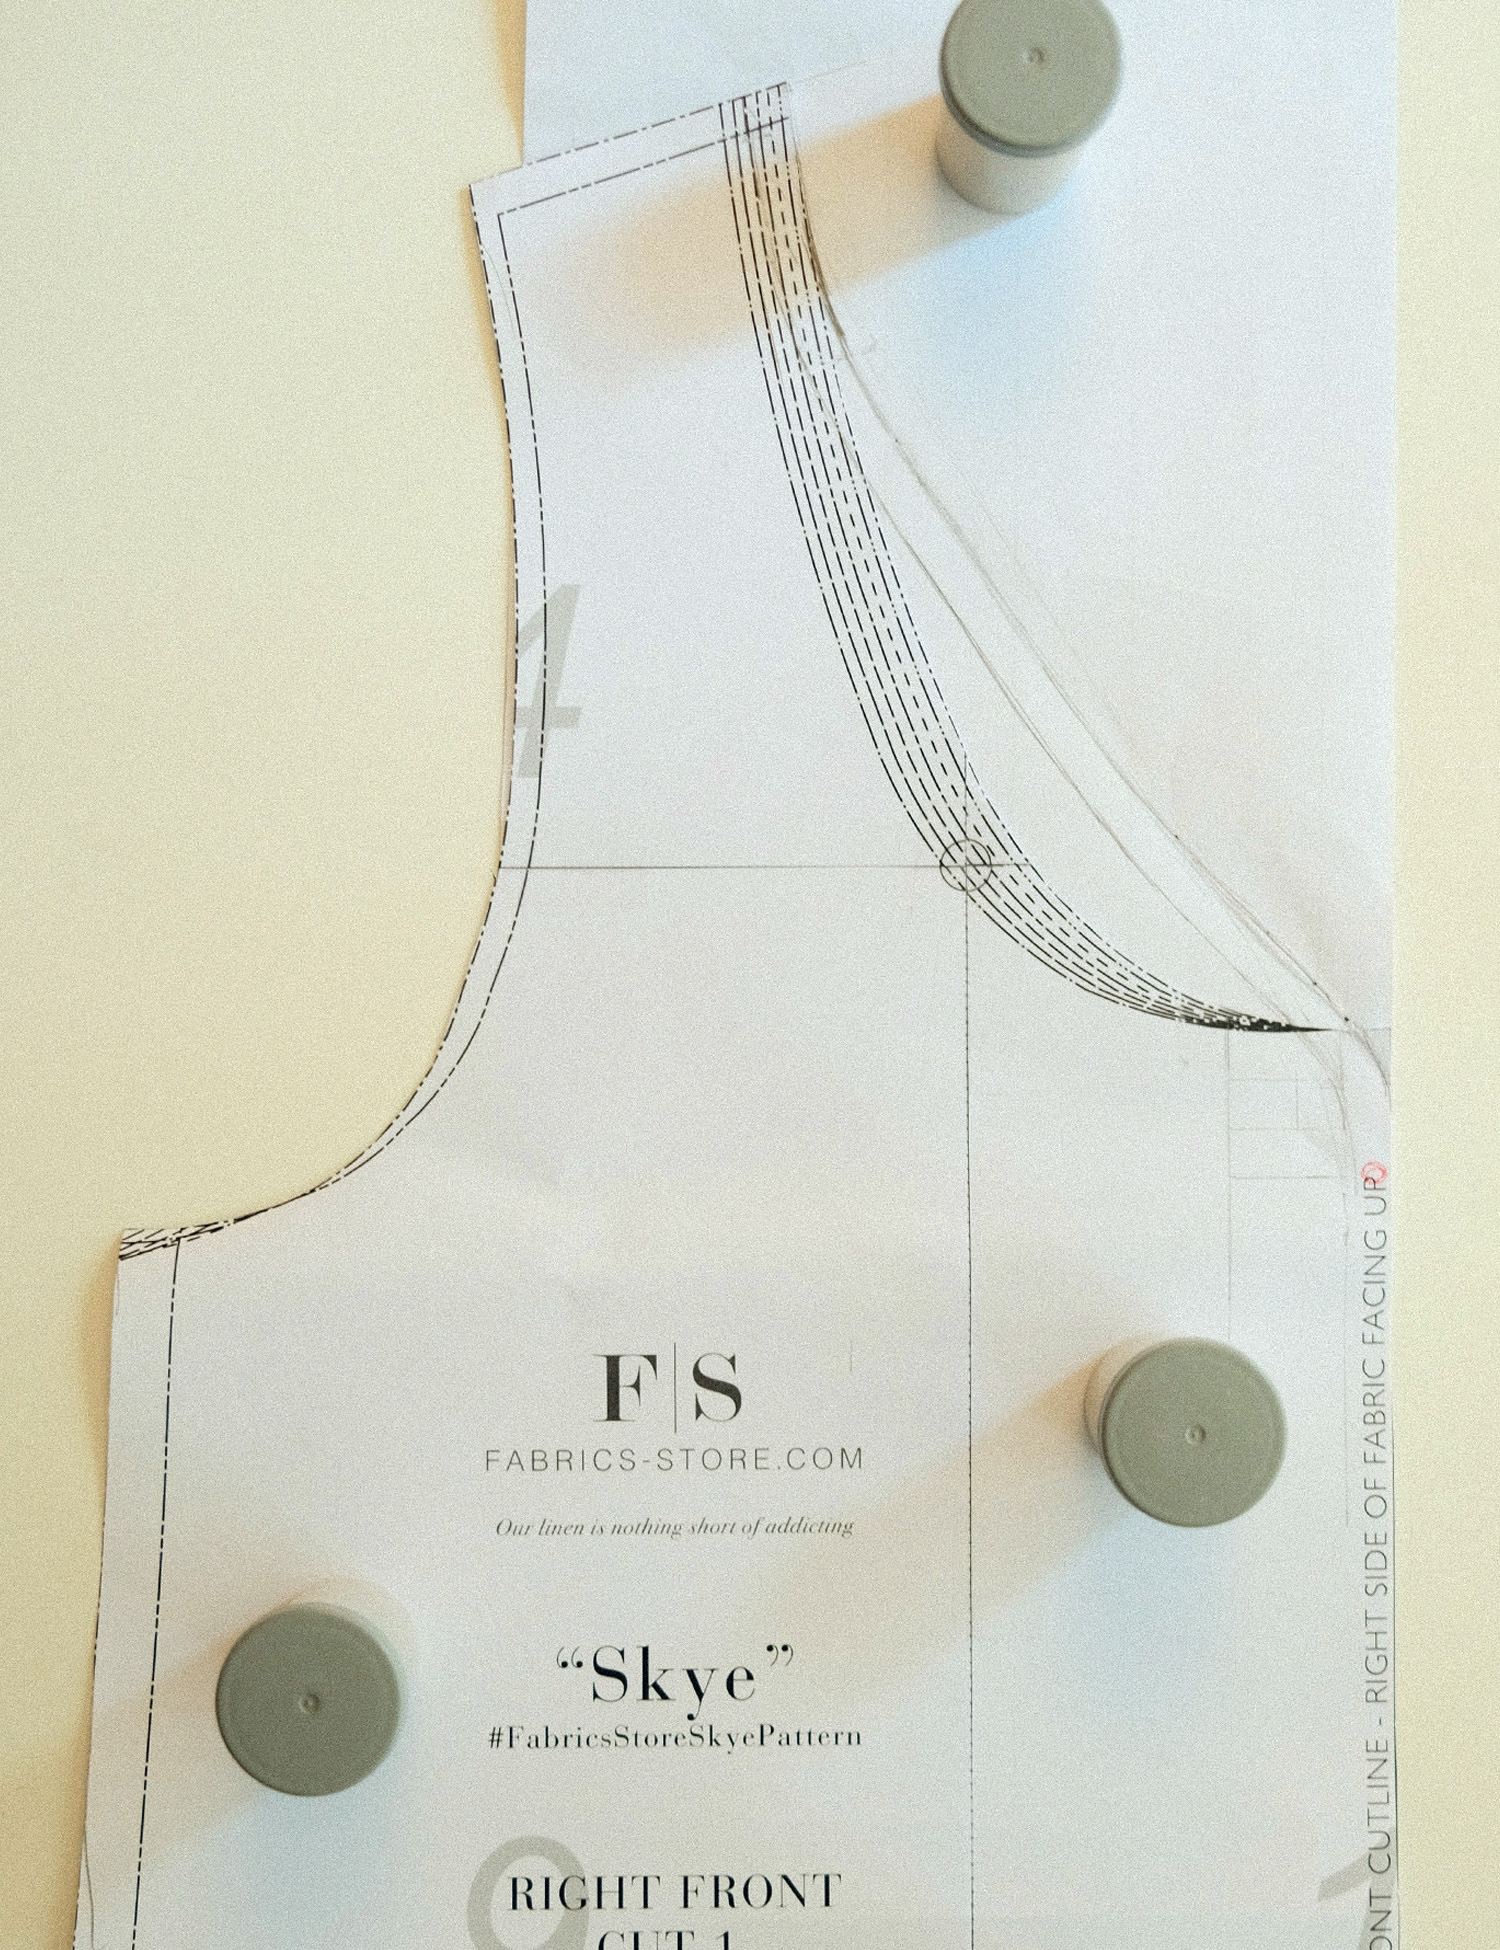
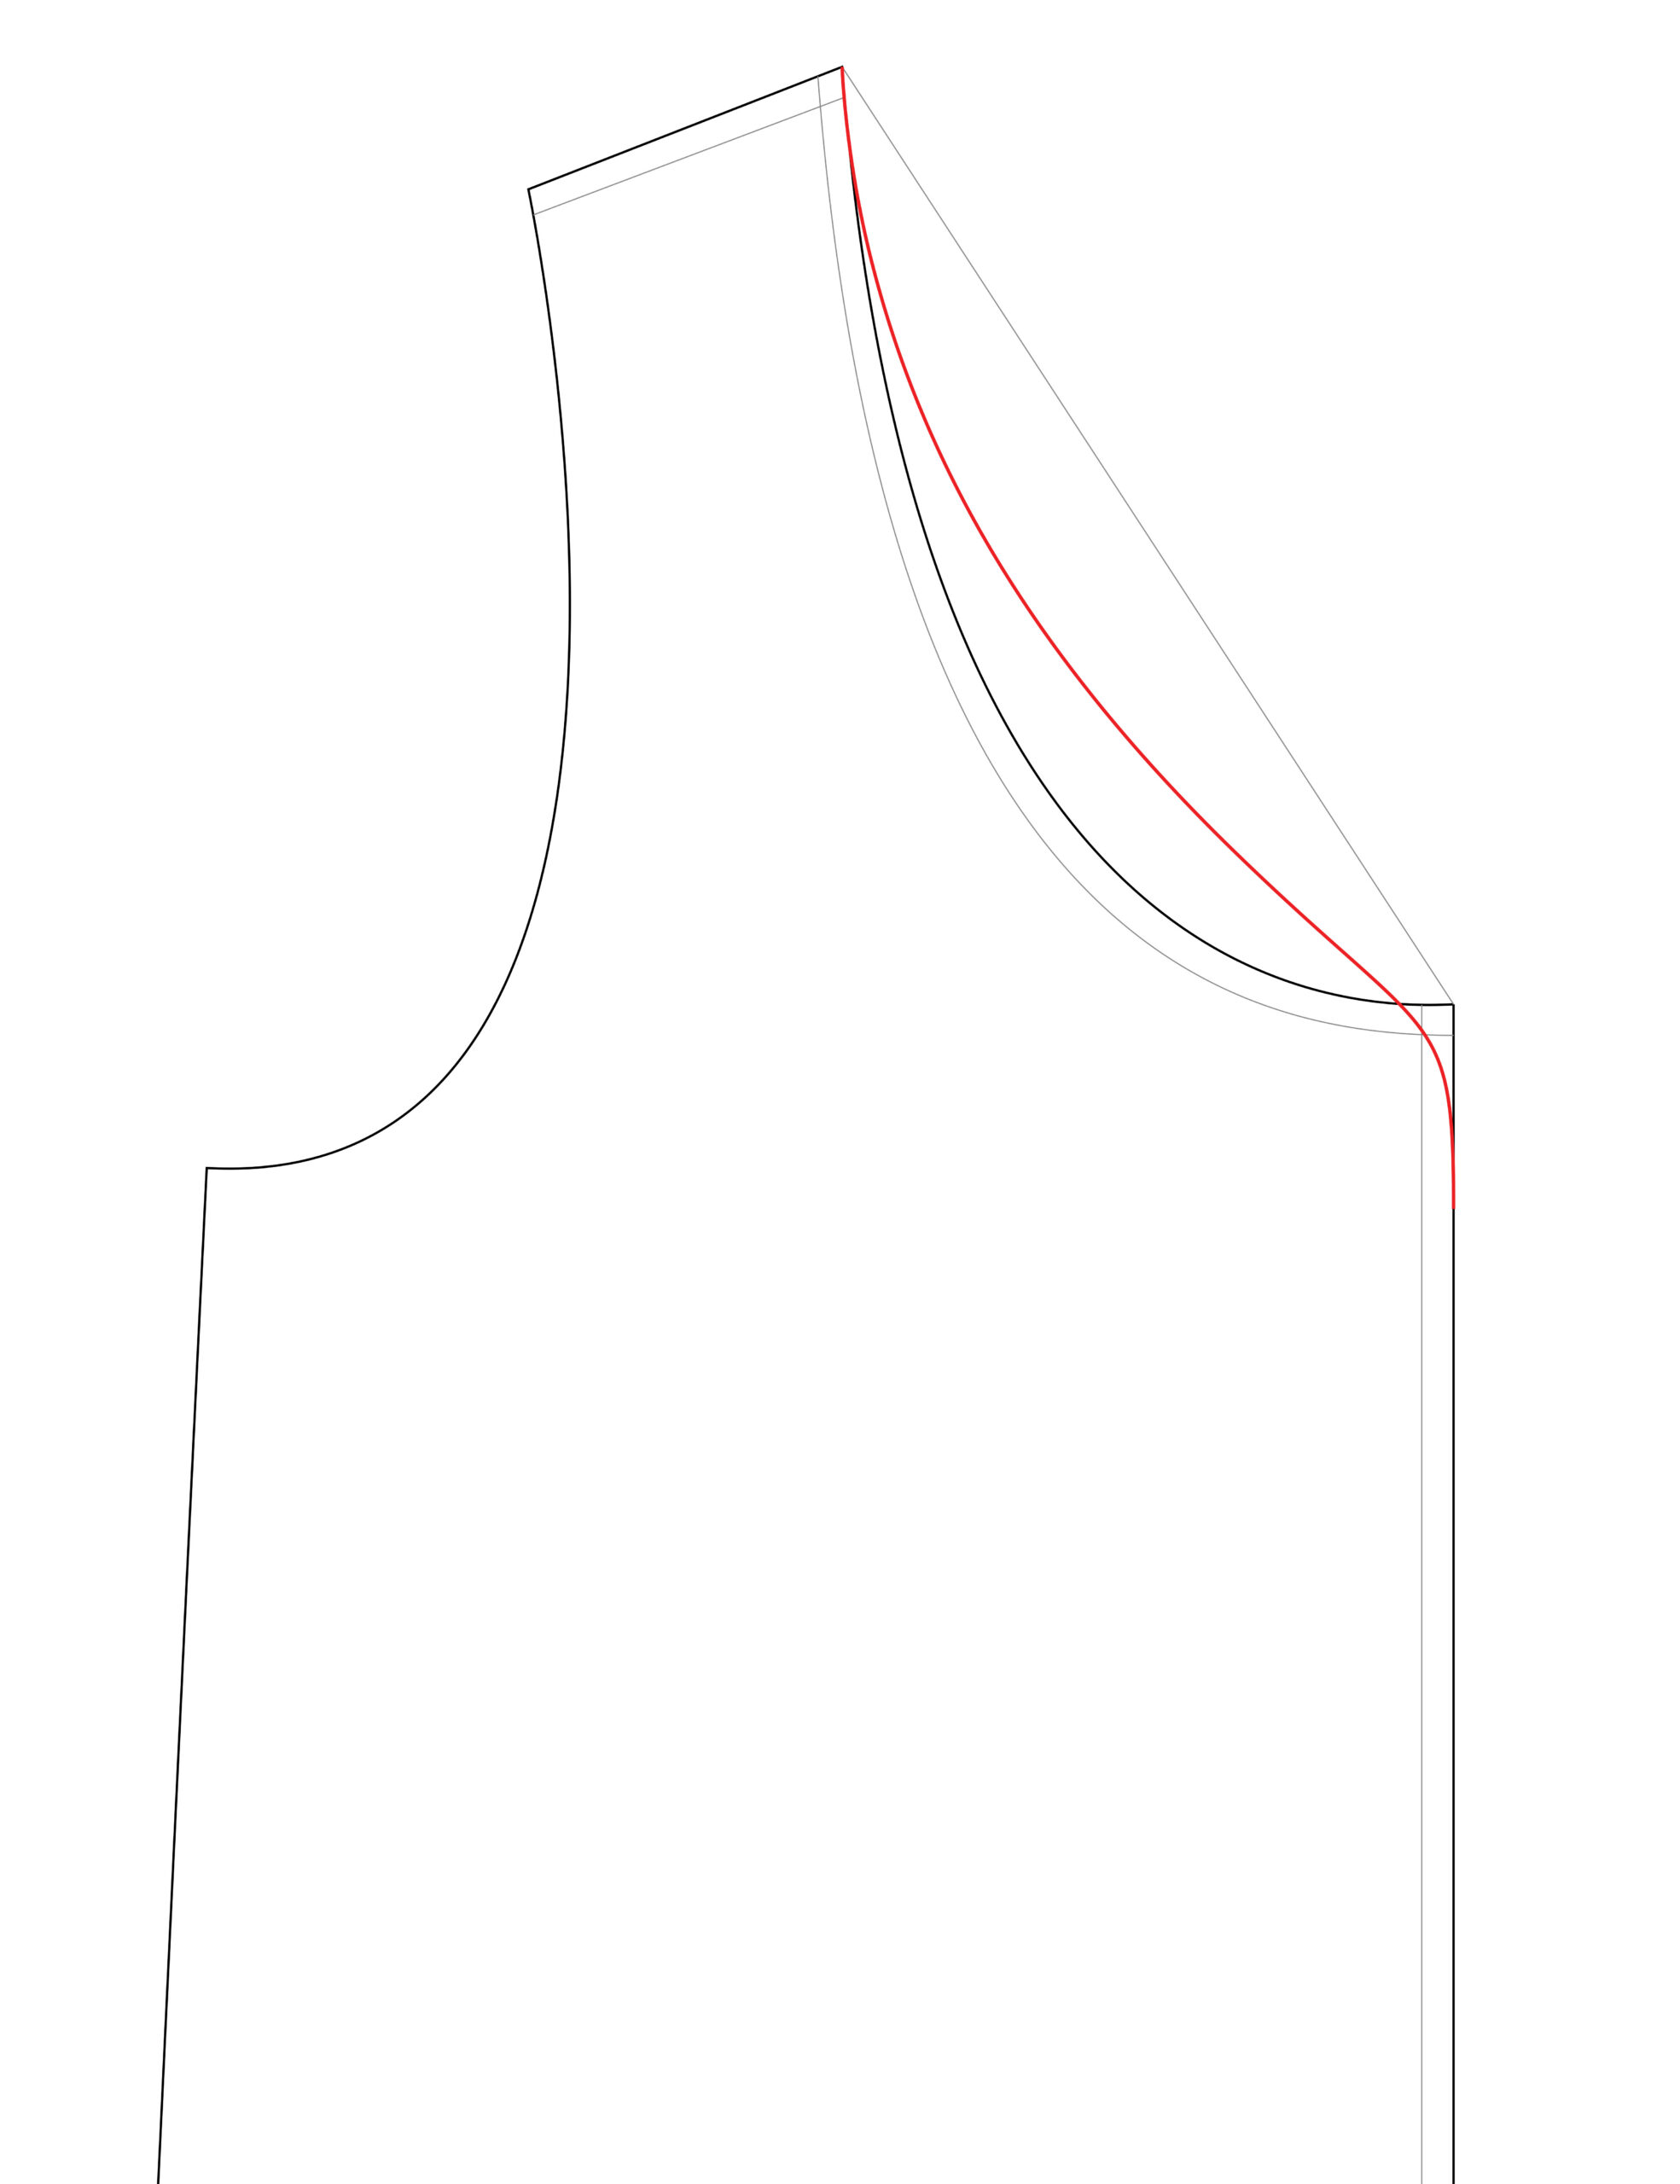
2. To shape the neckline, mark the seam allowance (1cm / 3/8in) along the button band, neckline, and shoulder of the front dress pattern. With a ruler, draw a straight line from the shoulder to the outer button band edge as a reference line. Starting from the shoulder, draw the new neckline following the original pattern’s shaping for a few centimeters. Slightly slope the neckline inwards, blending it into a v-neck towards the edge of the center before rounding the outside edge of the button band.
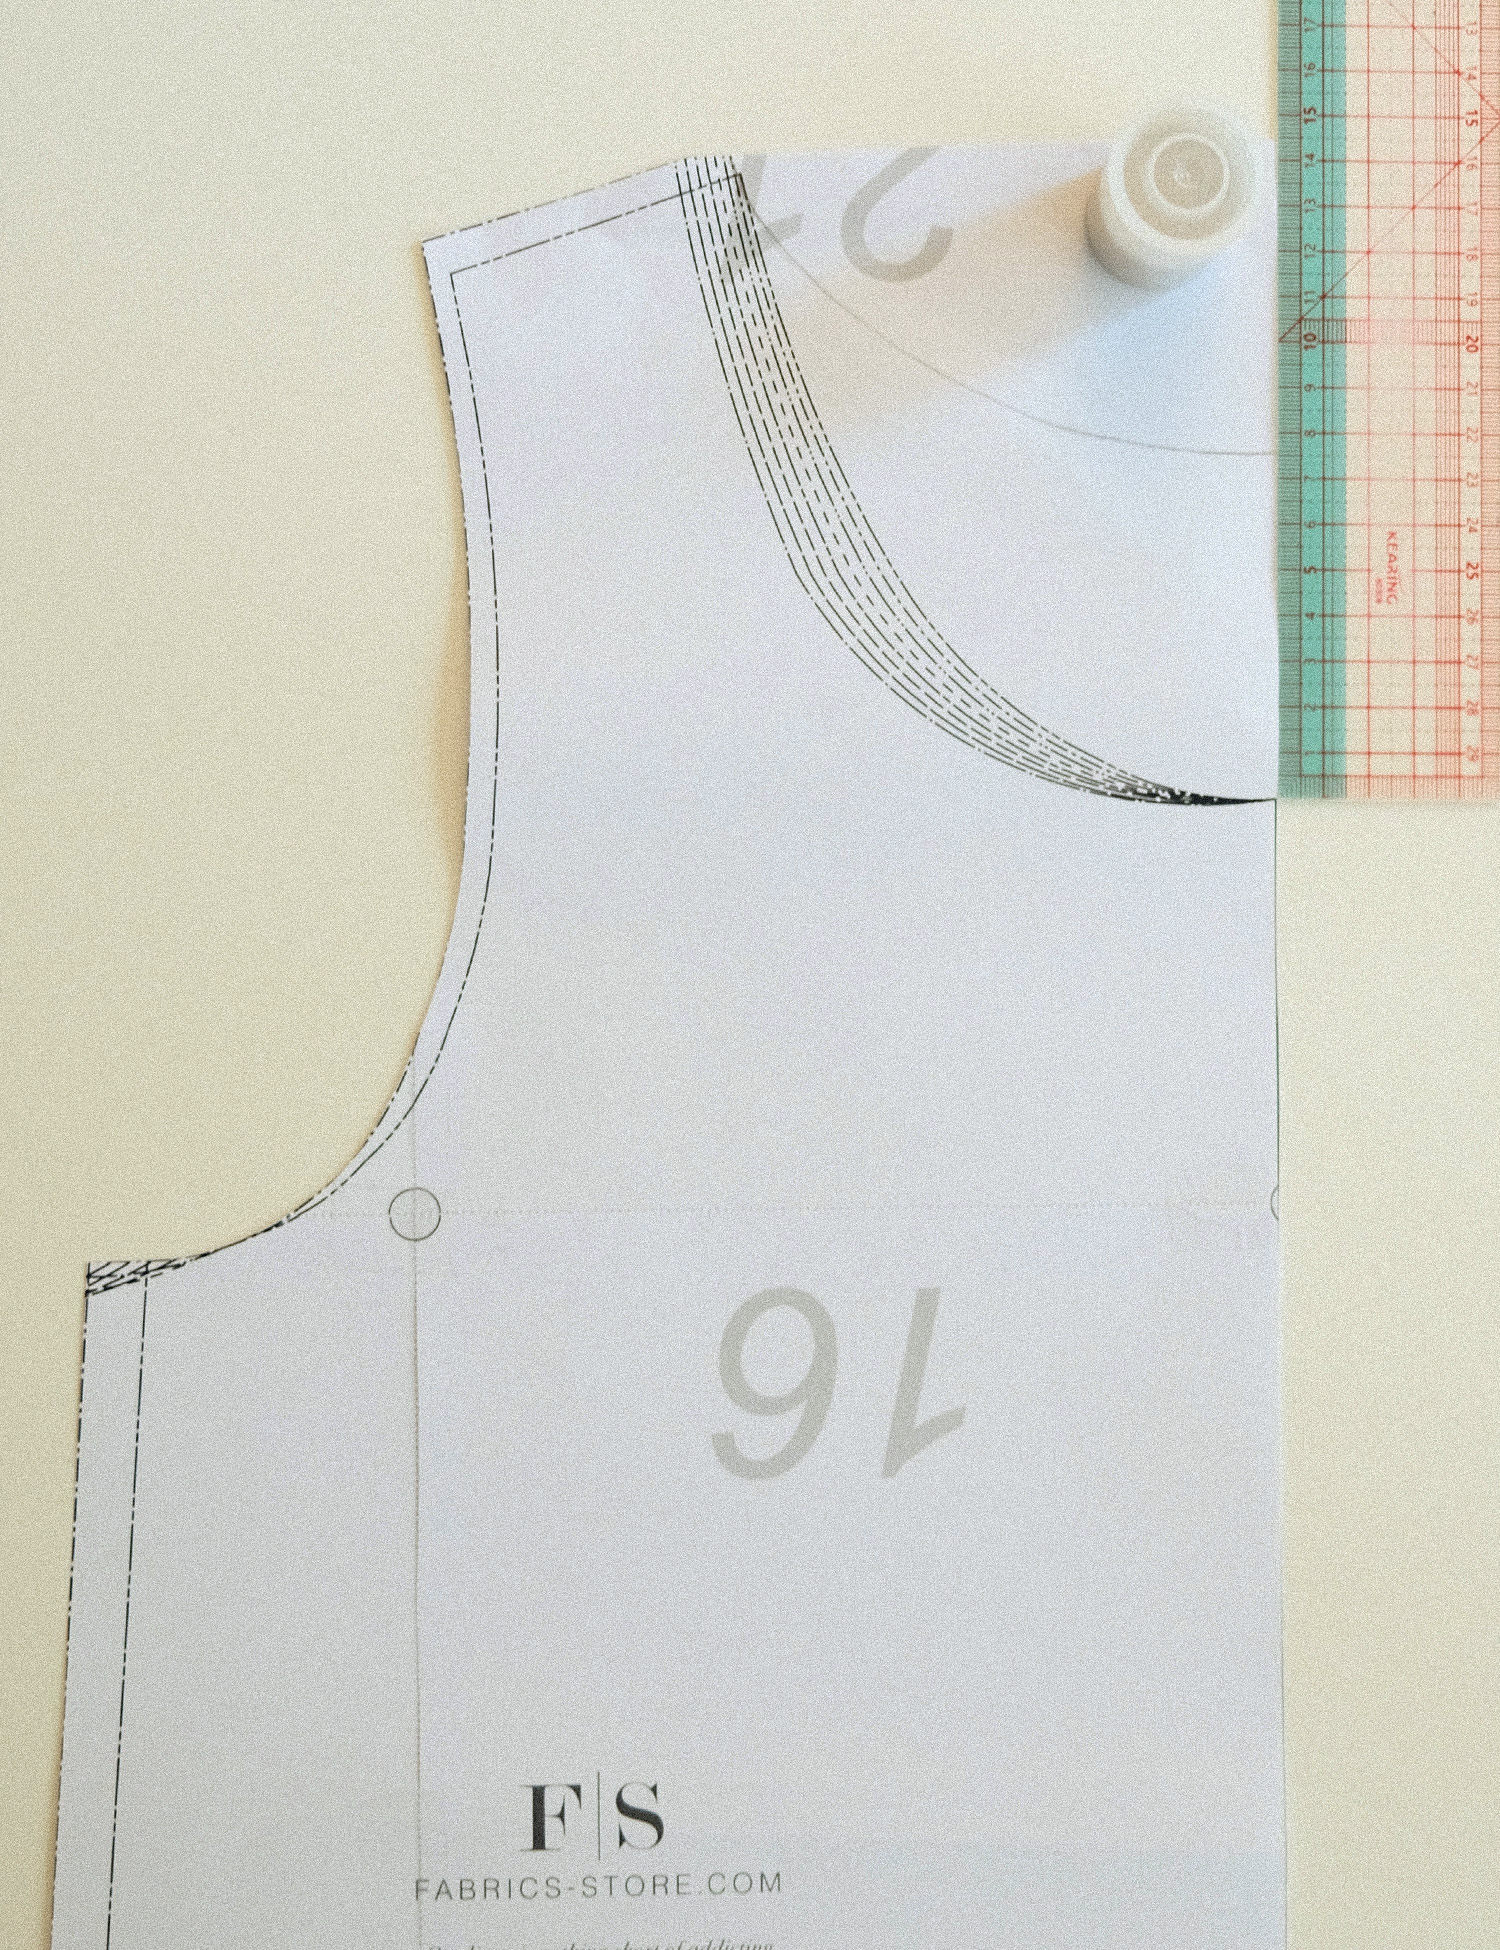
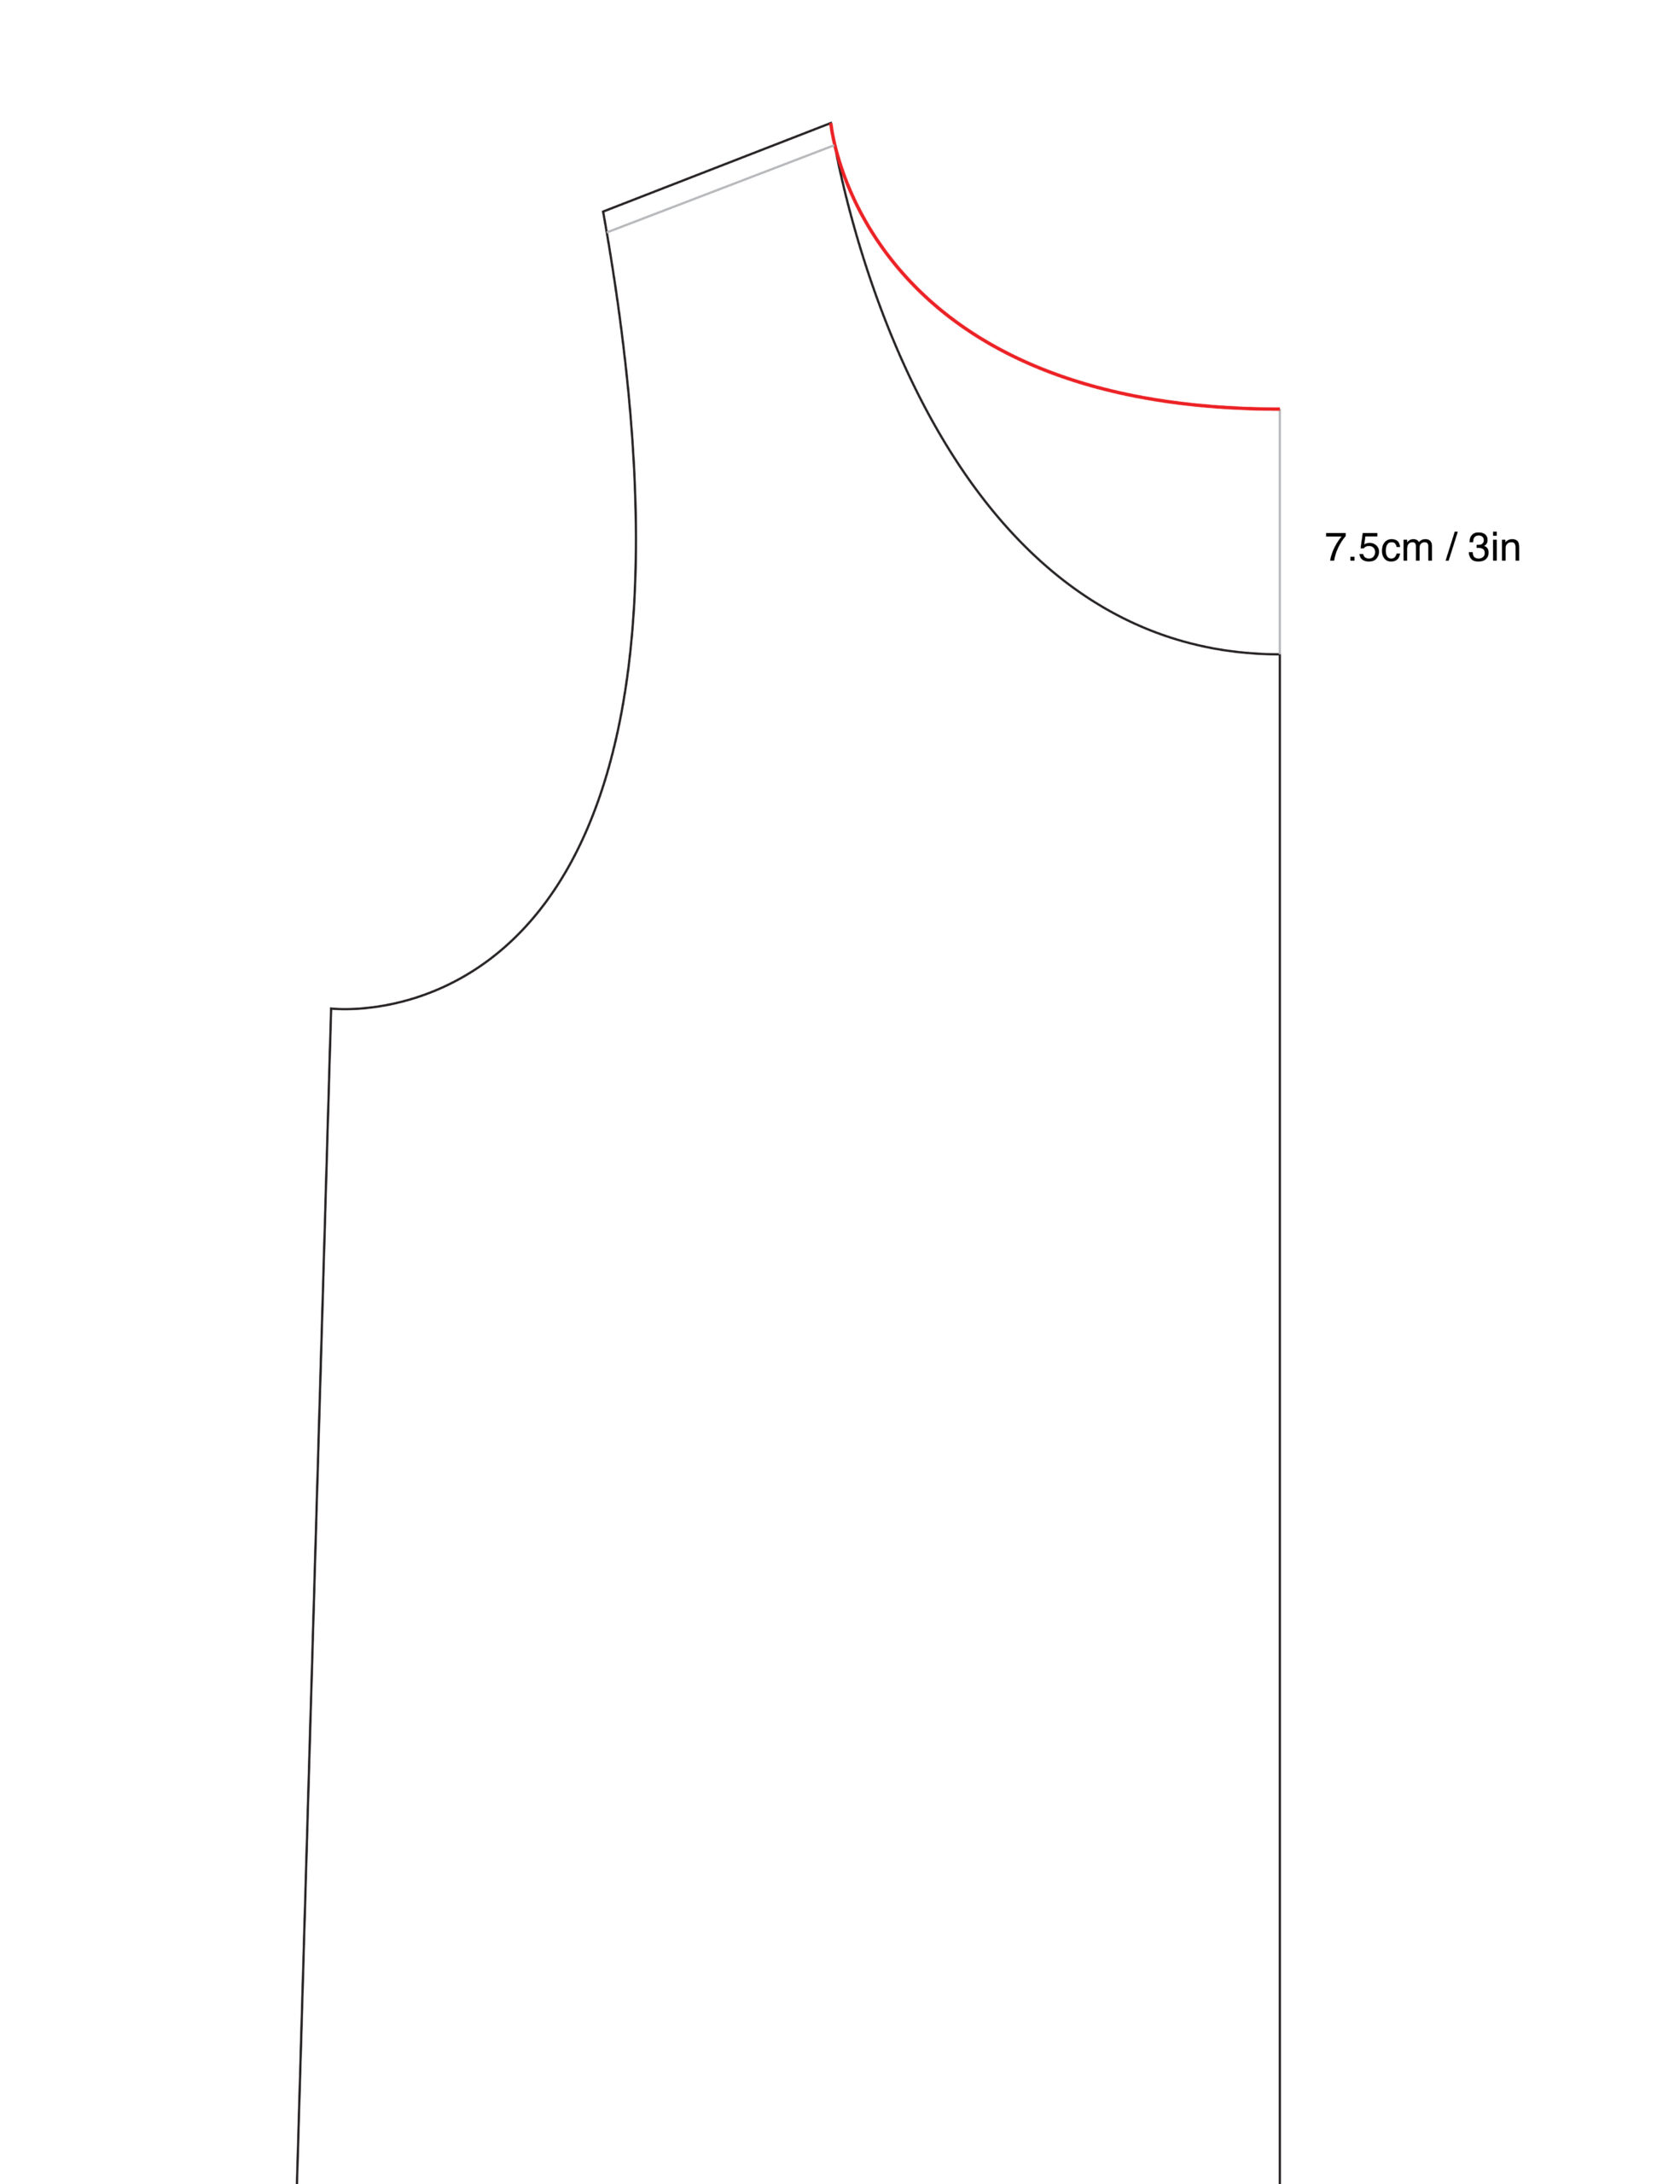
3. Raise the center back neck 7.5cm / 3in. Along the back shoulder, mark the 1cm / 3/8in seam allowance. Draw the new back neckline by starting perpendicular to the raised center back before blending into a curve that ends just before the shoulder seam allowance.
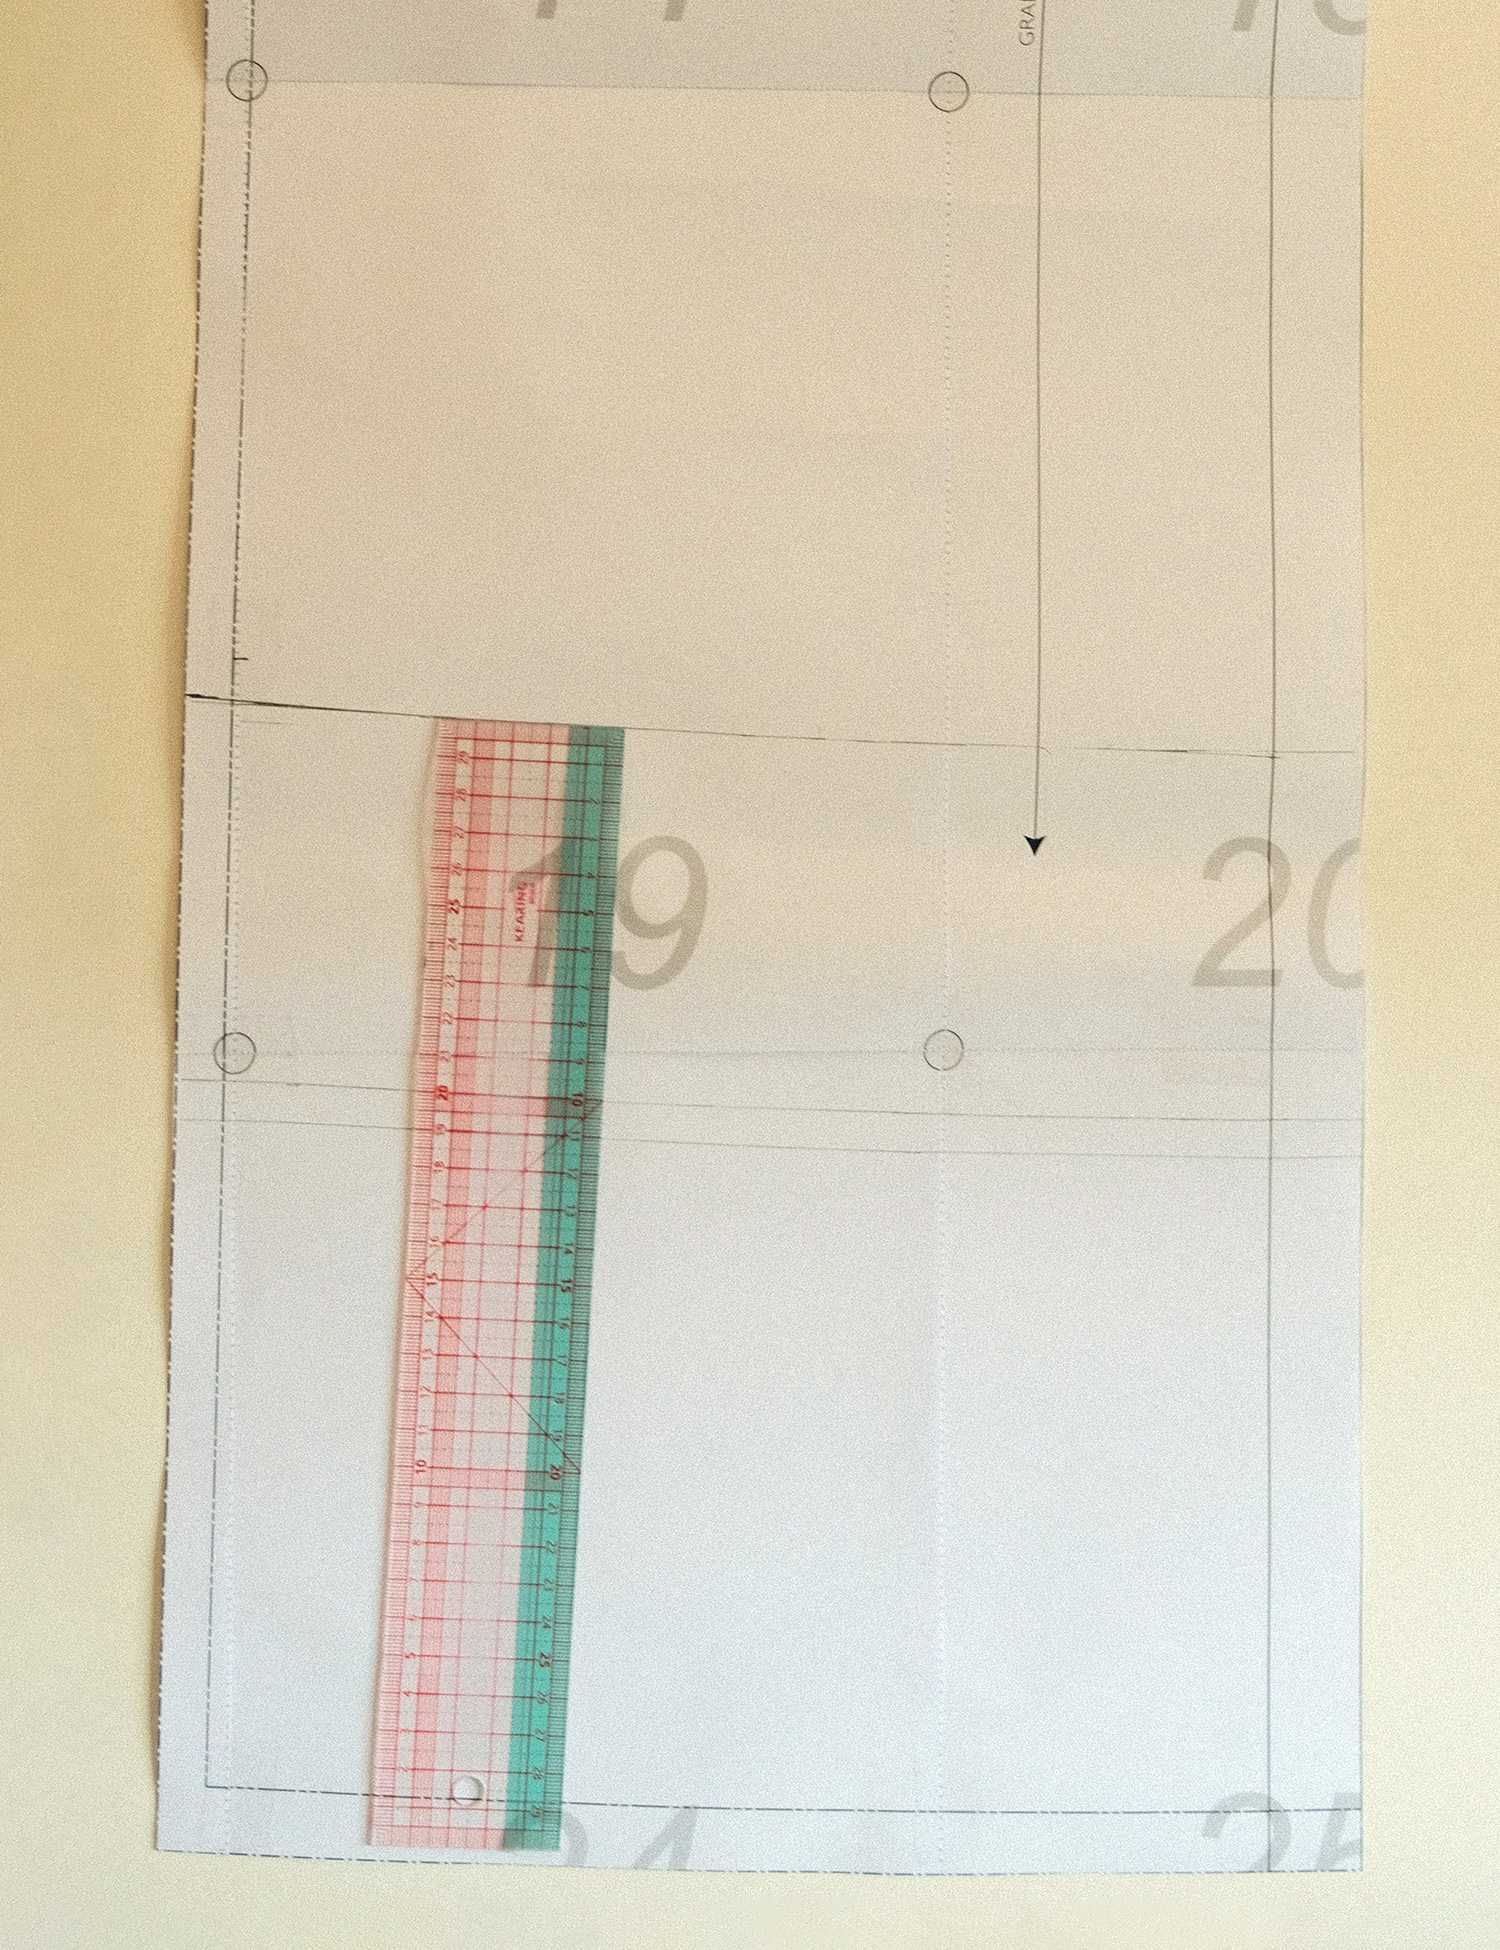
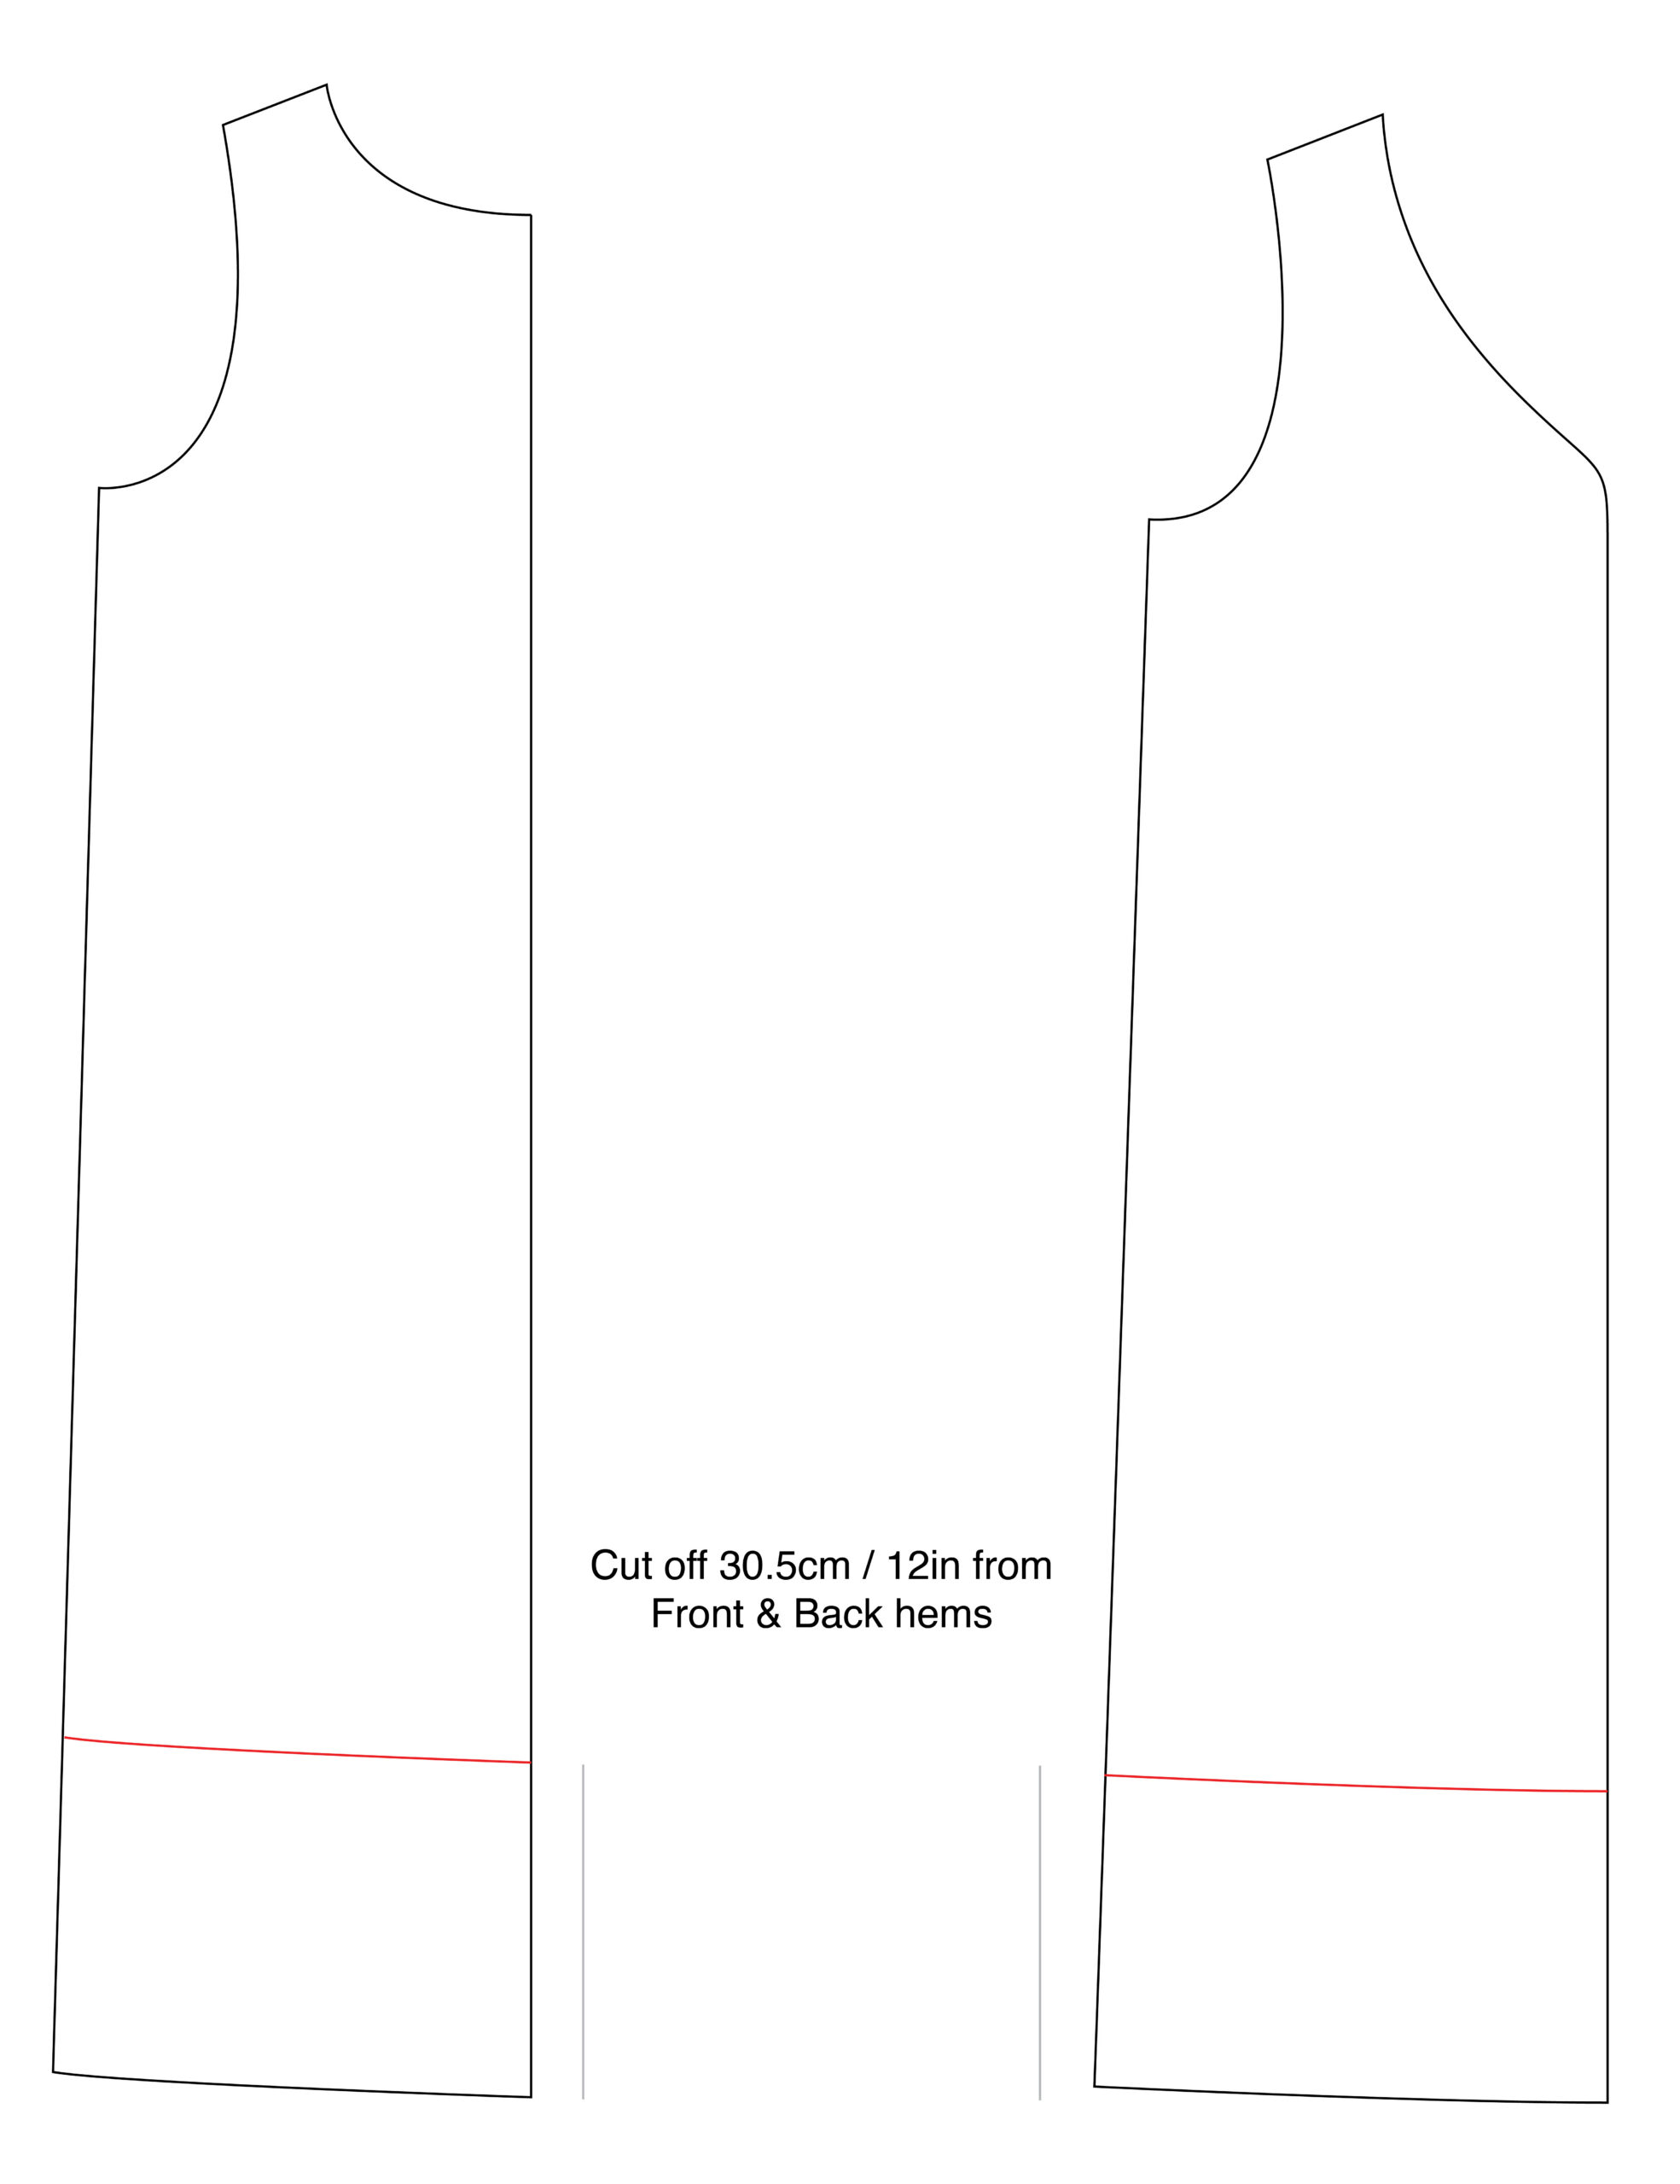
4. To shorten the hemline, measure and mark 30.5cm / 12in up from the hem on both the front and back dress patterns. Cut off excess paper.
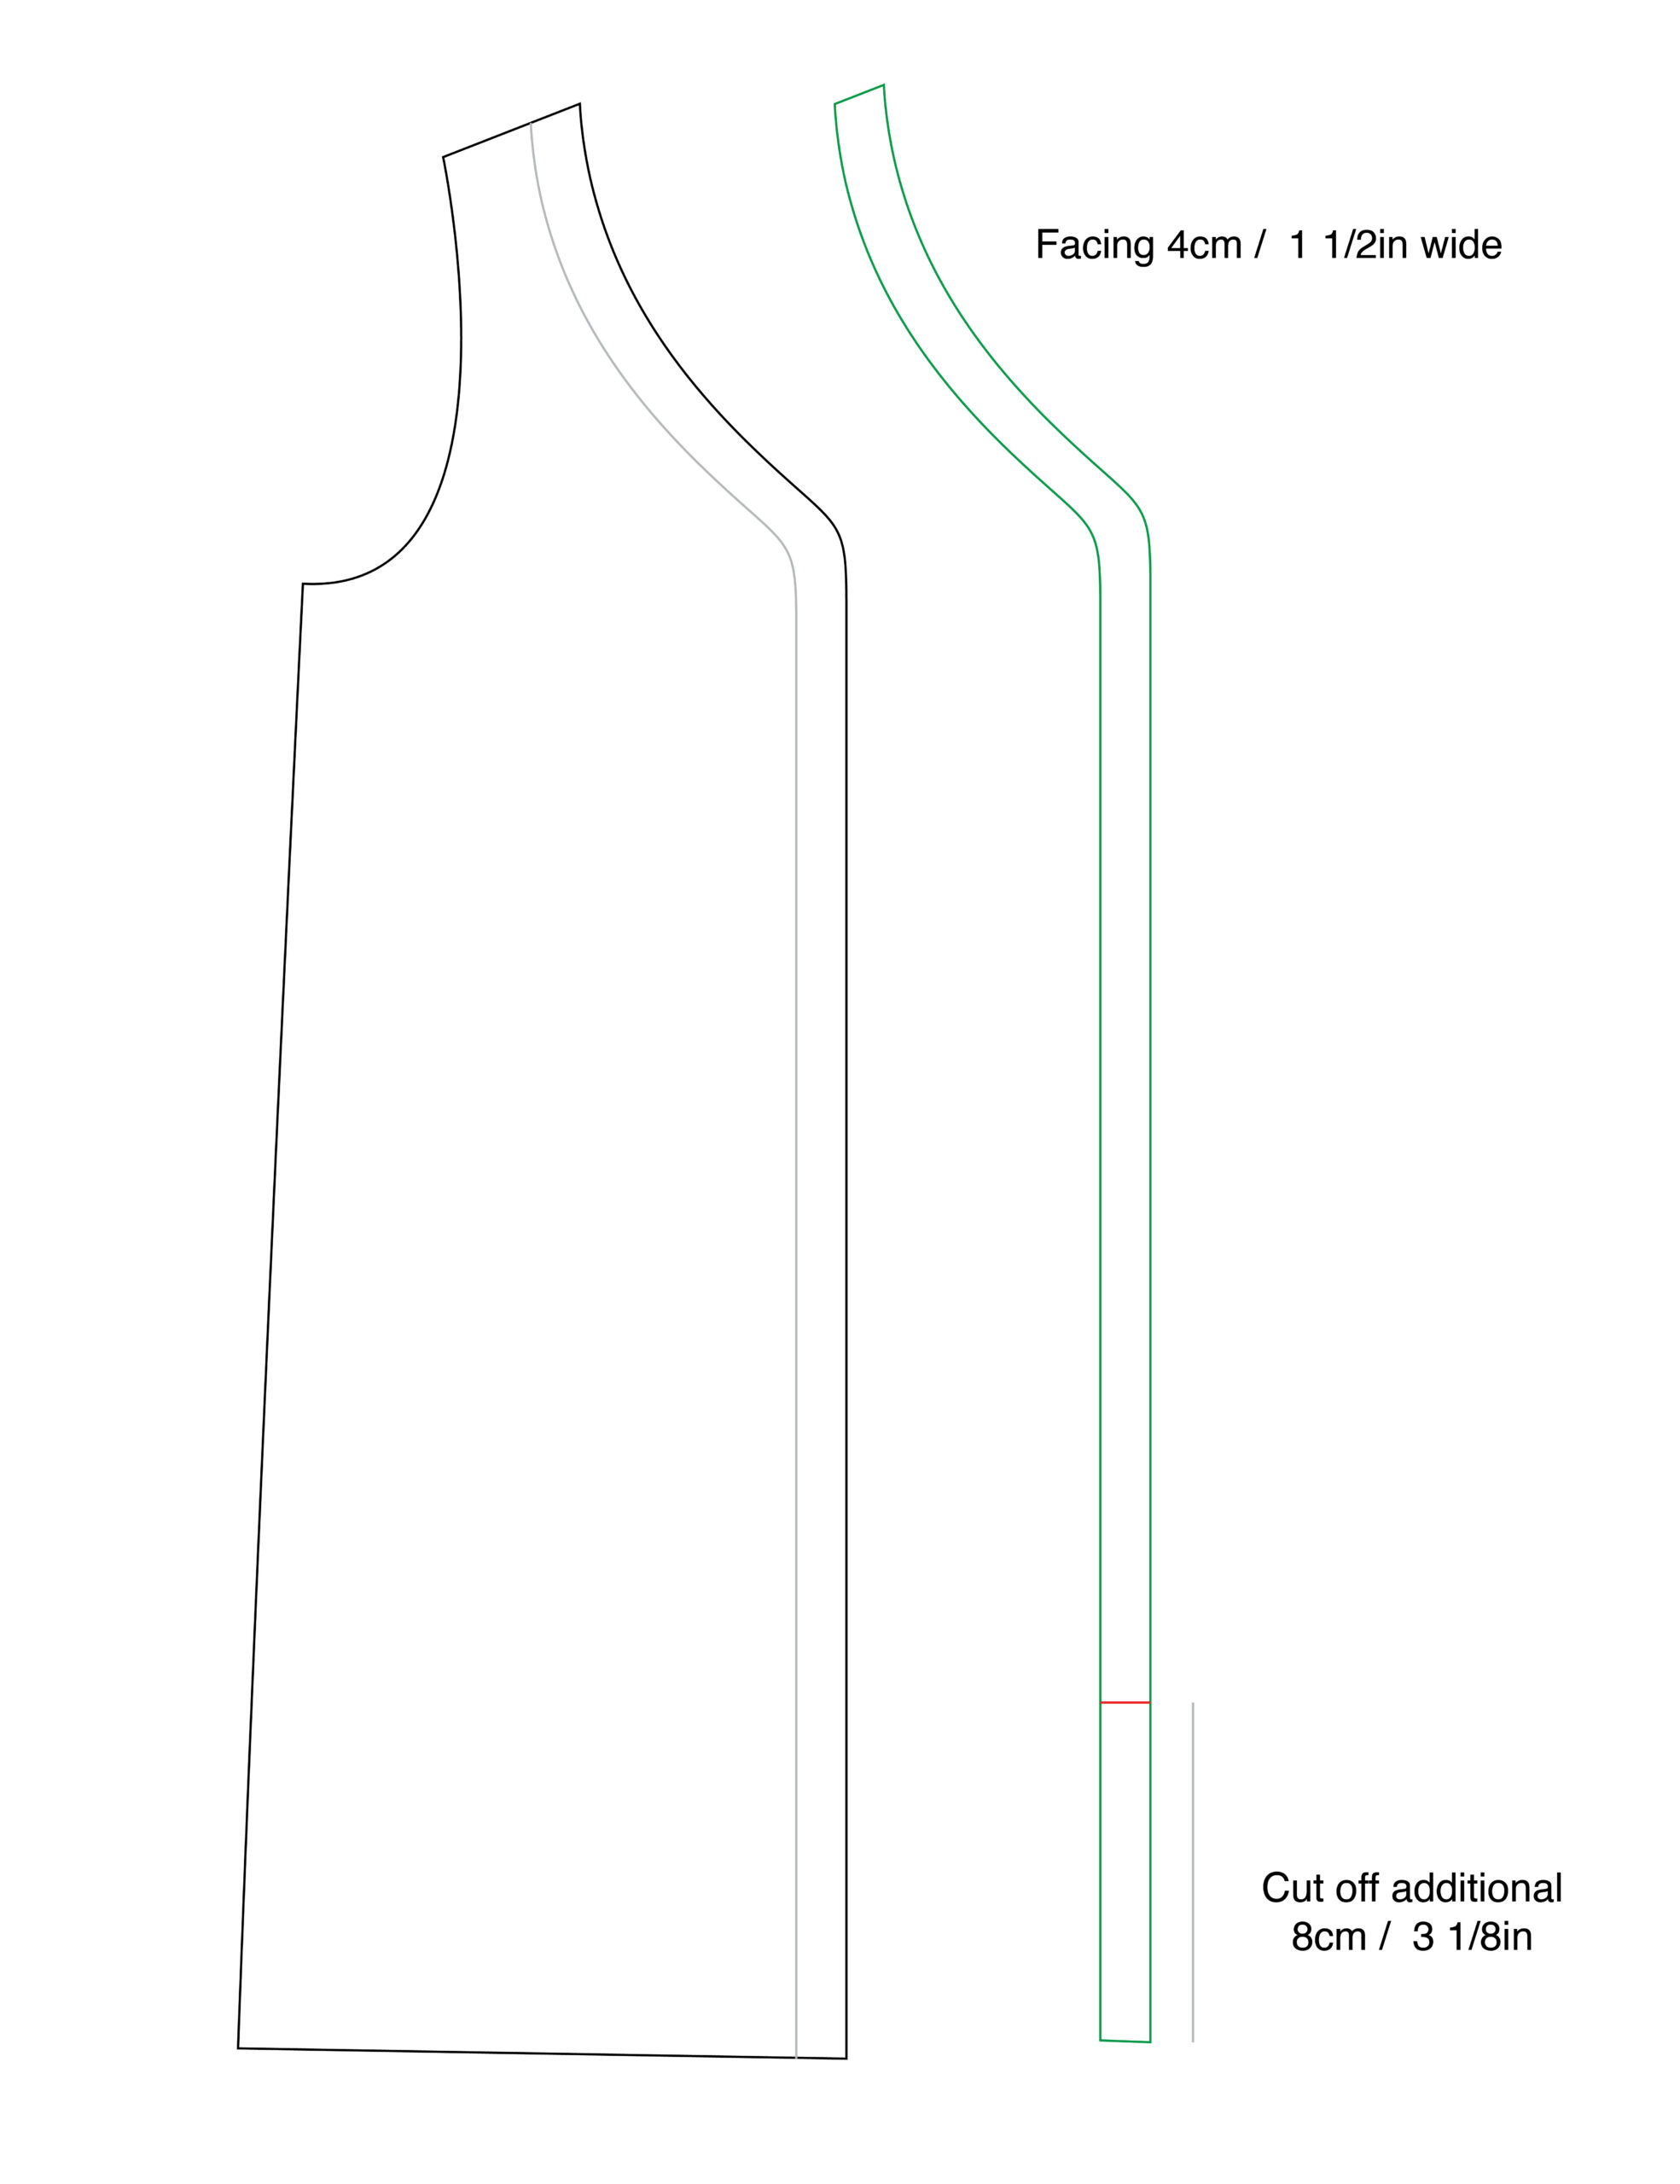
5. Trace off the front and back necklines and shoulders on a new piece of paper. Create the neckline facings by marking 4cm / 1.5in from the outermost edges of the neckline. Reduce the front neckline facing 8cm / 3 1/8in from the hem to reduce bulk.
6. Trace off the front and back armholes and shoulders on a new piece of paper. Create the armhole facings by marking 4cm / 1.5in from the outermost edges of the neckline.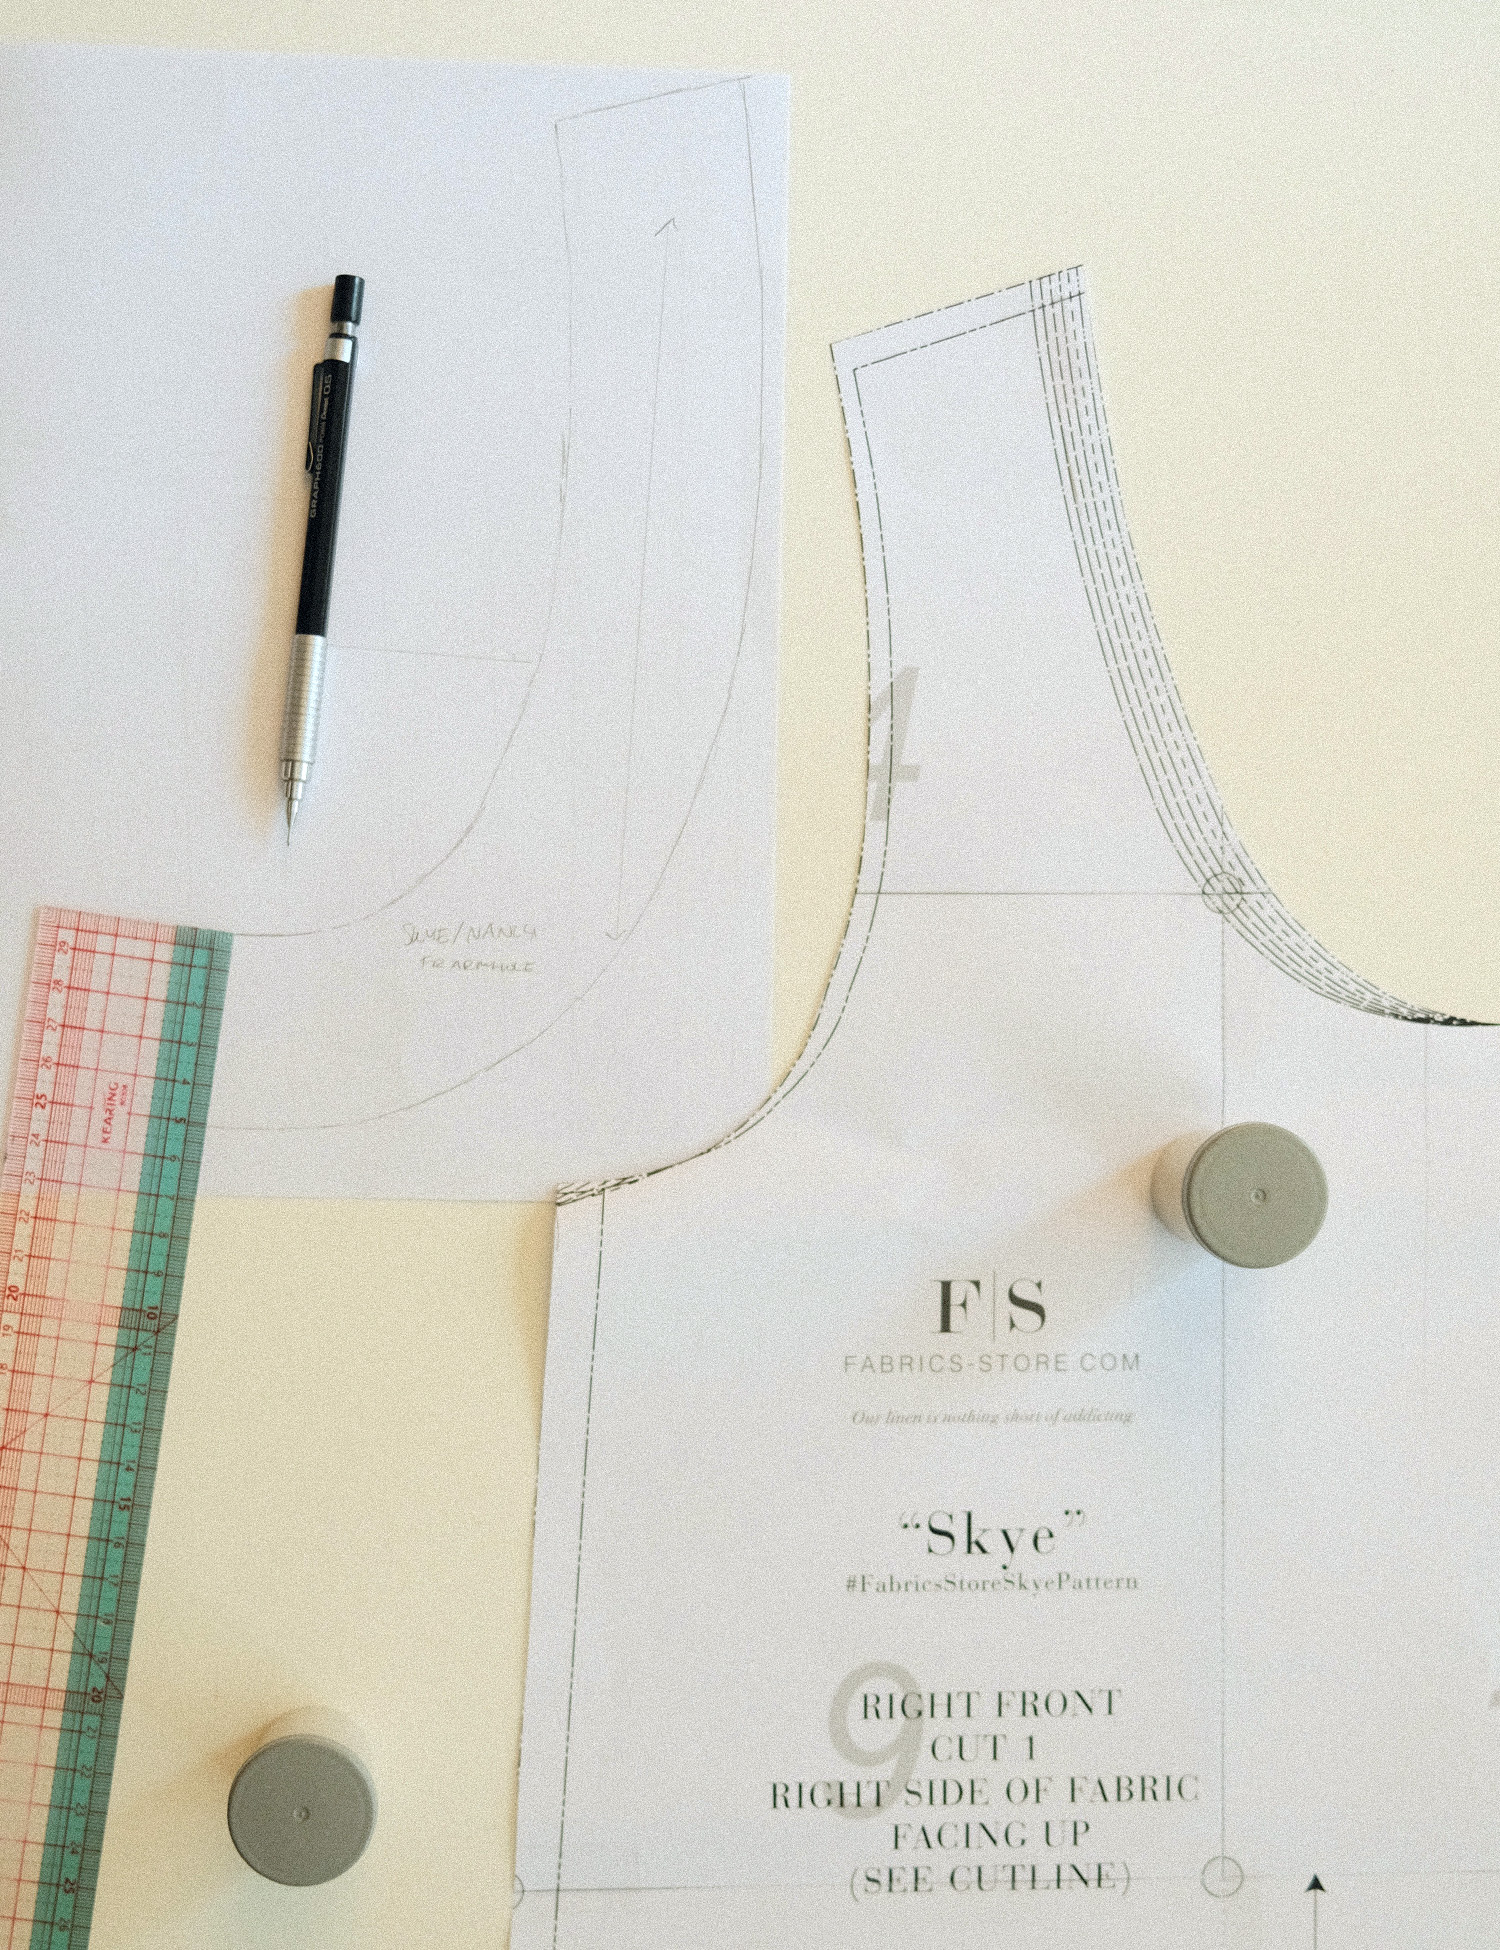
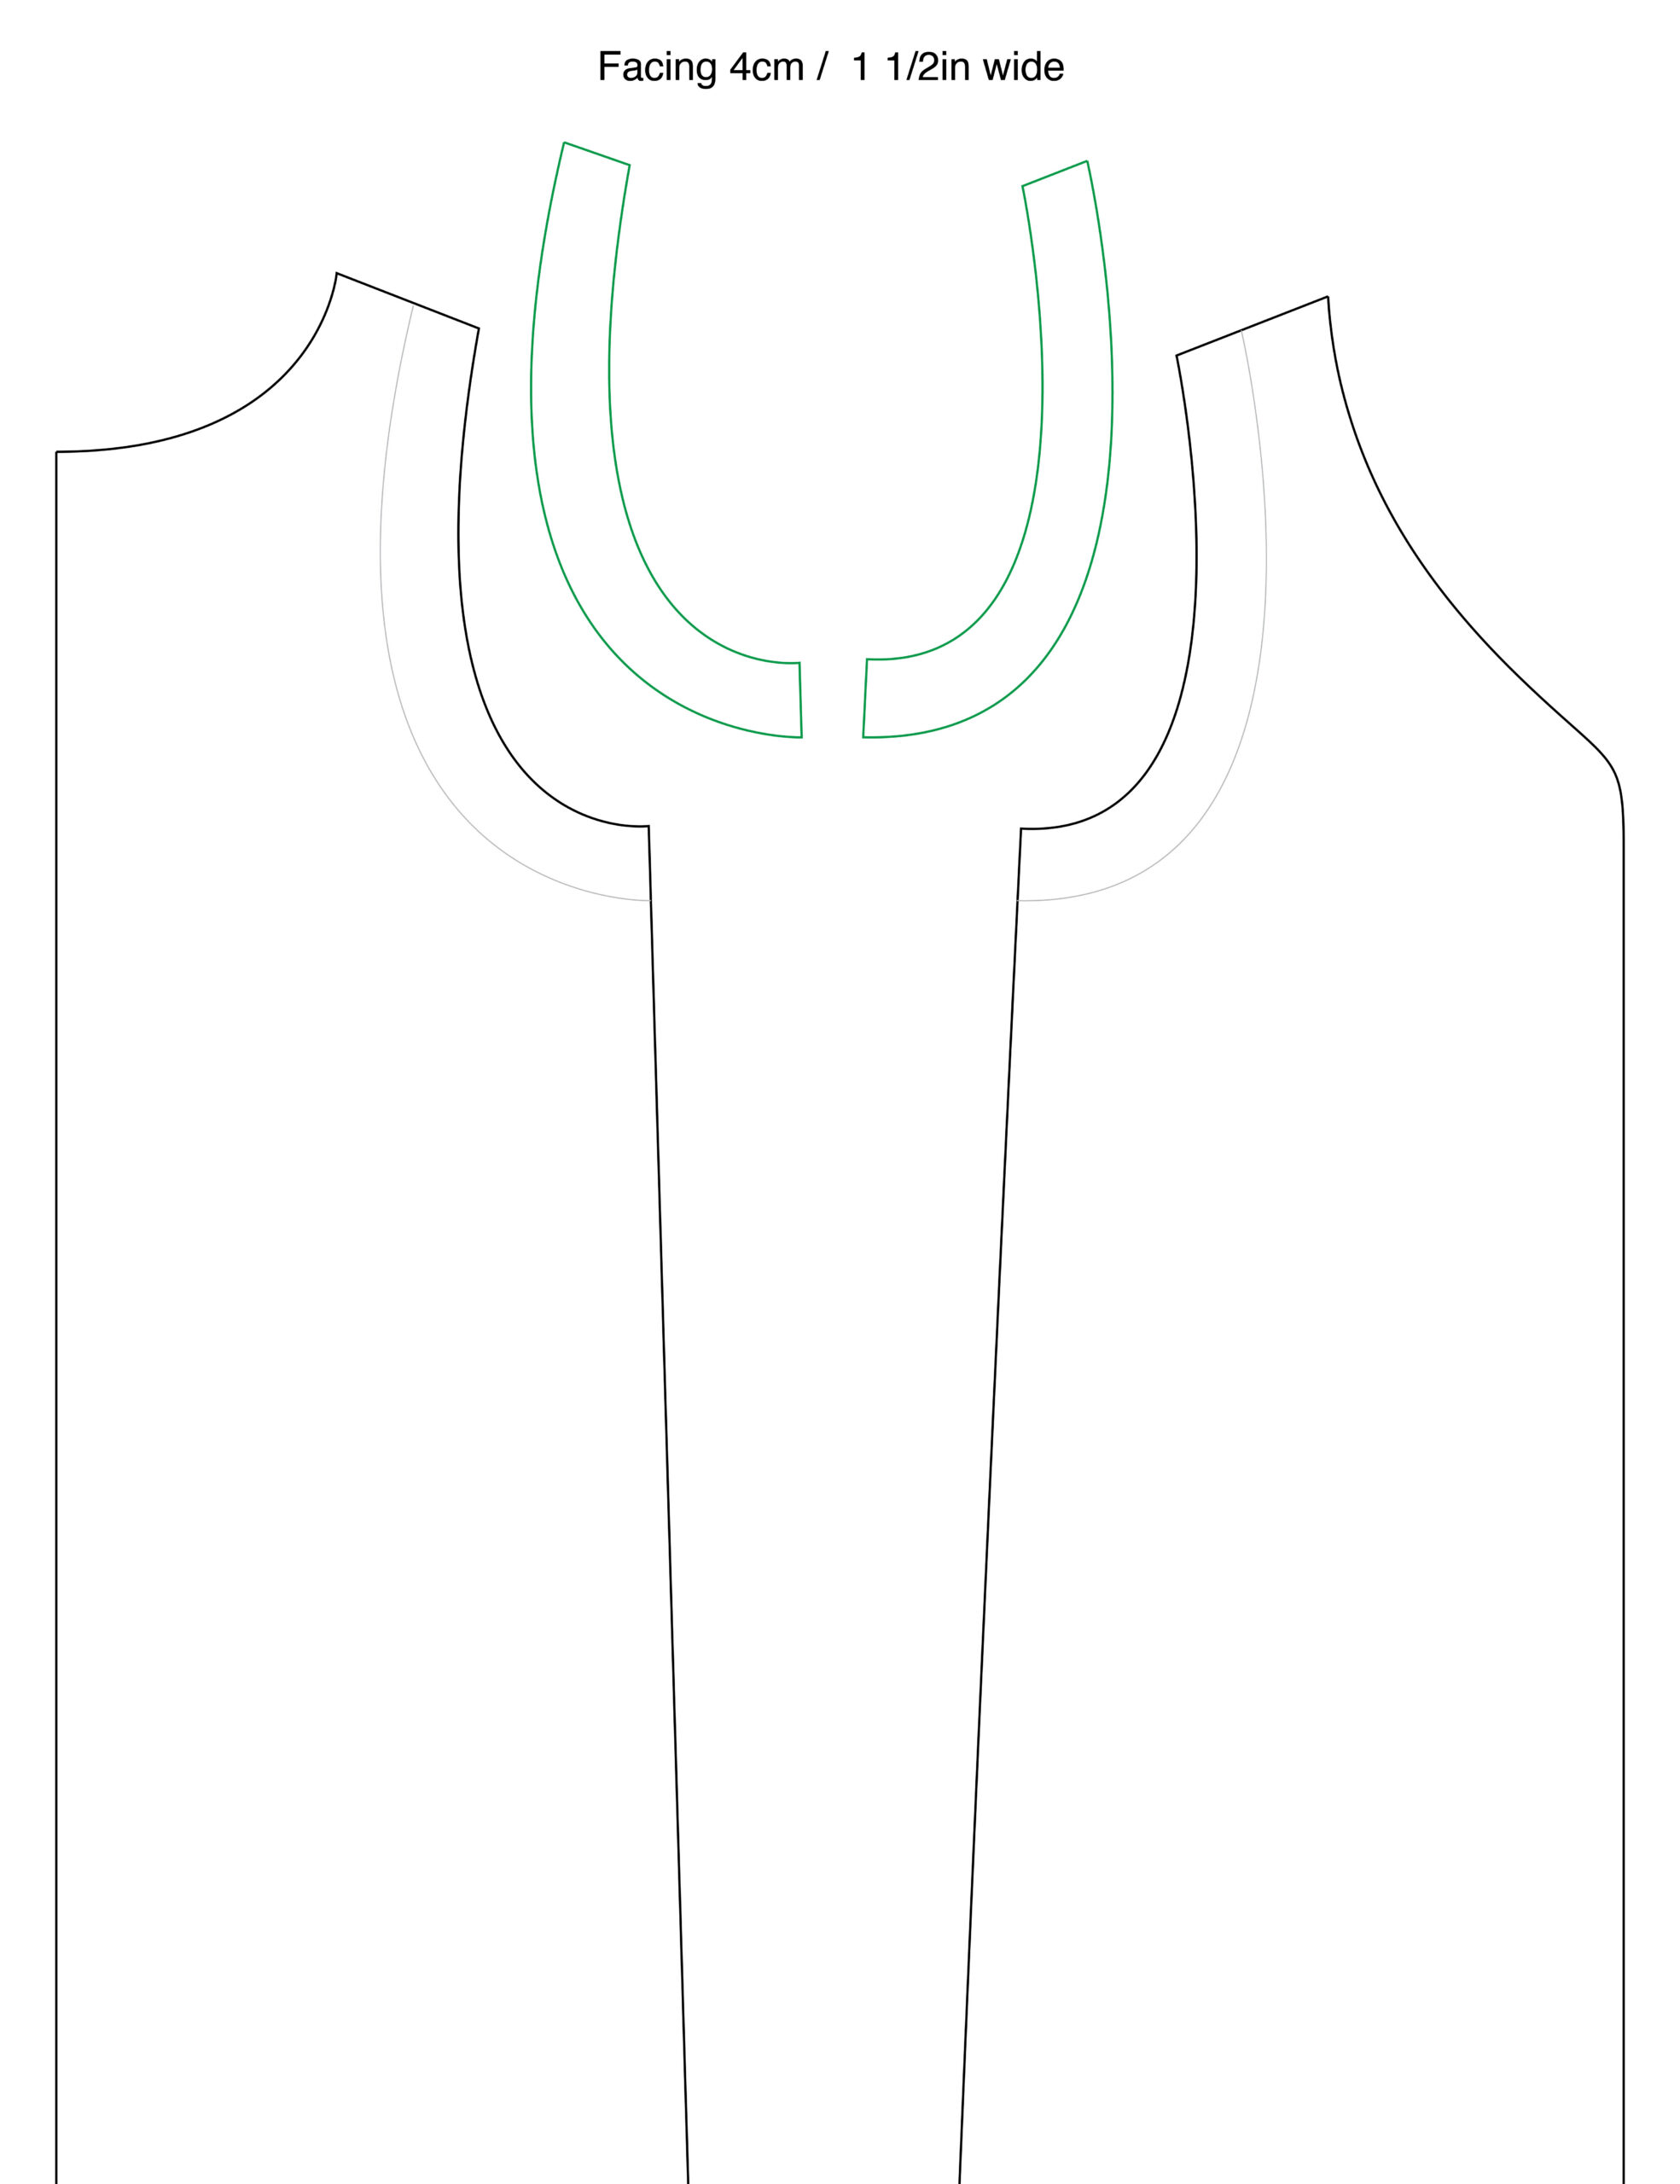
7. Cut the modified and new patterns from your fabric as follows: Front (1 pair), Back (1 on fold), Front Facing (1 Pair), Back Facing (1 on fold), Front Armhole facing (1 pair), and Back Armhole facing (1 pair).
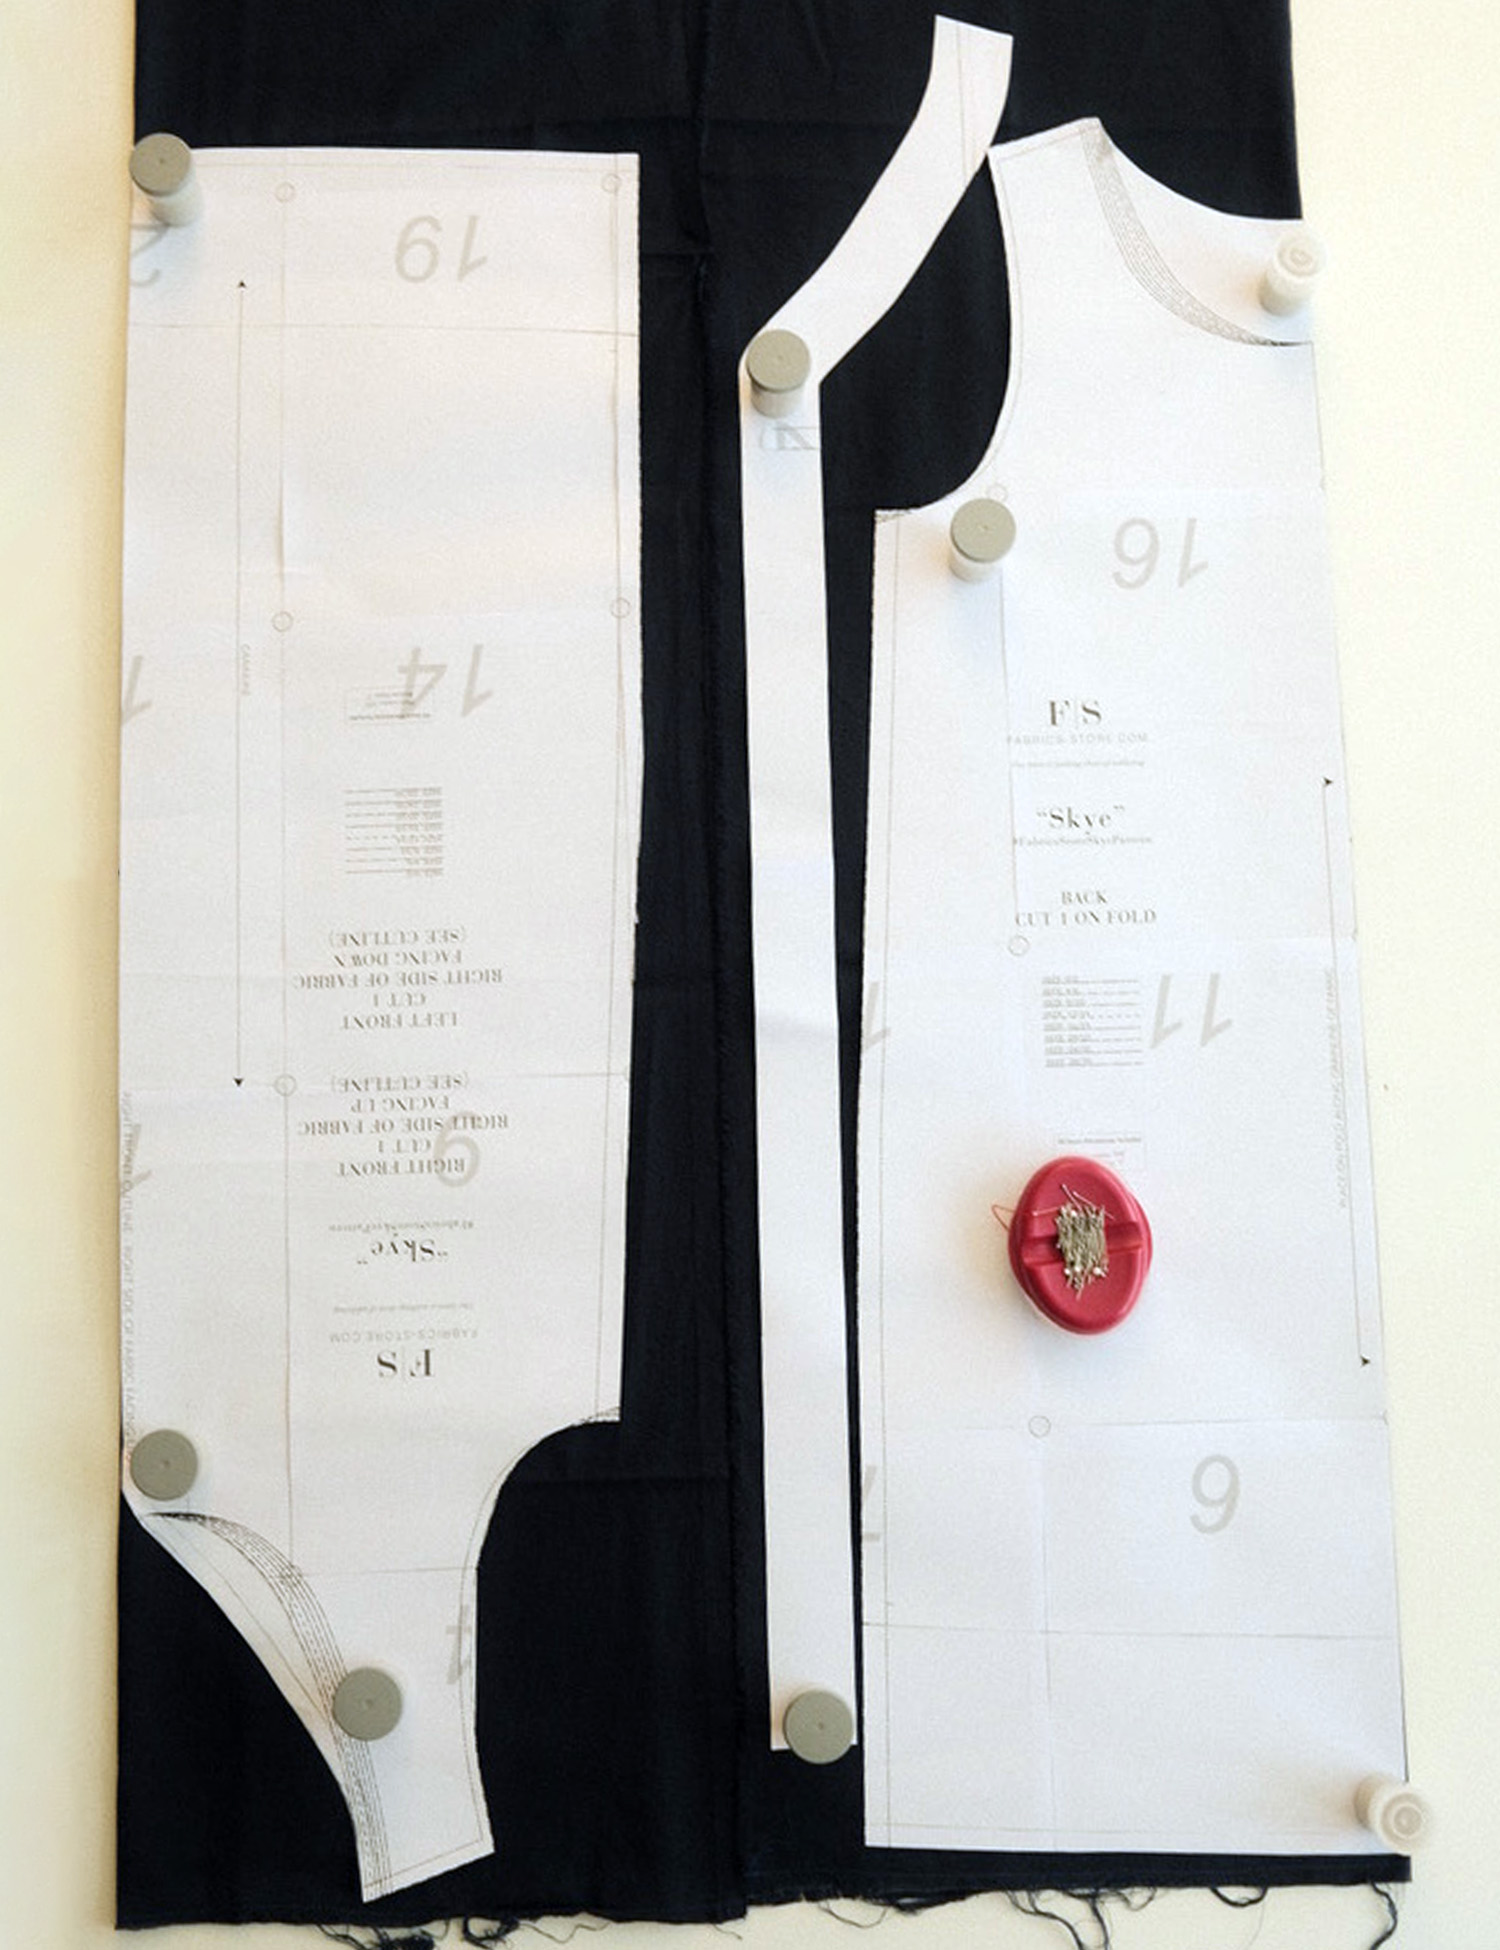
8. As you sew the dress, all seam allowances are 1cm / 3/8in.
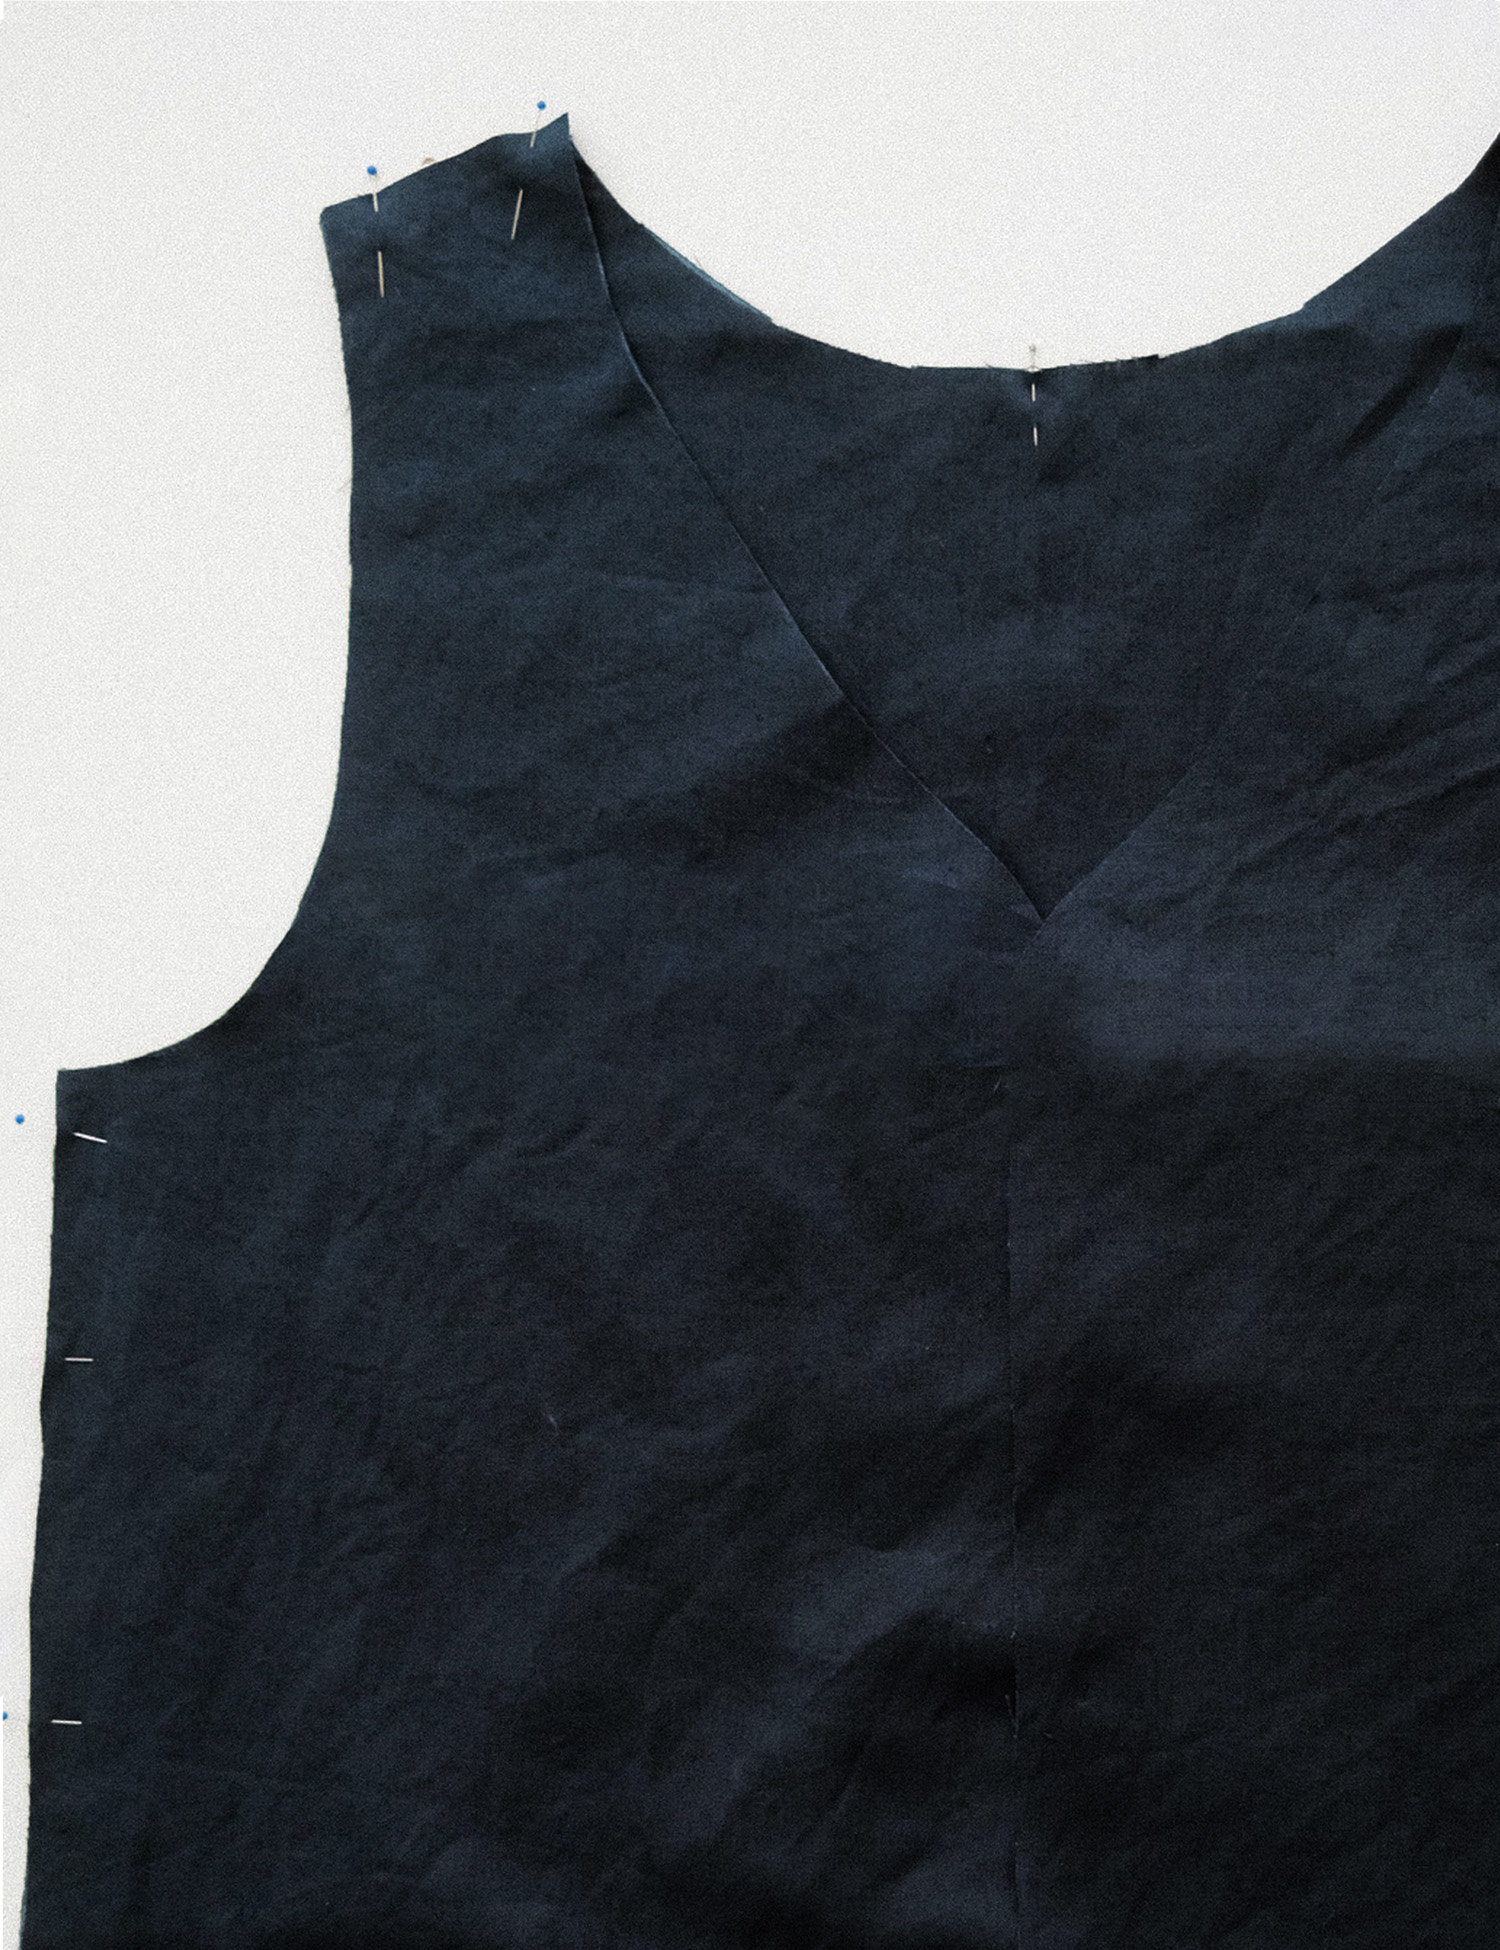
9. Pin the fronts to the back dress along the shoulders and side seams with right sides together. Sew and press seam allowance towards the back.
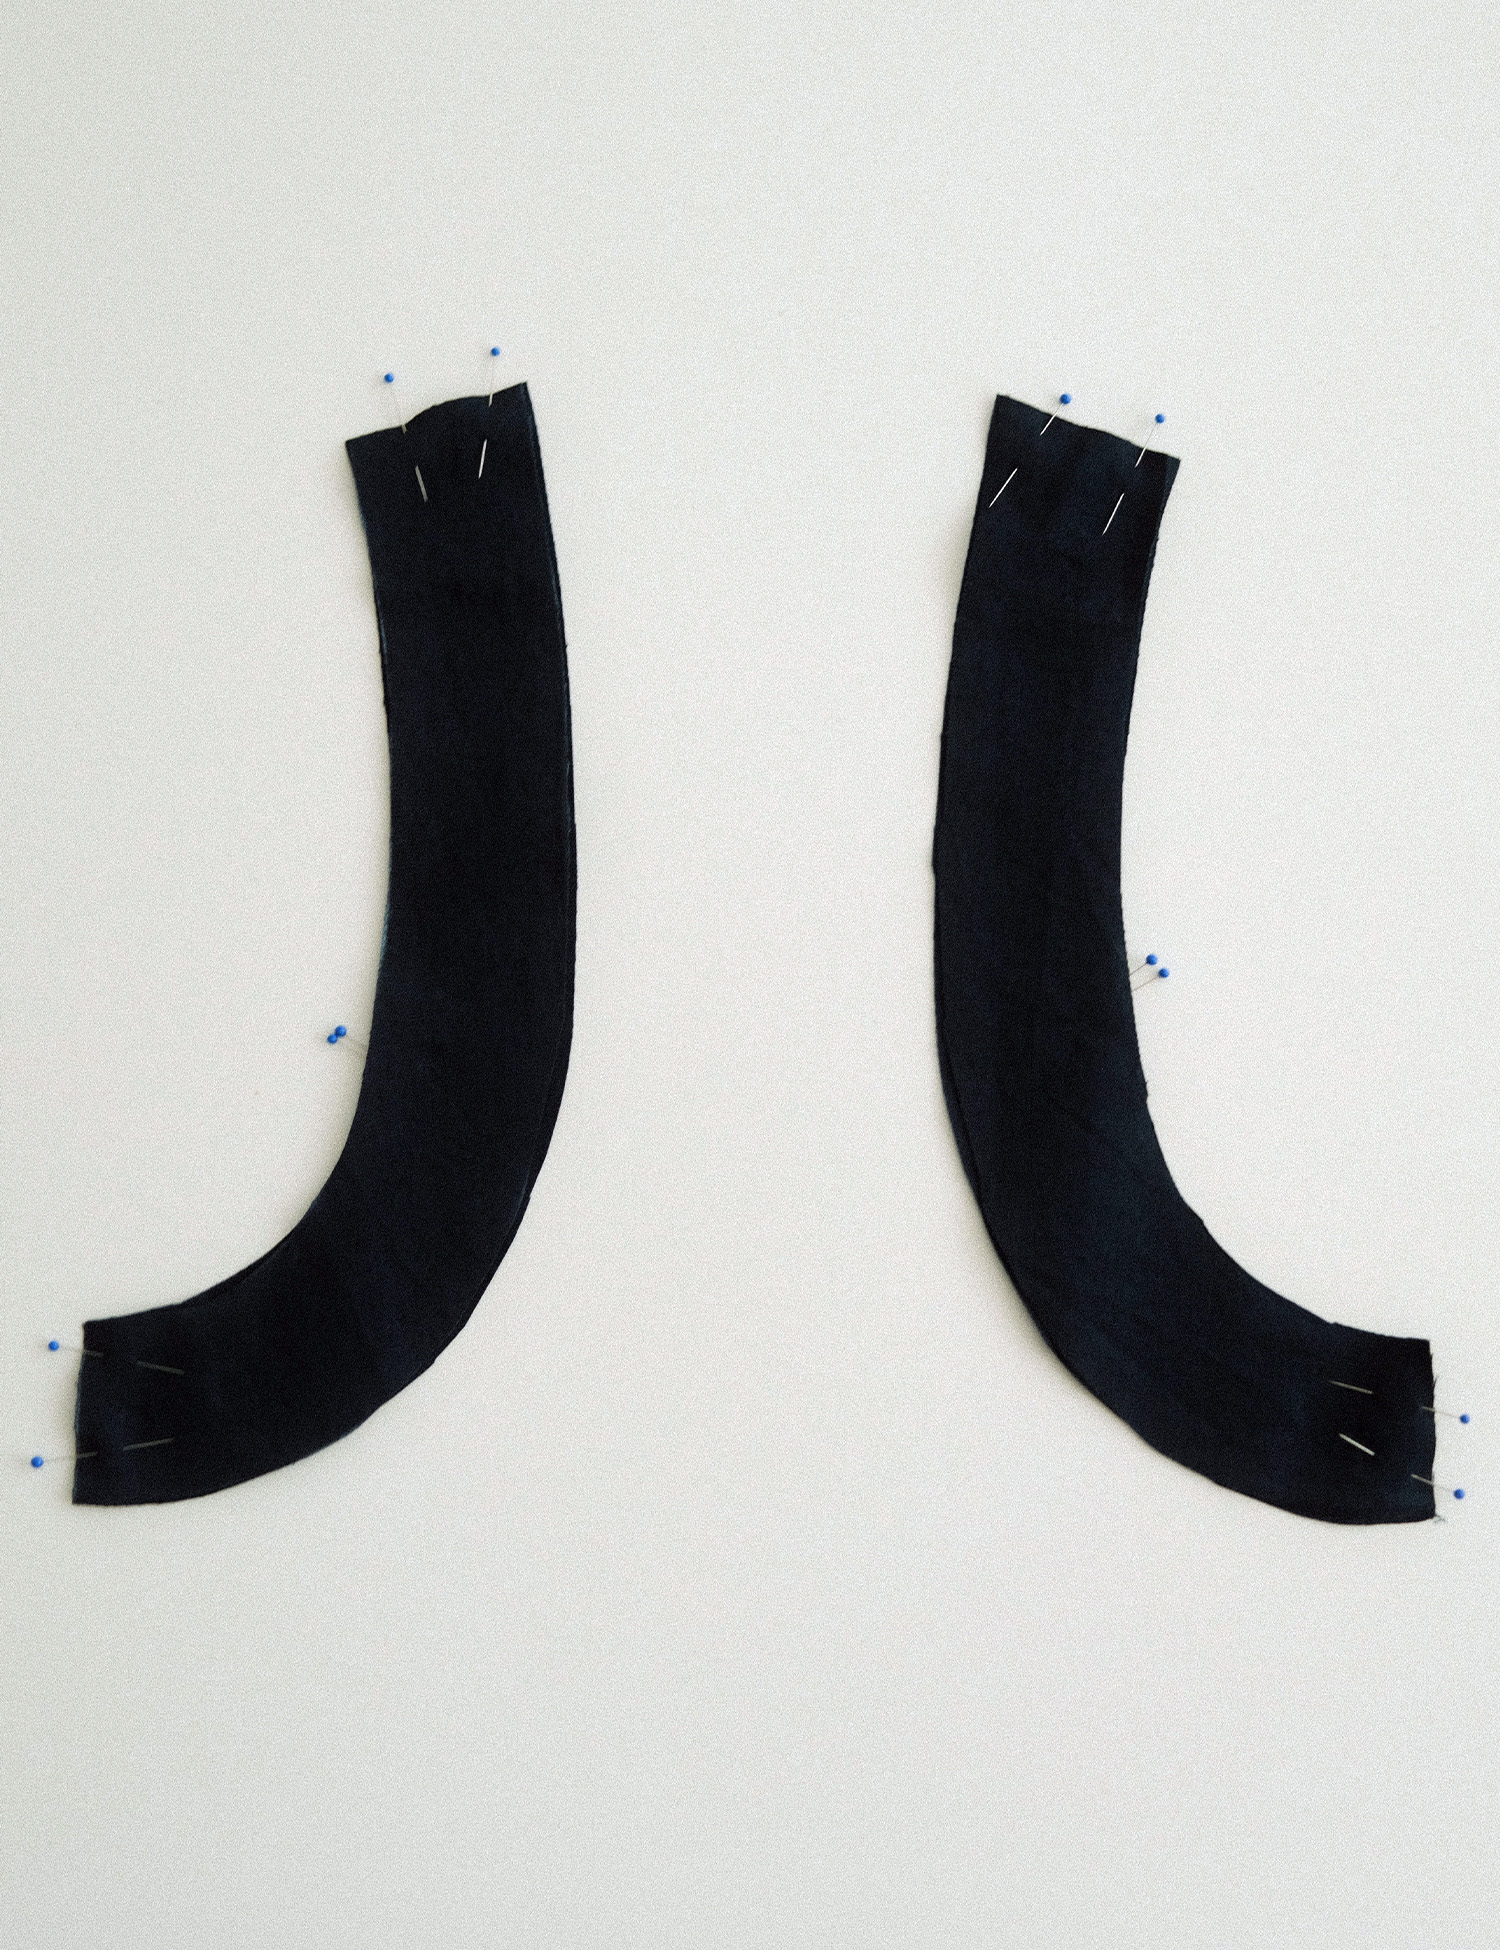
10. Pin the front and back armhole facings with right sides together. Sew and press seam allowance towards the front. Repeat for the neckline facings.
11. With right sides together, pin and sew the neckline facing to the dress. Clip to (but not through) the seam allowance at the rounded edge of the center front dress. Press the seam allowance towards the facing. Understitch the neckline.
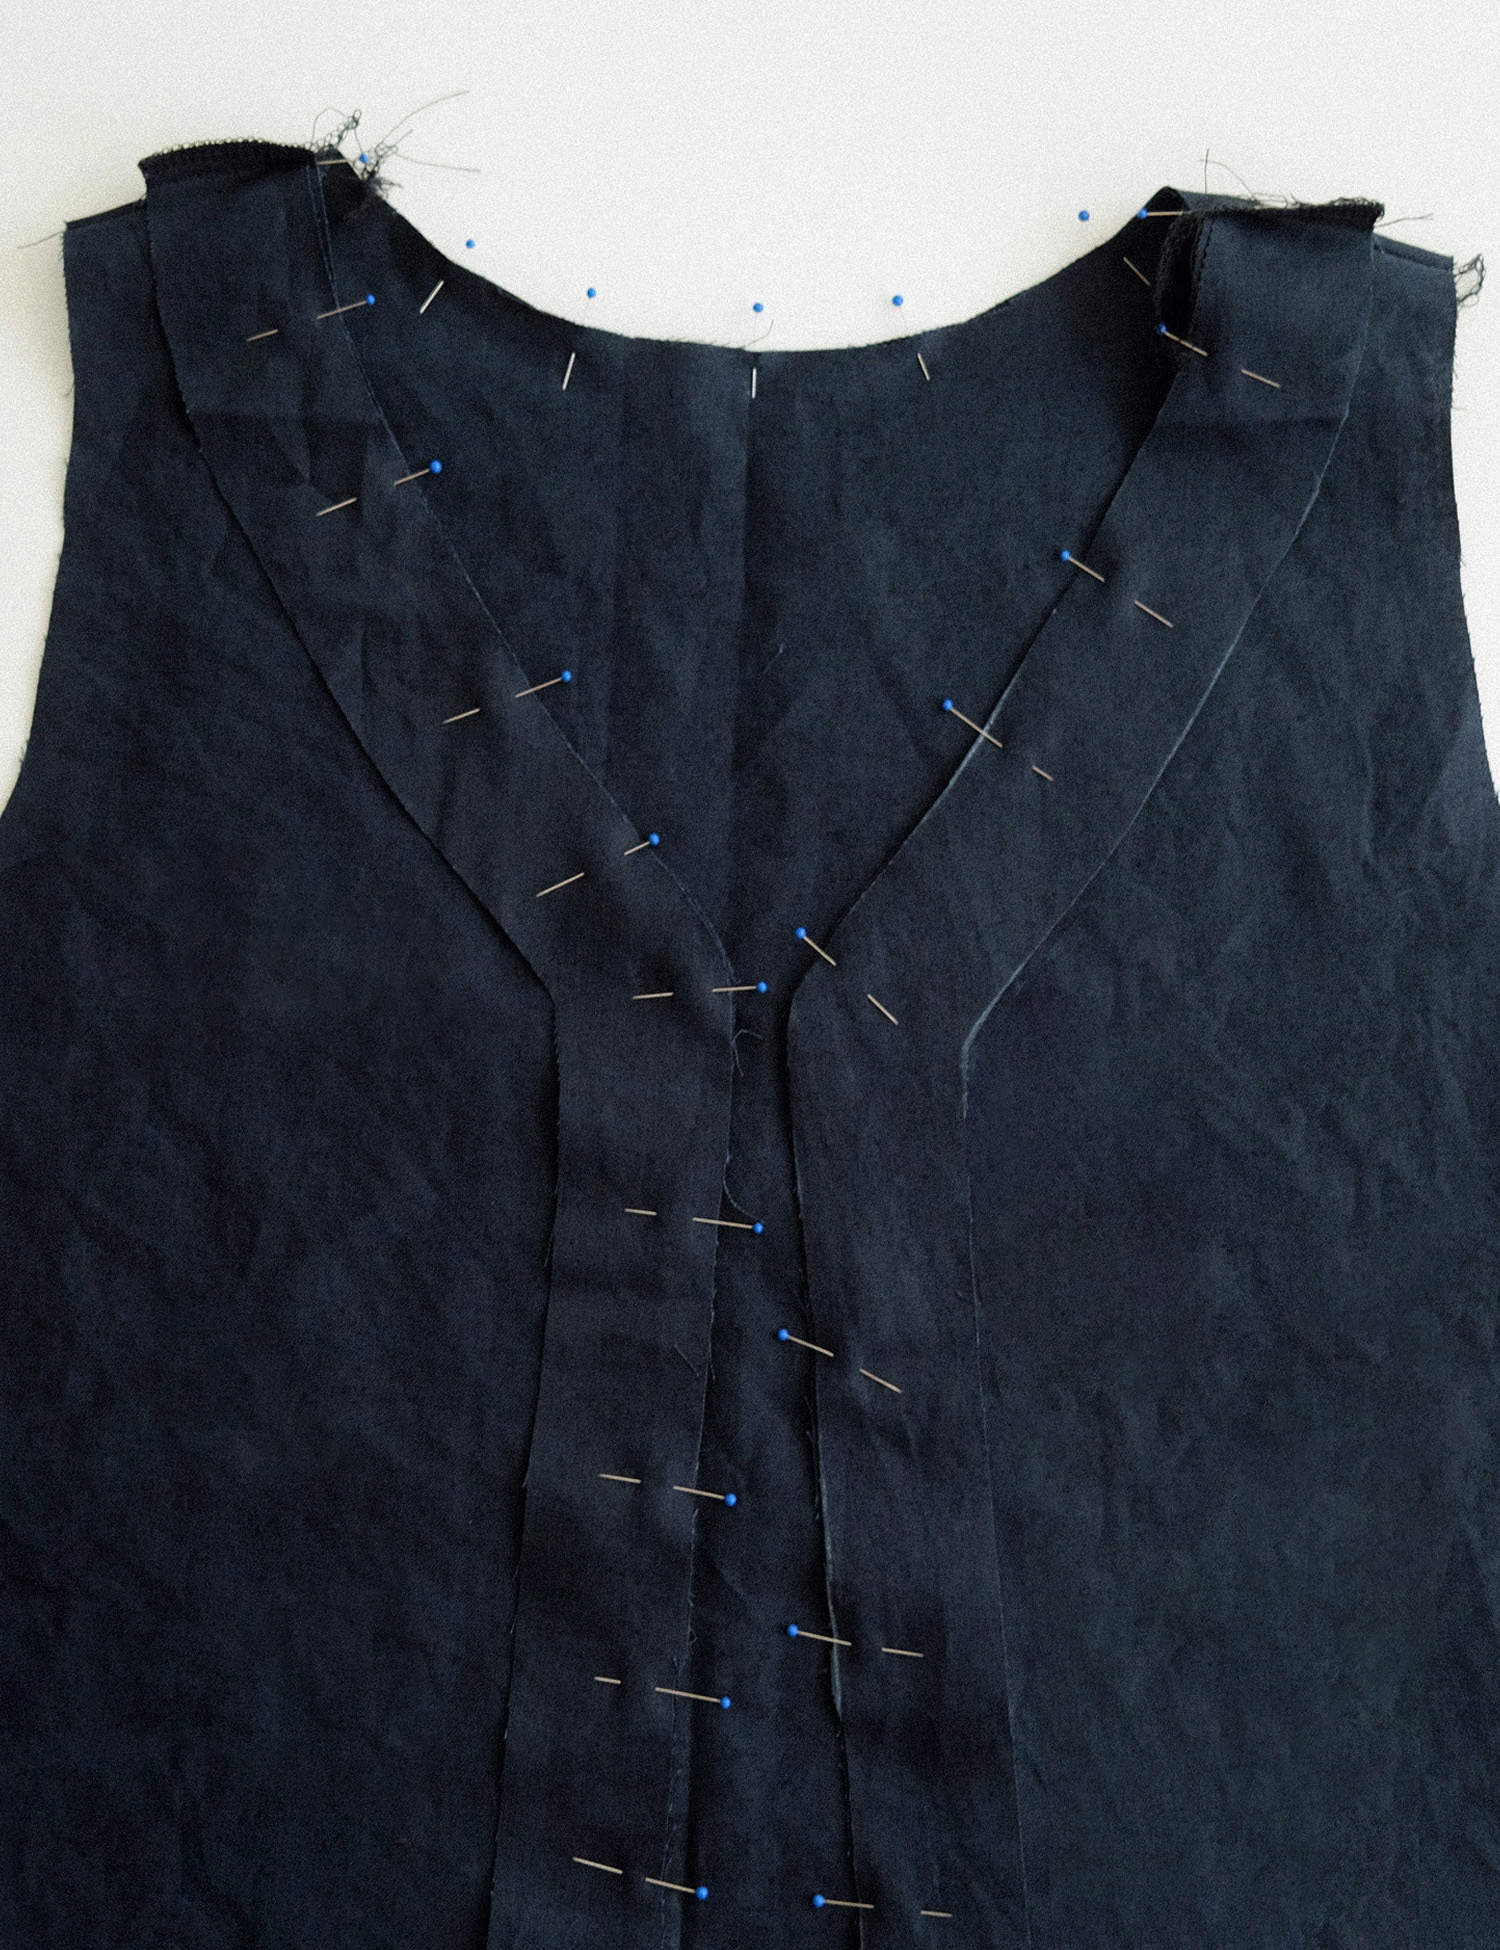
12. Turn neckline facings so wrong sides are together and press flat.
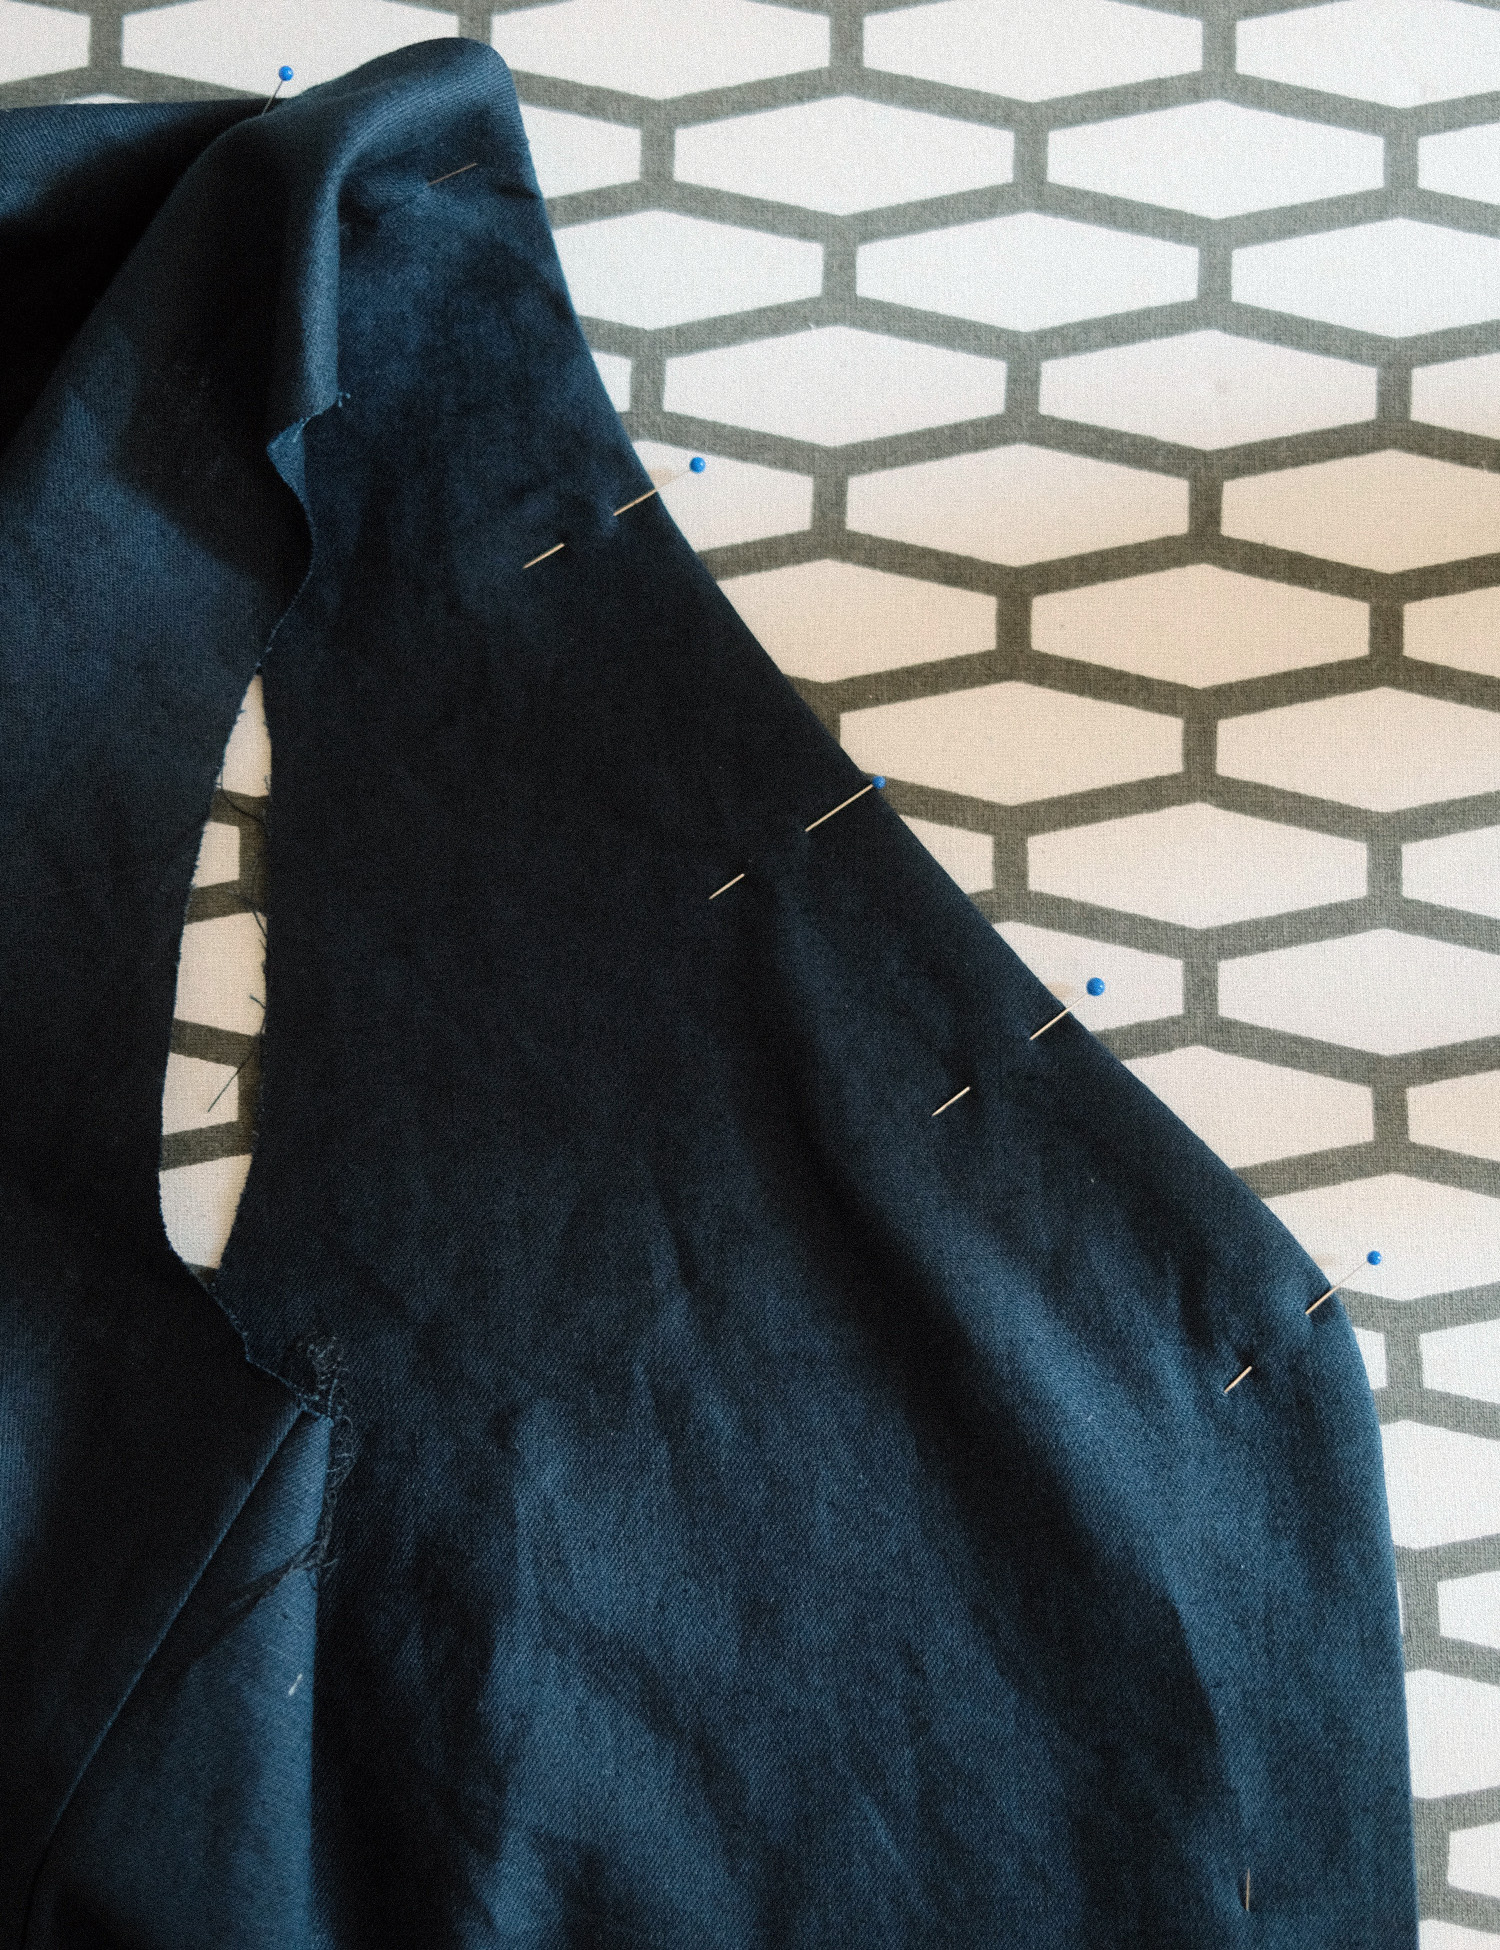
13. Repeat Steps 11 and 12 for the armhole facings.
14. At the shoulder, overlap the neckline facing on top of the armhole facings. Pin in place from the outside of the dress and secure by sewing through both facings in the shoulder seam ditch for 1cm / 3/8in.
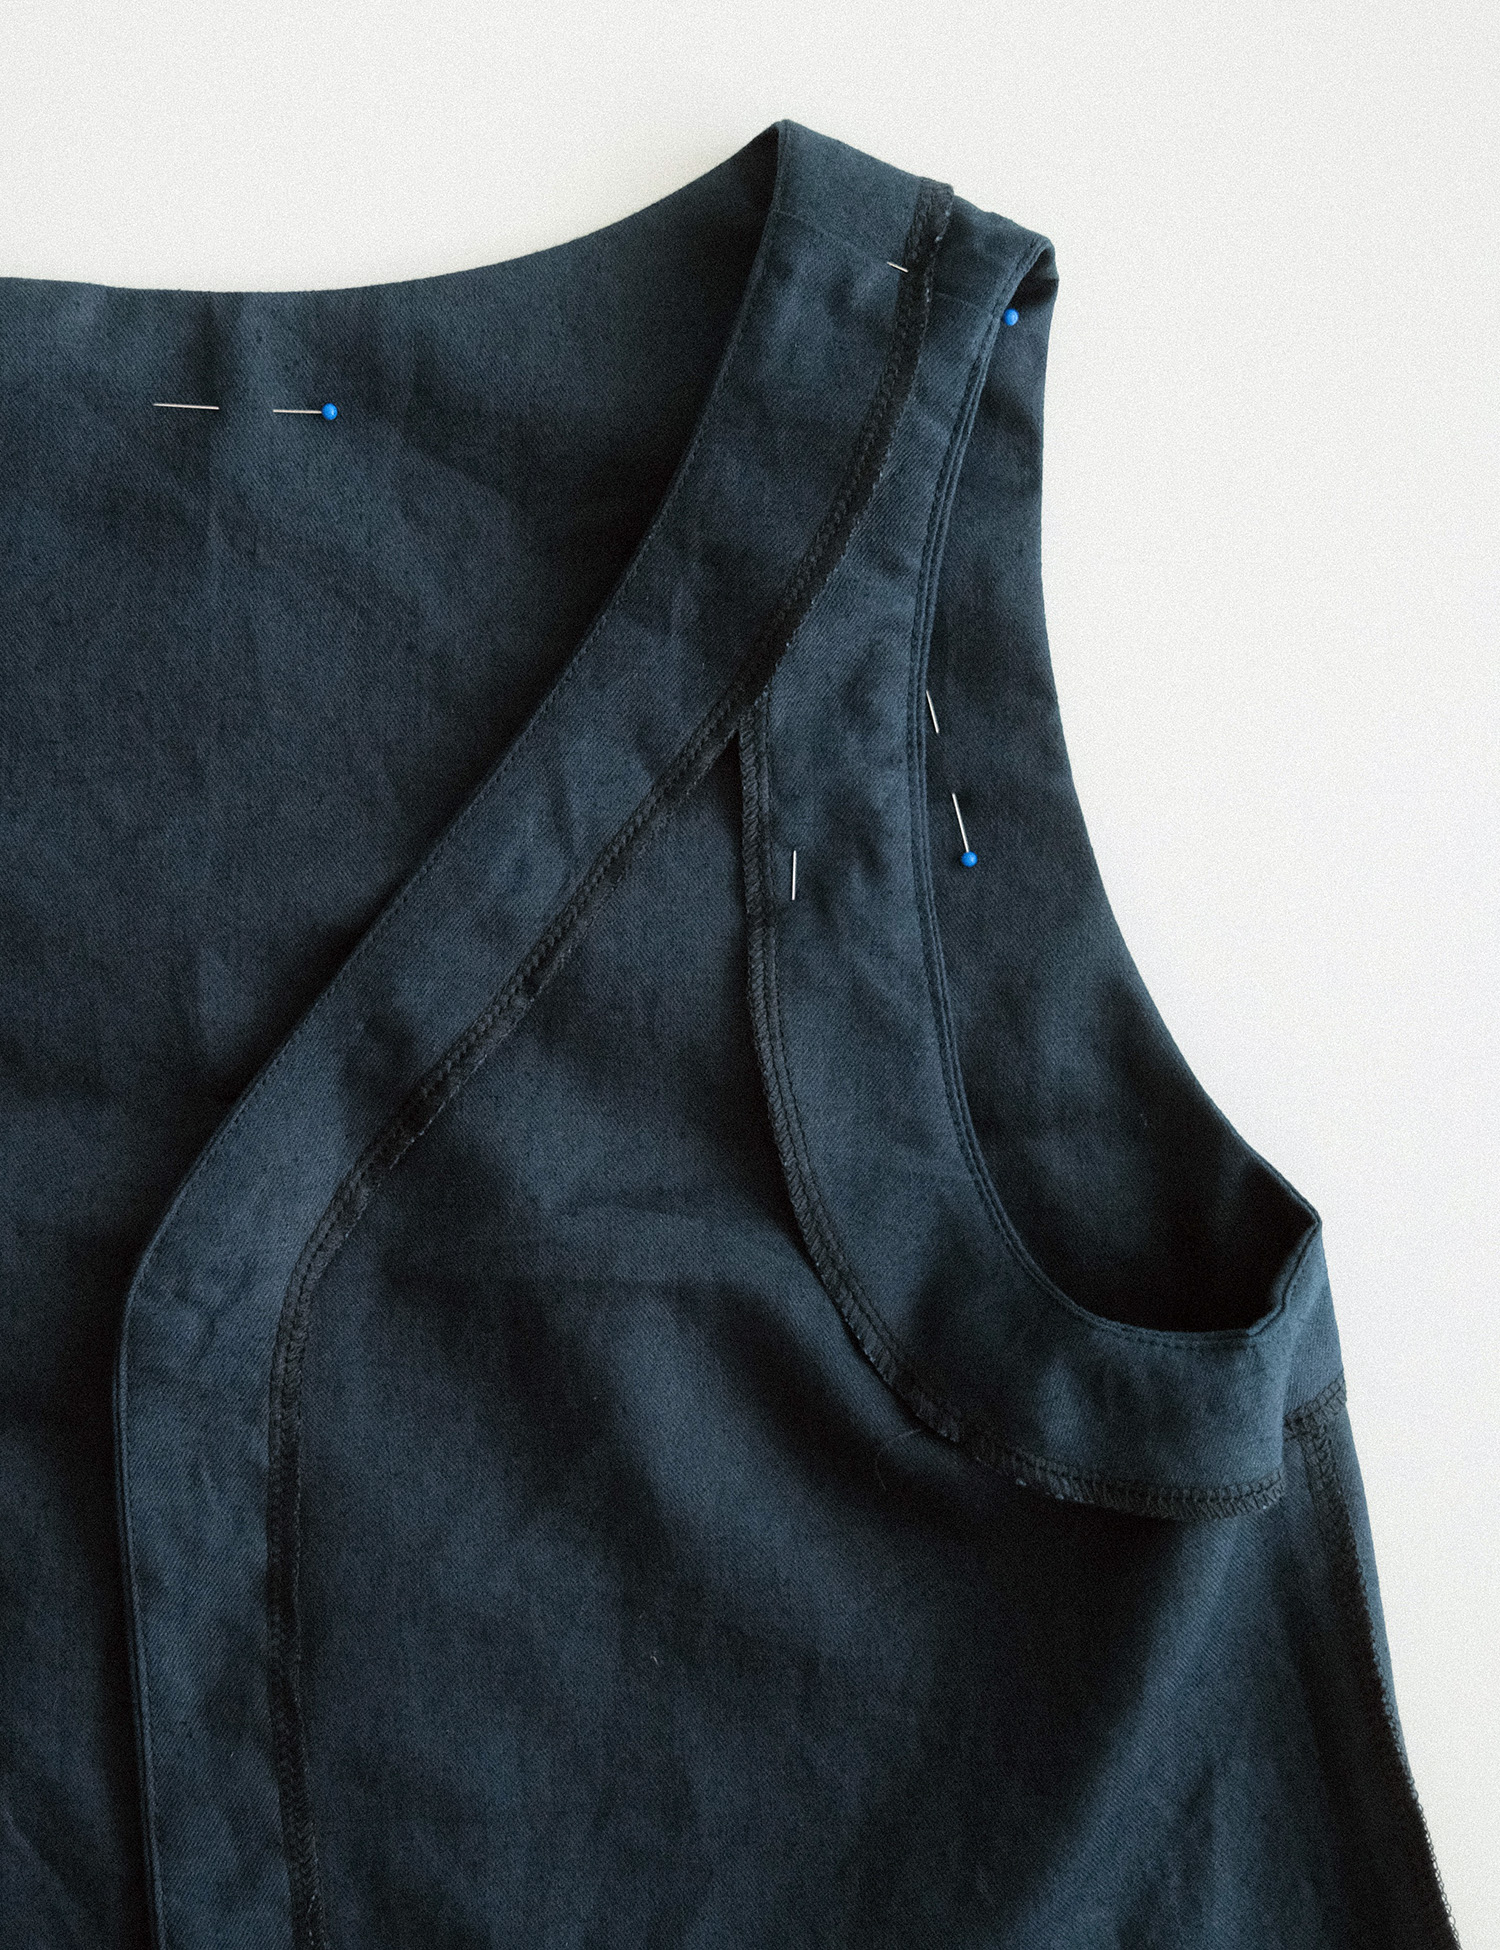
15. From the outside of the dress, pin the armhole facings to the side seam. Stitch in the ditch of the side seam towards the bottom of the facings for 1cm / 3/8in to secure in place.
16. At the center fronts fold the hem up 10cm / 4in with right sides together and pin in place. Stitch in the ditch for the width of the hem, 10 cm / 4in. Turn right-sides-out.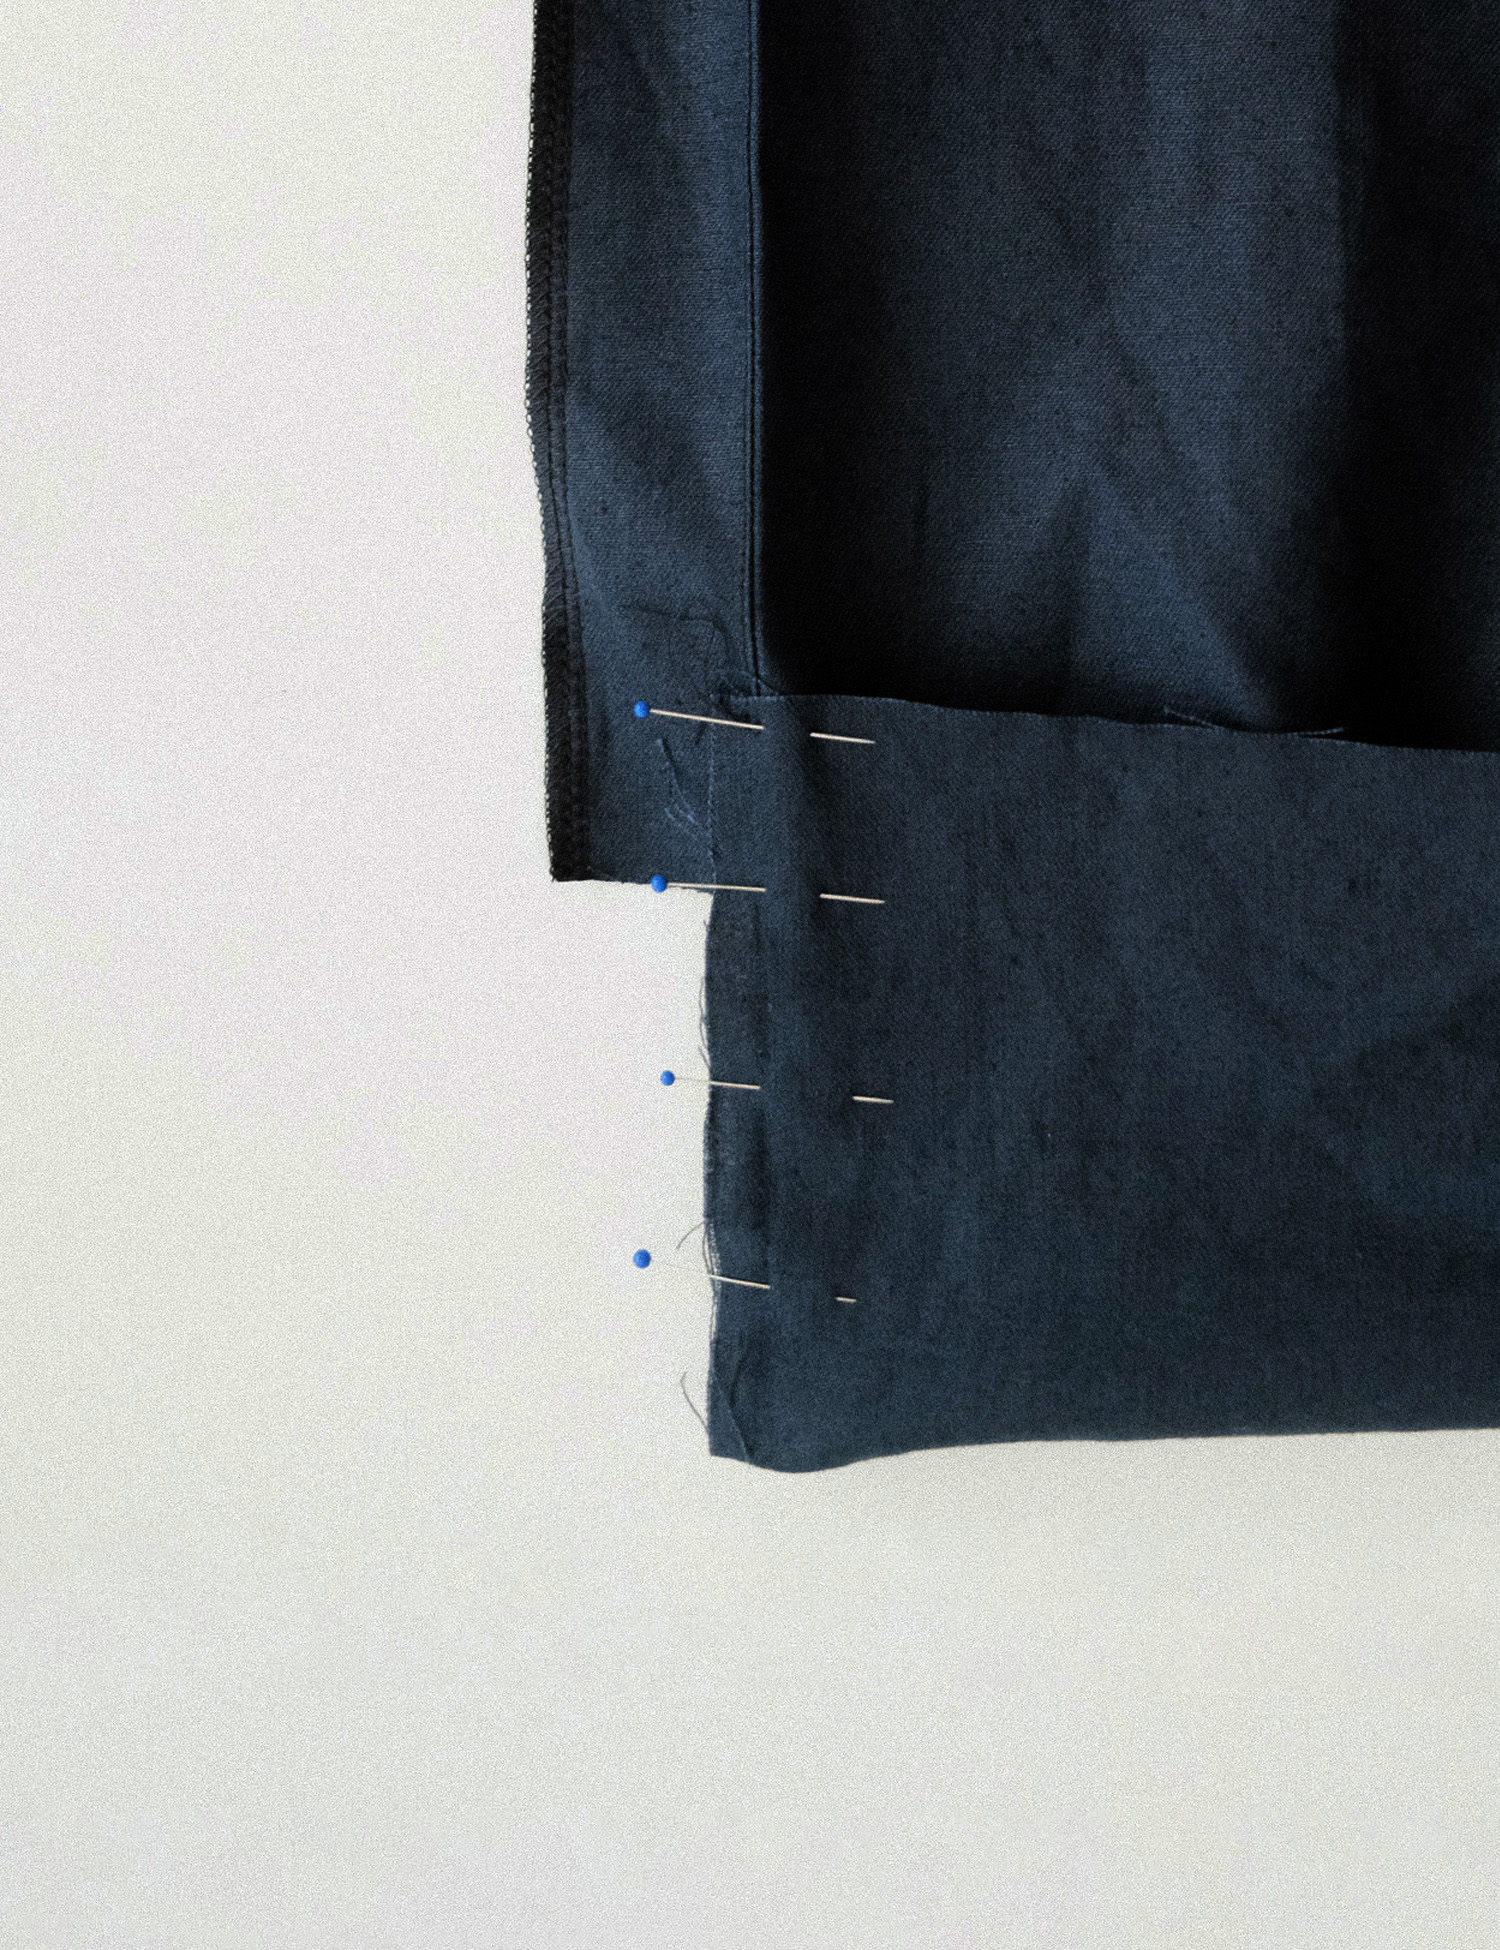
17. Fold the remaining hem of the dress 10cm / 4in and pin in place. Press before sewing the hem down by hand or machine using a blind stitch.
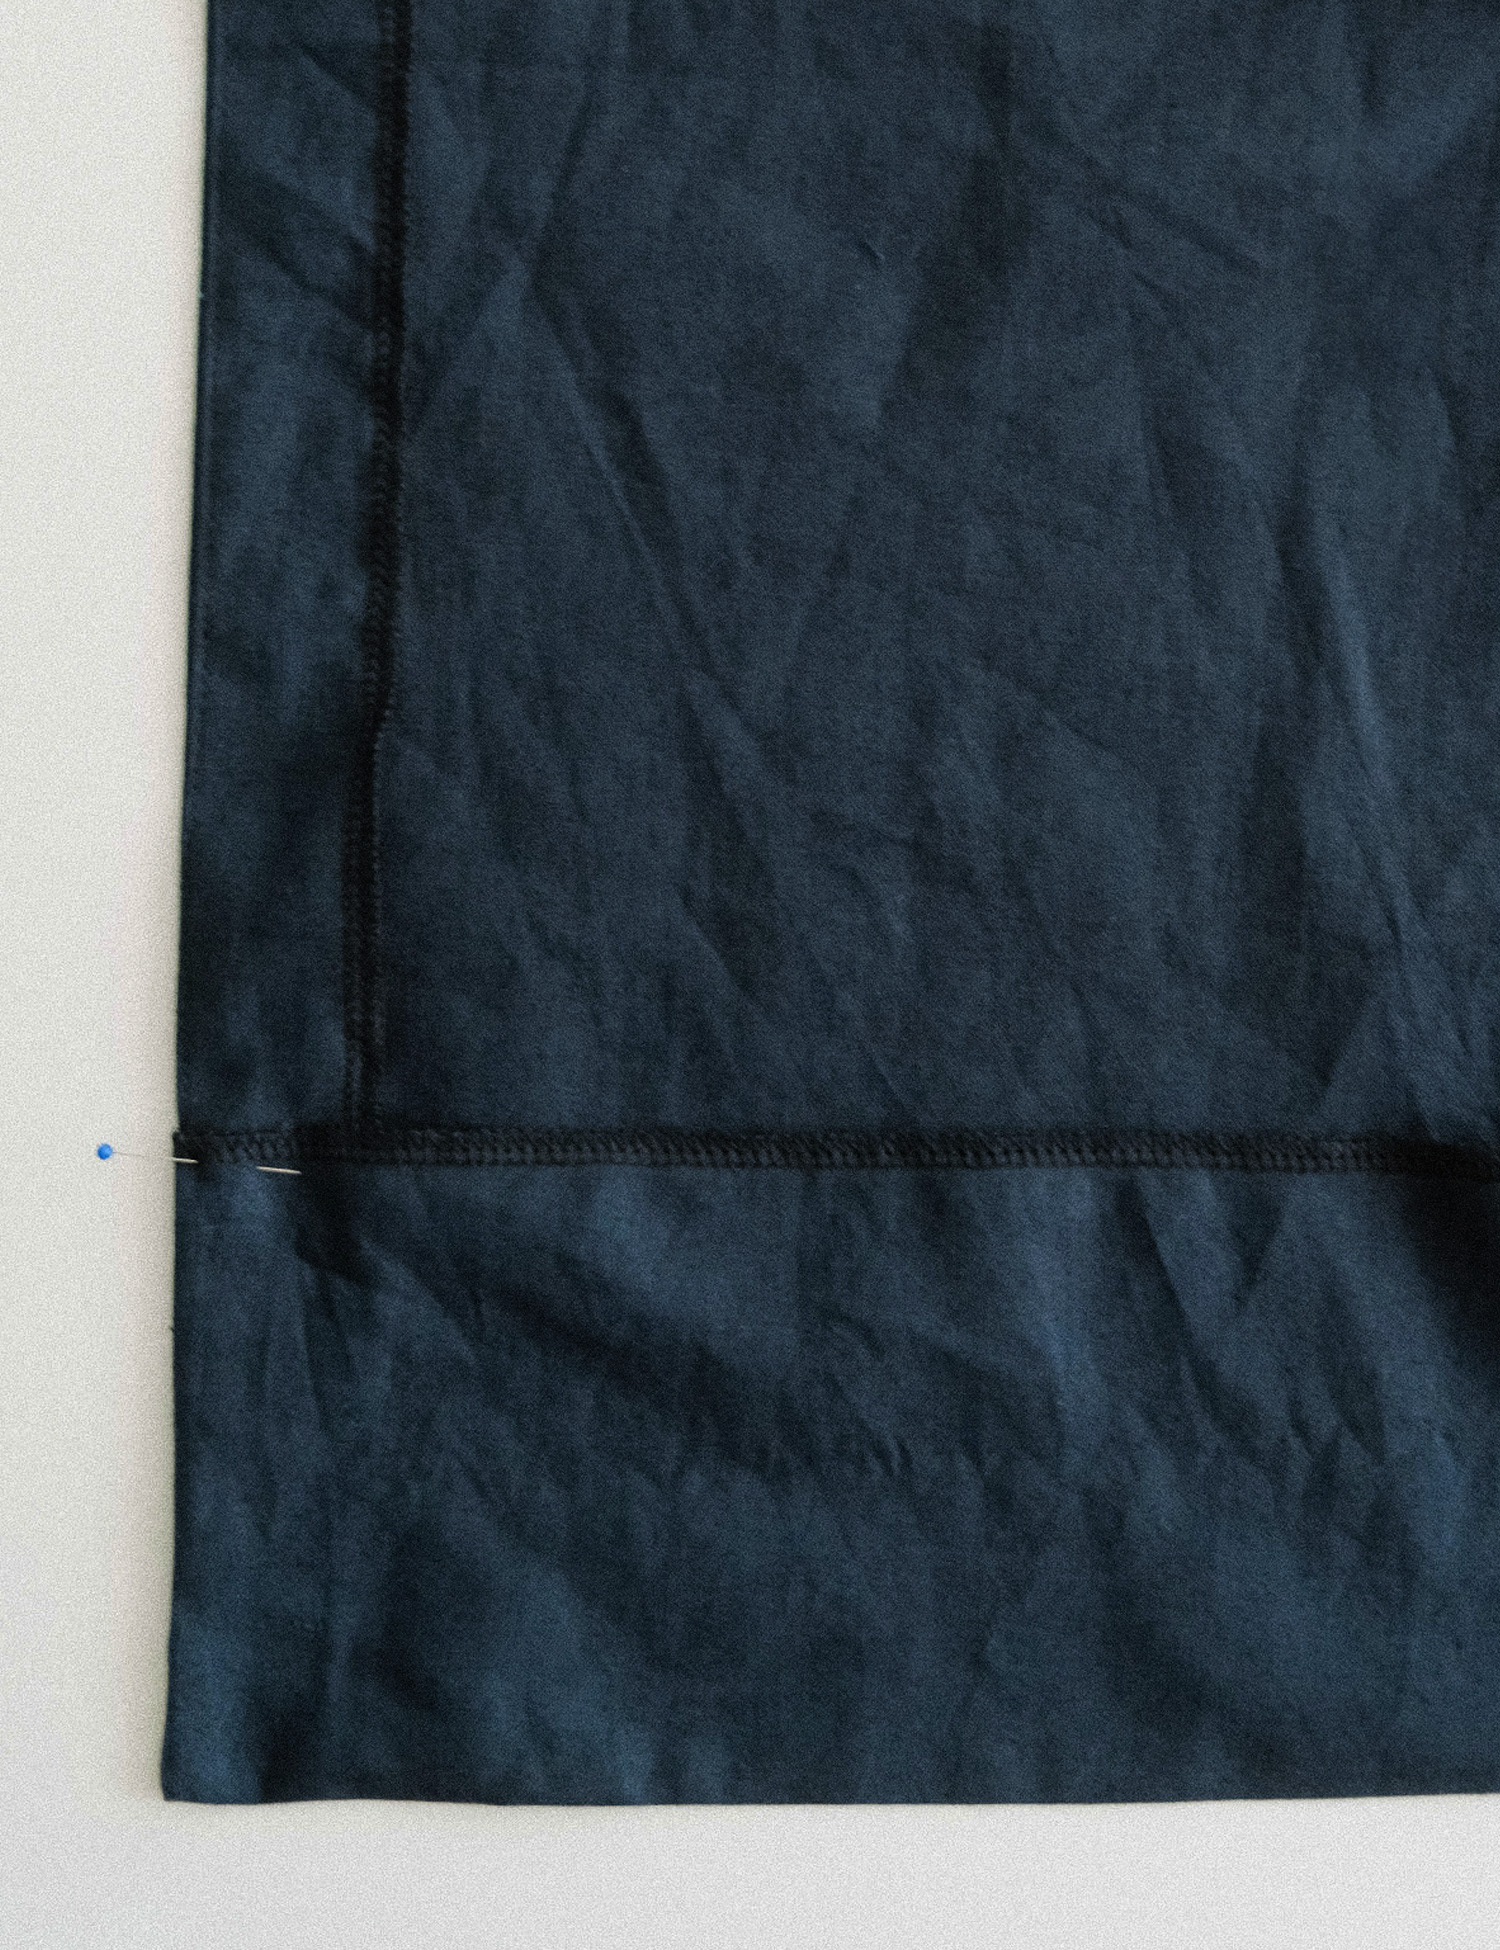
18. Finish the dress by creating five button holes on the wearer’s right side of the dress and sewing five buttons on the wearer’s left side. To keep the neckline facings flat, I recommended basting them down before sewing the buttons and button holes.
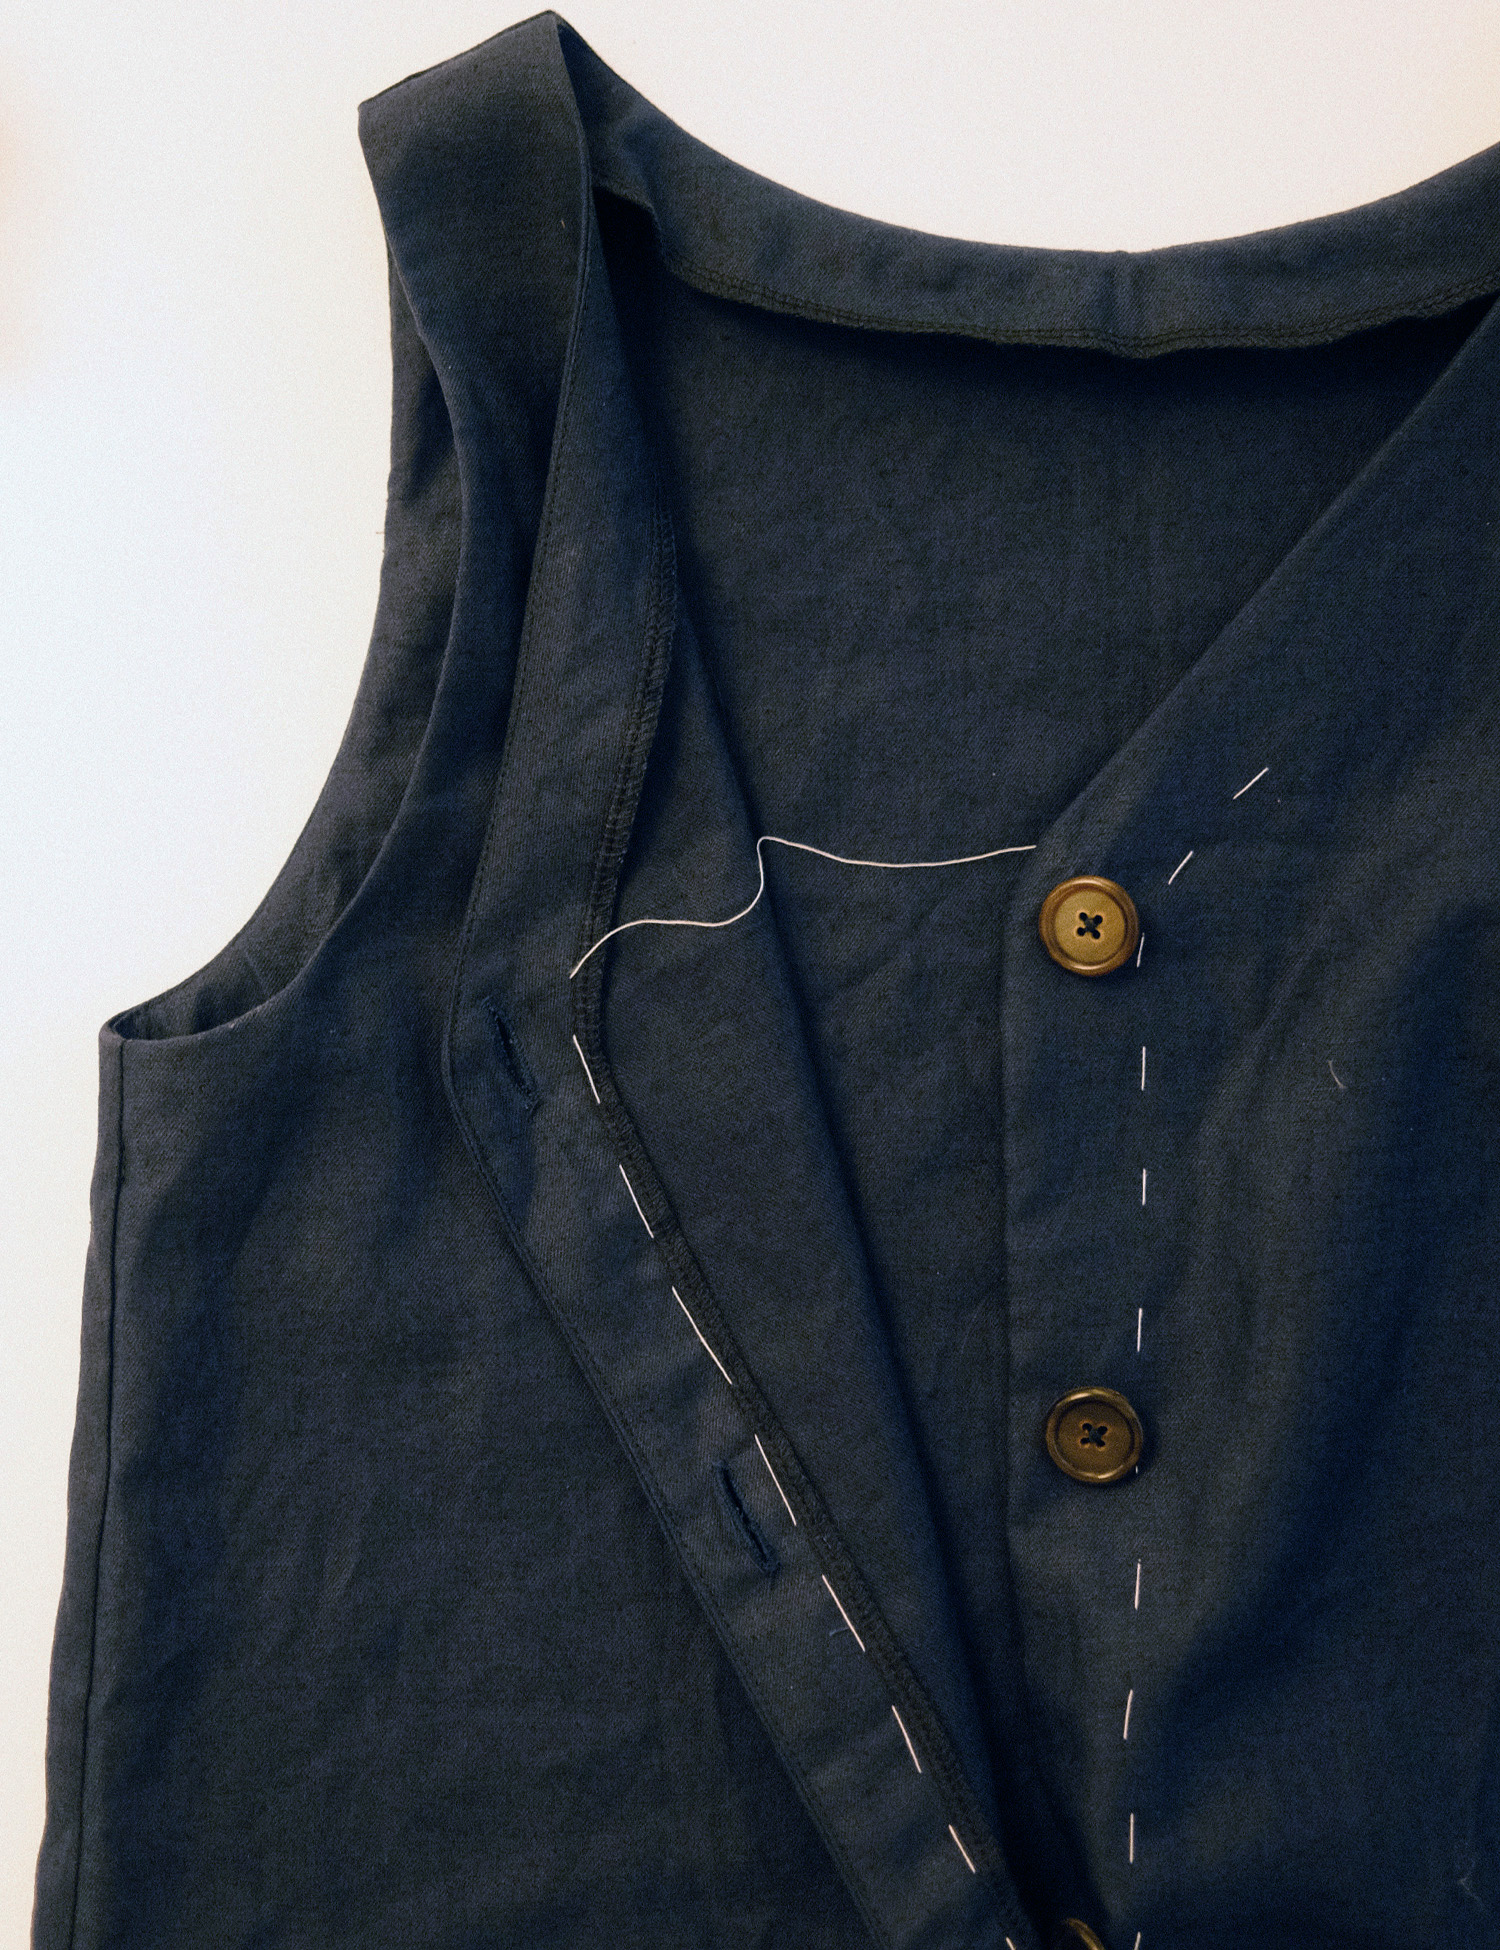
Enjoy your new dress!



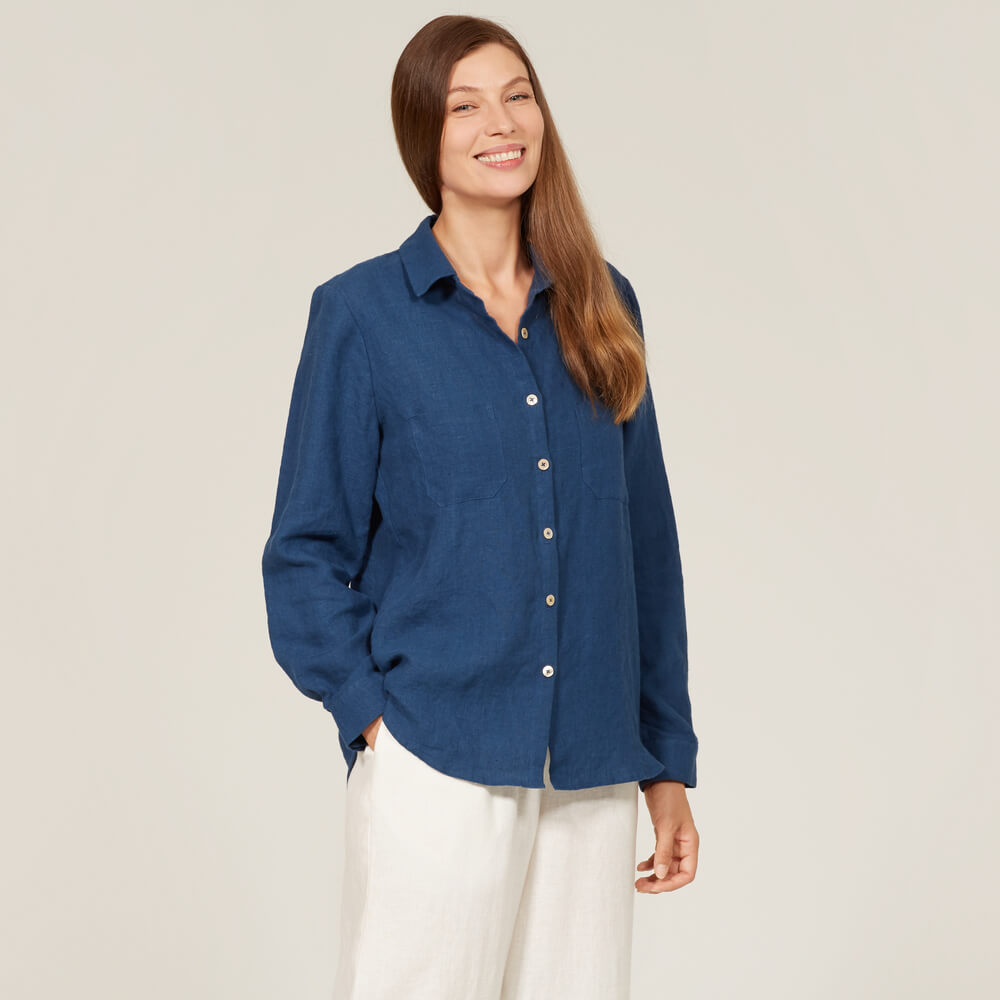


1 Comment
I love this…How would you go about adding pockets?