Luna Camisole Sundress Tutorial and Pattern
When you think of quintessentially summer dresses, a camisole sundress instantly springs to mind. With its iconic spaghetti straps and bare shoulders look, it is a kind of dress you’d want to wear on those hot summer days when you feel like wearing as little as possible.
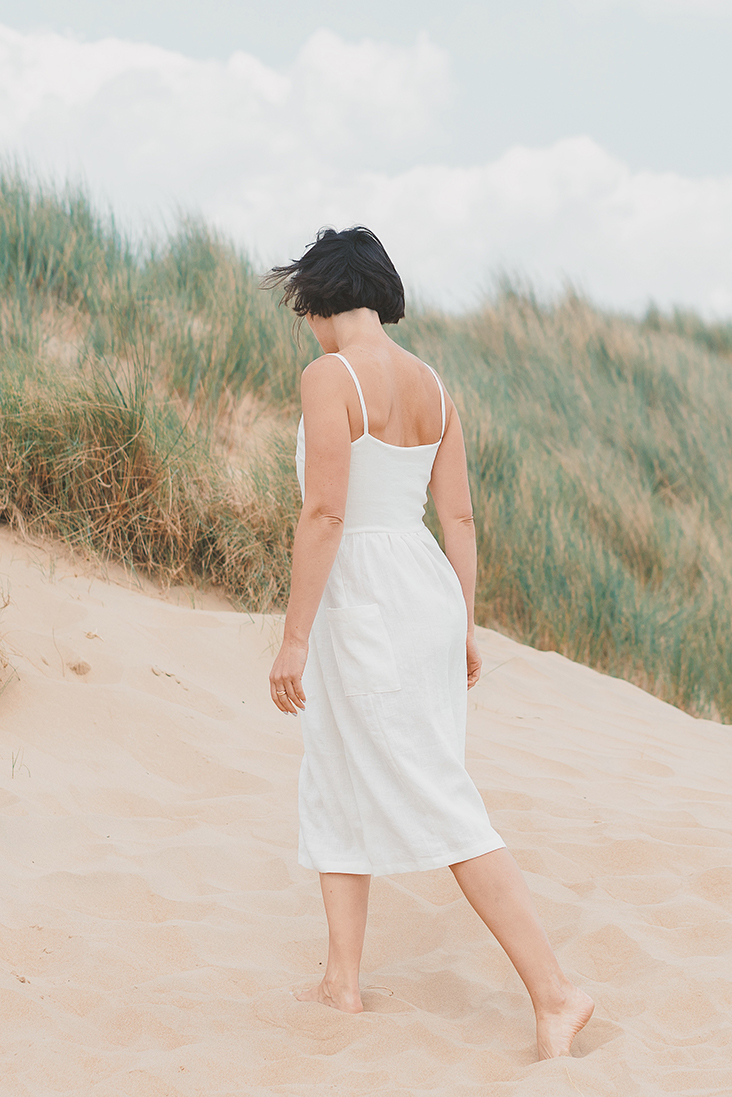
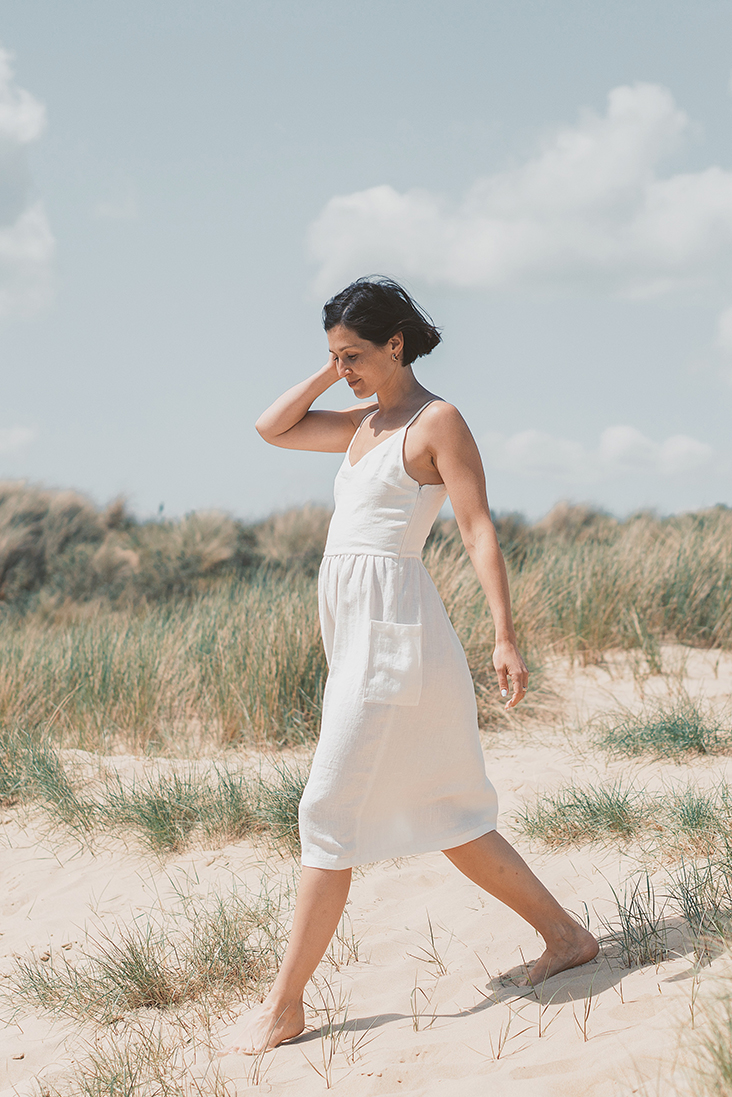
Our Luna pattern is a classic camisole sundress thin spaghetti straps, semi-fitted lined bodice, side zipper and a gathered skirt. It also features two handy patch pockets that give it a relaxed feel. Cut from our Signature hot washed bleached medium linen, it is super soft and comfy and has a magic power of reflecting light and keeping you cool.
Follow this step-by-step tutorial and make your own no-fuss sundress!
Materials
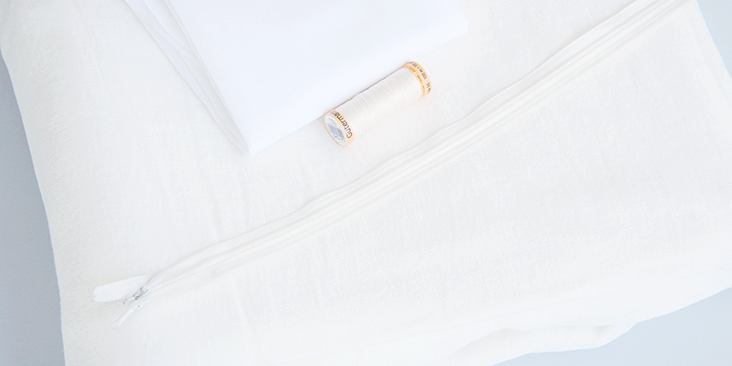
For our sample US size 6 pictured in this tutorial we used 2 yards of IL019 BLEACHED Signature Finish Medium Weight Linen.
For other sizes, please refer to the yardage table in the PDF pattern to determine the required amount of fabric.
Matching sewing thread, fusible interfacing, 17”-long invisible zipper
Tools
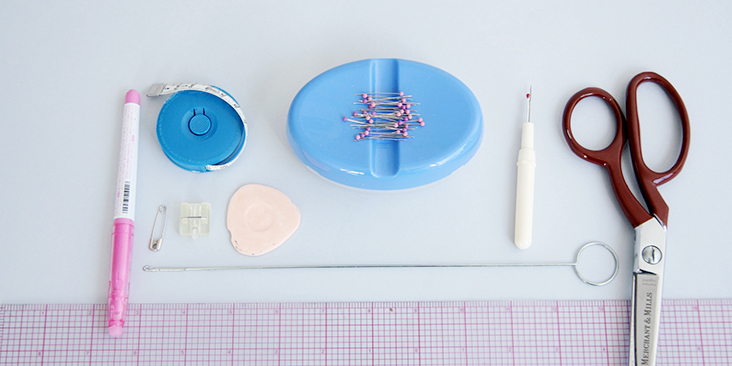
Scissors, pins, ruler, chalk, measuring tape, fabric marker, loop turner or small safety pin, seam ripper, zipper foot, sewing machine
Difficulty
Intermediate
Sewing Time
6-7 hours
Pattern
You can access the multi-sized printable PDF pattern by following this link HERE. All seam allowances are included and are 3/8” unless otherwise specified. The model is wearing US size 6.
Remember to transfer all the notches onto your fabric.
Steps
Note: Prewash your fabric and tumble dry it until it is still slightly moist, dry at room temperature. Iron the fabric so it is easier to work with.
1. To prevent the diagonal edges from stretching, staystitch the neckline and armhole edges of both the bodice and the lining, front and back, at a ¼” seam allowance.
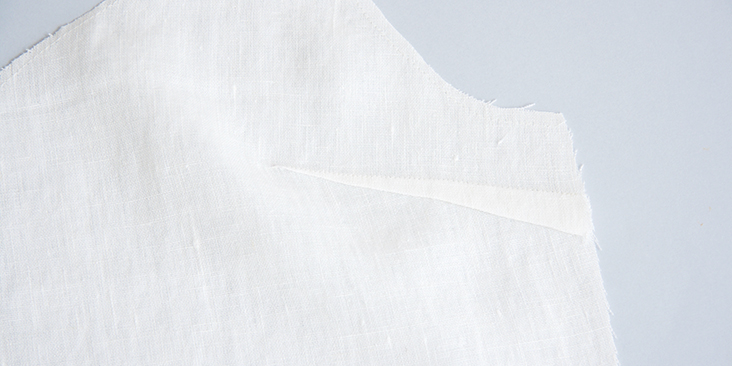
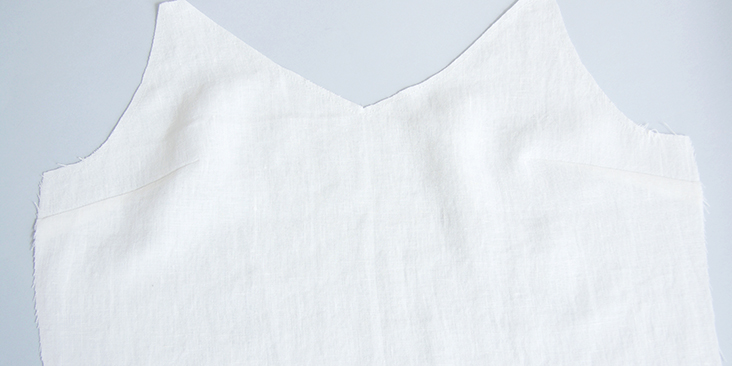
2. Sew the front darts following the instructions in this tutorial. Press the volume of the darts downward.
3. Pin front and back bodices at the right side seam and stitch right sides together at a 3/8” seam allowance. Finish the seam with your preferred method (serge or zigzag the raw edges together) to prevent fabric from fraying. Press towards the back.
The left side seam stays open for now, later you’ll insert an invisible zipper there after the skirt is attached.
4. Sew the darts on the front lining piece in the same way you did with the main bodice.
5. Pin the front and back lining right sides together at the left side seam and stitch at a 3/8” seam allowance. Press the seam open and finish the outer raw edge with a serger or a zigzag stitch.
6. Assemble front and back skirts right sides together at the right side seam only. Sew and finish the seam.
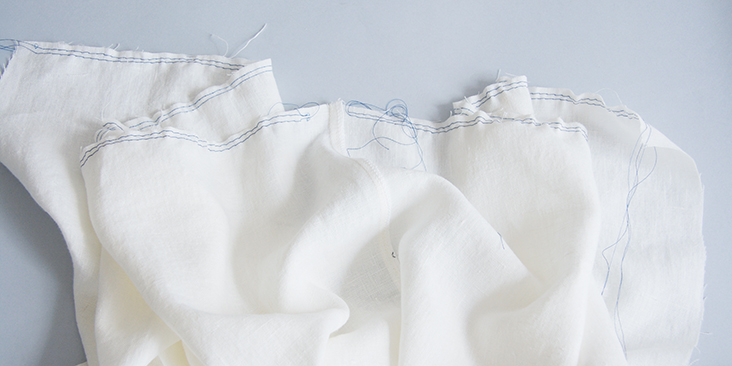
Run two lines of basting stitches along the waist edge of your skirt (back and front separately). Use contrasting color thread and leave long tails.
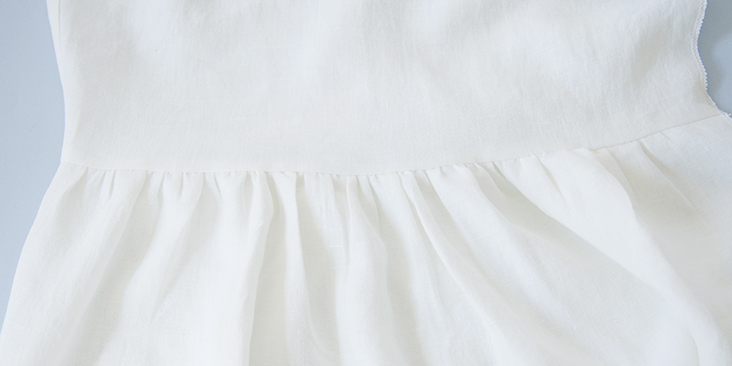
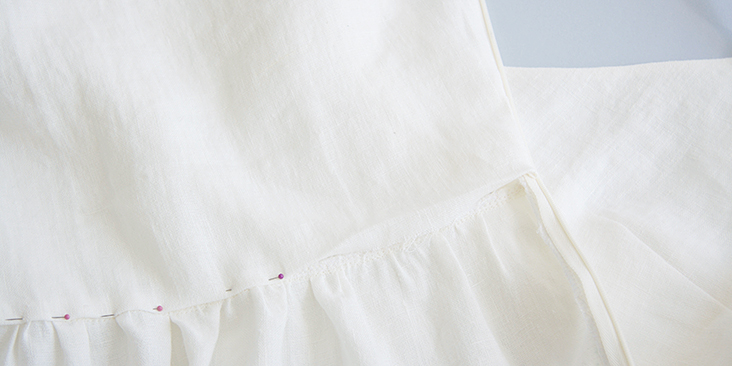
7. Pin your gathered skirt to the bodice right sides together. Gather your fabric evenly and match the right side seams.
8. Sew skirt to bodice at a 3/8” seam allowance, then remove basting stitches, finish the raw edges together with a serger or a zigzag stitch and press the seam allowances up towards the bodice.
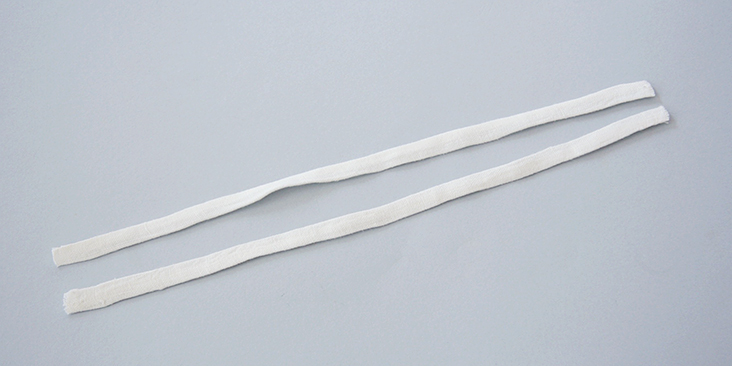
9. Prepare your straps by folding your fabric in half lengthwise right sides together. Stitch at a 3/8” seam allowance, the trim to 1/8”.
10. Turn your straps right side out and press using one of the techniques explained in this tutorial.
Time to attach the invisible zipper. For more instructions on how to insert invisible zippers please check our detailed tutorial HERE.
11. Finish the raw edges of your left side seam (front and back separately).
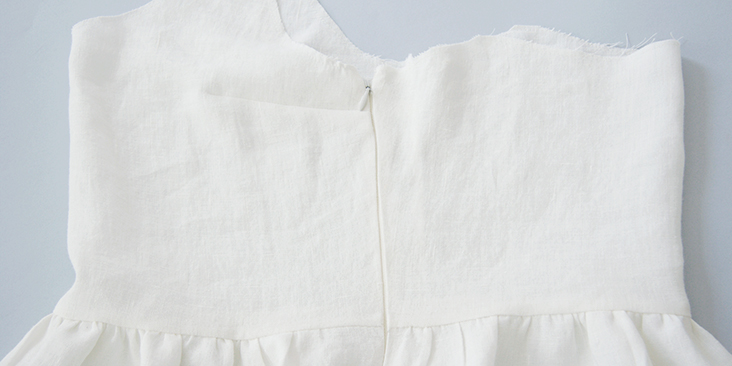
12. Pin the zipper to the right side of your dress at the unstitched (left) side seam. Stitch the zipper stopping at the notch.
Sew the rest of the side seam and press open.
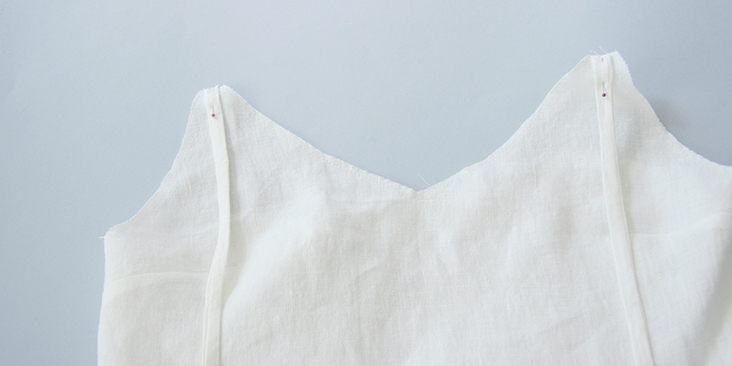
13. Pin one end of each strap to the right side of your dress, at the highest points of the neckline.
Then carefully, without twisting the strap, bring the other end to the back and pin aligning raw edges.
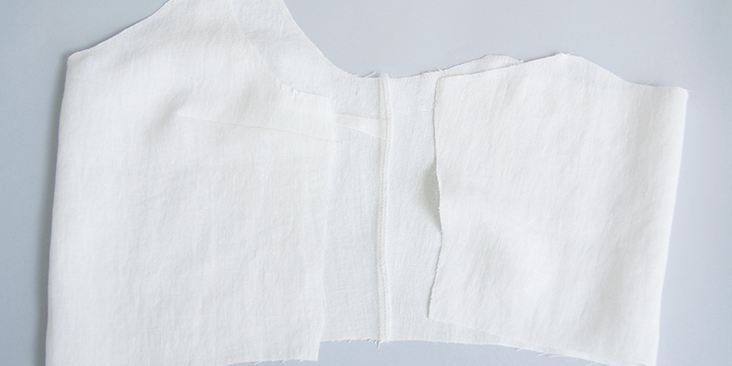
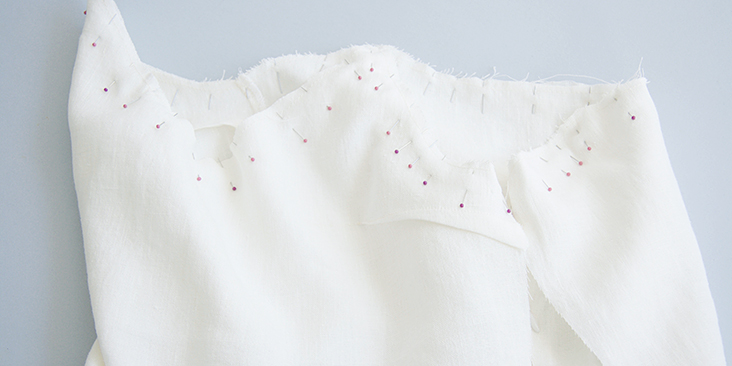
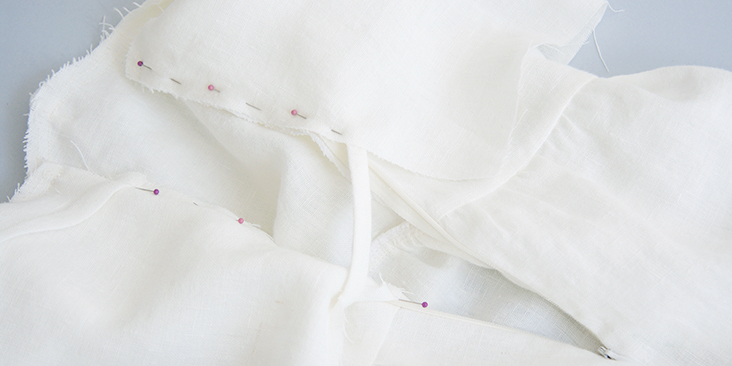
14. Now pin the lining to the dress right sides touching and matching the right side seams along the entire neckline edge. Your straps are now sandwiched in between the two layers and should stay down and out of the way.
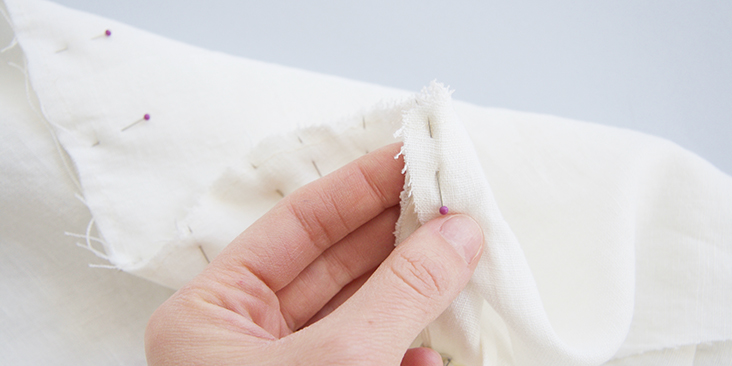
When you pin the lining to the bodice at the left side seam where the zipper is, make sure to unfold the seam allowance of the main fabric and match the raw edge of the lining to the raw edge of the bodice.
15. Stitch around the neckline/armhole edges at a 3/8” seam allowance.
16. Next, we are going to attach the lining to the zipper to create a neatly enclosed seam. Pin each raw edge of the lining to the corresponding side of the zipper. Basically, you are matching the raw edge of the lining to the bodice’s edge sandwiching the zipper between the two. As you get toward the bottom, fold the lining seam allowance 3/8” towards you.
17. Stitch the pinned edges following the seamline that you made when you attached the zipper to the main fabric.
18. Trim your neckline seam allowance down to ¼” and clip along the curves to release tension and at the front V. This will allow us to nicely turn the dress right side out. Clip the corners at the top of your zipper.
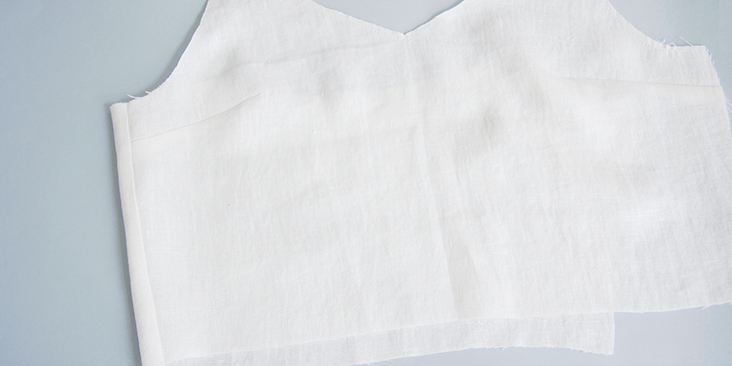
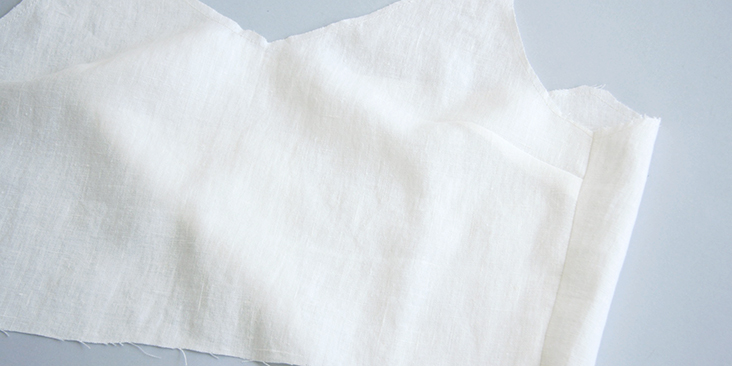
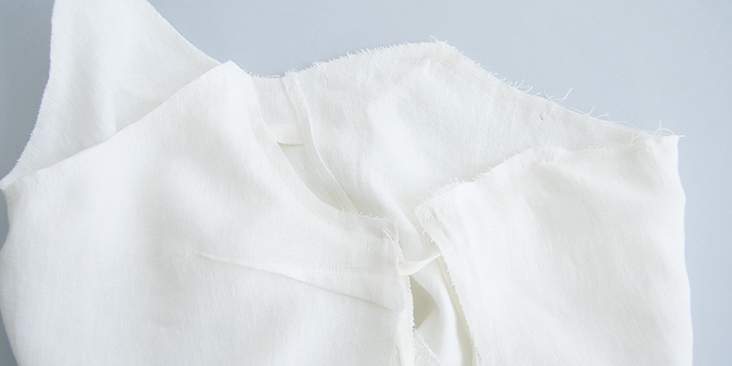
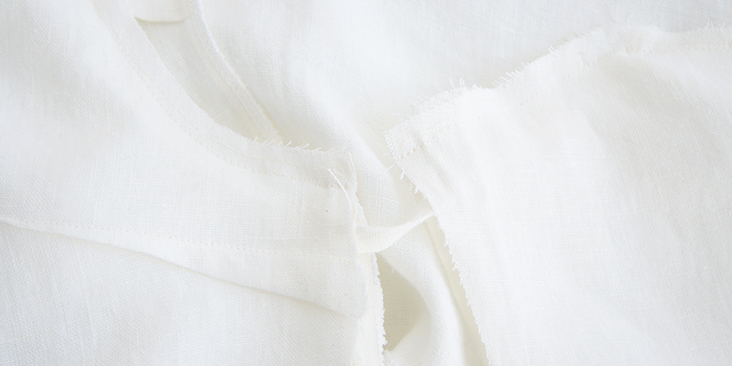
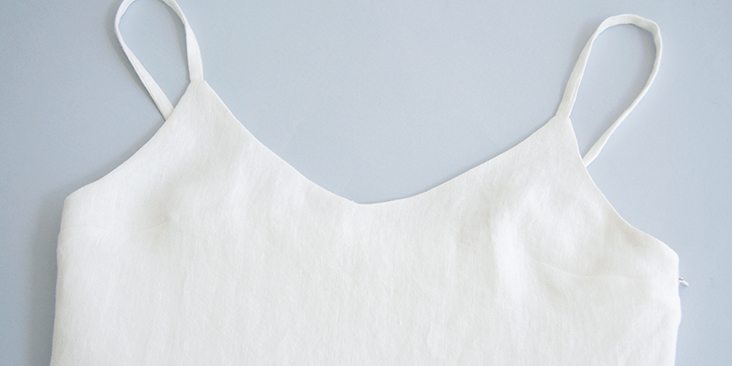
19. Then turn your bodice right sides out and press flat rolling the seamline slightly to the inside. If you wish, you can edgestitch along the entire neckline 1/16 from the edge to prevent the facing from popping out.
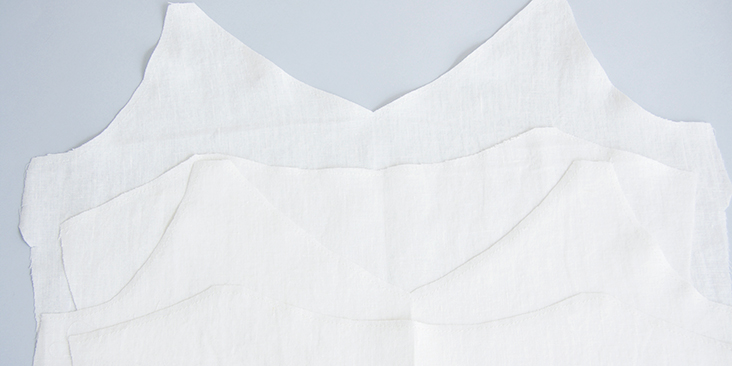
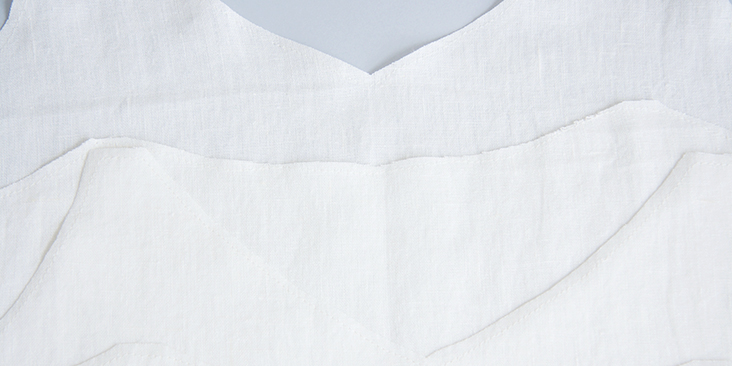
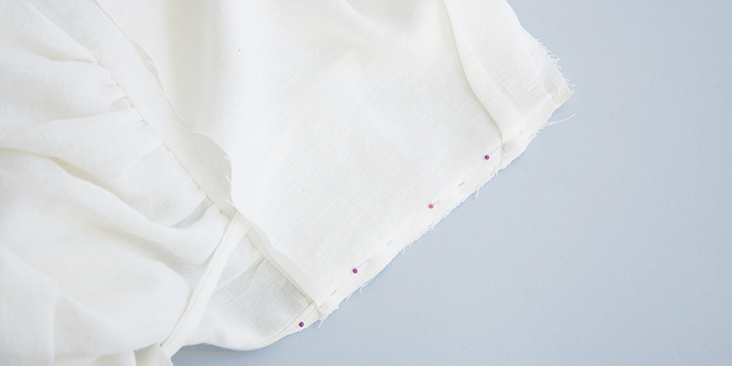
20. Lastly, press the raw edge of the lining 3/8” to the inside, then pin to the bodice like so:
21. Staystitch or hand baste the waist edge of the lining to the dress for a nicely finished waist.
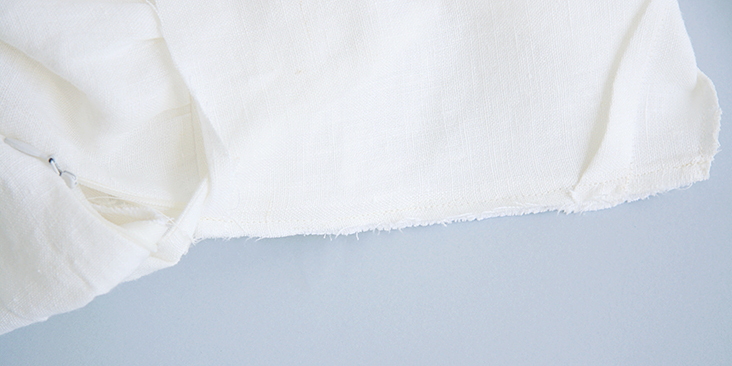
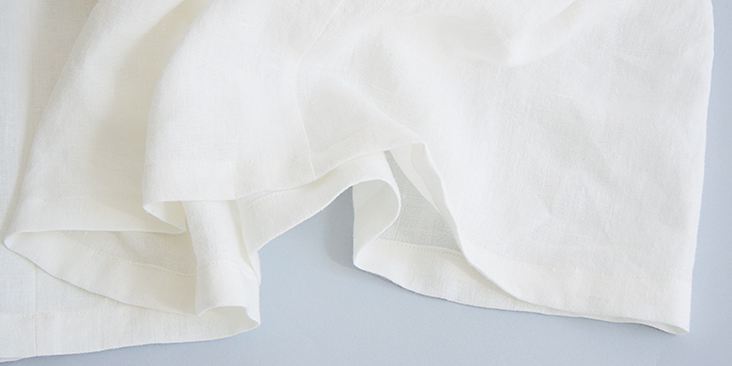
22. Hem the skirt: fold the fabric twice to the wrong side (first 3/8” then another 1”) and edgestitch.
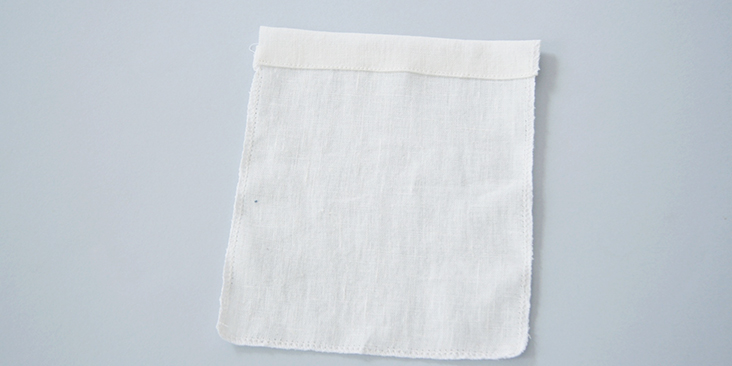
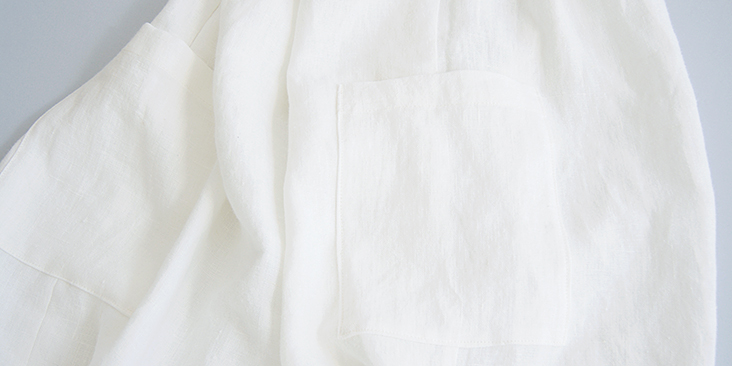
23. Finally, sew and attach the patch pockets at the side seams 6” below the waist. Follow the instructions in this detailed tutorial (the first method) to attach the pockets.
24. Give your finished dress a good last press and you are all done!
We love seeing what you make! Don’t forget to share your pictures and tag your creations with #FabricsStoreLunaPattern hashtag.





















7 Comments
Hilary Griffith
Just to double check – the front skirt panel is supposed to be wider than the back skirt panel, correct? Why is this? For some reason I cannot wrap my head around why they would be equal and I want to make sure I’m doing it correctly. Thank you so much for this pattern and tutorial!!
Lauren Gates
Hello, Yes they are designed purposely for the front to be wider than the back to allow for the pieces to have the same amount of gathers to match up with their respective back and front bodices.
Mallory Sutika-Sipus
So just to confirm: I am to cut two sets of the top front and back (for the outside, and the lining), but only one set for the skirt (unlined), correct? Looking between the pattern pieces and this tutorial, it isn’t completely clear. Thank you!
Nicole Woodruff
I love this dress! Definitely going to make it next spring. But I downloaded the pattern but there are no pattern pieces. Where do I get the actual pattern for this? Thank you!
Catina Ferraine
The pattern pages are included as an “attachment” with the PDF. You will see the instructions on the first page of the PDF on how to open/view/print the pattern tiles. 🙂
CHANTAL LAM
Bonjour,
Merci pour ce tuto, mais où se trouve le patron de ce modèle s’il vous plaît ?
Cordialement
Oksana Karpushin
Hi Chantal – I don’t speak French well enough to reply, but here is the direct link to download this pattern 🙂
https://fabrics-store.com/sewing-patterns/luna-camisole-sundress/