


Sewing Glossary: How To Make Spaghetti Straps Tutorial

Spaghetti straps (also referred to as rouleau straps) are those narrow fabric straps that you often see in lingerie, camisole tops and dresses. They look delicate and feminine, keep the shoulders bare but have a bad reputation for being difficult to sew.
Because spaghetti straps are so narrow, they can be hard to turn right side out. Today we are going to show you two simple techniques for making your own spaghetti straps that look neat and with a clean finish.
Follow this easy step-by-step tutorial and learn the techniques that will make sewing spaghetti or rouleau straps a breeze!
Materials
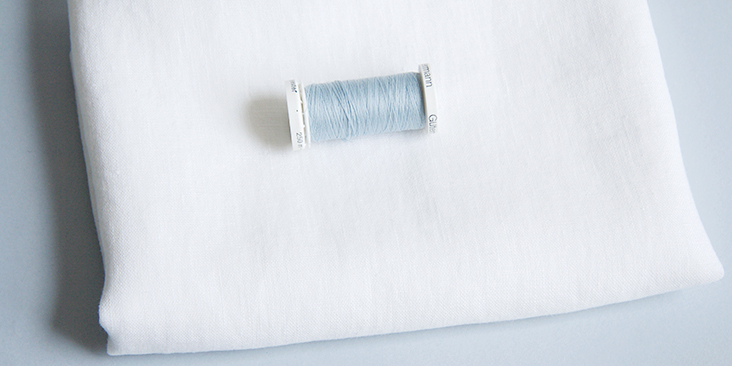
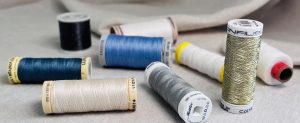
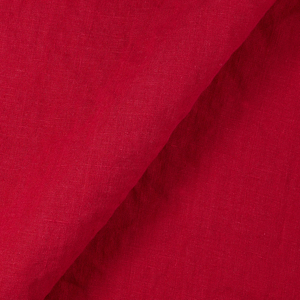
Fabric of your choice (we are using our IL019 OPTIC WHITE Softened medium weight linen) and a matching sewing thread (we will be using a contrasting color thread to demonstrate the technique).
Tools
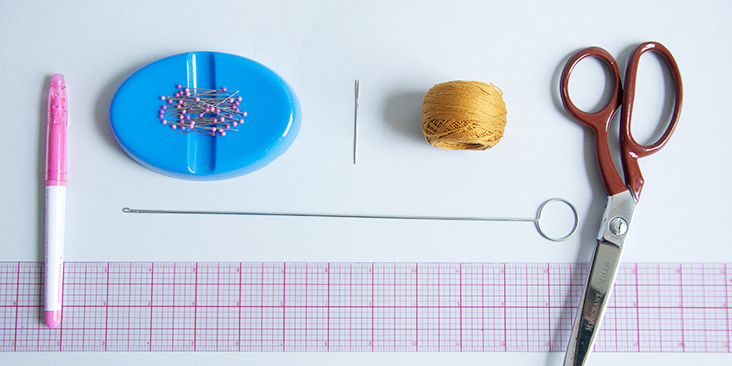
Ruler, pins, scissors, fabric marker or chalk, sewing machine, loop turner (for the first method) or a tapestry needle with a heavy duty thread (for the second method).
Difficulty
Beginner
Sewing Time
1 hour
Cutting
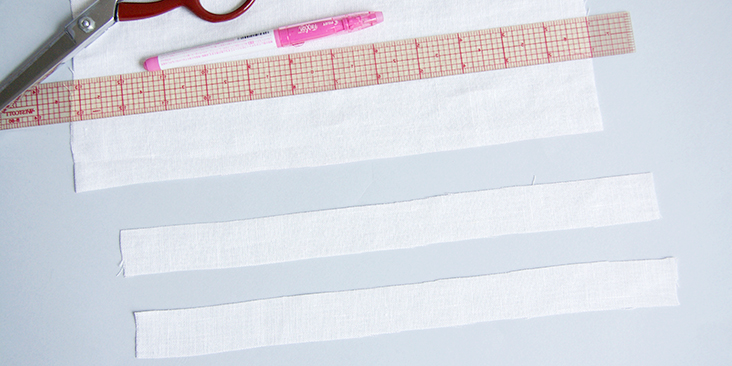
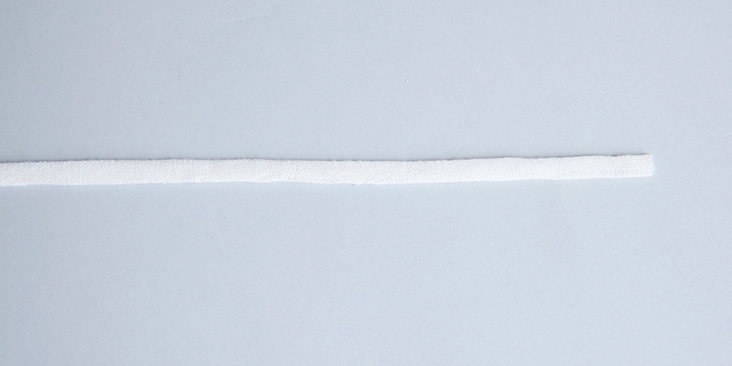
To make spaghetti straps, the first thing we need to do is to cut our strips of fabric. Some people like to cut their strips on the bias, but with linen fabric that has a looser weave than most cottons and woven fabric, it’s recommended to cut your fabric strips on the straight grain. Otherwise, they might stretch too much.
The length of your strips really depends on your specific project. As for the width, it is determined by the finished look you are trying to achieve. Spaghetti straps usually range from 1/4”-1/2” in width. So you’ll need to measure twice the width of your finished strap plus twice the ¼” seam allowance. In this tutorial we will be making ¼”-wide straps, so we’ll be cutting our fabric 1” wide.
First Method
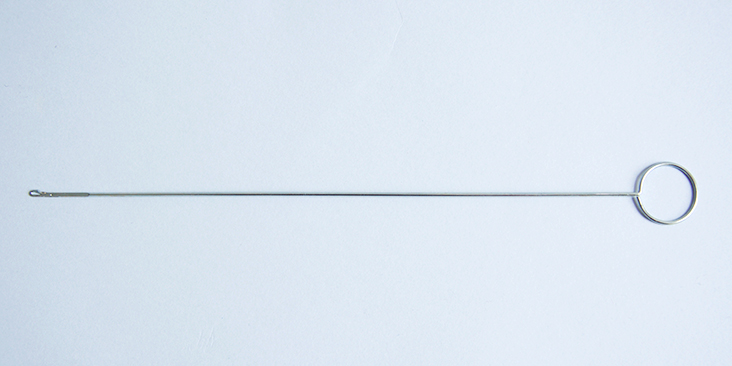
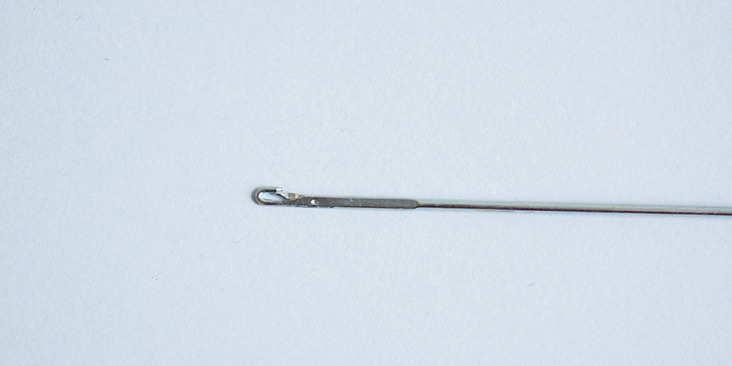
For this method, you will need a tool that is called a loop turner. It can be purchased online or at your local fabric store. It only costs about $5 but will save you so much time and make sewing spaghetti straps totally painless. A loop turner is essentially just a long, thin, metal stick with a circle at one end and a little hook on the other end. The little hook on the end of the loop turner hooks on to your spaghetti strap, allowing you to turn it inside out.
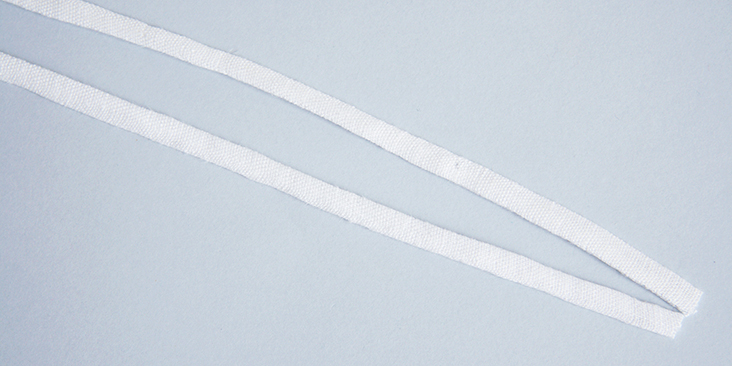
1. Fold your fabric in half lengthwise right sides touching. Align the raw edges and pin to hold it together.
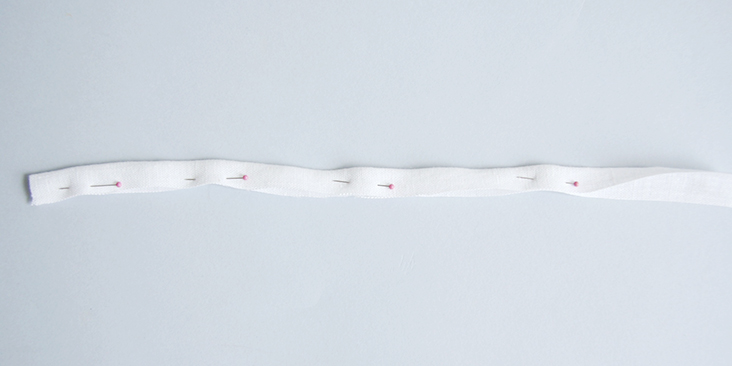
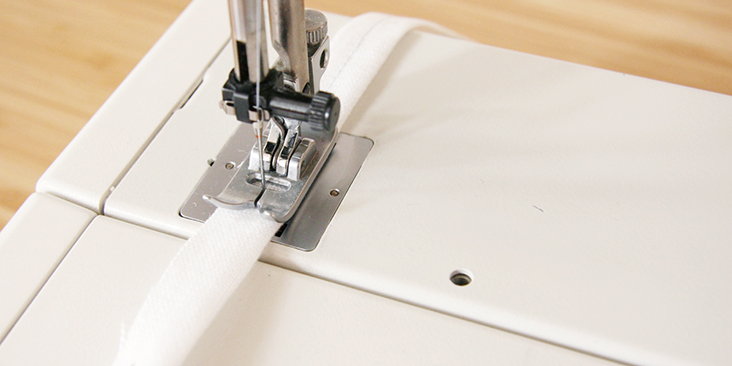
2. Stitch along the pinned edge at a ¼” seam allowance or we should better say, ¼” from the folded edge and not from the raw edge. You want to make sure that your finished strap width is a full quarter of an inch, otherwise, it might be too narrow and won’t turn right side out.
Don’t forget to backstitch at the beginning and the end of your seam.
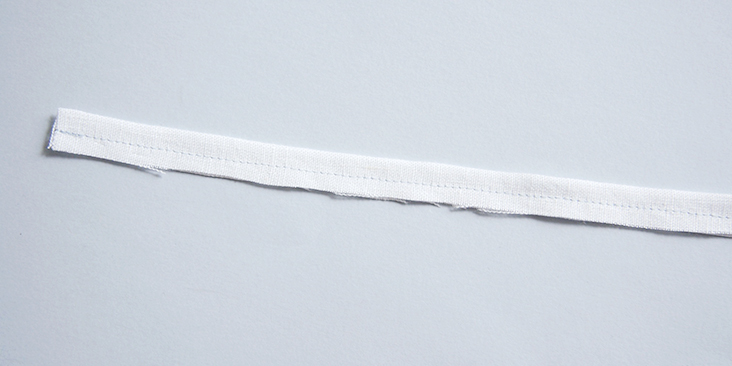
3. Trim the seam allowance down to 1/8”-3/16”. If the seam allowance is too big, it will be too difficult to pull it through the tube. So it needs to be smaller than your finished spaghetti strap (1/4” in our example).
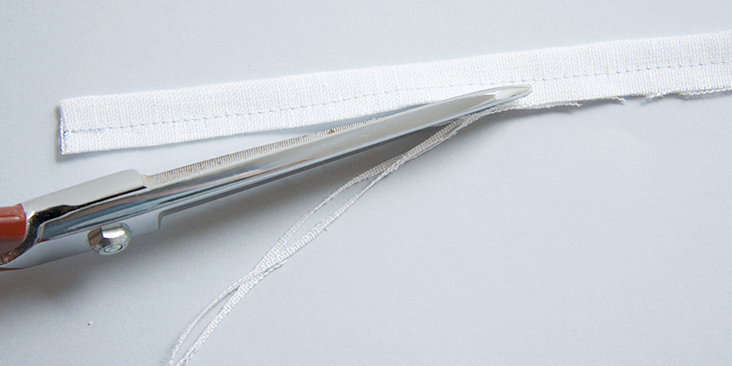
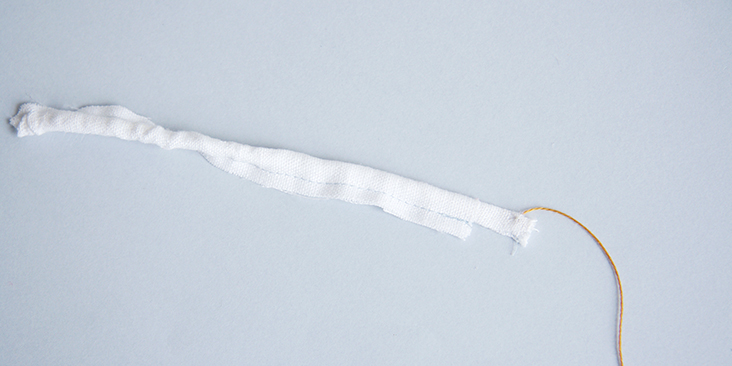
4. Now we can turn the fabric right side. Take your loop turner and insert the side with the hook in the tube, pull it through until you get to the other end of the fabric. Open up the hook and latch it on the folded side of the end of the strap and close again. Don’t hook it too close to the raw edge of the fabric as the fabric might rip when you pull. Try to place it about 1/8” down from the raw edge.
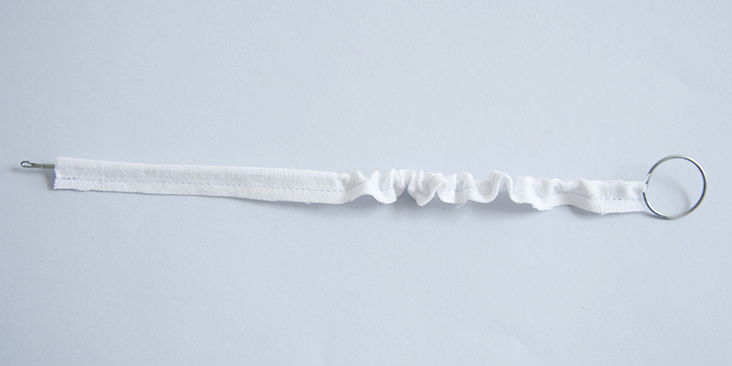
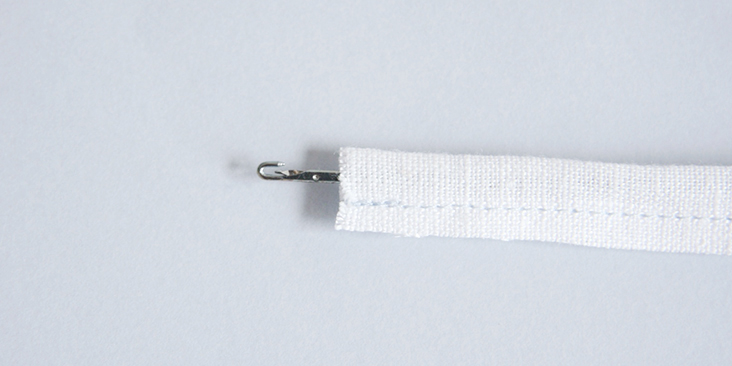
5. With your hook securely latched into your fabric, start pulling the fabric gently through the tube. Usually, it is a bit tricky to get that first part of the seam allowance in there, just help it slide through with your fingertips. Once the raw end of the strap is in, the rest is easy. Try not to pull too hard as your fabric might rip.

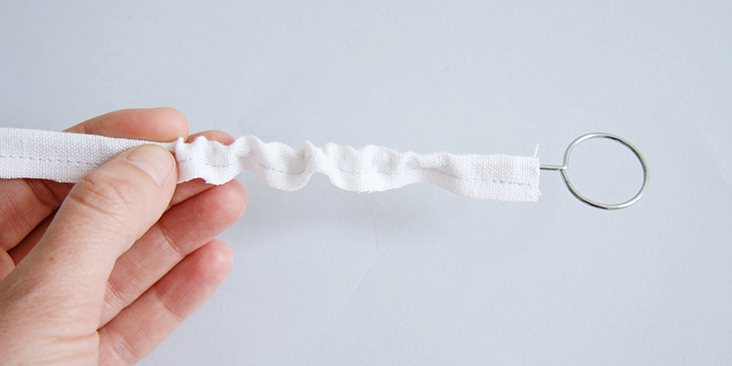
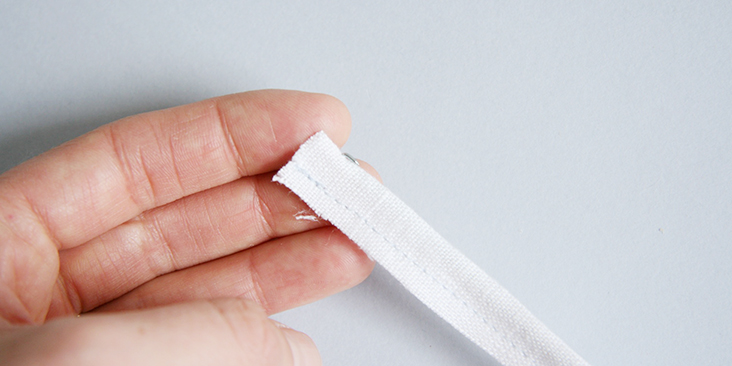
6. Once your hook comes out on the other side, you can go ahead and remove it and pull the rest of the strap by hand.
7. Press your strap flat rolling the seam line slightly to one side. When you later are ready to attach your spaghetti straps to your garment, this side will become your wrong side with no visible seams on the right side.
Et voila! Super easy, right?
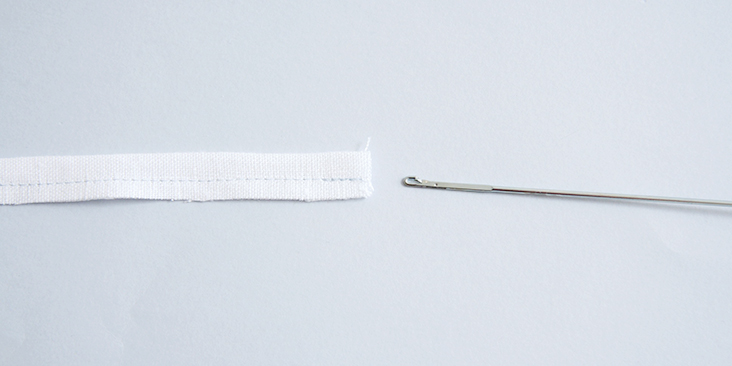
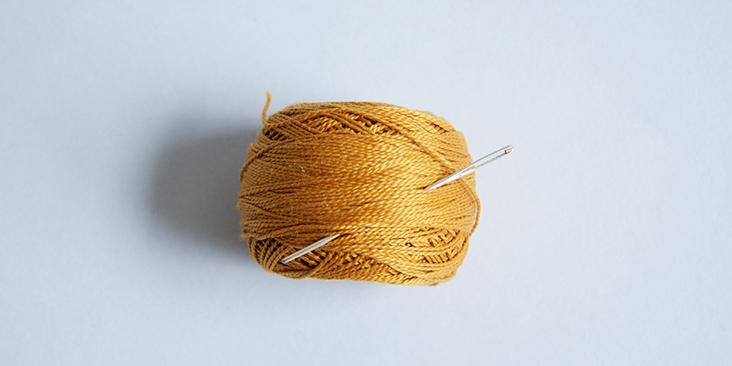
But what if you don’t have a loop turner? You can still turn your strap right side out using a simple tapestry needle and a heavy duty thread.
Second Method
You can use this method if you don’t have a loop turner. It is pretty similar to the first method with the only difference being that instead of using a loop turner, you use a tapestry needle and a heavy-duty thread to pull the fabric through.
1. Repeat steps 1-3 demonstrated in the first method of this tutorial to sew your fabric strip.
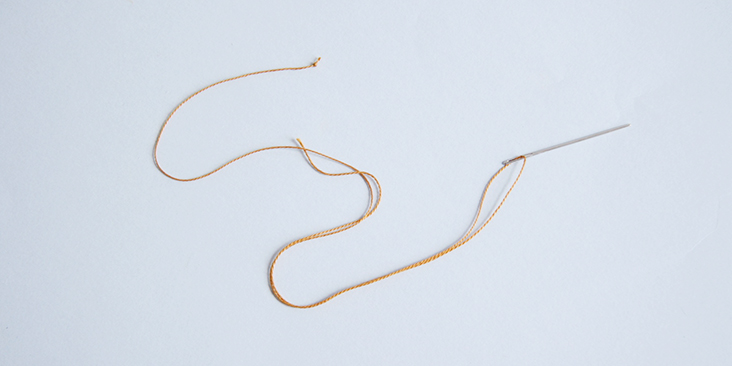
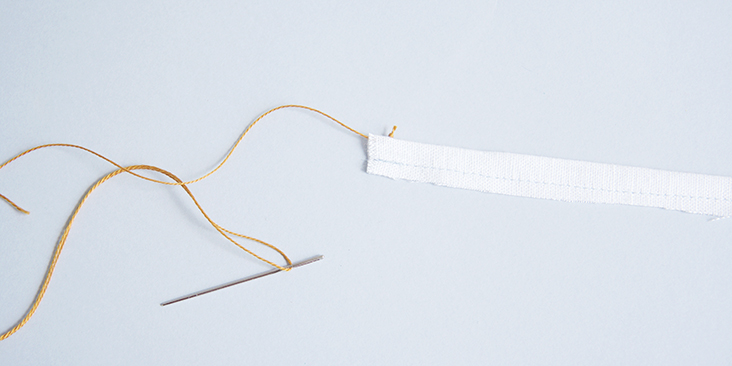
2. Thread your need and tie a secure knot.
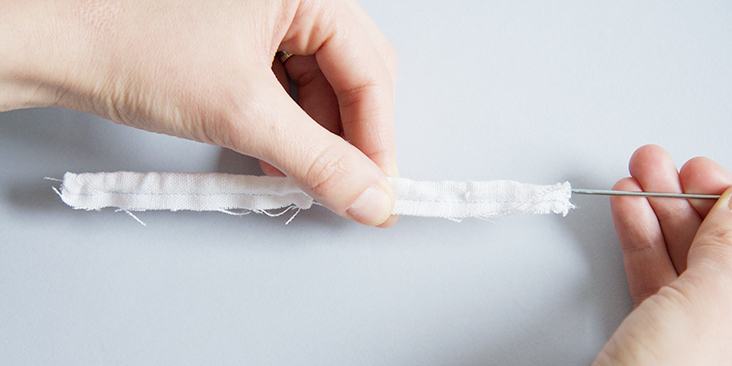
3. Insert your needle right in the middle of the fold, about 1/8” down from the raw end and come out.
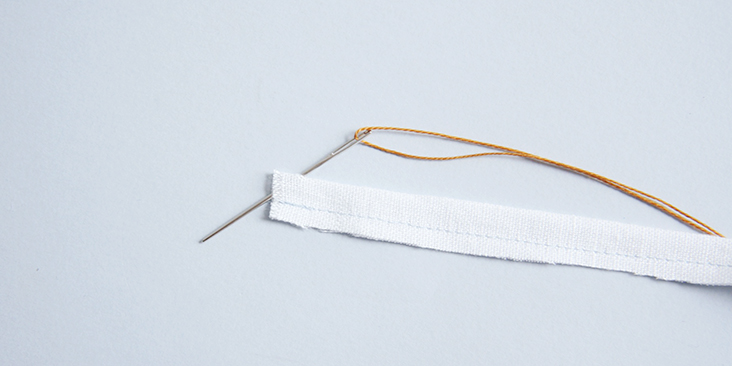
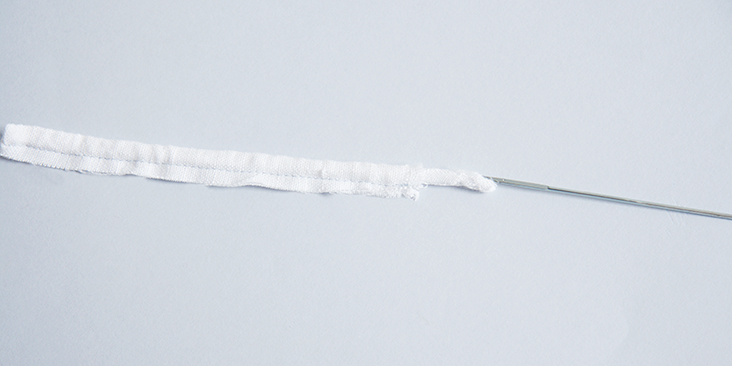
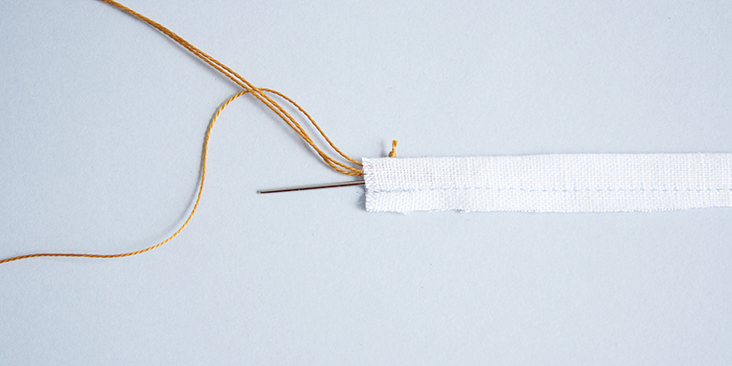
4. Drop the needle into the fabric tube, eye end first. Pull the needle through and come out on the other side.
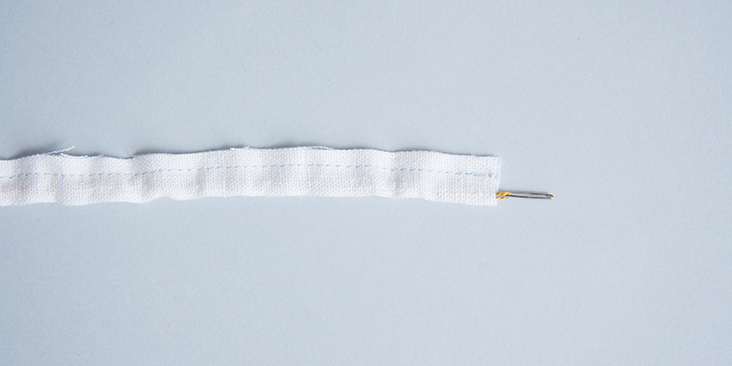
5. Once the needle comes out, you can remove it and start pulling the thread gently. Just like with the loop turner, your goal here is to get that first part of the seam allowance in there and turn the rest of the tube right side out. This is the tricky part, but once you get that first bit inside, the rest is super easy.
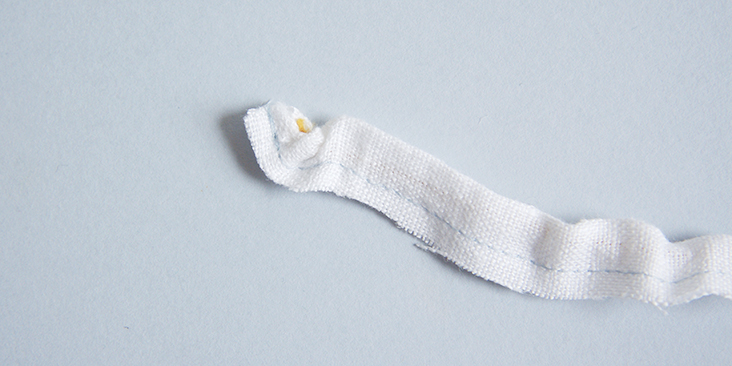
6. Press your strap and you are all done! Now you have nice looking and super thin spaghetti straps that are ready to be put on your sewing project.
The same technique can be used for creating belt loops, ties, drawstrings, etc. Be sure to look out for our new sewing pattern next week, a pretty camisole sundress, to try out this technique.
Have a browse through our selection of linen and see which of our fabrics inspire you to use your new skill!
Related posts
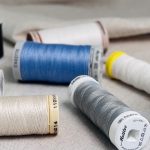
Sewing Essentials: A Guide to Sewing Threads
You might be thinking “Thread is thread… right?” Well, not always. Sewing thread is a key part of any sewing project. But just like fabric, the thread you choose matters, affecting things like the strength, appearance, and durability of your stitching. But if you have ever shopped for sewing thread, you probably know that it…

Sewing Essentials: Stitch Width, Stitch Length & Needle Position
Thinking back to my high school textiles days, I remember having to test stitch settings on every fabric we planned to use for our projects. We would cut out little squares of fabric and experiment with different stitch lengths and widths, and edge-finishing techniques. At the time, it felt unnecessary, not to mention tedious….

Sewing Essentials: A Simple Guide to Notches
I love a notch, so much so that I’ve decided to dedicate this article to these small but important markings. Here, I’ll explain why they’re so helpful, when to use them, and how to add them to your own patterns or adapt them for existing ones. What exactly are notches? Notches are small markings found…

How to Select and Use Interfacing: A Simple Guide
Iron-on or sew-in, woven or non-woven, lightweight or heavyweight. With so many different types, weaves, and weights to choose from, how do you know which interfacing is best for your project? In this article, I will explain the two main types of interfacing before diving into the differences in weave and weight. Hopefully by the…

Sewing Essentials: A Simple Method for Reversible Seams
There are so many ways to finish a seam, from good old overlocking to French seams and binding. I recently stumbled across another method that’s pretty nifty, and honestly, I kind of wish I had known about it sooner. It is a bit like binding, but topstitched in place so it doesn’t move or flap…


SEW THIS LOOK


Latest Posts


Leave a comment