Origami Dress Tutorial and Pattern
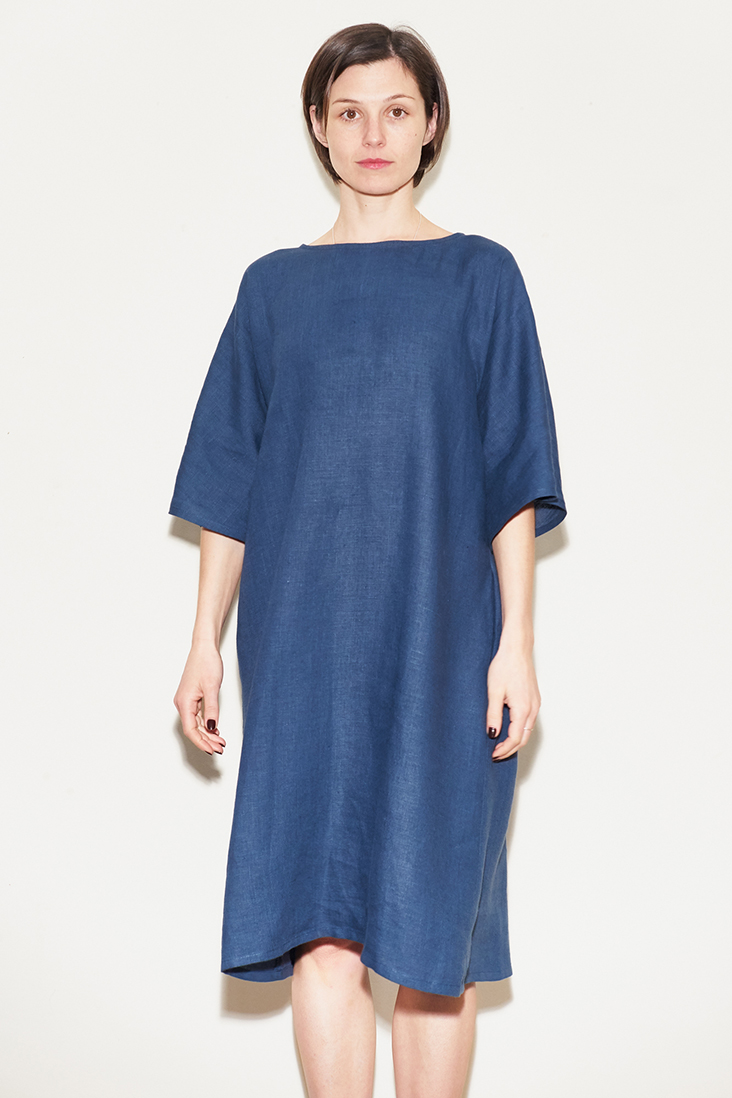
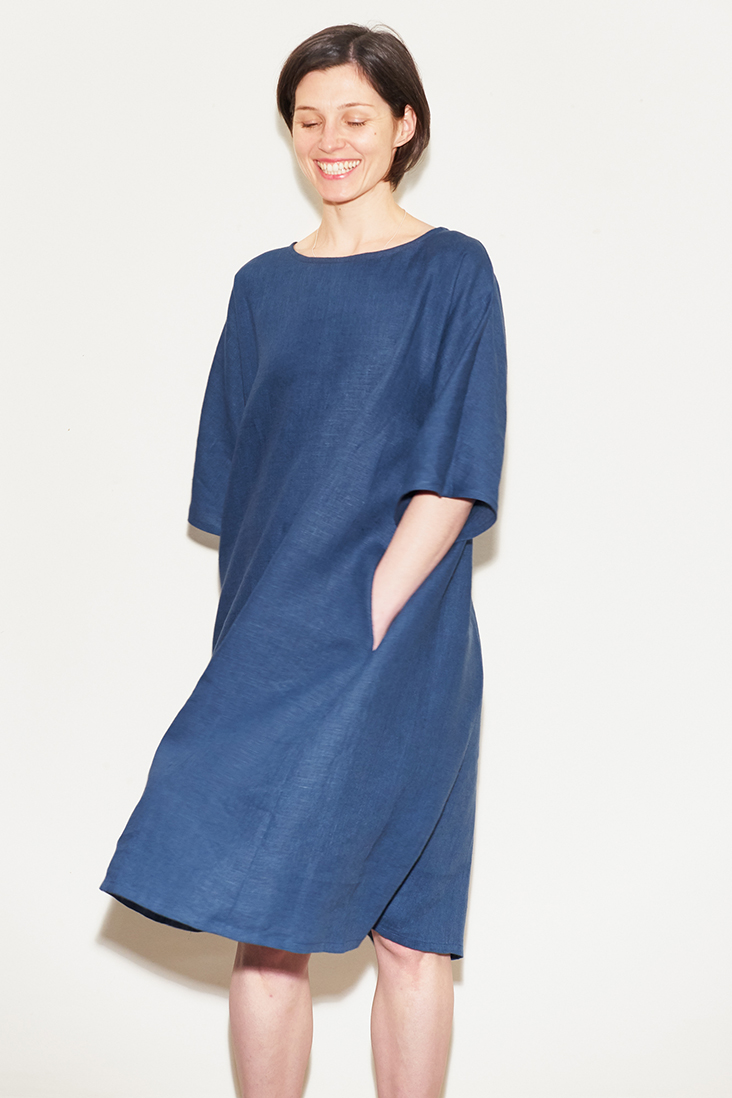
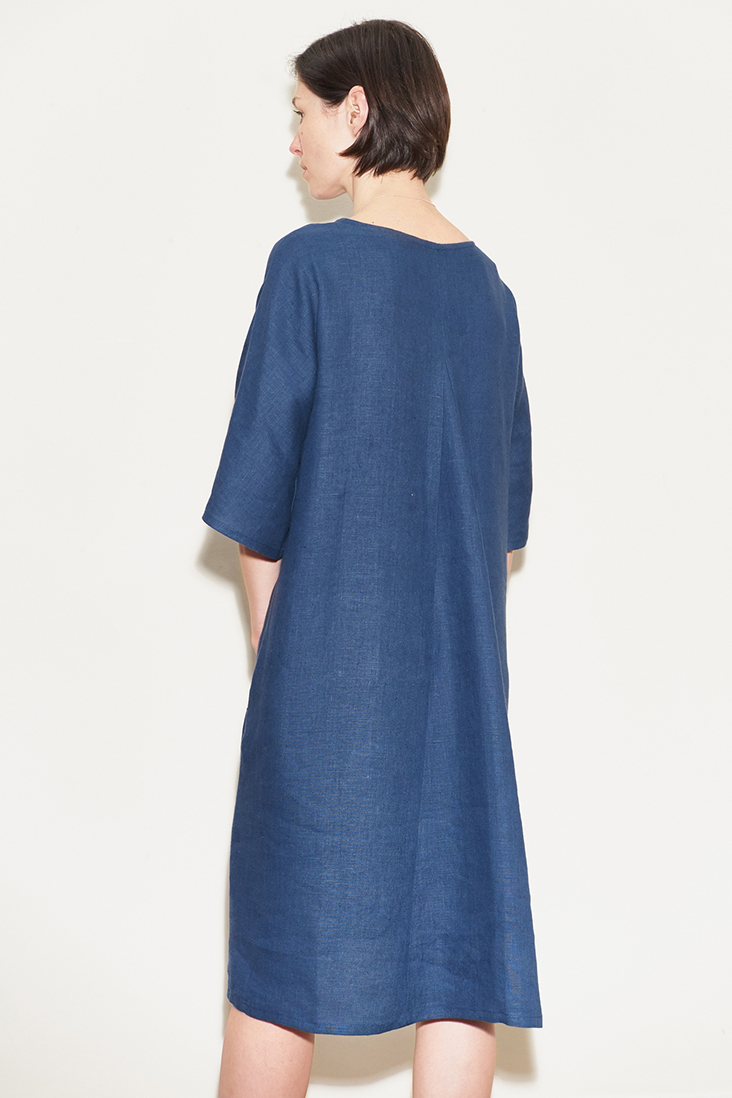
Update your wardrobe staples with this beautiful linen dress. Inspired by Japanese craft origami, it is cut with clean, geometric lines and features wide sleeves, a rounded neckline and a large godet at back.
The loose style of this linen dress makes it perfect if you are a plus size lady. It will give you a gorgeous silhouette and all the attention will be on the color and your back. Plus, the minimalist shape perfectly complements the simplicity of the linen fabric.
Beautifully feminine and elegant, this dress could be worn to just about any kind of occasion. Keep it simple or pair it with statement jewelry and a pair of heels for a more sophisticated look.
Materials
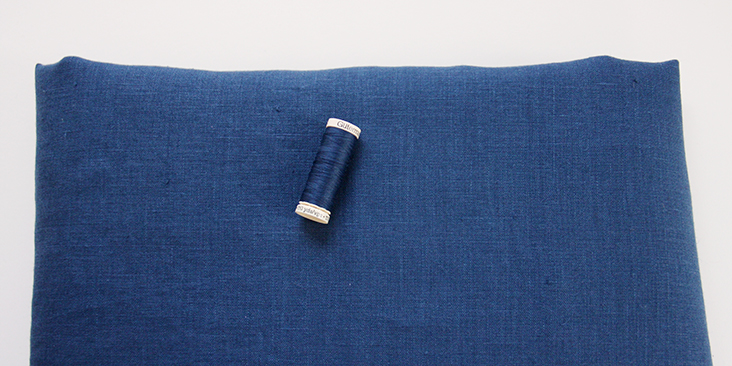
2 yards of IL019 INSIGNIA BLUE Softened Medium Weight Linen
Matching sewing thread
Tools
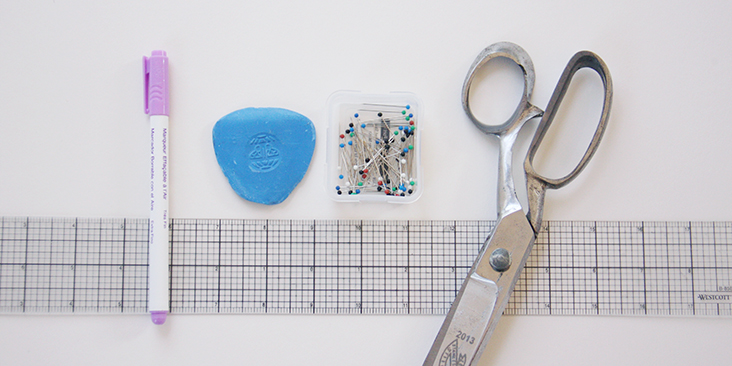
Scissors, pins, chalk, ruler, fabric marker, sewing machine
Difficulty
Beginner
Time
4 hours
Pattern
You can access the dress pattern by following this link HERE and the printable pocket template can be found HERE. Remember to add seam allowances as indicated in the pattern.
Note that you’ll also need to cut a strip of fabric on the bias that is 1.5″ wide and approximatively 25″ long for neckline binding. For detailed instructions on how to cut your bias tape please follow this tutorial.
The diagram shows the pattern for sizes XS-M. If you need help grading your pattern, please follow this tutorial. Also, if you need help adjusting the pattern for a fuller bust, we have a great Full Bust Adjustment tutorial HERE.
Steps
Note: Prewash your fabric and tumble dry it until it is still slightly moist, dry in room temperature. Iron the fabric so it is easier to work with.
The back of the dress features a large godet so let’s start with that.
1. First of all, you need to serge or zigzag the raw edges of the center back pieces and the long diagonal edges of your triangular inset to prevent the fabric from fraying in the future.
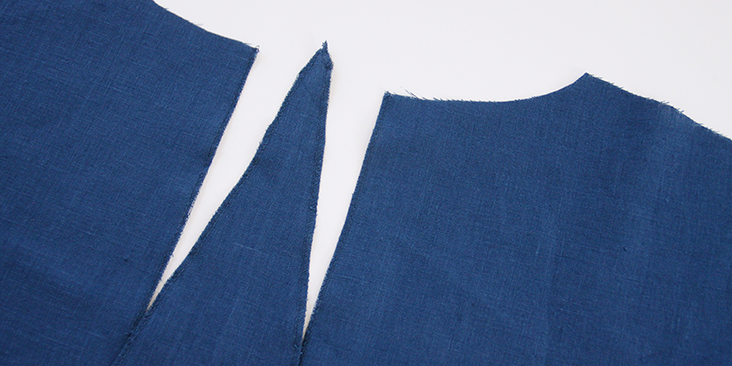
2. Pin your back pieces right sides together at the center seam, measure 6,3/8″ from the neckline edge and make a mark.
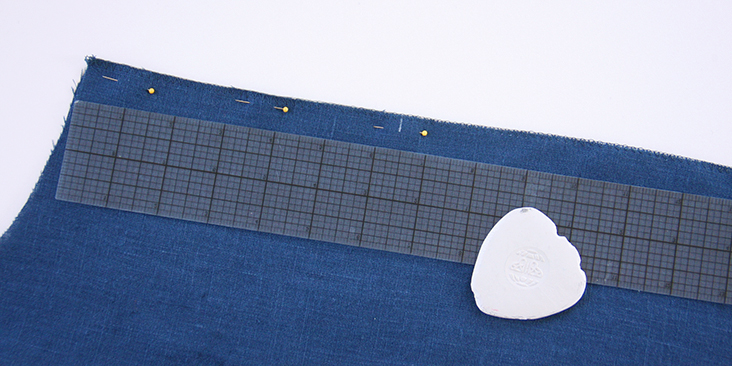
3. Sew the two pieces together starting from the neckline edge and down to the mark. Remember to backstitch. Press the seam allowances open. The end of this seam is the start of your godet.
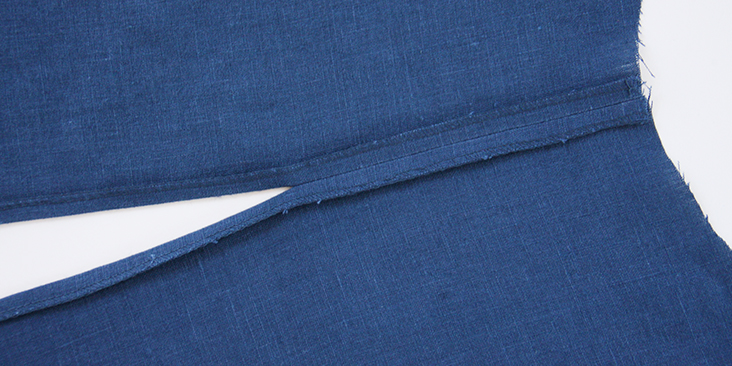
4. Attach the godet by following our detailed tutorial.
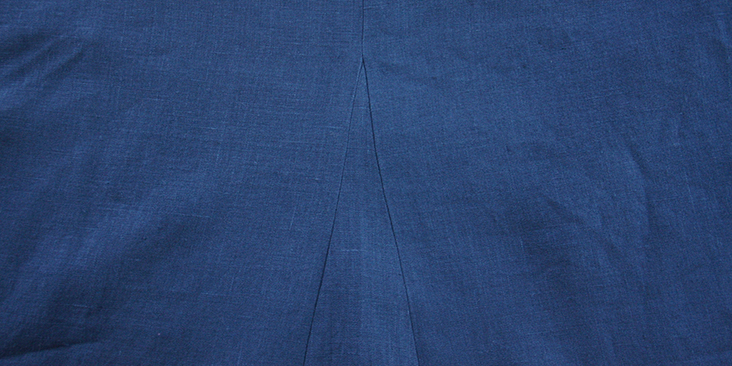
5. With your godet in place, you can assemble the front and the back of the dress. Pin the panels’ right sides together at the shoulder/upper sleeve seams.
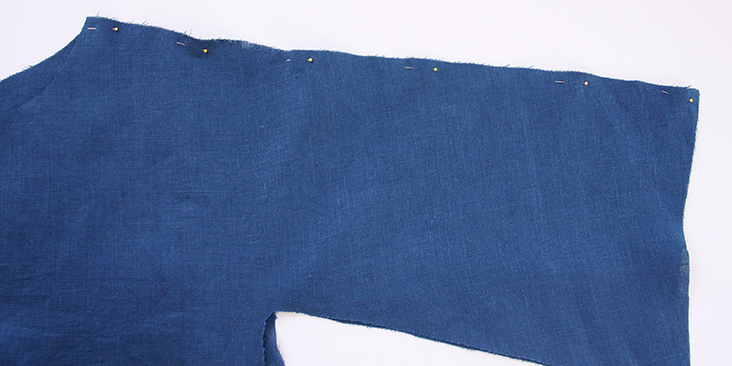
6. Sew at a 3/8” (1 cm) seam allowance. Trim the raw edges down to 1/4″, serge or zigzag them together to prevent the fabric from fraying. Press the serged/zigzagged seam allowances up towards the back of your dress.
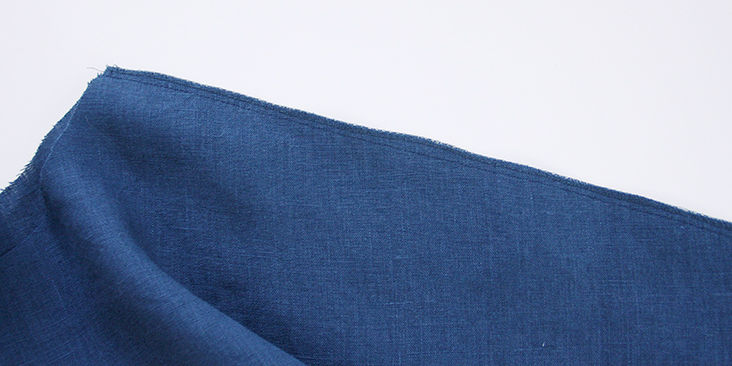

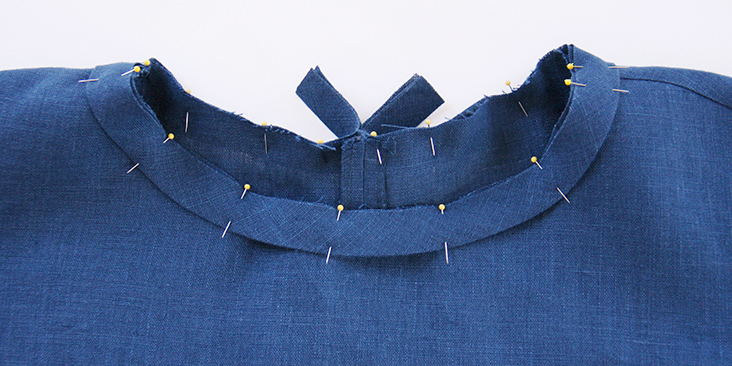
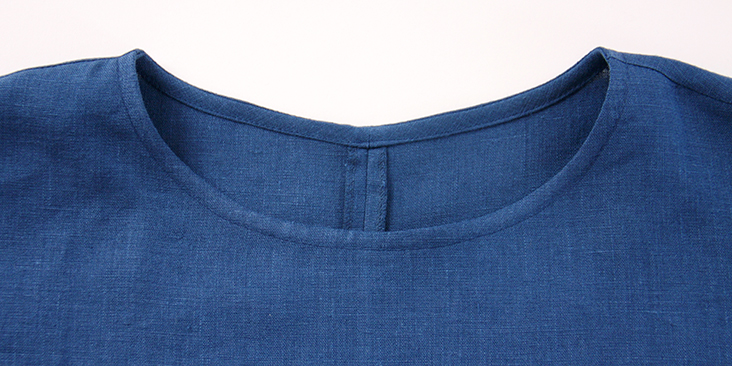
7. Bind the neckline with the bias band as demonstrated in our step-by-step tutorial.
8. Attach the inseam pockets to the side seams 9,5 inches from the armhole. Refer to our detailed tutorial HERE for instructions.
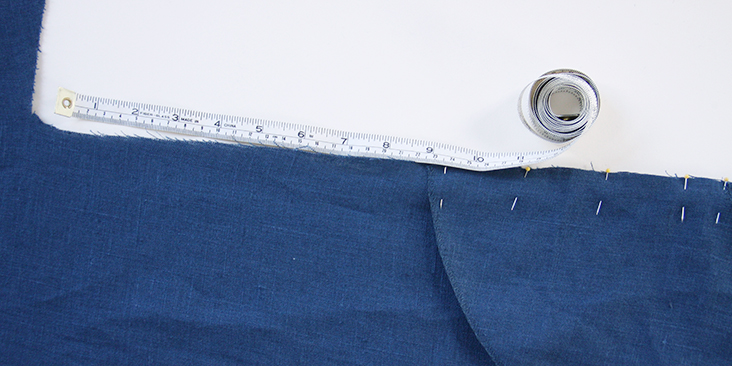
9. Pin the front and the back of the dress at the underarm, the sides seams and the pockets right sides together.
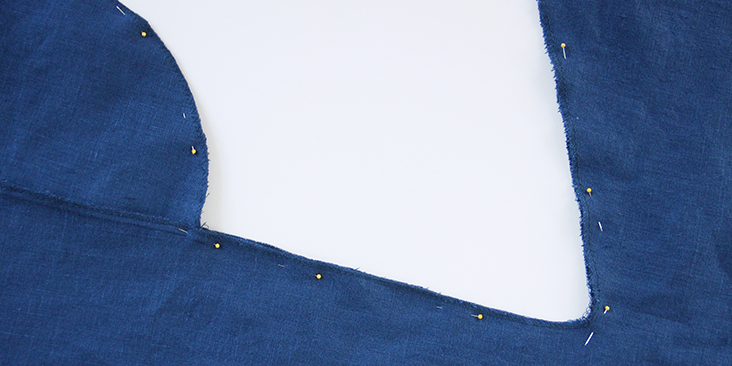
10. Sew along the sleeves’ underarms, side seams and the pockets all in one seam at a 3/8” (1 cm) seam allowance. Press the seam open.
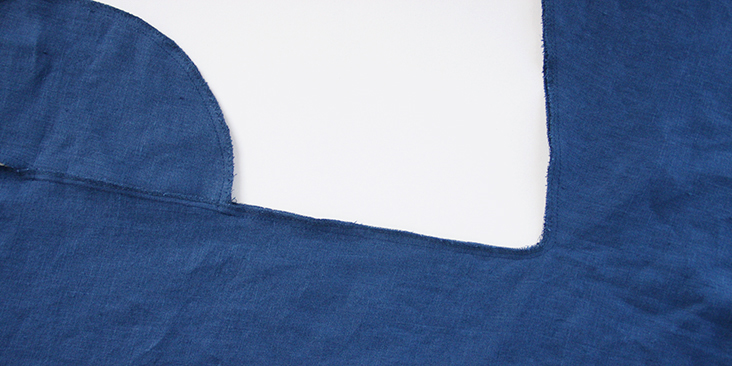
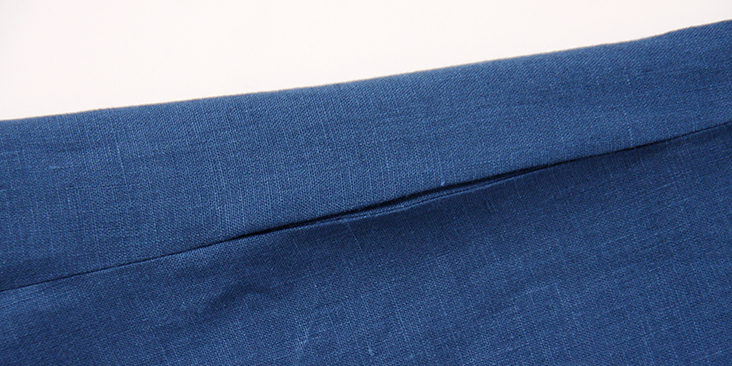
11. Finish the sleeve openings with a rolled hem. Fold your fabric twice towards the wrong side, 3/8” to 1/2″ and edgestitch in place.
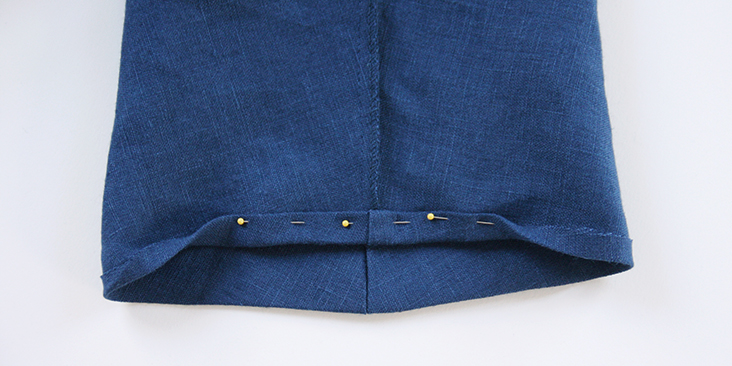
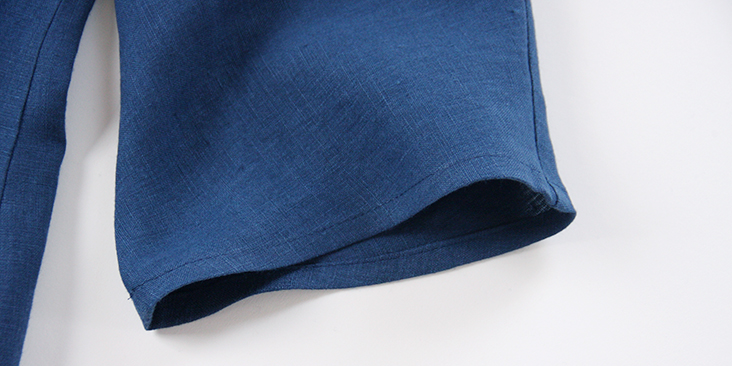
12. Repeat step 12 and finish the bottom hem of your dress.
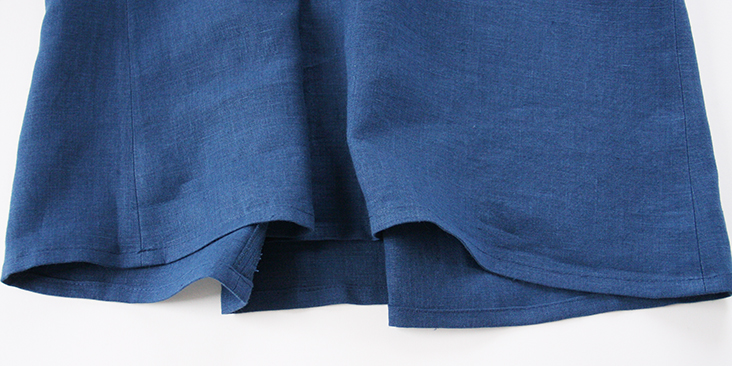
Give your dress a good last press and you are all done!




14 Comments
Burnett Newton
Burnett Newon
Saw this dress, I knew i had to make it, but it will not let me print it, I could only print the back shoulder nothing else
marci armstrong
I?m a bit confused. Is there a printable full size pattern? Or is your pattern a guide to help create a fulll size pattern?
Lauren Linen
Yes, this pattern only contains a drafting guide.
Laura Busko
Hello, I tried to download this pattern and the link is not working. can you please help me?
Thank you.
Lauren Gates
Hi Laura, Thanks for letting us know the link is broken. I’ve let our web team know about this and they should have this fixed up for you soon.
Alexandra Luncasu
The link to the patterns don’t seem to be working
Nancy Janiszewski
Louise Cannelloni wrote in April, asking how to enlarge the pattern pieces you provided in the tutorial. You didn’t have an answer for her. I too, am curious how you draft a pattern from the page size pattern you indicated in the tutorial. Any help would be appreciated.
Thanking You in Advance, Sincerely,
Nancy Janiszewski
Louise Cannell
Thank you for this beautiful pattern. Please excuse my ignorence, but can you please advise me how I change the pattern to life size? I’ve never altered patterns, and I have no idea how to get your ‘not to scale’ pattern to my sizing?
Better still, do you sell the life-size pattern for this dress?
Very grateful for any help. Thank you.
Carla benefield
I am looking to see what linen you recommend for a jacket. Also where is your fabric made, and how wide is it. Thank you. Carla
Rima Khusainova
Dear Carla, thanks for your comment. Our linen is 57-59 inches wide (depending on the weight) and comes from Eastern Europe. As for your question regarding the best linen for a jacket, I’d say definitively any medium or heavy weight, depending on how think you want it be. Medium weight linen would work great for a summer jacket, heavy weight – for spring or fall. You can check our full selection here – https://fabrics-store.com/. Hope this helps!
Diggitt McLaughlin
I have seen some stunning dresses with oddly shaped piecing, and they make plus-sized women look really great AND interestingly creative. Why not rename this dress and save the word origami until you get a more complexly designed dress? I am not saying this one isn’t wonderful because I haven’t tried it yet….but am remembering my friend’s dress with the diamond-shaped panel in the center front, which fell beautifully.
Birgitta Jackson
I agree, I expected a more intriguing pattern, I cant see any origami design here.
AmyCat =^.^=
Nice simple smock-dress pattern, but why call it “Origami”? For an “Origami”, I expect interesting folds/pleats. There are some amazing Origami pleating patterns on Pinterest which would look lovely as collar/bodice detailing…
Rima Khusainova
Dear AmyCat, thanks for your comment. It’s true that there is this technique called origami pleating, but this dress really reminded us of simple Japanese designs with its geometric lines and this godet insert. And since we had to call it something, we thought “origami” was a nice name for it. But I can see the confusion now and hope it won’t stop you from trying out the pattern 🙂