


Sewing Glossary: How To Sew Inseam Pockets Tutorial
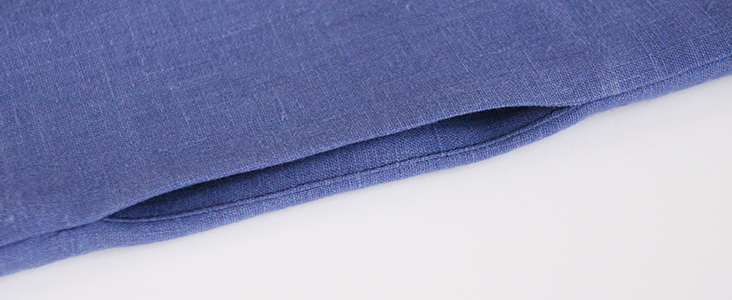
Inseam pockets are the type of pockets that are hidden in a seam of your garment and are entirely enclosed by the outer layers, leaving no visible edges, stitching lines etc. They are primarily, though not exclusively, used on dresses, skirts and some pants.
Inseam pockets add so much functionality and comfort to any garment and they are very easy to sew. You can easily add them to any patterns or even existing garments that have side seams.
Follow this easy tutorial and you will be able to add inseam pockets to any creation you make!
Materials & Tools
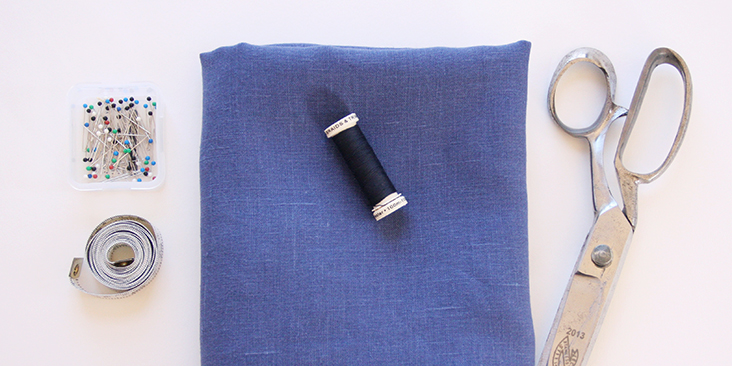
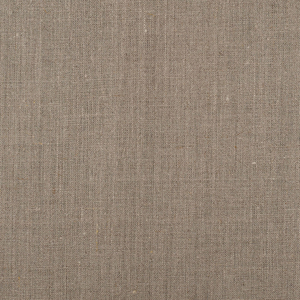
Fabric of your choice (we are using our medium weight IL019 ROYAL BLUE Softened linen)
Matching sewing thread (for the purpose of this tutorial we have used a darker colour thread), scissors, ruler/measuring tape, pins, fabric marker/chalk, sewing machine
Difficulty
Beginner
Pattern
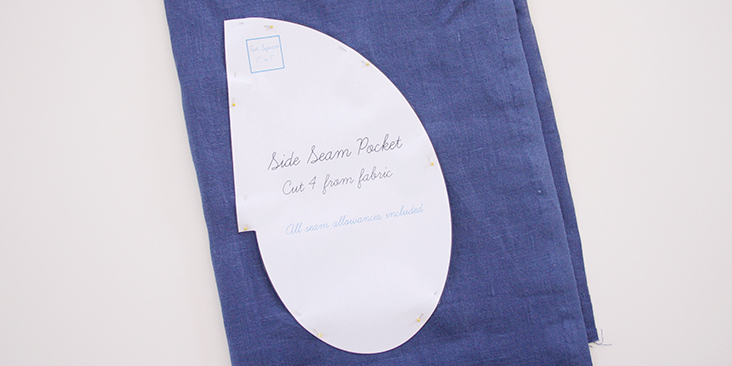
You can either draw your own pocket or use our printable template HERE. With this template, your finished pocket will approximatively measure 10″x 6″ (25,5 x 15 cm)
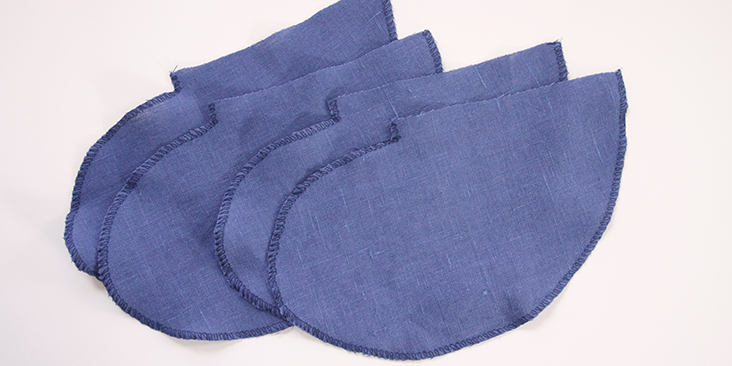
Make sure that you have two pairs of 2 mirrored pieces for each pocket. The best way to get your pockets right is to fold your fabric in half and then pin the template an inch away from the fold. Cut through both layers of fabric at the same time and don’t add the seam allowances as they are already included in the template.
Steps
Note: To avoid shrinking and wrinkling, prewash your fabric and tumble dry it until it is still slightly moist, let it dry in room temperature and then iron.
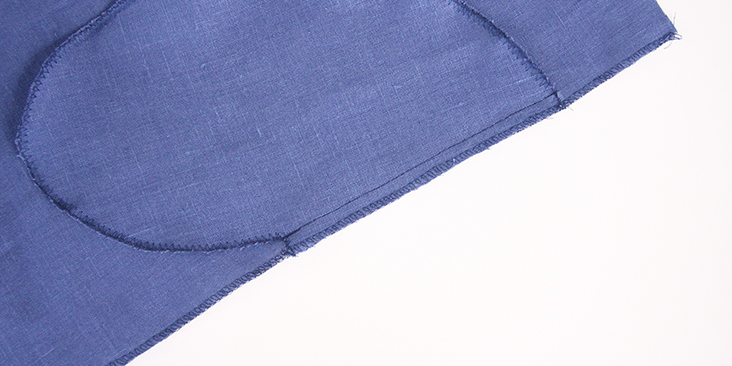
1. Before you can start sewing, you need to finish the rounded edges of all four pocket pieces with a serger or a zigzag stitch in order to prevent the fabric from fraying in the future.
2. Usually, your pattern will give you indications where to place the pockets but if your pattern doesn’t call for inseam pockets or you want to add them to one of your own creations, then it’s up to you to decide where to place them. Try on your unfinished garment and determine the best spot.
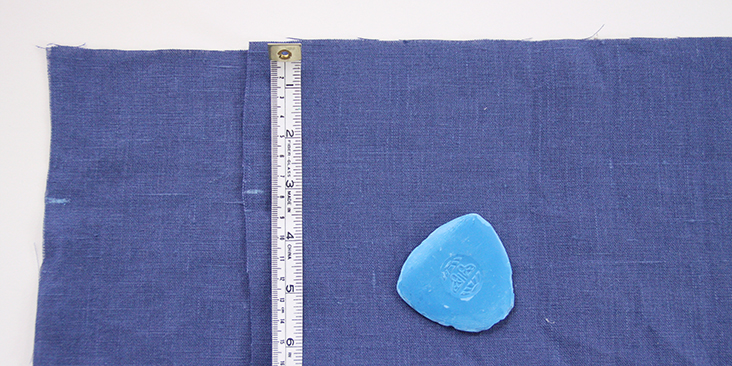
Let’s say you want your pockets to sit 3” below the waistline. Take your ruler or measuring tape and measure 3″ on both sides of your garment’s front and back panels. Make a mark on the right sides of your panels with a contrasting pin or a chalk/fabric marker.
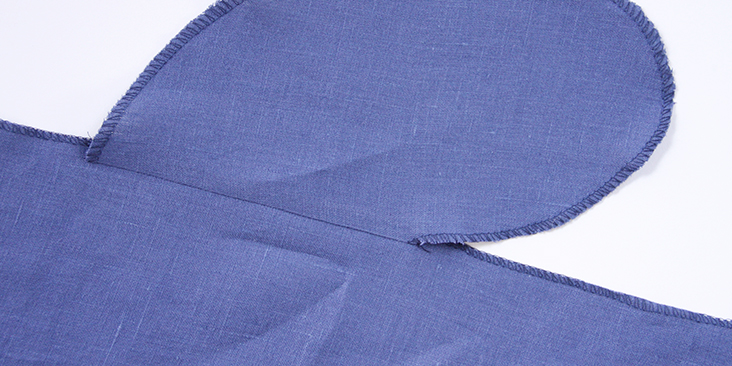
3. Pin your pocket pieces to the fabric right sides together starting from the mark that you’ve just made.
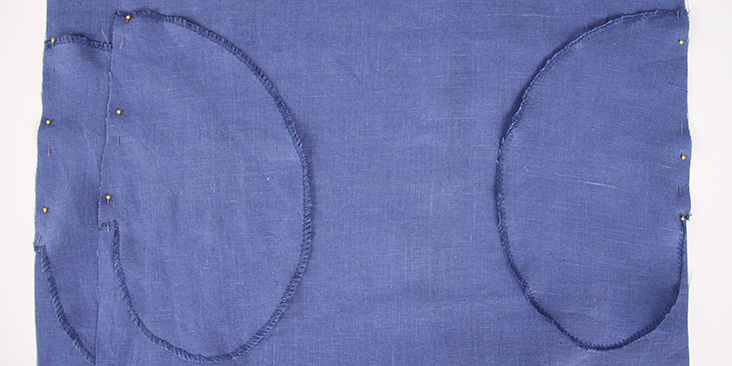
4. Stitch your four pocket panels at a 3/8″ (1 cm) seam allowance. Remember to backstitch.
5. Serge/zigzag the side seams together to finish the raw edges.
6. Press the pockets open so that the right sides are all facing outwards.
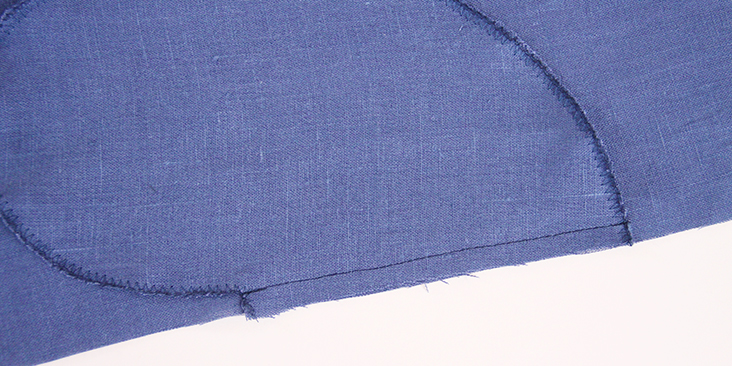
7. If you want to make sure that your pockets won’t show on the outside, you can topstitch them to the panels 1/8″ from the seam. It only takes a couple of minutes but gives a neater pocket and a more professional result.
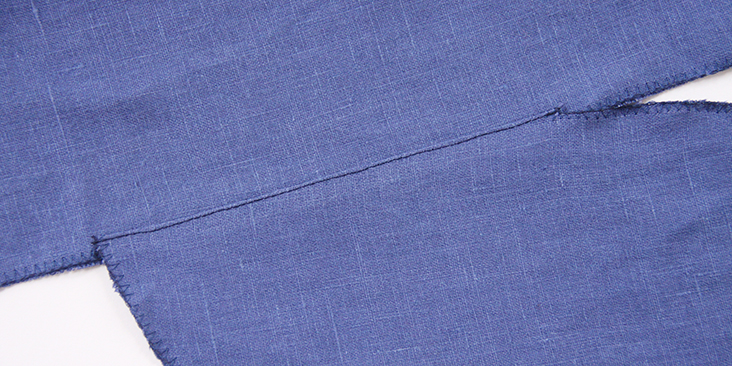
This step is optional so you can skip it if you don’t feel like doing extra work.
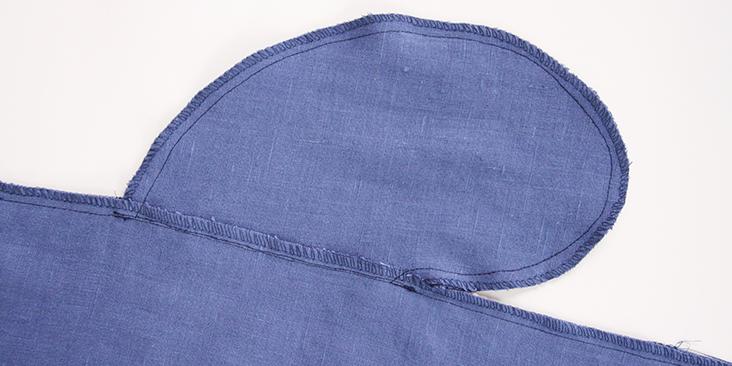
8. Pin the front and the back of your garment right sides together. Match up the side seams and the pockets.
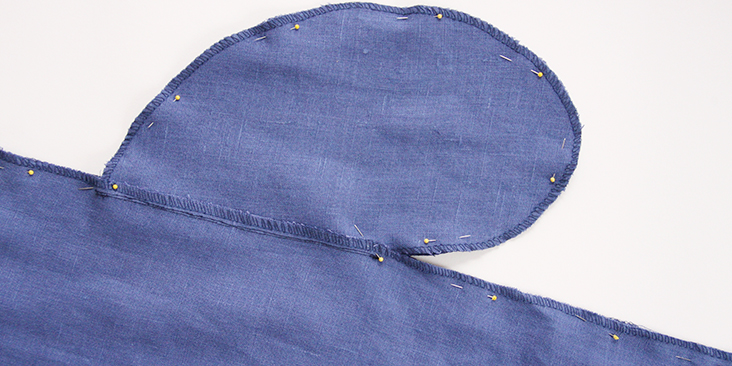
9. Sew down the side seams and the curve of the pockets at a 3/8″ (1 cm) seam allowance.
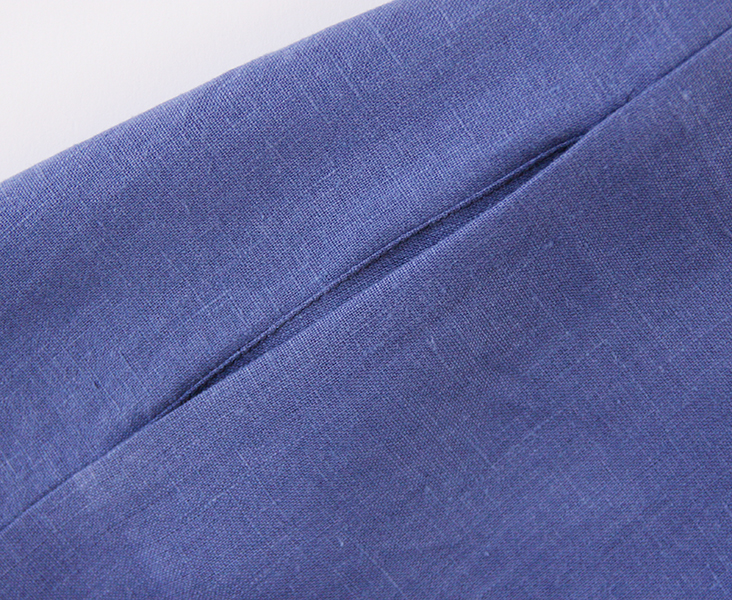
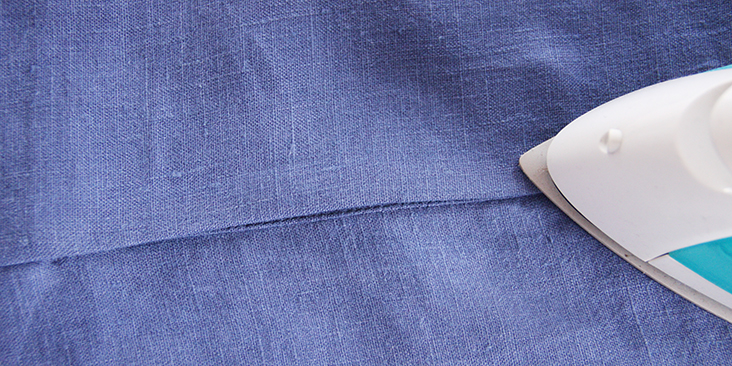
10. Lastly, press the seams and the pockets towards the center front of your garment and you are all done!
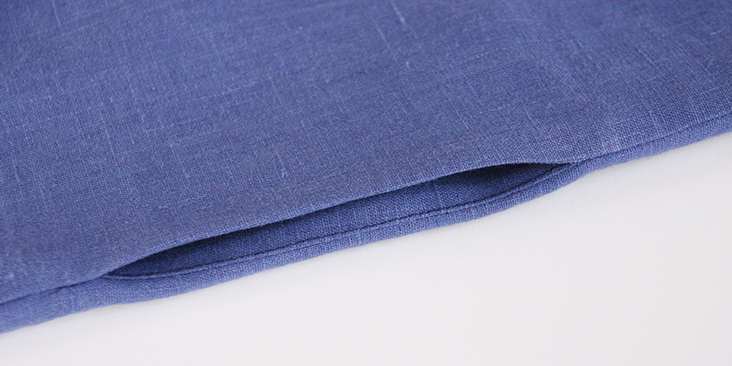
Use this method to add inseam pockets to the side seams of any garment!
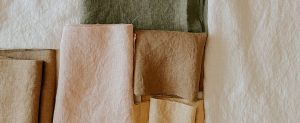
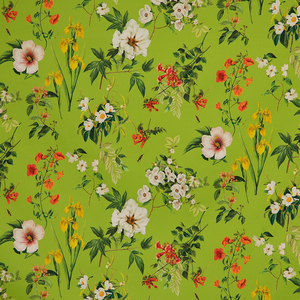
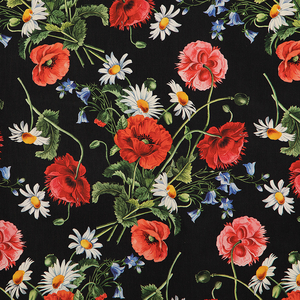
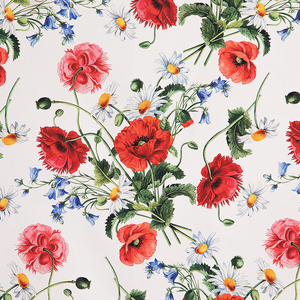
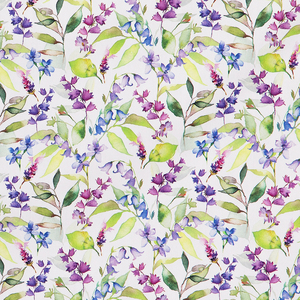
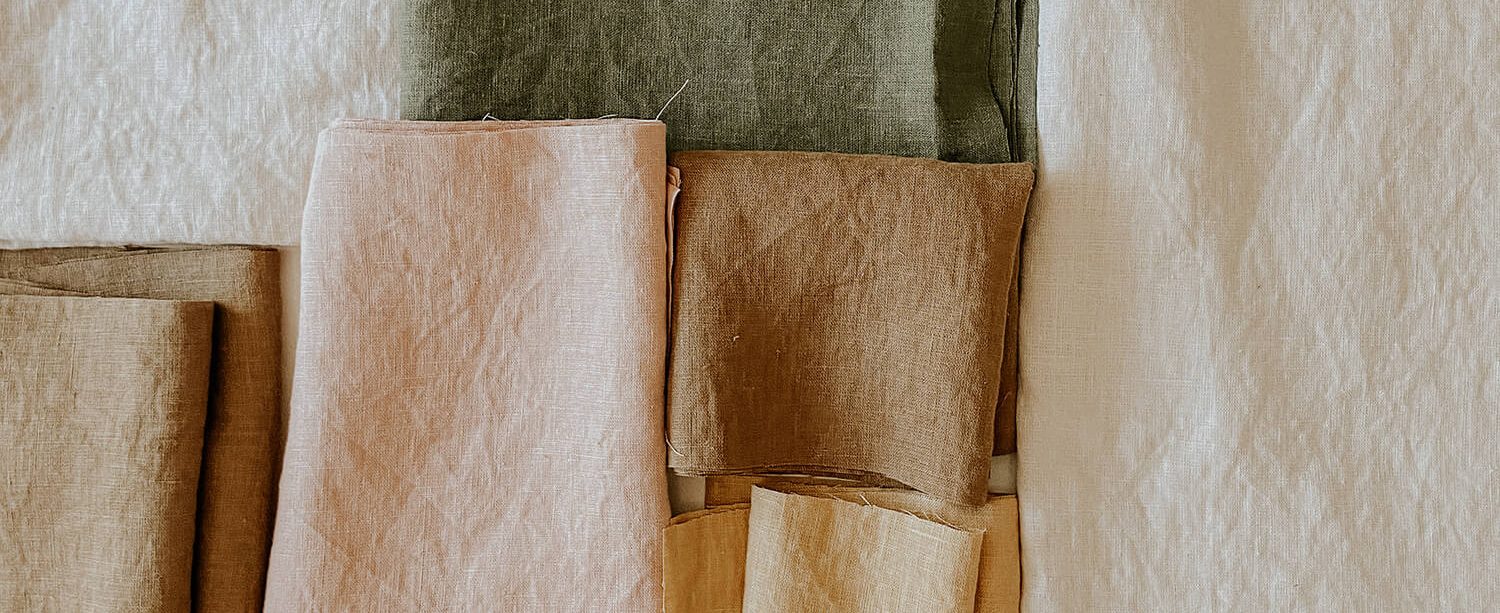
Have a browse through our selection of linen and see which of our fabrics inspire you to use your new skill!
Leave a comment
Related posts

Blending Between Sizes on a Sewing Pattern – Part 2: How to Blend
If you’ve already read Part 1 of this tutorial, you will hopefully have a good understanding of when blending between sizes on a sewing pattern can come in handy. Let’s get into how to actually do it. In this Part 2, I will walk you through the basic process using a few different examples. I’ll…

Blending Between Sizes on a Sewing Pattern – Part 1: When to Blend
Let’s be honest—finding a sewing pattern that perfectly matches your measurements is pretty rare. And that makes sense! Every body is unique, fit preferences vary, and each pattern brand uses its own sizing system. If you find yourself falling between sizes, you’re not alone. But the beauty of sewing is that in these situations, you…

Know Your Craft: Why I Analyze My Practice (and a Peek into My Data)
One of the most empowering choices I make in my sewing and adjacent crafts practice is to track and analyze data. Every year I keep a robust spreadsheet that contains detailed information about each project. At the year’s end, I ask myself, What stories are here? What do I want to know? I then use…

How Much Fabric Do You Need? A Simple Estimation Guide
Starting a new sewing project is always exciting. But there is nothing more frustrating than running out of fabric halfway through… or ending up with scraps that aren’t quite big enough for anything useful (trust me, I’ve been there! I have a whole drawer full of pieces like this). If you’re working with a commercial…
Understanding Seam Allowance: A Simple Guide
Every garment needs seam allowance—it’s a crucial part of garment construction. Sometimes it’s already included in the pattern; other times, it may need to be added, especially when working with a self-drafted pattern or after making adjustments. Seam allowance is the extra fabric added around the edges of a pattern piece. It creates space between…


SEW THIS LOOK


Latest Posts


23 Comments
Pingback:
Level Up Your Wardrobe With 21 Unique Types of Pockets for Every Need! - Shanghai GarmentPingback:
Cloud-ixPatricia Spayd
Oh Lord Help me but I so wish you all would use some comtrasting thread for these tutorials! Or draw some lines. Also, this pocket doesn’t match the one on the MARA Coat (Painter’s Coat) as the Mara has a longer pocket, but it requires one to sew part of it into the seam allowance – that is my supposition after I sewed it and had a HUGE opening on the seam for the pocket. No matter I did some edit sewing and managed to sort it out, but contrasting threads help show the steps better as opposed to your avid seamstresses-in-linen having to squint to see exactly where the devil the stitching lays. And why, by the way is this font pale blue? I can barely read my own typing!
Talya Escogido
I am a beginner sewer, and want to add pockets to a simple pattern I have. This tutorial will certainly help, but I wonder if the grain line of the pocket should be parallel to the edge of the paper, or to the straight edge of the pocket, and if that makes a difference. Thank you in advance!
Sharon Larson
I found this pocket to be too small for my purposes both width and length. (My pet peeve in all womens clothing is no pockets so adding pockets is a must!) This is my first time sewing with linen so was excited to try adding pockets to the Alexandra pants. I added a couple of inches to the length of the pocket initially and found the finished pocket to be narrow. At least in linen it was. I’m thinking I wont use linen for future pockets as I also have issues with holes and unraveling even with overstitching. Again, my first attempt so still learning!
Maria Sullivan
I’m curious. This is the sentence that is really confusing me: “Make sure that you have two pairs of 2 mirrored pieces for each pocket.” So you’re saying to cut 8 pieces ? 2 pairs of 2 for left and 2 pairs for right? Or do you mean to say “Make sure that you have two pairs: 2 mirrored pieces for each pocket” or “Make sure that you have two pairs of 2 mirrored pieces: one pair for each pocket.” (Both of which would be 4 pieces as noted on the pattern/template.)
I’ve put tons of pockets in clothing before, but have never used 4 layers of fabric. Why? Is this for durability? Doesn’t it add an awful lot of extra bulk at an already awkward spot?
I’ve made the Leena dress but only used the 4 pocket pieces as I’m used to doing and they seem fine ……
Lauren Gates
Hello Maria, You are correct in thinking the pattern requires 4 pocket pieces. you will have two mirrored pieces for the left, and two mirrored pieces for the right.
Maria Sullivan
Thanks Lauren for the clarification! Phew !
M–
Lauren Gates
My pleasure, Maria Happy sewing!
Margaret Hardaway
Hello. I’m having the worst time trying to figure out how to do this tutorial for the pockets…. I do not have a ton of experience sewing, quite a bit, but its been years. I’ve had a stroke since then as well, so some of this confusion could be that. At any rate, can someone please help me understand the steps? I think I have the pockets sewn onto each back and front. I am stuck on the instructions from #7 on…. Please? I do not understand if I’m supposed to sew the side seam on each piece with the pocket attached, then press the pockets open (which I don’t get because they aren’t sewn together yet), then put them together and serge the pants, front to back? or what… I’m just confusing myself more as I try to explain what’s got me confused. haha…. I’m fairly confident I can do it if I have clear instructions on which pieces I’m sewing together at each step…. It would be helpful to those of us who may be a little challenged to know if we are to sew back to front, or back to back, etc. It may sound like a dumb question to some of you, if you can help me without judgement, thanks in advance! 🙂
Lauren Gates
Hello Margaret, I’d be delighted to help you out. I’m going to send you an email, so please look out for it and we will work through the pattern together 🙂
Terri Kiplinger
It seems your pocket template/pattern is no longer available. Is there an alternate?
Patty S.
Oh! GREAT pocket hack instructions! Could we ask that you add a “print’ function to your tutorials? Really nice to be able to print off the instructions so we can have them by our sewing machines. Thank you!!
AmyCat =^.^=
I wish I’d seen this before adding my own pocket to that “bargain” pocket-less skirt I bought a few years ago… :-} I forgot to top-stitch, and now the seam’s showing wear. I plan to use some of the blue linens from my last purchase (I think three lengths, in colors shading from a dark “new-jeans” shade down to pale chambray) to make a layered-ruffled skirt (each ruffle getting lighter from the top down) and will have nicer pockets thanks to this tutorial… 😀
Rima Khusainova
Hi Amy! So glad to hear you found this tutorial useful! Good luck with your project, I’m sure it’ll look just great!
Laurel
Thanks! I was getting ready to sew pockets on my linen tunic but didn’t have instructions!
Laurel
I was just going to figure out how to put pockets on the linen tunic I’m making.
Thanks!
Rima Khusainova
Hi Laurel! Glad we could help!
Dianne Calderwood
Good instructions…Thank you. I have done this before but had to do my own figuring out & measurements.
Rima Khusainova
Thank you Dianne!
MS Barb
THANKS! (I won’t buy skirts, slacks, or dresses without pockets!) Now to busy on my garment sewing!
BR
Can’t wait to add pockets to absolutely EVERYTHING!
Rima Khusainova
Ha ha! Exactly!