Sewing Glossary: How To Sew Flat-Felled Seams on Sleeve
Don’t you just love it when your garment looks as good on the inside as the outside? There are many terrific sewing techniques that can provide a neat and clean finish to your projects and the flat-felled seams are one of them.
A flat-felled seam finish gives sturdy seams and a clean look. Just like with French seams, the raw edges are completely enclosed within the seam with the wrong side looking as good as the right side. It is especially useful when working with linen as it prevents fabric from ravelling and provides a bit of extra strength in the areas where there might be some strain.
In one of our previous tutorials we have already covered the construction process of a flat-felled seam. You will find that this technique is pretty straightforward and easy to master except when it comes to sewing flat-felled seams in narrow places like inside sleeves and pant legs. Doing this inside a tube of fabric can be quite tricky but totally possible! Today we are going to give you a couple of useful tips for achieving the best results on your home sewing machine and without a speciality foot.
Let’s jump in!
Materials
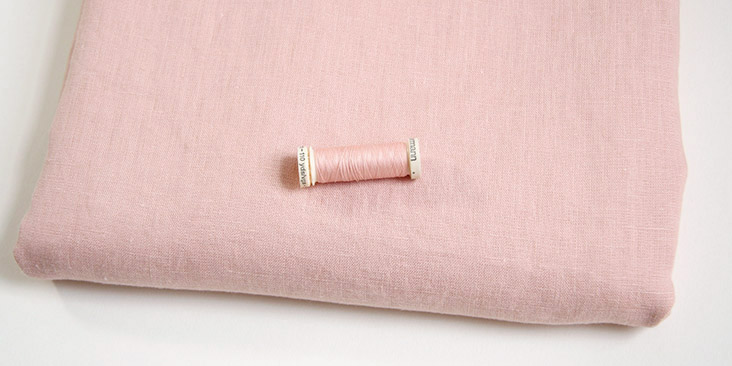
Fabric of your choice (we are using 4C22 HONEYBLOSSOM Softened Heayweight Linen )
Sewing thread
Pattern
If you wish to try this technique on one of our patterns, try the super popular Paola Workwear Jacket. It was designed for inside flat-felled seams throughout.
Tools
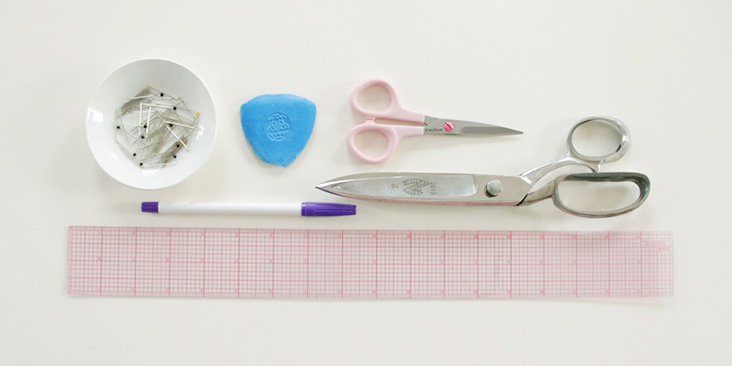
Scissors, ruler, pins, fabric marker or chalk, sewing machine
Difficulty
Beginner
Sewing Time
1/2 hour
Steps
Note: Prewash your fabric and tumble dry it until it is still slightly moist, dry at room temperature. Iron the fabric so it is easier to work with.
Sewing a flat-felled seam is a two-step process: the initial sewing of a seam and the felling of the seam that anchors down the folded edge of the wider seam allowance thus enclosing the raw edges within the seam. When sewing a regular side or shoulder seam, the second step is easy as you can separate the layers of fabric. The challenge begins when you’re closing a sleeve underarm or the inseam of a pant leg since the first step of the process transforms the fabric into a tube. In this case, you have to carefully manipulate the tube as it goes under your presser foot making sure to catch only one layer of fabric. In this tutorial, we will be showing you how to do flat-felled seams on a sleeve. The same steps apply to pant legs.
1. Sew your underarm seam the way you normally would, with right sides together and the indicated seam allowance (as per your pattern instructions). Usually, the seam allowance required for the construction of a flat-felled seam is somewhere between 1/2″ and 3/4″. Remember to backstitch at both ends.
Your sleeve has now become a tube of fabric.
2. Press seam allowances to directed side (usually to the back). If you are a lucky owner of a sleeve board, it will come in handy now!
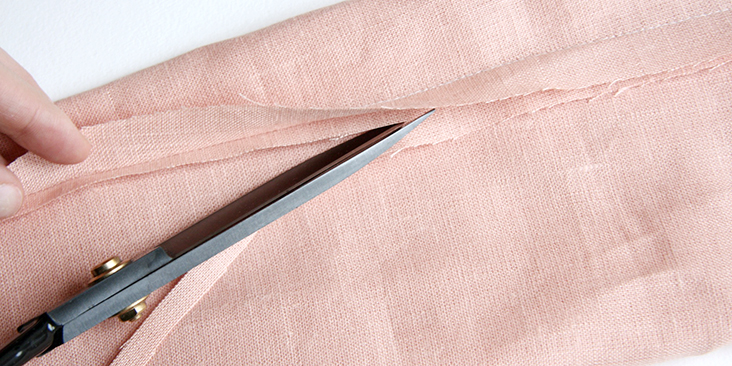
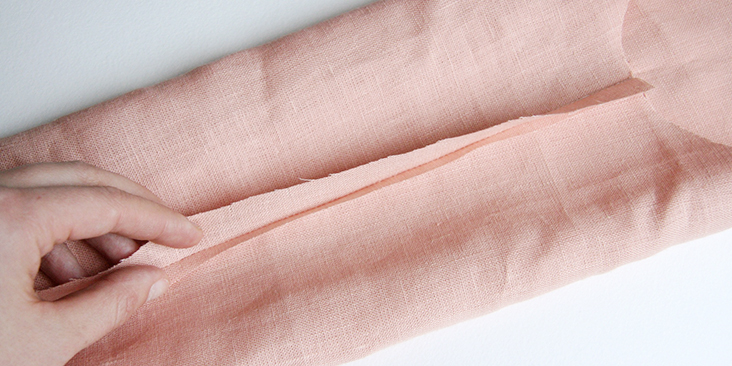
3. Trim the seam allowance that ends up on the bottom by half. You can do this by eye, using the remaining front seam allowance as a guide.
4. Fold the wider seam allowance over the trimmed one all the way to the stitching line and press.
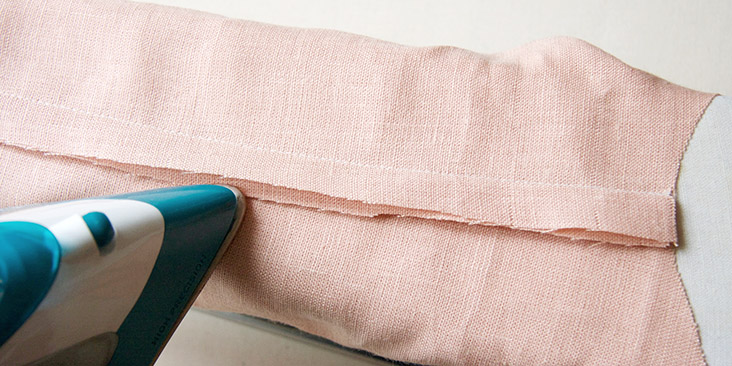
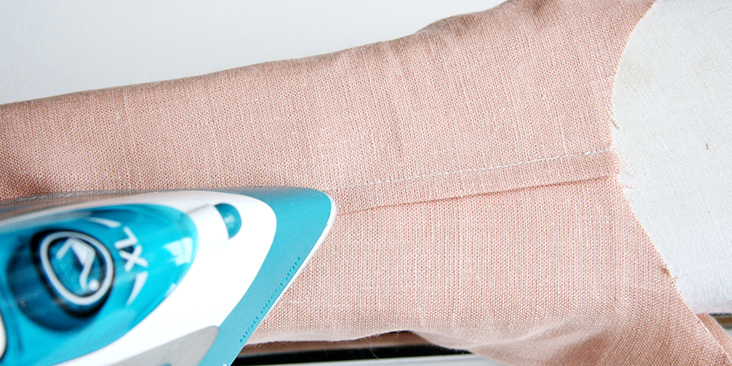
5. Fold it again and press flat to enclose all the raw edges within. Use lots of steam in your iron for this step since it helps the crease stay in place.
Here’s the tricky part. You must now stitch down the folded seam allowance all the way into the sleeve, which you had closed and made into a tubular shape. The way you do this is to start at the wider end of your tube (sleeve underarm, top of the leg opening or from hem of the bodice all the way to the sleeve opening if your sleeve is already attached to the bodice) and work your way to the narrower part which is the sleeve opening.
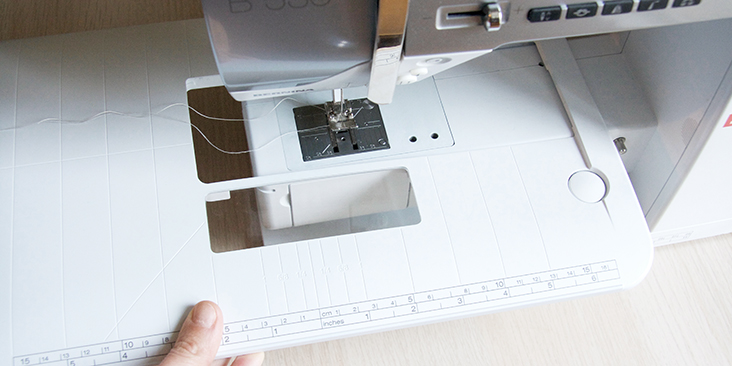
6. Remove the extension table from your sewing machine (if it has one) so that you are working around the “arm” of the machine.
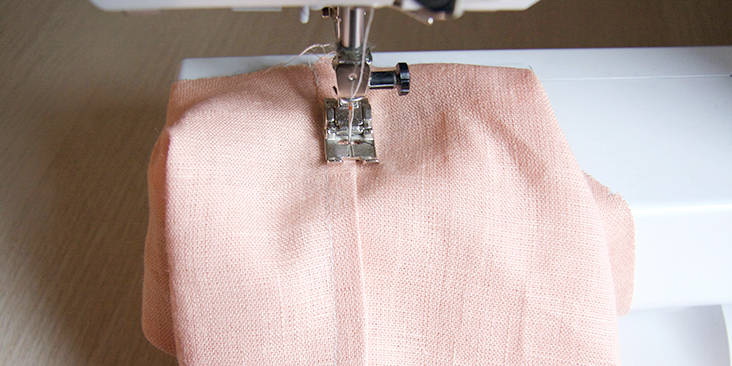
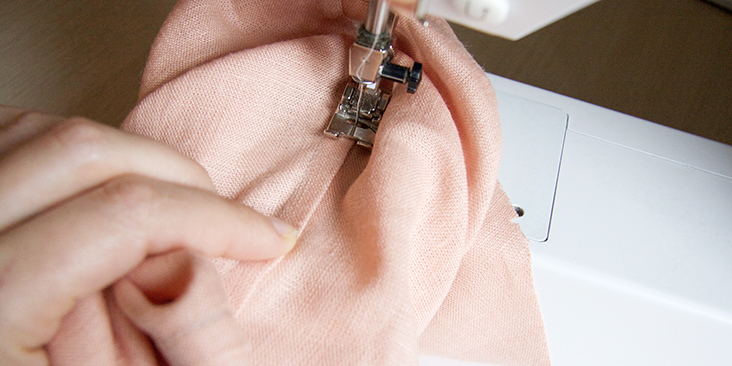
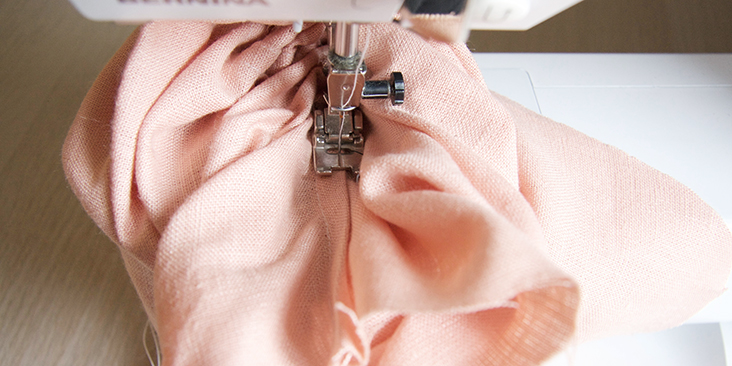
7. Working from the wrong side of the garment, run a line of stitching along the folded edge. Go slowly, and inch or so at a time, readjust the fabric regularly to make sure that it feeds smoothly under the foot.
Check regularly that your fabric is not scrunched up and that you are catching only one layer of fabric. It might feels like stitching in a tunnel, but the end of the sleeve is near!
The narrower the tube, the more challenging this is. So if it gets impossible to reach, secure your line of stitching with a backstitch, remove the sleeve and start from the other end.
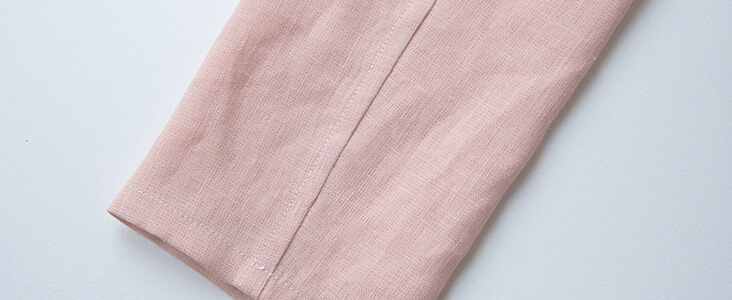
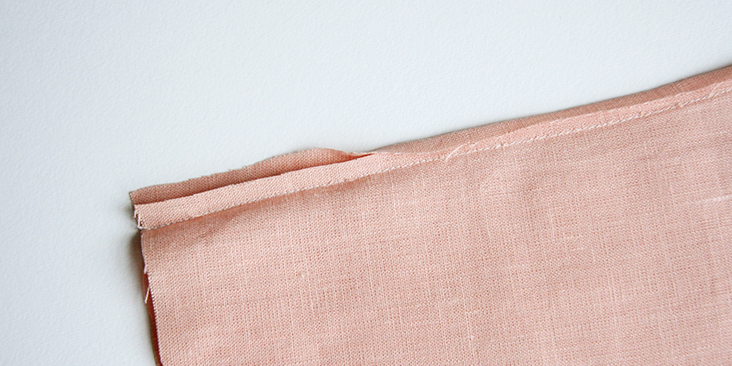
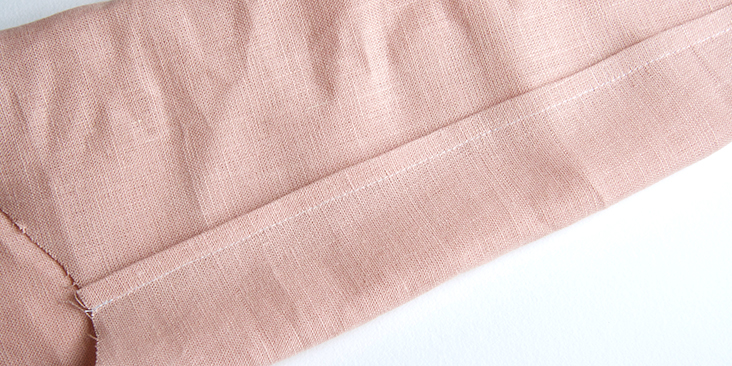
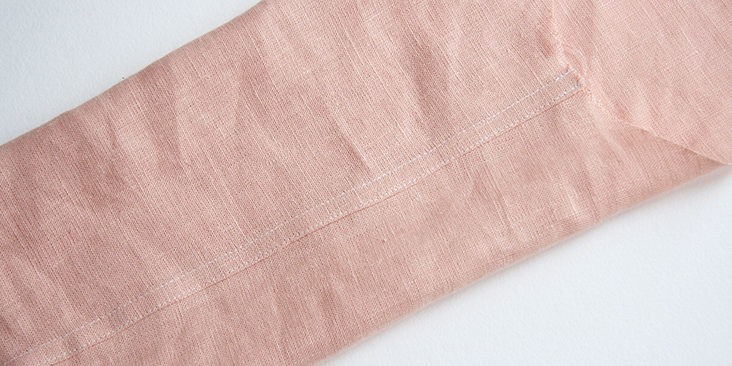
Here’s what your seam looks like from the inside:
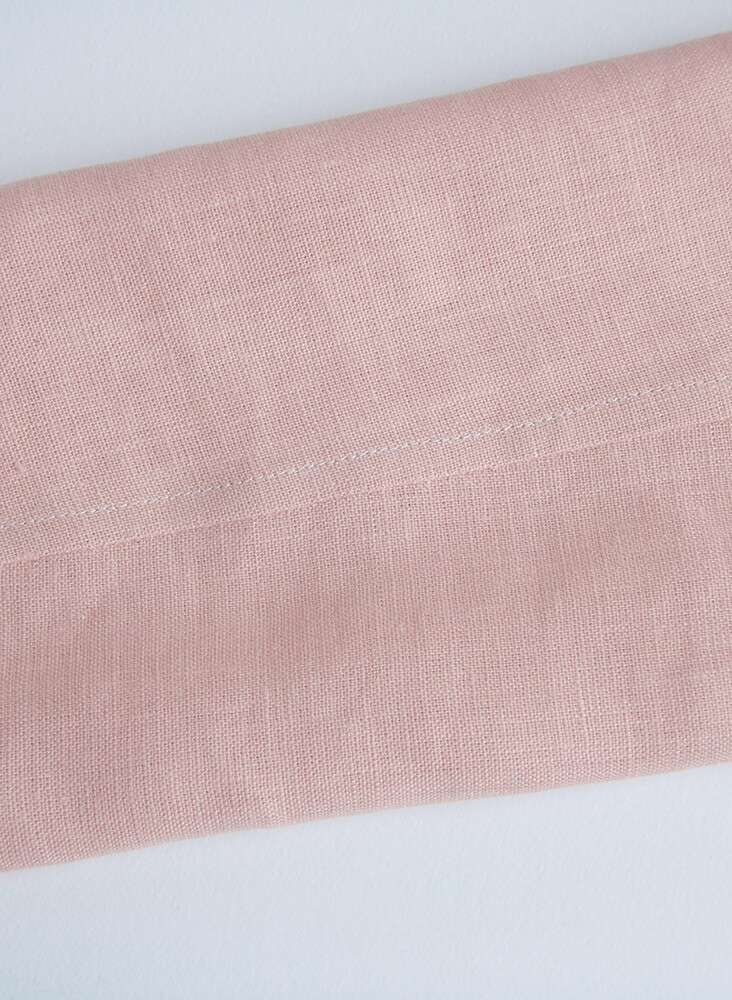
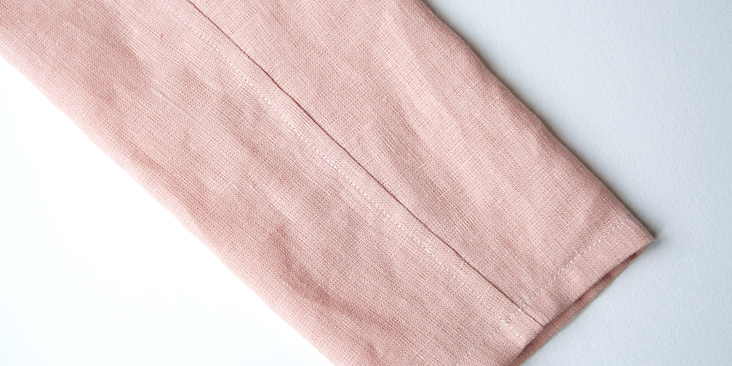
And the right side:
That’s it! You’ve just finished a neat and tidy flat fell seam. Flat-felled seams are definitely more work, but the final result is totally worth the effort!














10 Comments
Nancy Solla
Hi there – I am sewing with a vintage Singer sewing machine that does not have the option of a “free arm.” I can’t do flat felled seams on tubes at all; the fabric will just bunch up where the machine sits on my table. Should I use French seams wherever felled seams are called for on sleeves and pant legs? Thank you!
Lauren Linen
Yes, a french seam, or you can serge the raw edges if you have a serger 🙂
Nancy Solla
Thank you, Lauren! No serger in my sewing room, so French Seams it will be! I’m working with linen so I want to prevent fraying. Thanks for your help!
carol ellis
This is much easier to accomplish if you turn the sleeve to have the right side on the outside, but still stitch the seam on the wrong side. Then when you start sewing you can “bunch” the tube together on the top and hold the bunch in your hands. I have an old Singer machine in a cabinet and I do this all the time.
Kate Sweet
I’m not sure if anyone has mentioned this before but I find that basting the felled seams first before trying to work with something like a sleeve makes life so much easier. No pins and nothing shifts while you are scrunching or folding up the fabric. It only takes a minute or two to baste the length of a sleeve but it is well worth it.
Maxine Morgan
I purchased some handkerchief linen to make a night gown, and I intend to do the flat-felled seams inside the garment to avoid tickles, prevent fraying, and to give a more polished look to the garment.
Carole Collins
My only comment is this; I have been sewing for years, and have made fat felled seams, but all of your patterns come with a much smaller seam allowance , only 3/8 of an inch, and store bought patterns are 5/8 inch which makes a big difference.
I do appreciate your free patterns, and learned how yo handle the seam allowance.
Sarah Dombrowsky
A great tutorial, thank you! I love to see the inspirational photos of such neat seams on beautiful fabric.
I also like to stitch from the inside of the tube, and sometimes I will fold the tube up every 3cm or so as I go along, to deal with the length. I always try to have the needle stuck into the fabric when I pause to roll or scrunch the tube up, so the fabric doesn’t shift and cause a jog in the line of stitches. Then when starting to sew again it’s important to make sure the needle is perpendicular, that is, straight up-and-down and not pulled out of line.; sometimes it’s necessary to lift the presser foot and readjust.
Alice Elliot
I find it easier to turn the tube right side out and work inside the tube, scrunching as I go.
Jane Wilder-o'connor
Very well written instructions and even includes the tricky bit about having to scrunch the fabric!