Sloan Fitted Jumpsuit Tutorial and Free Pattern
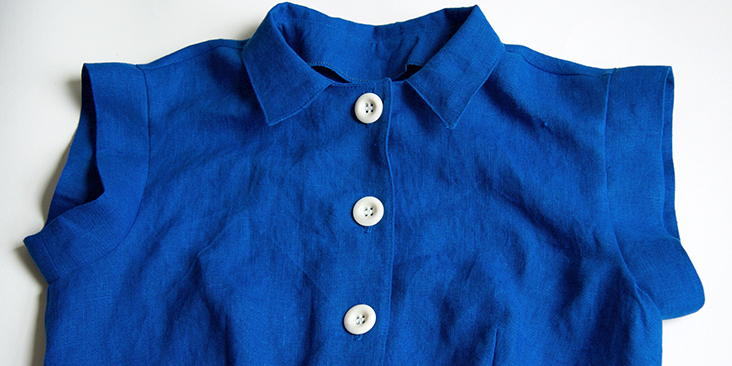
Want to take the style factor up another notch from just your average jumpsuit? Try our newest sewing pattern – the Sloan jumpsuit! Fitted throughout the body, it hugs your curves at all the right places. Slightly cropped legs, zipper closure, contrasting buttons, cuffed sleeves, and convertible collar – are just a few details that make this style both chic and functional.
The Sloan jumpsuit is the perfect all-in-one outfit with all the ease of a dress, just that much cooler! But the real beauty of this pattern is its versatility – wear it with trainers or heels, all year long, from day to night.
Materials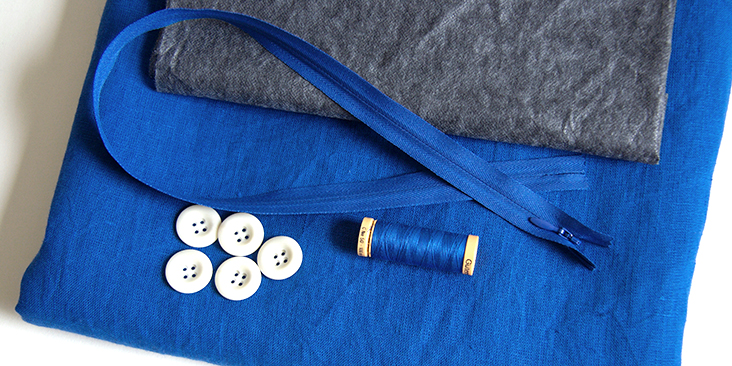
For our sample US size 6 pictured in this tutorial we used 3 yards of IL019 ROYAL BLUE Softened Medium Weight Linen
For other sizes, please refer to the yardage table in the PDF pattern to determine the required amount of fabric.
Matching sewing thread, matching invisible zipper (22” long), five large buttons (3/4”-1”), fusible interfacing.
Tools
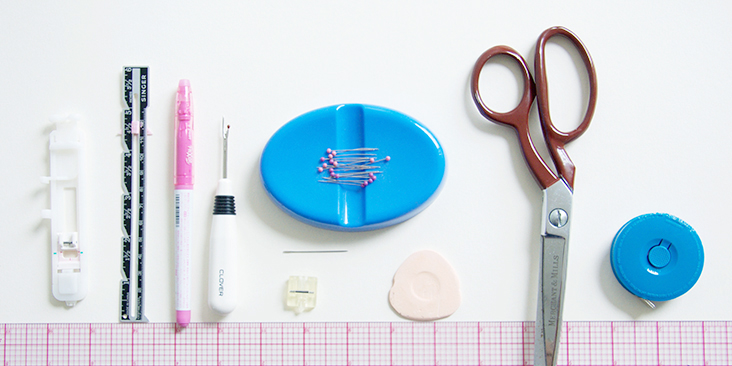
Scissors, pins, ruler, chalk, measuring tape, fabric marker, buttonhole foot, zipper foot, seam ripper, needle, sewing machine
Difficulty
Intermediate
Sewing Time
8-10 hours
Pattern
You can access the multi-sized printable PDF pattern by following this link HERE. All seam allowances are included and are 3/8” unless otherwise specified. The model is wearing US size 6.
Remember to transfer all the notches onto your fabric.
Steps
Note: Prewash your fabric and tumble dry it until it is still slightly moist, dry at room temperature. Iron the fabric so it is easier to work with.
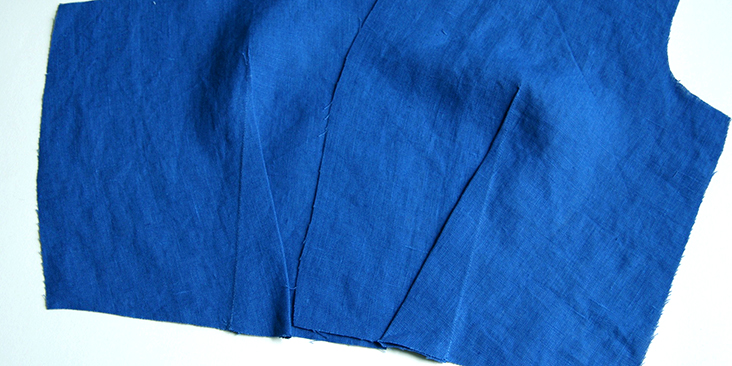
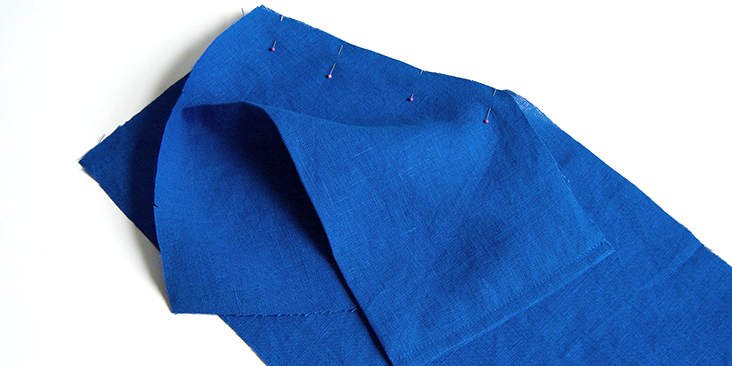
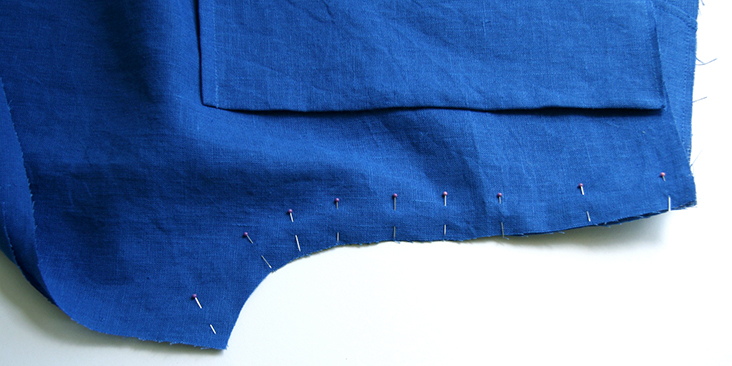
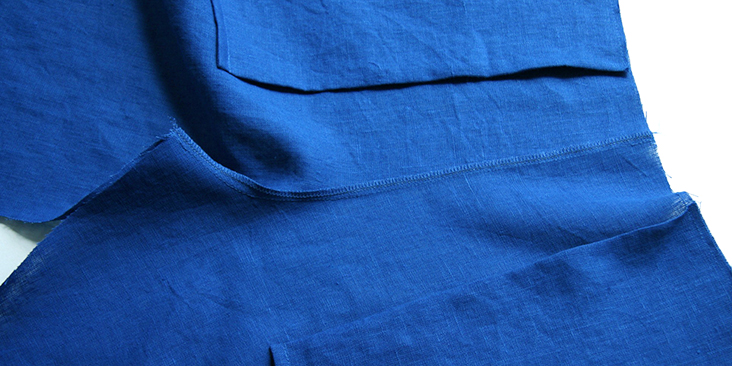
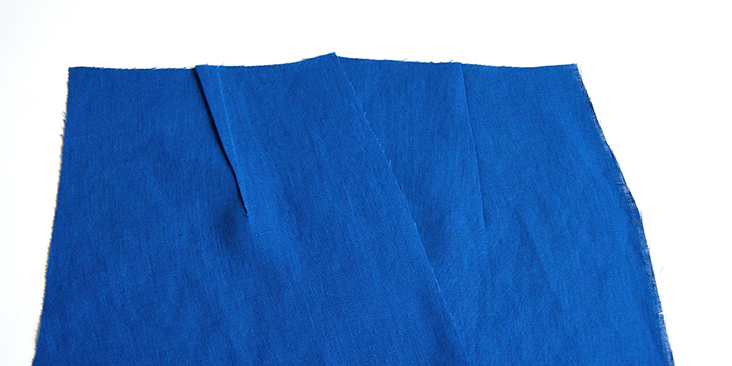
1. Sew the front waistline darts following the instructions in this tutorial. Press the darts towards the center front.
2. Sew the back waistline darts and press towards the center back.
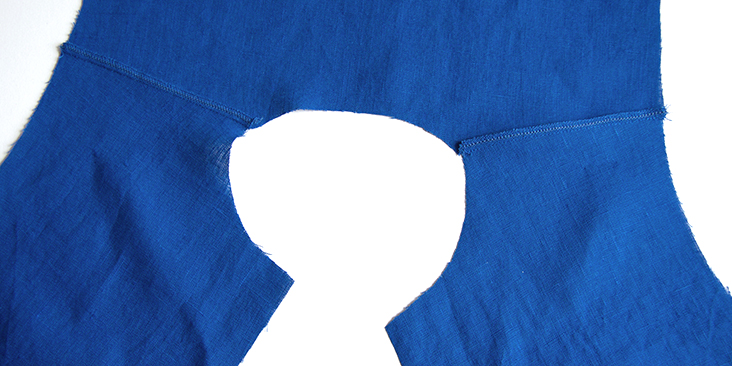
3. Pin the front and back bodices right sides together at shoulders and stitch at a 3/8” (1 cm) seam allowance. Finish the seams with your preferred method (serge or zigzag the raw edges together) to prevent the fabric from fraying. Press towards the back.
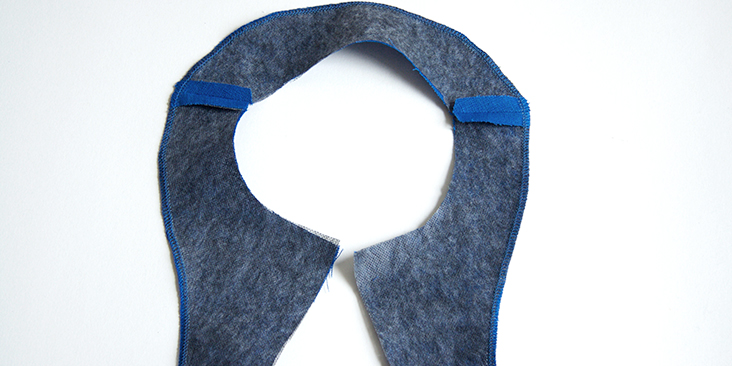
4. Interface the facing pieces and assemble at the shoulders right sides together. Stitch at a 3/8” seam allowance and press the seams open, then finish the outer edge of your facing with a serger or a zigzag stitch.
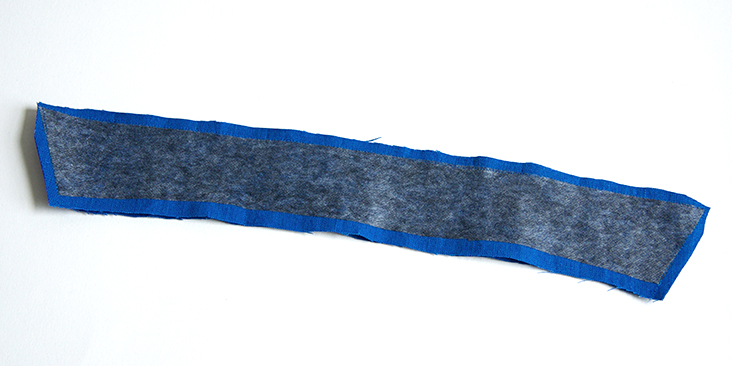
5. Sew the collar pieces right sides together along all edges except the bottom. Trim the seam down to 1/4″ and clip the corners to reduce bulk.
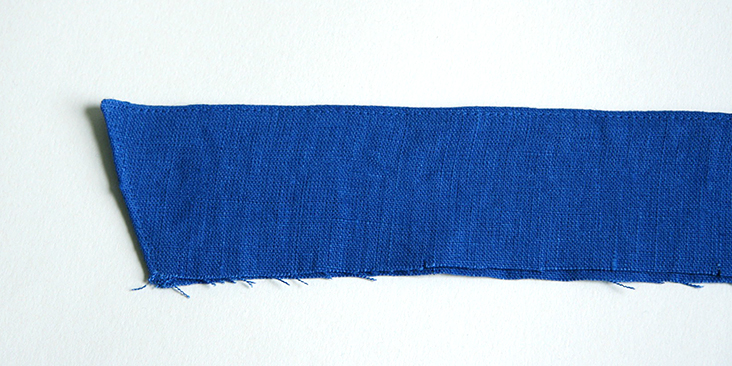
6. Turn the collar right side out and press rolling the seam slightly to the inside. Topstitch along all edges except the neckline.
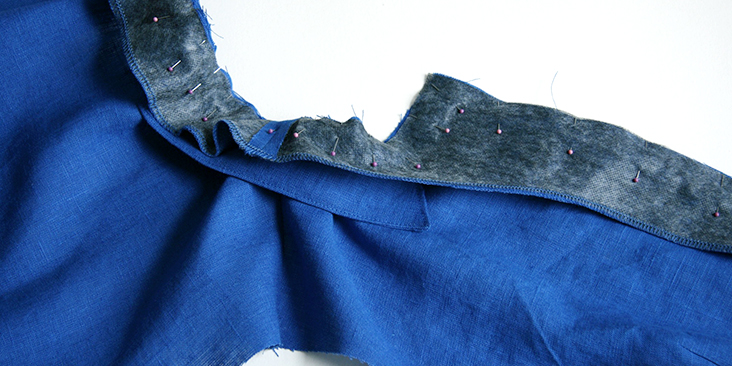
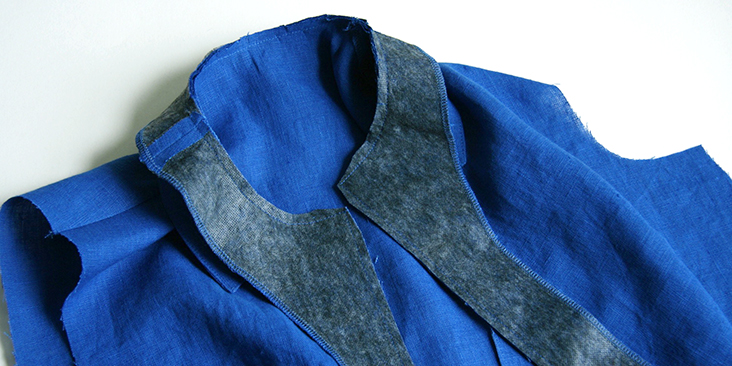
7. Now place your collar on top of your bodice (both right sides facing you), then layer the facing on top (wrong side facing you). Match the shoulder and center back notches and pin all the pieces together along the neckline and front opening.
8. Stitch the pinned edges at a 3/8” seam allowance, then grade to 1/4″ and clip the corners.
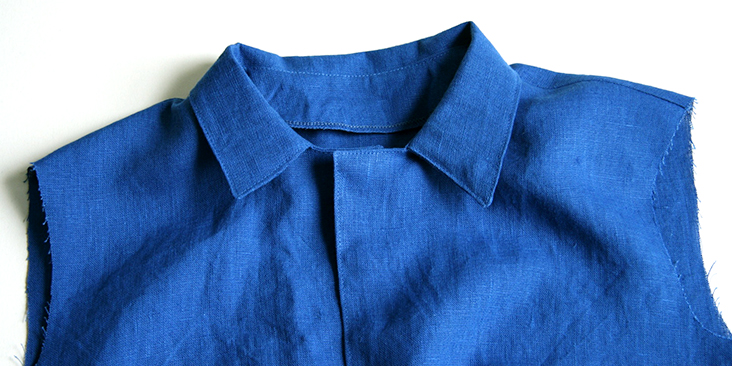
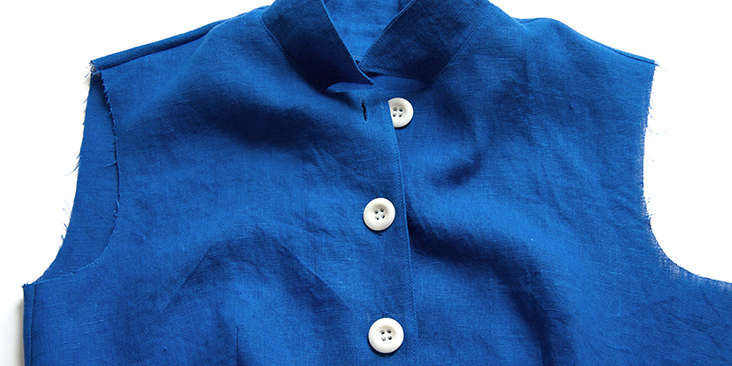
9. Bring your facing to the inside of the bodice and press. Topstitch along the outer edges and the neckline.
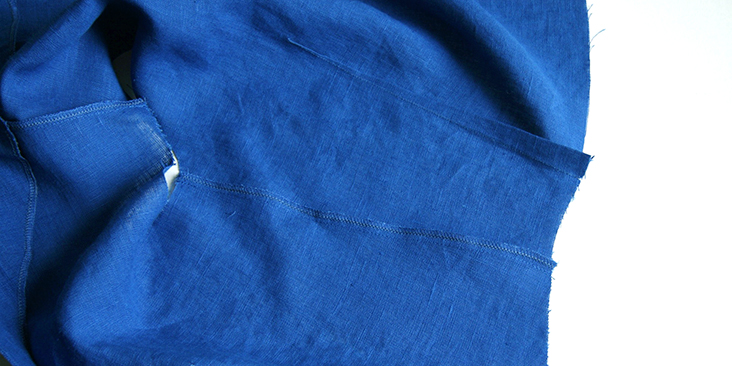
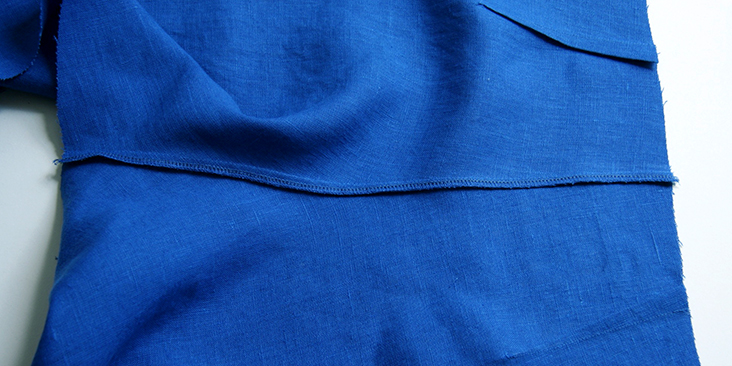
10. Pin and stitch the right side seam only at a 3/8” seam allowance and finish the raw edges together using your preferred method.
11. Finish the raw edges of the open left side seam. Once we’ve attached the pant, we’ll insert the invisible zipper here. Make sure you don’t trim any fabric while serging as you need your full 3/8” seam allowance for the zipper.
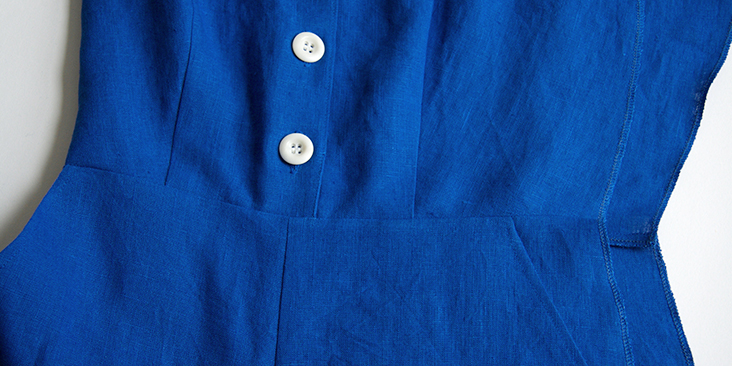
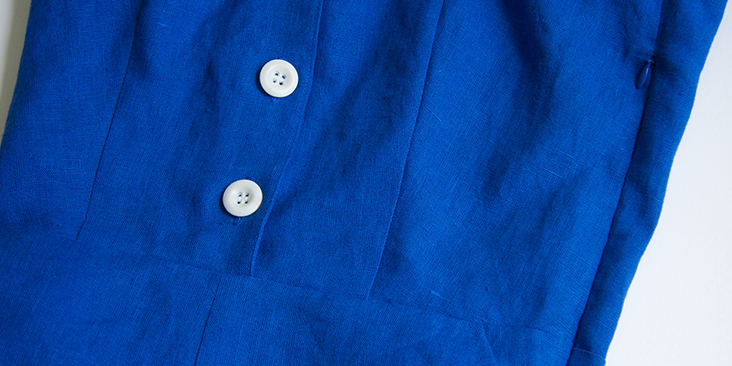
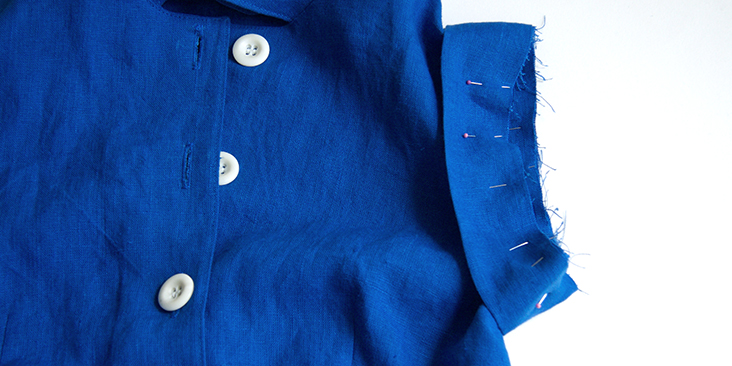
12. Sew the buttonholes and attach the buttons to the front opening. For the buttonholes, you can follow our detailed tutorial HERE. As for the buttons, check our tutorial HERE for instructions. Refer to our PDF pattern for the exact buttonhole placement.
Overlap the bodice and place a pin into the center of each buttonhole. This is where you’ll need to attach the button.
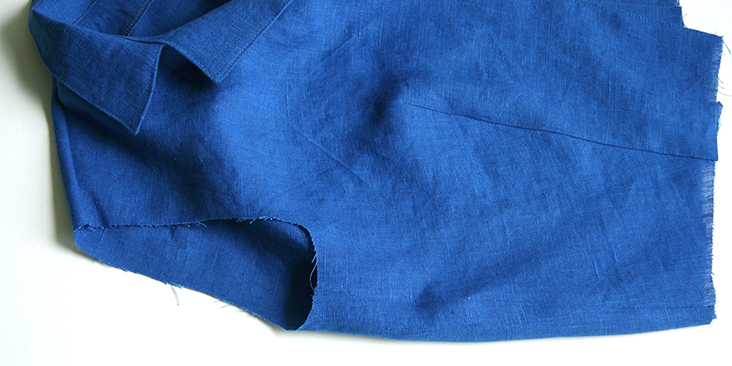
13. Lap right front overlap matching the center front notches and aligning the waistline edges. Baste the two in place ¼” from the edge.
Set your bodice aside for now and let’s sew the pants. We’ll start with the front hip pockets.
14. Take your front pocket pieces, fold them in half right sides together and stitch along the bottom edge at a 3/8” (1 cm) seam allowance. Make sure they are mirror images to each other.
15. Trim the seam allowance down to ¼” and turn the fabric right side out. Press and stitch again 3/8” from the bottom edge.
16. Pin the diagonal edge of the pockets (wrong side) to the diagonal edge of the front pieces (right side) and stitch at a 3/8” seam allowance. Remember to backstitch.
17. Trim the seam, turn right side out and press flat. Topstitch 3/8” (1 cm) from the folded edge.
18. Pin the side seams of the pocket to the side seams of your front pieces and baste in place (¼” from the raw edge).
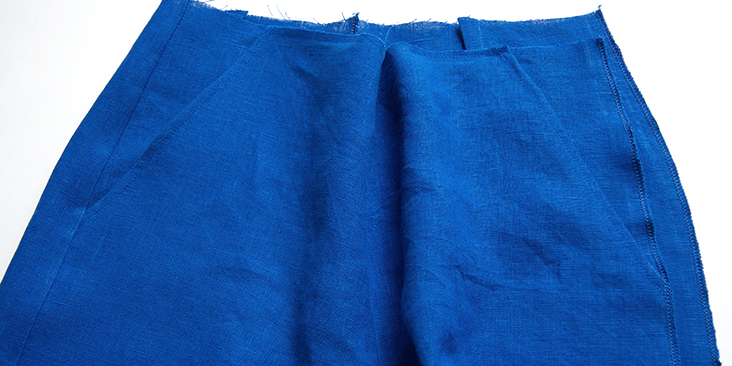
19. Pin the two front pieces right sides together along the rise and stitch at a 3/8” seam allowance. Finish the raw edges together and press towards the left leg.
20. Take your back pant pieces and sew the waist darts following the instructions in this tutorial.
Press the darts towards the center back.
21. Pin and stitch the two back legs right sides together along the rise seam, matching the notches. Finish the raw edges together and press towards the left leg.
22. Pin the front and the back of your pants at the inseam, matching the notches and the crotch seam. Note that the back pant is intentionally ¼” smaller than the front between the two notches. Sew the two together using the standard 3/8” (1 cm) seam allowance, stretching the back fabric slightly to fit the front. Finish the raw edges and press towards the back.
23. Now sew the right side seam, finish the raw edges together and press towards the back.
Using your preferred method, finish the raw edges of your left side seam separately to prepare it for the zipper insertion.
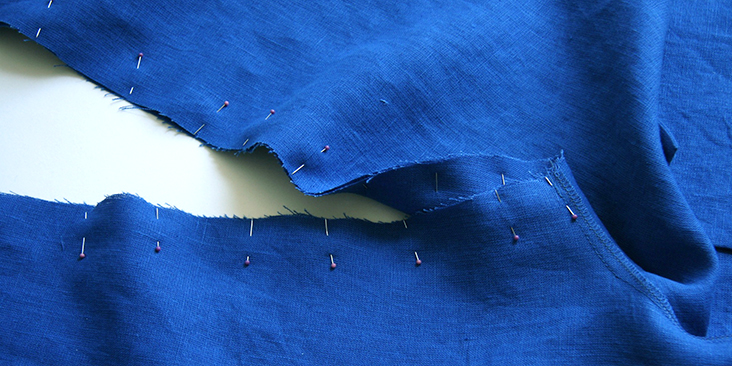
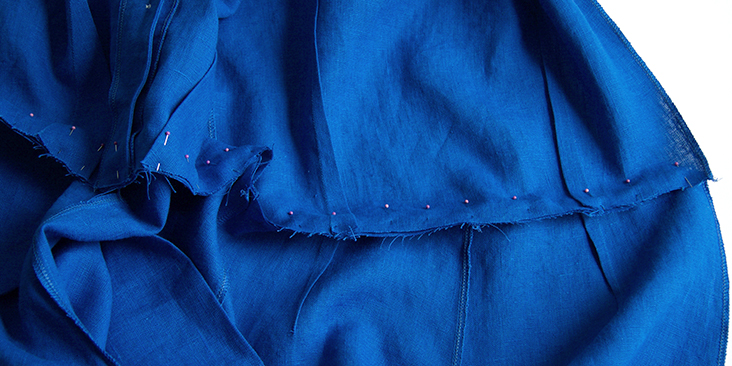
24. It’s time to assemble the bodice and the pant portion of your future jumpsuit. Pin the two right sides together along the waist, matching the darts and the side seams.
25. Sew the pinned edges at a 3/8” seam allowance and finish raw edges with a serger or a zigzag stitch. Press seam towards bodice.
26. Pin the top of your left side seam and stitch from armpit down to zipper notch. Remember to backstitch at both ends. Press the seam open.
27. Prepare your zipper by pressing it lightly with iron (use low heat setting) to unroll the teeth. If you’ve never installed an invisible zipper before, please check our detailed tutorial here with all the instructions and tips.
Unzip your zipper and pin to left side seam edges right sides together. Place the top of the zipper teeth right at the zipper notch.
28. Put the invisible zipper foot on your machine and stitch both edges of the zipper stopping at the second notch (around the hip area). Remember to backstitch.
Now that you have installed the zipper, sew the remaining edges of the left side seam at a 3/8” seam allowance. Press open.
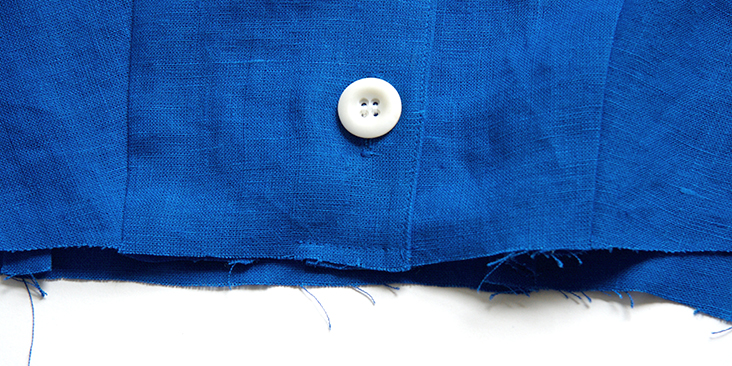
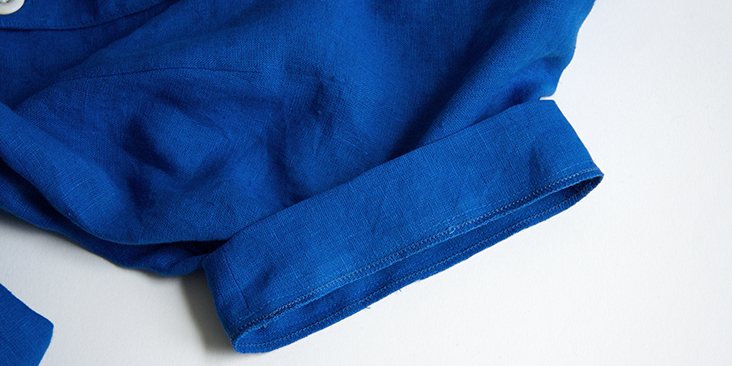
29. Finish the hem with a rolled twice hem. First, fold your fabric ½” to the wrong side and press, then press another 1” and edgestitch.
Next – the sleeve bands!
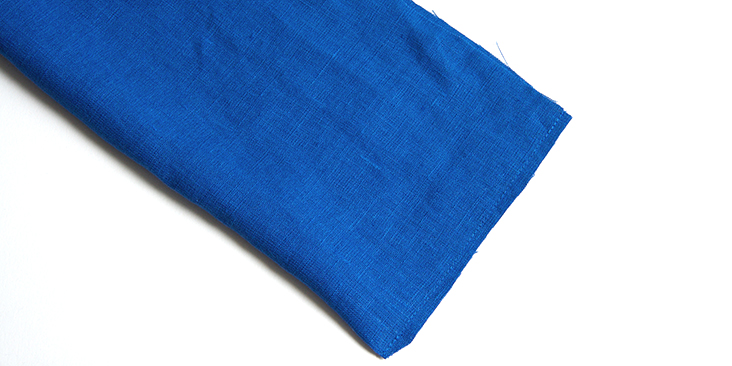
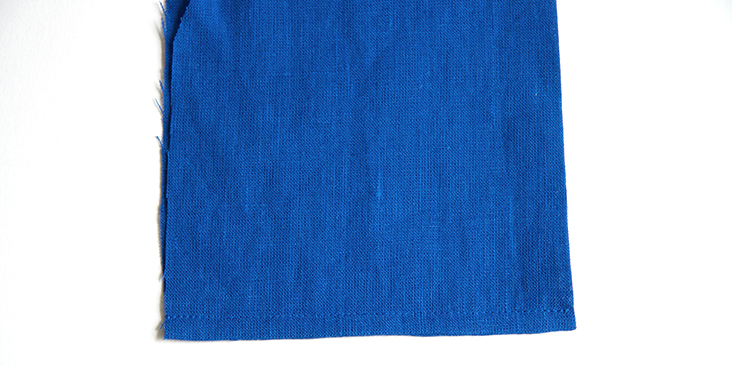
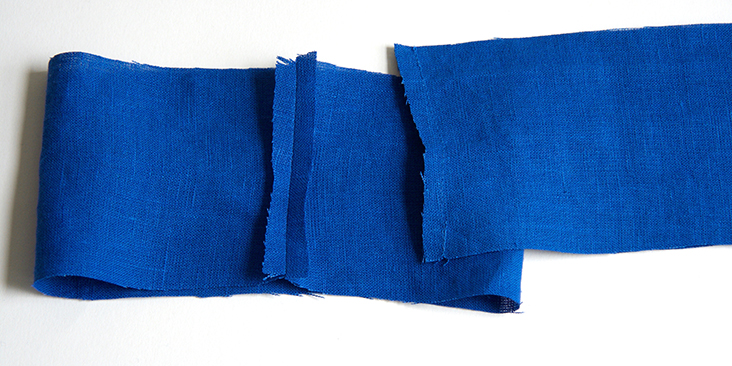
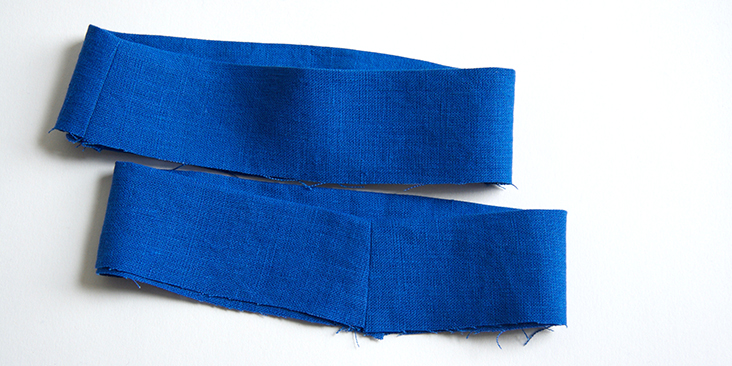
30. Pin and stitch short ends of your bands right sides together at a 3/8” seam.
31. Press the seams open then press your fabric in half lengthwise wrong sides touching.
32. Pin the bands to the armholes right sides together aligning the underarm seams.
33. Stitch and finish the raw edges. Press the seam allowance towards bodice.
Et voila!
We love seeing what you make! Don’t forget to share your pictures and tag your creations with #FabricsStoreSloanPattern hashtag.











































22 Comments
Anaïs LEGRAND
Hello, just a question : for which height/stature this pattern has been made? I am only 5,1feet tall. Thanks a lot !
Jennifer Sparling
I love the look of this, but any thoughts or advice on adding a waistband to this? I think that would be a little kinder to my middle.
Jazmin Hooijer
What cup size is this pattern created for?
Lauren Linen
This patterns is developed for a B-cup.
natalia belen
Hi team!
I just wanna say big thank you for creating this pattern and sharing it with us!
Its easily the most neat, easy and clear pattern i’ve followed. And the result was just AMAZING.
I didnt need to do any adjustment to the patter to fit me.
Very much in love with it!
Suzette Mason
how do you download the pattern ive tried to several times and i just get the page to download it and i get a few pages of the picture and no pdf pattern?
Lauren Linen
Sending you an email Suzette. In the meantime, you may find these articles we have in our help center useful:
Computer (PC/MAC)
https://support.fabrics-store.com/hc/en-us/articles/360057105032-Downloading-and-Opening-Free-pdf-Patterns-on-a-Computer-PC-and-Mac-
Android Devices and some Chromebooks
https://support.fabrics-store.com/hc/en-us/articles/360057356212-Downloading-and-Opening-Free-pdf-Patterns-on-a-Mobile-or-Tablet-Android-
Apple iPhones and iPads
https://support.fabrics-store.com/hc/en-us/articles/360058020091-Downloading-and-Opening-Free-pdf-Patterns-on-an-iPhone-or-iPad-Apple-IOS-
rae Lambrix
Questions- Are you to interface both of the collar pieces?
Lauren Gates
Hello,
Please interface the upper collar only 🙂
Mary Smith
I just can’t get my head around the pocket step. With how it is written, it seems that the non patterned side of the fabric would be on show. Has it been written incorrectly?
Lauren Gates
Hello Mary, this fabric doesn’t have a pattern, and linen like this doesn’t tend to have a ‘side’. if you would like more help with sewing the pocket, please email me and I’d be happy to help out 🙂 my email is ask@fabrics-store.com
donna kok
hey! any idea how much fabric i’d need for just the top part?
Lauren Gates
Hi Donna, You can figure this out accurately by assembling the pattern pieces for the top part of the Jumpsuit, then doing a mock layout based on the width of your fabric. I hope this helps!
claire nature
The sleeve bands seem to be missing on the pattern. What are the exact measurements so that I can cut them myself? Thank you! 🙂
Alexandra Zons
Hi, unfortunatly the downloadable pattern only has six pages without the pattern.
Alexandra Zons
Sorry forget my comment, just had to follow the instructions to open the pattern in Adobe…
ed ed
Hello!
I’m currently sewing the jumpsuit. Thank you for this great pattern.
But I have a problem, I cannot find the buttonholes placement on the PDF file…
Could you help me out?
Thank you.
EL.
Kelsey Plank
Hi! I’m sewing this now and ran into the same issue. Did you ever find the buttonhole placement?
Jennifer McGaffey
There’s something missing in Step 26 – put what in the top of your left side seam?
Interesting pattern, I may try it.
Rima Khusainova
Thank you so much for noticing the typo Jennifer! All fixed now!
Mary Mangan
Lovely. I can’t seem to access the PDF with the other sizes, though. The link is not working.
Masha Karpushina
Dear Mary, please try again, the link has been fixed.
thank you, Masha