


How to sew on a button
This is a tutorial that goes hand in hand with ‘How to sew buttonholes‘. Knowing how to sew on buttons properly can prevent misplacement, and further sewing in the future.
Tools
Fabric
Button
Erasable fabric marker
Sewing Thread
Sewing needle
Scissors
Steps
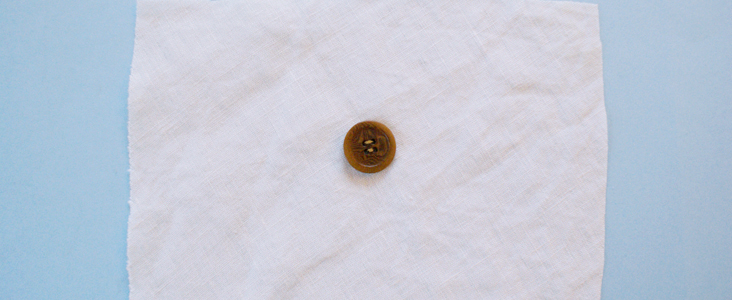
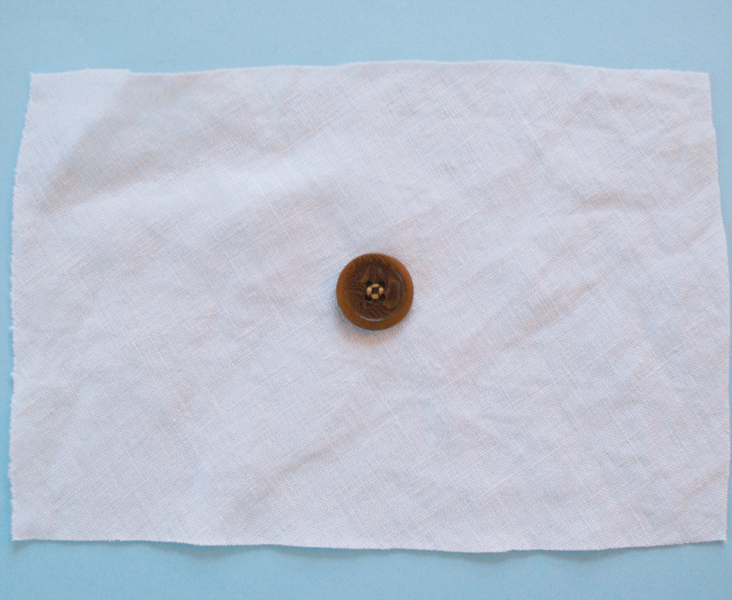
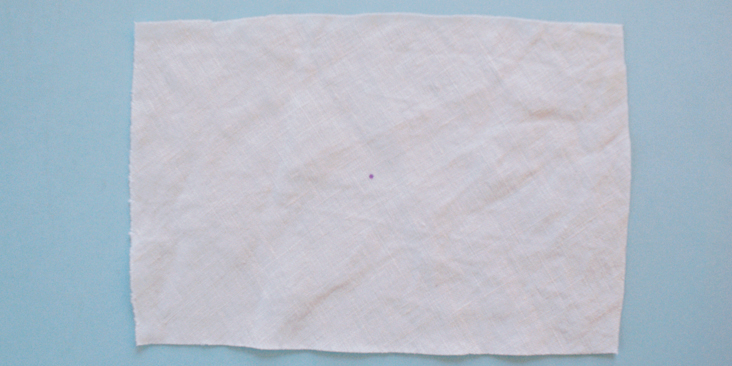
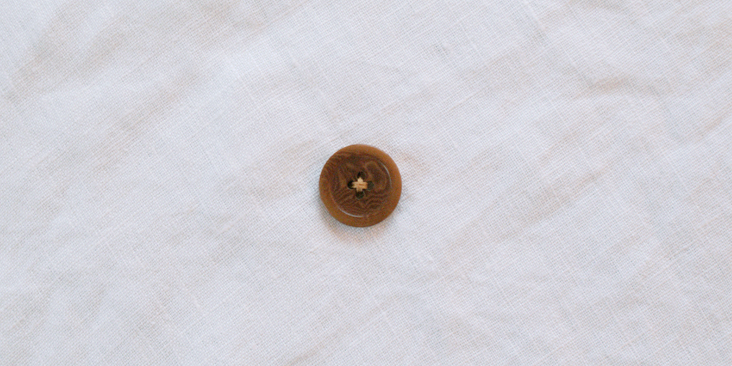
1. Mark the placing for the button. A good way is to hold the button over the spot where you want your button to sit and make a mark under the center of the button onto the fabric.
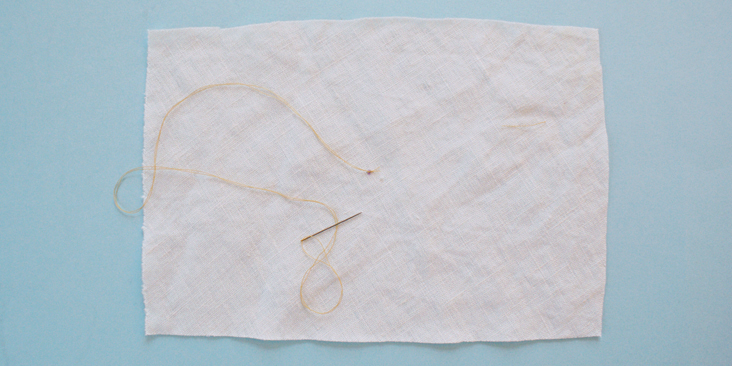
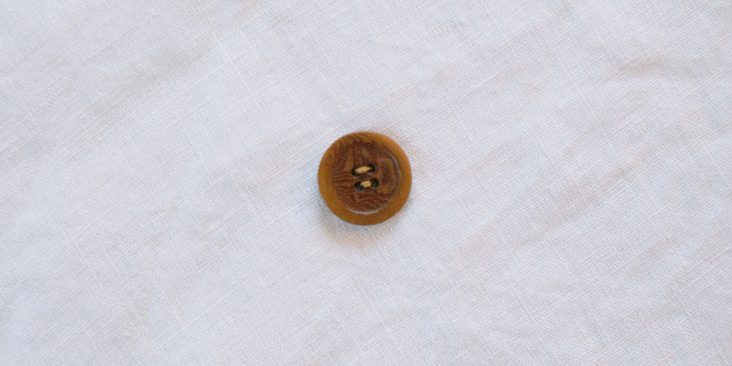
2. Start the sewing by inserting the needle from the right side and back through, then tie a knot. This is to prevent the knot coming loose with the linen fabric, which is generally woven slightly more loose than other types of fabric.
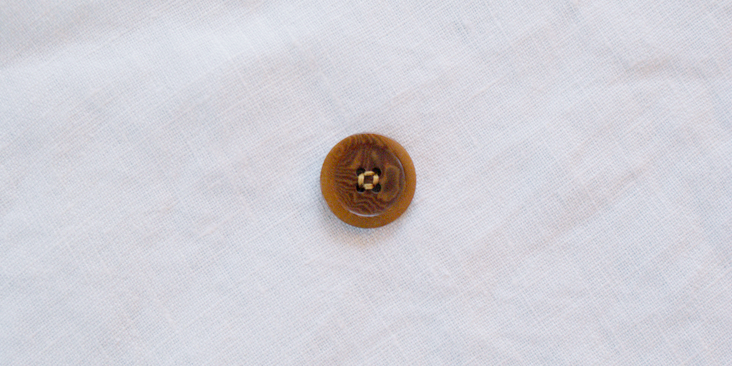
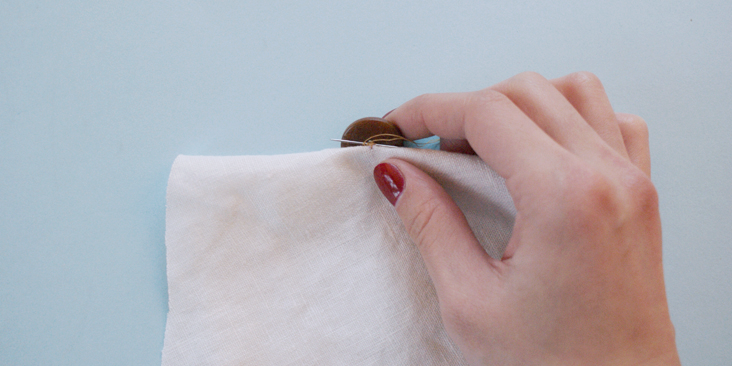
3. Place the centre of the button over the knot. Start sewing the button onto the fabric with stitches over the holes.
4.’ You can do it horizontally, vertically or criss cross. With using matching colour thread, it is the best to mix different direction of stitches, as it will secure the button more.
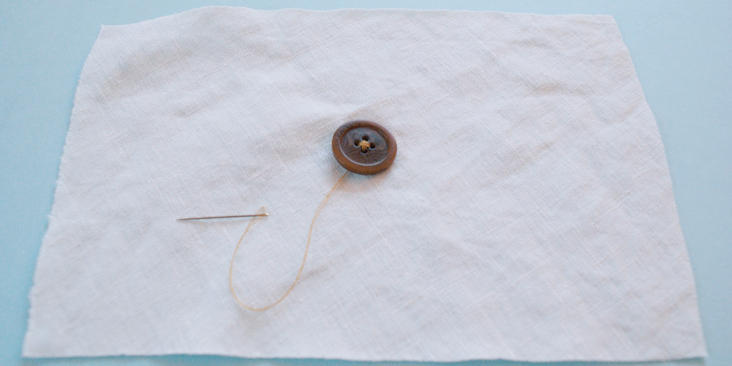
5. After securing the button onto the fabric, tie a knot’ between the button and the fabric. Making sure the knot is hidden away behind the button. Cut thread.

Leave a comment
Related posts
How to Take Your Body Measurements: A Concise Guide
Taking body measurements always felt daunting, so I often avoided it. Even with a fashion design degree, our curriculum only skimmed the surface on this crucial skill, focusing instead on creating patterns for a “standard” size 10. However, a recent digital pattern-making course helped me overcome this. I had to take my full body measurements…

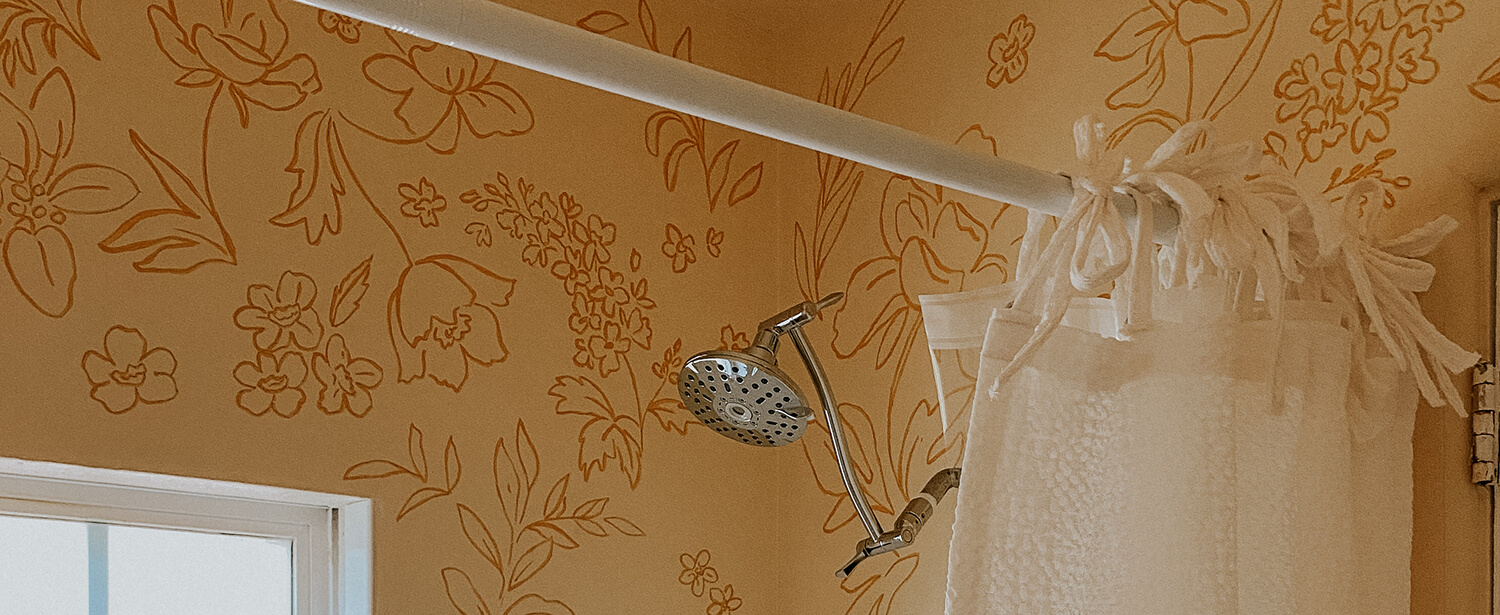
Sewing Project: Delicious Linen/Cotton Waffle Fabric Shower Curtain
I have made shorts, towels/washcloths and the coziest robe out of this waffle texture fabric. Robe and shorts shown here.We’ve been pleased with every one of these garments so far but if trying this delicious waffle fabric with clothing is intimidating to you or not to your taste, I’m happy to suggest another fun and…
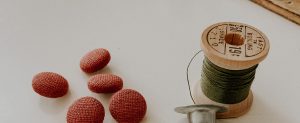
Tutorial: How to Make Fabric Buttons
If you’ve ever considered trying fabric covered buttons, this is one of my favorite projects and I am delighted to encourage you to try them. I hadn’t made the buttons with linen before so I was so excited about this project. When I first made fabric covered buttons years ago, I chose cottons with tiny…

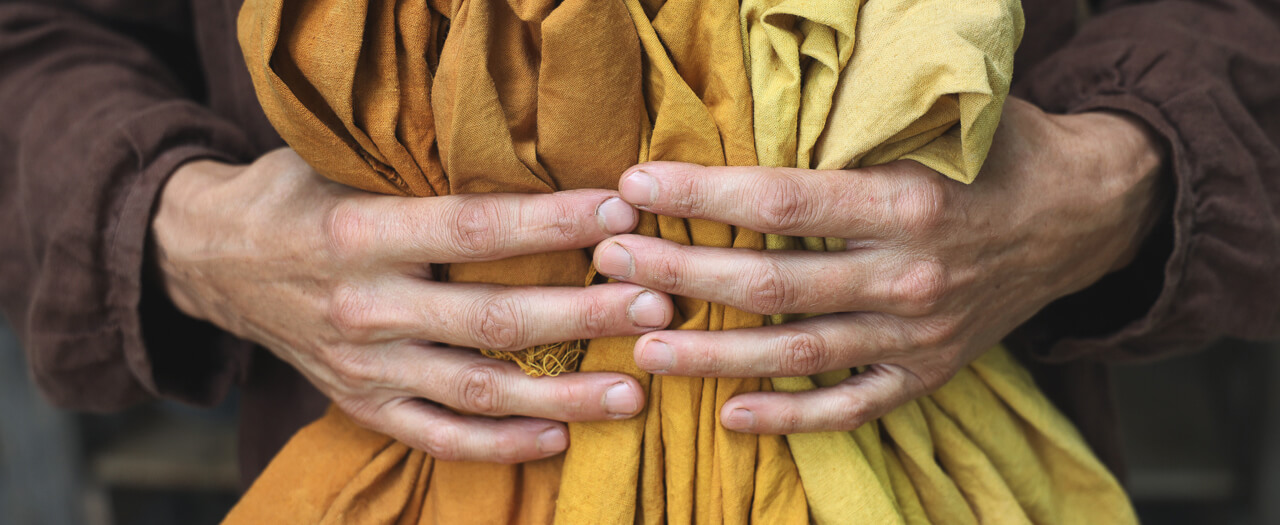
From Farming to Folk Art: Sara Buscaglia
There is a remarkable symbiosis between Sara Buscaglia’s life and work; she seamlessly blends her charmingly old school textile art – mostly exquisitely handcrafted quilts, but also knitting and clothing – with running a successful and prolific organic farm, where she is currently raising a family of four children alongside her husband. Based in La…

Tutorial: How to Trace Off a RTW Garment
You know that one well-worn, probably damaged-beyond-repair item in your closet you bought off the rack ages ago that you still hold on to because you just love the way it looks and fits? Or maybe it’s a garment you think would look amazing in another fabric that the original wasn’t offered in? Well, have…


SEW THIS LOOK


Latest Posts


11 Comments
jeanie Crummond
The first step to sewing on a button is of course threading the needle and finding the right color of thread. so will share some info that may be helpful.I recently found a small packet of needles already threaded in multiple colors. This is a great time saver, great for low vision and arthritic hands when it comes to threading the needle before sewing on the button. And it is great for traveling and for husbands and sons and kids. Just makes the whole process easier from the start.
Janet
An alternative method is to begin your stitching on the right side of the fabric, hiding your knot under the button.
When you have a lot of buttons to sew on you can speed it up by threading 2 strands of thread through the needle, then knotting all 4 ends together so that one pass through each button hole is sturdy enough. Just be sure you choose a sewing needle with a loop small enough to pass through the button hole. (I speak from experience.)
MJ Forbes
It is also a good idea to lay a pin across the top of the button and sew over it when stitching the button in place so that you leave when you finish and take the pin away you have some room to wrap more thread around the threads going through the button. This makes a shank to hold the button a bit above the button hole when the garment is buttoned, giving it a less-strained appearance.
MJ Forbes
This was supposed to say ” so that when you finish sewing the button and take the pin away you have some room”
Karen Alexander
You should also show folks how to do it a whole lot faster with their sewing machine! Most zig zag machines can be set to do an in place stitch, and the button is simply held down with the snap on shank – sans foot! Many modern manufacturers have accessory feet that will hold the button down in exactly the proper place and make adjustment for a shank too… Easy, modern, fast!
Laurie B
Miss Cynthia, I always learn something from your tutorials, even though I’ve been sewing for many, many years. Good job!! Keep them coming.
Cynthia Fong
Thank you for your comment. We are so glad these have been useful. We definitely have a lot more tutorials planned.
Teresa Rouzer
Isn’t it amazing how many people do not know how simple sewing on a button can be? I do one final step before finishing: I take the thread still anchored to the button and wind it about 3 times around the button, forming a shank of sorts, then push the needle through this wound thread, form a loop, then put the needle through the look and pull taut to anchor the thread, then cut the thread. The shank you make when winding the thread around under the button provides more insurance against the button coming loose – or at least, that has been my experience.
Thanks for these great tutorials!
Cynthia Fong
Thank you for your comment. Glad to hear some input and your experience with sewing too!
Maura Enright
A flat button requires a thread shank so that it will rest properly on top of the buttonhole. The shank is created by inserting a matchstick or a toothpick between the button and the fabric before you start to sew. When sewing is complete, remove the matchstick and wrap your thread around the stitches between the fabric and the button, creating a shank. This tutorial has pictures:
http://www.instructables.com/id/How-to-sew-on-a-button/step8/Sewing-on-a-flat-button-part-two/
Cynthia Fong
Thank you for your feedback, and the webpage. Very useful information indeed.