Skye Reversible Dress Tutorial and Pattern
Our Skye pattern is an easy-going, but elegant tank dress that you can wear both ways. Versatile and reversible, it can be worn with the buttons in the front or down the back offering two different neckline options to go with your mood.
Simple and practical, Skye is easy to sew and would be suitable for all level sewists. Make the most of your sewing with this fun little dress.
Materials
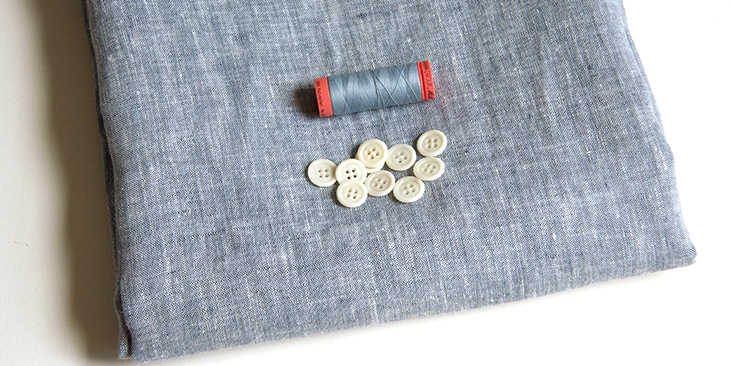
For our sample US size 6 pictured in this tutorial we used 2 yards of IL042 907 FS Premier Finish Medium Weight Linen.
For other sizes, please refer to the yardage table in the PDF pattern to determine the required amount of fabric.
Matching sewing thread, 10 medium buttons (1/2”-3/4” wide)
Tools
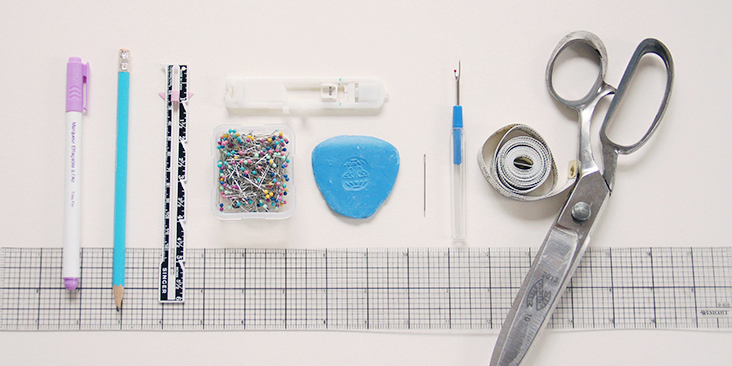
Scissors, pins, ruler, chalk, measuring tape, fabric marker, buttonhole foot, seam ripper, needle, sewing machine
Difficulty
Beginner
Sewing Time
4-5 hours
Pattern
You can access the multi-sized printable PDF pattern by following this link HERE. All seam allowances are included and are 3/8” unless otherwise specified. The model is wearing US size 6.
Remember to transfer all the notches onto your fabric.
Steps
Note: Prewash your fabric and tumble dry it until it is still slightly moist, dry at room temperature. Iron the fabric so it is easier to work with.
1. To start, apply fusible interfacing (optional) to the wrong side of your button bands and sew as explained in this detailed tutorial.
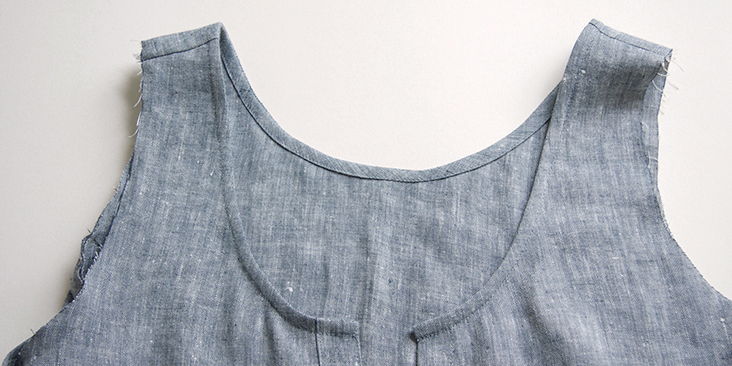
2. Pin and stitch the front and back pieces right sides together at the shoulders using a standard 3/8” (1 cm) seam allowance. Finish the seams with your preferred method (serge or zigzag the raw edges together) to prevent fabric from fraying. Press towards the back.
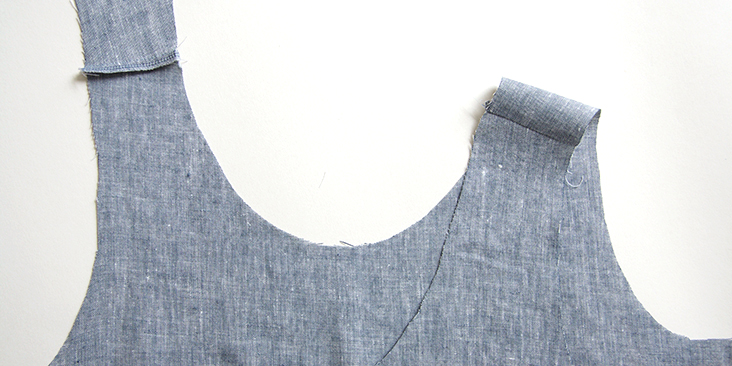
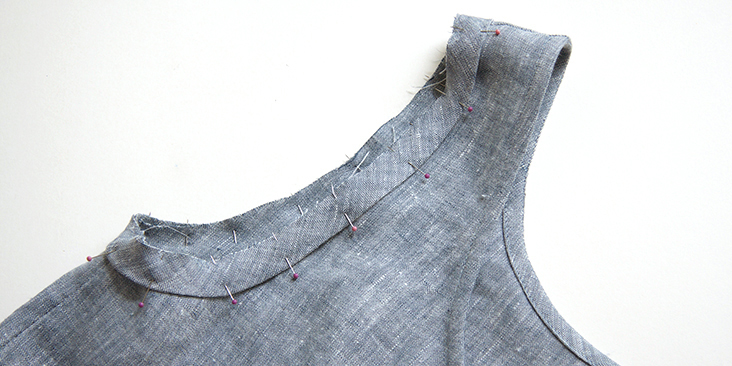
3. Bind the neckline as explained in this step-by step tutorial.
Be careful not to stretch the fabric and tuck in the ends as shown:
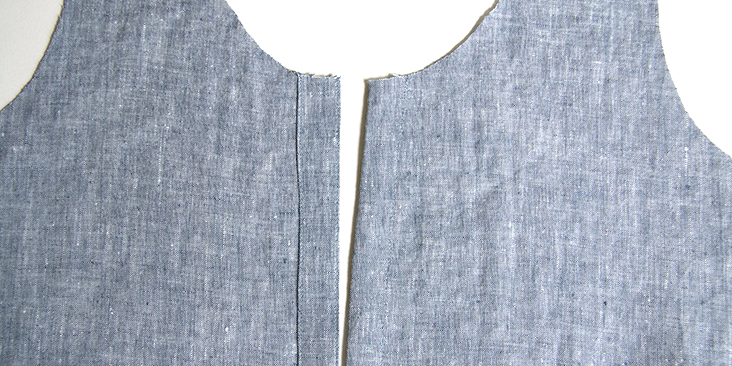
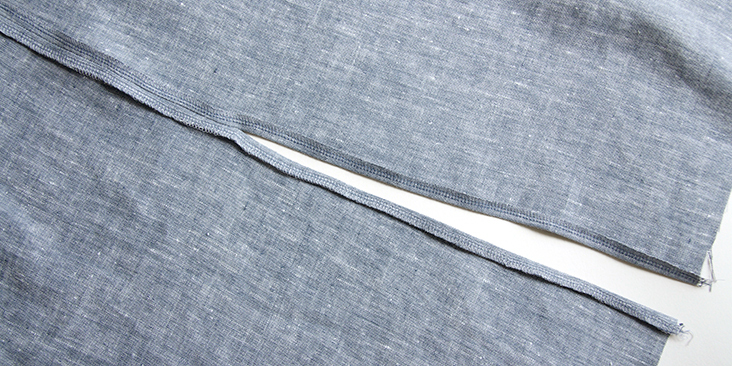
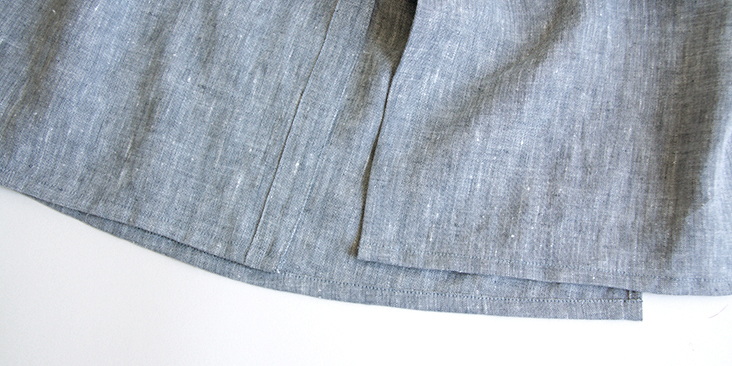
4. Finish the raw side seam edges of your front and back bodices separately. Pin the side seams right sides together and stitch the pinned edges at a 3/8” (1 cm) seam allowance stopping at the notches indicating the beginning of the slits. Remember to backstitch at the beginning and the end of each seam. Press the seams open and the slits seam allowance 3/8” to the wrong side.
5. Topstitch the edges around the slits to keep them in place.
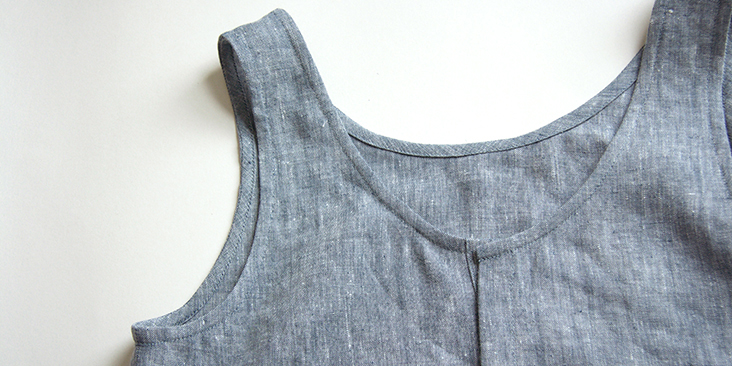
6. Bind the armholes using the same technique explained in this tutorial.
7. Hem the bottom of the dress. Fold the fabric twice to the wrong side (first 3/8”, then another 1/2″), press, pin and edgestitch.
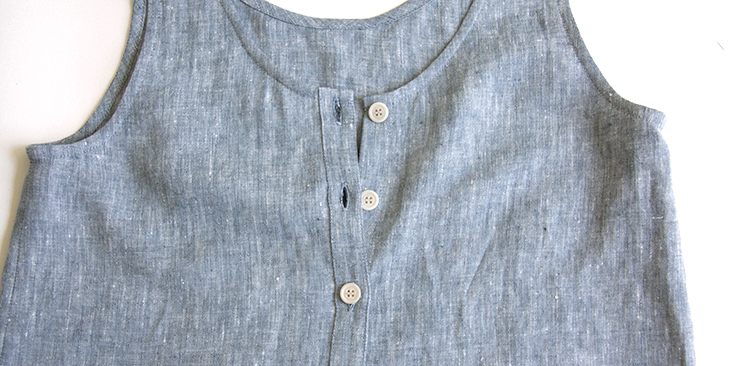
8. Lastly, sew the buttonholes and attach the buttons to the front opening. For the buttonholes, you can follow our detailed tutorial HERE. As for the buttons, check our tutorial HERE for instructions.
Overlap the bodice and place a pin into the center of each buttonhole. This is where you’ll need to attach the button.
9. Give your finished dress a good last press and you are all done!
We love seeing what you make! Don’t forget to share your pictures and tag your creations with #FabricsStoreSkyePattern hashtag.



















9 Comments
Pam Hopkins
I struggle with adjusting sizes and I am 41 bust. I cut my pattern out as an X;L and boy is it. I wish I cut it out as a large. I didn’t realize the finished garment was 44.5 inches. Live and learn.
Rosaleen Sullivan
Thanks for the ideas and this pattern. I’m not a fan of buttons and button holes, so am likely to change the design a bit to work around them. Reversible clothing is such an intriguing idea! I might try making this dress first just without the button feature, and consider making a second one as a double-reversible, that is, two versions, one inside the other, so it can be worn with either side showing as well as changing from front-to-back.
Amber Ivie
Cute dress pattern, but ended up being rather ill-fitting. I made a large based on the measurements. the straps are far apart and the arm holes are too deep by several inches. I took in the side seam at the under arm and graded toward an inseam pocket and shortened the straps. Both helped a little with the arm hole gaping, however the straps consistently fall off and are generally uncomfortable.
emily christine cote
I made this dress last year and forgot to leave a comment. It is lovely! I’m new to garment construction, and I had no trouble figuring everything out. I made this dress in a very heavyweight linen and it works well for both summer and winter – I think I will try it in a lighter weight next time. Beautiful pattern, thank you,
Andrea Derose
LOVE this dress!!! I made it in IL019 Signature finish, bleached. Size 4/6, cut 6″ from the length (I’m 5′ tall), made shoulder seams 1.75″ to snug up the neckline and armholes, and side seams .25″ just for a skosh more room. Fits perfectly!
Pingback:
2021 shopping plans - Chelsea Q. White blogCharlene Maguire
I just ordered my first linen, and was so excited to find this pattern, as I’m a new sewer and it looks like something I can complete. However, there are problems with the pattern once downloaded. First, none of the numbers on the pages print out, the gray is too light for the computer/printer to pick up on, I guess. Second… I can’t scale this pattern. I set it for 12-14, and still got the lines for all sizes. Would love to sew this dress, but I don’t think I’ll be able to do so, I have no idea how to tell which size line is which.
Andrea Andre
I made this as a Large in a cream color but I am slim-framed (narrow, boney shoulders and neck) with a wide chest and hip measurement. It was a little baggy and my bra was showing so I put a white linen tank under it and accessorized it with a long braided silk scarf and got a nice look going without having to make any alterations.
2 comments:
1. Make the top buttonhole with you machine BEFORE you put the bias tape on the neck because mine would not fit through my machine, it was too bulky and I had to take it apart and then the top got a little messy. Set me back an hour.
2. Also, I was confused by the bias tape pattern for the neck. It said cut 2 on the bias fold as a diagonal and I thought that was a lot and it would waste a lot of surrounding fabric so I just made tape using her other method blog.fabrics-store.com/2016/11/04/sewing-glossary-how-to-make-your-own-bias-tape-tutorial/ and cut it the the length I needed. Arm holes were fine.
Eileen Alexander
What a lovely summer dress. I looks simple to make and comfortable to wear. Thank you for this free patten and tutorial.