Dana Linen Jumpsuit Tutorial and Pattern
There was a time when the sight of a jumpsuit was rare. Unless you were a fan of disco or a nightclub regular in the 70’s. But in the last couple of years, jumpsuits are everywhere. Why they are suddenly so popular, you might ask? Well, we think it has something to do with the fast pace of the modern life where women just don’t have the time to spend picking matching separates. We love jumpsuits for the same reason we love dresses: they are a one item outfit, which makes getting dressed a no-brainer.
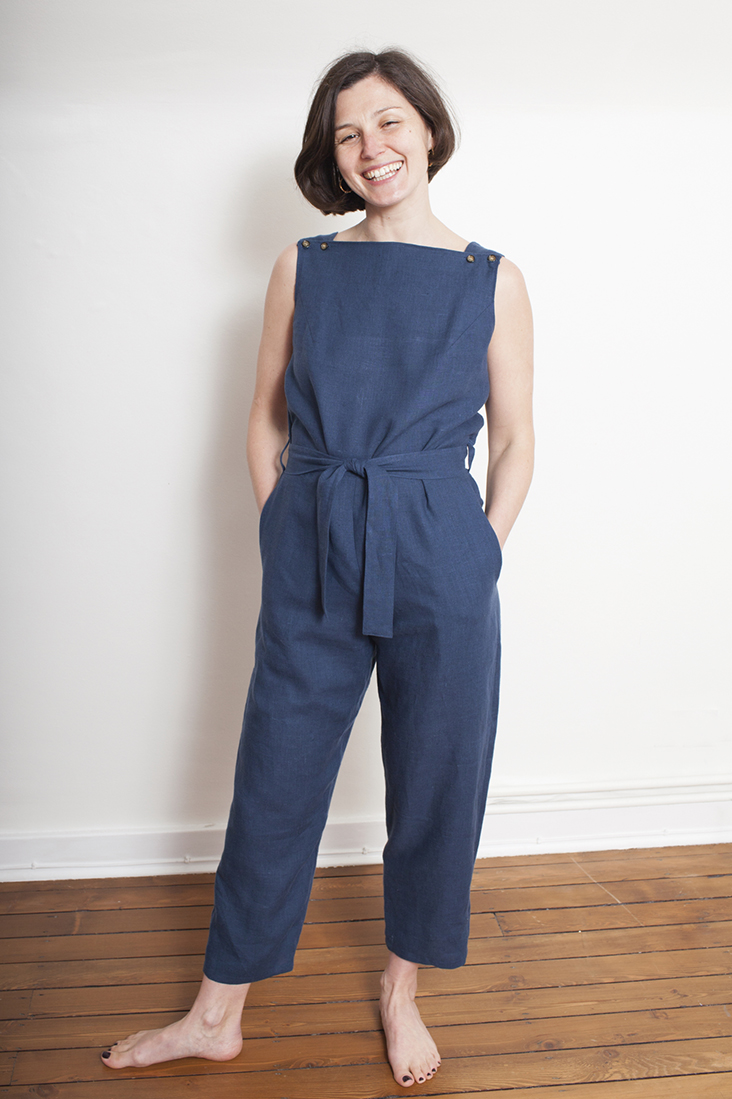
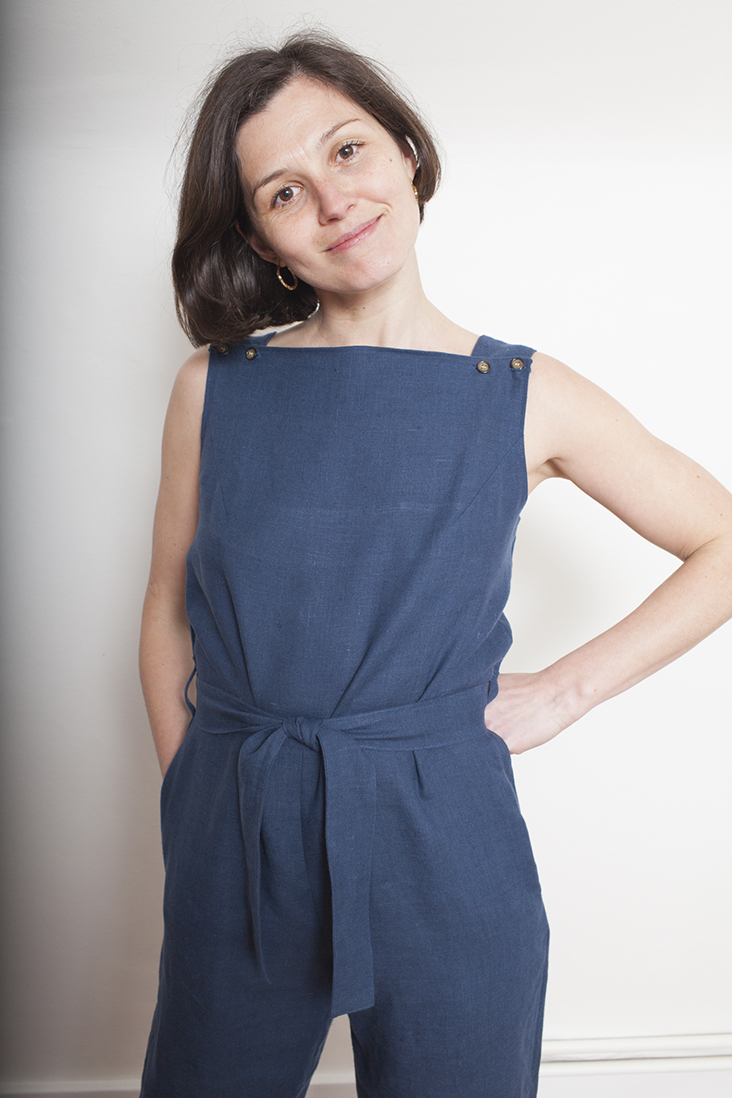
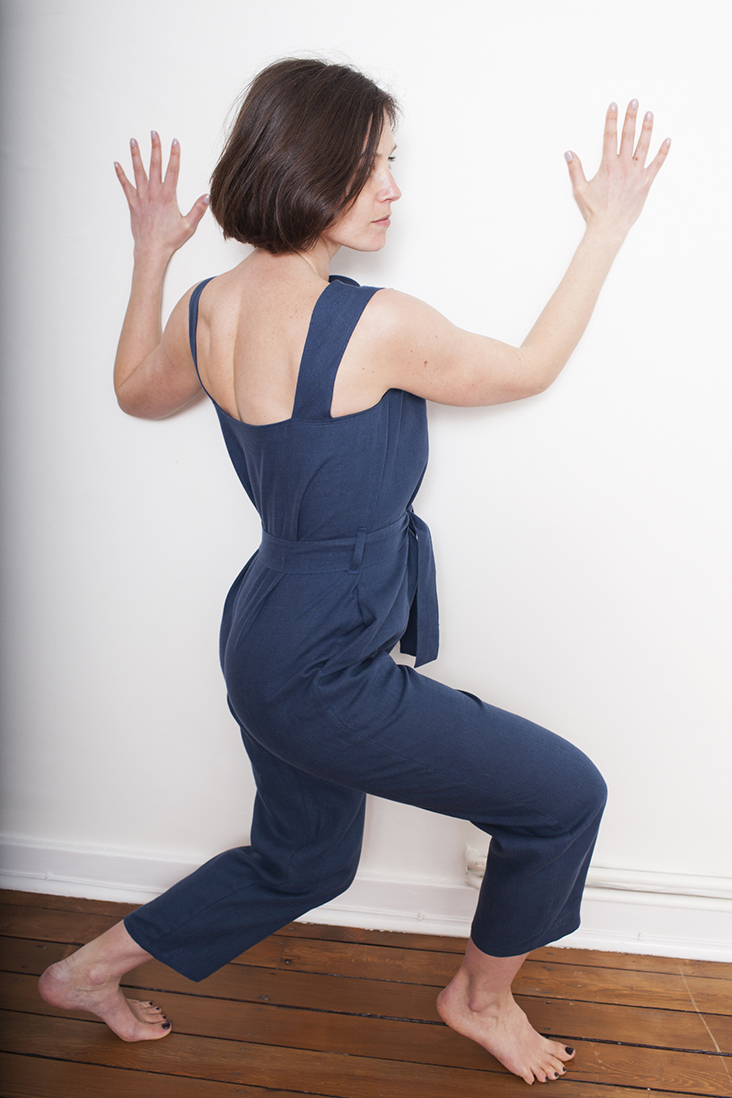
Our Dana jumpsuit is the perfect one-piece to make you look fabulous without overthinking it. With its fitted bodice, a detachable belt to cinch the waist and slightly tapered cropped legs, this sewing pattern has a flattering fit that can be easily adjusted to suit your body type.
Follow this easy tutorial and get summer-ready with a handmade jumpsuit.
Materials
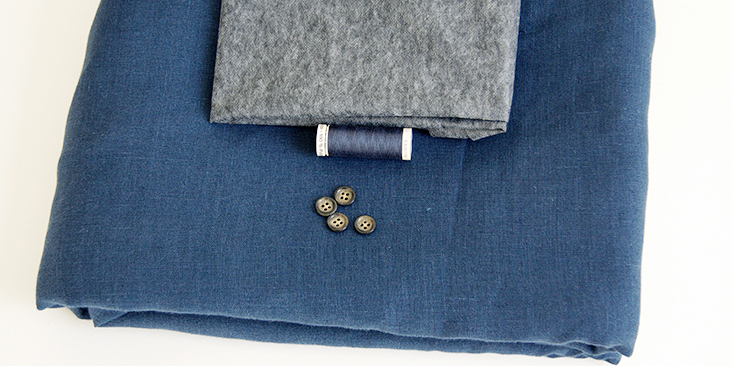
For our sample US size 6 pictured in this tutorial: 2.5 yards of IL019 COBALT FS Signature Finish Medium Weight linen.
Refer to the yardage table in the PDF pattern to determine the exact amount of fabric you will need for this project.
Matching sewing thread, fusible interfacing, 4 small (3/8″/1 cm) buttons.
Tools
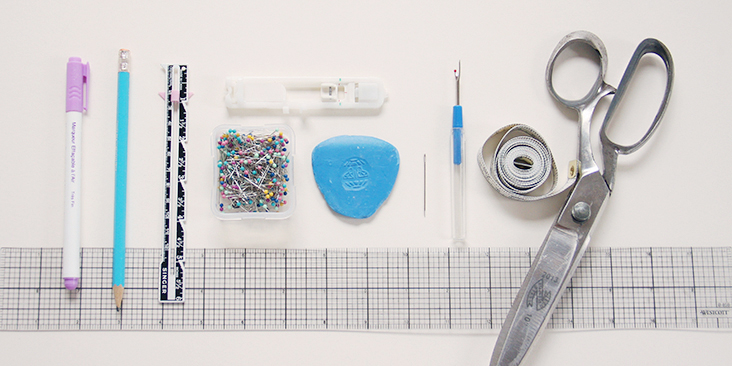
Scissors, pins, ruler, seam ripper, fabric marker, chalk, buttonhole foot, measure tape, needle, sewing machine
Difficulty
Advanced Beginner
Sewing Time
6-7 hours
Pattern
You can access the multi-sized printable PDF pattern by following this link HERE. All seam allowances are included. The model is 5’6 tall and wearing US size 6. If you need help adjusting the pattern for a fuller bust, we have a great Full Bust Adjustment tutorial HERE.
Remember to transfer all the notches onto your fabric.
Steps
Note: Prewash your fabric and tumble dry it until it is still slightly moist, dry at room temperature. Iron the fabric so it is easier to work with.
Let’s start with the bodice.
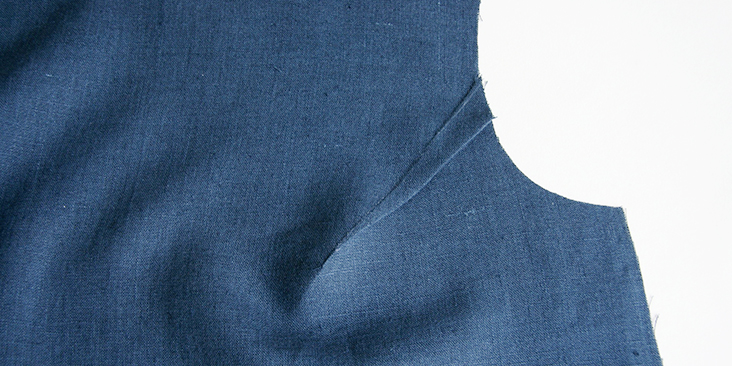
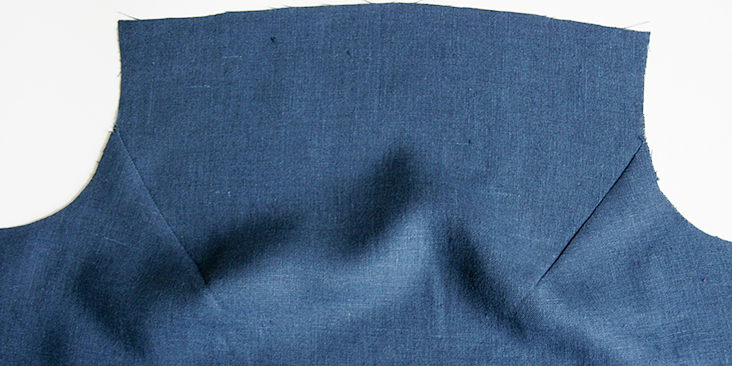
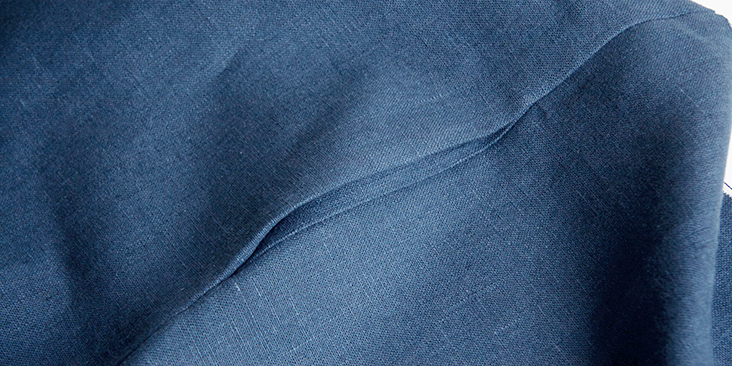
1. Sew the front bust darts as explained in this tutorial. Press the volume of the darts downwards.
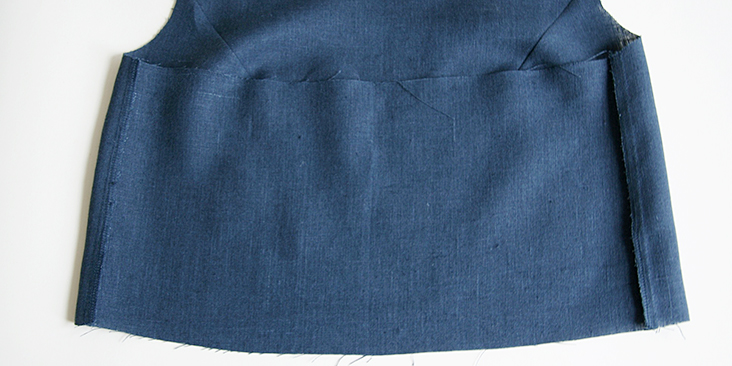
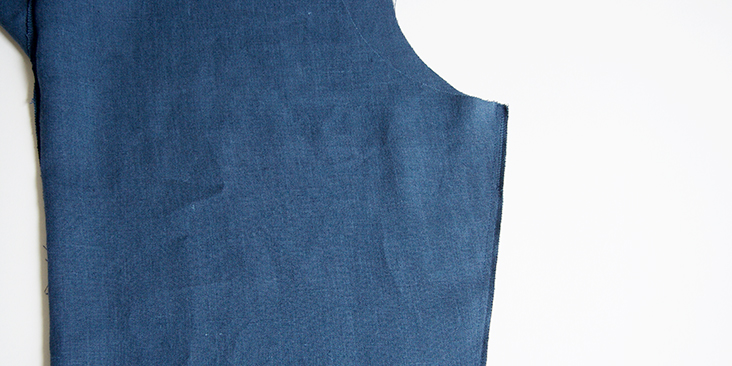
2. Pin the bodice front and back pieces right sides together at the side seams. Sew at a 3/8” (1 cm) seam allowance, then finish the seam allowances using your preferred method (serge or zigzag the raw edges together) to prevent the fabric from fraying and press towards the back.
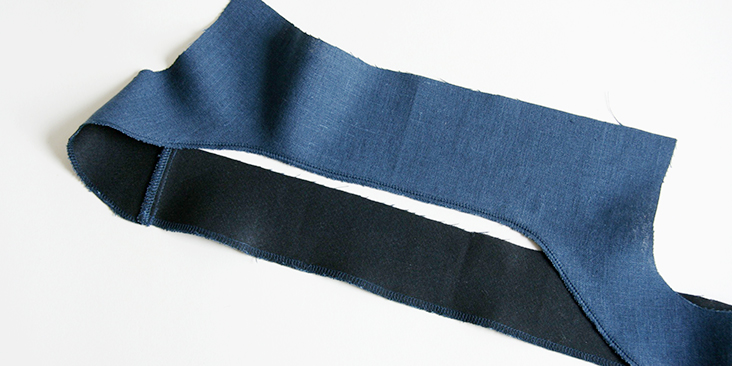
3. Stitch the front and back facing pieces right sides together at the side seams. Press the seams open and serge or zigzag along the outer raw edge.
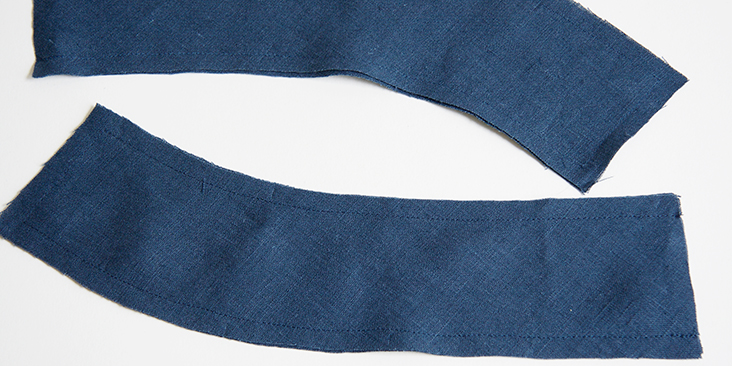
4. Pin your straps right sides together and stitch at a 3/8” (1 cm) seam allowance along the sides and the front edge, leave the back short edge open.
5. Grade the seams, clip the corners and snip along curves to release the tension, then turn right side out, press and topstitch 1/8” from the edges.
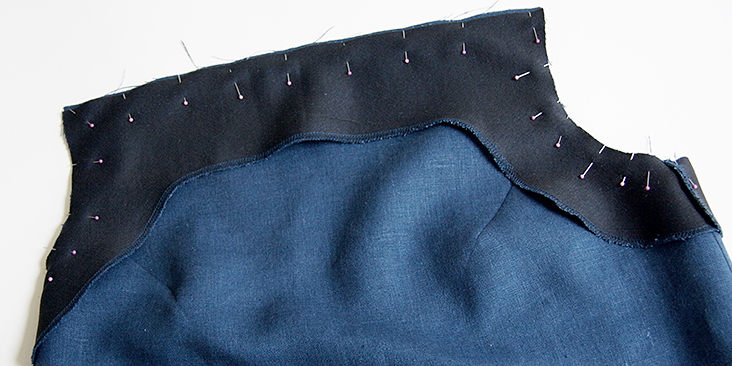
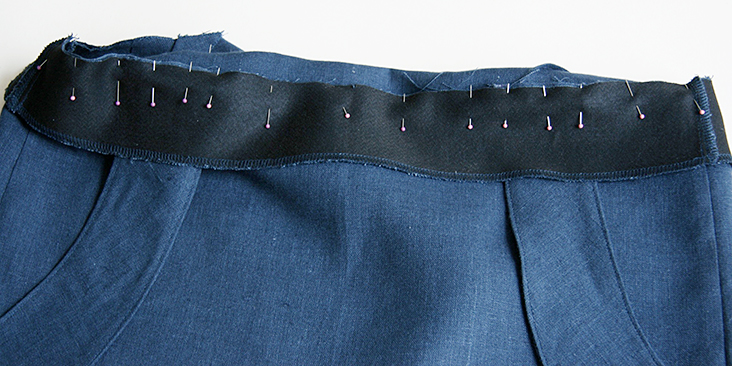
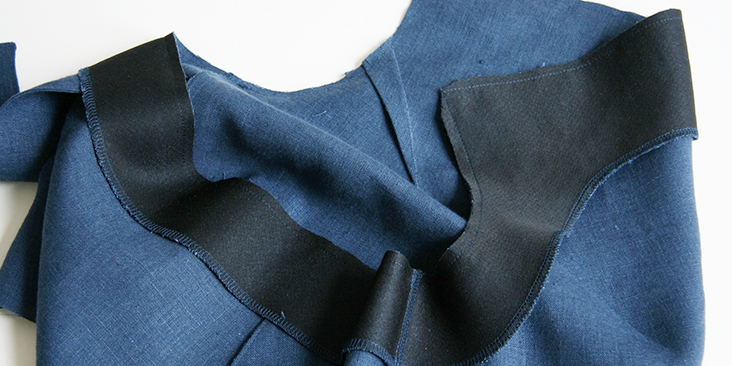
6. Pin the facing to the bodice along the upper edge right sides together matching the side seams, then insert the raw edges of your straps between the bodice and the facing at the back between the notches and pin in place.
Make sure to place your straps correctly: facing away from the center back, underside facing you.
7. Stitch along the pinned edge at a 3/8” seam allowance.
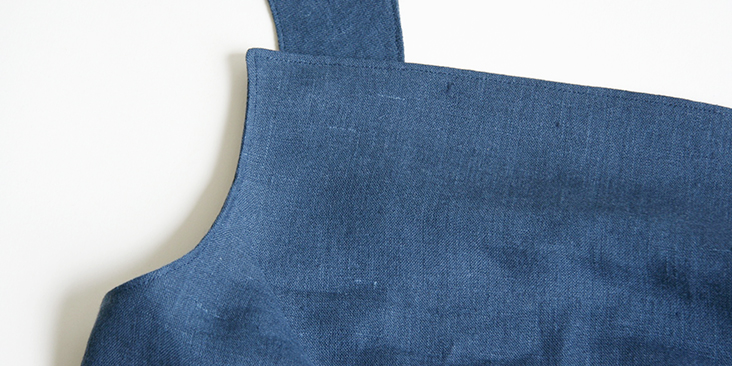
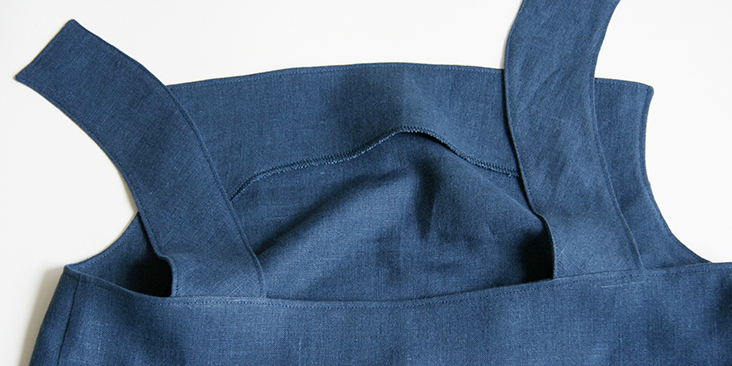
8. Grade the seam allowances down to 1/4″, clip the corners and snip into the armhole curves to release the tension. Then turn the facing to the inside, press and topstitch 1/8” from the edge.
Your bodice is almost complete, you’ll just need to add buttons and buttonholes to the straps but we’ll do it after we’ve attached the pants. It will be easier to adjust the straps if needed once you’ve tried your finished jumpsuit on.
Time to sew the pants!
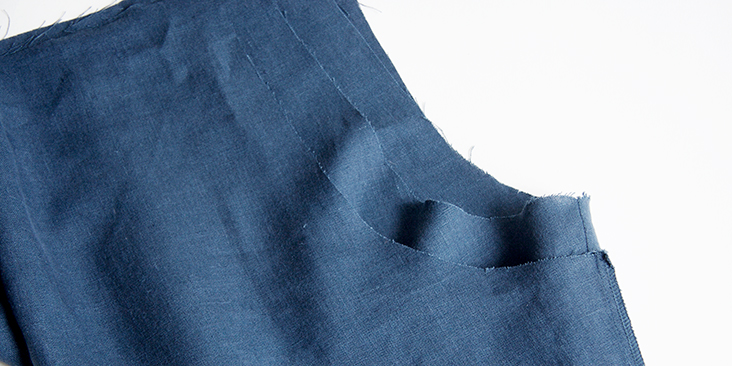
9. Attach the inseam pockets. Follow this step-by-step tutorial and place your pockets between the two pocket notches provided in the pattern.
Note that each pocket should be “sandwiched” between each pant front piece and the corresponding pant back. Notice how the front and back are a little different. The back is cut a little deeper in the crotch to allow for sitting.
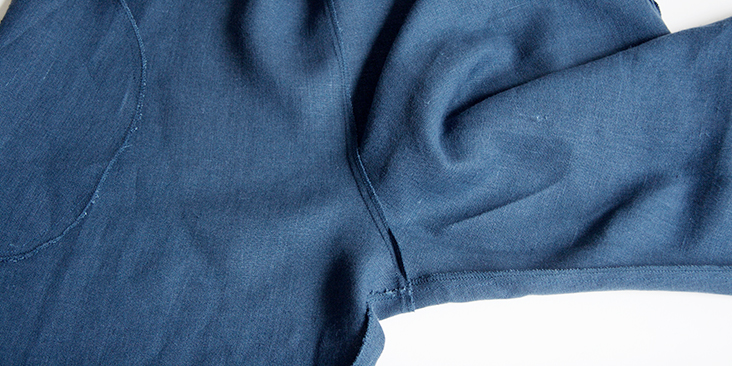
10. Sew along side seams and the pockets all in one seam at a 3/8” (1 cm) seam allowance. Serge or zigzag the raw edges together to prevent the fabric from fraying. Press the finished seams and pockets towards the front.
11. Once you’ve attached your pockets and finished sewing the side seams, pin and stitch front leg to the corresponding back leg at the inseam right sides together. Finish the seam using your preferred method and press towards the back.
12. Turn the right leg right side out and slip it into the left leg.
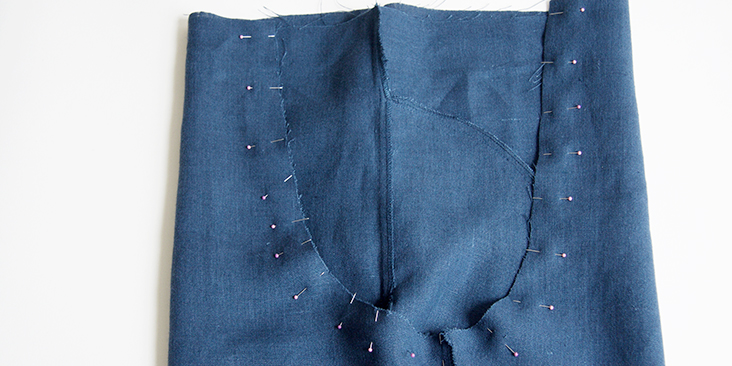
13. Pin the crotch seams together matching the side seams and inseams.
14. Sew along the crotch seam at a 3/8” (1 cm) seam allowance. Serge or zigzag the raw edges together and press towards left leg.
15. Pin the pants to the bodice right sides together matching the side seams. Stitch at a 3/8” (1 cm) seam allowance and finish the raw edges together. Press the seam allowance towards bodice.
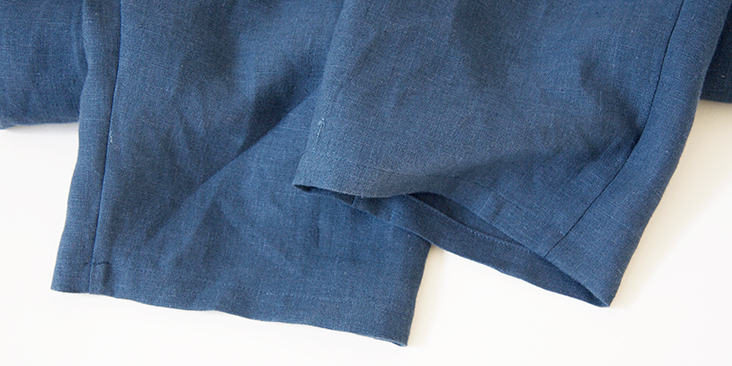
16. Hem the legs. Fold the fabric twice to the wrong side, first 3/8” then another 1/2″, press, pin and edgestitch.
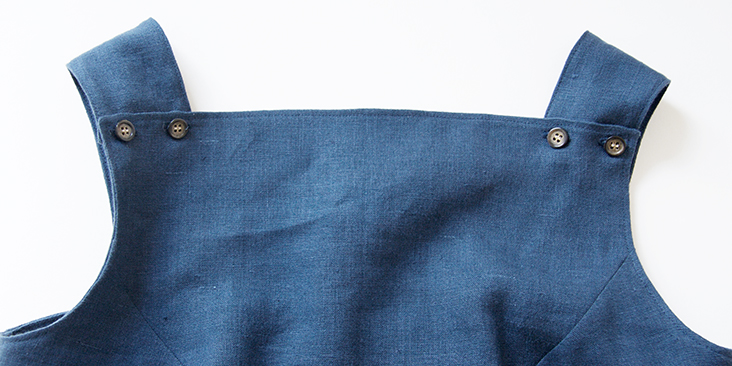
Now that your top and bottom are assembled, try the jumpsuit on and see what is the most comfortable strap length for you. Mark the level where straps and bodice overlap and sew the buttonholes on the bodice and buttons on the straps.
For the buttonholes, you can follow our detailed tutorial HERE. As for the buttons, check our tutorial HERE for instructions. Overlap the straps and bodice and place a pin into the center of each buttonhole. This is where you’ll need to attach the button.
Stitch your buttonholes horizontally.
18. Sew the detachable belt: Join two pairs of the 4 belt pieces together along one short edge to create two continuous belt pieces. Press seams open.
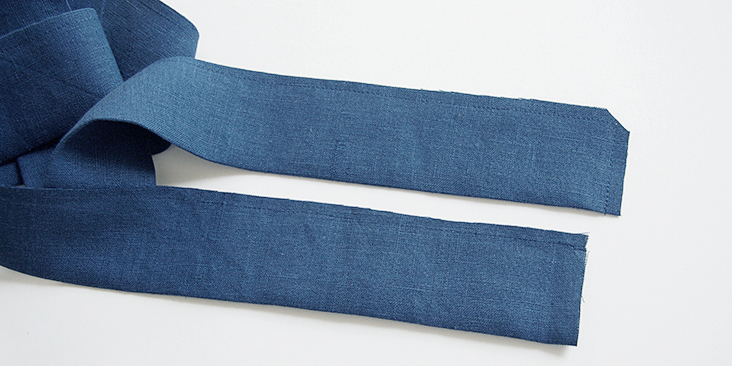
Place the belt pieces right sides together and stitch along two long edges and one short edge at 1/4″, leaving one end open. Backstitch at the start and finish of the seam. Clip the corners.
19. Turn the belt right side out, use a sharp tool or a chopstick to turn the corners, and press. Tuck in the raw edges into the opening, then stitch along the perimeter of your belt 1/8” from the edge to close the opening and prevent the belt from twisting in the future.
Lastly, sew the button loops and attach them to the jumpsuit.
20. Fold your loop fabric in half right sides together and stitch ¼” from the raw edge. Remember to backstitch at both ends.
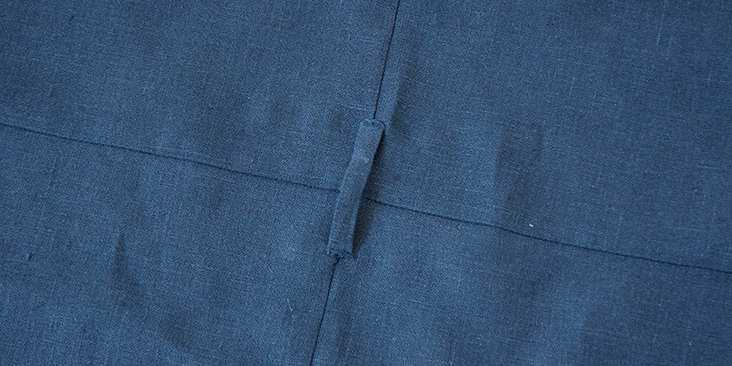
21. Turn the loop right side out, roll the seamline to the center of the underside and press.
22. Tuck in the ends and attach one belt loop to each side seam (where the sides meet the waist) by stitching a small bar tack at both ends of a belt loop.
23. Give your jumpsuit one last press and you are all done!
We love seeing what you make! Don’t forget to share your pictures and tag your creations with #FabricsStoreDanaPattern hashtag.
This one piece wonder will make dressing for warmer weather seam like a breeze. Solids, stripes, heavy or light… pick your pleasure from our selection of linen fabrics!


































17 Comments
Pingback:
18 Free Jumpsuit Sewing Patterns : Sewing InsightPingback:
Les robes de l'été - L'atelier des marronniersYuki Zhang
I have tried this pattern size 4/6, there seems to be serious porblems. The collar is so high that it chokes me, the pant is so huge and long that I feel I can fit a chicken in my crotch if I respected the 1 cm seam allowance.
I made a lot of changes, lots of trial and error and finally it worked.
Another thing is that maybe it’s bettr to add a side zipper, this design is very beautiful and elegant but a bit hard to slip in, considering I have made it with a very crispy and heavy fabric ( for autumn Winter), I want to wear a shirt inside, without a zipper, it’s hard to adjust the shirt inside.
Justine Lee
Hey there I have a question.
Am I correct in my understanding that the only opening for the jumpsuit is from the top? If the finished measurement for the bust and waist (size 0/2) is 35″, I can’t visualise 36″ hips squeezing in from the top.
Is my thinking flawed?
Lauren Gates
Hello Justine, If your using our linen, the fabric has a little give in it, and paired with the openness of the top, we’ve found it fits over 35/56″ hips. But if you’re concerned it may be a tight squeeze you can add in a side zipper or go up one size.
Justine Lee
Thank you, Lauren. I got it!
betsy pelletier
Hi there! I’m working on making this jumpsuit right now and I’m a bit confused about the belt. The pattern says to cut 4 on the fold, but doesn’t indicate which side to line up with the fold. Also, there is nothing in this step-by-step that indicates that we have to sew 4 pieces of the belt together. Was this a typo? Any advice would be appreciated!
Lauren Gates
Hello Betsy, I’m going to send you an email 🙂
Melissa Stratton
Thank you for a wonderful pattern! I am seeing it up right now and the bodice is not quite matching up to the bottoms. The side seams cannot match and the bodice is too short to match up correctly with the bottoms. Are we supposed to gather the fabric at all? Or maybe I made a mistake? Any help would be greatly appreciated!
Agathe Majou
Very relieved to see it’s not just me!
Gabriella Robins
I’m having the same problem trying to figure out it I can get away with a pleat or if I’m going to have to re cut the pants
Erika Hardman
Hi there, wondering if you figured out a fix? I tried to make this jumpsuit over the weekend and the bodice and pants definitely do not match up! I am not sure if I have the skill to hack this to work, so would be grateful to any tips out there to fix my project 😉
Lauren Gates
Hi Erika,
Thanks for the comment! We’ve got our designer looking into it now. Look out for an email from us, we’d like to hear more about the issue to help us get it fixed up quickly. our apologies for the delay so far.
Lauren Gates
Just letting you know, the pattern has now been updated! There was indeed too much room in the pants section of the pattern, which has now been removed.
Erika Hardman
Hi there,
Thank you so much for your attention and action on this! I am hoping to be able to fix my jumpsuit without re-printing the pattern and definitely without re-cutting the pants, as I do not have enough fabric to start over. Do you have any tips for how to save my project? Can I alter the pants to be able to fit the bodice? Thank you!!!
Lauren Gates
Hello Erika, it should be an easy fix and the project is totally saveable. The issue was that there was double the amount of seam allowance on the pants section, so if you remove this extra fabric you’re good to go!
If you wanted some extra help, feel free to email me: ask@fabrics-store.com
Juan You
This is lovely, can’t wait to try it! Thank you for step by step photos!