Riley Shirt With Oversized Cuffs Tutorial and Pattern
A woman can never have too many white shirts, n’est-ce pas?! It is our go to option when we’re out of ideas on what to wear. Of course, if you ask us, we strongly believe that a white shirt made out of linen with its raw, organic texture is an absolute must.
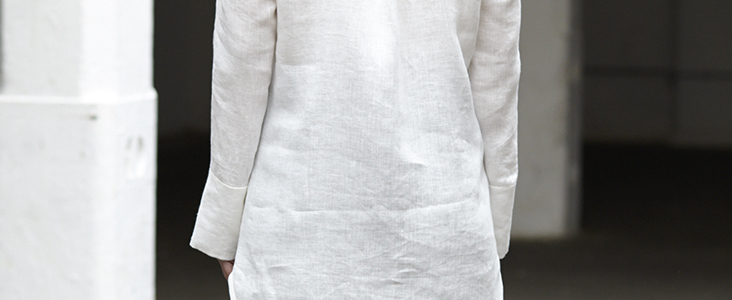
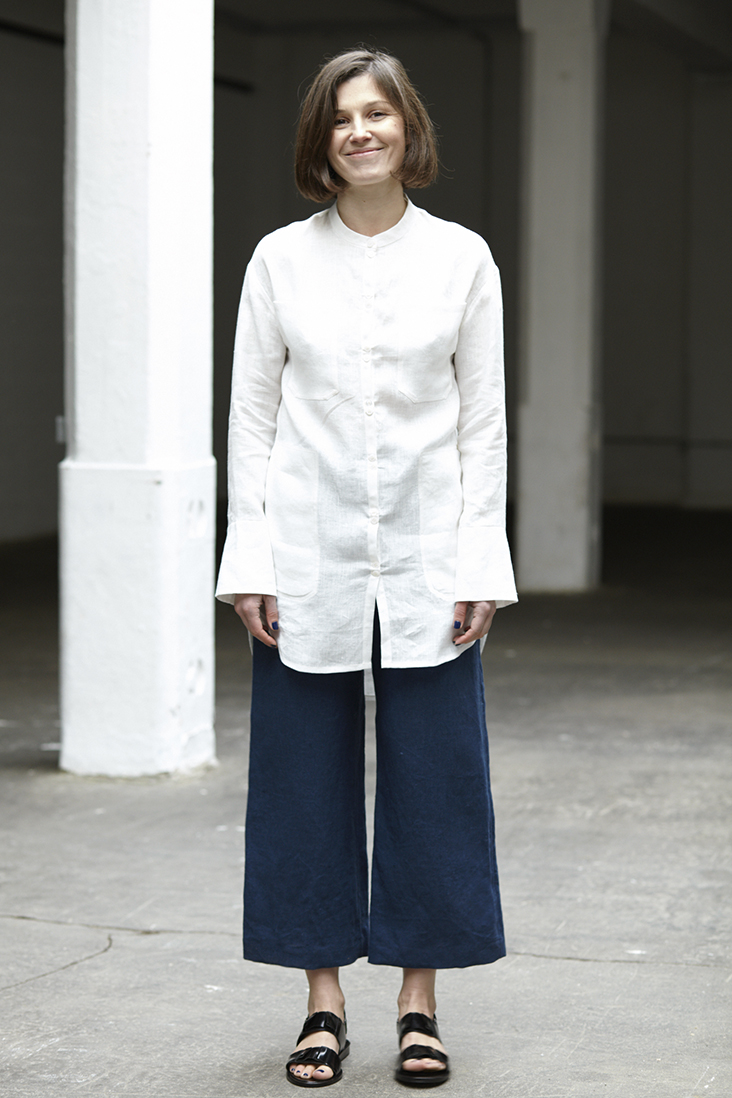
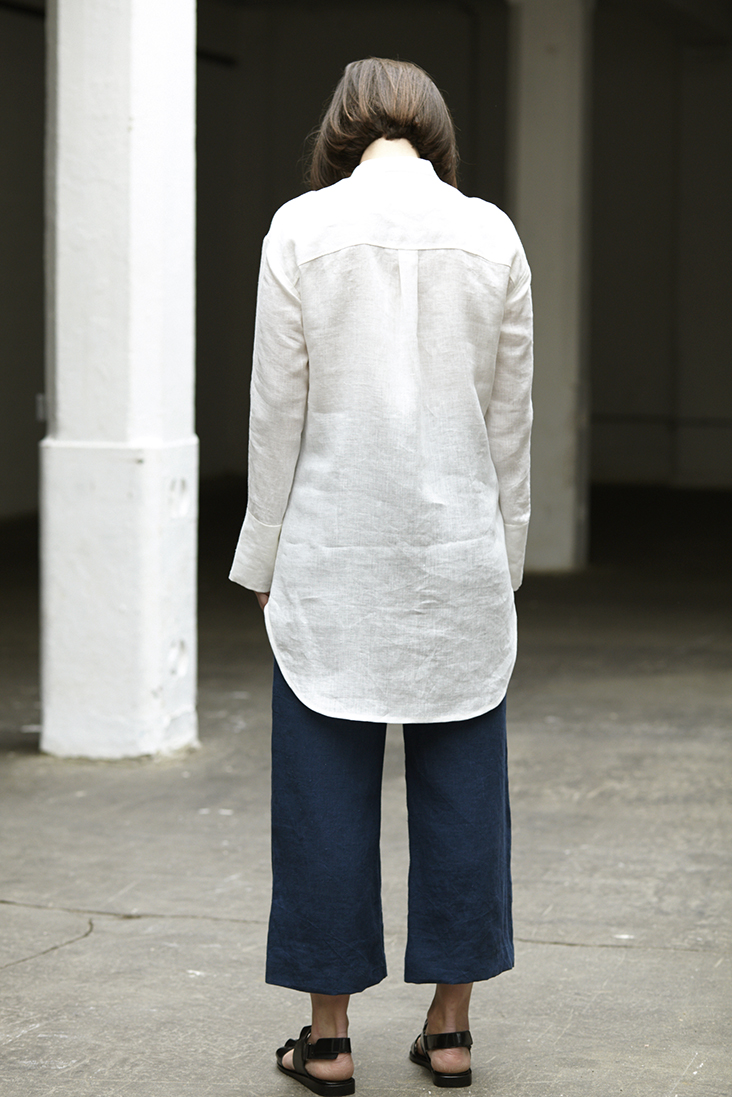
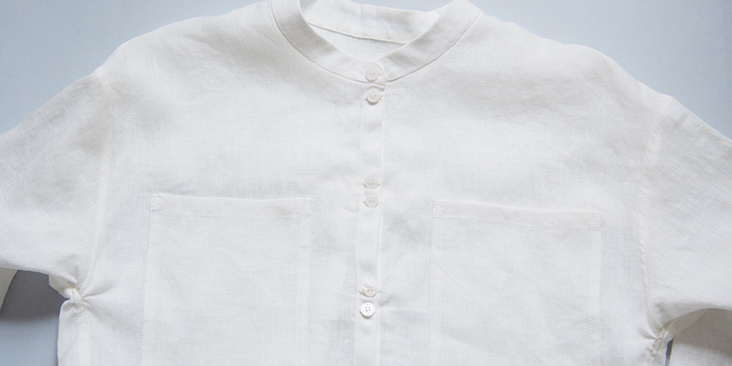
With our Riley shirt we wanted to accentuate the effortless by choosing clean lines and a straight shape, but added a bit of structure with a stand up collar, oversized cuffs and detachable belt. Plus, it has so many pockets for comfort and interesting detailing.
Riley is a very minimalist looking shirt but with many sewing techniques involved: French seams, stand up collar, inseam and patch pockets, cuffs, yoke to name a few. And even though this pattern is classified as «intermediate», we will guide you through all the steps for a nicely finished shirt.
Materials
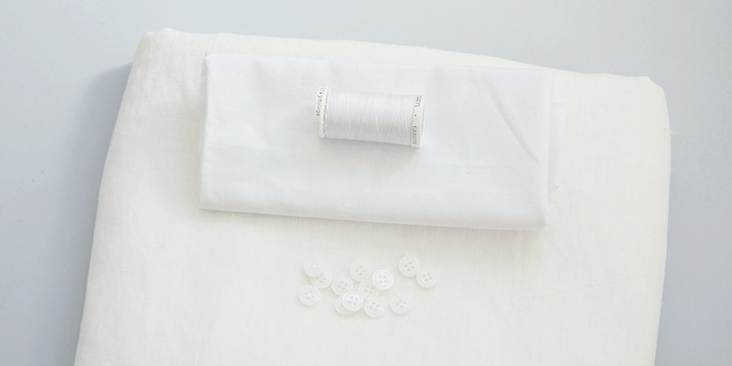
2 yards of IL020 BLEACHED Softened Light Weight Linen
Matching sewing thread, fusible interfacing, 12 small (18L) buttons
Tools
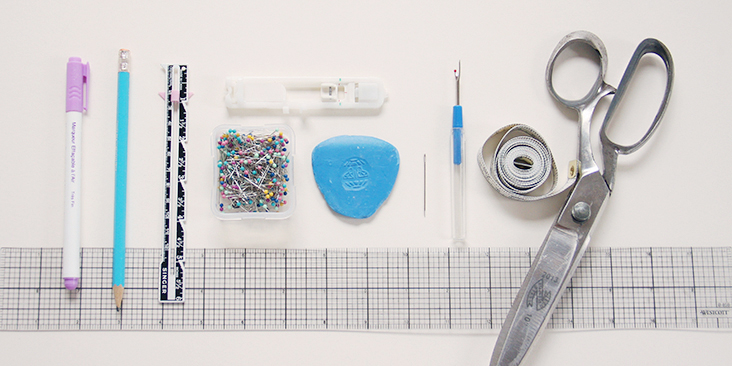
Scissors, pins, ruler, chalk, measuring tape, fabric marker, buttonhole foot, seam ripper, needle, sewing machine
Difficulty
Intermediate
Time
7-8 hours
Pattern
You can access the multi sized printable PDF pattern by following this link HERE. All seam allowances are included. The model is wearing US size 6.
Remember to transfer all the notches onto your fabric.
Steps
Note: To avoid shrinkage, prewash your fabric and tumble dry it until it is still slightly moist, dry in room temperature. Iron the fabric so it is easier to work with.
As always, we start with the button bands.
1. Apply fusible interfacing to the wrong side of your right and left front pieces 3/8” from the raw edge.
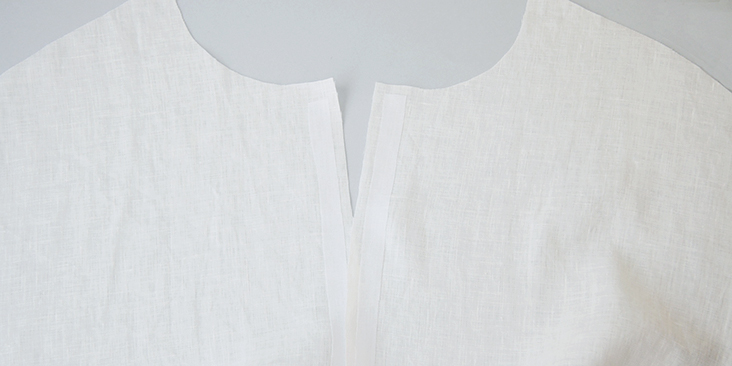
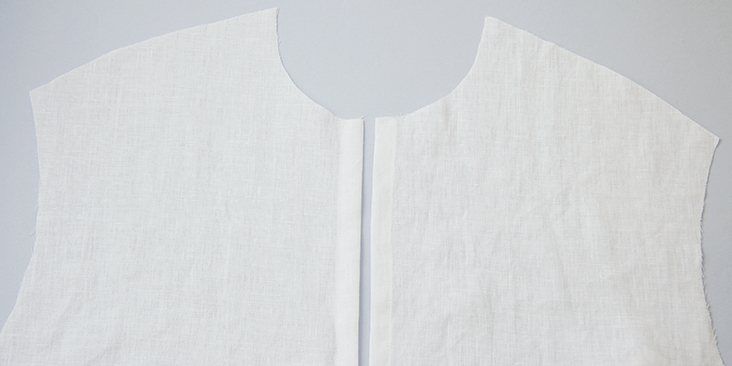
2. Fold the center front left and right raw edges twice to the wrong side (3/8″ (1 cm) to 5/8″ (1.6 cm)). Press and pin. From the wrong side of the fabric, stitch a straight line as close as possible to the inner folded edge. Repeat for the other side.
You have now created identical button bands along the entire center front of the top that will create a 5/8″ overlap when buttoned up.
Do not sew the buttonholes and attach the buttons yet. We’ll do this when the collar is attached and the bottom hem is finished.
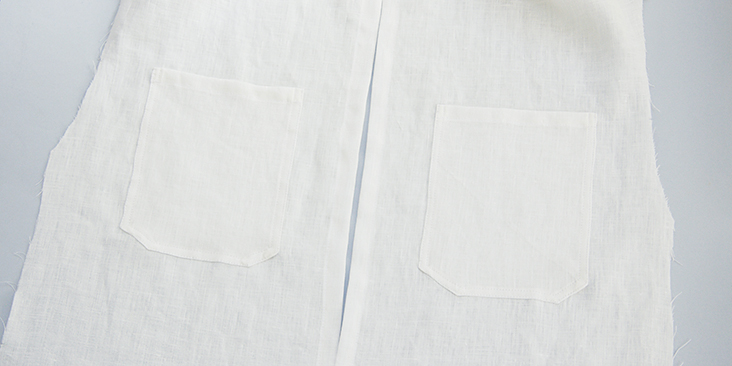
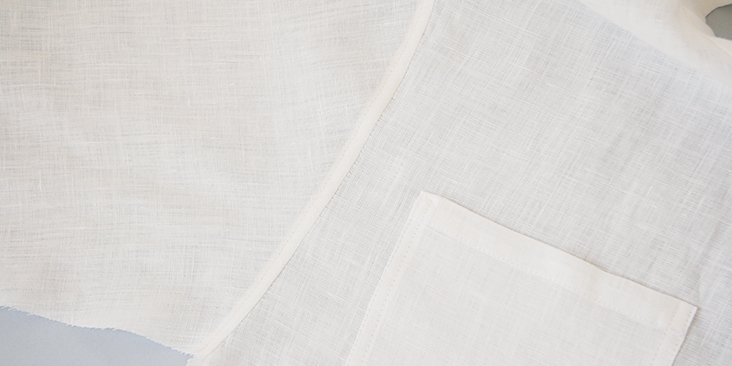
3. Sew the front patch pockets following the second method explained in this tutorial.
Refer to the notches on the pattern pieces and place your pockets accordingly. Anchor with two parallel lines of topstitching 1/8” apart.
4. Prepare your back piece: with your fabric’s wrong side facing you, accordion pleat your back (1/2″ to 1/2″) at the Center Back (the two pleats should meet at the center) and baste across the pleat (1/4″ or 6mm from the raw edge) to secure.
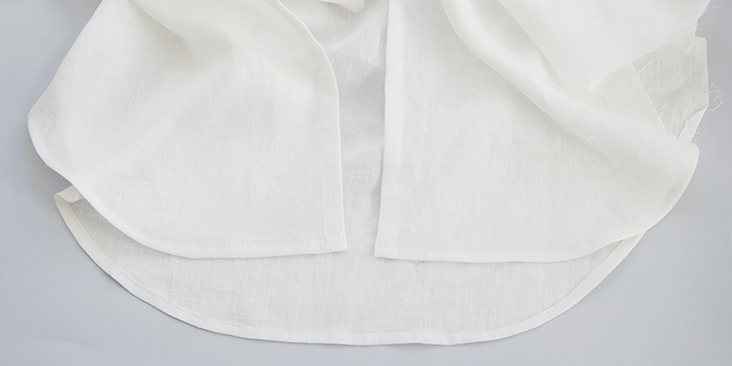
5. Finish the bottom hem of your front/back pieces using the great technique for curvy edges explained in this tutorial.
Now that the preparation is over, we can finally assemble the back and the front of the shirt with a yoke.
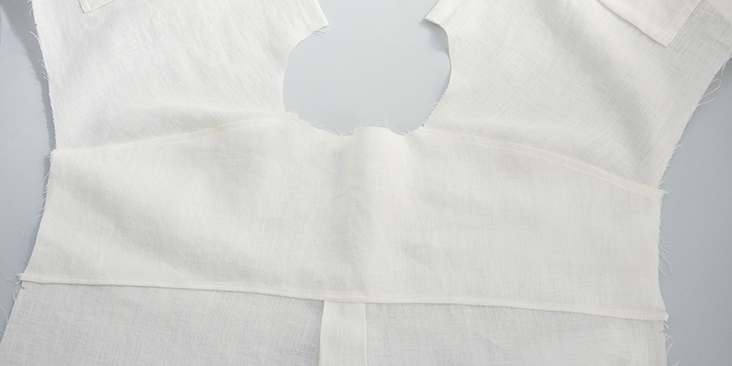
6. You’ll find the detailed instructions on how to attach the yoke in this step-by-step tutorial.
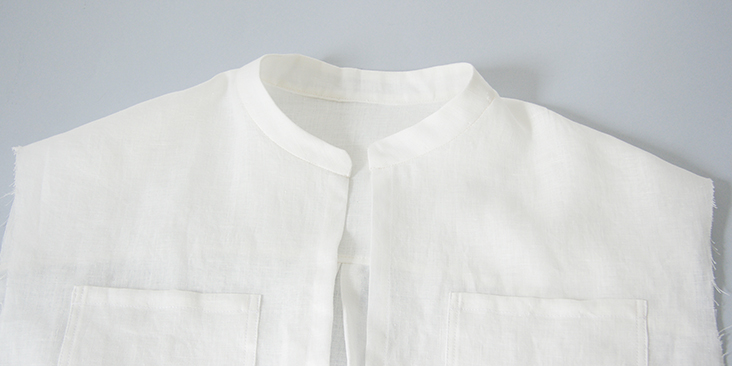
7. Attach the stand up collar as explained in this tutorial. Don’t forget to apply fusible interfacing to the wrong side of your outer collar stand for more structure and support.
Next up – the sleeves! The sleeves are attached using French seams. We have a great tutorial about this technique here. This finish is ideal when working with lightweight fabrics since the raw edges are completely enclosed within the seam making it neat and more durable.
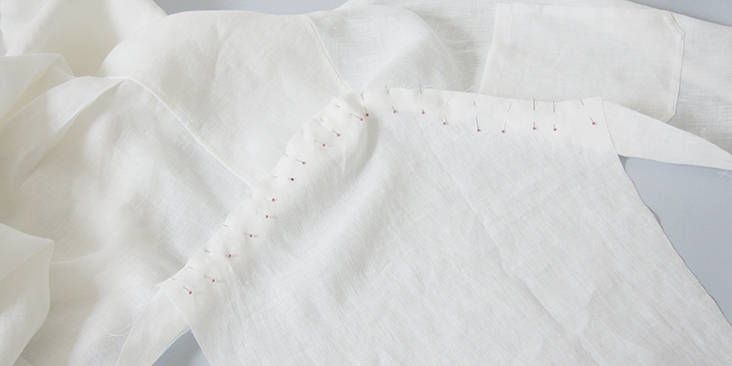
8. Pin the sleeves to the armholes wrong sides together. Make sure to match the front/back notches.
9. Stitch at a 1/4” (6 mm) seam allowance then follow the instructions in this tutorial to create a French seam. Press the seam allowances towards the sleeve.
10. Run a second line of topstitching 1/8”-1/4” away from the original seamline. Remember to backstitch at both ends.
Next, we will be attaching inseam pockets and sewing sides with French seams.
11. Pin your pocket pieces to the corresponding front and back panels right sides together matching the pocket notches.
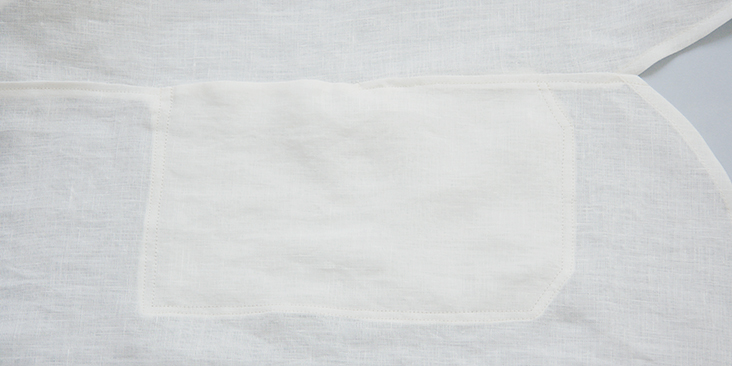
12. Stitch your pockets to the shirt starting 5/8” away from raw edges as shown here in fabric marker. Trim the seam allowance along the stitch line down to ¼” to reduce bulk.
13. Press the pocket away from the shirt.
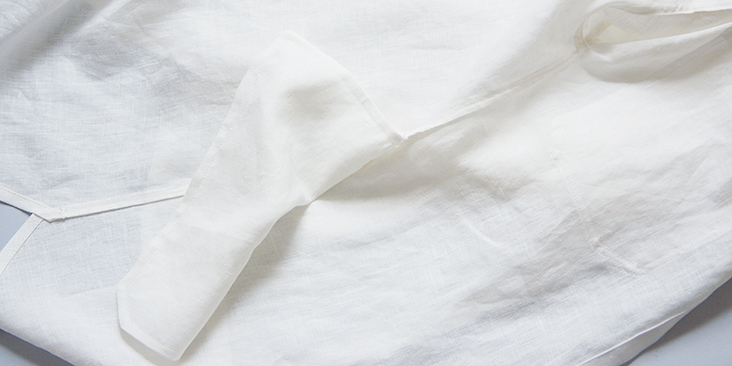
14. Side seams, underarm and pockets are finished all in one seam with French seams. So, pin the raw edges wrong sides together (right side facing you) and sew at 1/4″ seam allowance along the entire pinned edge, starting at the sleeve opening, going down to the side seam, pockets, side seam again and finishing at hem.
You’ll notice that there’s a small gap where the pockets meet the side seam. This is normal, since you only did first half of your French seam manipulation. The gaps will be taken care of during the second half of the process.
Grade your raw edges down to 3/16” and press the seam allowance to one side. Run a second line of stitching 3/8” from the edge to complete your French seam.
15. Again, press your seam allowance towards the front and topstitch in place along the entire side seam/underarm including the pocket. Run a second line of topstitching on the pocket.
Next, you need to sew and attach the cuff.
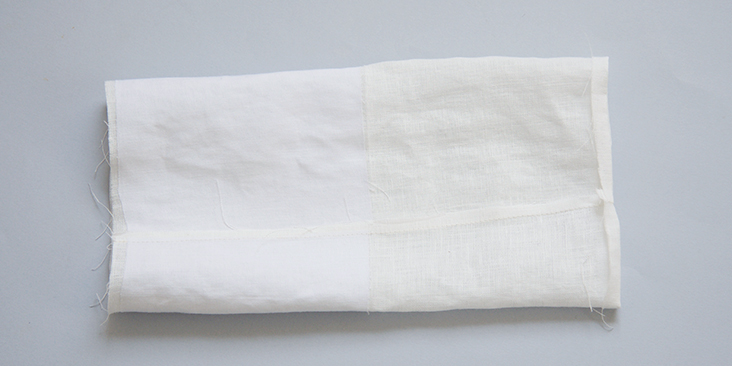
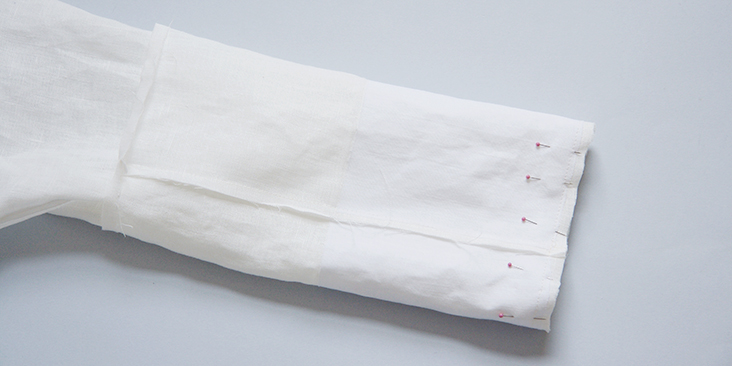
16. Pin two side seams right sides together. Then sew at a 3/8” seam allowance, press it to one side and press up the non-interfaced seam allowance 3/8” (1 cm) to the wrong side.
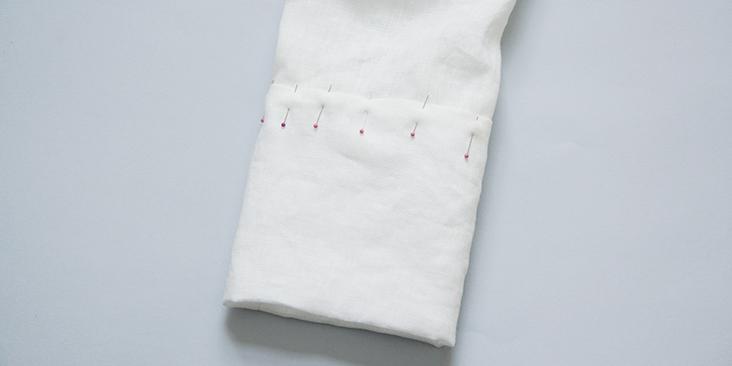
17. Fold your tube in half lengthwise and pin the unfolded seam allowance (on the interfaced part of your cuff) to the sleeve opening right sides together and matching the side seams.
18. Stitch the two together at a 3/8” seam allowance. Press the seam allowance down towards cuff.
19. Now, pin the second cuff seam allowance to the sleeve covering the seamline by a couple of millimeters.
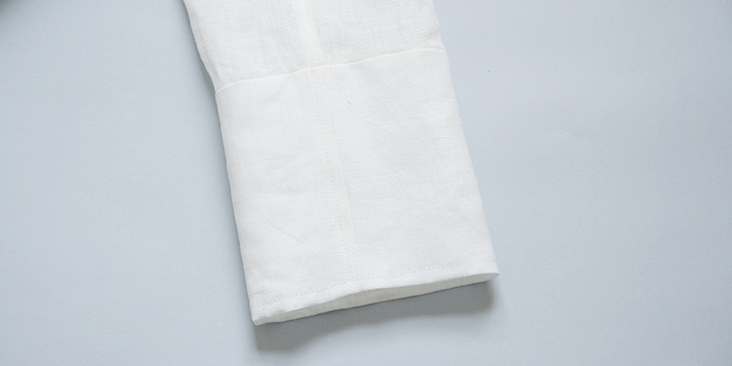
20. Working from the right side of your shirt, topstitch along the pinned seam in the crease of your outer cuff making sure to catch the edge of the inner cuff.
Now that your cuff is attached run two lines of decorative topstitching: one along the underarm seam and one along the entire cuff opening.
21. Your shirt is assembled, last thing to do is to attach the buttons and sew the buttonholes.
The number and the spacing are really up to you, we thought that placing two buttons at a time would give an interesting touch to this shirt. So starting from the collar, the buttons are placed 1/4” away from each other and 2,5” apart.
Remember, that in women’s clothing the buttonholes are sewn on the right button band and the buttons – on the left. For the buttonholes, you can follow our detailed tutorial HERE. Buttonholes are stitched through the dress fabric and interfacing. As for the buttons, check our tutorial HERE for instructions.
Overlap the bands and place a pin into the center of each buttonhole. This is where you’ll need to attach the buttons.
Lastly, sew the detachable belt.
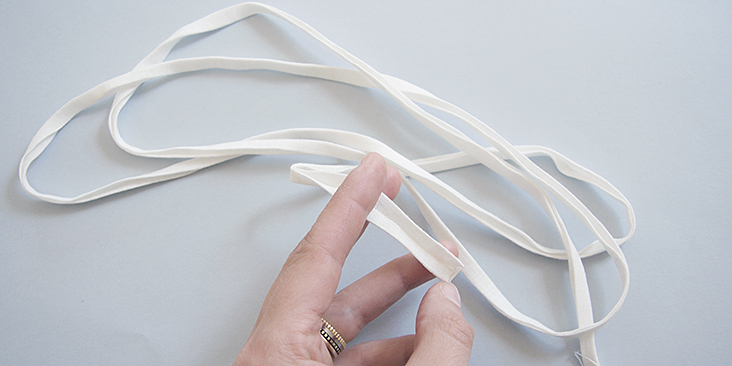
22. To start, fold your tape in half lengthwise to mark the center then bring the raw edges in to this centerfold line. Tuck in the short ends and pin.
23. Edgestitch to close the open edge and along the entire belt rectangle.
24. Give your shirt a good last press and you are all done!
We love seeing what you make! Don’t forget to share your pictures and tag your creations with #FabricsStoreRileyPattern hashtag.








8 Comments
Lynn Merry
The in seam pocket is giving me trouble. It’s fine up to 13. Where is the pocket in step 14? With the French seam, the pocket always seems to end up on the wrong side and I can’t get it right.
Lauren Linen
Hi Lynn,
I’m sorry you’re having trouble with this pattern. To complete the pocket, fold it to the WS of your shirt. You can baste it in place along the side seam if you’d like to help keep place. Then sew your french seam as usual.
I hope this helps, Lauren
Yolanda Wilkins
Hello! I’m planning to make this blouse and would like to know if I switch out the existing collar, could I substitute it with the Noa collar? Would that work or would I be better off drafting a collar on my own? Thanks for your assistance.
Lauren Linen
Hello Yolanda, its always a good idea to draft a collar to suit your pattern, our other patterns aren’t guaranteed to have the same neckline fit and shape.
Yolanda Wilkins
Thanks for your response. I’ll post a pic when I’m finished. Fingers crossed!
Regina Mazzella DI Dosco
Would it be easy to just omit the on seam pockets? I think i would prefer it without. Thanks for publishing these fun tutorials and for your beautiful linen fabric!
Lauren Gates
Hello Regina, I think it would be an easy thing to omit the inseam pockets from the pattern. Simply sew and finish the side seams as usual.
McKenzie Reints
Hi I was wondering what pant pattern she has on in this tutorial? Is it one of yours?