Jules Pleated Shorts Tutorial and Pattern
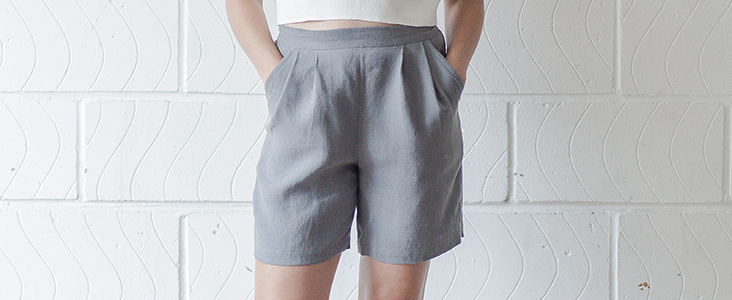
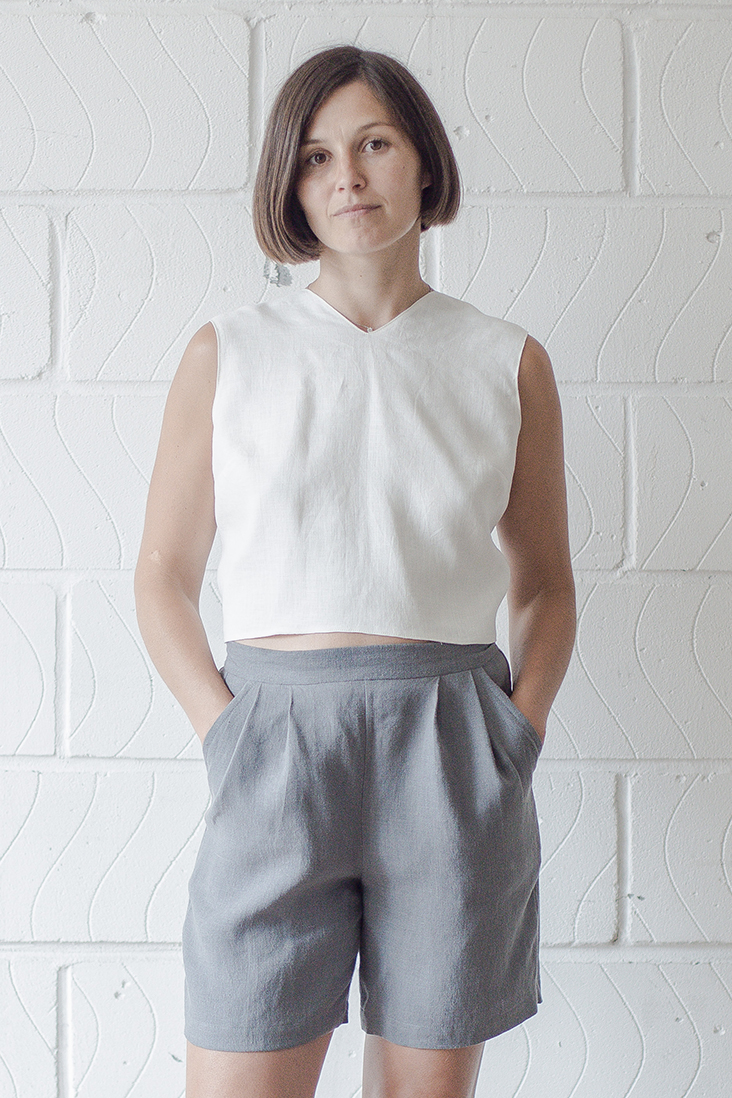
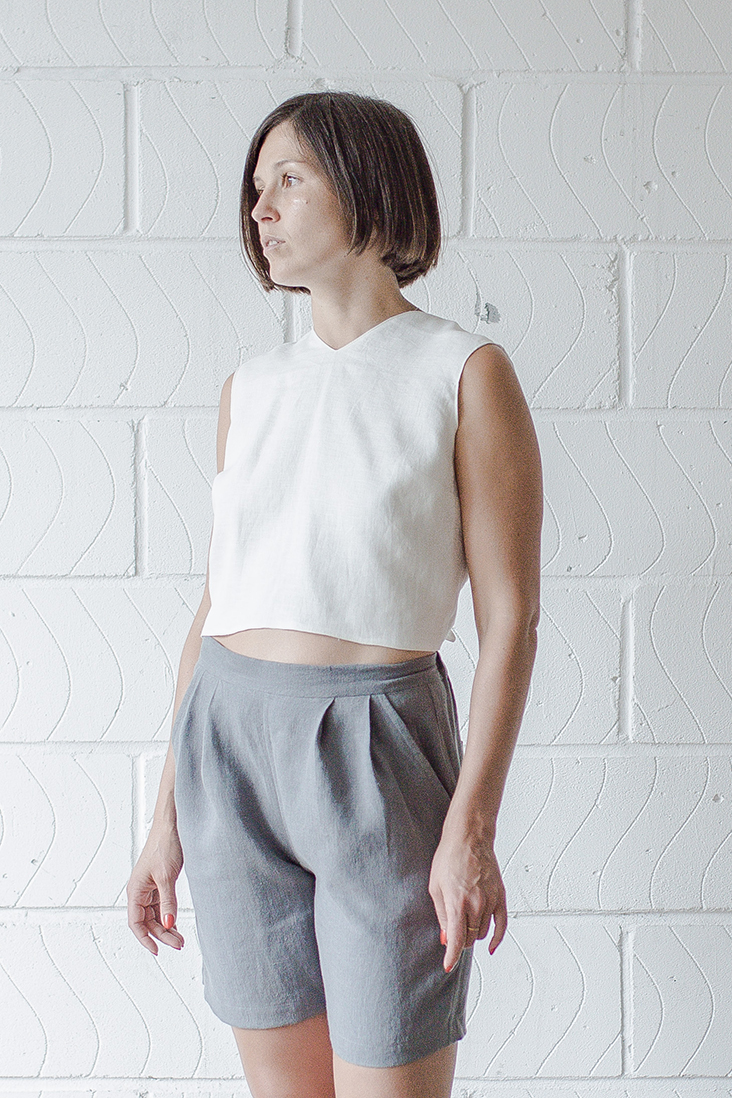
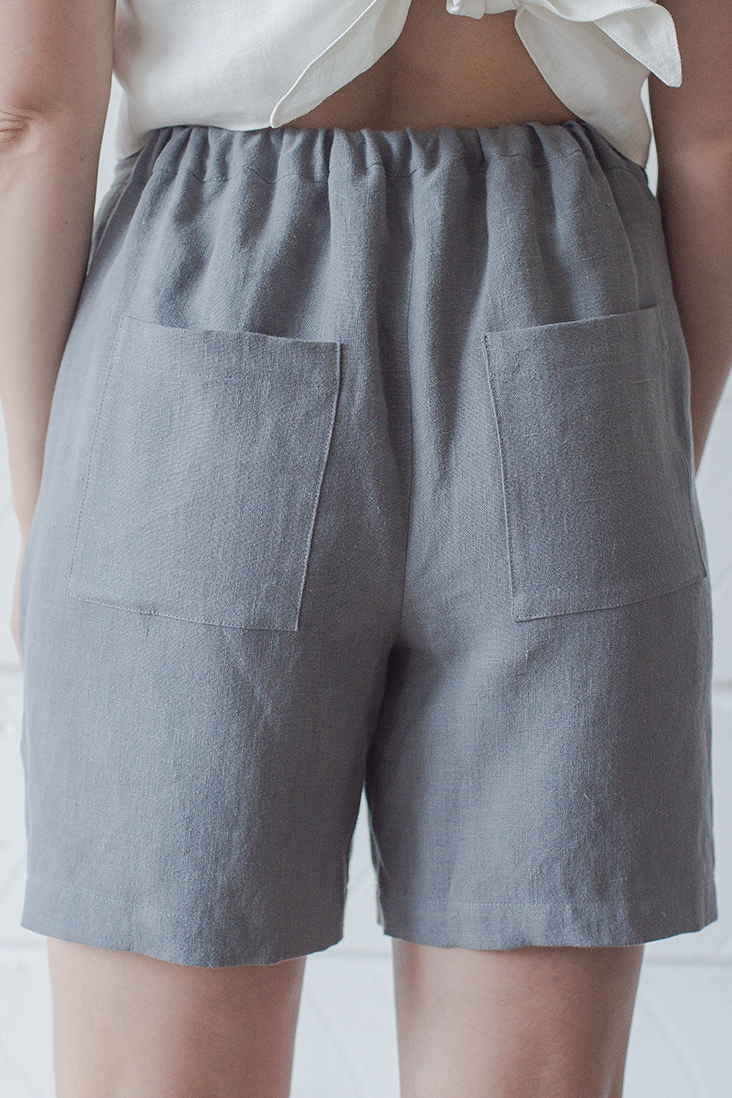
We are planning our winter vacation wardrobe early this year in the hope it means we can get away somewhere very warm and sunny! If you are looking for a pair of versatile and comfortable shorts to lounge around on that sunny beach amongst exotic lands, this could be just what you need. Our pleated shorts are made from super soft pure linen and feature loads of pockets (two deep side pockets and two patch pockets at the back), elasticated back, relaxed fit and some crisp pleating at the front.
Follow this easy tutorial and make your very own pair of comfy, stylish and perfect-for-every-occasion shorts!
Materials
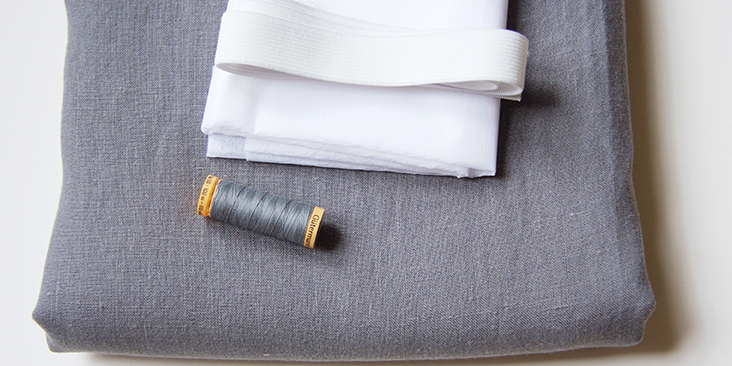
For US size 6 pictured in this tutorial: 1.5 yards of IL019 ASPHALT FS Signature Finish Medium Weight Linen. For larger sizes, please refer to the yardage table in the PDF pattern.
Matching sewing thread, lightweight fusible interfacing, 0.5 yard of 1”-wide elastic
Tools
Scissors, pins, ruler, chalk, fabric marker, measuring tape, safety pin, sewing machine
Difficulty
Advanced Beginner
Time
5-6 hours
Pattern
You can access the multi-sized printable PDF pattern by following this link HERE. All seam allowances are included. The model is wearing size US size 6.
Steps
Note: Prewash your fabric and tumble dry it until it is still slightly moist, dry at room temperature. Iron the fabric so it is easier to work with.
1. Let’s start with the back patch pockets. Follow the instructions (The First Method) of this detailed tutorial and topstitch your pockets to the two back pieces of your shorts.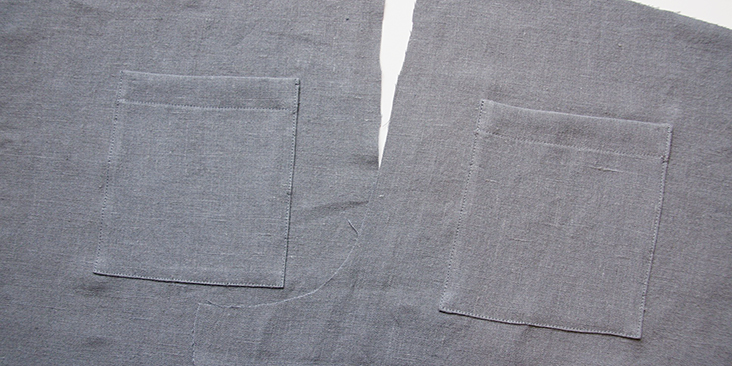
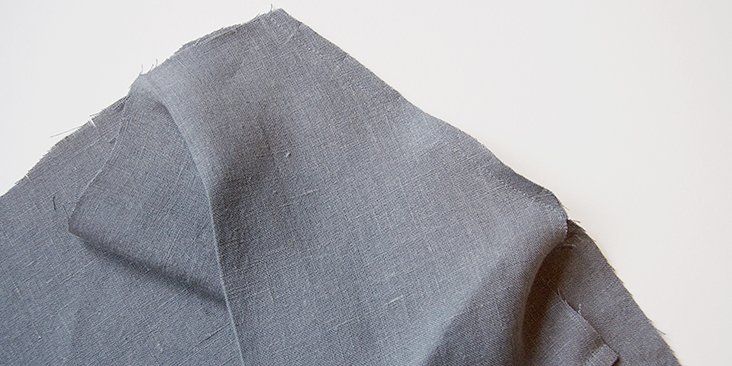
2. Now take your front pocket pieces, fold them in half right sides together and stitch along the bottom edge at a 3/8” (1 cm) seam allowance. Make sure they are mirror images to each other.
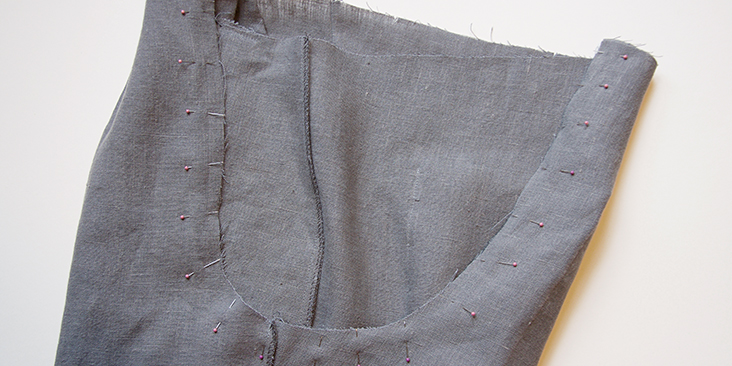
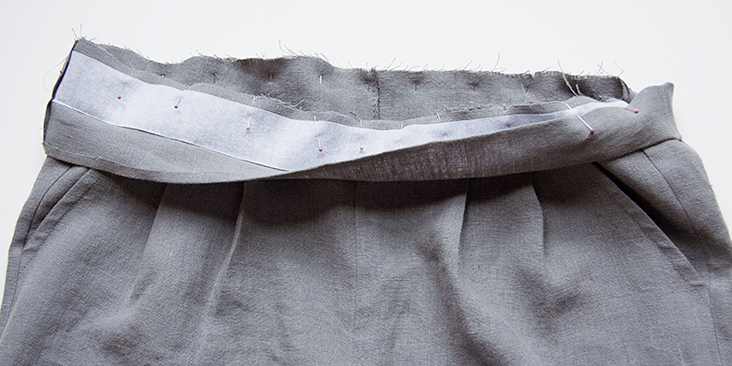
3. Trim the seam allowance down to ¼” and turn the fabric right side out. Press and stitch again 3/8” from the bottom edge.
4. Pin the diagonal edge of the pockets (wrong side) to the diagonal edge of the front pieces (right side) and stitch at a 3/8” seam allowance. Remember to backstitch.
5. Trim the seam, turn right side out and press flat. Topstitch 3/8” (1 cm) from the folded edge.
6. Pin the side seams of the pocket to the side seams of your front pieces and baste in place (¼” from the raw edge).
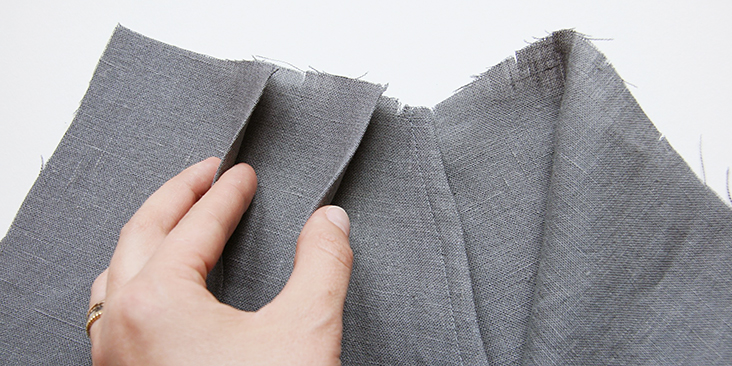
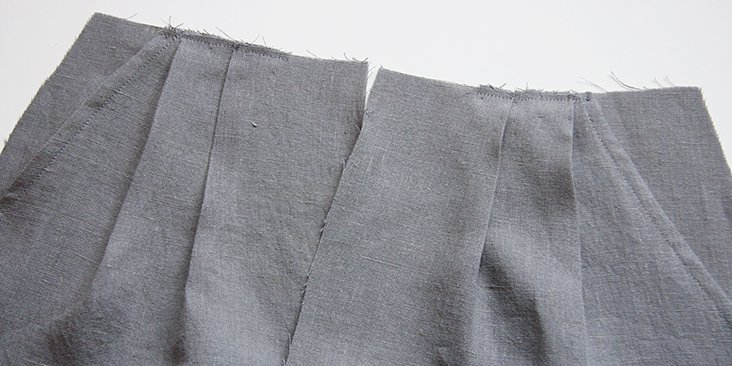
7. Refer to the notches and create two knife pleats on each short front (do not pleat the pocket fabric). Start from the notch closest to center front and fold the fabric towards the side seam. We have a great tutorial about knife pleats to help you with your pleating.
8. Baste your pleats in place catching the two pocket edges.
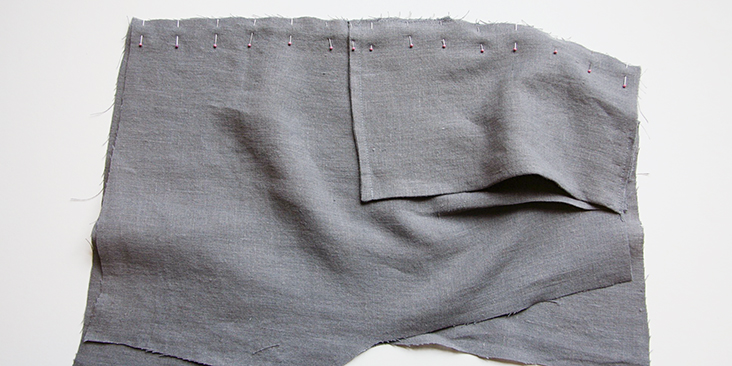
9. Pin each short front to the corresponding short back at the side seams right sides together catching the pocket edges.
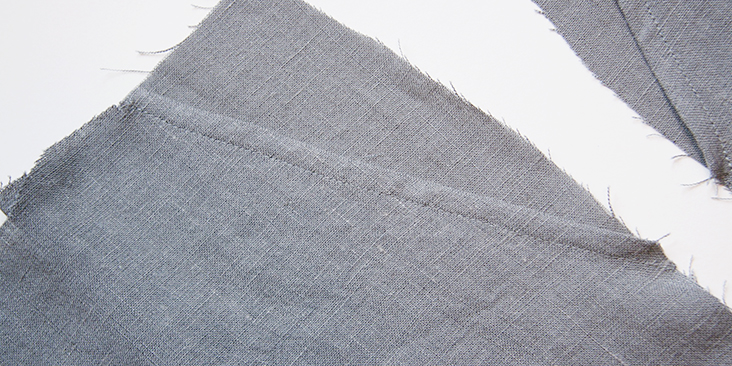
10. Stitch at a 3/8” (1 cm) seam allowance and finish the seam together with a serger or a zigzag stitch to prevent the fabric from fraying in the future. Press the seam allowances towards the back of your short.
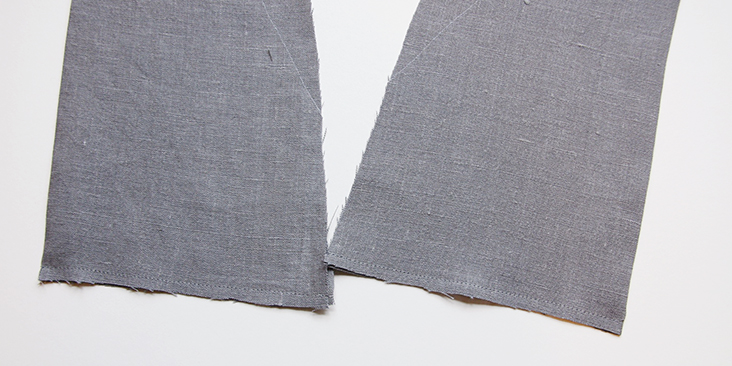
11. Pin each short front to the corresponding short back at the inseam right sides together. Stitch, finish and press just like you did in step #10.
12. Turn the right leg right side out and slip it into the left leg. Pin the crotch seams together matching the side seams and inseams.
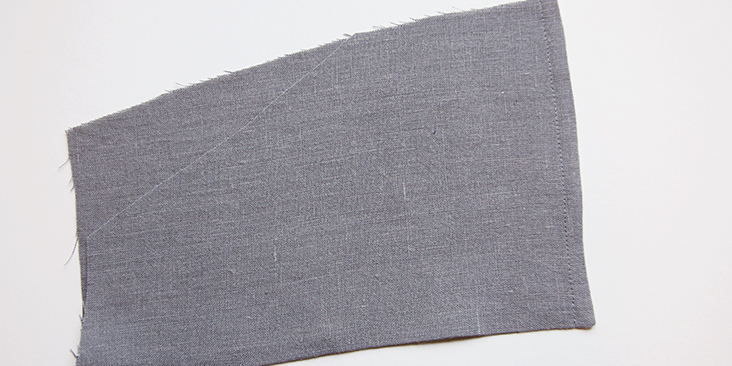
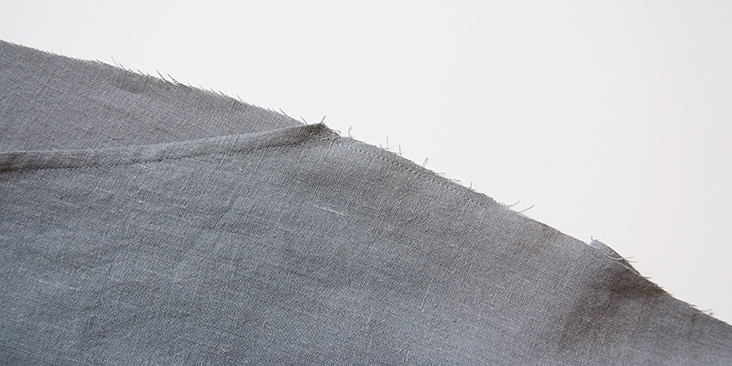
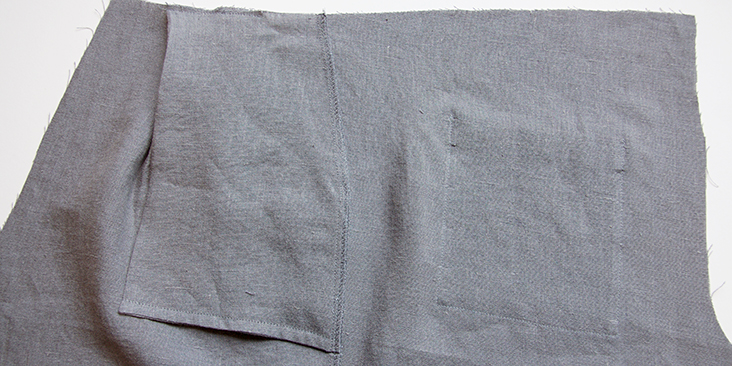
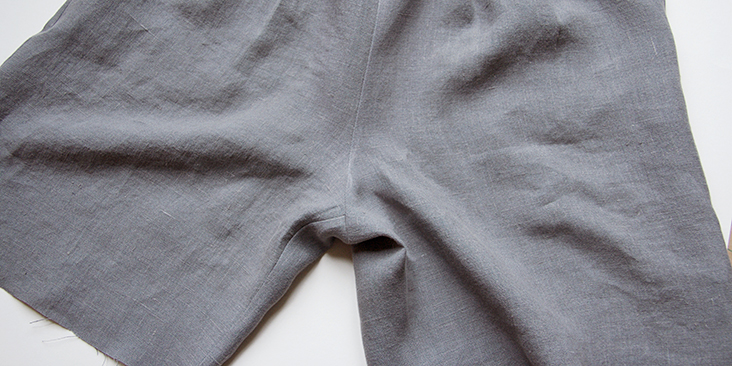
13. Sew along the crotch seam at a 3/8” (1 cm) seam allowance. Serge or zigzag the raw edges together and press the seam flat. Here’s what your shorts look like from the right side at this point:
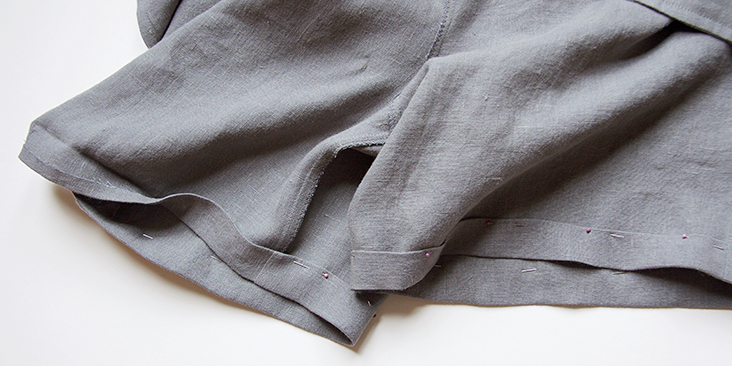
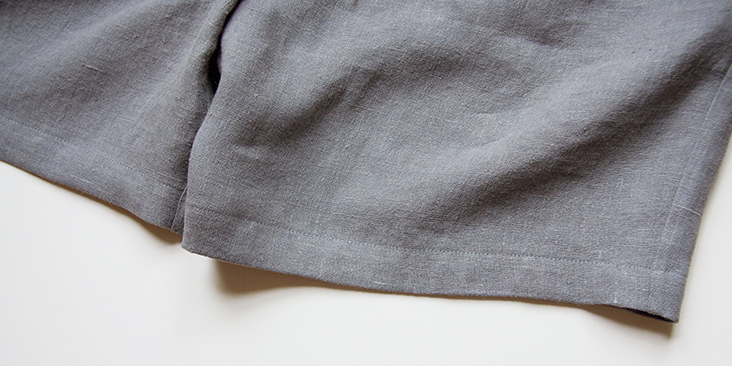
14. Finish the bottom hem with a rolled hem: fold your fabric twice to the wrong side (first 3/8” then another 1”), press, pin and edgestitch.
Now that your legs are assembled, you need to assemble the waistband that has a flat front and an elasticated back.
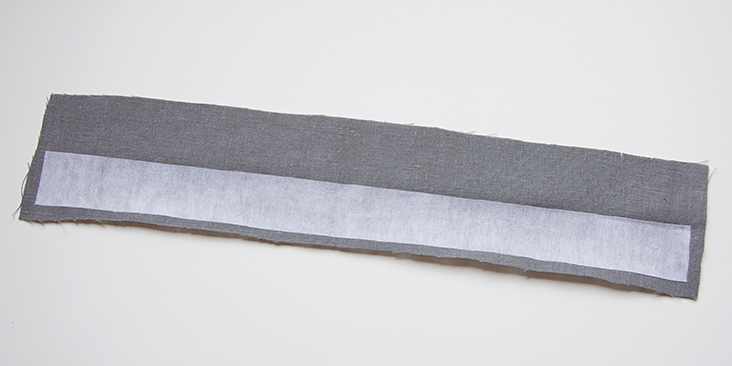
15. First, apply fusible interfacing to the wrong side of the outer front waistband. To avoid bulky seams you can trim off the seam allowances of the interfacing.
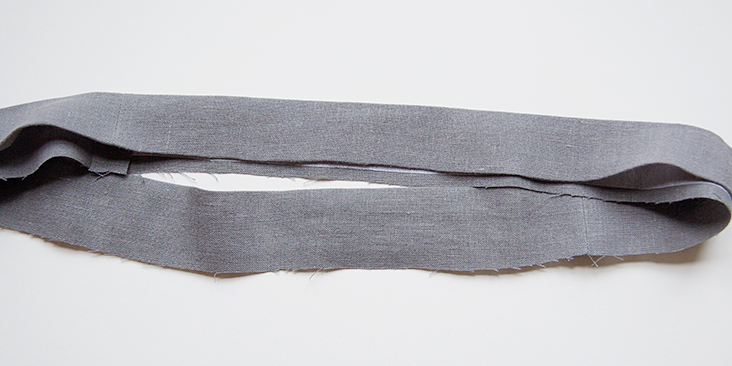
16. Pin the short edges of the front/back waistband right sides together and stitch at a 3/8” (1 cm) seam allowance to create a tube. Press the seams open.
17. Fold your waistband in half lengthwise and wrong sides together and press. Then press the entire raw edge of the inner (non interfaced) waistband 3/8” to the wrong side.
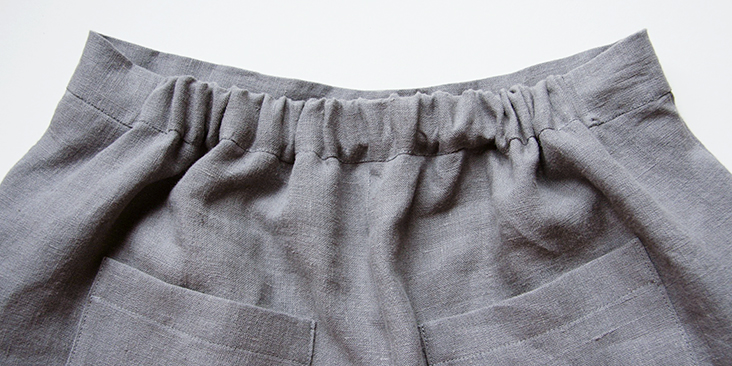
18. Pin the raw edge of the outer waistband to the shorts right sides together and stitch at a 3/8” (1 cm) seam allowance. Note how the front waistband extends past the side seams. This is intentional since we want to avoid elastic gathering at the side seams. So center your front section as best as you can to make it look symmetrical.
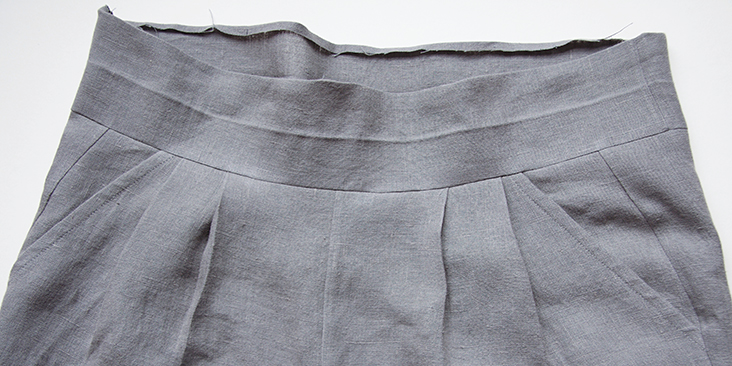
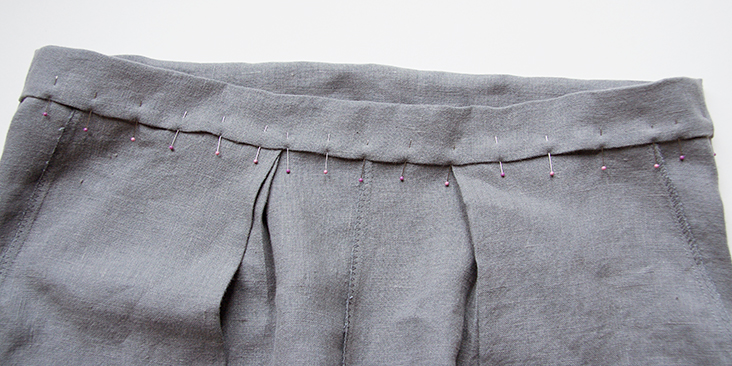
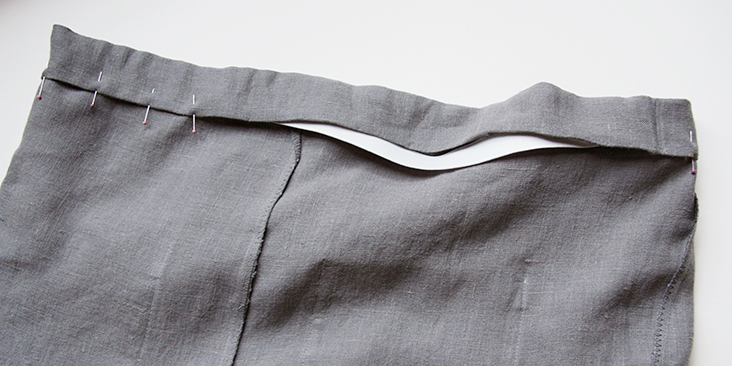
19. Press the seam allowance and the waistband up then pin the inner waistband edge to the wrong side of your shorts covering the stitchline.
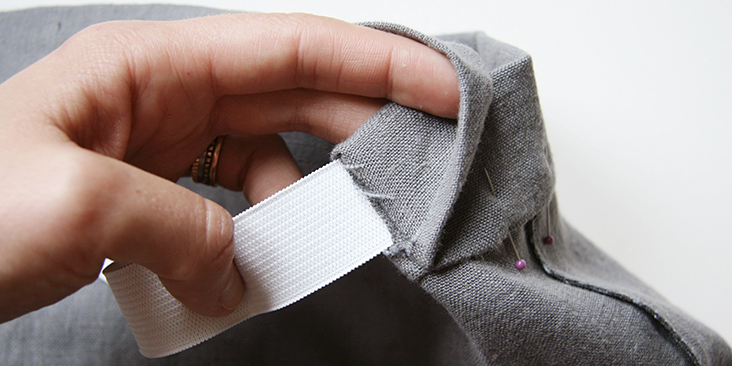
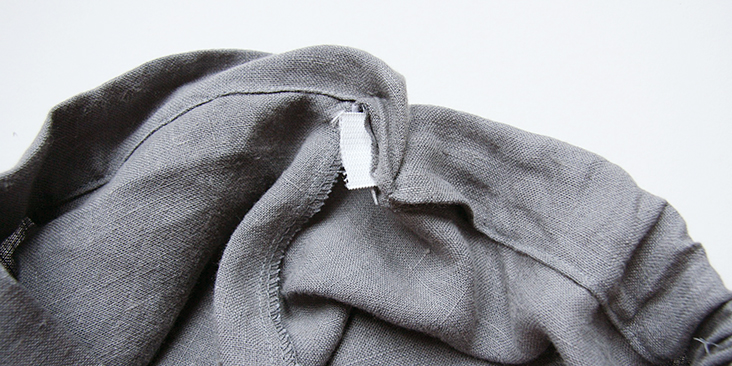
20. Cut your elastic to the desired length (place it against your back waist and see what size is most comfortable for you) and add a couple of inches. Attach a safety pin to one end, unpin one of the side seams of your shorts and place the end of the elastic that doesn’t have a safety pin a little past the side seam and secure it in place by topstitching in the ditch of the side seam.
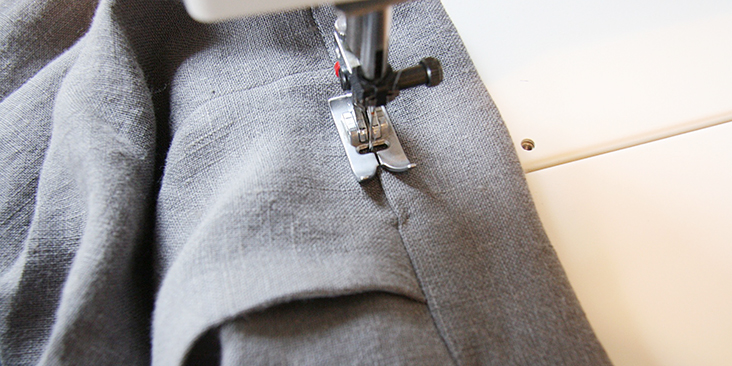
21. Working from the right side of your shorts, stitch in the ditch of your waistband catching the inner waistband edge and leaving a small opening at the other side seam to pull the elastic out. Remember to backstitch at both ends.
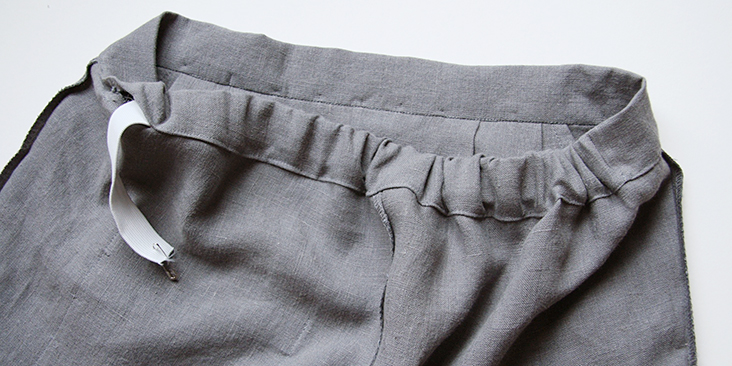
22. Pull your elastic through the opening, cut the tail and secure the end by stitching in the ditch of the side seam (just like you did in step #20).
23. Close the opening and you are all done!
Pull on a pair of these and you’ll be amazed that you can look so good and while feeling so free and comfortable!
We love seeing what you make! Don’t forget to share your pictures and tag your creations with #FabricsStoreJulesPattern hashtag.





















12 Comments
Kerrie Ellison
Hey these look great thanks! I’m wondering what the rise is like and if I can make it mid-high rise or if that will make the waist too small to go over hips.
Sam Ma
Hi there! I’m having a hard time understanding the instructions on attaching the elastic in the waistband. Specifically this line: “Attach a safety pin to one end, unpin one of the side seams of your shorts and place the end of the elastic that doesn’t have a safety pin a little past the side seam and secure it in place by topstitching in the ditch of the side seam.”
Are we supposed to be attaching the elastic to the side seam of the waistband or the shorts? It’s my first time making an elastic waistband so I dont have any reference point.
Thank you!
Valery Goulet
I’m currently making those following the instructions carefully. I believe there is a mistake regarding the front pockets. As you can read, it says to fold the pockets in half, right side together. Then you sew and flip over to create a French seam by bringing the right side outside. In the end, the wrong side of the fabric is inside the pocket, so when you sew the pockets to the front, the inside shows, which doesn’t make sense.
Am I the one who had trouble with this? I basically turned my pockets inside out but the french seam is now trapped in the pockets…
Lauren Linen
Hi Valerie,
Since our patterns are designed for our linen fabric, which doesn’t have a right and wrong side, the pockets will turn out just fine. If you are working with a different fabric you will need to make this adjustment to suit your fabric.
Sam Ma
Can you help me understand how to make this adjustment? I’m not very practiced at french seams and I think I’ve just ruined some of my patterned fabric because of these instructions 🙁
Ella Smith
Wondering if anyone has any tips on making these into full length pants?
Faith Mathingsdal
Lovely pattern and very easy tutorial to follow. I didn’t have any problem finding the tutorial as the pattern says to go to the blog and then search for the Jules tutorial. Went straight there. Thank you for these simple but wearable patterns!
Pam Fisher
The link to the tutorial on the pattern PDF is broken. I had to search to get here.
Lisa Bartelmess
Hey Rima! it’s a Great pattern and a great tutorial! I’m now at the point where I attach my waistband but it seems like I’ve got two back waistbands … and on the pattern sheets are also just back pieces but no front waistband … what shall I do?
Lisa Bartelmess
… actually it’s super simple isn’t it? I’m going to make it match the waist of the shorts and keep in mind, that the front one should exstand past the side seams.
Marilyn Trussell
Did you come up with the correct dimensions for the front and back waistband? Pattern is still the same – 2 back pieces and no front. Need help. Not as savy as you that I can figure it out.
Wendy Cookson
The download tutorial button is not working.