Waffle Weave Textured Linen Top Tutorial and Pattern
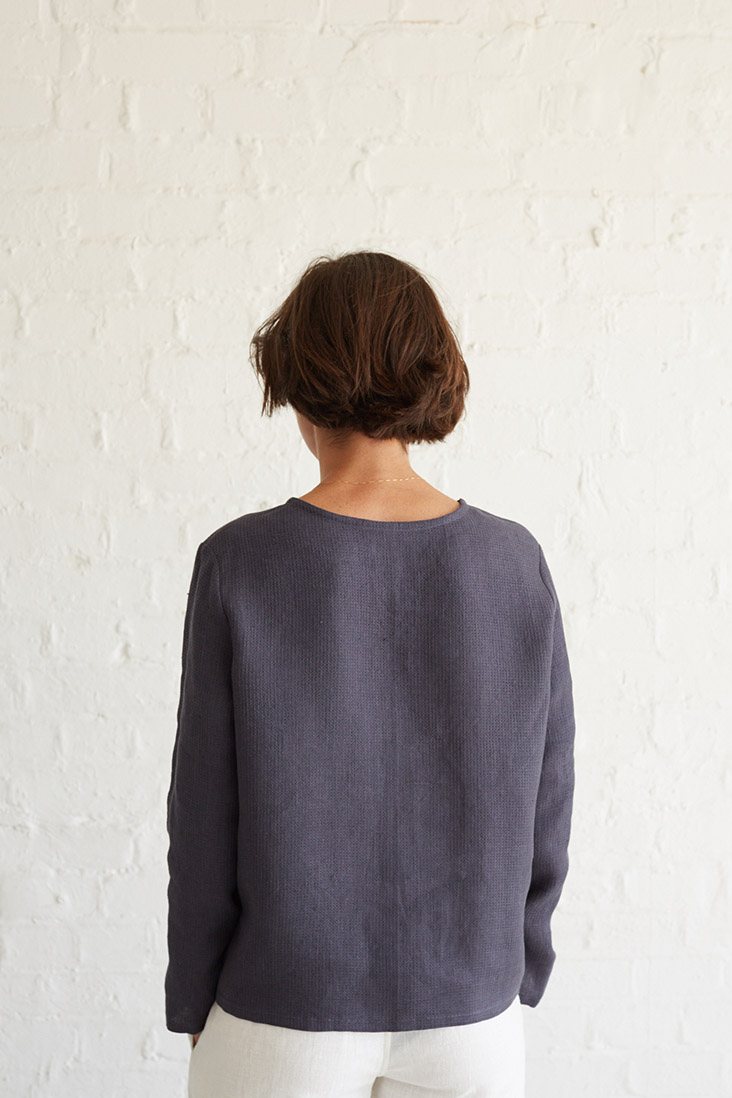
With its unique honeycomb weave, the waffle weave linen gets its name from the partial resemblance to the hexagonal honey comb cells. This type of textured linen is soft but does not stretch out too much. It breathes well, dries fast, and feels super airy and thin.
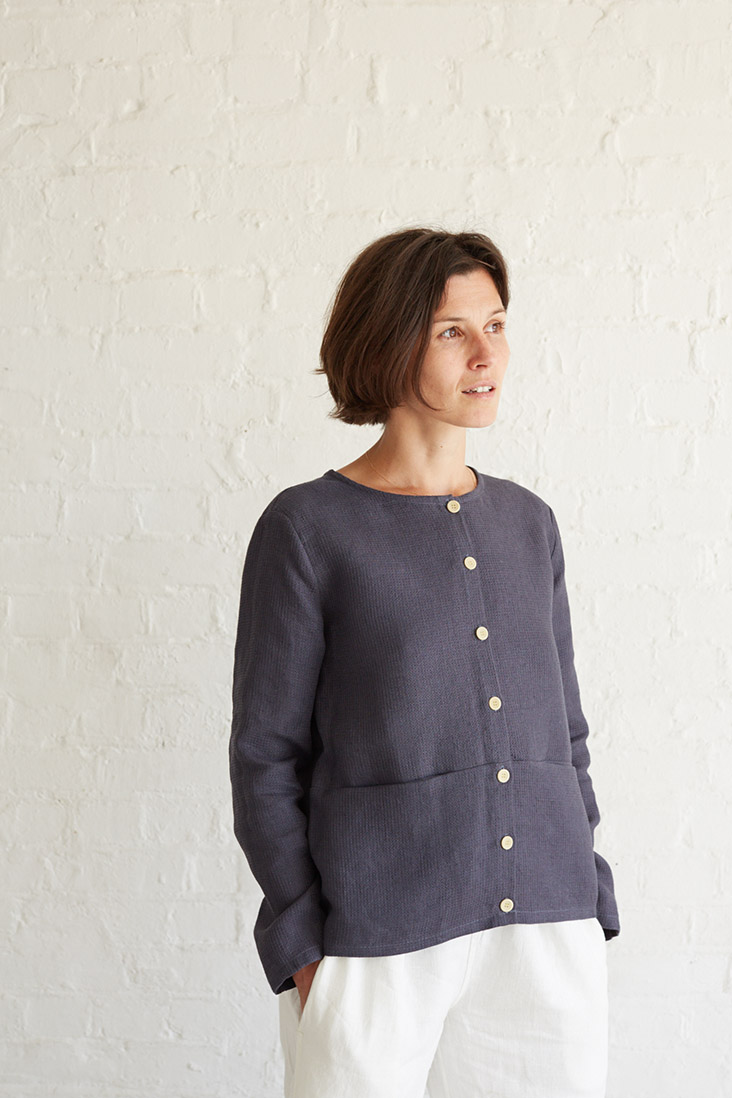
Even though waffle weave fabrics are often associated with home sewing projects like kitchen linens or plush towels and bathrobes, we often use this fabric to add texture to our garments, just like in our next tutorial! A relaxed, boxy shirt with two large pockets and a buttoned up front. So soft and comfortable, it feels somewhat like wearing your favorite blanket. Definitely easy to wear lounging around the house, but equally casually chic when paired with jeans and heels.
Materials
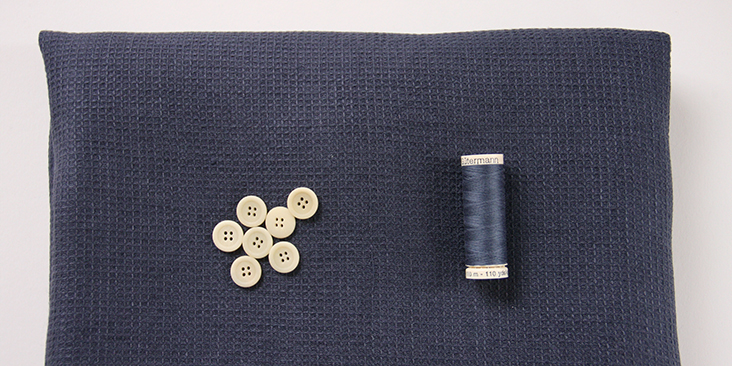
2 yards of IL015 Middle Weight 100% Linen
Matching sewing thread, 7-8 buttons
Tools
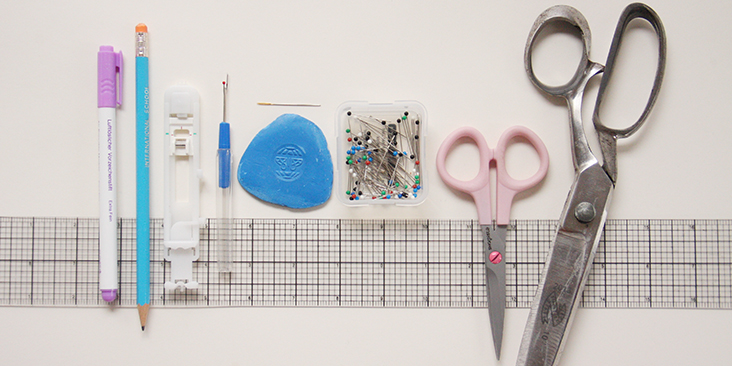
Pattern paper, scissors, ruler, pins, chalk, fabric marker, pen, buttonhole foot, needle, seam ripper, sewing machine
Difficulty
Beginner
Time
3 hours
Pattern
You can access the top pattern by following this link HERE. Remember to add seam allowances as indicated in the pattern. The diagram shows the pattern for US size 6-10 (UK size 10-14). If you need help grading your pattern, please follow this tutorial and if you would like to add some side darts to accommodate a larger bust, we have a great FBA tutorial.
Note that you’ll also need to cut a strip of fabric on the bias that is 1.5″ wide and approximately 25″ long for neckline binding. For detailed instructions on how to cut your bias tape please follow this tutorial.
Steps
Note:’ Make sure to wash the weave one or two times before the initial use to ensure that the fibers are softened enough so that they will have increased absorbency. Tumble dry the fabric until it is still slightly moist, dry at room temperature. Iron the fabric so it is easier to work with.
Let’s start with the front inseam pockets.
1. Serge/zigzag the long raw edges of your pockets to prevent the fabric from fraying in the future.
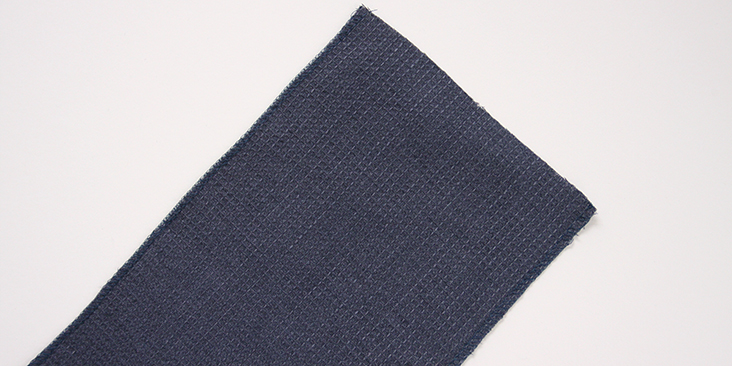
2. Pin your pocket raw edges to the front’s top and bottom panels right sides together and 2.75″ (7 cm) away from the sides.
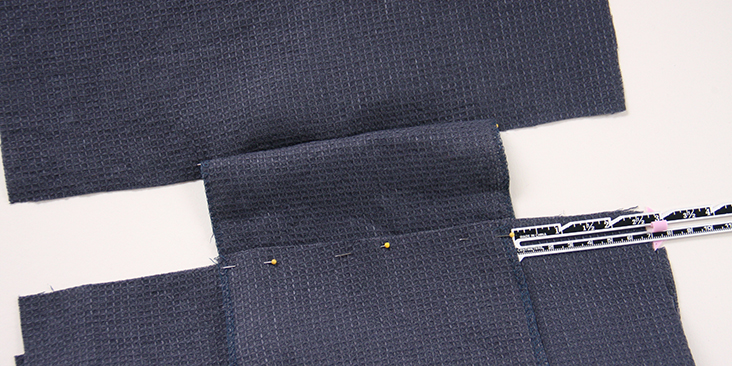
3. Stitch the pinned edges together at a 3/8″ (1 cm) seam allowance. Remember to backstitch.
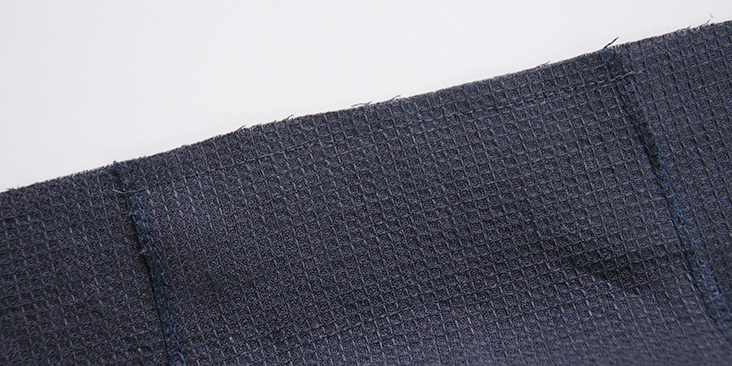
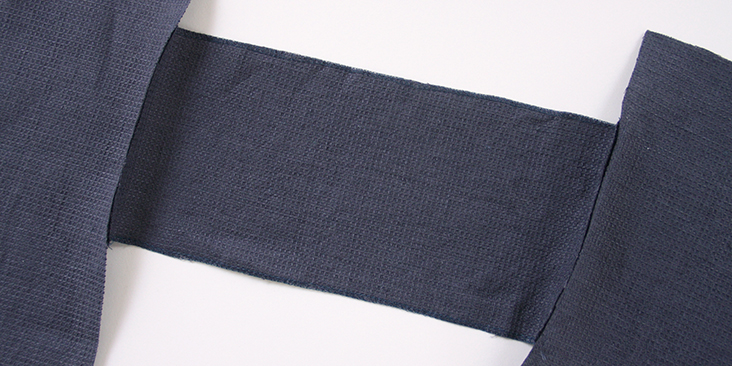
4. Serge/zigzag the raw edges together from side seam to center front seam. Press the pockets away from the top.
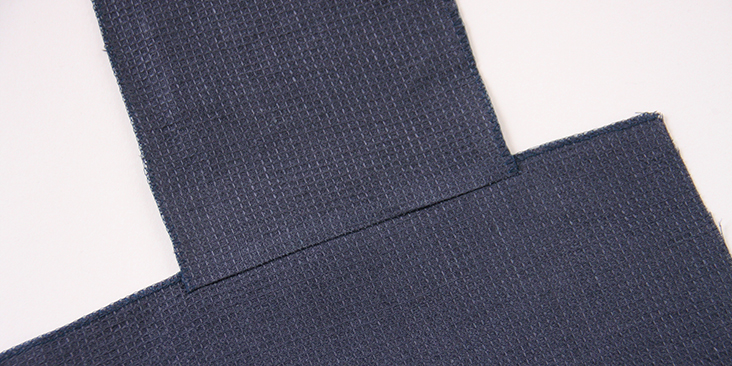
5. Pin the front’s top and bottom panels right sides together. Match up the pocket sides and pin.
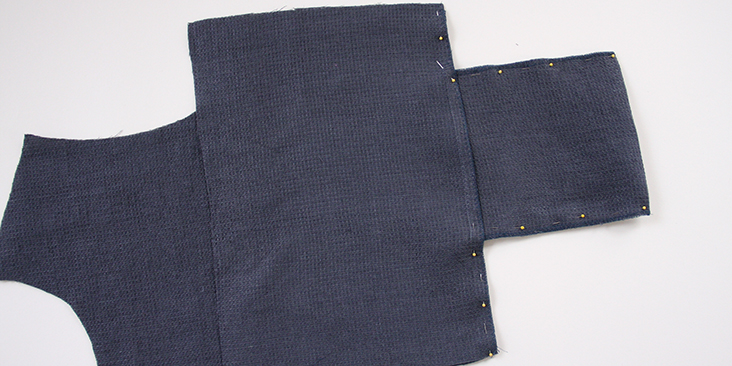
6. Sew along the pinned edges including the pocket edges at a 3/8″ (1 cm) seam allowance (all in one seam). Remember to backstitch.
Press the seam flat folding the serged/zigzagged edges and the pocket towards the bottom hem of your top.
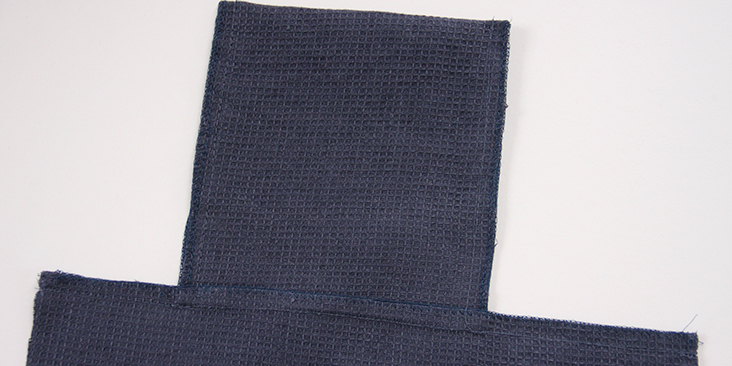
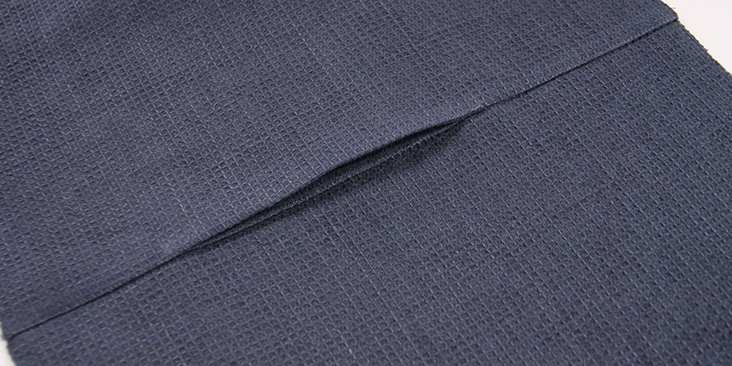
7. Repeat for the other pocket.
With your pockets now attached, you can move to the next step and form the button bands.
8. Fold the center front left and right raw edges twice to the wrong side (3/8″ (1 cm) to 3/4″ (1.3 cm)). Press and pin.
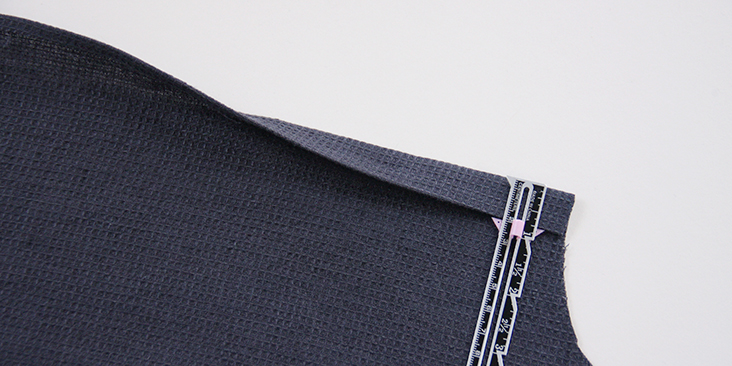
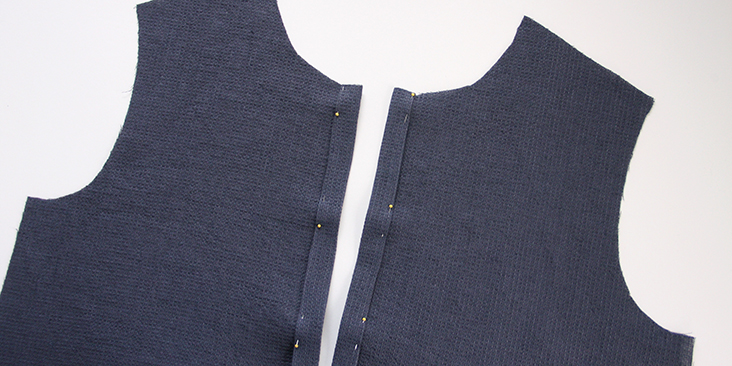
9. From the wrong side of the fabric, stitch a straight line as close as possible to the inner folded edge. Repeat for the other side.
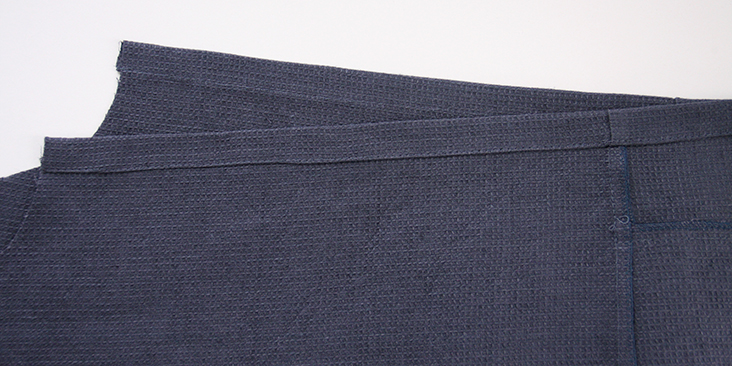
You have now created identical button bands along the entire center front of the top that will create a 3/4″ overlap when buttoned up.
Do not sew the buttonholes and attach the buttons yet. We’ll do this when the neckline and the bottom hem are finished.
10. You can finally assemble the front and the back of your shirt by pinning them at the shoulder seams right sides together.
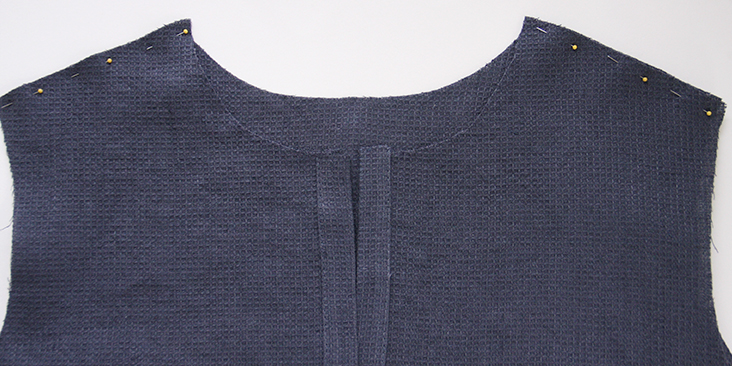
11. Sew at a 3/8″ (1 cm) seam allowance and remember to backstitch at both ends. Trim the seam allowance down to 1/4″ (6 mm) and serge/zigzag the raw edges together to prevent them from fraying. Press the serged edges towards the back.
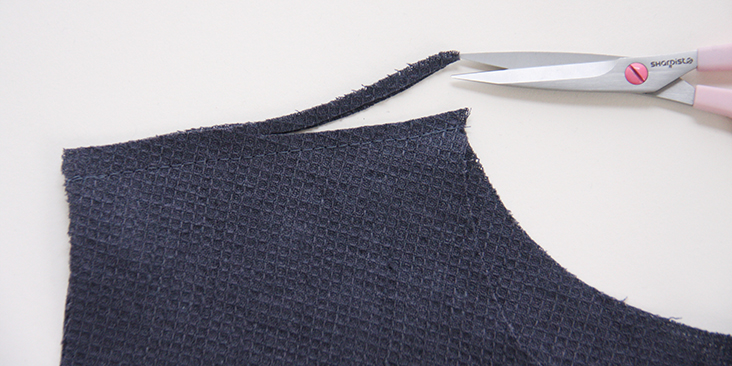
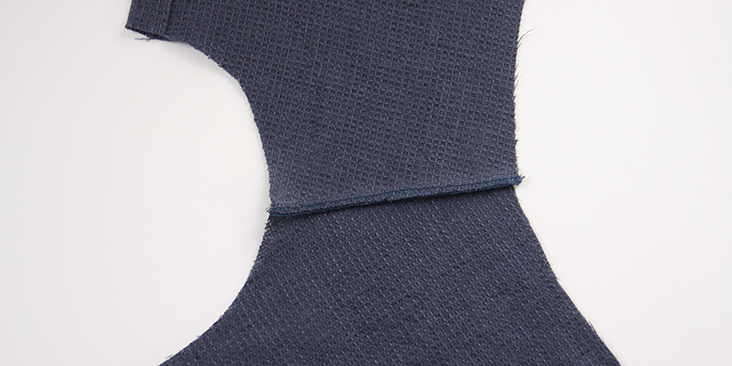
12. Finish your neckline with a bias band as explained in this step-by-step tutorial. Fold the ends of your bias band to the wrong side to match the edges of your button bands, and stitch the band in place all along the neckline.
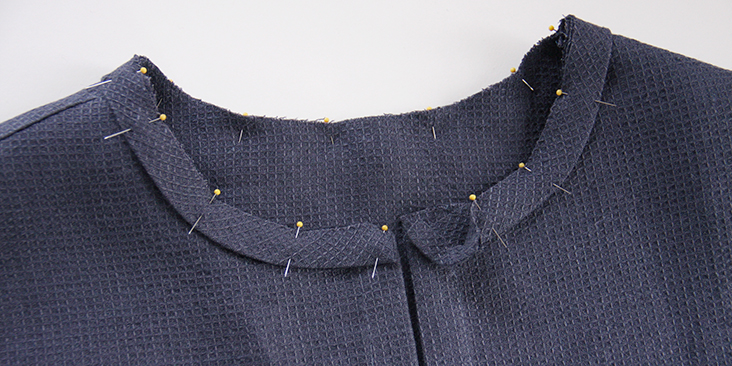
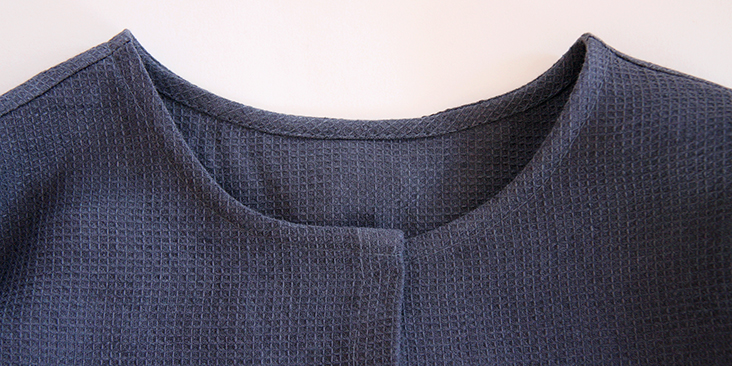
Now is a good time to attach the sleeves.
13. Pin the sleeves to the armholes right sides together.
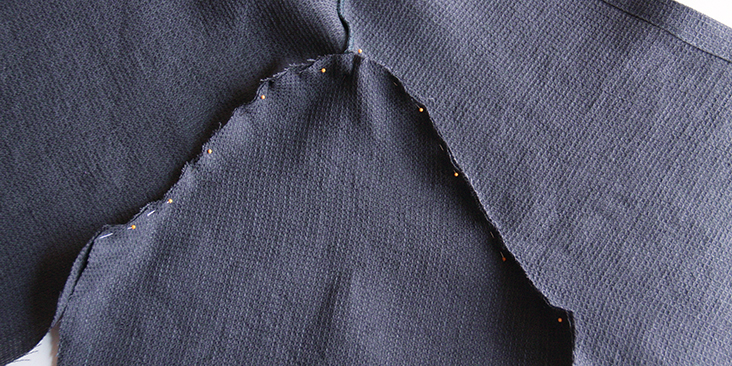
14. Sew at a 3/8” (1 cm) seam allowance, then trim down to 1/4″ (6 mm) and serge/zigzag the raw edges together to prevent them from fraying. Press the serged/zigzagged seam allowances up towards the sleeves.
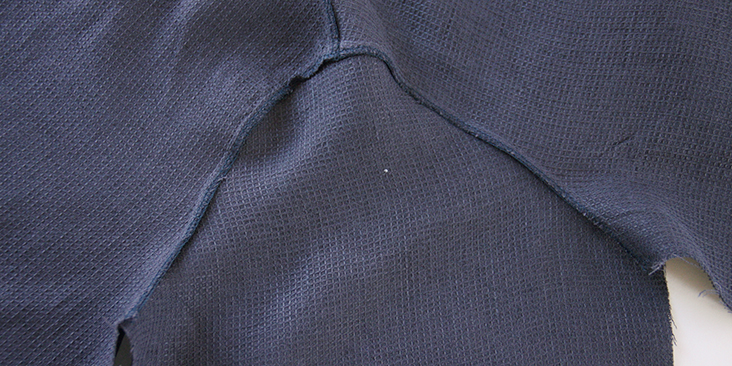
15. Pin the sleeves and the side seams right sides together.
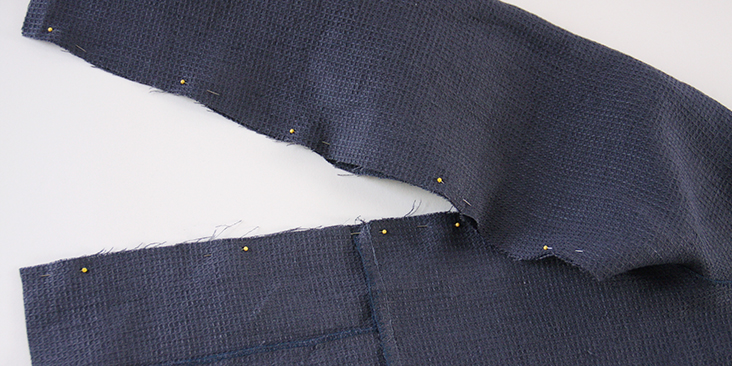
16. Sew the pinned edges at a 3/8” (1 cm) seam allowance and finish the raw edges with a serger or a zigzag stitch. Press the seams flat folding the serged/zigzagged edges towards the back of your shirt.
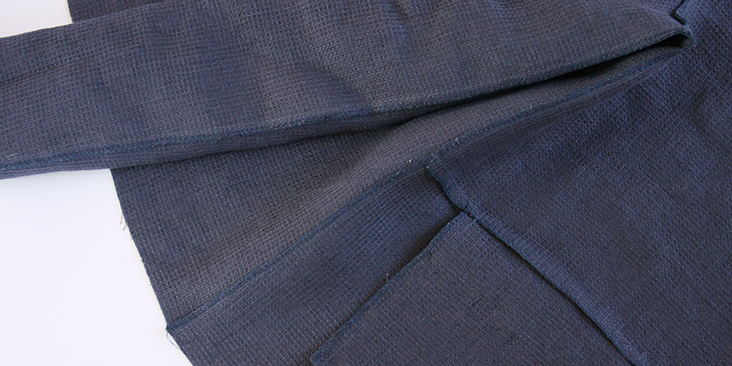
17. Finish the sleeve openings with a rolled hem. Fold the fabric twice towards the wrong side, 3/8″ (1 cm) to 1″ (2,5 cm). Press, pin, and stitch.
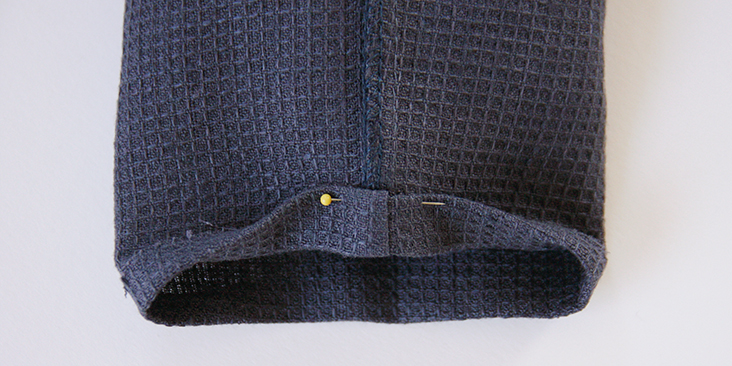
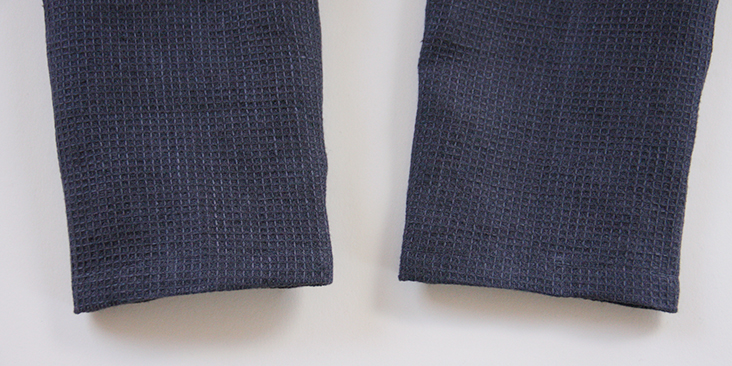
18. Repeat the previous step to finish the bottom hem of your shirt. Make sure that your left and right button bands are even.
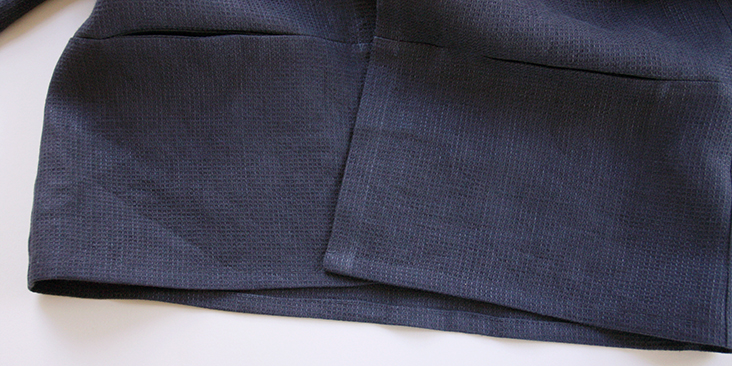
Lastly, sew the buttonholes and attach the buttons.
19. Start by making your buttonholes following this tutorial HERE. The number and the spacing are really up to you. If you want your buttons closer, just leave smaller gaps between them. We decided to space our buttons 2,5” (6 cm) apart.
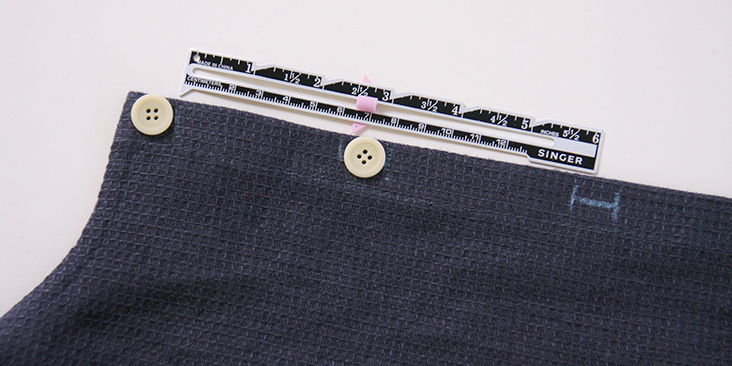
Overlap the button bands and place a pin into the center of each buttonhole. This is where you’ll need to attach the buttons. Here’s a very easy tutorial on how to attach the buttons.
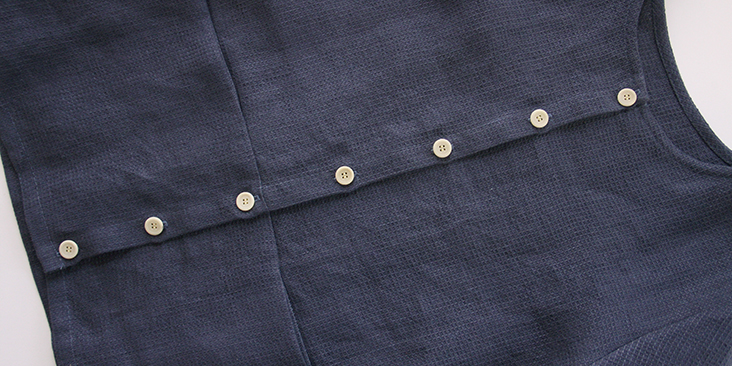
Give your finished a good last press and you are all done!





32 Comments
Gemma ORFANO
Hello! Where could I find this pattern in A4?
Lily Elm
I am thrilled to see the waffle weave textured top pattern posted this way! I am looking forward to making up this in a few colors. I hope you will continue to post patterns in this manner. I can appreciate that some without pattern drafting experience may be more challenged, however I also appreciate that I do not have to waste time printing and pasting or have go to the service bureau to have printed.
My Question: Grainline on pocket… at first glance, it appears that the pocket piece is rotated 90 degrees on print out and needs to be cut with grainline in the shortest direction. Please advise.
Thank you!
Lauren Gates
Hello Lily,
This pattern is actually designed for our older waffle fabric, not our new IS010 cotton/linen. So if you make it up in the other fabric, it may produce slightly different results.
As for the pocket, you can cut this piece on the grain, crosswise, prioritizing the direction with the least vertical stretch.
Christine Davis
Hi Rima,
I just bought some waffle weave linen on the sale and am so excited to make this wonderful garment. I’m not used to having to ‘draft’ the pattern from instructions and am a bit confused by the measurements. On the Front bottom, does 12″ indicate the length of the solid line (with the button band width and the 0.5″ beyond the dotted line at the side seam)? Likewise, does the 4.75″ dotted line at the neck end at the front solid line at the button band edge? Or at the button band dotted line? Is there a tutorial on how to ‘read’ (interpret) these drawings? Your help is much appreciated! Hope you still see these questions since this is an old post.
Lauren Gates
Hello Christine,
Please look out for an email from me, and I’d be happy to help you out 🙂
Elizabeth Clarke
This pattern is no longer available in the Dropbox. Could you suggest an alternate please.
Heidi Setzer
Hello Rima,
First off, thanks so much for your patterns, what a huge blessing! I love all of your patterns but at the moment would really like to sew the Waffle Weave Top but am having trouble drafting it. Looking at the pattern the bottom length of the garment front measures 12″ but when I add the 3″ + 4″ + 4.75″ = 11.75″ not 12″: garment back measures 11.25″ but I am getting 4″ + 4″ + 3″ = 11″ not 11.25″. What am I doing wrong?
Thanks,
Heidi
Rima Khusainova
Dear Heidi! Thank you very much for your comment and kind words. To answer your question: if you look at the diagram, you’ll see that the side seams are not at a right angle but are slightly diagonal. This is due to the little extra length of 1/4″ added to the hemline. When you add up all the measurements (the neckline, the shoulder, the underarm and this little 1/4″ extra at the bottom), you’ll get your exact hemline. Hope this helps!
linda
Sorry!! that question mark after beautiful pattern was definitely an exclamation mark !! not a question mark! Typo.
linda
hi – this is a beautiful pattern? I love the simple lines of clothes like this. How much fabric is needed for a size 16 would you estimate?
Don’t want to buy more than I need. Thanks so much.
Rima Khusainova
Dear Linda, it all depends on the width of your fabric. With our linen, which is 59″ wide, you’ll need about 1.5 yard for smaller sizes and 2 yards for bigger sizes. Remember that you’ll need to leave some fabric for the bias tape, so I would definitively recommend getting 2 yards! Hope this helps.
Kathy
You are a genius to offer instructions and patterns using linen. It took me a long time to realize that wearing polyester was making me hot all the time. Unfortunately there is too much polyester in the world and not enough linen cotton and silk. I have my linen from you waiting to be dyed and sewn into pillow covers and a blanket. Now I want to make the top! Thanks for the patterns!
Rima Khusainova
Dear Kathy, thank you very much for your nice comment. Linen is so much nicer to wear than polyester and is a pleasure to sew! Some people tend to think that sewing with linen is difficult but it’s not! You’ll see when you make your pillow covers, blanket and this top! Happy sewing and enjoy!
joyce
I’m having difficulty finding the pattern for this jacket – so excited to find this pattern and anxious to give it a try…thanks for your help.
Rima Khusainova
Dear Joyce! You can find the diagram with all the measurements under the “Pattern” section of this post. Just click on “HERE” and it will take you to the Dropbox link. This pattern is not true to size. What you need to do is to draw your own pattern using the measurements. Happy sewing!
robin
would like a pattern tutorial on the pants she was wearing in the top picture
Rima Khusainova
Dear Robin, you can find the multi-sized printable pants pattern and sewing instructions in this tutorial here – https://blog.fabrics-store.com/2017/07/13/crisp-linen-pants-tutorial/. Happy sewing!
Paulette
Oh no – I’m sure the pattern used to be there, but it isn’t anymore. Was I imagining it or did it disappear when you redid the website?
Rima Khusainova
Dear Paulette, yes, we redid the website and had to upgrade all of our patterns. We are working to get it back online as soon as possible so the pattern should be available again shortly! So sorry for the inconvenience, please come back and check again in a few days.
Cheryl Wical
I’m getting ready to make this linen top and everything’s nearly ready to cut out, but I’m finding that I don’t have the front bottom panel piece that is mentioned in Steps 2 – 6. Am I supposed to cut off a portion of the bottom of the Front piece for this? Like 6 ins (15.25 cms), which would be half of the length of the Pocket piece? Please advise.
Many Thanks,
Cheryl
Rima Khusainova
Dear Cheryl! I’m so sorry, my bet! The cutting line is 7″ from the bottom (the pockets are 6″ long when folded). Don’t forget to add the usual 3/8″ seam allowances to the top and bottom front panels along the cutting line. And I’ll get the new updated pattern online as soon as possible!
Cheryl Wical
Thanks Rima. I thought it was me. The more I want to make this, the faster I re-read the instructions and thought I missed something. I can manage from here. Thanks bunches for your speedy reply 🙂
~Cheryl
tanya
great design, Rima! i’m pleased to see a little more ease has been built into this top. i have thought with many of the past patterns the garment was fitted too snugly in the armhole—even for your lean and always lovely self!! and thank you for including the link to the pattern grading tutorial as i will need it when i make this top.
Rima Khusainova
Thank you so much Tanya! Really appreciate your feedback!
Sue Palmer
Such a useful design! I plan to make a few for multipurpose wear. Thanks for sharing.
Rima Khusainova
Thanks so much Sue! Happy sewing and don’t forget to share the pics of your finished projects with us!
Julia Pennington
Why on earth would you only post a pattern that only goes to a size 10? There’s a lot more of us that wear larger than a 12, than those who wear a 10 or smaller!
Rima Khusainova
Dear Julia, what we wanted to do here is to showcase the beautiful honeycomb weave linen from our collection as it is usually not an obvious choice for sewing clothing. As for the pattern, it’s really easy to grade it to a larger size due to the simple boxy design. We have a great tutorial here https://blog.fabrics-store.com/2015/06/01/how-to-grade-a-pattern-tutorial/ that will help you with the process!
Kristina Ustinova
Hello! I have looked all over your website and cannot find this BEAUTIFUL honeycomb weave linen fabric. Do you still sell it or it’s no longer in stock?
Thank you! ?
Lauren Linen
Sorry, Kristina,
We no longer stock this fabric.
Michelle
Love that the pocket is not a patch pocket. Nice design choice as it creates a more streamline design. I will be making some of these as a casual alternative to sweaters.
Rima Khusainova
Thank you so much for your nice comment Michelle! These pockets are a kind of inseam pocket and I think that it works great with the top as well!