Linen Kaftan Dress Tutorial
Linen is the perfect summer fabric: it’s comfortable, breathable and with some texture to make even the simplest garment a little bit special. A good example of an easy summer wear that is comfy and feminine is our V-neck kaftan dress. It has a beautiful straight-bodied style that flatters any body type, two side slits and a deep V-neck collar.
Cut from our luxury Premier Finish striped linen, this dress is smooth and agreeable to the senses and will keep you cool during the hot summer months. Stripes run parallel to the selvage and colors include pale blue and white.
In this tutorial, we are going to show you how to make this casually chic kaftan dress and you would be surprised how easy it is!
Materials
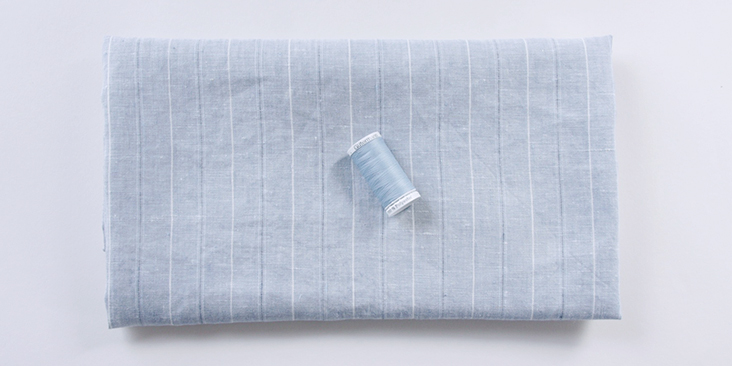
2.5 yards of IL042 904 FS Premier Finish 100% linen
Matching sewing thread
Tools
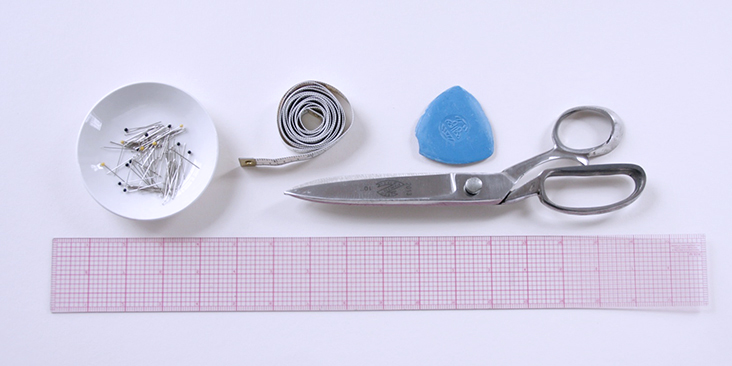
Scissors, pins, chalk, ruler, measuring tape, sewing machine
Time
2-3 hours
Difficulty
Beginner
Pattern
The great thing about this dress is that it doesn’t even need a real pattern. What you do is cut’ rectangles of fabric lengthwise. If you have a continuous 2.5-yard piece of fabric, you cut 2 rectangles 13,5 inches (34,5 cm) wide and 83 inches (211 cm) long all seam allowances included. If you only have 1.5 or 2 yards of fabric, you cut 4 rectangles 13,5 inches (34,5 cm) wide and 42 inches (106,5 cm) long all seam allowances included and then you assemble them at the shoulders to create two long rectangles.
Steps
Note: Prewash your fabric and tumble dry it until it is still slightly moist, dry in room temperature. Iron the fabric so it is easier to work with.
If you cut 4 rectangles, you’ll need to start by assembling them at the shoulders. If you already have 2 continuous rectangles 83 inches (211 cm) long, skip steps 1-3 and start directly at step 4.
1. Pin two pairs of rectangles at the shoulders right sides together and sew at 3/8″ (1 cm) seam allowance.
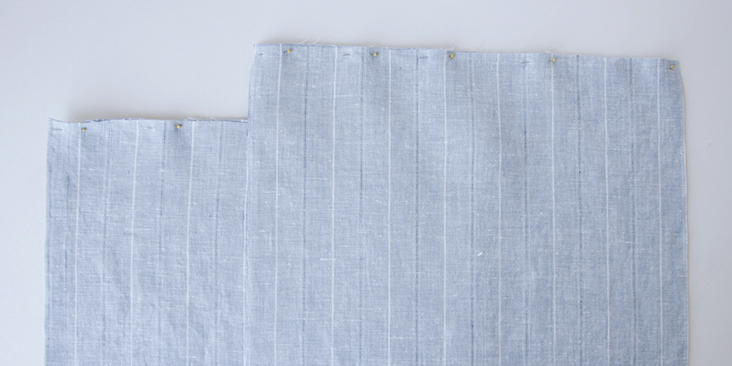
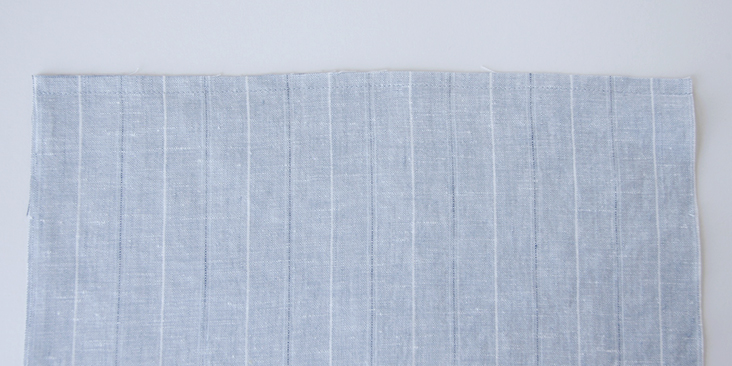
2. Serge or zigzag the raw edges together leaving both ends 1 inch stitch free to avoid creating extra bulk when rolled. Press the serged/zigzagged edge flat folding it towards the back of the dress and press the unstitched ends open.
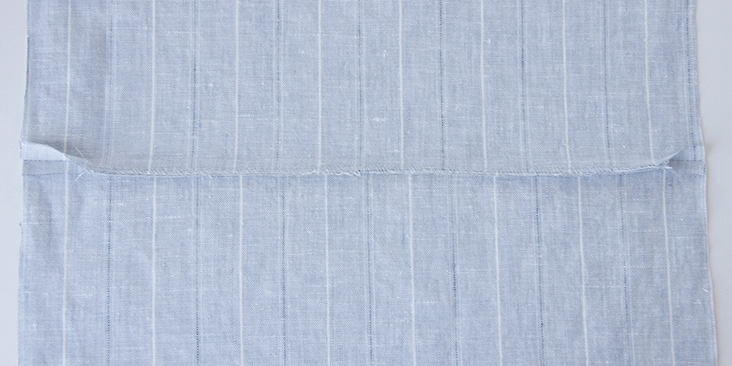
3. Fold the inner raw edge of each rectangle (the one that will later form your V-neck) 3/8″ (1 cm) to the wrong side and press.
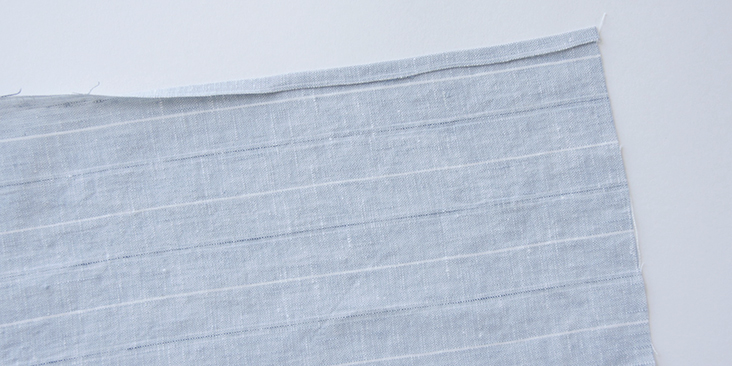
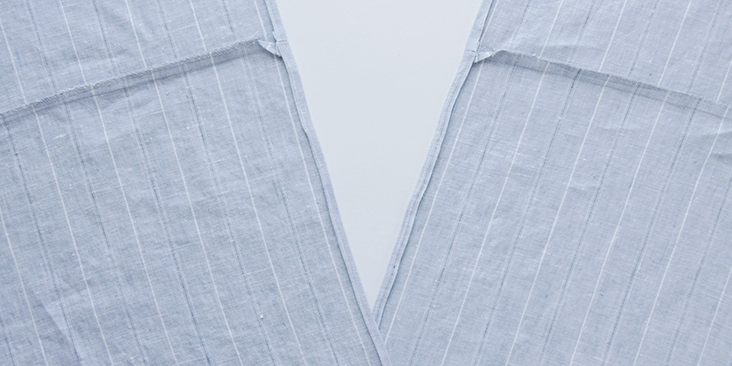
4. Fold another 1.5″ (3,5 cm) and press to mark a line which will later be your guide for finishing the neckline. Unfold this second fold for now.
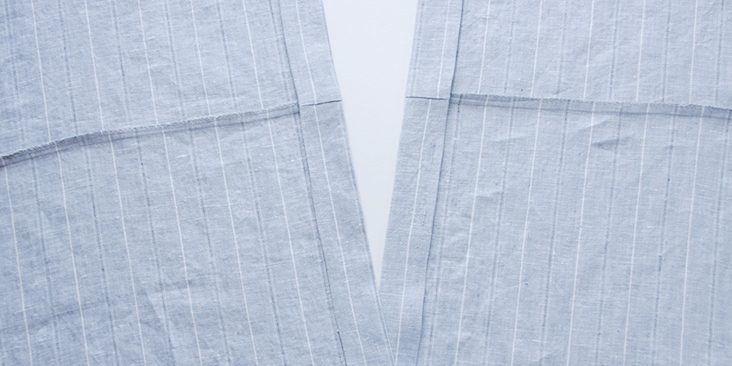
5. Now match the shoulder seams and pin these folded edges right sides together along that line that you’ve just pressed.
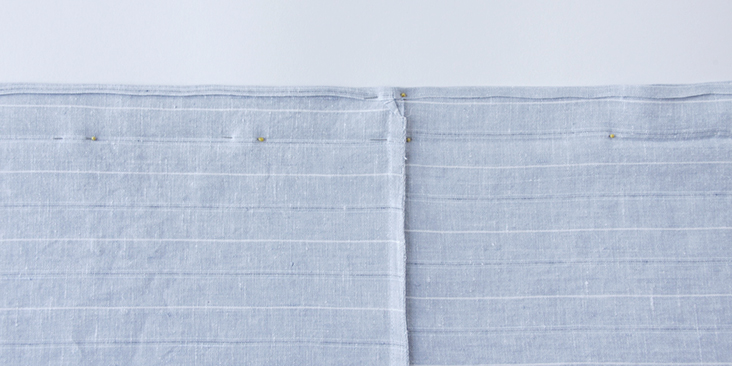
6. Now would be a good time to try the dress on and decide how deep you want your front and back V-necklines to be. Take a few pins around the shoulder seams out and put your dress on. Make a mark or place contrasting color pins at the spots where you want the neckline to end.
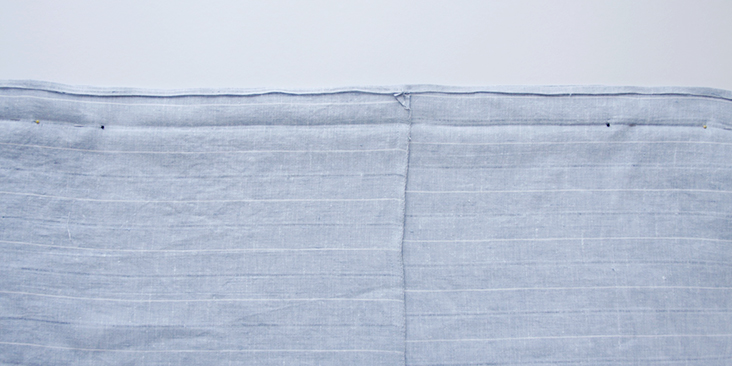
We went for a rather deep V-neck and placed a black pin 10,5″ from the shoulder seam at the front and 10″ at the back. The space between these two pins is your neck opening. The rest needs to be stitched together. Start from the neck opening marks and stitch all the way to the bottom hems. Remember to backstitch when you come to the V-point.
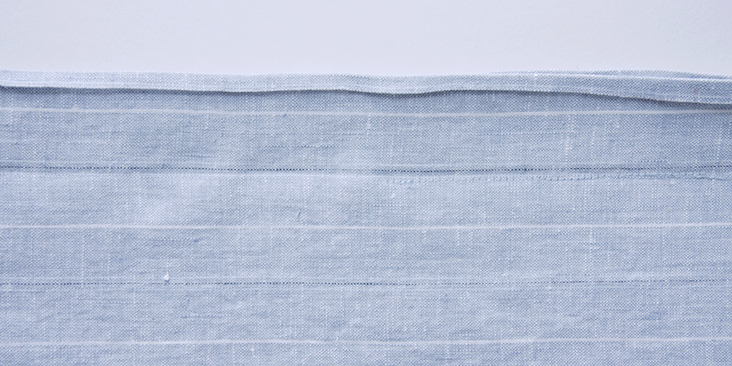
7. Press the seam open and the 1.5″ (3,5 cm) seam allowances flat.
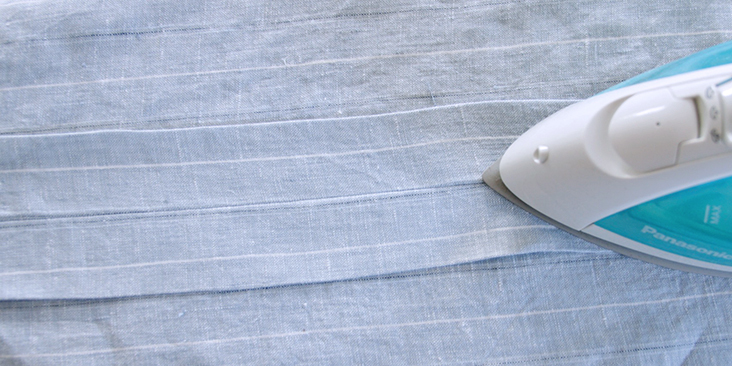
This is what your neckline looks like from the right side at this point:
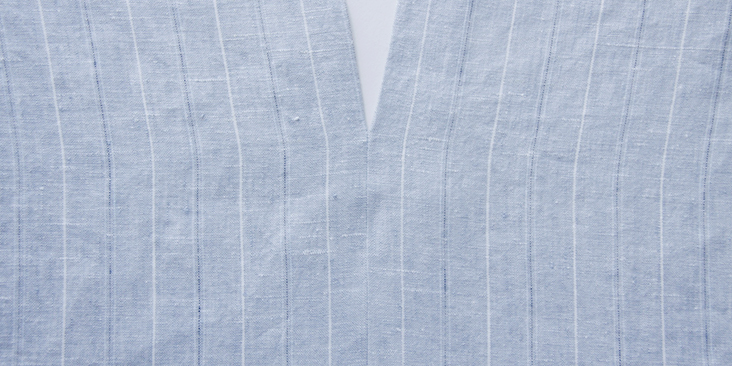
8. Now we need to pin the 1.5″ (3,5 cm) seam allowances to the dress and enclose the raw edges under.
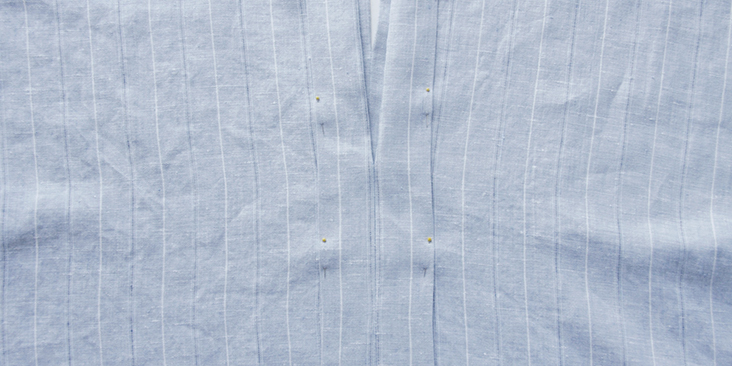
9. Edgestitch both sides of the dress and press. By creating these large folds to the left and to the right of the center seam, you’ll get a nicely looking collar that runs through the entire dress and gives it an original detail. You can even use a darker thread to make it more visible.
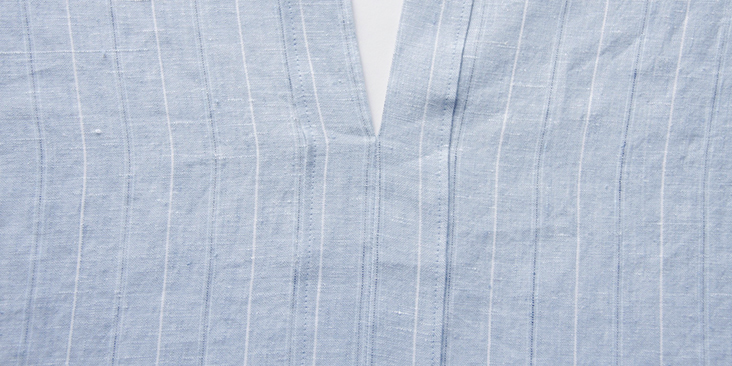
This is what your finished neckline looks like from the right side:
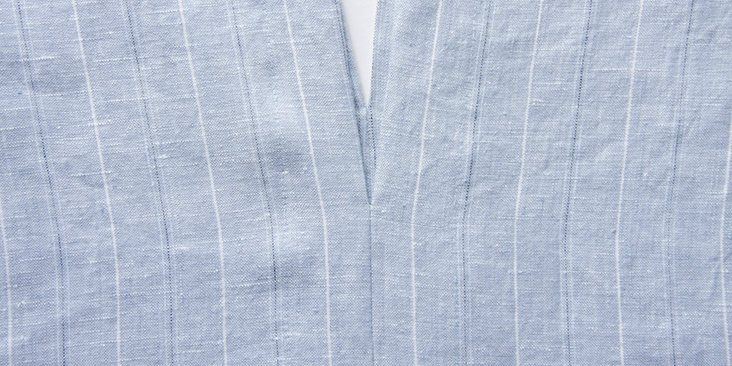
10. Pin the side seams together.
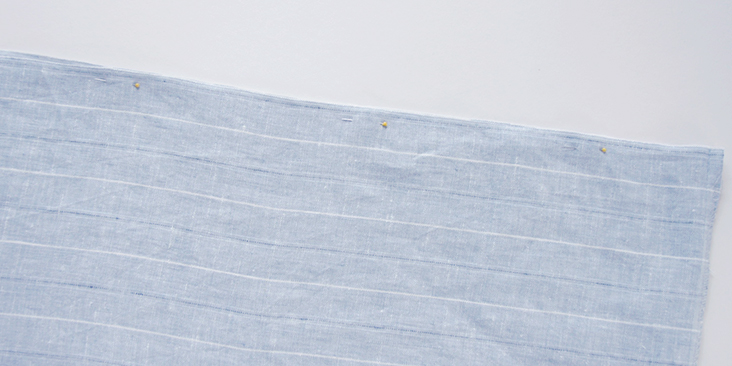
11. To create the armholes openings, measure 6.5″ (16.5 cm) from the shoulder seam and make a mark with a piece of chalk.
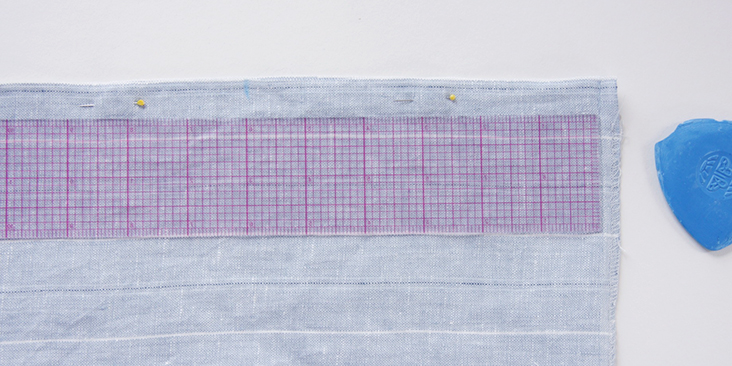
12. To form side seam slits, measure 11″ (28 cm) from the bottom hem and make a mark. If you want a deeper slit, increase this measurement.
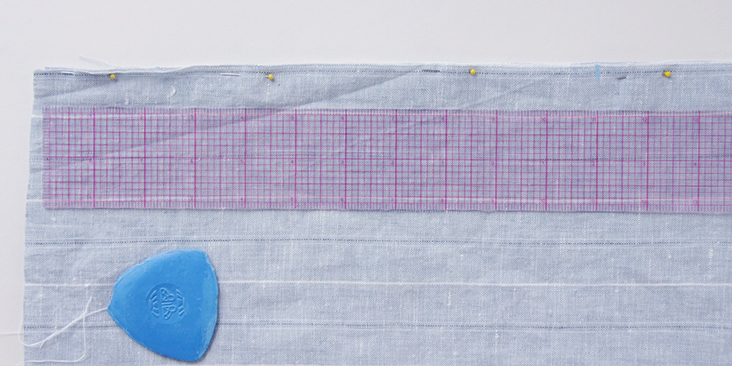
13. Please note that the side slits require a larger seam allowance. So when you stitch in between these two marks, use a 1″ (2,5 cm) seam allowance. Remember to backstitch at both ends.
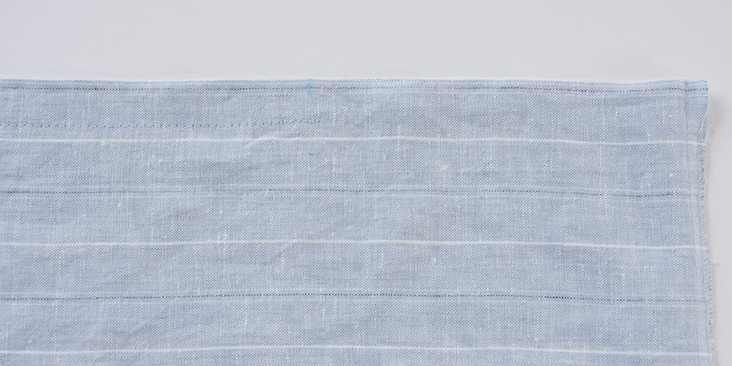
14. Finish the armholes with a rolled hem – fold the raw edges twice and pin. Make sure that the second fold is a continuation of the side stitch line.
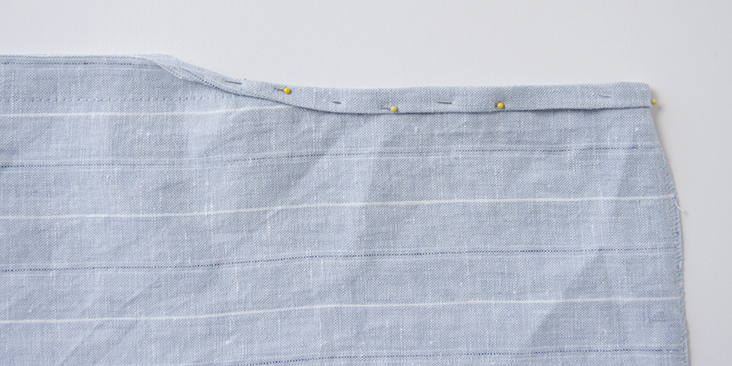
15. Edgestitch the armholes.
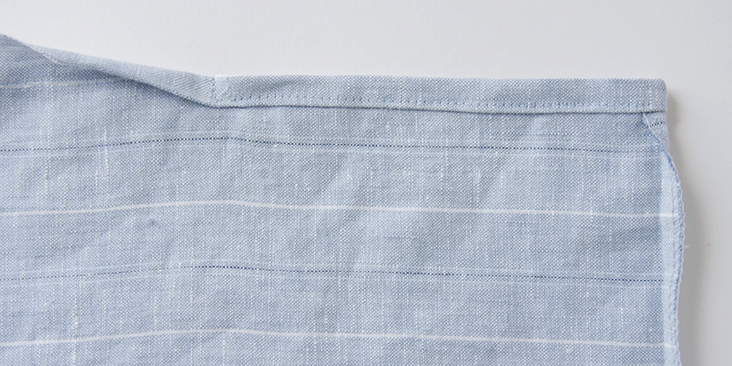
16. Trim the edges parallel to the stitched line to a standard 3/8″ (1 cm) seam allowance.
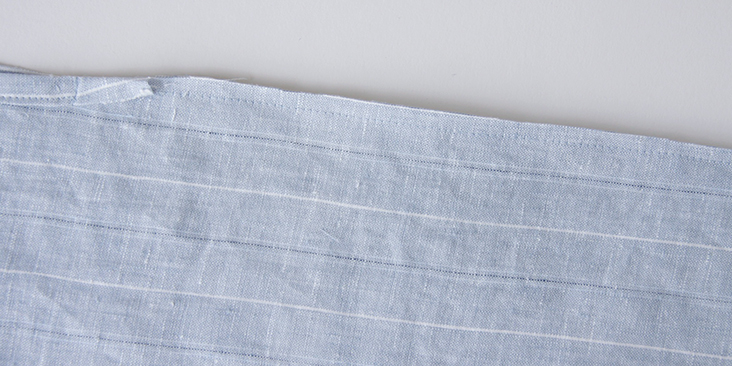
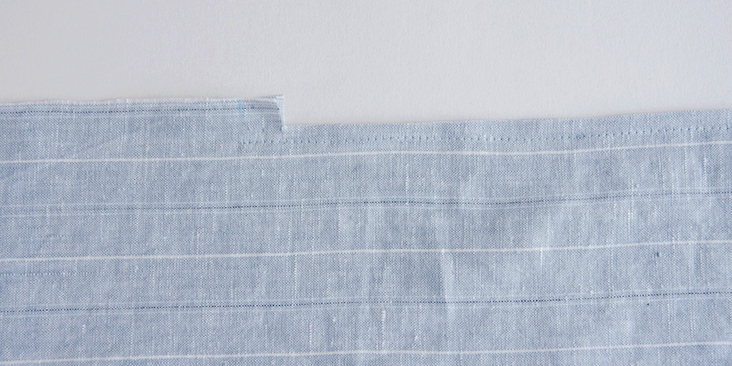
17. Serge or zigzag them together to prevent fabric from fraying.
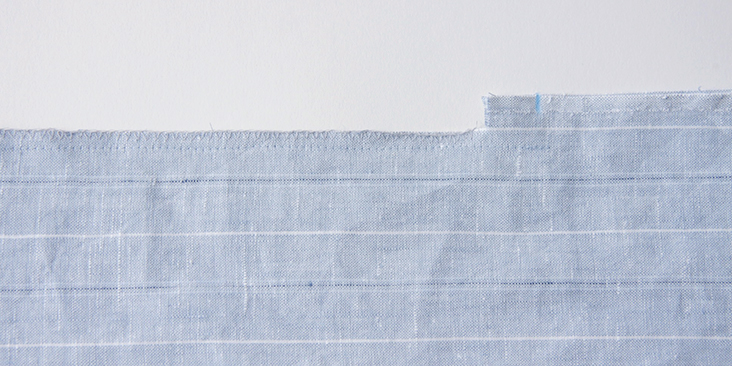
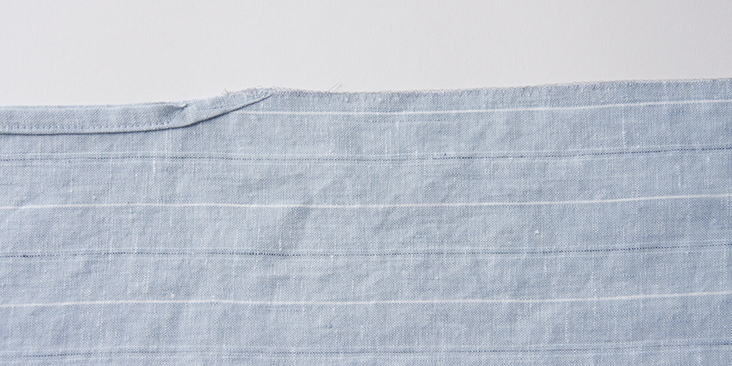
18. Sew the side seam slits following our detailed tutorial HERE.
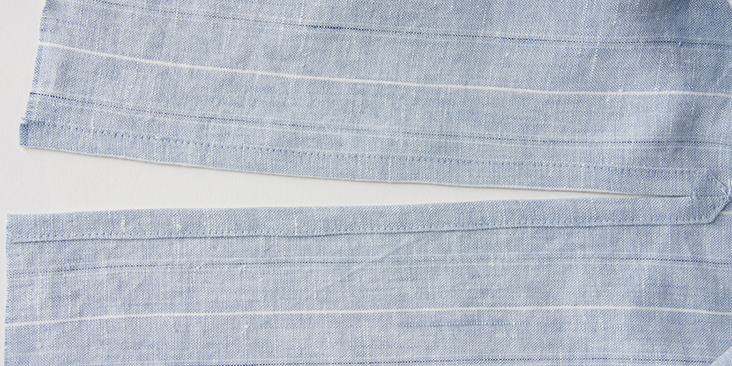
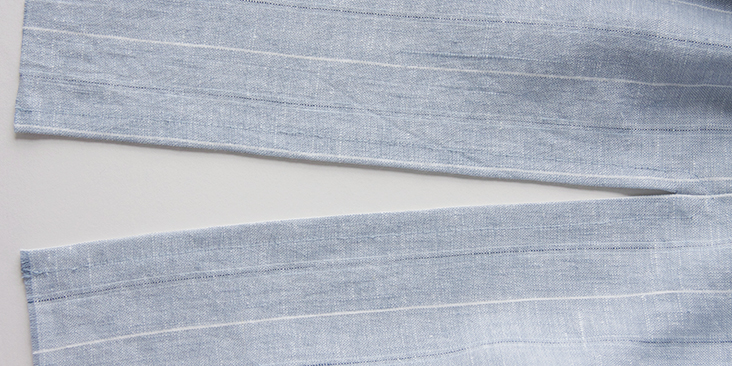
19. Finally, finish the bottom hem by folding the raw edge twice (3/8″ to 3/4″) and pin.
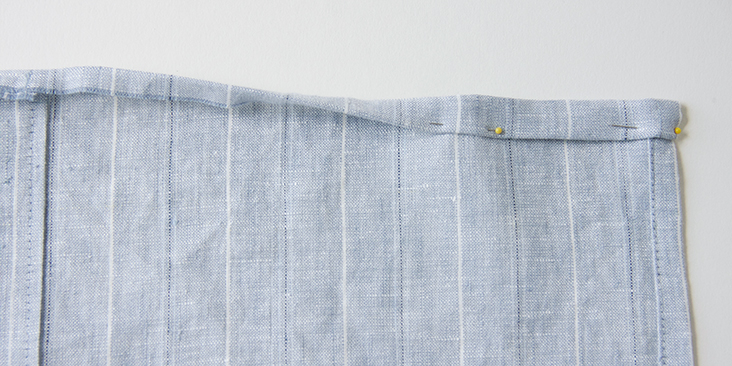
20. Stitch the hem and give it a good press.
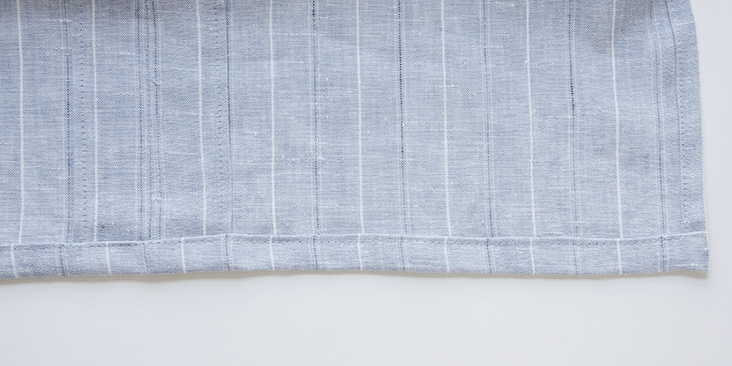
One last press and you are all done! This versatile dress is perfect for lounge or beachwear. You can also dress it up by adding a simple belt!
Why not check out all the other colours we have and play around with all the possibilities you can find?










21 Comments
Larissa Lalor
Hello, I would love to make this caftan for this summer.
It appears the recommended IL042 linen is longer available on your site. Which of your linens would recommend for this pattern instead? Will you be offering similar striped linens again in the future? Thanks!
Stacy D
I am almost done with this. I made mine out of a light colored lilac linen. I was wondering if I wanted to add some pockets how far down would I measure? I think that would add a fun touch to my new Kaftan!
Michale Sberna
Instead of throwing out your old clothes, make your own clothes out of that old material with this Kaftan Dress Tutorial from Anshu Jain . This adorable dress pattern for sewing is an easy beginner sewing project and a great sewing tutorial for those who are new to the art of sewing.
Virginia Cohn
I love the simplicity of this no pattern pattern. I have one question: would it be possible to cut one rectangle on the fold and make a rounded back opening and keep the simplicity in tact. Please advise, I’d love to be able to make this either/both ways. Thanks.
Rima Khusainova
Hi Virginia! Yes, I think this would work just as well!
Nellie
Thanks! I just made this and it turned out really well. It’s amazing with what you can do with just a yard and a half of cloth! It’s also a nice change from the 1920’s “One Hour Dress” instructions that I usually make my little loose summer dresses off of. I did add an extra inch each side to the armhole measurements to allow for more air circulation, but that didn’t change the look.
Rima Khusainova
Dear Nellie! Thank you so much for your feedback! I’m glad you are happy with your dress and would really love to see what you made!
Darius Buco
Instead of cutting and sewing it at the top, over the shoulders, could you just leave it folded in half, and cut out the neck hole therefore having no shoulder seams?
Rima Khusainova
Hi Darius! This is what I try to explain in the pattern section. The best way to do it is to have two long rectangles that you fold in half at the shoulders, but it’ll require a lot of fabric (3 – 3.5 yards). If you don’t have enough fabric (which was my case), you can cut 4 shorter rectangles (you’ll only need 2 yards for that) and sew them at the shoulders.
E.D.Lanning
In the Step 1 Picture there is a notch cut out of one side of the fabric, but I cannot figure out what it’s for. It isn’t mentioned in the instructions and I can’t see where it goes in the kaftan. Was it on purpose or did the fabric just come that way?
Rima Khusainova
I tried to see what it might be but i think it’s just the end of the pin that looks like a notch. Anyways, there should be no notches here 🙂
Debra
I need a pattern!
Rima Khusainova
Hi Debra! You really don’t need a pattern – it is the whole point of this dress! In this tutorial we wanted to show that just by cutting 2 long rectangles (or 4 if you don’t have enough yardage) of fabric and sewing in straight lines you can get a nice looking dress!
Judy Pennington
The pictures in the article show a dress with short cap like sleeves, but the directions are for sleeveless? do you have directions for the sleeves?
Rima Khusainova
Hi Judy! I understand how this might be confusing, but you’ll get cap-looking sleeves by just following the directions.
Mary
I really like this and it looks easy enough for me to do.
I do have two questions 1] can it be made any length. 2] can it be made with a straight back neckline or how could one change the neckline.
Still, a great non-pattern pattern and look.
Thank you.
Rima Khusainova
Hi Mary! Thank you very much for your comment! To answer your first question: yes – it can be made any length. Just measure the distance from the shoulder to the desired length and add a couple of inches for the seam allowances (well, 3/8″ + 1″ to be precise, but I prefer to have some extra fabric and adjust it after I assemble the dress). As for your second question ( and I really gave a lot of thought to it), I don’t think that this pattern as it is would lend itself to any neckline modifications. It really works only with the V-neck, the only thing you can change is the depth of the V. If you want to make the same straight cut dress but with a rounded neckline, I’d say you better cut two wide rectangles on fold, draw rounded front and back necklines and only assemble the side seams.
Cathy
About what size would this dress end up being? How would you adjust this for a bigger person, or a smaller person?
Rima Khusainova
Hi Cathy, the dress that you see on the model is US size 6-8 (UK size 10-12) but the fit is intentionally oversized, so it would probably fit US size 10/UK 14 as well. We have a great tutorial HERE that explains how to grade a pattern. Basically, you need to take some basic measurements (like chest, hips, the length from shoulder to knee etc) and use this information to adjust your pattern. Remember to add 1″ for the seam allowances, 2″ for the collar detail and some extra space for the oversized fit.
Kathrn Harrington
This looks so cute! Love the fabric! I can’t find any size information here. Please advise. Thanks!
Rima Khusainova
Thank you so much for your comment! The dress that you see on the model is US size 6-8 (UK size 10-12) but the fit is intentionally oversized, so it would probably fit US size 10/UK 14 as well.