Reversible Button-Down Dress Tutorial
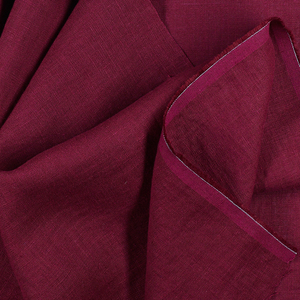
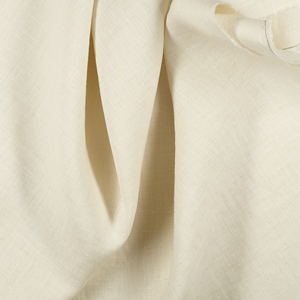
This comfy summer dress is cut from our beautiful medium weight GINGER Softened linen and features contrasting buttons for a touch of originality and two side pockets for comfort. The fit is relaxed with some extra space around the hips and below-the-knee length. But the coolest thing about this dress is that the front and the back are reversible and it can be worn two ways: as a simple round neck or a button-down V-neck.
Materials
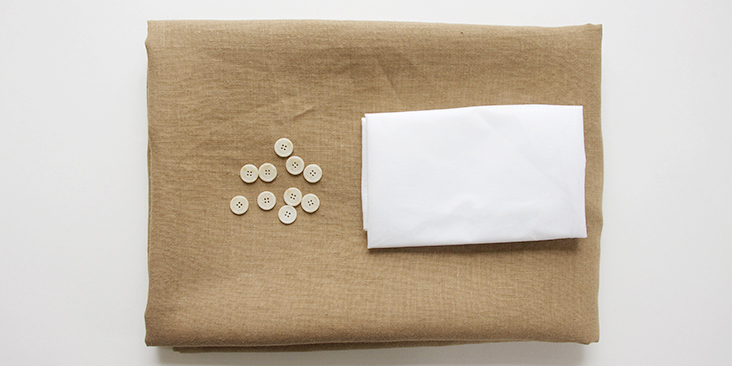
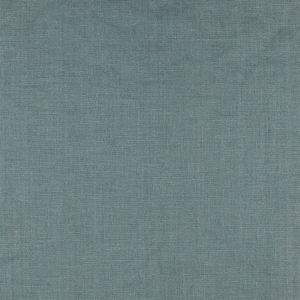
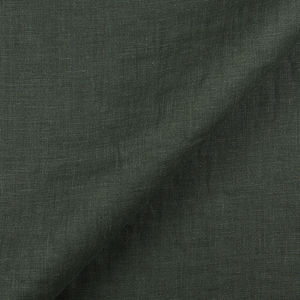
2 yards of IL019 GINGER Softened
Matching sewing thread, fusible interfacing (medium weight), 9-10 small buttons
Tools
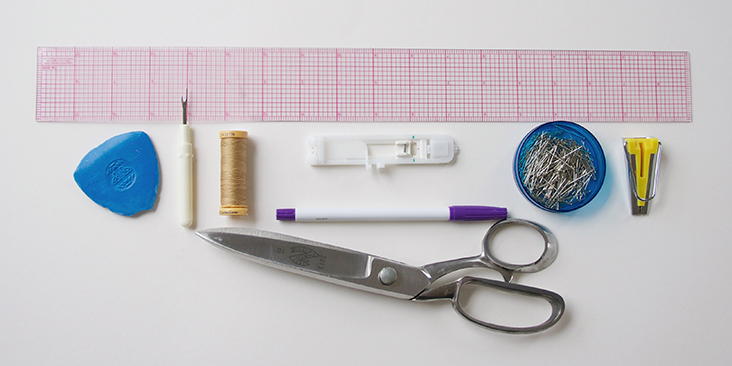
Pattern paper, scissors, fabric marker, pins, ruler, fusible interfacing, seam ripper, chalk, needle, buttonhole foot, 12mm bias tape maker, sewing machine
Time
4-5 hours
Difficulty
Intermediate
Pattern
You can access the dress pattern by following this link HERE and the printable pocket pattern can be found HERE. Remember to add seam allowances as indicated in the pattern.
Note that you’ll also need to cut three 1″ (2.5 cm) large strips of fabric on the bias in order to make the bias tape for the neckline and the armholes. For detailed instructions on how to cut your bias tape please follow this tutorial.
The diagram shows the pattern for US size 6-8 (UK size 10-12). If you need help grading your pattern, please follow this tutorial.
Steps
Note: Prewash your fabric and tumble dry it until it is still slightly moist. Iron the fabric so it is easier to work with.
1. Let’s start with the button bands. First, you’ll need to apply fusible interfacing ( 1.5″ wide x length of the front opening) to the wrong sides of your V-neck pieces.
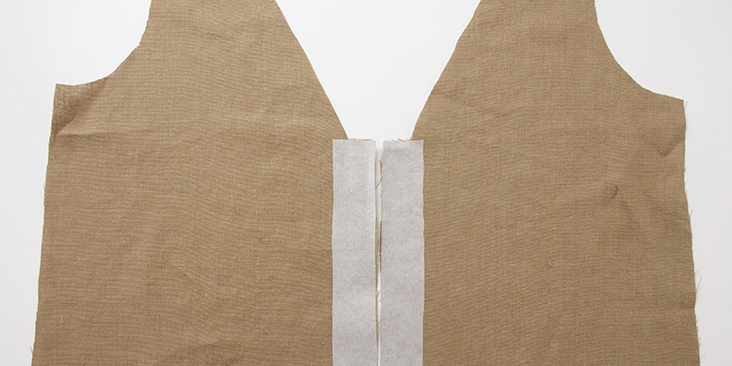
2. Then fold the interfaced edges 3/8” (1 cm) to the wrong side and press. Take one of your buttons and use it as a guide to determine the width of the second fold (it should be slightly wider than the button). Press again and pin.
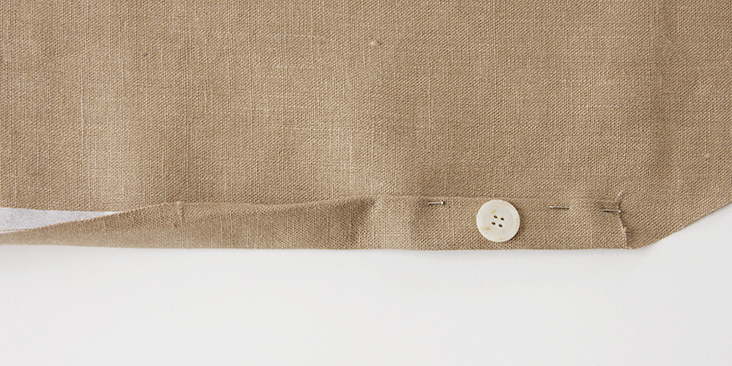
3. Stitch the band as close to the inner edge as possible (remember to backstitch at both ends). Press the finished button bands to ensure the fabric sits flat.
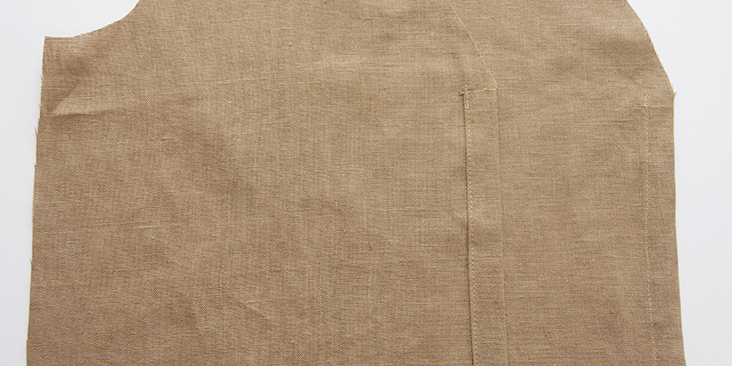
4. Pin your shoulder seams right sides together and sew (remember to backstitch at the beginning and end).
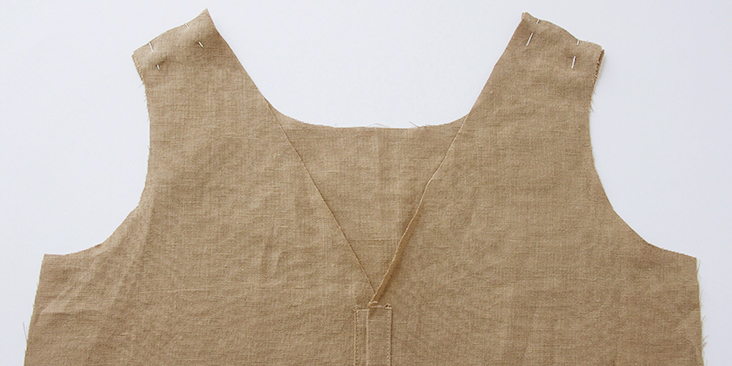
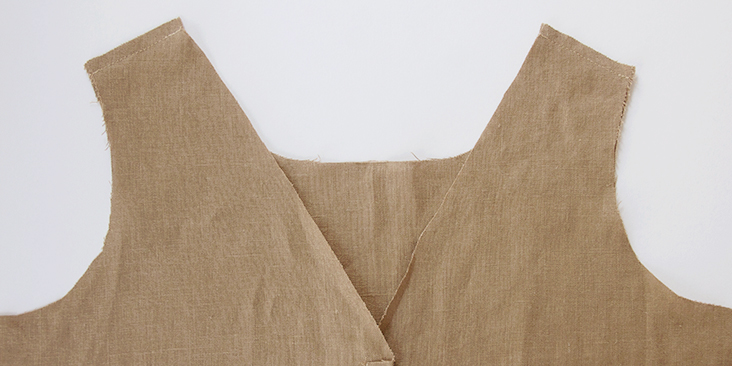
5. Serge or zigzag two raw edges together to prevent the fabric from fraying.
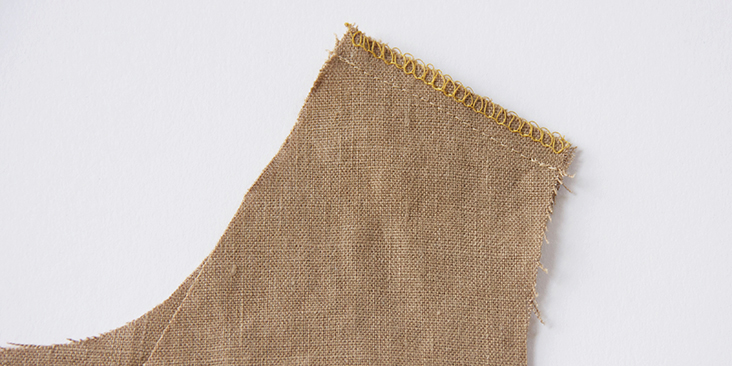
6. Press the seams flat folding the serged/zigzagged edge towards the V-neck panels.
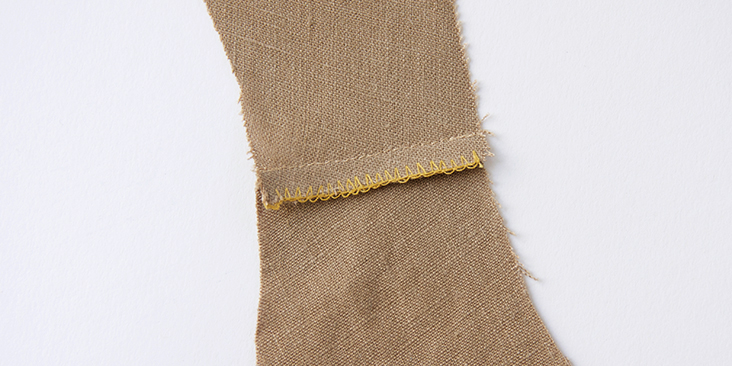
7. Make your bias tape following our detailed tutorial HERE. You’ll need 3 strips of bias tape: one for the neckline and two for the armholes.
8. Working from the right side, pin the bias tape around the entire neck opening right sides together.
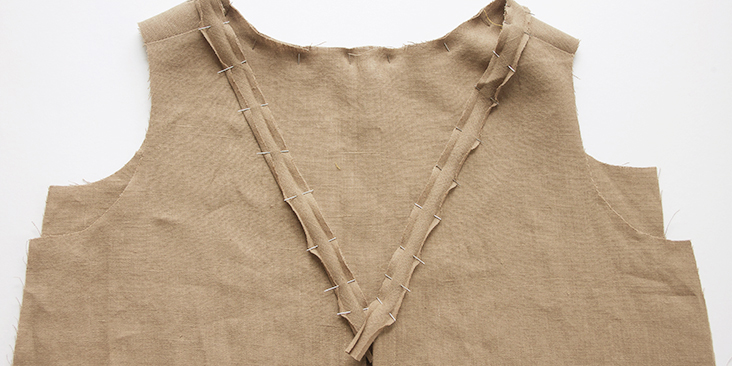
9. Stitch around the neckline in the inner crease of the binding.
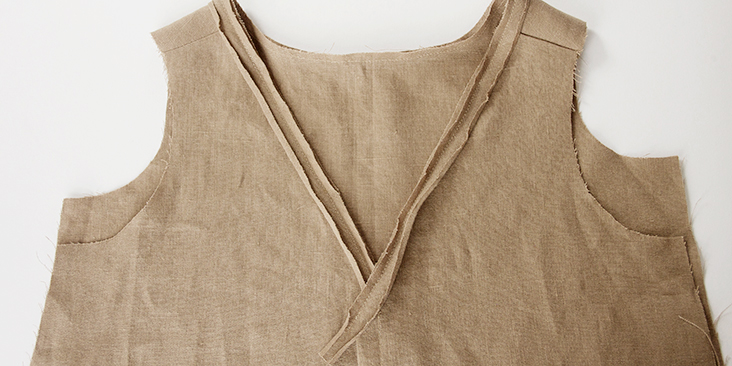
10. Turn the dress inside out and press the binding away from the dress.
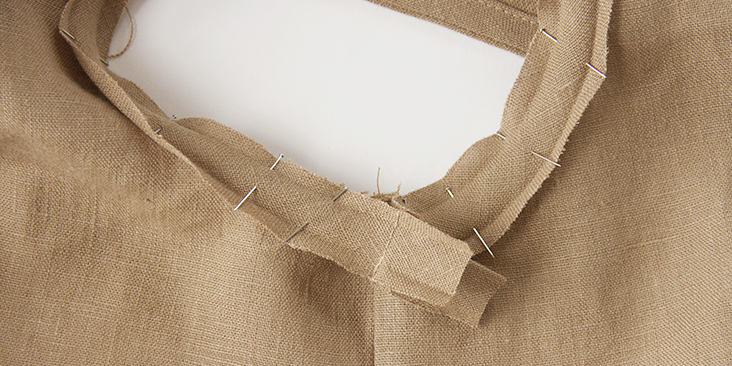
11. Turn the binding to the other side of the neckline. Press and pin it in place encasing all the raw edges in the binding. As for the ends, trim the corner seam allowance and tuck it in and under the band to create a neat diagonal fold.
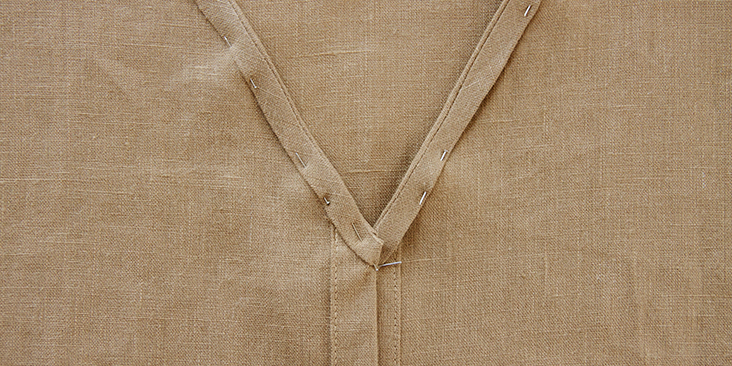
12. Stitch the band in place as closely to the inner edge as possible.
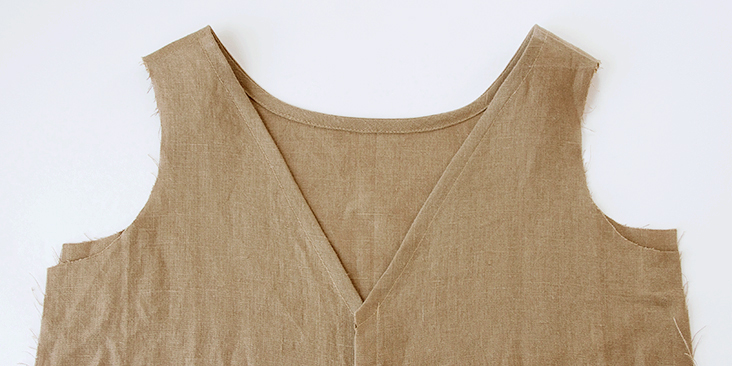
Now it’s time to sew and attach the side pockets.
13. Pin the pocket panels right sides together to create two side pockets.
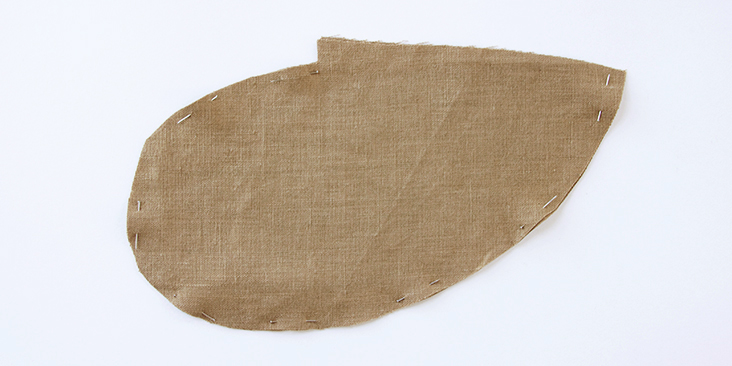
14. Stitch along the pinned edge but leave 3/8″ (1 cm) on both ends unstitched. That will make it easier to pin the pockets onto the bodice panels.
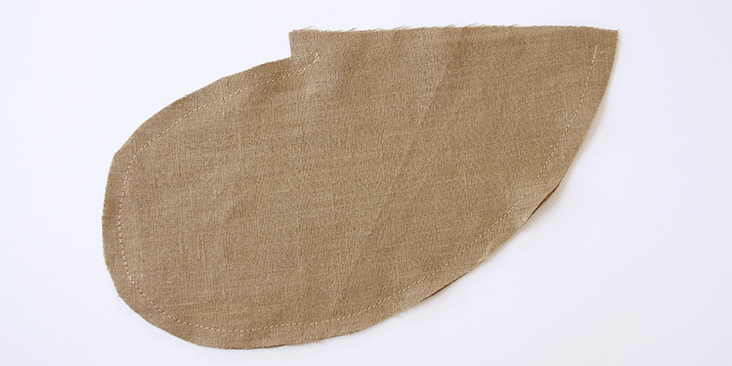
15. Serge or zigzag outside the stitched line leaving both ends untouched.
16. Try your dress on and decide where you want your pockets to sit. Make a mark with a piece of chalk or a pin. Measure the distance from the armhole to the mark and use it for the other pocket/panel. Make a new mark on the other side.
17. With the wrong side of the V-neck panel facing you and the pocket’s wrong sides facing outwards, take the top pocket panel and match it to the mark you’ve made. Pin the top pocket panel to the dress panel making sure the bottom panel of the pocket is not caught. Repeat for the second pocket. Make sure your pockets are facing the right way: the rounded edge should be looking down towards the bottom edge of your dress.
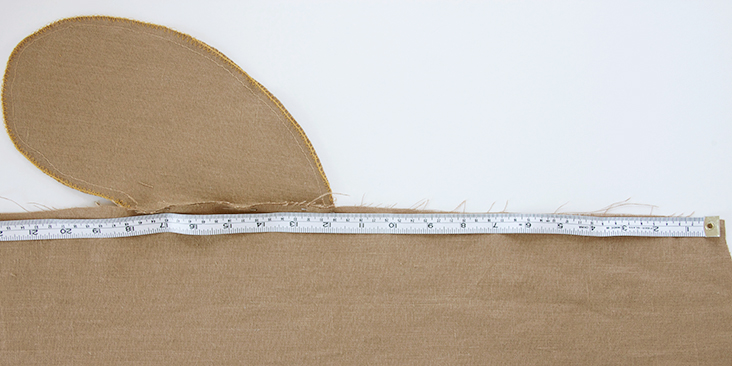
18. Sew the pinned edges together (only the pocket) at a 3/8 in (1cm) seam allowance backstitching at both ends.
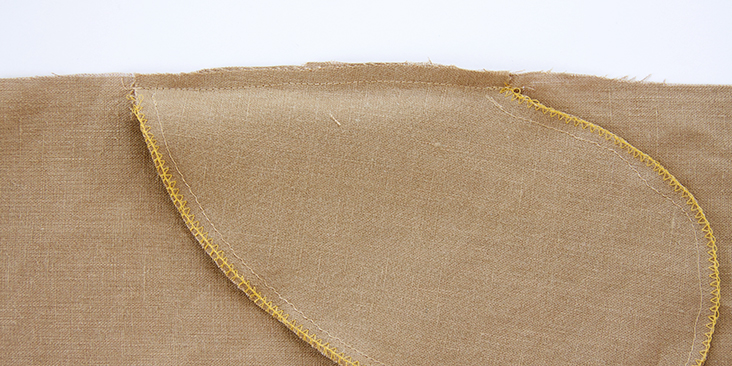
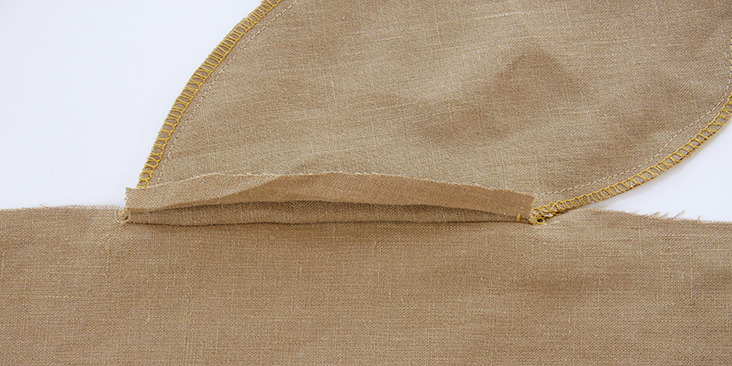
19. Serge or zigzag the two raw edges together a little past the pocket opening.
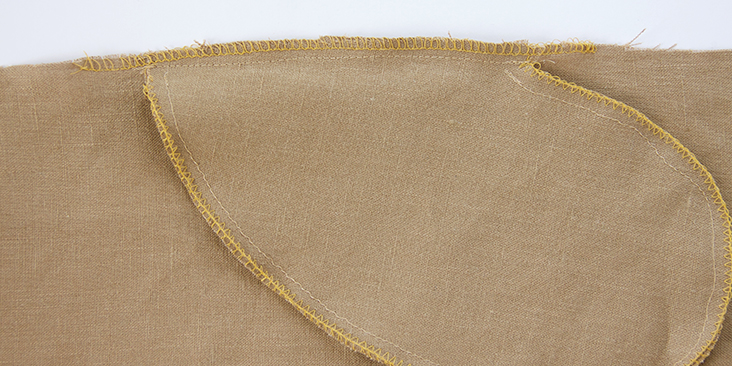
20. Pin the side seams of the dress right sides together. When you come to the pocket, pin the other pocket panel to the other dress panel.
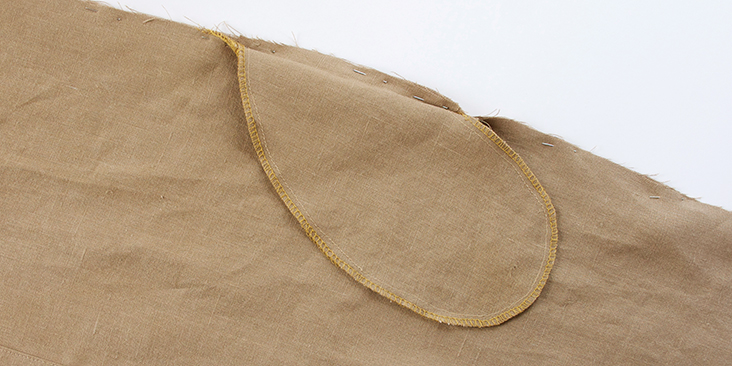
21. Stitch the second pocket panel to the bodice and serge/zigzag the seam allowances together.
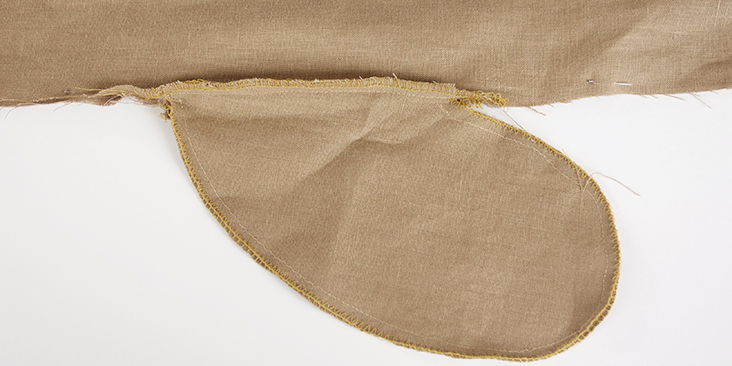
22. Now sew the side seams together up to the pocket opening and then from the other end of the opening down to the bottom hem of the dress. Remember to backstitch. Zigzag/serge the edges together.
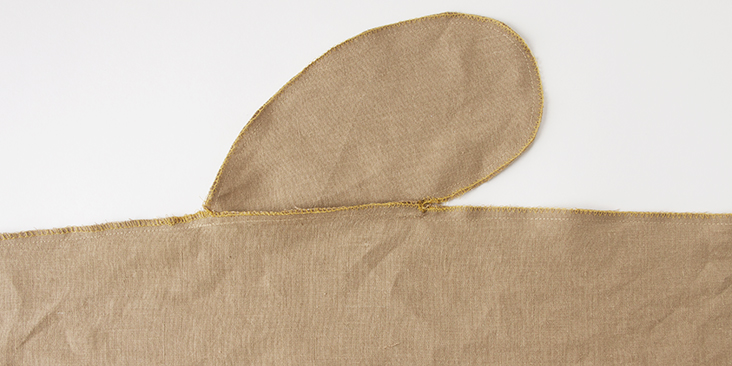
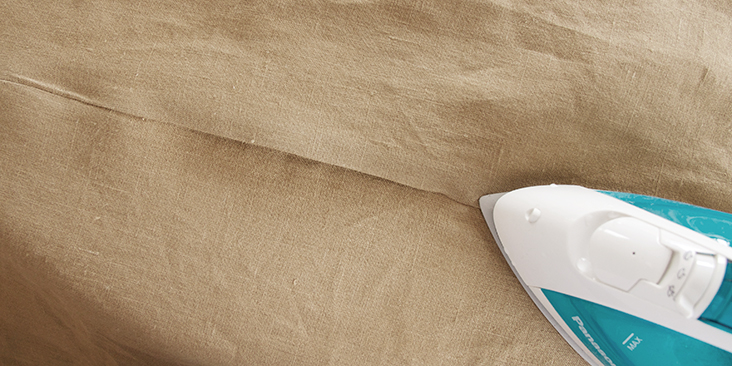
23. Press the seam flat folding the serged/zigzagged edge towards the V-neck panel and carefully pressing the pocket seams to create two neat folds.
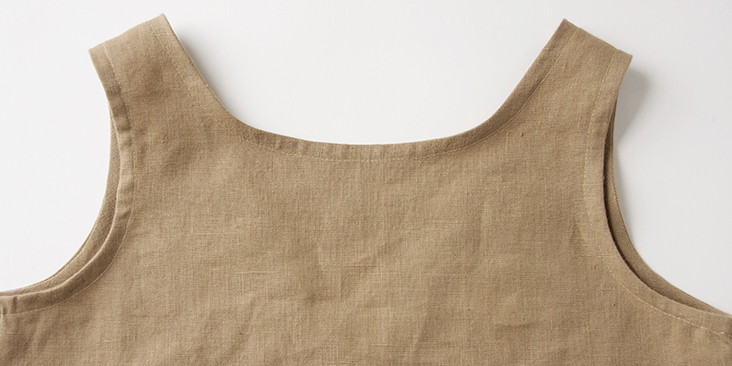
24. Following the same steps as for the neckline, attach the bias tape to the armholes. The only difference is that you’ll need to sew two ends of the bias tape together to create a continuous piece of bias band to the exact armhole opening.
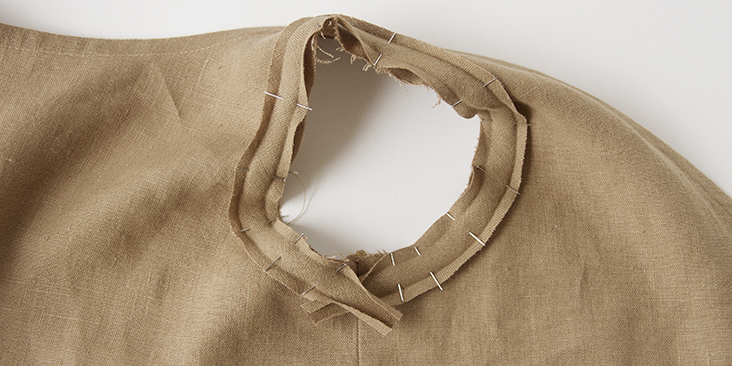
Here’s what your finished armholes should look like:
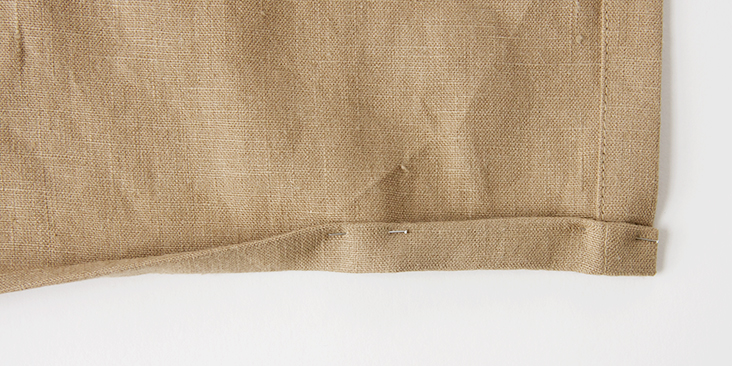
25. Finish the bottom hem by folding the fabric twice (3/8″ to 1/2″) to the wrong side. Make sure both V-neck panels are aligned. Press and pin.
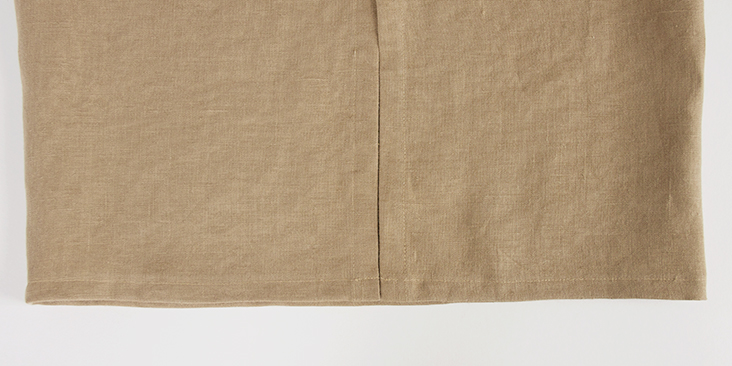
26. Stitch as close to the inner edge as possible. Give the entire hem a good press.
27. The last steps are to sew buttonholes and attach the buttons. Start by making your buttonholes following this tutorial HERE. The number and the spacing are really up to you. If you want your buttons closer, just leave smaller gaps between them. We decided to space our buttons 2,5″ (6 cm) apart.
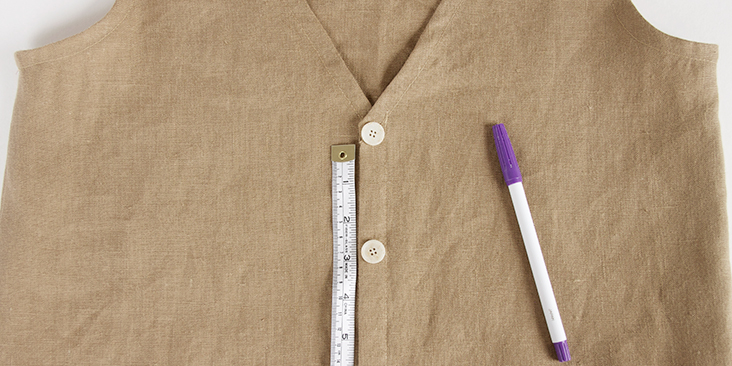
28. Overlap theV-neck panels and place a pin into the center of each buttonhole. This is where you’ll need to attach the button. Here’s a very easy tutorial on how to attach the buttons.
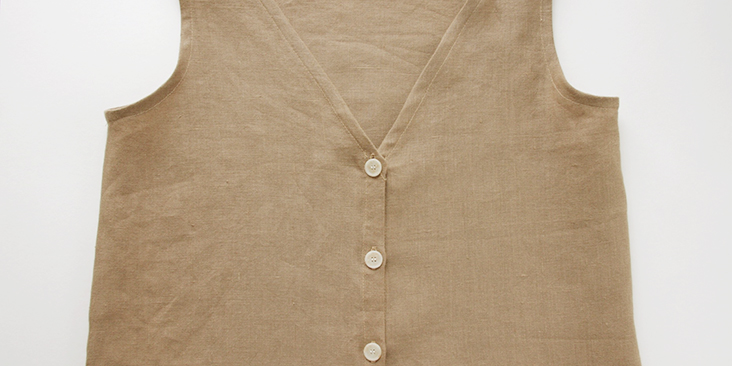
Give your dress a good press and you’re done! Now you have a versatile dress that is great for every day wear!








11 Comments
Es Be
Hi! The link is broken, can you restore it, please? I’d love to try and see this! Thank you!
Lauren Gates
Hello, We have now made this pattern available as a multi-sized .pdf download called Skye Reversible Dress Pattern.
Here is a link to the new pattern: https://fabrics-store.com/sewing-patterns/skye–reversible-dress-pattern
And a link to the new tutorial: https://blog.fabrics-store.com/2019/10/10/skye-reversible-dress-tutorial/
Lauren Gates
Hello! The links to the pattern and pocket are now fully functional again. Thanks so much for letting us know.
Nirmala Kumaresh
Thank You, I always found making button plackets a bane…. You’ve made everything look so simple! Would love to make this pretty dress. Linen..Linen, beautiful linen……….!
Rima Khusainova
So happy to hear we could help! Button plackets only seem difficult, but when you know the right steps they are actually very easy easy to make 🙂
Pamela McCandless
Hi,
I love your tutorials, thank you for posts. I learn more each read.
I do have an issue though, whenever I try to download the patterns I get an error message. It tells me to try again, when I do it just happens again.
All my downloads go directly to the SD CARD. Today after trying to get the free dress pattern, since it was posted, I finally downloaded it successfully. I don’t know what was done, but thank you. I did email the “help desk”, never received a response. When I tried to call, either time wasn’t right, I am EST, or I couldn’t get through to a person.
I really like the Reversible Button Down Dress, tried the download, got the error message again.
I use an Android device, Windows 10, have most current Adobe software, plenty of free space for downloading on SD CARD.
Any assistance would be very appreciated.
Thank you,
Pamela
Sophie MacKenzie
I can’t wait to attempt this. Very cute indeed.
Rima Khusainova
Thank you Sophie! Don’t forget to share your results with us!
Chris
Pocket method is more work than necessary. Much easier way to do it.
Sue
Love the versatility of this great dress!
Rima Khusainova
Thank you so much for your comment Sue! It is a great dress indeed!