Linen Quilted Cushion Tutorial
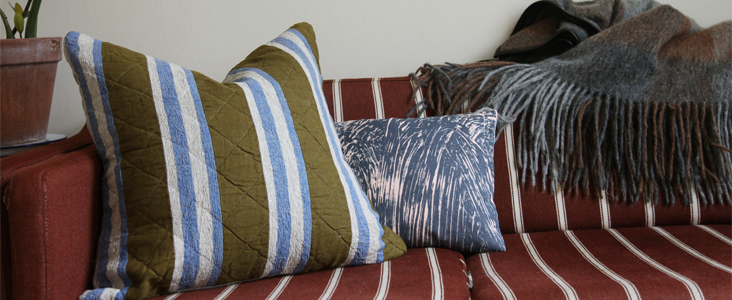
This week we are going to be making a quilted cushion cover for quite a large floor pillow. We’ve chosen some heavier linens from the collection, to help prevent immediate tear and wear. We will also show you how to insert a zip in the middle of the back panel. Fun! This project is also a great way to utilise those smaller bits of loose fabric you’ve accumulated in 2015- make it your statement cushion to bring the year to a close. (lol) Quilting takes time and great care, this is why it’s a technique which you either fall in love with or try to avoid. We love to quilt so we are real happy to share this project with you. If you are new to quilting, this would be a great project to start with, test the water to see what you think about quilting business yourself. A pillow is a reasonably small project in comparison to a full blown duvet cover, so have a go. We hope this tutorial can inspire you’ to fall in love with this technique. Own it, make it yours. Enjoy!
Materials
Sizes below are for’ a 25.2 in X 25.2 in (64cm X 64cm)’ pillow cover.
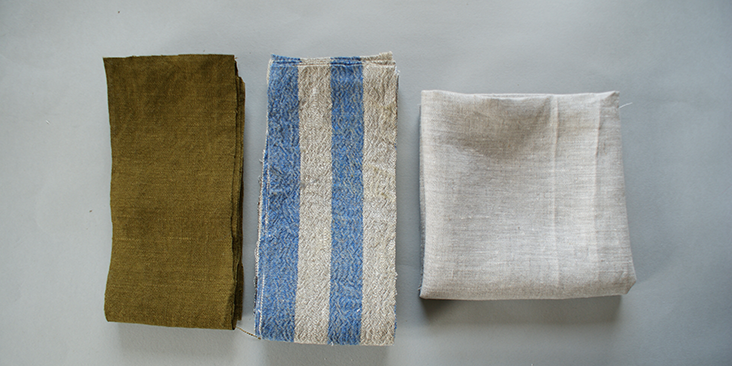
(colour 1) 0.5 yards of 4C22 Laurel Softened (We may have ran out of this fabric, but there are plenty of other colour options for this heavy weight linen!)
(colour 2) 0.5 yards of IL073 841 Blue Stripes
(colour 3) 1 yard of IL019 Mix Natural Softened
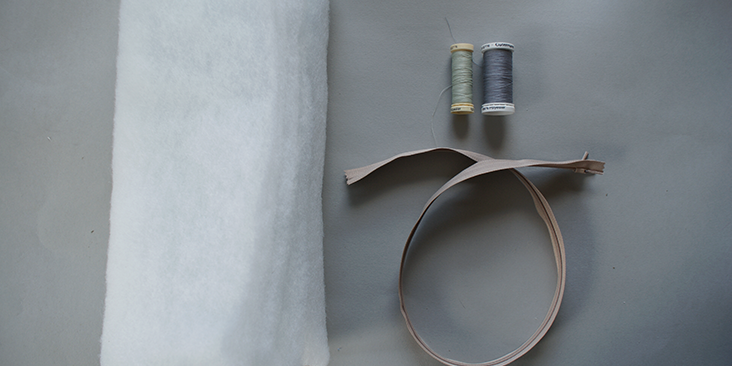
Matching sewing thread
1 yard of Wadding (I chose polyester for this tutorial, to create a more puffy look but remains light in weight)
Zip (at least 26in/66cm long)
Tools
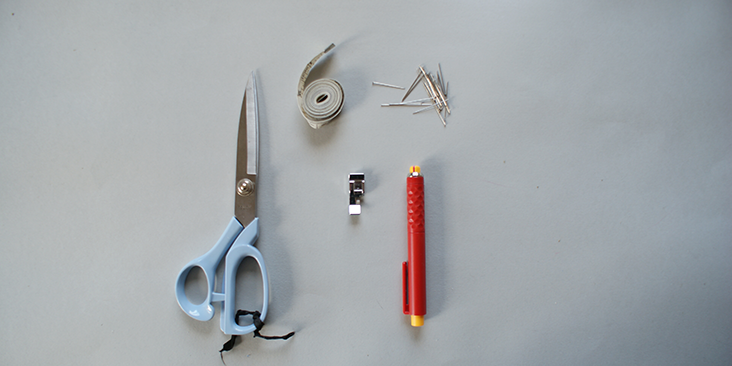
Pattern master, pattern paper
Paper scissors, fabric scissors
Fabric marker, pins (lots! Or safety pins), tape measure
Invisible zip sewing foot
Time
3-4′ hours
Difficulty
Easy
Step
Note: Prewash your fabric and tumble dry it until it is still slightly moist, let this dry in room temperature.
1. Iron the fabric so it is easier to work with.
2. The diagram shows the pattern for a cushion cover sized 25.2 in X 25.2 in (64cm X 64cm) in dimension. Normally you will create a cushion cover slightly smaller than your actual cushion, to get a more fitted look.’ If you need help to grade your pattern, please follow this tutorial. Because I am doing french seams along all the edges,’ I am going to add 0.6 in (1.5cm) seam allowance all along the edges.
3. For this tutorial, I have chosen to use french seams around the edges to protect the pillow case, however I have used the serger for the centre seams of the back panels (that will be sewn onto the zip) You can use a serger, or choose your own method to protect all the seams from fraying.
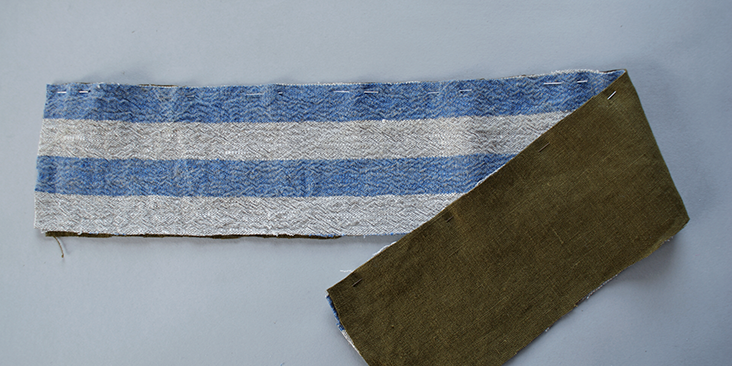
4. Pin all the alternating stripes together, make sure you sew them together with the wrong side facing outwards, at 0.6in (1.5cm) seam allowance. Press all the seams open.
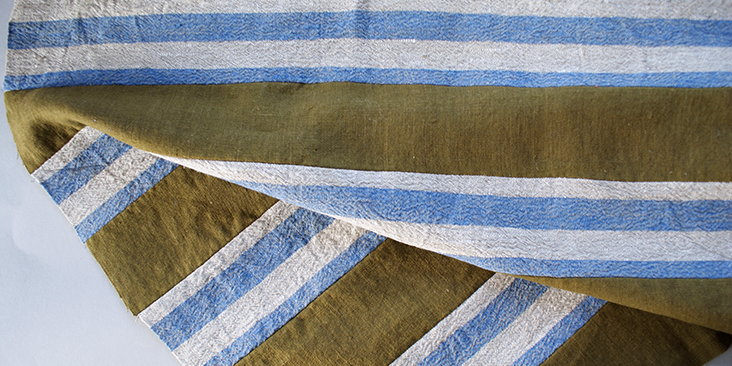
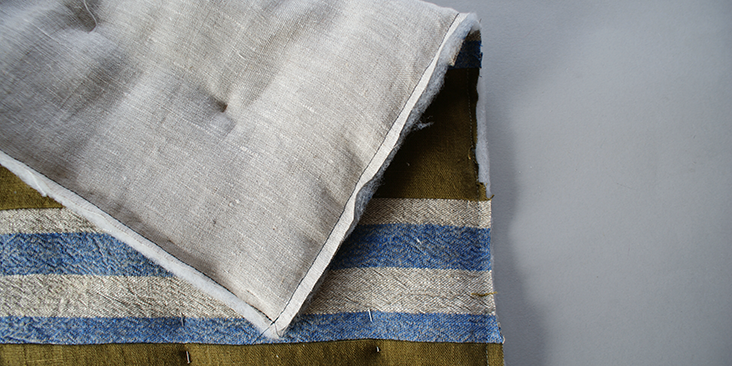
5. Next, lay the top layer in colour 3 on the table, then the cut wadding, and then the sewn striped top panel on top.
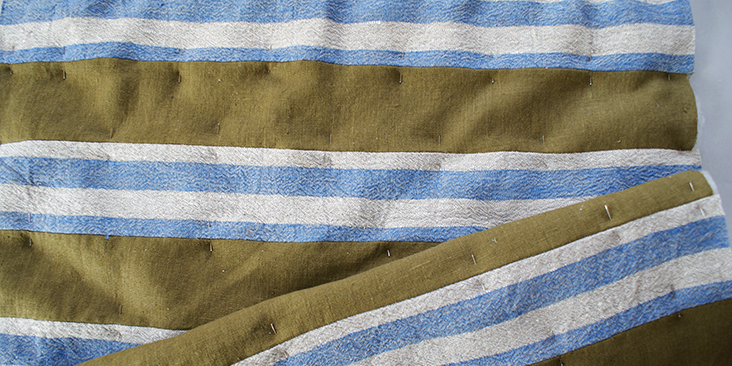
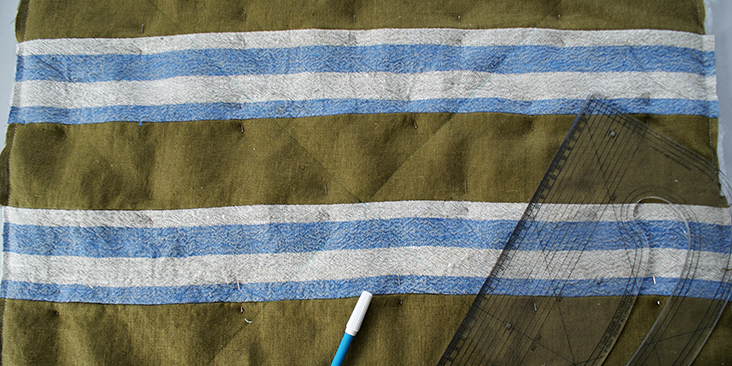
6. Pin along the edges of this big square, and also throughout the material to ensure none of the layers will move around when sewing. I choose to pin along the stitched lines of the stripes for visibility.
7. Sew at 1/8 in (0.5cm) from the edge all the way along the cushion cover, all 4 sides. Whilst doing this, make sure the materials have not shifted.
8. Next, with all the pins still intact, to create the diamond stitching pattern; mark the centre point of the cushion cover with a soluble fabric marker.
9. Then, join this mark with the four corners to create a big cross. Top stitch along this line. To get a better look, I tend to top stitch with longer length of thread.
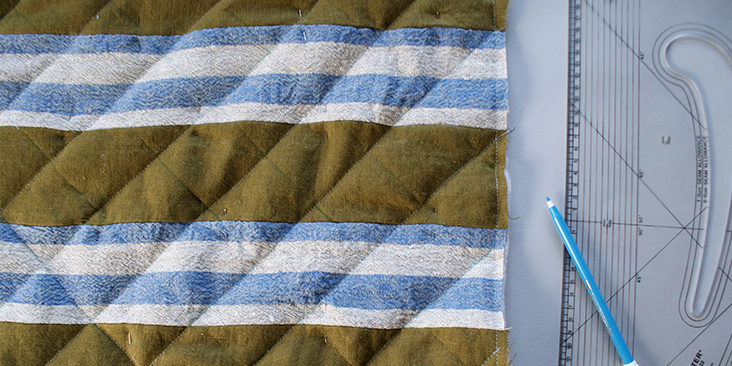
10. Next, working from one half of the cushion cover first, with the help of a pattern master, or a piece of cardboard that measures the same width all the way along, mark the following lines that lie’ parallel to the long diagonal line you have just top stitched. For this pattern, I have allowed 2.3 in (6cm) space in between each line. Mark these lines outwards.
11. Top stitch over these lines. I like to work from the corner, back towards the centre. But this is a personal preference. To make sure the fabric does not scrunch up during the process, it is very important to keep the fabric as flat as possible whilst feeding it through the sewing machine.
12. Repeat this step for’ the opposite side, and also’ when working with the perpendicular diagonal lines.
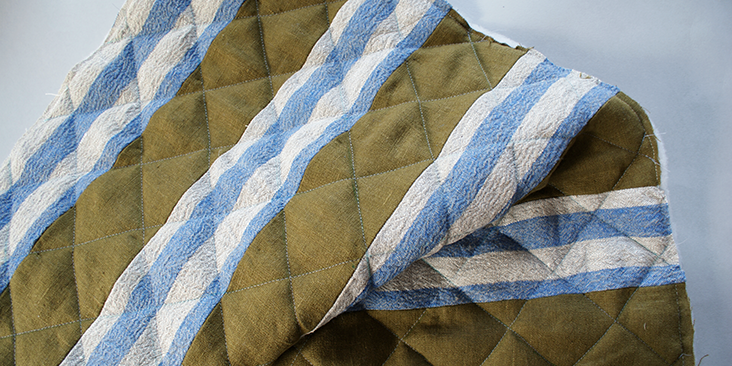
13. This may’ take a while but the end result is oh-so-very satisfying.
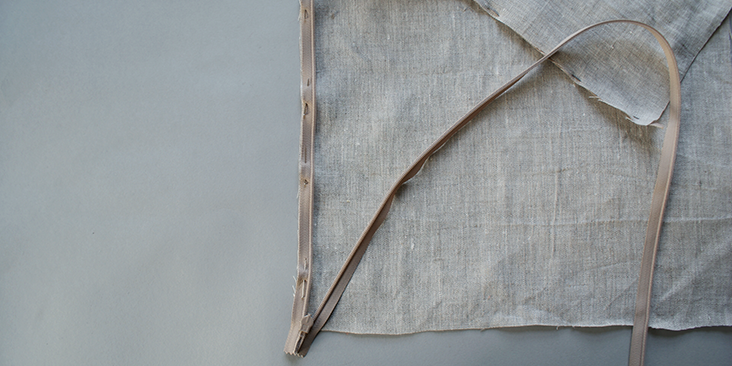
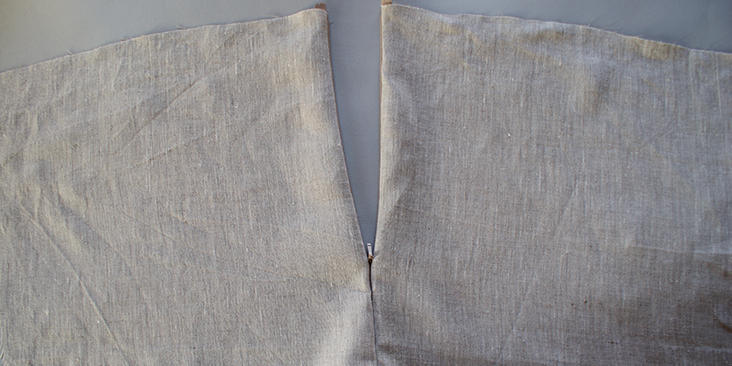
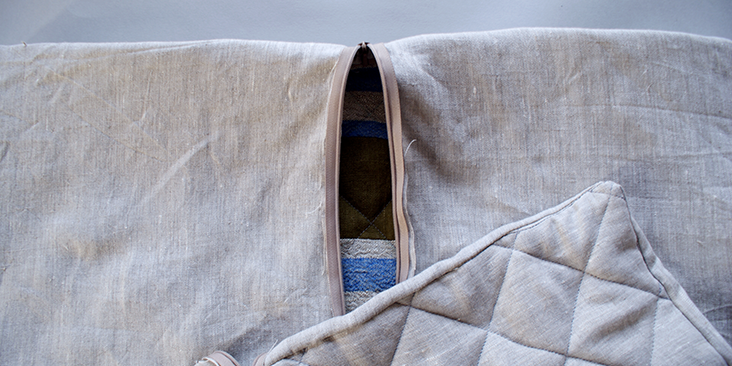
14. Next, following this tutorial‘ sew the invisible zip onto the back panels, so that when it is sewn on its placement is in the middle of the back. Also remember you have allowed 0.6 in (1.5cm) as seam allowance, so this will be the width at where you sew the zip onto the fabric.
15. To join the front and back panels together, I have opted for doing a french seam, as this will create the most tidy outcome, with all the wadding and panels seams hidden away.
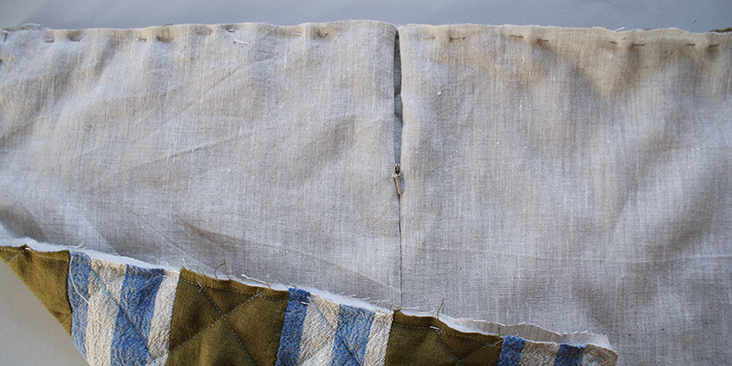
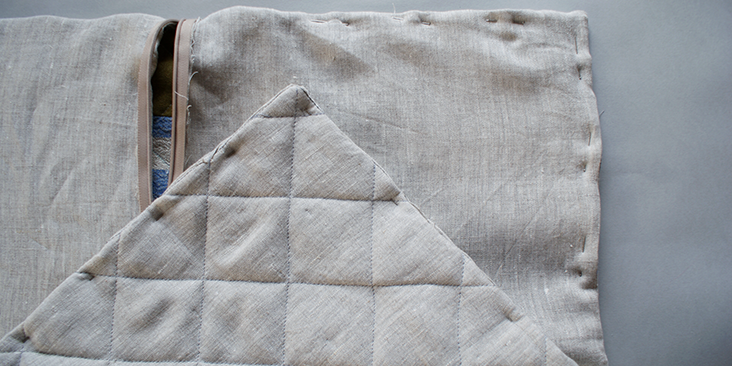
16. First, lay the back panel down with its wrong side facing you and then the top panel on top, with its right side facing you. Pin along the 4 edges and sew at just 1/8 in (0.5cm) from the edge, along the whole cover.
17. Trim the newly stitched edges so the stitched line is as close to the edge as possible.
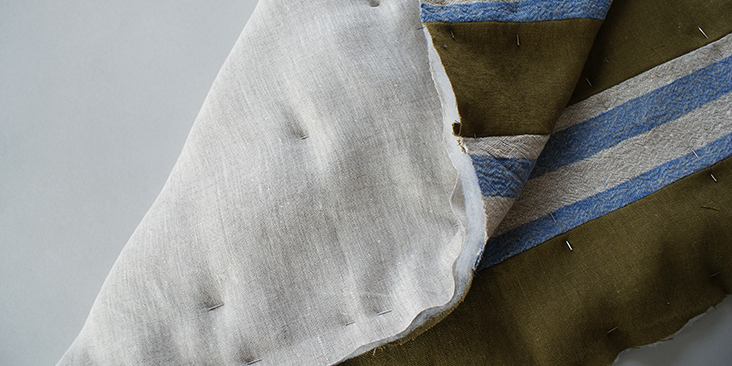
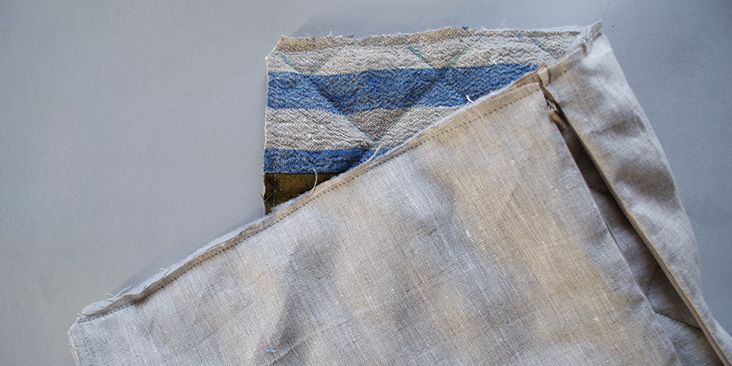
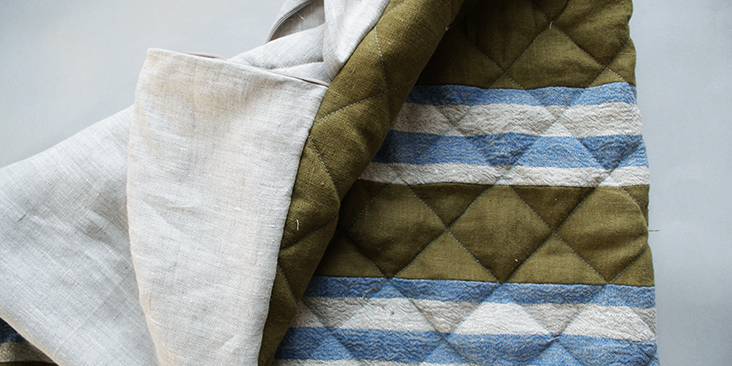
18. Next, turn the cushion inside out as shown in the photograph.
19. Pin along the edges, but at the usual 3/8 in (1cm) seam allowance. Sewn along this edge, along all 4 sides, and be careful when you reach the zips, to go over these slowly to prevent breaking any needles.
20. Turn the cover back the right way round again and you have just made yourself an amazing quilted cushion cover.








3 Comments
Peggy
Love it! Quilting the front of the pillow adds so much texture and heft to the overall look. Digging in the Doggie Bag for some materials is definitely in my future! Thanks for the great idea. ?
Valerie
Thank you for such a simple tutorial. The cushion looks polished and rustic at the same time! I have learned so much from your lessons and I am an experienced sewist!
tanya
Better results are achieved when project is ironed during construction.