Leonor Linen Romper Tutorial and Pattern
It’s hard not to love rompers. The perfect one-piece outfit, it has the comfort of shorts and the styling ease of a dress.
Our Leonor pattern is a relaxed button up romper with short dolman sleeves, large pockets and an elasticated waist that can be styled with or without the belt. Cut from our stripy medium weight linen, it is lightweight and breathable, making sure to keep you cool and comfortable all day long.
Follow this step-by-step tutorial and make your own linen romper that you’ll never want to take off.
Materials
For our sample size S pictured in this tutorial we used 2 yards of IL042 901 FS Premier Finish Medium Weight Linen. For other sizes, please refer to the yardage table in the PDF pattern to determine the required amount of fabric.
Matching sewing thread, one yard of ½”-wide elastic, six 5/8”-wide buttons, fusible interfacing
Tools
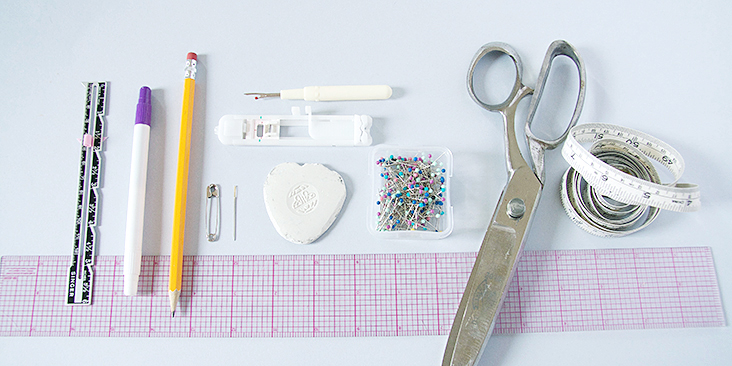
Scissors, pins, ruler, chalk, measuring tape, fabric marker, buttonhole foot, safety pin, seam ripper, needle, sewing machine
Difficulty
Advanced Beginner
Sewing Time
6-7 hours
Pattern
You can access the multi-sized printable PDF pattern by following this link HERE. All seam allowances are included. The model is wearing size S.
Remember to transfer all the notches onto your fabric.
Steps
Note: Prewash your fabric and tumble dry it until it is still slightly moist, dry at room temperature. Iron the fabric so it is easier to work with.
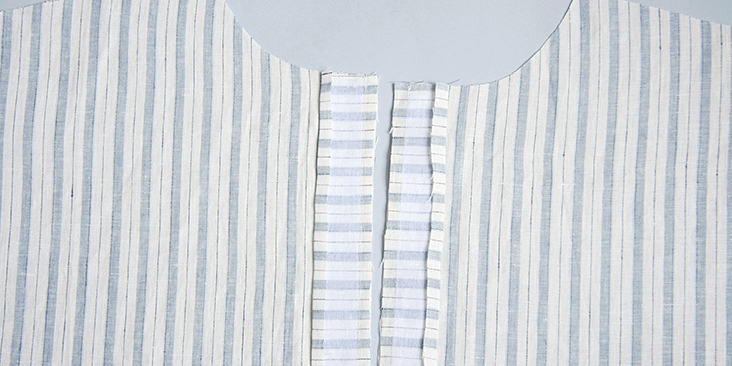
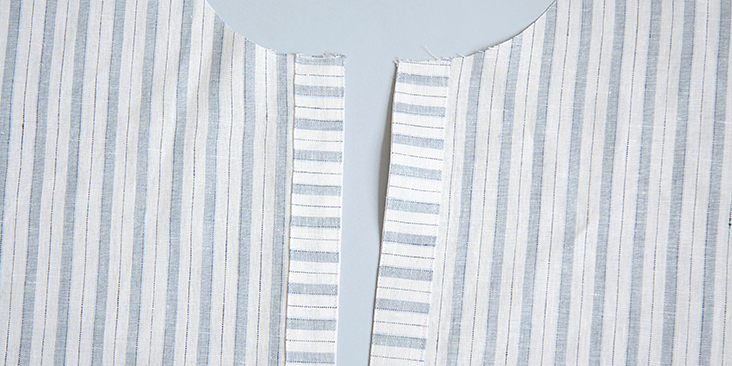
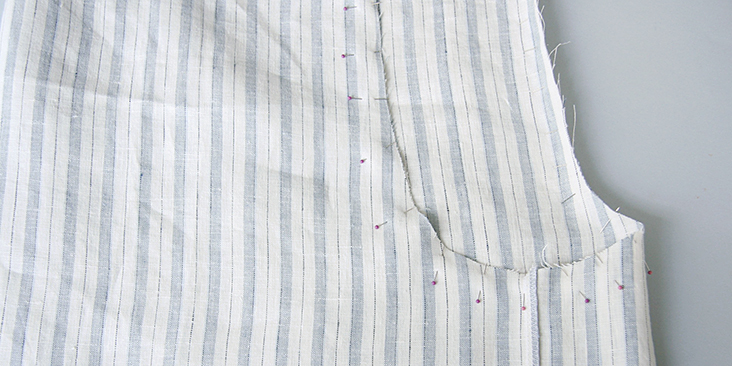
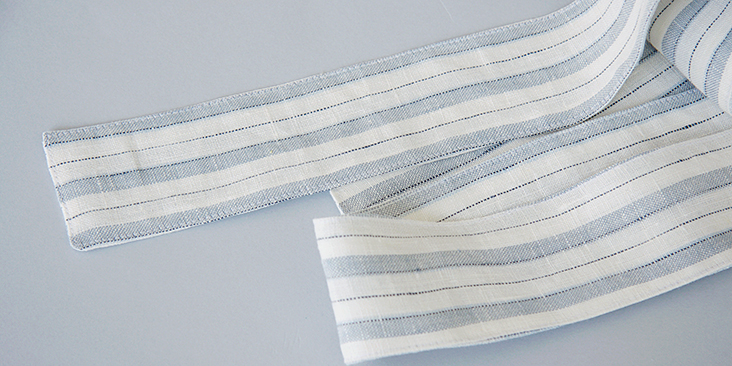
Let’s start with the button bands. We decided to cut the two button bands on the cross grain instead of the straight grain. Changing the direction of the stripes adds an interesting detail to the romper.
1. Apply fusible interfacing to the wrong side of your two front button bands. If you wish to reduce bulk, we recommend trimming the 3/8” seam allowances of the interfacing pieces along all edges.
2. To add the button bands to the front bodices, please follow the technique described in this tutorial. The only difference is that in this pattern both left and right fronts have sewn-on button bands, so you’ll need to repeat steps 4-11 to complete the other button band.
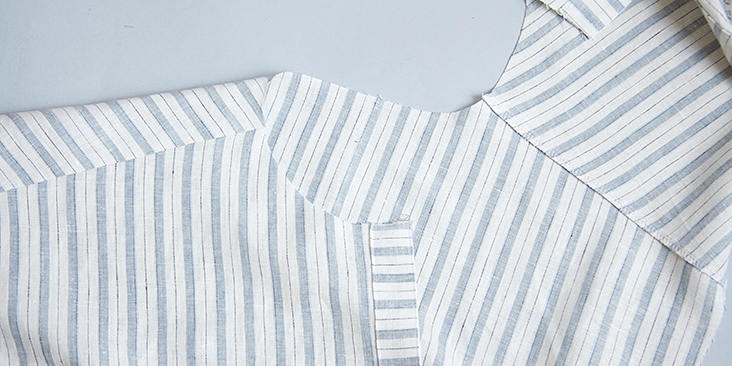
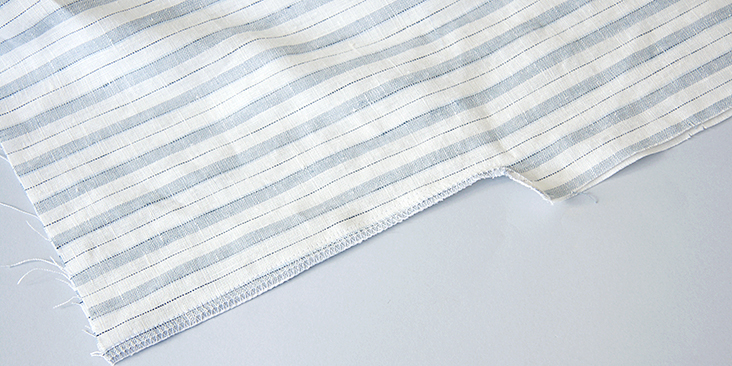
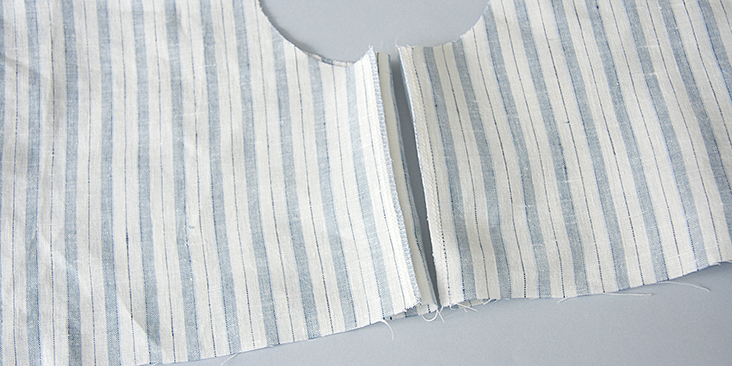
3. Pin the front and back bodices right sides together at shoulders and stitch at a 3/8” (1 cm) seam allowance. Finish the seams with your preferred method (serge or zigzag the raw edges together) to prevent fabric from fraying. Press towards the back.
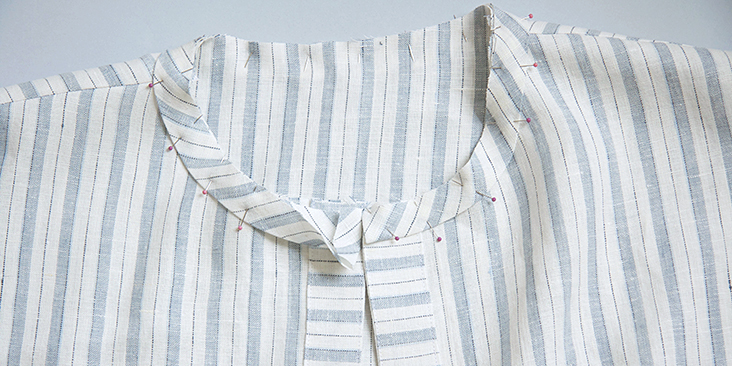
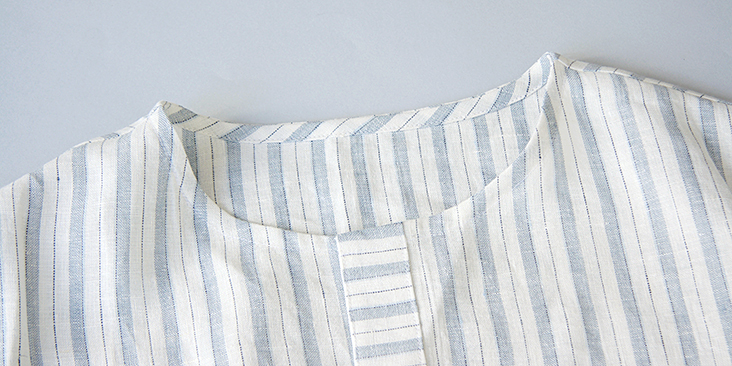
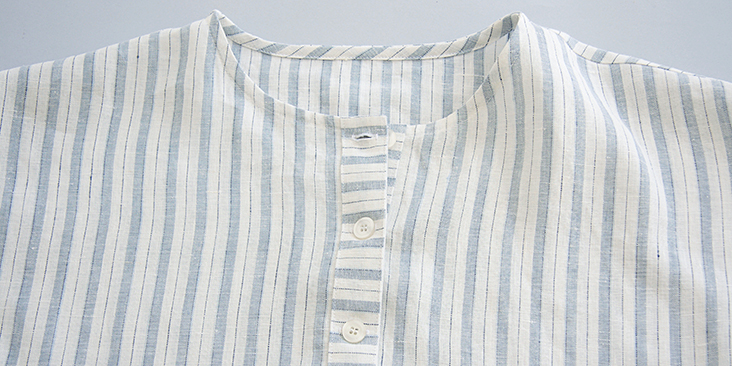
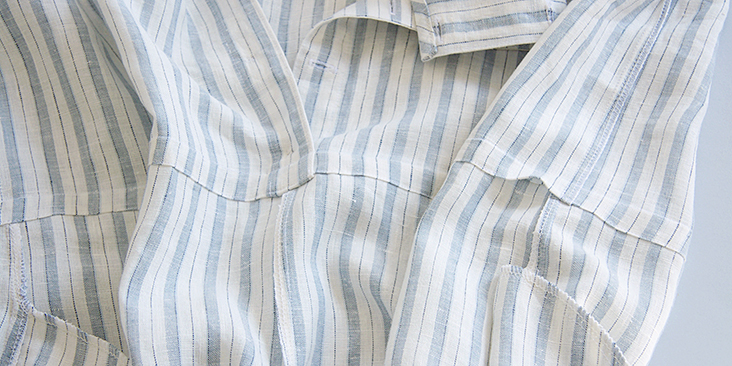
4. Bind the neckline following this step-by-step tutorial HERE. Fold the ends of your bias band to the wrong side to match the edges of your button bands, and stitch the band in place all along the neckline.
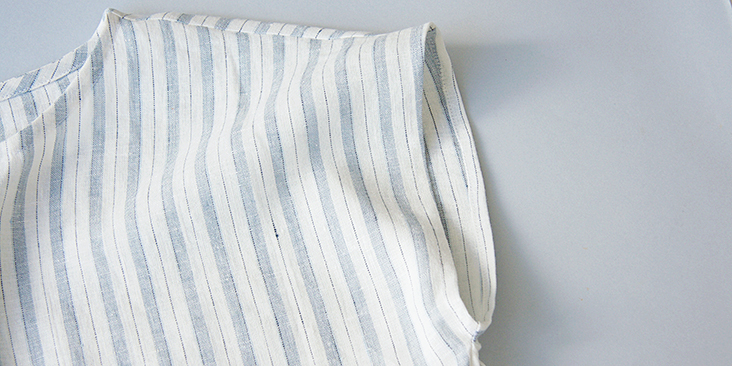
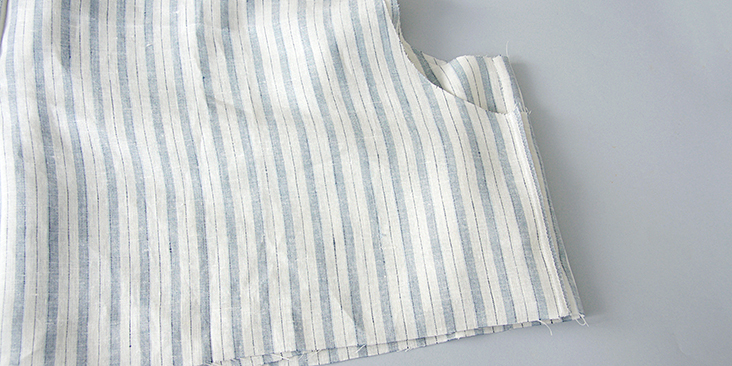
5. Pin and stitch the side seams right sides together at a 3/8” (1 cm) seam allowance. Clip at the armpit to release the tension, then finish the seams and press towards the back.
6. Finish the sleeve openings with a narrow rolled hem: first fold the fabric ¼” to the wrong side and press, then press another ¼” and edgestitch.
7. To complete the bodice, sew the buttonholes and attach the buttons. Remember, that the buttonholes are sewn on the right button band and the buttons – on the left.
For the buttonholes, you can follow our detailed tutorial HERE. As for the buttons, check our tutorial HERE for instructions.
Space your buttonholes 2” (6 cm) apart starting ½” below the neckline edge and stopping at least 1.5” above the waist. Overlap the bands and place a pin into the center of each buttonhole. This is where you’ll need to attach the button.
Time to sew the shorts.
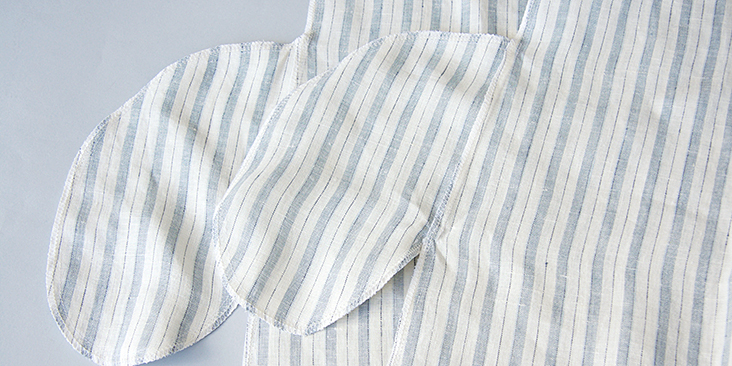
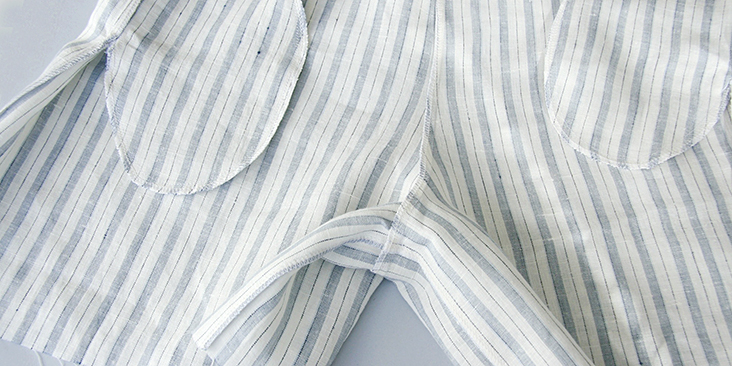
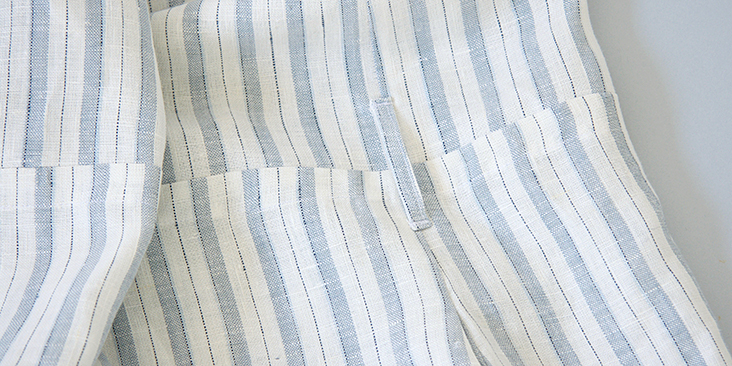
8. The very first thing to do is to attach the inseam pockets. Follow this step-by-step tutorial and place your pockets between the two pocket notches provided in the pattern.
Note that each pocket should be “sandwiched” between each short front piece and the corresponding back piece.
9. Sew along side seams and the pockets all in one seam at a 3/8” (1 cm) seam allowance. Serge or zigzag the raw edges together to prevent the fabric from fraying. Press the finished seams and pockets towards the front.
10. Once you’ve attached your pockets and finished sewing the side seams, pin and stitch front leg to the corresponding back leg at the inseam right sides together. Finish the seam using your preferred method and press towards the back.
11. Turn the right leg right side out and slip it into the left leg.
12. Pin the crotch seams together matching the side seams and inseams.
13. Sew along the crotch seam at a 3/8” (1 cm) seam allowance. Serge or zigzag the raw edges together and press towards the left leg.
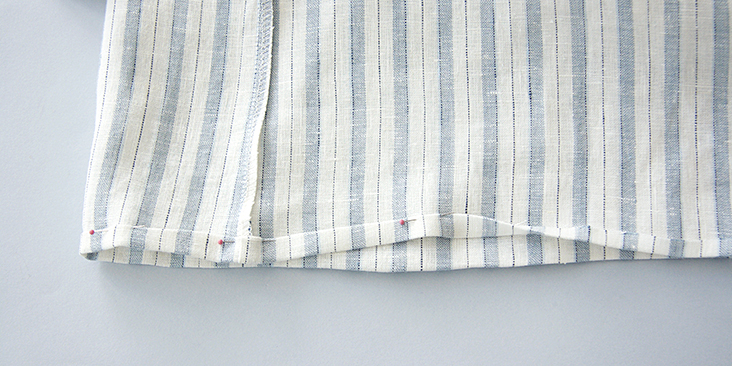
14. Finish the legs with a rolled hem. Fold the fabric twice to the wrong side (1/4” to 3/8”), press, pin and edgestitch.
Now that your shorts are finished, you can attach them to the bodice.
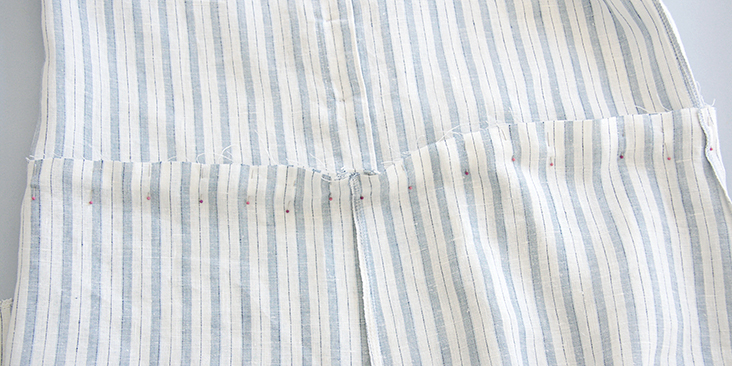
15. Pin the shorts to the buttoned bodice right sides together at the waist and matching the side seams.
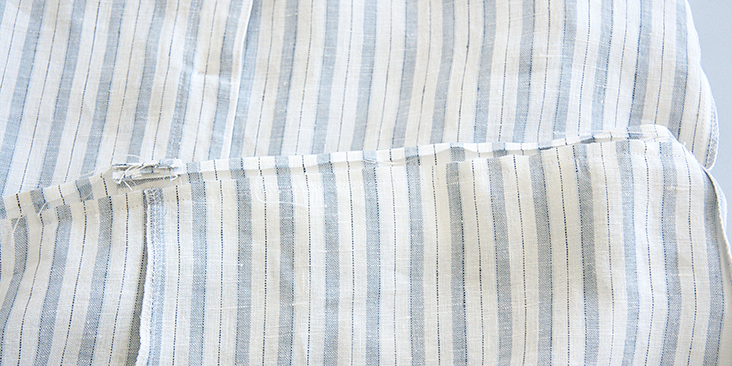
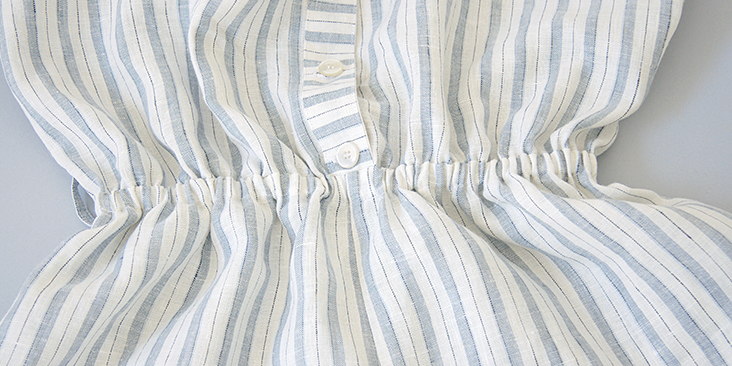
16. Stitch at 1” (2.5 cm) seam allowance. Trim the shorts seam allowance down to 1/4” (6 mm) but leave the bodice’s seam allowance intact. Press its raw edge 1/4″ (6 mm) to the wrong side.
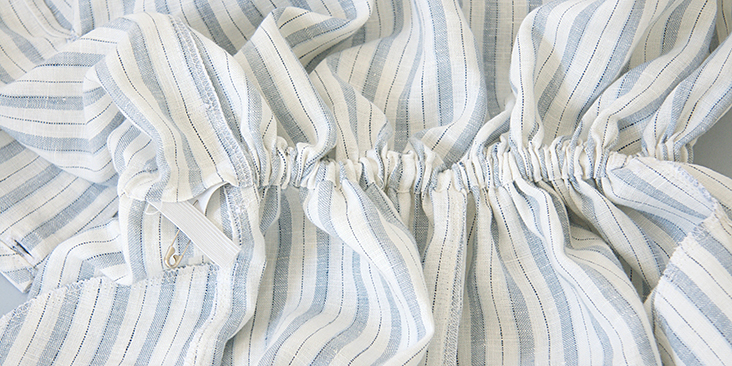
17. To form the casing for the elastic, press both seam allowances down towards the shorts and pin in place. Edgestitch through all layers at once, leaving a small opening to insert the elastic.
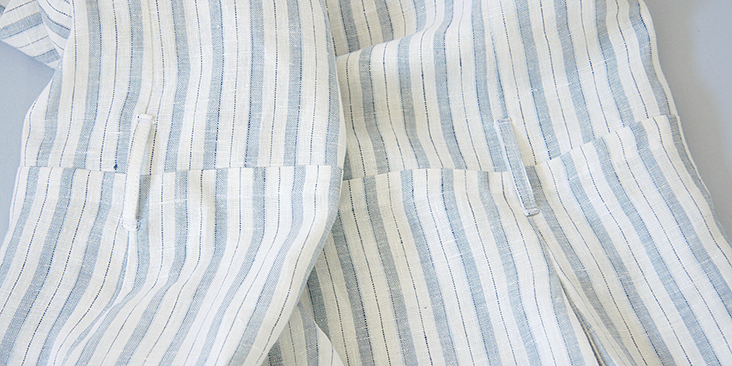
Before inserting the elastic, you might want to add two belt loops on each side seam for the detachable belt. The choice of adding belt loops is optional so if you decide not to do it, please go directly to step #19.
18. Make two belt loops following our detailed tutorial HERE and attach them on either side seam at waist.
19. Cut elastic to comfortable waist measurement plus 1” (2,5 cm). Using a safety pin, insert elastic through the opening, then lap the ends and stitch them in place securely.
20. Stitch the opening, stretching the elastic while stitching.
Lastly, sew the detachable belt.
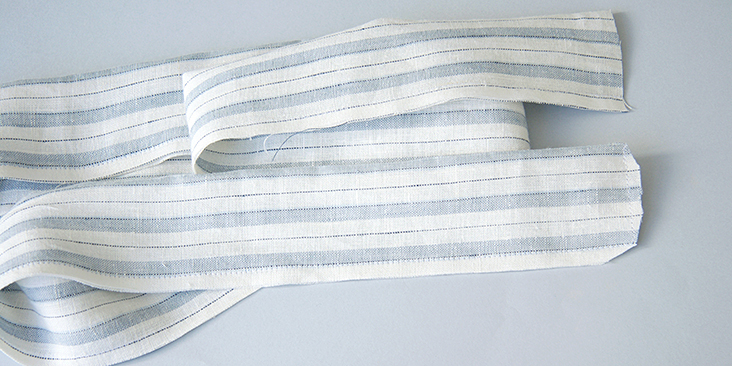
21. Fold your belt fabric in half lengthwise with right sides touching. Leaving one end open, stitch along the long edge (1/4” away from the raw edge) and then pivot at the end corner and finish the end. Backstitch at the start and finish of the seam. Clip the corners.
22. Turn the belt right side out, use a sharp tool or a chopstick to turn the corners and press. Tuck in the raw edges into the opening, then stitch along the perimeter of your belt 1/8” from the edge to close the opening and prevent the belt from twisting in the future.
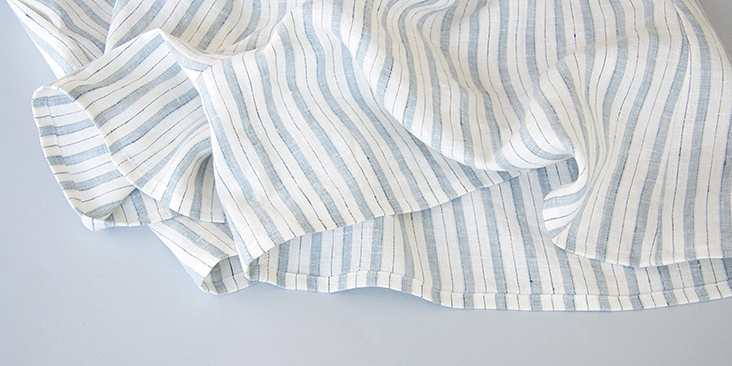
23. Give your finished romper a good press and you are all done!
We love seeing what you make! Don’t forget to share your pictures and tag your creations with #FabricsStoreLeonorPattern hashtag.
















5 Comments
Joy Bostwick
Thank you for the great pattern. I have really appreciated these helpful, free patterns on Fabrics Store. I would just caution anyone making this that the sewn garment is VERY roomy, so make it in a much smaller size than you normally would. I am 5’5″ and about 128 pounds, and I cut a size 6. It looked ridiculous on me, so I ended up cutting off 1.5-2 inches off the sides of the shorts and top, as well as raising the armhole by about 1-1.5 inches (I had to disassemble the garment first), then remaking it. Now I am very happy with how it fits, but that was a lot of work to get the right fit.
Lauren Linen
Thanks for your feedback here Joy. Instead of blindly going down a size, we recommend referring to the size chart where the finished garments measurements may be listed. To help you visualize the size of the garment you are sewing, you can compare it to a piece of similar clothing you already own.
d c
The fabric guide says 2 yards for the size I’m making, but I am having a heck of a time trying to figure out how to make it all fit on 2 yards. Advice?
Lauren Gates
Hello, our yardages are based on our linen which has a width of 59″. If you’re using a different fabric with a different width that may be the culprit here. I’m going to send you an email now, so I can help you out 🙂
Eileen Alexander
Thank you so much for this beautifully written tutorial, as well as the lovely pattern.