Sewing Glossary: How To Add A Drawstring To A Waistband Tutorial
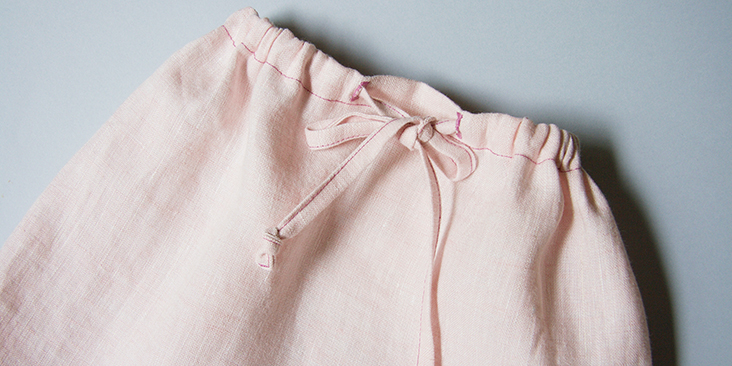
Remember that fold-down casing method we talked about in our recent tutorial? So while this information is still fresh we thought we would show you two techniques for adding a drawstring to a waistband: you will learn how to sew a basic drawstring waistband and an elastic drawstring waistband. Basically, you can use a drawstring instead of an elastic in the casing, or you can add a drawstring to an already elasticized waistband.
Whatever method you choose, remember that a well executed drawstring can offer a range of design possibilities for your projects.
Materials & Tools
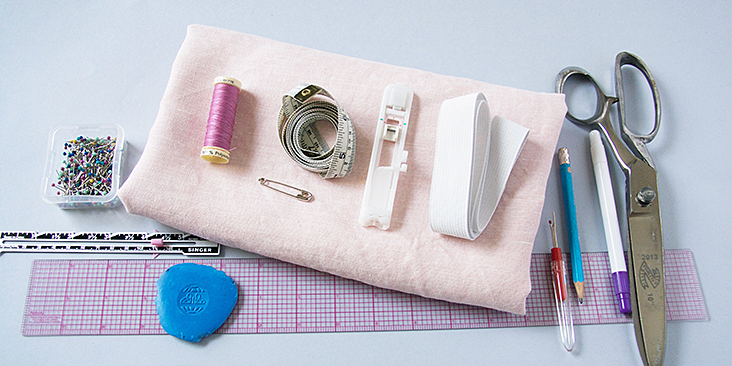
Fabric of your choice. We are using IL042 894 FS Premier Finish Medium Weight Linen
A small piece of fusible interfacing, matching sewing thread (for the purpose of this tutorial we are using a darker thread), elastic (for the second technique), scissors, pins, chalk or fabric marker, ruler, buttonhole foot, safety pin,
Difficulty
Beginner
Time
1 hour
Pattern
You can use any store-bought pattern (for pants, shorts or skirts) or choose from several options available on our blog: Crisp Linen Pants, Moroccan Pants, Short Culottes, Ankle Culottes, Panel Skirt or A-line skirt.
To make your new pattern, trace your front and back slopers (no need to mark any waistline darts) on a separate piece of paper.
Making Your Drawstring
A drawstring is a cord, ribbon or strap of fabric used to “draw” fabric through a casing allowing you to tighten your garment.
Any piece of cord, trimming, ribbon or fabric could become a drawstring. Ribbons add a more feminine touch while cords are great for projects requiring sturdy fastenings like bags. You can also experiment with different colors and add your personal touch by using contrasting materials.
In this example, we are going to show you how to make a pretty drawstring using the same fabric as your future garment.
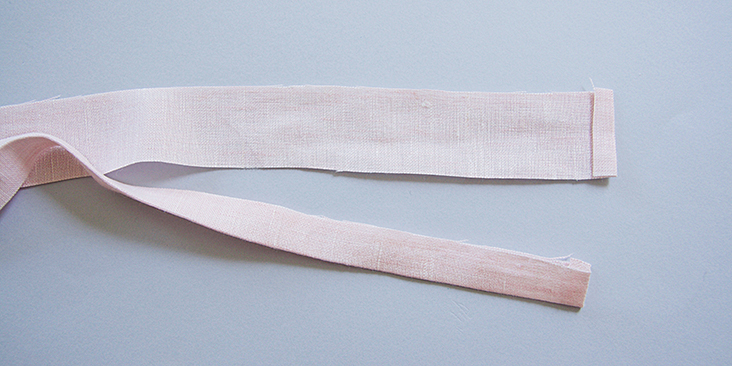
1. Decide on the width and length of your future drawstring. Here we will be making a 1/2″-wide drawstring. For a 1/2″-wide drawstring we need a 1”-wide strip of fabric plus 2 times your usual seam allowance (3/8” (1cm) in our case).
Cut a long strip of fabric on the grain 1 ¾” wide and to your desired length.
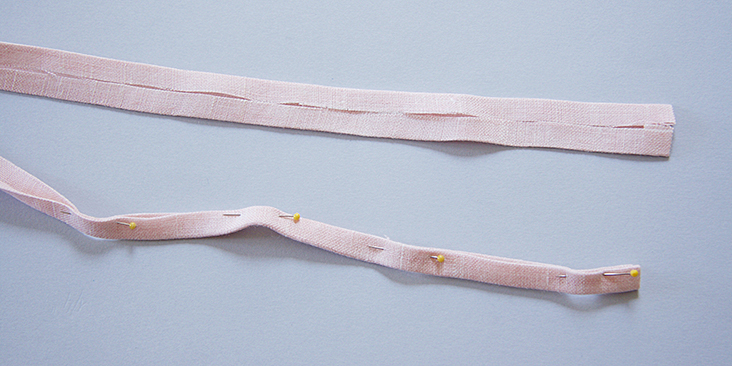
2. Fold raw edges in 3/8” (1 cm) on each end (short sides) to the wrong side. Then fold in half length-wise and press.
3. Fold raw edges in towards centerfold. Then fold again in half lengthwise, press and pin.
If you own a bias tape maker, you can skip all this folding and just feed your fabric through the opening to make a double fold tape that is cut on the crossgrain.
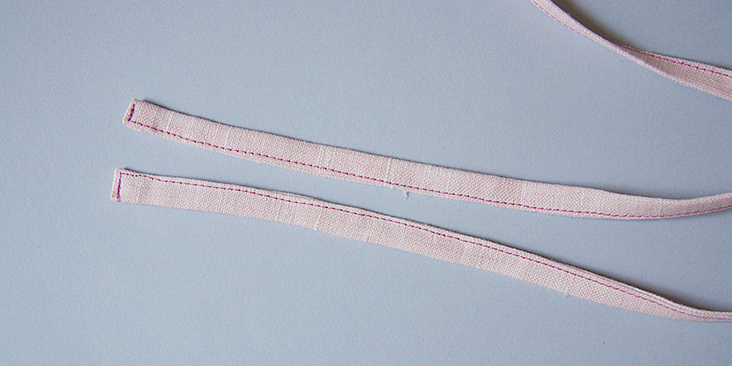
4. Edgestitch along open edges to finish.
Basic Drawstring waistband
Note: Before we start, we recommend familiarizing yourself with tips and techniques explained in our tutorial about creating three different types of waistband casings as they are also applicable to the methods we are going to show you today.
First, you need to create a fold-down casing for your drawstring. It should be wide enough to accommodate your drawstring. In general, you are asked to add ¼” of ease to the width of your drawstring but it could be more, depending on your design.
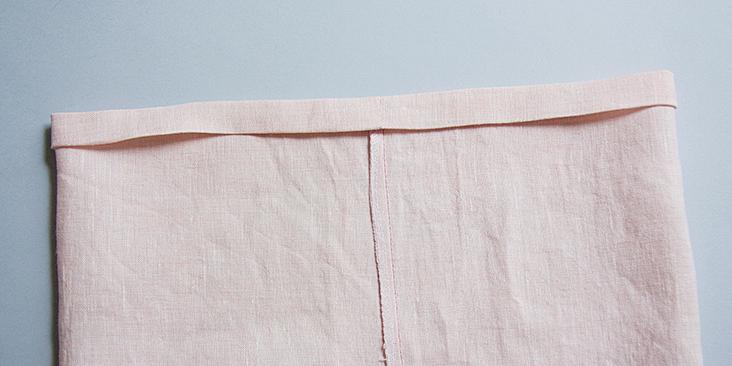
1. Mark, fold and press the casing in place as with the elastic casing. You’ll find all the instructions in this detailed tutorial.
One thing about a drawstring is that there has to be an opening for the string tails to get outside the casing. There are several ways to do this. One, is to leave the center front or side seams open (check out our shoe bag project), another way is to add metallic eyelets (we find that it doesn’t work really well with linen) and another way is to sew two buttonholes : one for each tail end on either side of the center front. We are going to demonstrate to you the buttonhole method.
Tip: Match the size of the buttonhole to the drawstring being used. The buttonhole should be 1/8″ larger than the drawstring passing through it.
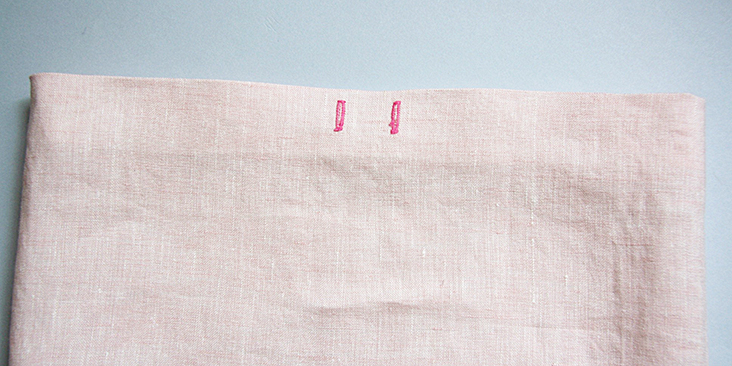
2. So, before pinning and stitching the casing, you need to create two buttonholes for the drawstring to go through.
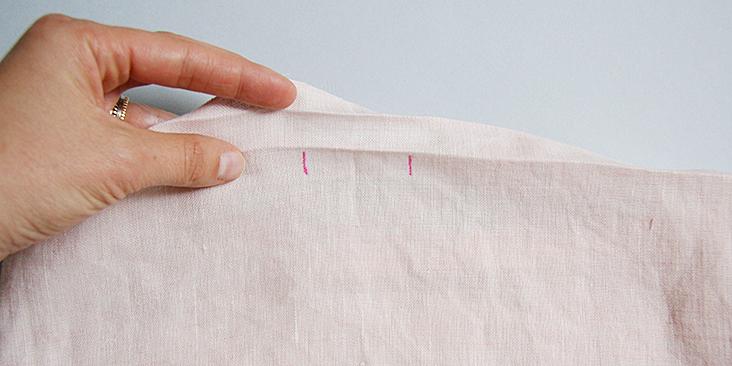
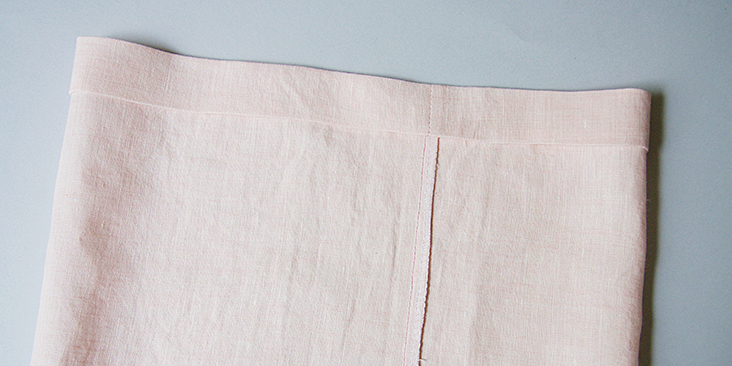
Open the casing fold and mark the location of the buttonholes in the area that will become your right side casing after it’s sewn. They should be in the center of the casing, on either side of the center front just below the casing foldline.
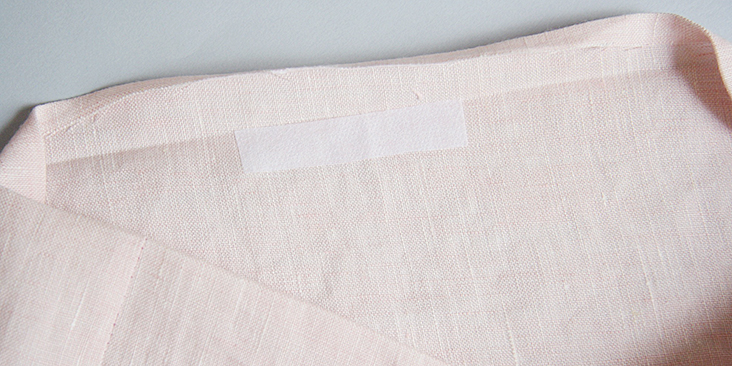
Reinforce the buttonhole area by applying a small amount of interfacing at the buttonhole location on the wrong side.
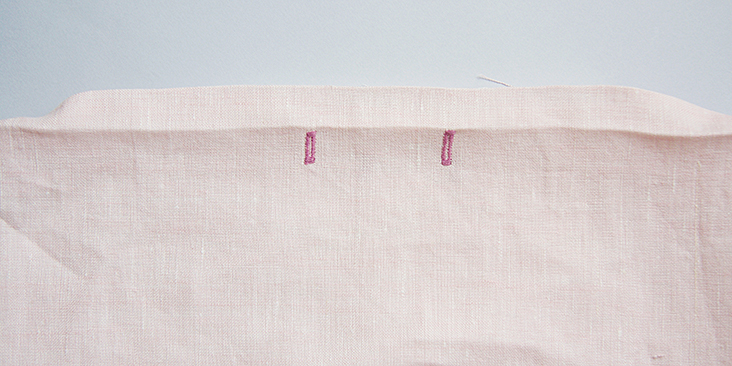
3. Sew the buttonholes and cut them open using your seam ripper.
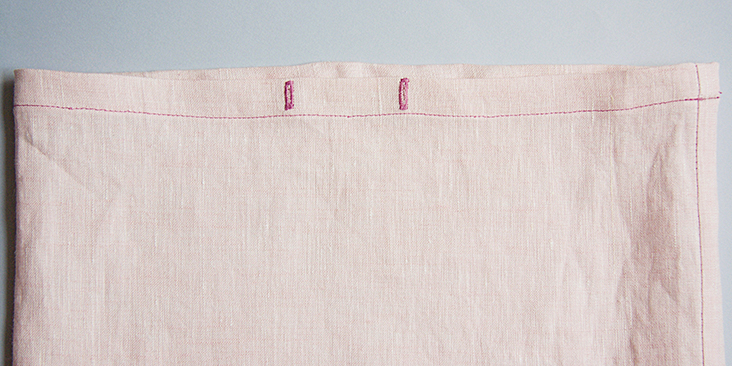
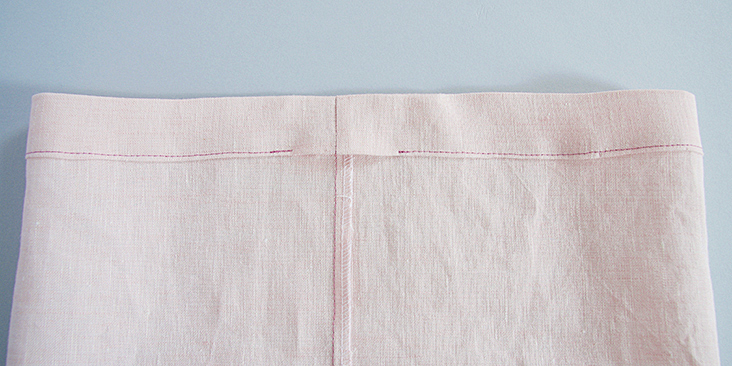
4. Fold your casing, pin and stitch along the lower edge beginning and ending at the garment center back. No need to leave any openings, as the drawstring is inserted through the buttonholes.
Optional: If you wish, you can stitch along the casing upper edge 1/8″ from the fold for a more unified look.
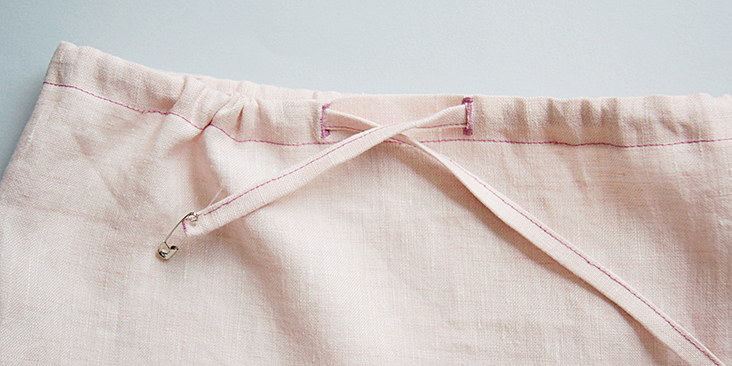
5. Feed the drawstring through the buttonhole using a safety pin. Make sure not to twist it.
6. Tie knots at the ends of the drawstring to keep it from slipping back into the casing. You can even purchase some decorative details like beads or cordstops to make it look special.
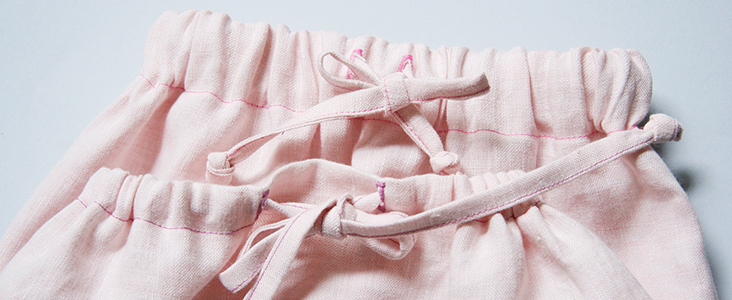
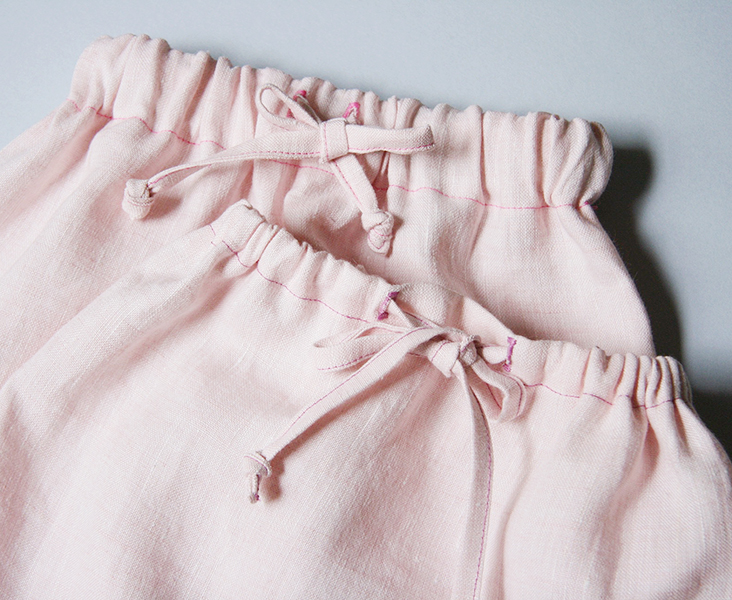
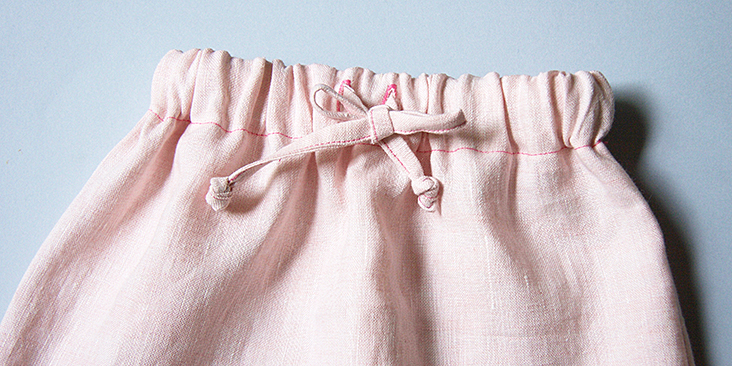
That’s it! You now have a lovely drawstring that comes out your buttonholes and ties cutely in the front.
Elastic Drawstring Waistband
This method shows you how to add a drawstring to an elastic waistband. Same as with basic drawstring waistband, you’ll need to create a casing, make two buttonholes for the drawstring, insert the elastic and then add your drawstring. So here your drawstring is purely a decorative element as it is the elastic that cinches the waist.
Did you know that there are elastics that come with drawstring already inside? You could use that but personally, we find the options pretty limited and prefer to make our own drawstrings using the same or contrasting fabric.
Here are the steps:
1. Make your drawstring.
2. Mark, fold and press the casing in place. You’ll find all the instructions in this detailed tutorial.
A casing should be 1/4″ wider than the elastic so that it can move easily through the tunnel, but not so loose that it twists easily.
3. Just like with regular drawstring waistband, open the casing fold and mark the location of the buttonholes in the area that will become your right side casing after it’s sewn. They should be in the center of the casing, on either side of the center front seam between the casing foldline and the casing seam allowance.
Reinforce the buttonhole area, then sew the buttonholes and cut them open using your seam ripper.
4. Fold your casing, pin and stitch along the lower edge beginning and ending at the garment center back. Leave a small opening (about 2” wide) for the elastic.
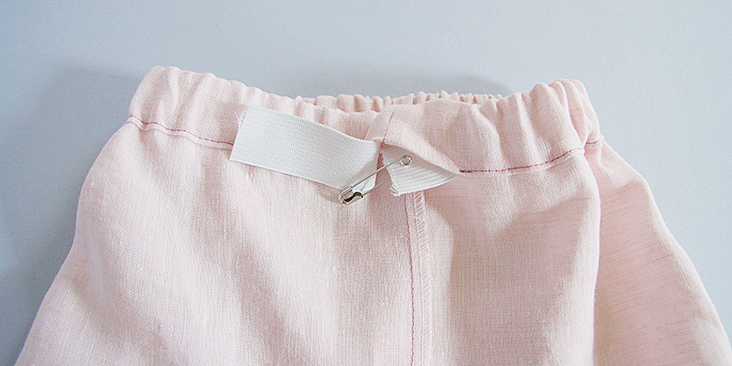
5. Attach a safety pin to one end of the elastic and pull it through the casing.
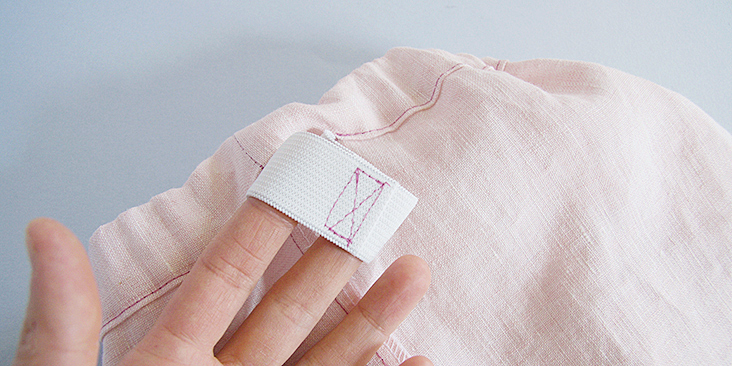
6. Lap one elastic end over the over and anchor the edges with several lines of stitching (create a box) through all layers. Overlapping elastic ends reduces bulk and ensures that your elastic won’t rip at the seam.
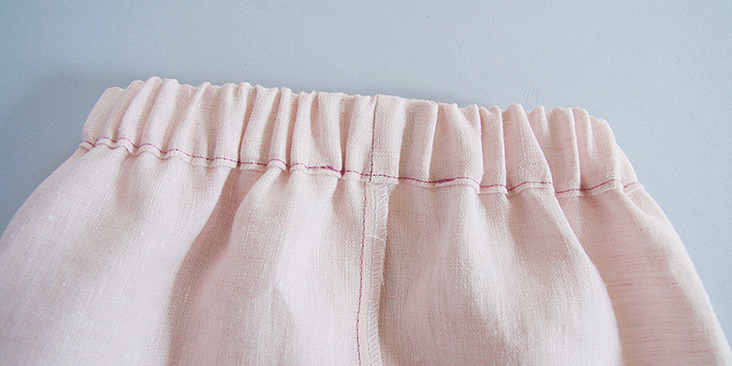
Pull gently on the waistband fabric so that the joined elastic ends slip inside the casing. Distribute the gathers evenly.
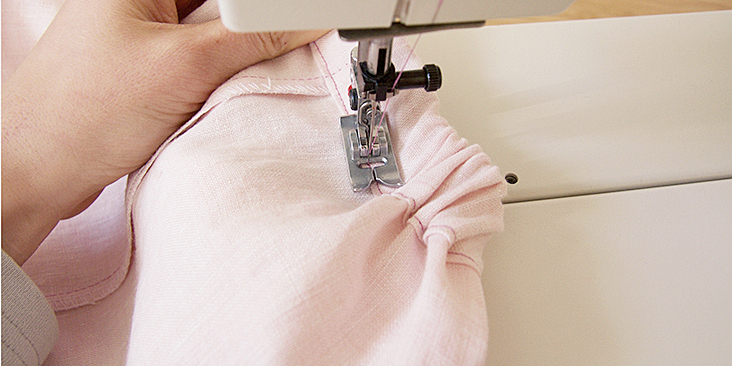
7. Sew the opening closed with the same seam allowance used before. Stretch the fabric as you go and make sure not to sew into the elastic itself!
8. Lastly, feed the drawstring through the buttonhole using a safety pin. Make sure not to twist it. Tie knots at both ends of the drawstring to keep it from slipping back into the casing.
Optional: if you wish to secure your elastic and drawstring and prevent them from twisting, stitch through all layers in the side seams.
We hope that with the two techniques demonstrated in this tutorial, you’ll be able to add drawstrings to your garments like a real pro!















5 Comments
Pingback:
13 Easy Upcycling Clothes Ideas That Cost Under $10 (2025 Guide) - Flair Trend NovaPingback:
What is a drawstring waist? - Clothing Manufacturer - Modaknits ApparelPingback:
Men Flannel Pajamas - Mesa TeeFay
For a 43 inch waist how long would you recommend doing the drawstring although I know that you said that it’s up to you how long you want it?
Lorraine
Hi Fay,
Try with a string or some scrap. Add 20″ so 63″ and tie it and see if that is too long, if so, cut it down to your preferred length. Make a note of whatever that is for future reference. I hope this helps.