Linen Smock Dress Tutorial and Pattern
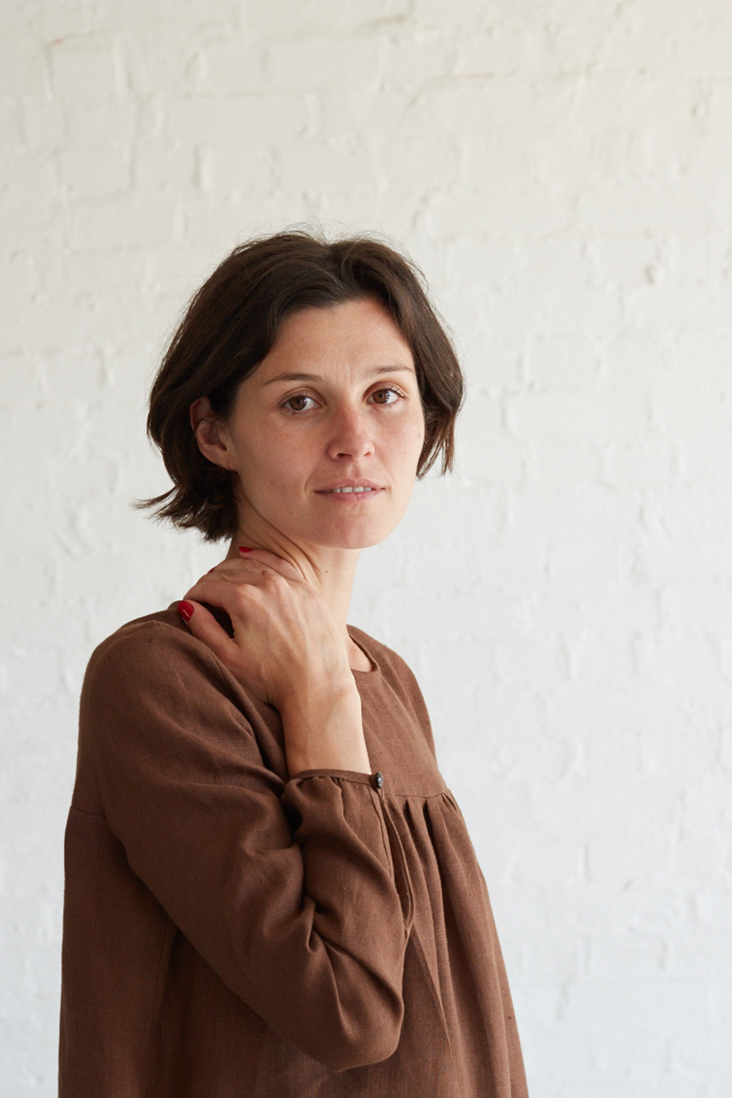
This calf-length smock dress with long sleeves is crafted from pure deep brown linen, it feels luxuriously soft and is really comfortable to wear. Perfect for lounging around, it’ll look especially comfy paired with a chunky cardigan to keep you extra cozy in colder weather.
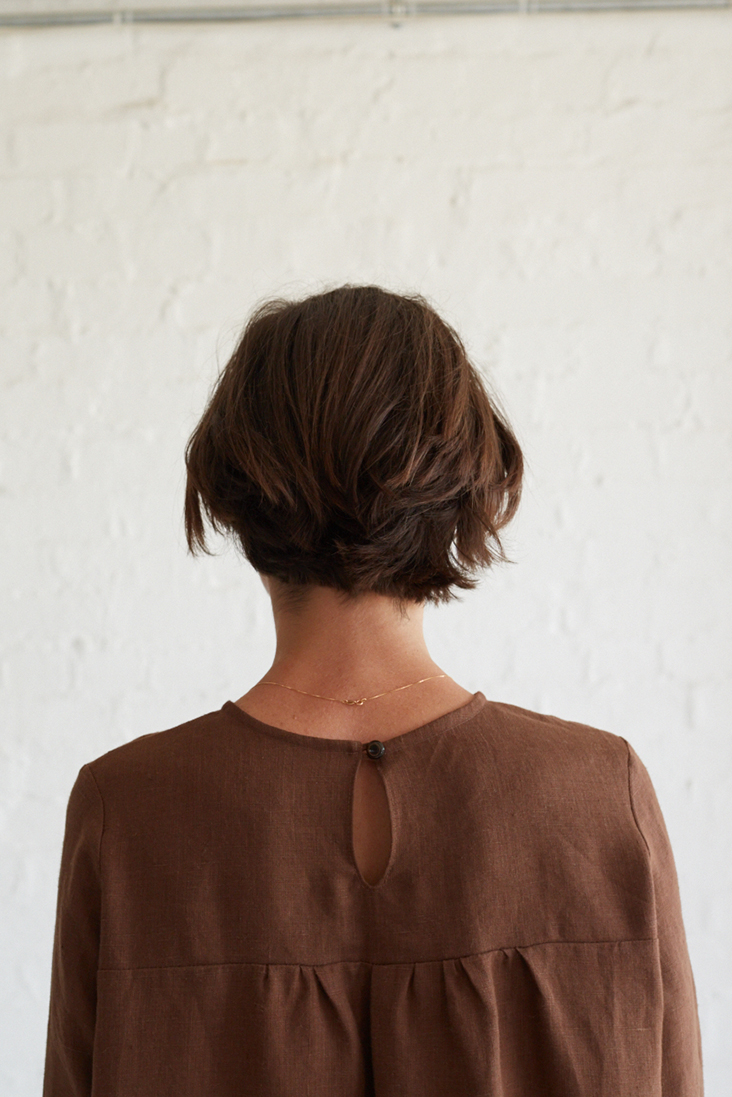
This dress has a simple cut with some lovely details such as a round neck, a back button loop closure, slightly gathered sleeves with button loop cuffs and gathered bodice panels which makes it suitable for larger cupped ladies.
Materials
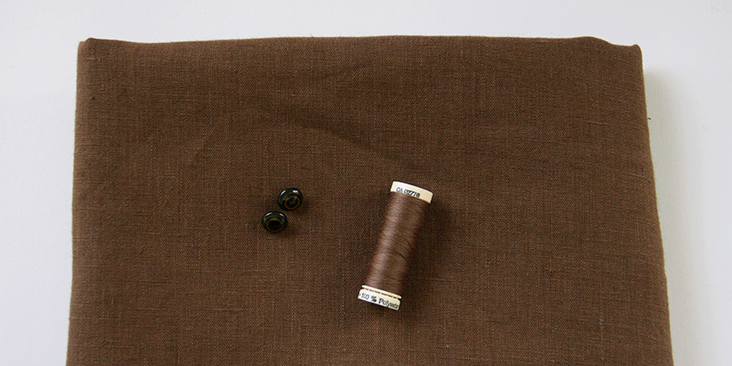
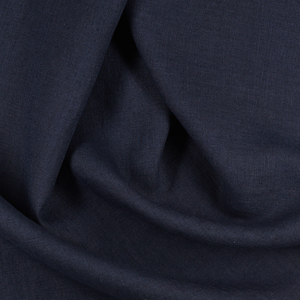
3 yards of IL019 POTTING SOIL Softened Medium-Weight Linen
Matching sewing thread, contrasting thread (for gathering), 3 buttons, medium weight fusible interfacing (for the facing)
Tools
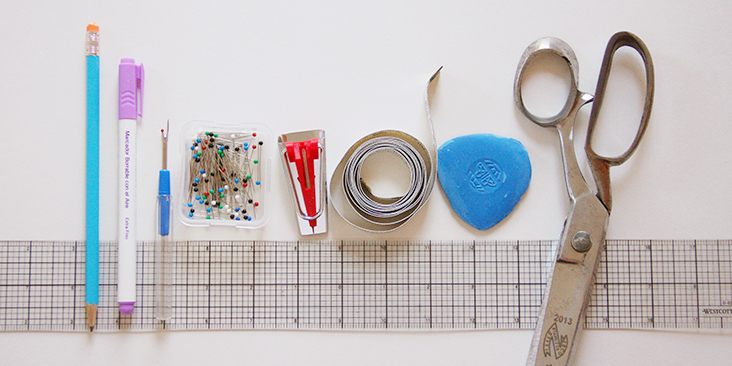
Pattern paper, pen, fabric marker, scissors, pins, measure tape, ruler, 18 mm bias tape maker, seam ripper, needle, chalk, sewing machine
Difficulty
Beginner
Time
3-4 hours
Pattern
You can access the dress pattern by following this link HERE and the printable pocket pattern can be found HERE. Remember to add seam allowances as indicated in the pattern.
Note that you’ll also need to cut five 1.5″ (3.8 cm) large strips of fabric on the bias: one 24″ long for the neckline, two 9″ strips for the sleeve vents and two 7,75″ for the cuffs. For detailed instructions on how to cut your bias tape please follow this tutorial. Plus three small squares of fabric (0.75″ x 1,5″ ) for the button loops.
The diagram shows the pattern for US size 6-8 (UK size 8-10). If you need help grading your pattern, please follow this tutorial.
Steps
Note: Prewash your fabric and tumble dry it until it is still slightly moist, dry in room temperature. Iron the fabric so it is easier to work with.
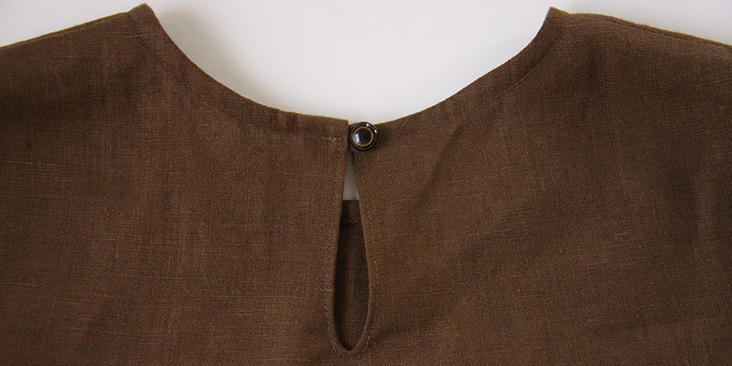
1. Before assembling the front and the back together, you need to sew the back slit and the button loop closure. HERE is a step-by-step tutorial on how to do it.
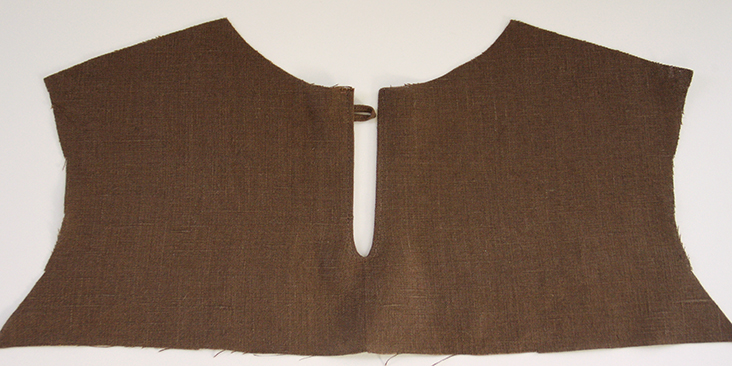
Now that you’ve finished sewing your back slit and the button loop (do not attach the button yet), you can gather and assemble the front and back panels. Let’s start with the back panels panels.
2. Gather the bottom fabric to the length of the top panel. HERE is a step-by-step tutorial on how to gather your fabric. Be sure to use a contrast color thread and to secure your gathers once you’ve checked that the two panels match. As for the spacing of your gathers, to leave the sides ungathered and distribute your gathers evenly in the center back.
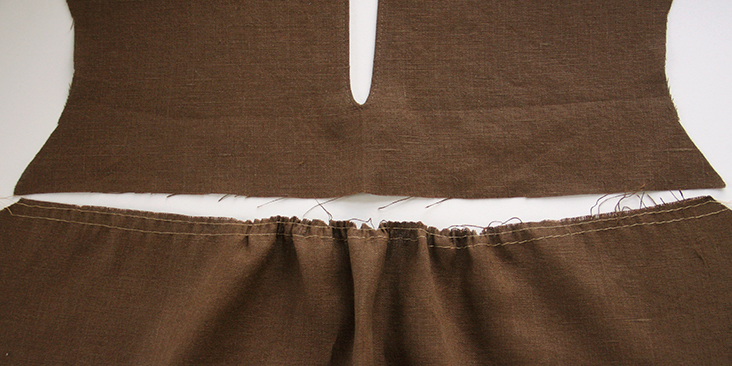
3. Pin the gathered bottom panel to the top panel right sides together.
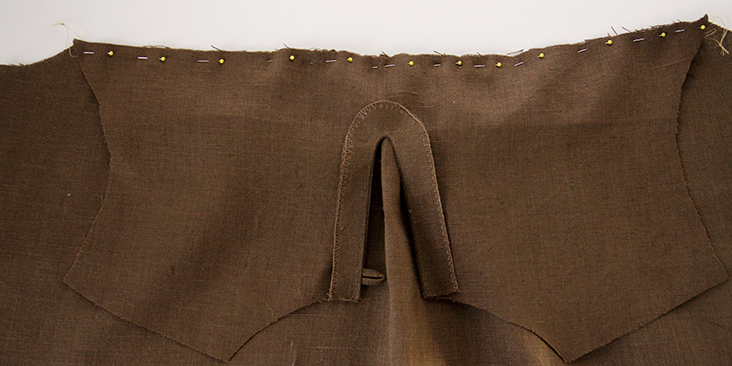
4. Sew at a 3/8” (1 cm) seam allowance between the two stitch lines that you used for gathering.
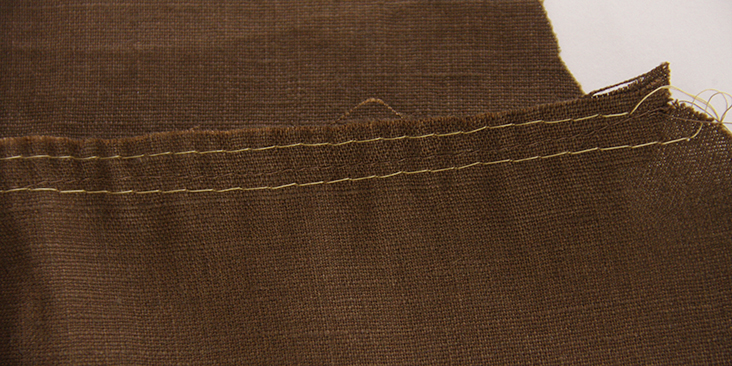
5. Remove the gather stitches using your seam ripper. This is why it is recommended to use a contrasting color thread – so that you don’t make a mistake and rip out wrong stitches. Trim the fabric and serge or zigzag the raw edges together to prevent them from fraying in the future.
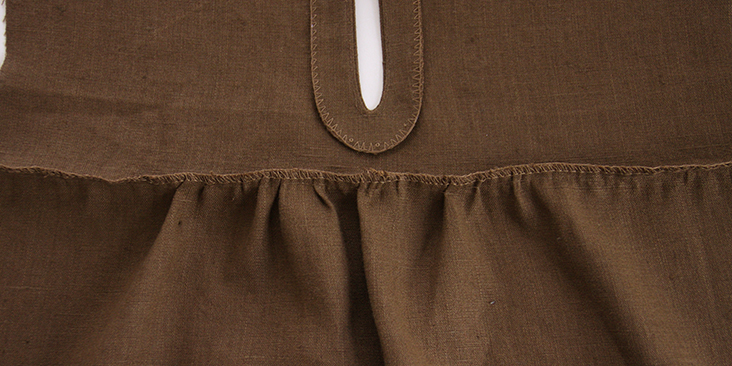
6. Press the seams flat folding the serged/zigzagged edges towards the bottom panel.
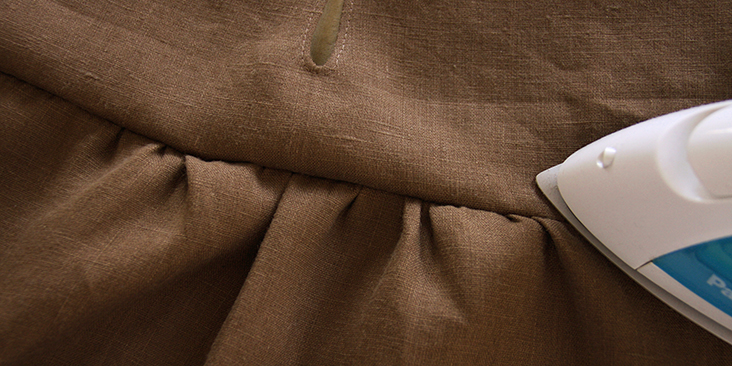
7. Repeat steps 2-6 for the front panels.
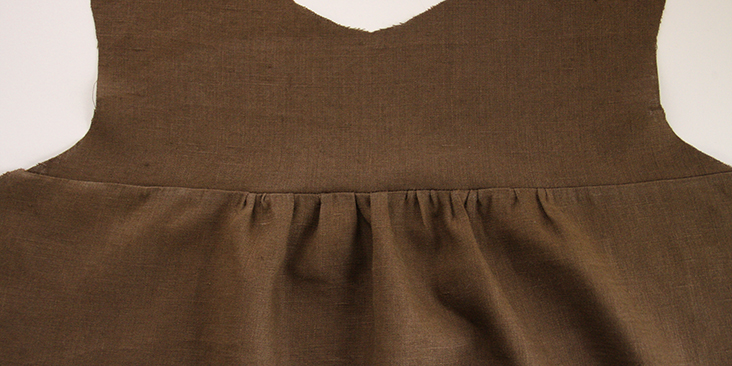
8. The next step is to assemble the front and the back together by pinning the shoulder seams right sides together.
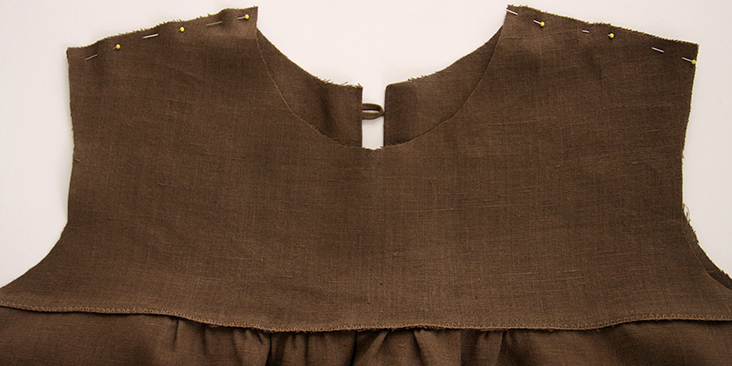
9. Sew your shoulder seams at a 3/8” (1 cm) seam allowance. Trim, serge or zigzag the raw edges together to prevent them from fraying in the future. Press the seams flat folding the serged/zigzagged edges towards the back of your dress.
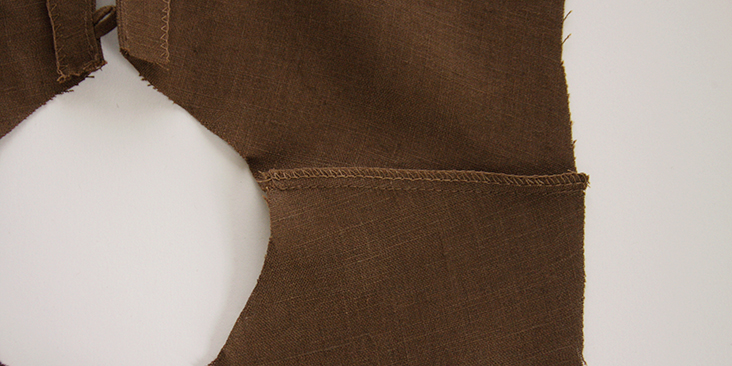
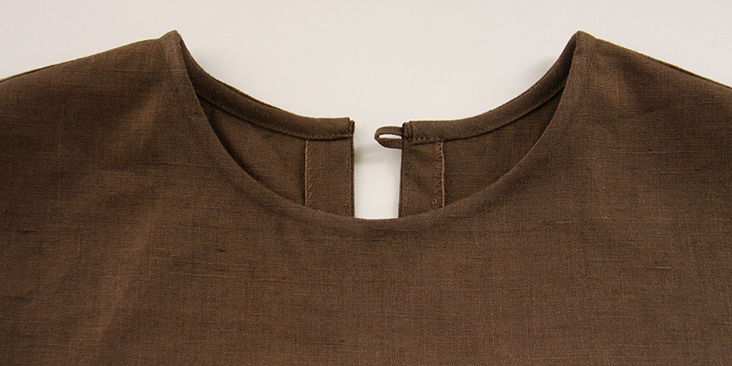
10. Bind the neckline following this tutorial. Make sure that when you attach the binding, the serged/zigzagged shoulder seam edges are folded towards the back of your dress.
When you come to the back opening, tuck in the ends of your bias band as shown below:
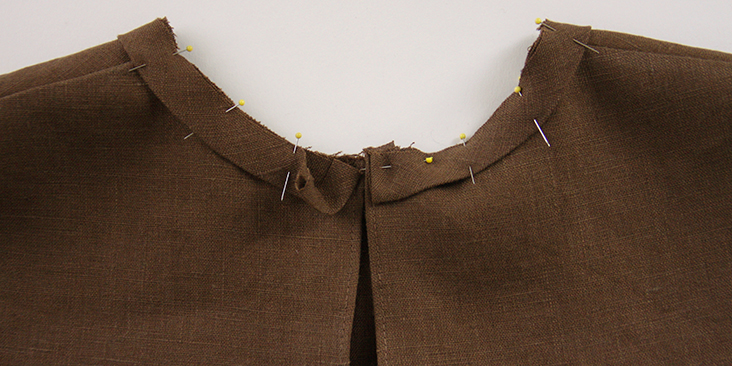
Here’s what your finished neckline will look like:
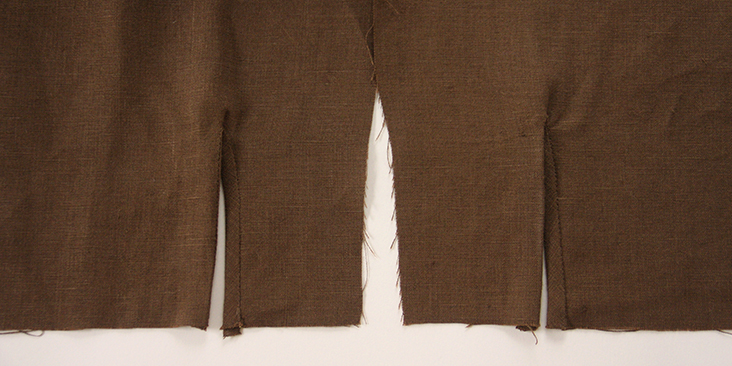
11. Before attaching the sleeves you need to sew continuous bound plackets on each sleeve. Follow this detailed tutorial to make the plackets but do not attach the button loop closure yet, you’ll do it later when you’ve attached the sleeves.
12. Now that you are done with the plackets, you can attach the sleeves to the bodices by pinning each sleeve fabric to the armhole fabric right sides together.
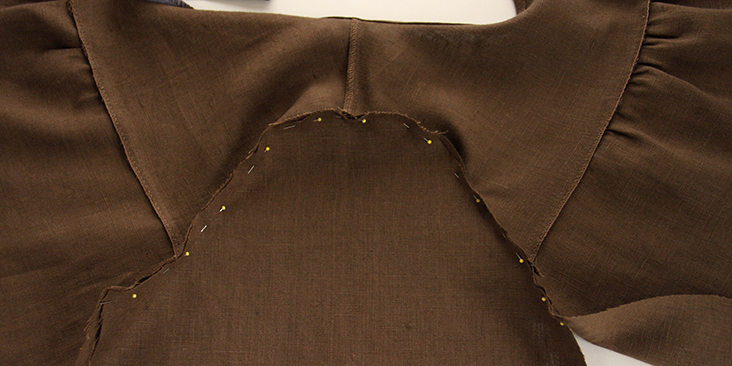
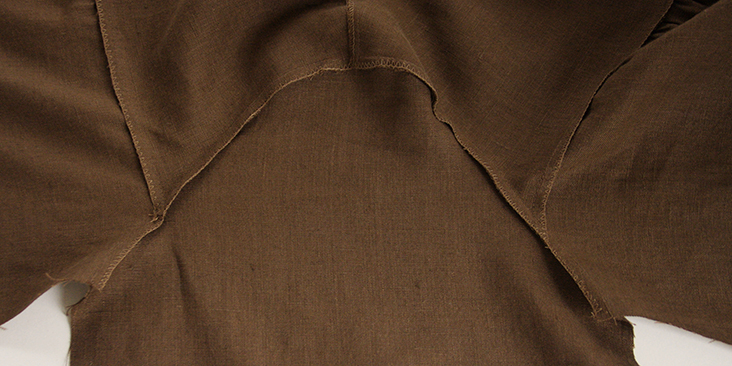
13. Stitch along the pinned edge at a 3/8” (1 cm) seam allowance. Trim, serge or zigzag the raw edges together to prevent them from fraying in the future. Press the seams flat folding the serged/zigzagged edges towards the sleeve panel.
14. It’s time to sew the inseam pockets. Follow this step-by-step tutorial and place your pockets 9″ from the underarm.
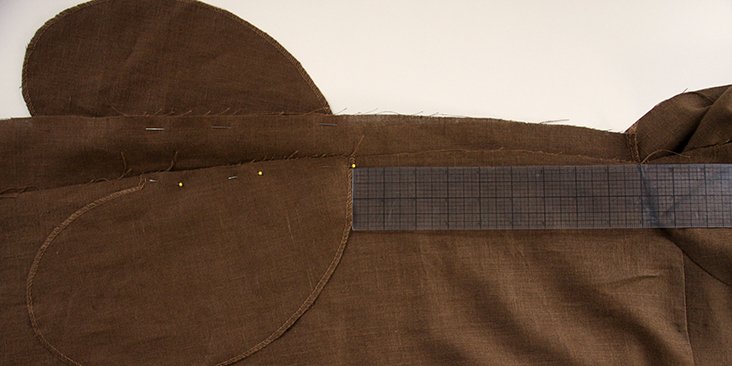
15. Pin the front and the back of the dress at the underarm, the sides seams and the pockets right sides together.
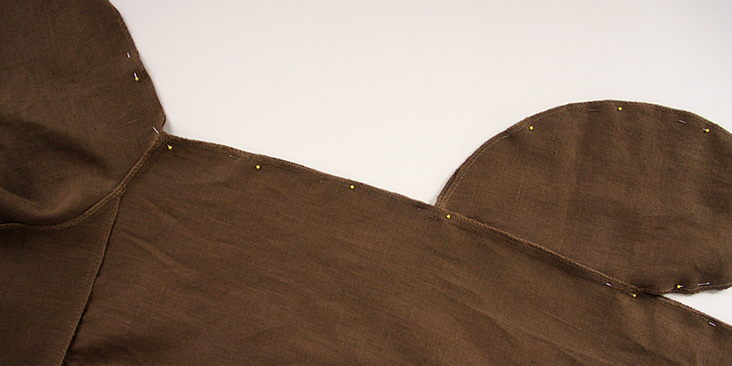
16. Sew along the sleeves’ underarms, side seams and the pockets all in one seam at a 3/8” (1 cm) seam allowance. Press the seam open.
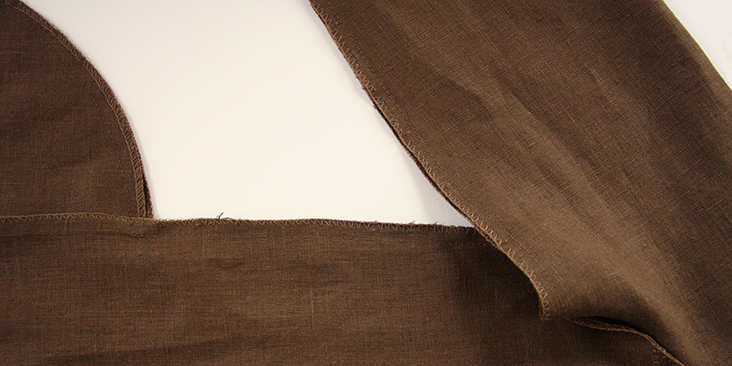
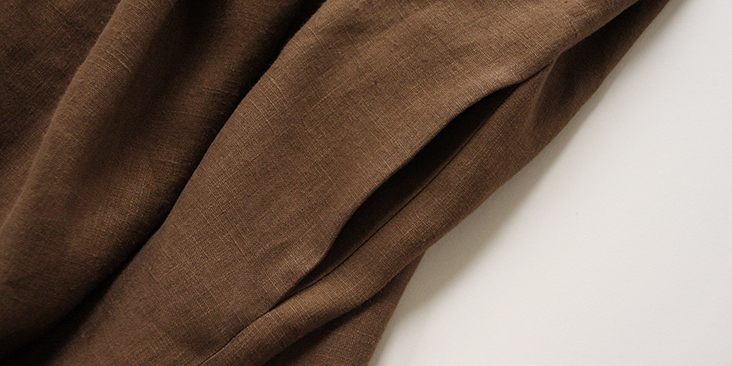
17. Following the same tutorial, sew the cuffs, attach the button loops and gather the sleeves to the width of your finished cuffs.
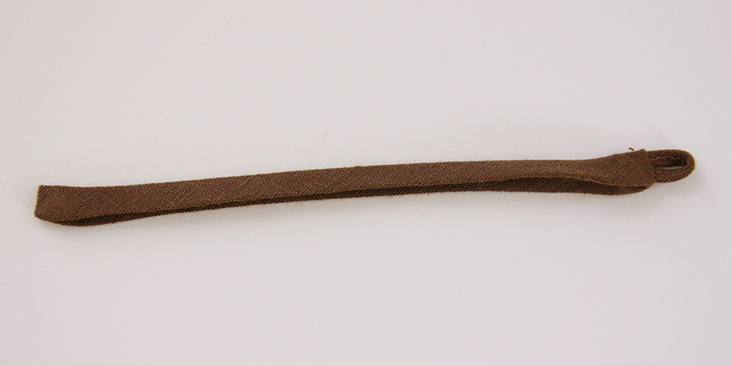
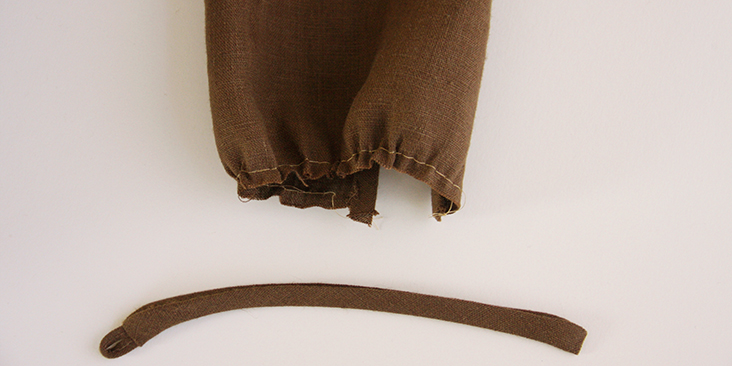
18. Attach the cuff.
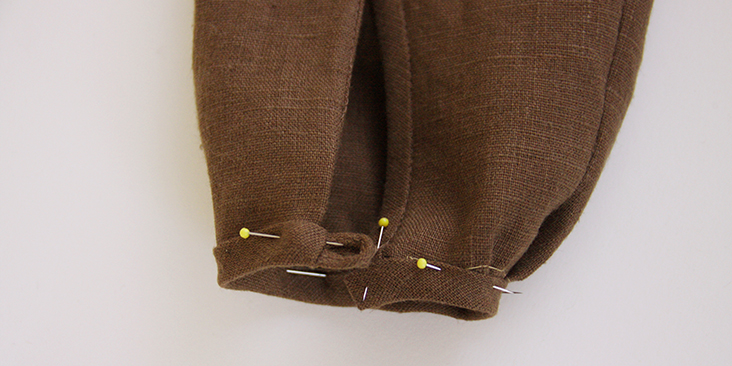
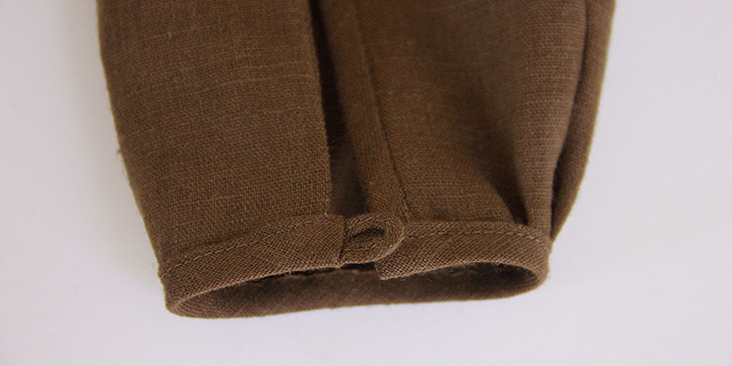
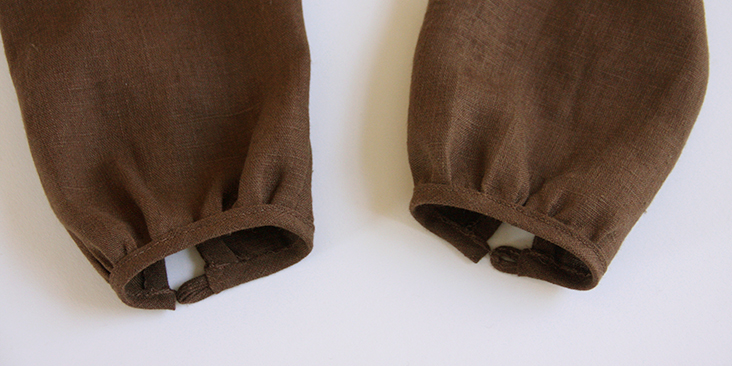
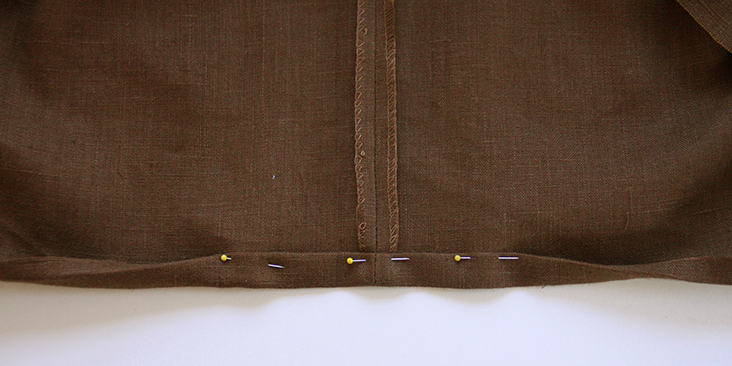
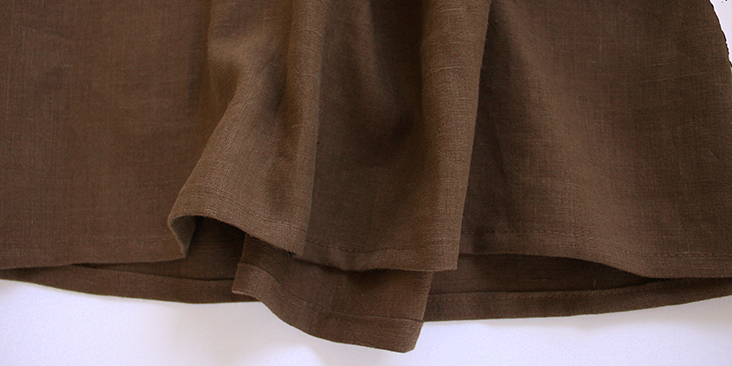
19. Finish the bottom hem of your dress with a rolled hem: fold your fabric twice towards the wrong side, 3/8” to 1/2″ and edgestitch in place.
20. Lastly, attach the buttons to the neckline and the cuffs.
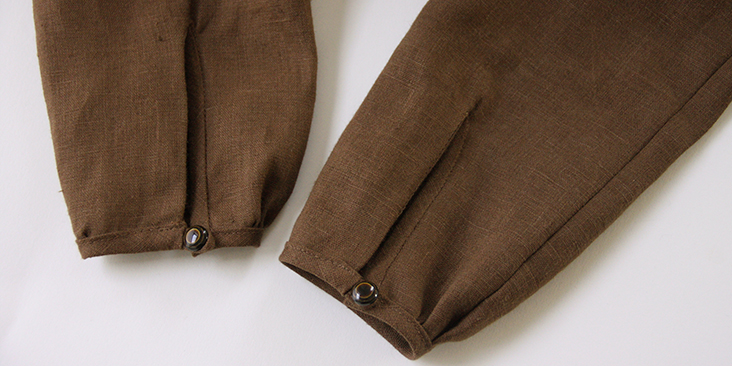
21. Give your dress a good last press and you are all done!
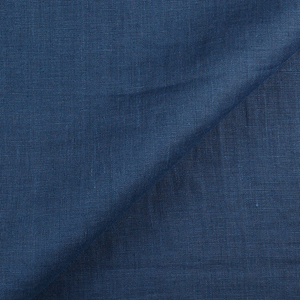
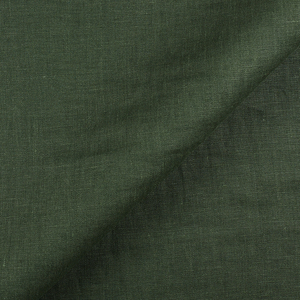
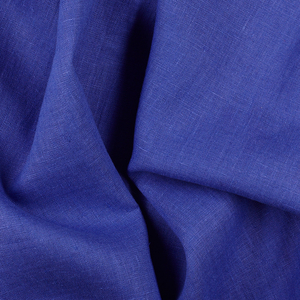
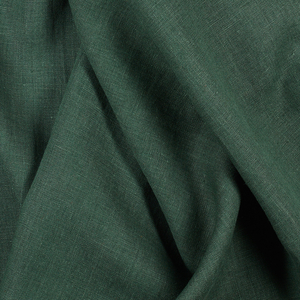
Why not have a look at the plethora of fabric we have to offer and see which colour takes your liking for this fabulous dress?













16 Comments
Georgia Rhodes
Hello,
I was wondering if you would ever consider writing the measurements and plan for the next size up or two of this. I love not having to print out a PDF pattern, but I’m struggling with grading the pattern the next size up to include the sleeves. The tutorial is helpful but only includes the bodice.
Thanks so much for considering!
Susan Shaw
Hello!
I am a beginner sewer and would love to try this pattern (Linen Smock Dress). I just want to clarify that the pattern must be drawn out with measurements given and that there is not an actual pattern to download- Correct?
Thank you for all you contribute to all of us sewers.
Susan
Lauren Gates
Hello Susan,
yes, this is a pattern that you draft and grade yourself based on the diagram provided. if you’d prefer a multi-sized, printable pattern, You may like our Nola blouse, which you could easily lengthen to dress length. The link below will take you to the download page;
https://fabrics-store.com/sewing-patterns/nola-striped-linen-gathered-blouse-pattern
Hannah Pham
Hi! Is this pattern available anywhere?
AmyCat =^.^=
This would also look great with a long, sleeveless vest/surcote (simple pattern: 3 pieces, 2 fronts and a back… or add same-fabric bias tape — you did a tutorial on that awhile ago — or a facing around collar and down front opening), deep V neck, sides sewn together about 6” from underarm to waist. If you want to get fancy, this could be trimmed with embroidery or applique’ work.
Maybe you’ve already done such a pattern; I can’t recall…
Rima Khusainova
Dear Amy, thank you very much for your suggestion! We did indeed do a vest tutorial a while back and you are absolutely right, it would look great with this blouse! Now that you’ve mentioned it, I can totally see how the two would compliment each other!
Tanya
Rima—wonderful dress and great tutorial! Thank you. And you are such a lovely-looking, beautiful young woman.
Rima Khusainova
Dear Tanya! Thank you very much for your kind comment and nice words! The model you see in the pictures is our art director Masha! She also contributes to the blog by writing great articles that you can find in the “Success Hacks” category!
agen fiforlif resmi
It’s amazing in favor of me to have a site, which is useful designed for my know-how.
thanks admin
Mel
Would also like tutorial for the pants. Those are super cute!!
Rima Khusainova
Dear Mel, the pants tutorial is available here https://blog.fabrics-store.com/2017/07/13/crisp-linen-pants-tutorial/ but we are currently updating the multi-sized pattern and it will soon be available again!
Jeanie
Love it.
Jeanie
Wow love the looks of this dress and the sewing looks fairly easy. A dress you could dress up or down. I love it.
Rima Khusainova
Hi Jeanie! Yes, this dress works great for many occasions and is super easy to sew! Glad to hear that you liked it!
Gette Naqui
Adorable!!
Rima Khusainova
Thank you so much Gette!