Pattern Hack: Turn a Simple Tank into a Button-Down Top Tutorial
When we get a pattern that we really like, we find ourselves using it again and again, playing with color and fabric to create as many different garments from it as we possibly can. But did you know that with a little bit of creative pattern hacking, you can make small design changes to your favorite patterns and end with fresh new looks for any occasion?
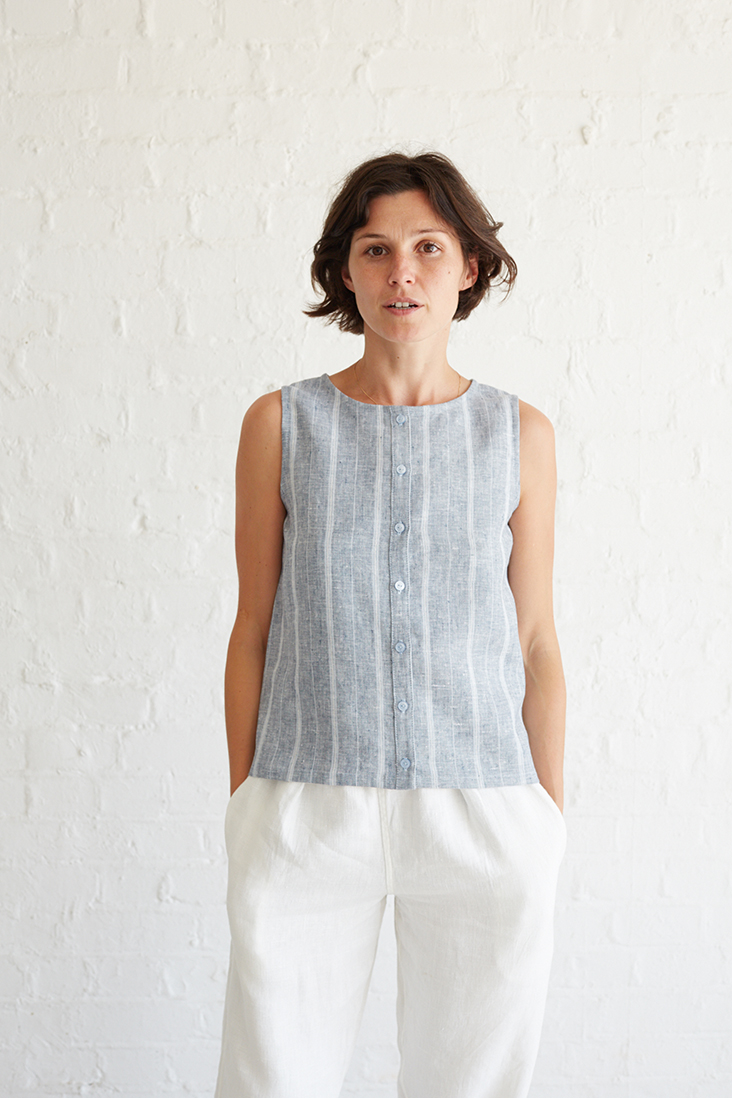
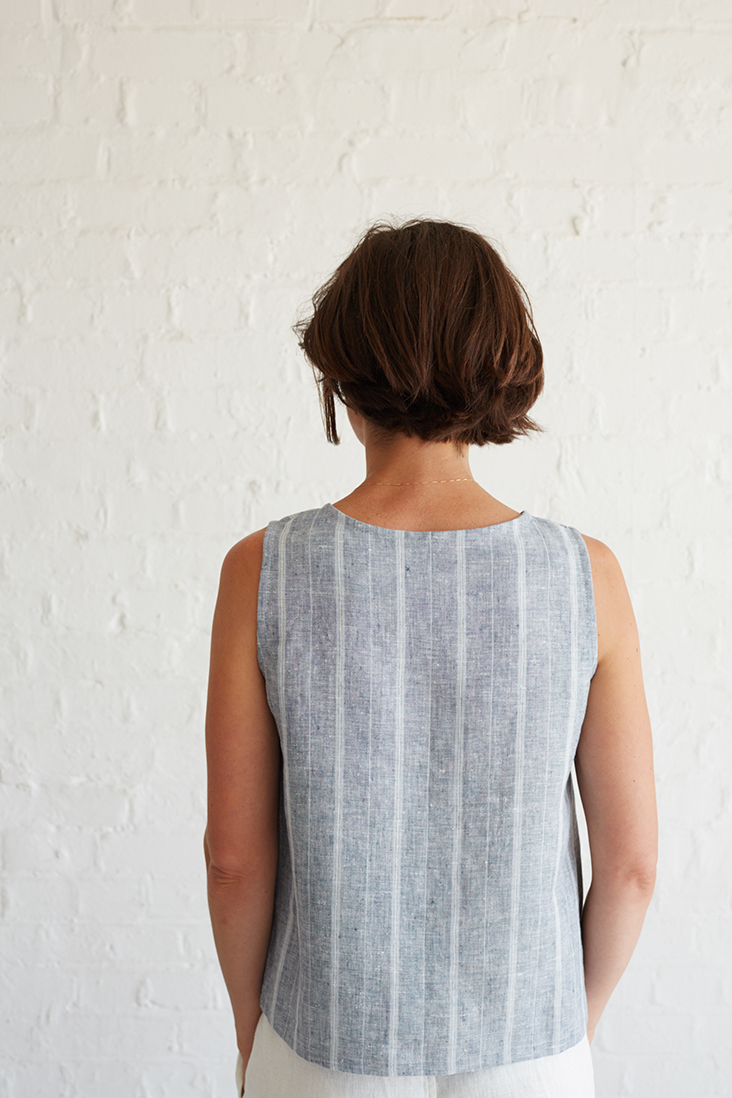
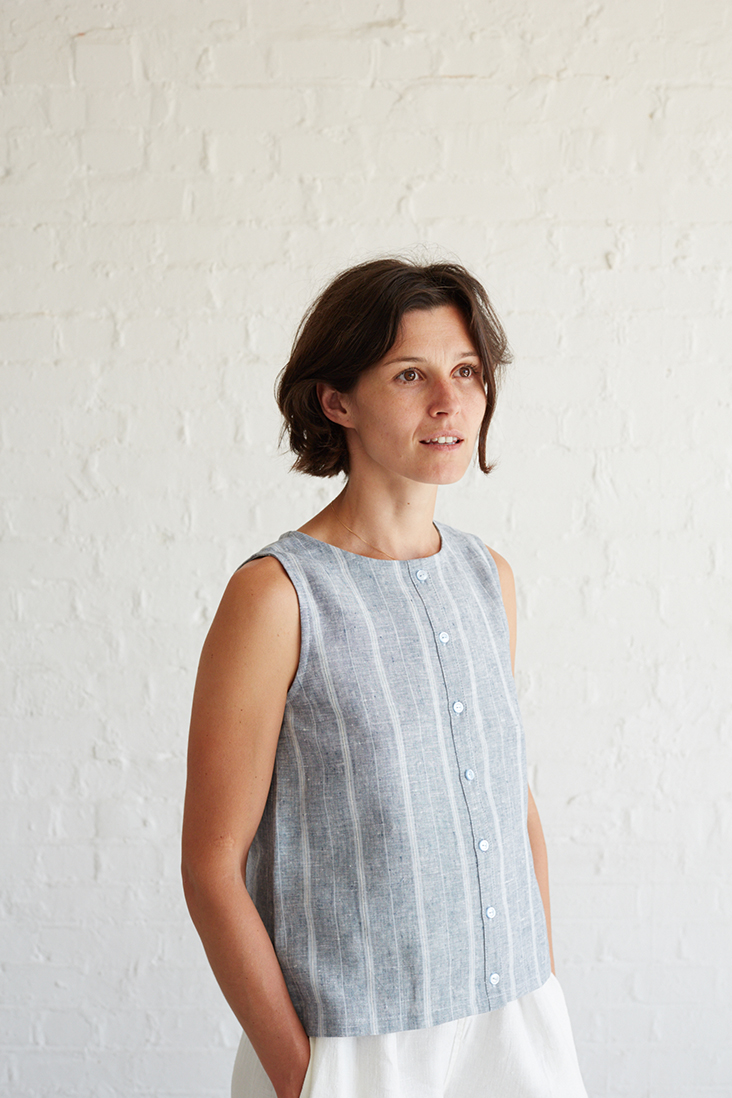
Today we’ll share with you a technique for transforming a simple tank into a button down top. Using our Essential Linen Tank pattern as a base, we’ll add tailored button bands to the front for a custom spin. All you need is paper, a ruler and a pencil!
Happy hacking!
Materials
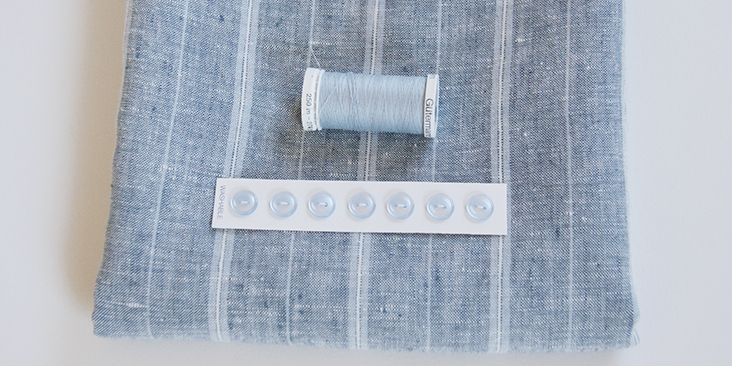
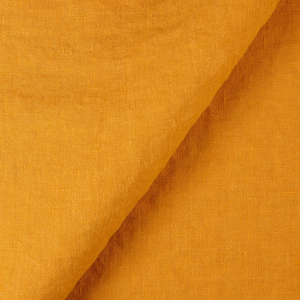
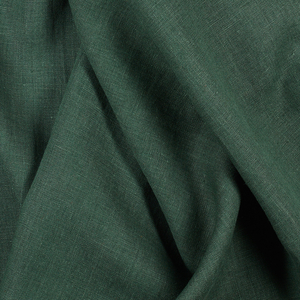
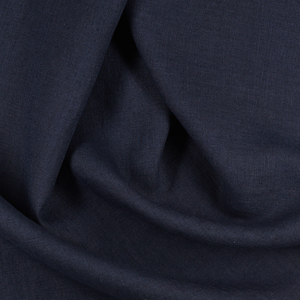
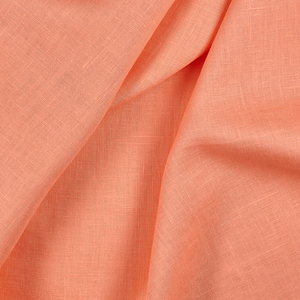
1 yard of IL042 904 FS Premier Finish 100% linen
Matching sewing thread, 7 buttons, fusible interfacing for the button bands (optional)
Tools
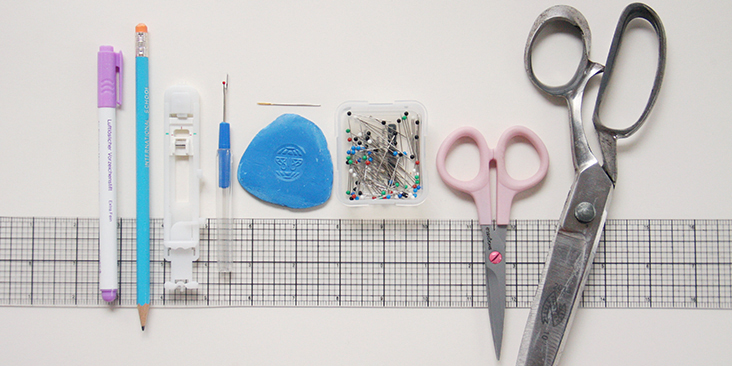
Pattern paper, scissors, fabric marker, pen, pins, ruler, measuring tape, seam ripper, chalk, needle, buttonhole foot, sewing machine
Difficulty
Beginner
Time
2-3 hours
Pattern
You can access the multi-sized printable PDF tank pattern by following this link HERE.
Please note that you’ll also need to cut three continuous strips of fabric on the bias 1.5″ wide: one for the neckline (26″ long) and two for each armhole (24″ long). For more instructions on how to cut your fabric on the bias please follow this tutorial.
If you need help adjusting the pattern for a fuller bust, we have a great Full Bust Adjustment tutorial HERE.
Altering The Pattern
For this tutorial, we’ll be using our multi-sized printable pattern for the Essential Linen Tank as a base, and then adding button bands to the center front to transform it into a cute button-down tank. However, you can totally place your button extension at the back or even at the side seam, it doesn’t necessarily have to be at the front.
To modify the pattern you’ll need to add some extra width to the center line to create a button overlap. How much width you’ll ask? Well, the bands on store-bought clothing are usually ¾” – 1 inch (2- 2,5 cm) wide but you can always make them smaller or larger to go with your design and your buttons. The rule is that the button bands should be wide enough to support your buttons.
Here, we will be showing you how to create a 1″ placket for a women’s tank. Please note that these instructions rely on you having traced off your pattern first.
1. Download and print the pattern. Trace the front sloper on a new piece of paper, then flip it over to create a mirror image and trace again. Now you have a front left and a front right pieces. The fold line is your center. So you’ll be adding button bands to this center fold line.
2. Even though you could totally use the simply fold-up-twice technique for sewing button bands, we believe that a traditionally tailored button front can make any top look more elegant and professional. So we decided to add classic button bands – when one front side is simply folded twice and stitched in place, while the other has a separate, sew-on front band where the buttonholes go.
Since in women’s clothing the buttons are on the left and the buttonholes are on the right (sewn-on) side, you’ll add 1,5″ to the left center front side and 1/2″ to the right center front side + plus a separate band of fabric that will be 1 inch wide and as long as your center line.
Here’s a little diagram to illustrate the drafting process:
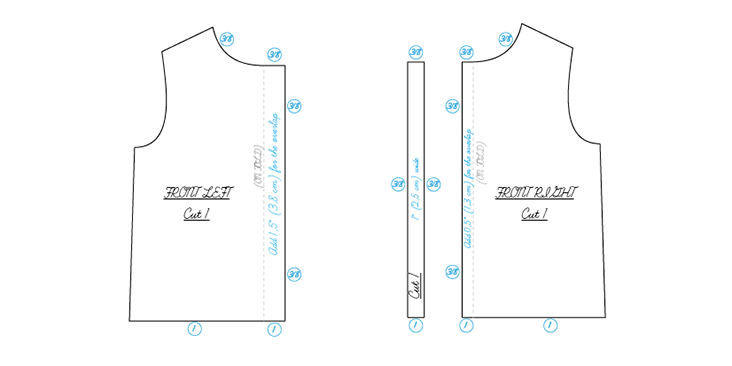
Note: If you are working with lighter fabrics, you might want to interface one or both hidden placket panels and the buttons panel to stabilize the area and keep it from stretching.
Ok, let’s start sewing!
Steps
Note: Prewash your fabric and tumble dry it until it is still slightly moist, dry at room temperature. Iron the fabric so it is easier to work with.
1. We’ll start with the left front button band and fold it twice to the wrong side using your fusible interfacing band as a guide, 3/8″ (1 cm) to 1″ (2,5 cm). Press and pin.
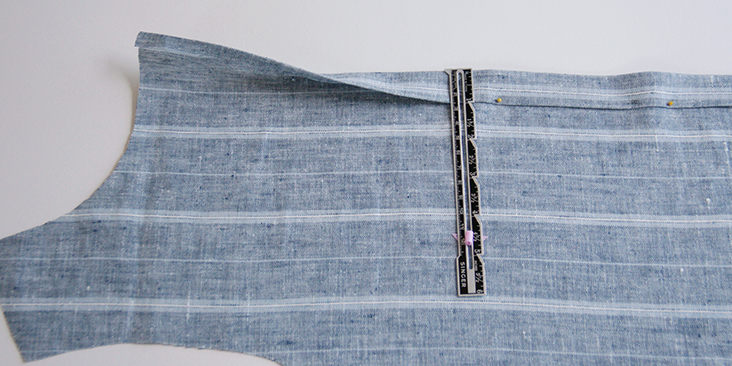
2. Stitch as closely to the edge of the inside fold as possible.
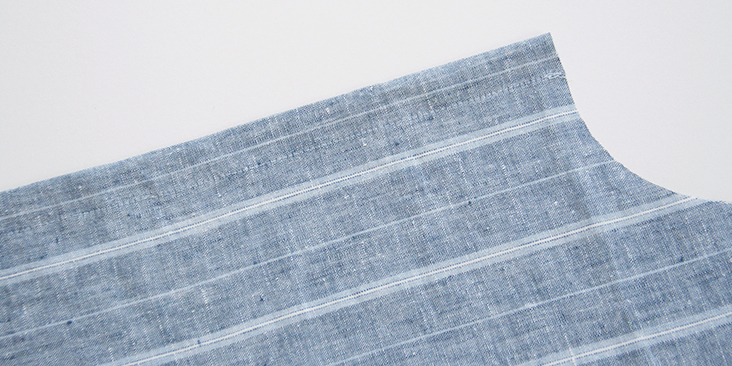
Give your left front piece a good press and set it aside for now.
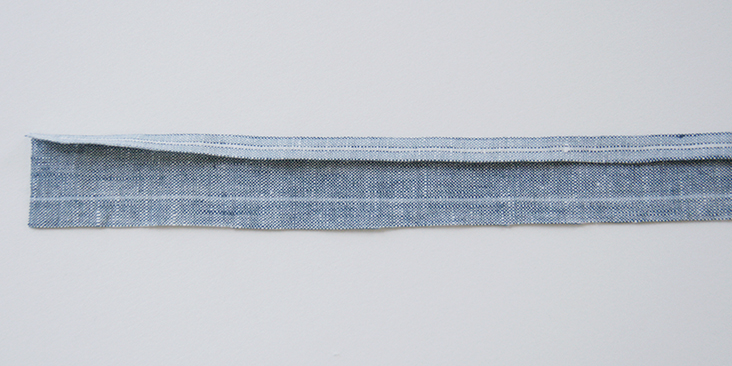
3. Take the separate strip of fabric that will be later attached to the right front of your shirt and with the wrong side facing you, fold up and press its right raw edge 3/8″ (1 cm) to the wrong side.
4. Pin the right side of the non-folded (right) button band edge to the wrong side of your shirt front piece and stitch in place along the 3/8″ (1 cm) seam allowance. Then trim the seam allowance down to 1/4″ (6 mm) to reduce the bulk and to allow the piece to sit more smoothly.
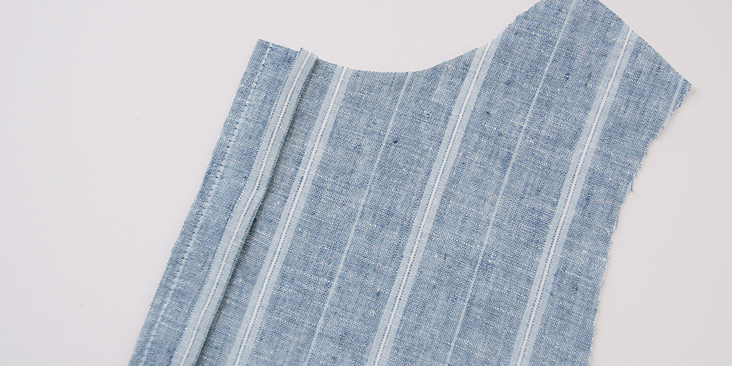
5. Press the button band away from the shirt and fold it over to the right side and pin, making sure that the first fold of the fabric either meets or slightly covers the stitching line from attaching the button band. Press and pin.
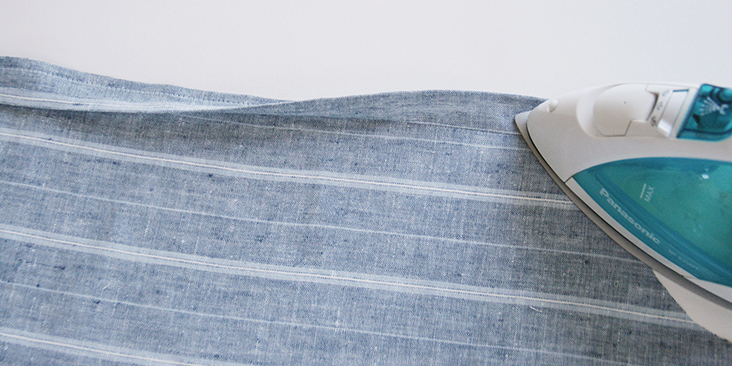
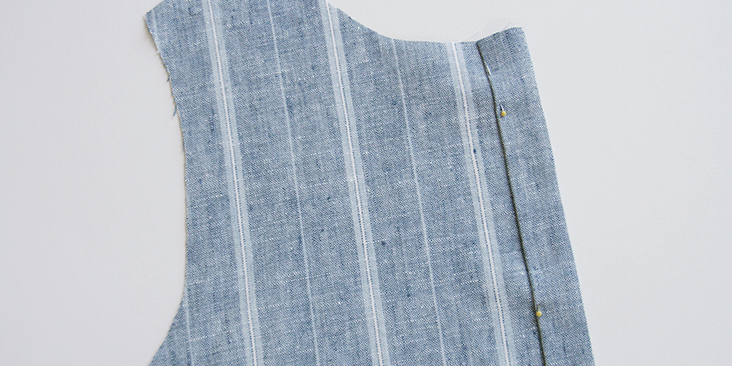
6. Working from the right side, topstitch the pinned edge in place as close to the inside fold as possible.
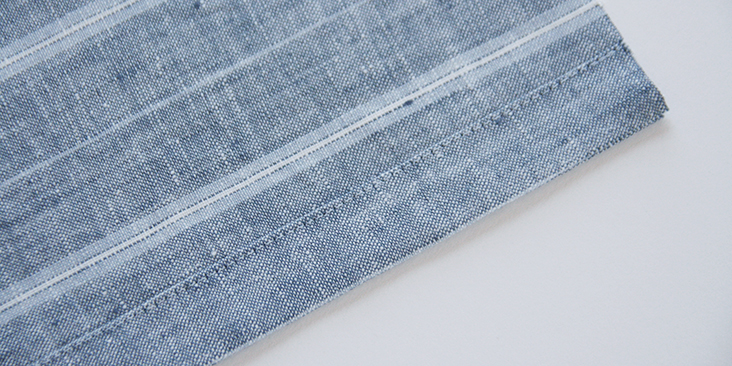
7. For a nice final touch, stitch down the other front edge of the button band to match the one that you’ve just made.
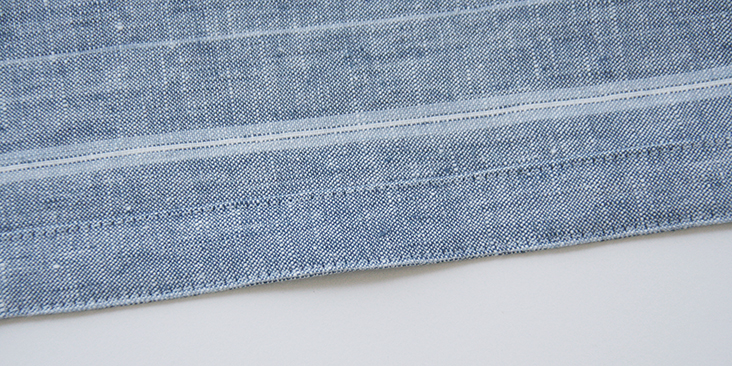
Et voila! The button bands are now complete.
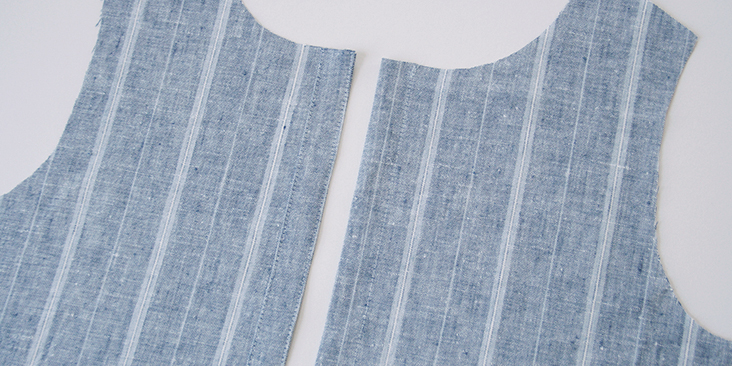
8. Pin your shoulder seams right sides together. 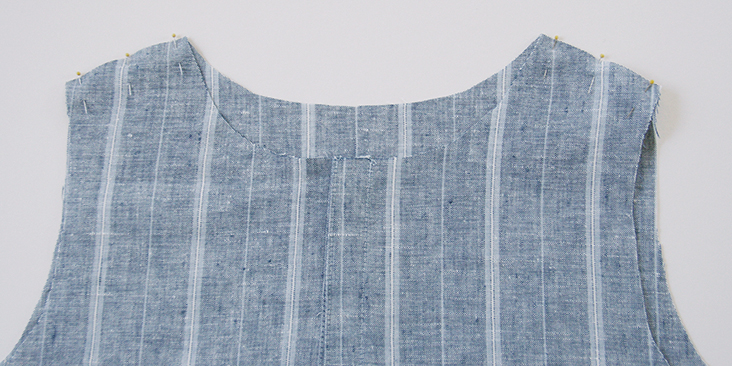
9. Sew at a 3/8” (1 cm) seam allowance and trim the raw edges to 1/4″ (6 mm). Then serge or zigzag the raw edges together to prevent the fabric from fraying and press the seam allowances up towards the back of your tank.
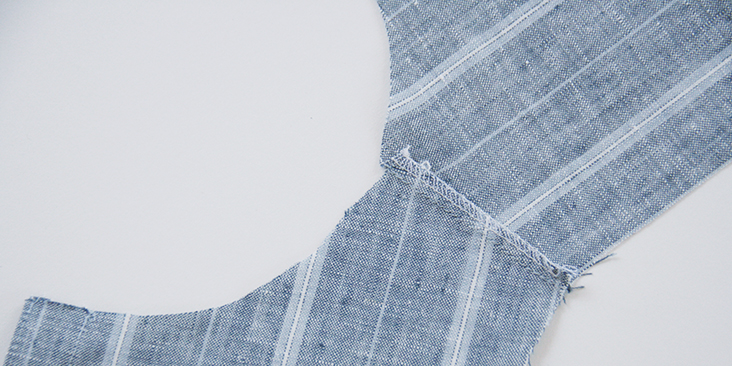
10. Bind the neckline following this step-by-step tutorial HERE. Fold the ends of your bias band to the wrong side to match the edges of your button bands, and stitch the band in place all along the neckline.
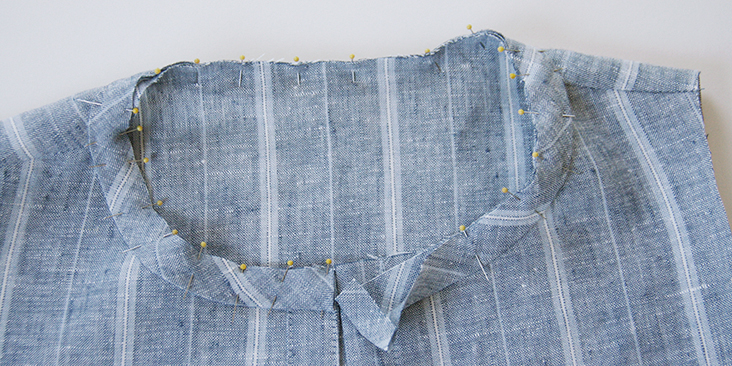
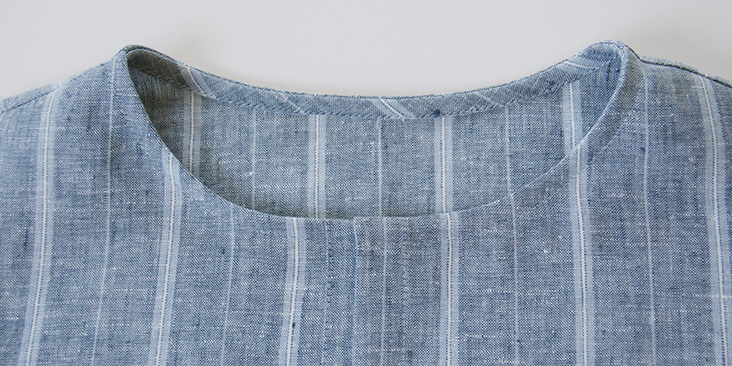
11. Now pin the side seams right sides together.
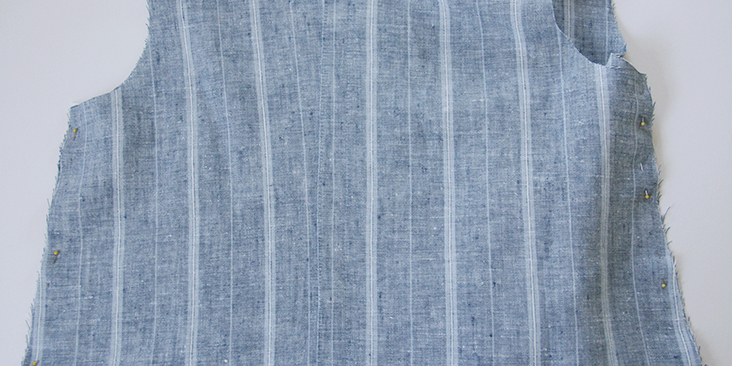
12. Sew the pinned edges at a 3/8″ (1 cm) seam allowance. Then trim to 1/4″ (6 mm), serge/zigzag the raw edges together and press towards the back of your tank.
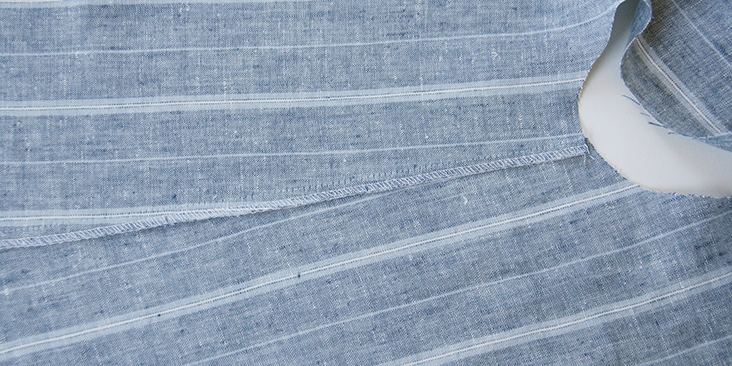
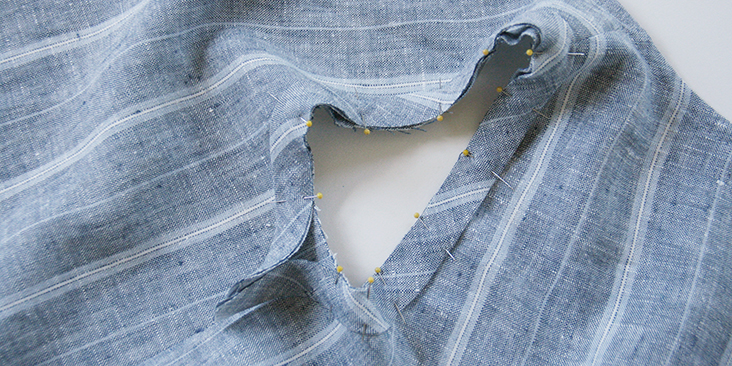
13. Bind the armholes using the same method as you’ve used for the neckline (see step # 10). Join the ends at the underarm.
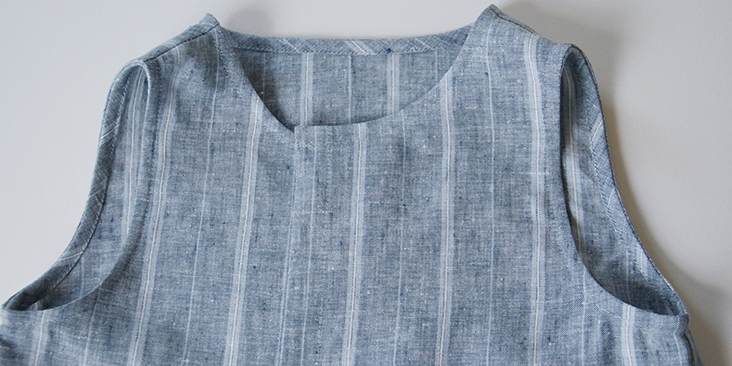
14. Finish the hem by folding the fabric twice to the wrong side: first 3/8″ (1 cm), then another 1/2″ (1,5 cm). Overlap the button bands and make sure that the two ends are even. Press and pin.
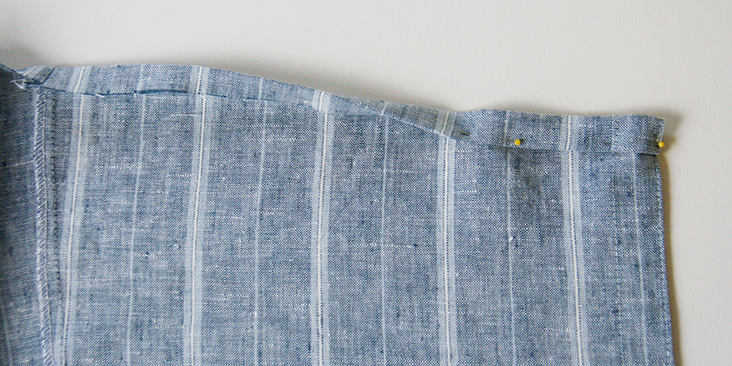
15. Working from the wrong side, topstitch the hem as close to the folded edge as possible. Press.
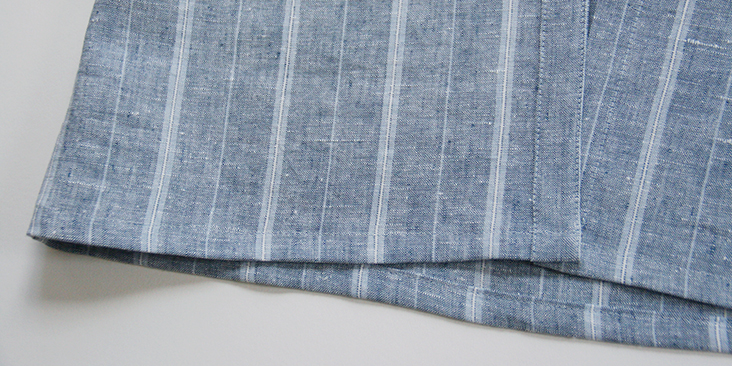
16. Lastly, sew the buttonholes and attach the buttons.
Remember, that the buttonholes are sewn on the right button band and the buttons – on the left.
For the buttonholes, you can follow our detailed tutorial HERE.
As for the buttons, check our tutorial HERE for instructions.
The number and the spacing are really up to you. If you want your buttons closer, just leave smaller gaps between them. We decided to space our buttons 2.25″ (6 cm) apart.
Overlap the bands and place a pin into the center of each buttonhole. This is where you’ll need to attach the button
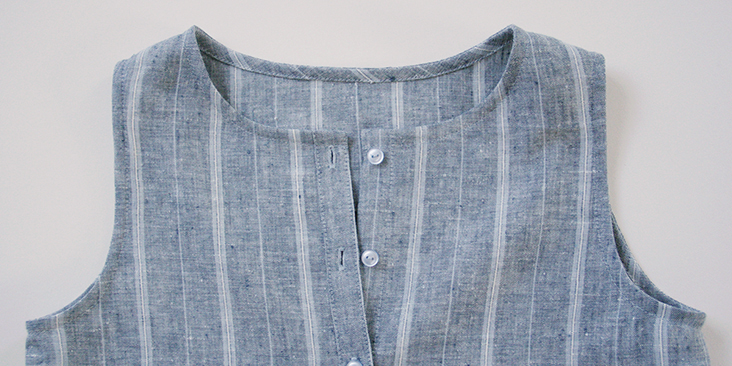
17. Give your tank one last good press and you are all done!
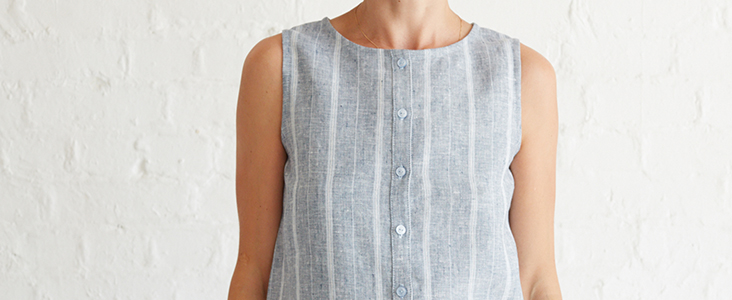
You have now successfully added a button-down front to your tank! Use this hack to update your favorite patterns and create custom designs!













24 Comments
Filipa Fernandez
Hii hi, isn’t the pattern available anymore? ;(
Kelly Potocki
Your buttons look perfect on the button band. What is the size of your button?
Thank you,
Kelly
Janet Carpenter
I want to do this with the tank pattern, but I am struggling with your math. If you only add 1/2″ to the right side, wouldn’t the center front then be at the seamline instead of the middle of the placket? I am assuming you are adding 1/2″ and sewing 3/8″ seams to allow for folding? In my mind you’d have to add 1″ to the front right (1/2 of the placket width, which is the new center front, and 1/2″ seam to attach the placket). Am I seeing this wrong?
Thanks. I made this pattern as is and really like it.
Janet Carpenter
Or would you not add any to the right and then the center front would be in the center of the placket? I don’t know why this is confusing me so much. I’ve sewn for 50 years! Ugh.
Alexandra Bumbas
I am also interested in the PDF pattern, as it does not seem to work.
Thank you and thank you for all the amazing tutorials.
Rebeca Corona
Hi, the link for the PDF tank pattern doesn’t work, could it be possible to get it work again, please?
thanks!
Alexandra Bumbas
Hi, I found it in a separate google search
https://fabrics-store.com/sewing-patterns/phoebe-linen-tank-pattern
Rebekka
Dear Rima, thank you so much for the tutorial, I will try this on the top of a dress I have in mind sewing next week! I have only one question: If I want the front band on the right to by 2.5cm wide, wouldn‘t I have to cut it 2.5cm plus twice the seam allowance w? In your instructions, you say 2.5cm, but then I would end up with a 1.5cm wide band? Or did I misunderstand that step? Thanks so much for your help!
Rima Khusainova
Dear Rebekka, thank you very much for your question. The seam allowances are added extra to the 2,5 cm (1″) wide band, so if you are adding 1 cm (3/8″) seam allowances on each side you’ll end up with a rectangle that is actually 4,5 cm wide. Sorry if this was confusing, the blue circles in the diagram indicate that the seam allowances are to be added and are not included. Hope this helps!
Rebekka
I finally got it, thank you so much for your help! This is the first time I sew anything with buttons and the first time I sew a piece that is not a pattern as such, so excuse my question.. Best, Rebekka
Rima Khusainova
You are very welcome Rebekka! Glad I could be of any help and I’m sure your buttons will turn out beautifully!
Joyce
Hello and thank you for a great tutorial!
I understand the additional seam allowances for the button bands because they are being added to the pattern but why is 3/8″ to the neckline and 1″ to the hem being added? The pattern I downloaded has these seam allowances already included so I’m confused about the reason for their addition.
Thanks again,
Joyce
Rima Khusainova
Dear Joyce, thank you for the question. Yes, the seam allowances are already included in the pattern so no need to add anything more to the neckline and the hem. We don’t mention that you need to add them, simply saying that are usual seam allowance is 3/8″.
Joyce
Thanks for the clarification! However, there is this line – “Now add seam allowances around top (neckline) and bottom (hem) edges and cut your pattern pieces in fabric accordingly.” that, in addition to the illustration, seems to suggest that adding them is part of the drafting.
Rima Khusainova
Sorry for the confusion! When I writing this tutorial, I had in mind a more general approach. But it’s true that since we ask you to work with a specific pattern that has seam allowances, this phrase is no longer relevant! To avoid any confusion I think it’s better not to mention it at all! Thank you for pointing this out to me!
Rachel
Great
Annette Simon
Bonjour,
Merci beaucoup pour vos idées qui sont si précieuses et m’aident beaucoup pour modifier certains modèles au lieu d’acheter d’autres patrons de couture !!
Rima Khusainova
Chère Annette! Merci beaucoup pour votre commentaire! C’est vraiment une modification tres sympa a faire pour changer l’allure d’un patron. Bonne couture!
Bev
Very informative and directions are easy to follow. Thank you so much.
Rima Khusainova
Thank you!
Laura
Miss Rima, I only recently discovered your tutorials and I wanted to send you a ginormous thank you.
I’m still learning a lot about sewing (and sewing neatly) and your tutorials are teaching me a lot. I’m so proud of what I was able to create following your instructions and designs that – and maybe this sounds silly – I owe you another thank you, because your tutorials are helping me believe a little more in what I can do and my skills.
Many, many thanks.
Rima Khusainova
Dear Laura! I’m so touched by your kind words… Thank YOU! It makes so happy to know that my tutorials are helping you built up your confidence and become a better sewist!
Tanya
Good tutorial—thank you!
Rima Khusainova
Thank you so much Tanya!