Sewing Glossary: How To Hem A Curved Edge
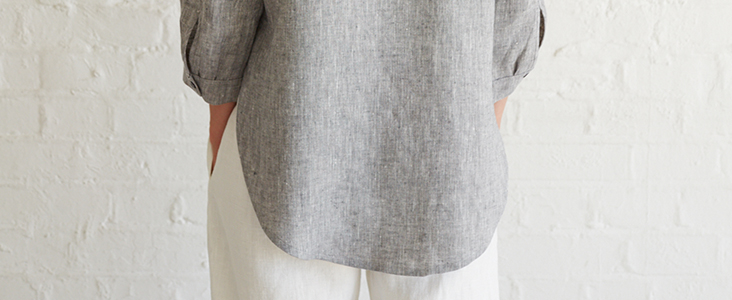
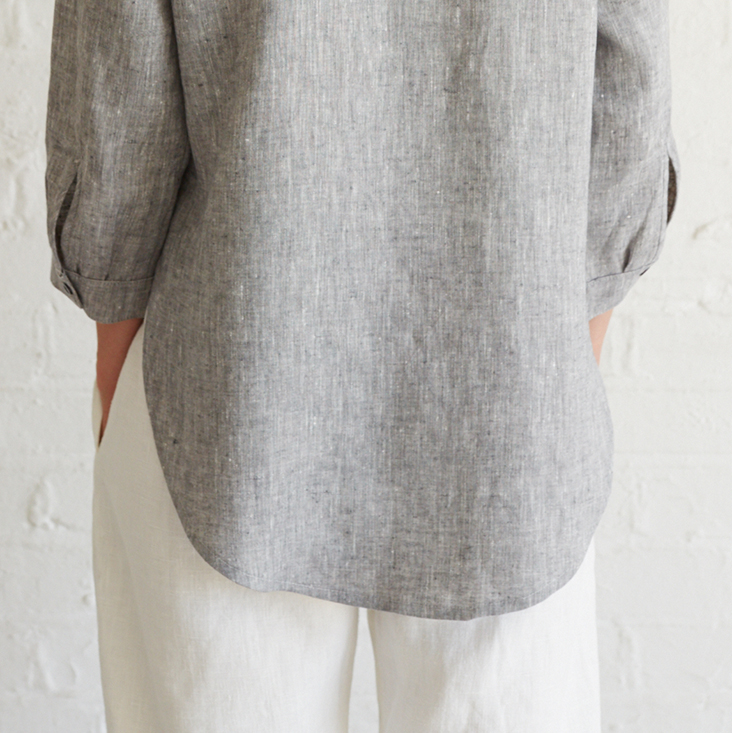
Today’s tutorial is a quick tip on how to finish the hem of a curved edge (a circle skirt or a rounded bottom hem of a shirt, for example). Since the curved raw edge is fuller than what you are trying to hem it into, the standard turned up twice technique is not ideal for such projects and can result in all kinds of wrinkles and puckers.
There are several ways to finish a curved edge: by hand, with a bias tape or a facing or even with a serger. However, not everybody has patience to stitch a full circle skirt by hand or owns a serger, which is why we thought we’d share with you a simple trick that gives the same finish as a normal turned up twice hem, but makes the whole hemming process a little faster and smoother while maintaining the perfect curve.
Materials & Tools
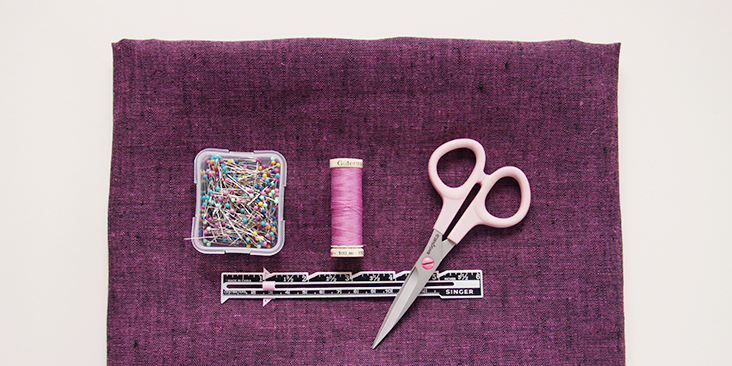
Fabric of your choice (we are using our beautiful yarn-dyed medium weight linen in IL051 Softened 100% Linen)
Matching sewing thread, pins, ruler (ideally a sewing gauge ruler), scissors, sewing machine.
Difficulty
Beginner
Time
1/2 hour
Steps
Note: Prewash your fabric and tumble dry it until it is still slightly moist, dry in room temperature. Iron the fabric so it is easier to work with.
1. Stitch a line of basting 1/4” from the raw edge, all along the hemline.
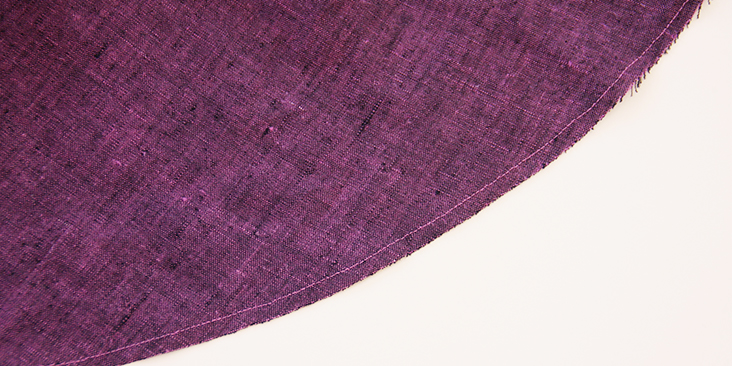
2. Using this line of stitching as your guide, press the hem towards the wrong side. Use plenty of steam and try not to stretch the fabric too much.
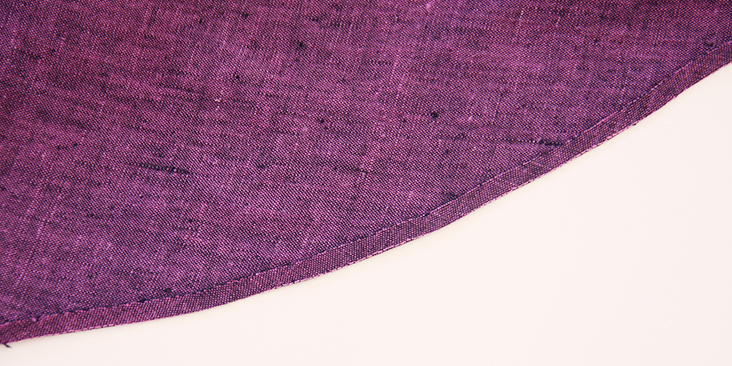
3. Now fold the fabric again ½” towards the wrong side, enclosing the raw edge within the fold, press and pin.
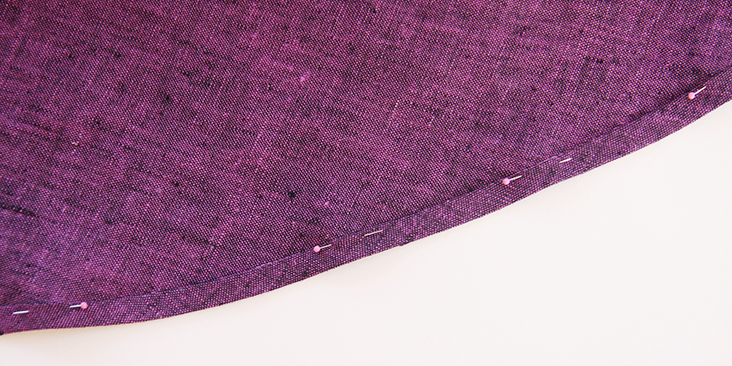
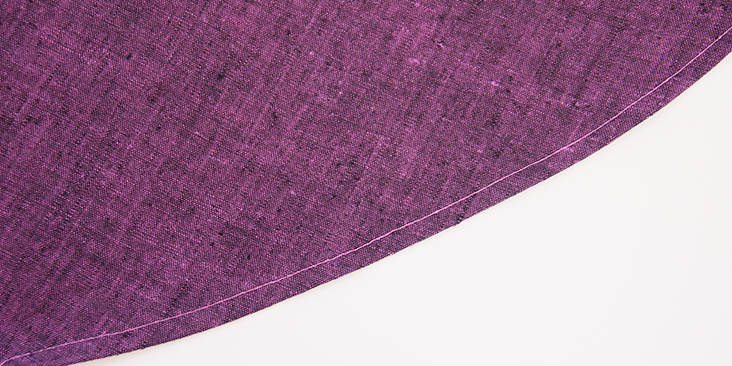
4. Lastly, working from the wrong side, edgestitch along the fold as close to the inner folded edge as possible.
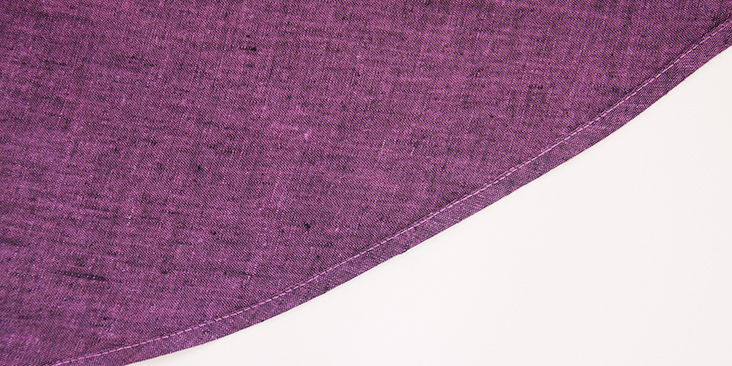
If you have an edgestitching foot, now is a great time to use it. If not, your normal presser foot will do the job.
5. Give the hem a final press and admire your perfect curve!




40 Comments
Cynthia Pool
Maybe I’m missing something. Other than the stitching around the bottom, you are still turning the fabric up and going from a larger circle to a smaller circle. Where is the extra material going? Other sewing patterns have you clipping the curves. I know that linen is more forgiving and maneuverable, but not all fabric is.
Debby Lassiter
So if you are folding this 1/4 inch seam up twice, that means you are going through 5 layers at the side seams? Do you find that a lot of bulk? Have you tried folding it up only twice and sewing on the first fold line?
Billie Napper-Bodway
You are actually only sewing through three layers of fabric, not five, so it’s not so bulky, but it is still just a little tricky. The steam really helps.
Roselyne Greffe
Thanks you, Rima, for your clear explanations and pictures.
Jane Bordzol
The tutorial was great! I now have a beautifully curved edge! Thank you so much.
Balduvina
Thanks, your information is excellent.
Rima Khusainova
Thank you Balduvina!
M-E Jinno
Thanks for the hemming tip. Eyeballing it did not work for me either.
Should I use a shade lighter or darker of thread if not the exact color. I do not want it to show up like asore thumb. Also looking forward to the shirt pattern. Does it have pleats or darts?
Rima Khusainova
Hello! I think it’s best to use the same color thread. I used a lighter thread just to illustrate the process.
HNF
It would appear that it does not have pleats, or darts, or princess seams, lol. Very basic.
https://fabrics-store.com/?r=products/showPattern&pattern_id=48
crle
My mom always taught me to use the slightly darker thread if your choices were slightly darker or slightly lighter than the actual fabric. That advice has always proven to be correct!
And P.S. I love, love this hemming technique and use it all the time, rolling the first line of stitching just barely to the INSIDE of the first pressed edge so that it doesn’t show at all after the final fold and stitch. This method also works great for really narrow hems: stitch the guide line, fold along that stitched line and press, then carefully trim the raw edge down to about 1/8-inch or so, fold in one more time along that trimmed edge, and stitch. Beautiful.
angela
slightly darker thread for dark fabrics, slightly lighter thread for light colored fabrics
Kelly Singh
I used this technique when I made one of the free FS blouses with a curved hem, and on the paid Riva blouse pattern. It worked beautifully. I am not a technical sewist so I don’t know the “why”, I just know that it solved an issue I’ve always had with curved hems.
Loretta Hansford
Thank you for the helping hand. Have struggled with puckers many times. You cannot iron them flat once their are there no matter how hard you try. Thank you.
Mel
I’ve been using this method for most of my sewing career. It works VERY well on every fabric I’ve ever had under my presser foot!
suzanne spence
does this work on other Fabric. have a circle skirt and it’s to long…..about 2″. . tys. other wise looks like it would work…..
Rima Khusainova
Of course! This method works with any fabric and particularly well with slippery fabrics like silk or viscose.
Cathy
So I understanding correctly, after pressing raw edge in 1/4”, does one fold and press in an additional 1/4” for a total 1/2 “ or an additional 1/2” for a total 3/4” inch?
Rima Khusainova
Dear Cathy, after pressing raw edge in 1/4″ you press additional 1/2″ for a a total seam allowance of 3/4″. However, if you’d like to have a larger/smaller hem, you can change that second measurement to whatever finished width you’d like.
Sharon
The second hem fold looks to me the same size (1/4 in) as the basting line. If one actually did do a 1/2 in hem, wouldn’t there be a line showing in the middle of the hem after pressing?
Rima Khusainova
Hi Sharon, yes, the second hem is folded 1/2″ to the wrong side and no, the basting stitch line wouldn’t show in the middle of the hem as you use it as a guideline to know where to press your first fold. Therefore it is actually on the first fold line and wouldn’t be visible no matter how wide you decide to make your second fold. I’m not sure if I’m making myself clear but hope this helps! 🙂
Sandra
I/4 each time.
Linda P
This is one of those – “why didn’t I think of that!” Thank you for a great tute, making it look easy & professional!
Rima Khusainova
Thanks so much Linda!
V
I would also like this pattern
Rima Khusainova
Soon on the blog!
Debra
Also looking forward to making this pattern! Thanks for the tutorial.
Rima Khusainova
It’ll be on the blog really soon!
Jody
Thanks for a great way to hem a curve…I didn’t know this. Love all your tutorials!
Rima Khusainova
Thank you so much Jody!
Emily Lindstrom
While I was reading along I was questioning why you’d want to stitch a line when you can just eyeball it.. then I realized it’s to stabilize the areas that are on the bias so it doesn’t stretch out. Clever. =)
Rima Khusainova
It also makes the folding easier and more regular!
Linda
I was wondering the same thing too… yes, very clever.
Tracy Treiger
I so struggle with puckering and wonky hems. I really hope this works for me. Thank you for the tip!
Rima Khusainova
Sure! You’ll see that it makes hemming curved edges so much easier!
Carolyn Byers
I agree I want this pattern also. Can’t wait to see the rest of it!
Lynda
I want this pattern! I’ve been searching for a blouse pattern like this for ages. May I ask where you got it, please? Thanks!
Rima Khusainova
Dear Lynda! Thank you very much for your comment and enthusiasm! This pattern will be available for free on the blog in one of our next tutorials. So stay tuned!
Cynthia Quintanilla
I appreciate this review! It’s amazing to remember how simple this technique is for curved hems, since I don’t do them often. Now you’ve given me an idea for a new project! Thank you so much?
Rima Khusainova
You are very welcome Cynthia! So pleased to hear that this little tutorial inspired you to sew something new!