Shirt Dress With Concealed Button Placket Tutorial and Pattern
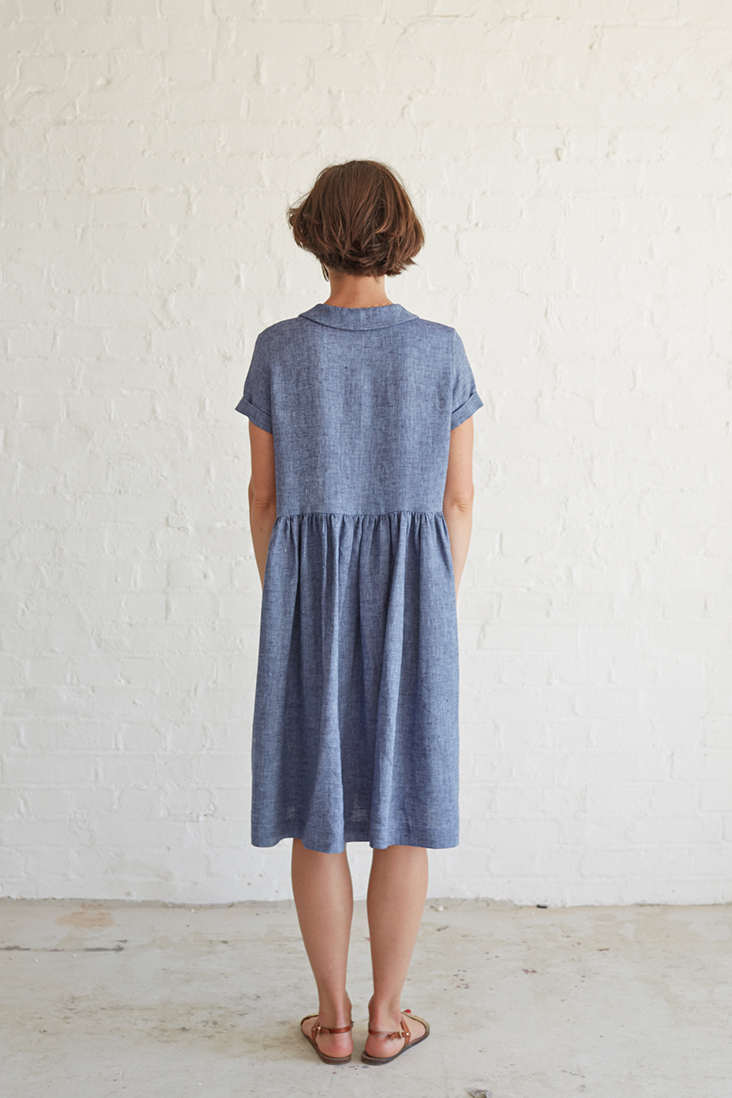
The great thing about this loosely cut dress in blue yarn dye linen is just that. Linen is meant to flow and feel unrestricted. Effortlessly casual, yet with little playful details, such as the traditional collar and a concealed button placket, this is a dress that hugs. You could get rid of the bottom half and extend the shirt to make it into a cute top instead. You could bring the waist in and make it a more tailored number perfect for the office. This dress could be ideal for maternity wear, ladies! As with all our designs, what we would love to convey is that we are simply giving you a starting point of an idea which you can take and run away with to make something that is perfect for you.
Materials
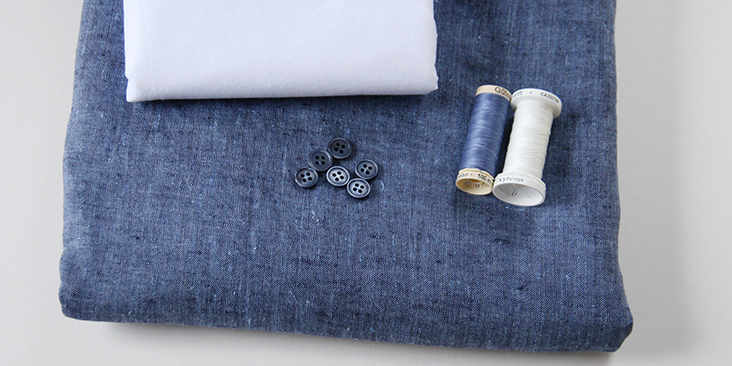
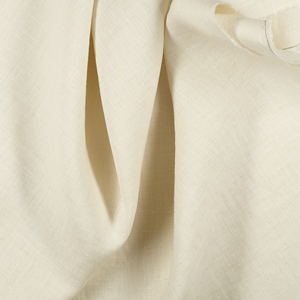
2 yards of medium weight IL042 908 FS Premier Finish Linen fabric
Matching sewing thread, fusible interfacing (for the collar), 6 small buttons
Tools
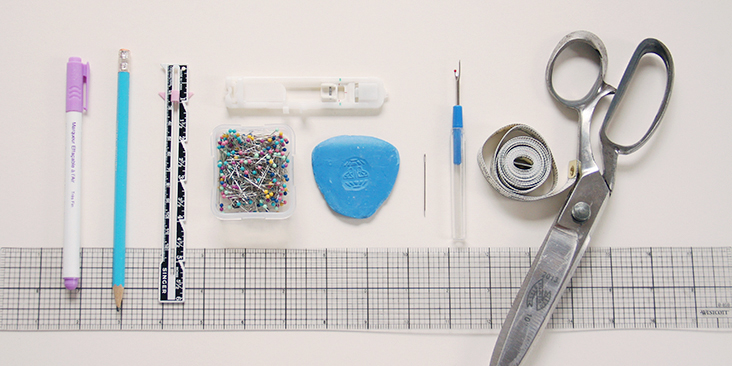
Pattern paper, scissors, ruler, pins, chalk, fabric marker, pen, buttonhole foot, needle, seam ripper, sewing machine
Difficulty
Intermediate
Time
4-5 hours
Pattern
You can access the dress pattern by following this link HERE. Remember to add seam allowances as indicated in the pattern. And HERE you will find the printable collar template. You’ll also need to cut one strip of fabric on bias 1.5″ tall and 20″ wide for the neckline.
The diagram shows the pattern for US size 6-10 (UK size 10-14). If you need help grading your pattern, please follow this tutorial, and if you need to add some side darts to accommodate a larger bust, we have a great Full Bust Adjustment tutorial HERE.
Steps
Note: Prewash your fabric and tumble dry it until it is still slightly moist, dry at room temperature. Iron the fabric so it is easier to work with.
1. Let’s start with the button bands. Sew the concealed button bands by following the instructions in our detailed tutorial.
Make sure that the concealed button band is placed on the front right pattern piece. Sew the buttonholes (and remember to leave some space for the top and bottom seam allowances) but do not attach the buttons yet. If you need some advice on how to sew the buttonholes, you’ll find it in one of our tutorials HERE.
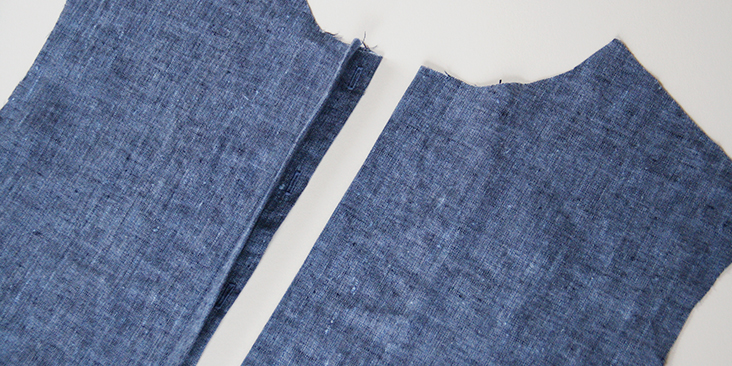
2. Now that you’ve sewn the concealed button placket and made your buttonholes, you can assemble the front and the back of the bodice by pinning them at the shoulders right sides together.
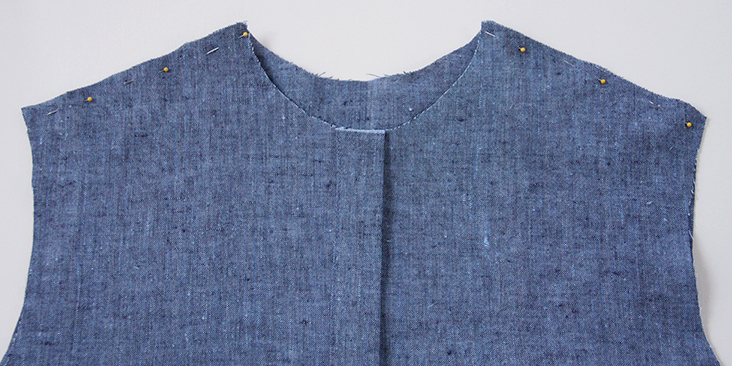
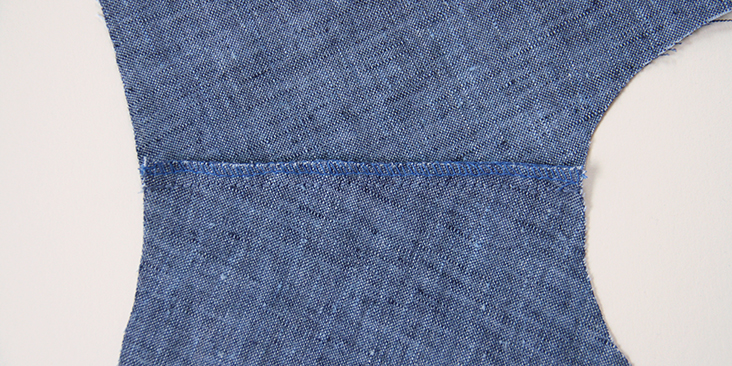
3. Sew the shoulder seams right sides together at 3/8″ (1 cm) seam allowance, remember to backstitch. Trim the seam allowance down to 1/4″ (6 mm) and serge or zigzag the raw edges together to prevent the fabric from fraying. Press the seams flat folding the serged/zigzagged edges towards the back of your dress.
Time to sew and attach the collar.
4. Apply fusible interfacing to the wrong side of your under collar and pin the top collar to the under collar right sides together.
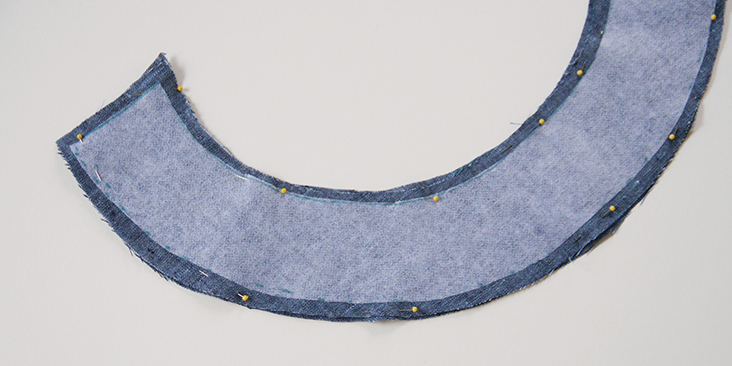
5. Sew the two pieces together using a 3/8″ (1 cm) seam allowance but leave the inner edge unstitched. Trim the seam allowances down to ¼”, clip the corners and notch at the curves to avoid bulk.
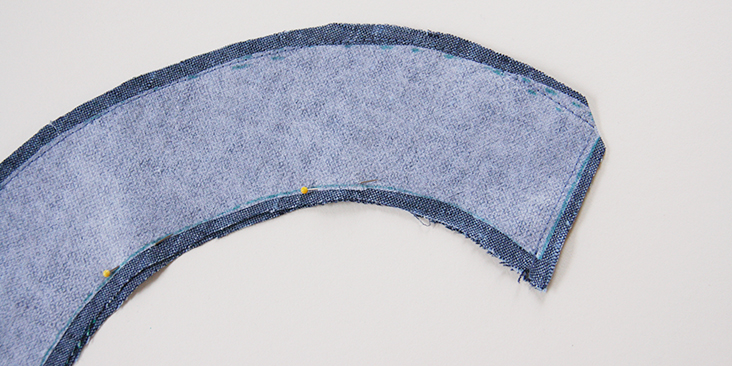
6. Finger press the seam allowances open and turn your collar pieces right side out and press.
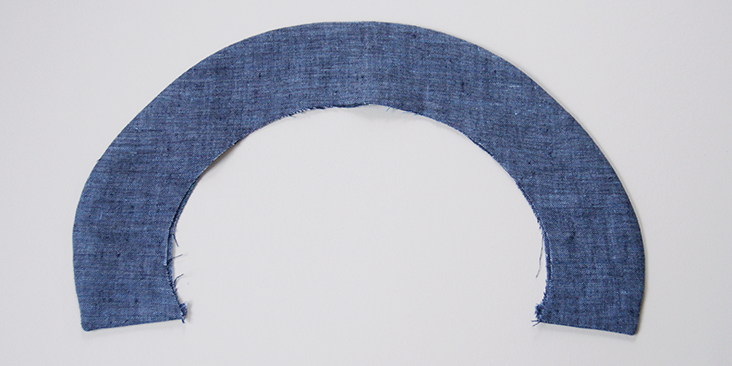
7. Fold your bias strip in half lengthwise and wrong sides together and press.
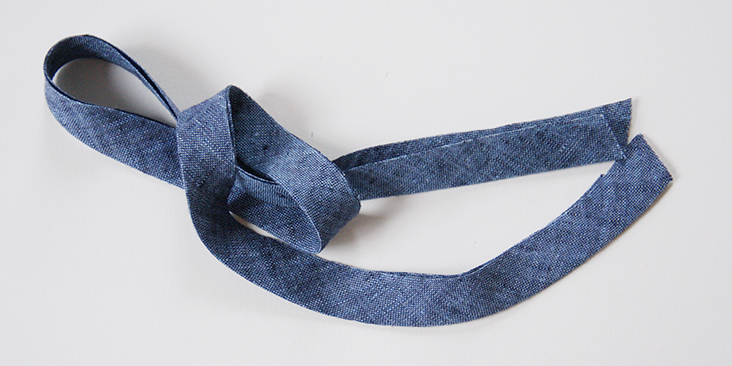
8. Pin your collar to the neckline with right sides together and your bias strip folded in half placed on top. Don’t forget that the side with interfacing will be the underside of the collar. Center your collar by matching its center to the center back of your neckline.
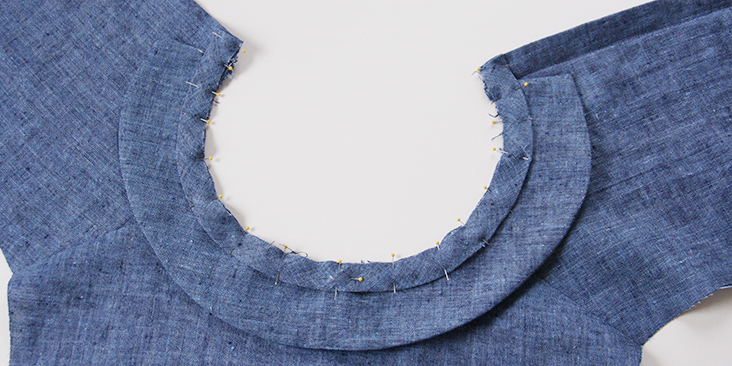
Please note that the collar ends should be placed just outside the button bands’ stitch lines.
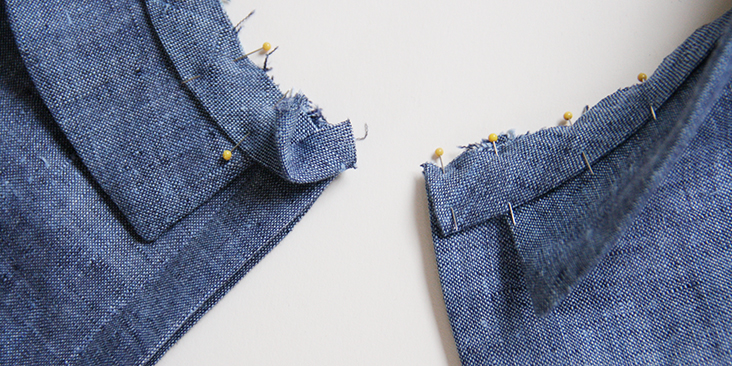
When you reach the button bands, fold the ends of your bias strip as shown in the picture:
9. Set your machine on a longer stitch (since you have a lot of layers to stitch through) and stitch the collar and the bias strip to the neckline at your usual seam allowance (we are using 3/8″ (1 cm)). Trim the raw edge down to 1/4″.
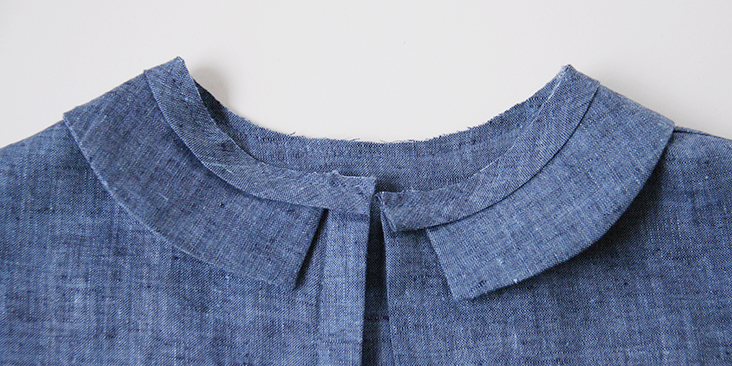
10. Now press the fold using your thumb, fold the bias strip towards the wrong side and pin it around the neckline. Now you have a sandwich with the dress and the bias on the outside, and the raw edge of the seam allowance inside.
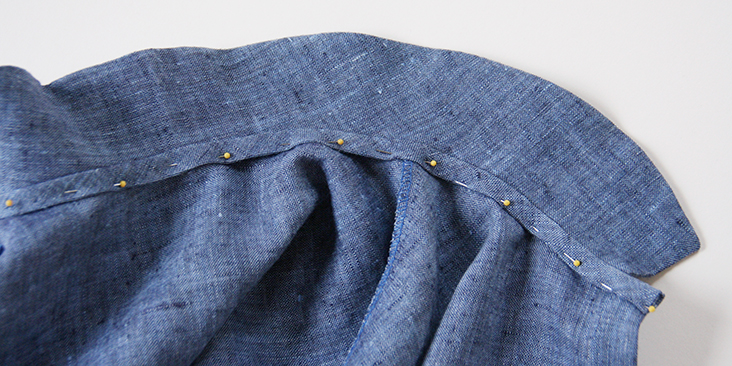
11. Moving the collar out of the way, and making sure that the bias strip ends are parallel to the finished edges of your back opening, edgestitch it in place one button band stitch line to the other. Remember to backstitch at the ends. This stitch line will be hidden on the right side of the dress under the collar.
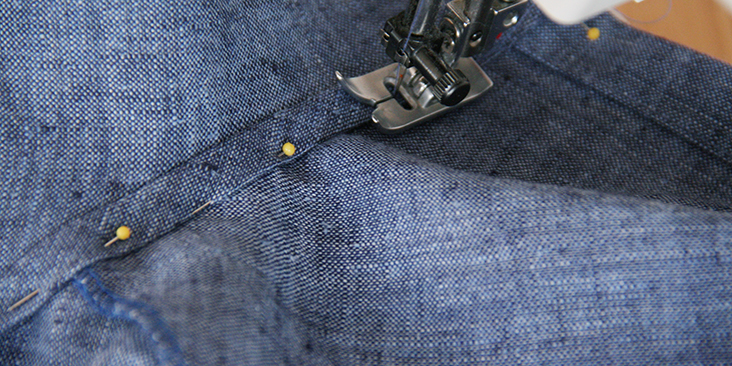
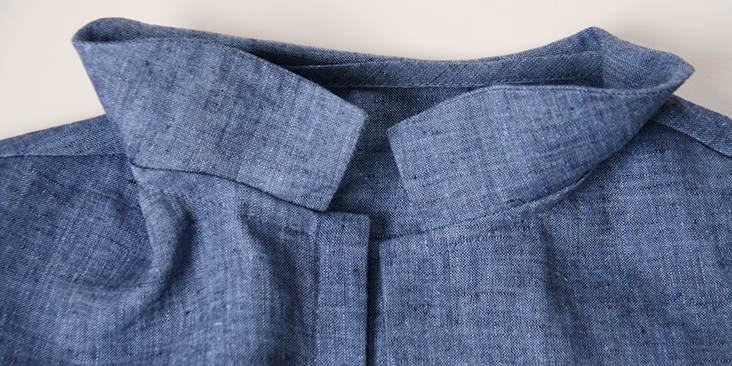
To avoid the line of stitching showing on the right side of the button bands, hand stitch the ends of your bias band so that they are completely invisible from the right side of your dress.
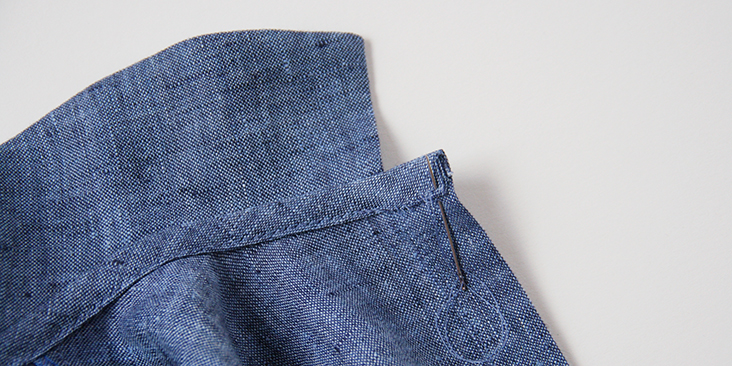
Here’s what your finished collar should look like:
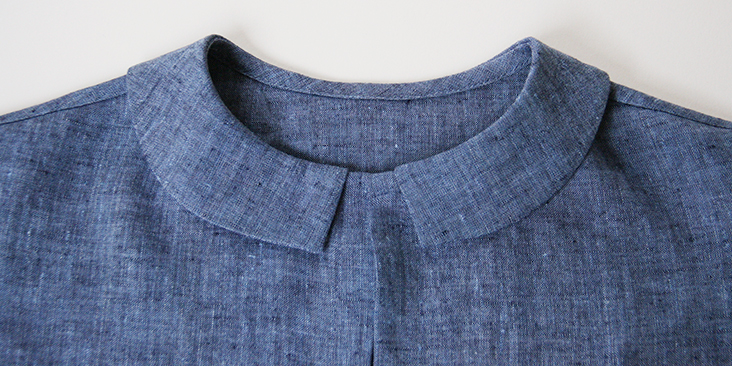
12. Now that you have your collar, you can attach the buttons to your button placket. Overlap the two button bands and place a pin into the center of each buttonhole. This is where you’ll need to attach the button. For more tips please check our tutorial HERE.
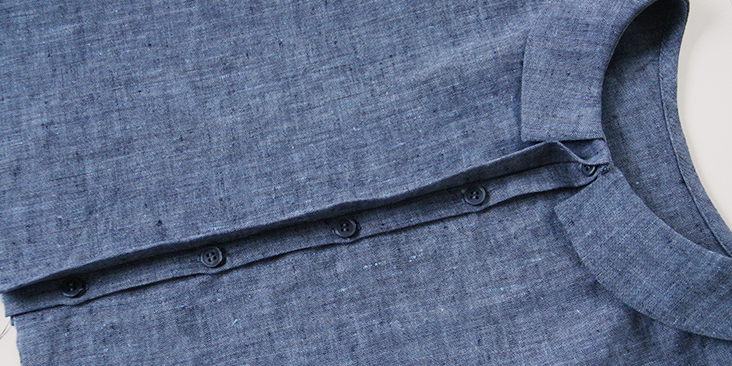
13. Attach the sleeves to the bodice by pinning them to the armholes right sides together.
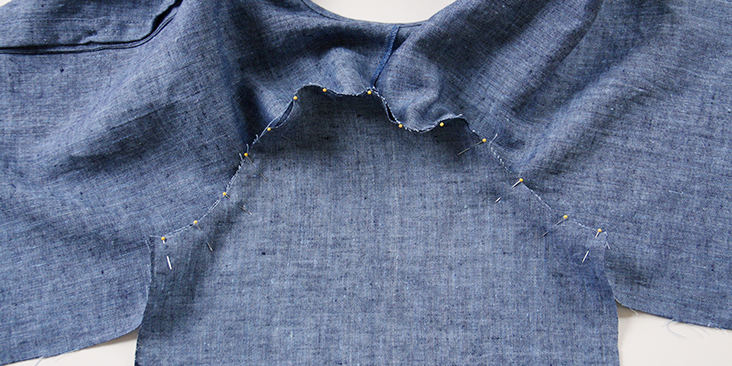
14. Sew at a 3/8” (1 cm) seam allowance. Serge or zigzag the raw edges together to prevent the fabric from fraying. Press the serged/zigzagged seam allowances up towards the sleeves.
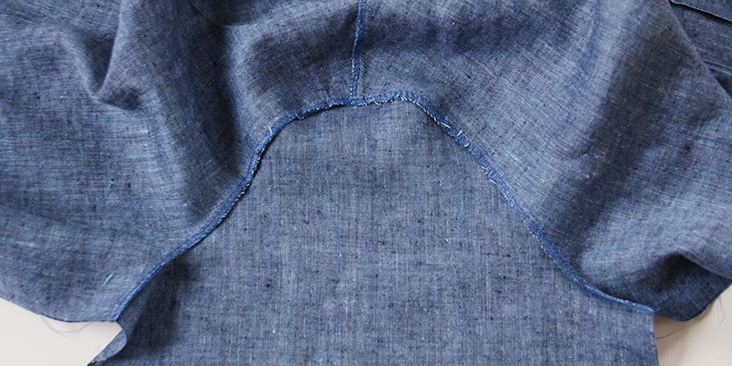
15. Pin the sleeves and the side seams right sides together all in one seam.
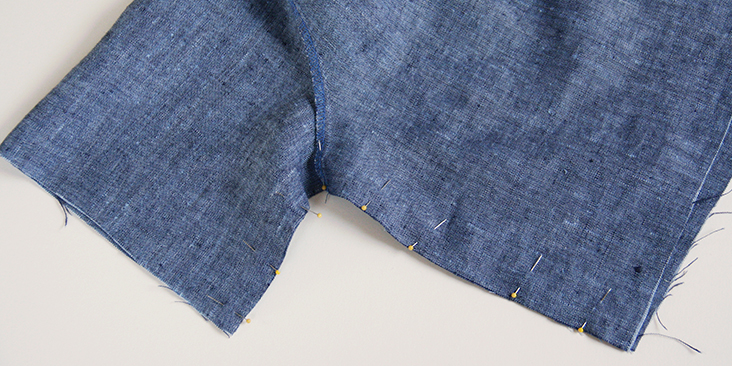
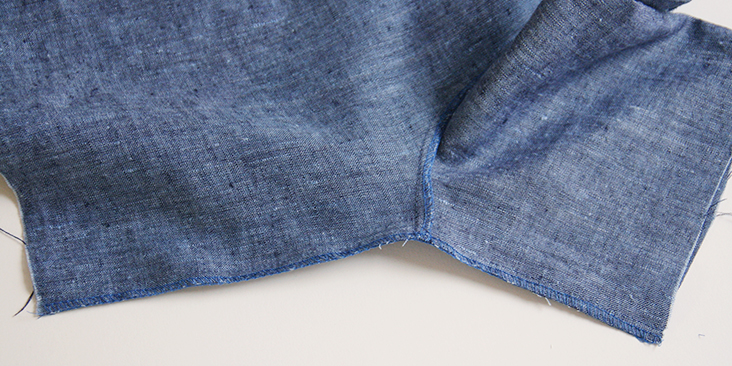
16. Sew the pinned edges at a 3/8” (1 cm) seam allowance, trim to 1/4″ (6 mm) and finish the raw edges with a serger or a zigzag stitch. Press the seams flat folding the serged/zigzagged edges towards the back of your dress.
17. Create the cuffs by following this step-by-step tutorial.
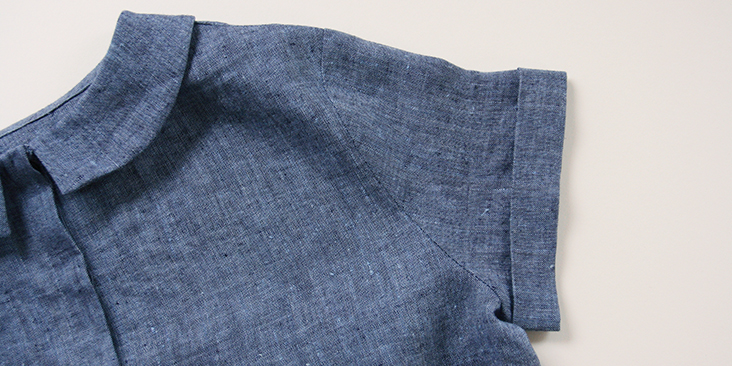
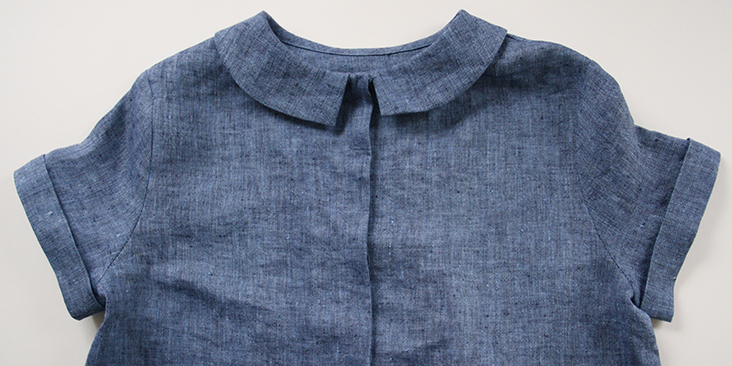
Your bodice is now complete so you can move onto the skirt. If you wish to add some inseam pockets, you can add them by following the instructions in this tutorial.
18. Pin the side seams of your skirt right sides together and stitch at a 3/8” seam allowance. Trim, serge/zigzag and press towards the back of the skirt.
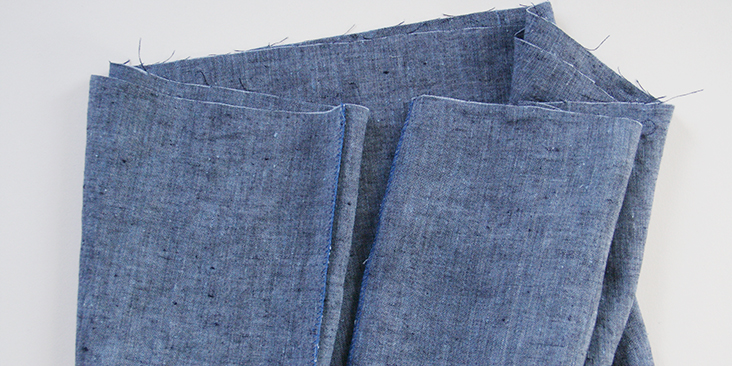
19. Finish the bottom of your skirt with a simple rolled hem. Fold the bottom edge under first 3/8″ (1 cm) then another 1″ (2.5 cm) and press. Pin the fold.
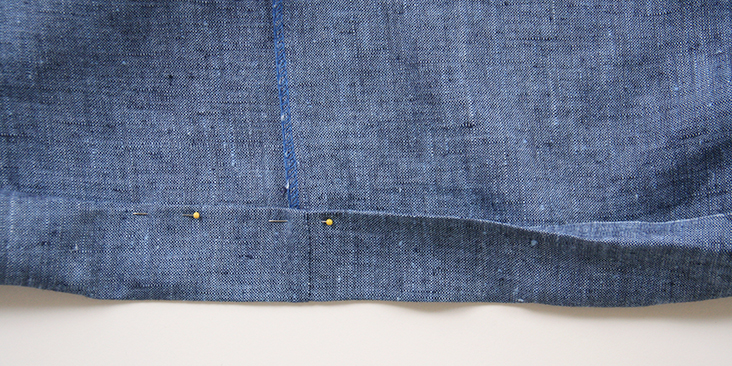
20. Working from the wrong side, topstitch as close to the inner fold as possible. Remember to backstitch and press the seams when you’re done.
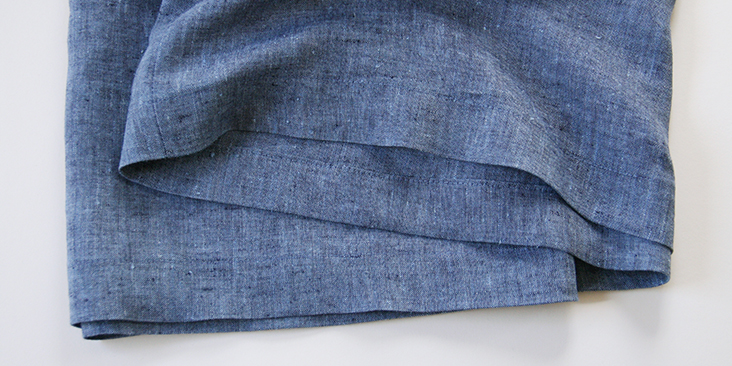
21. Gather the skirt to the length of the bodice (button up the placket to be sure to get the finished width). HERE is a step-by-step tutorial on how to gather your fabric. Be sure to use a contrast color thread and to secure your gathers once you’ve checked that the skirt matches your waistline and that the gathers are evenly spaced.
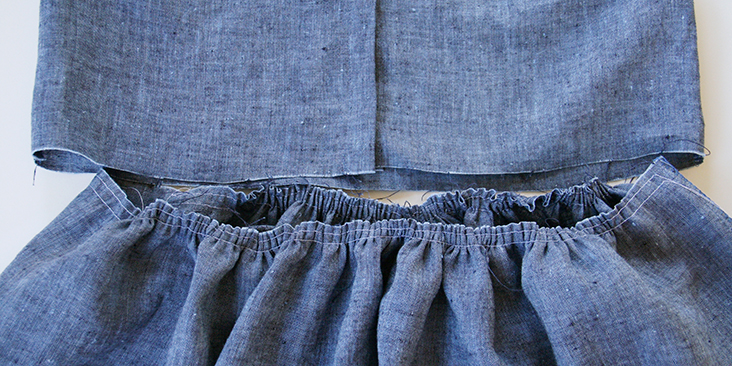
22. Lastly, pin the gathered skirt to the bodice right sides together and matching the side seams.
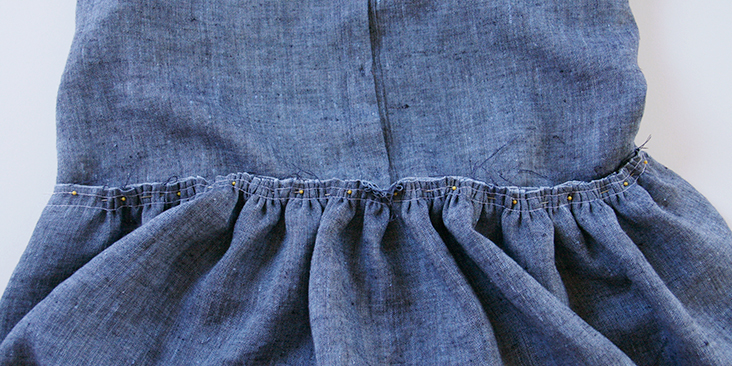
23. Sew at a 3/8” (1 cm) seam allowance.
24. Remove the gather stitches using your seam ripper. This is why it’s recommended to use a contrasting color thread – so that you don’t make a mistake and rip out wrong stitches. Trim the fabric and serge or zigzag the raw edges together. Press the seams flat folding the serged/zigzagged edges towards the skirt and you are all done!
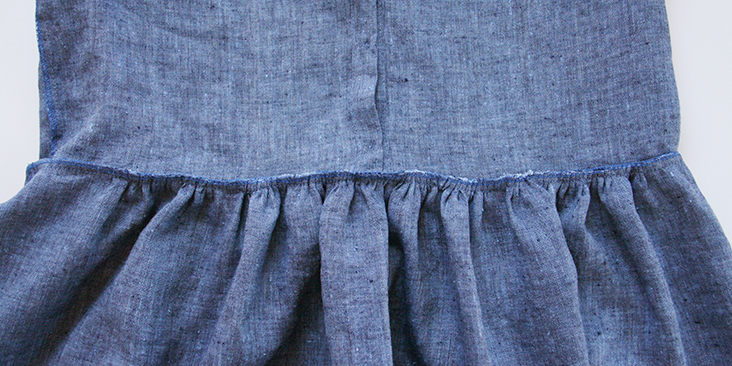
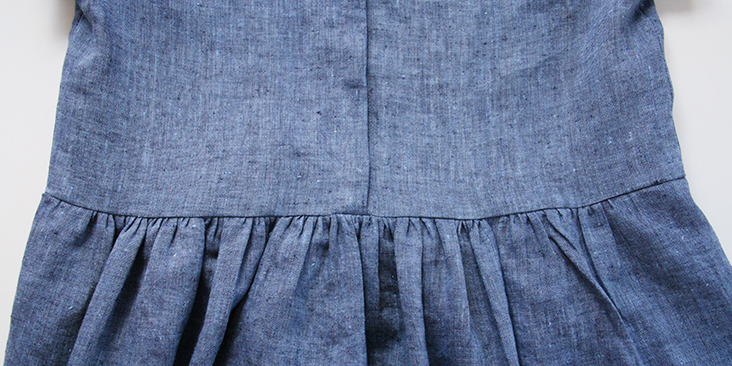
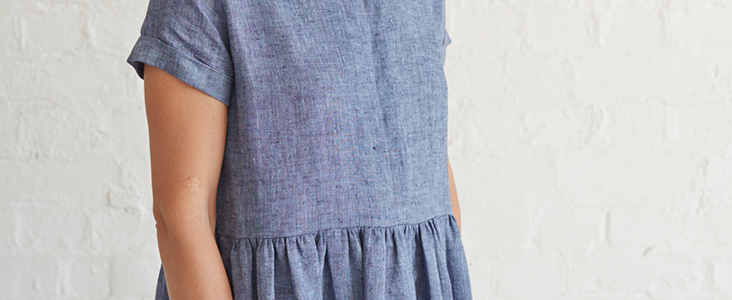
Just throw this dress on for an instantly put-together look and you’re all good to go!
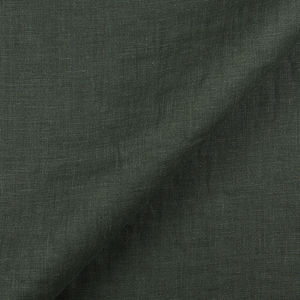
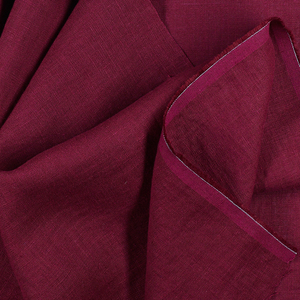
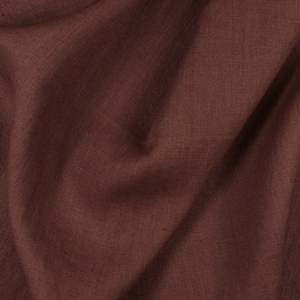
Why not have a look at the plethora of fabric we have to offer and see which color takes your liking for this fabulous dress?













16 Comments
Eveline Lee
Hi, would you consider releasing a multi layered PDF pattern for this dress? I am new to drafting and am nervous about making a mistake with the neck and arm curves. Any tips greatly appreciated. Thanks.
Masha Karpushina
Hi there, we won’t be releasing a multisized PDF of this one, I am afraid, just yet, but the link now works so you should be able to draw it from the diagram. Hope this helps, Eveline.
Susanna
Is it possible that there’s an error in the diagram? I’m also new to drafting my own projects but I’m not new to dress making and I’ve measured and re-measured. On the Left bodice front the 4 5/8″ line at the neckline places the edge of the pattern piece (the button placket) one inch wider than the 10 1/8 line at the bottom. I’m guessing that the one on the top is accurate (and if I begin making it, and I was wrong, I can always cut off the extra).
Rima Khusainova
Dear Susanna, thank you so much for pointing this out to me! Yes, of course, there’s a little error in the bottom measurement, it should be 11 1/8″. I’ve updated the new diagram with correct measurements so it should be all good now! Thanks again!
Karen
I get 11 5/8. I guess I’ll make it match and see how it works.
Rachel Singh
I love this pattern. I am just a beginner at sewing garments but will definitely give this a try.
Rima Khusainova
So pleased to hear it! Happy sewing Rachel!
Andrea
Hey Rima, Is there a downloadable pattern for this? The link posted only follows to a single page outline PDF. Thanks in advance!
Rima Khusainova
Dear Andrea, thanks for your interest! Unfortunately, this dress doesn’t have a downloadable pattern yet, it is available as a diagram with all the measurements for you to copy at home.
Desiree
Whoops sorry for the double post- realised its not a download. But thanks for the awesome details to draft and amazing wealth of knowledge you share. x
Rima Khusainova
Thank you so much for the kind words! x
Desiree
I love this dress guys, looking forward to making it. I plan to draft up the pattern for the gathered linen tie back dress. Is this essentially the same pattern pieces without the placket ( and opening in front instead of the back) ? Just wondering if i can avoid drafting out both as id love to make up this pattern in the future too. Thanks
Rima Khusainova
Dear Desiree! You are absolutely right – both dresses are very similar and you could totally use the pattern you’ve already drafted with a few manor changes (sleeve length, add placket etc). Happy sewing to you!
Desiree Tait
I love this dress guys, looking forward to making it. Was about to download the pattern for the gathered linen tie back dress. Is this essentially the same pattern pieces without the placket ( amd opening in front instead of the back) ? Just wondering if i can avoid printing out both as id love to make up this pattern in the future too. Thanks
Linda Lee Reeves
That dresslooks like prison garb.
Rima Khusainova
Dear Linda, sorry to hear that you feel that way. Please check our other tutorials, I’m sure you’ll find something more to your liking.