Sewing Glossary: How To Attach Bias Tape Tutorial
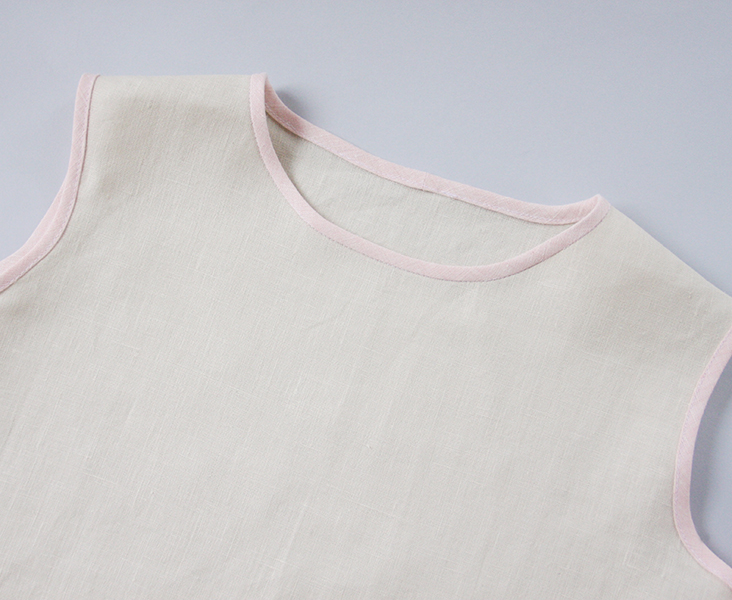
In our previous tutorials we have shown you two ways to cut and make your own bias tape: the traditional method (ideal for making small amounts of bias tape) and the continuous method (perfect for large amounts of bias tape). So now is the time to talk about two different ways to attach your bias tape to your garments.
You can add bias tape to anything you like: necklines, armholes, front openings, back openings, hems, etc. You can use it for quilt or blanket bindings, as a facing or even to finish your seams. It is also a great decorative detail that will bring a personal touch to any garment. Bias tape is easy to attach if you know how. There are two methods to sew bias tape to a raw edge: the single-fold method and the double-fold method. In this tutorial we are going to show you how to sew the bias tape on and finish the ends both ways.
Both methods are great and it is hard to tell which one is best. We’ll walk you through the steps, that way you’ll know how to do both methods and can choose the way you prefer.
Materials & Tools
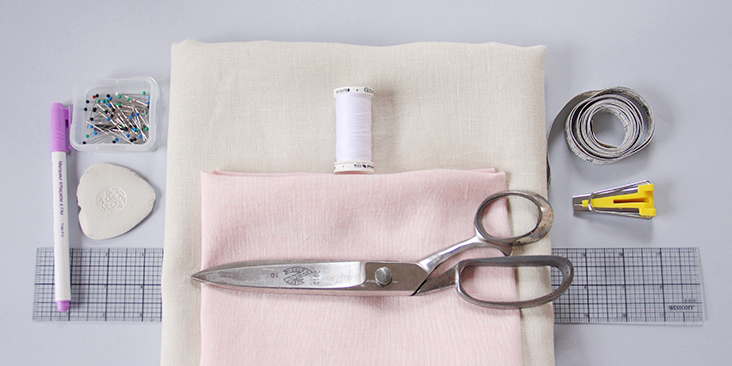
For the purpose of this tutorial, we are using two contrasting fabrics. IL042 894 Premier Finish for the bias tape and IL019 ANTIQUE WHITE Softened for the bodice.
Matching sewing thread (for the purpose of this tutorial we are using a contrasting white color thread), ruler, bias tape maker, fabric pen or chalk, scissors, sewing machine, iron
Difficulty
Beginner
Steps
Note: Prewash your fabric and tumble dry it until it is still slightly moist, let this dry in room temperature. Iron the fabric so it is easier to work with.
Make your bias tape using the traditional method or the continuous method.
The Single-Fold Method
Single-fold bias tape is bias tape with each raw edge folded in toward the center, wrong sides together, and pressed.
1. Unfold your bias tape and pin the right side of one of its raw edges to the right side edge of your project aligning the two. Use as many pins as you need to make sure your curve is nice and smooth.
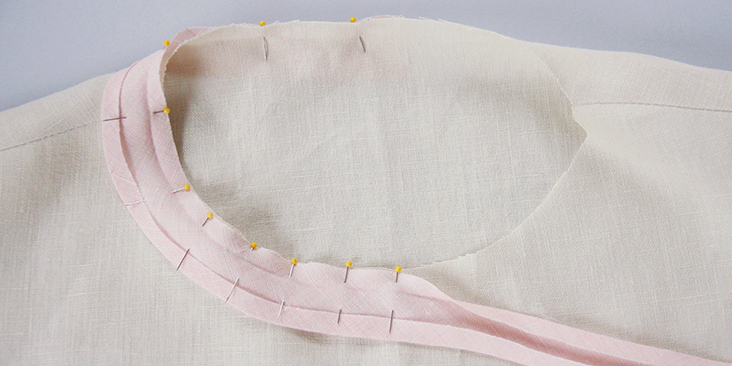
2. Stitch your bias tape to the fabric in the upper crease.
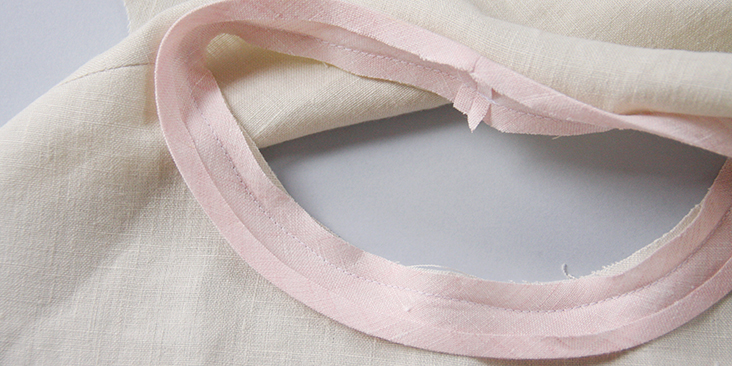
3. We recommend to trim the seam allowance to 1/4″ but this step is optional.
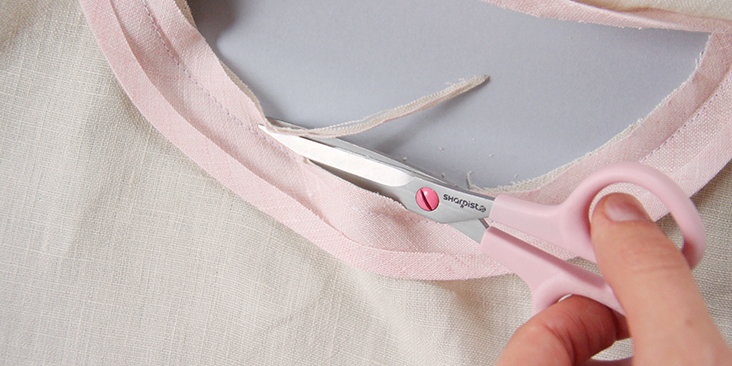
4. Lightly press the seam toward the tape.
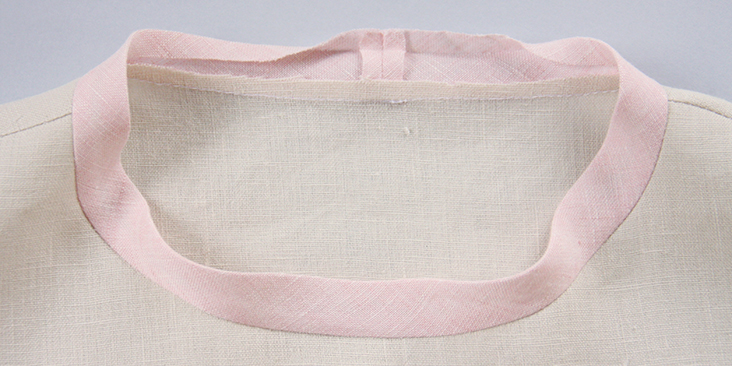
5. Carefully fold the tape over the stitching (to the wrong side of your fabric) taking care to cover the stitching as you fold. Press and pin.
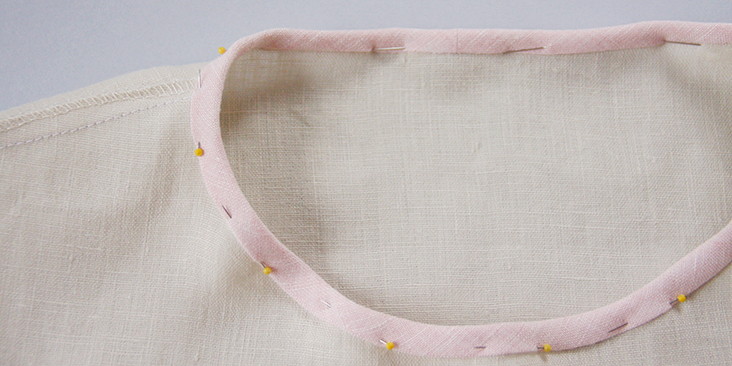
6. Now back to the machine to topstitch the tape in place (from the right side) in the crease or as close to the bottom edge as you feel comfortable.
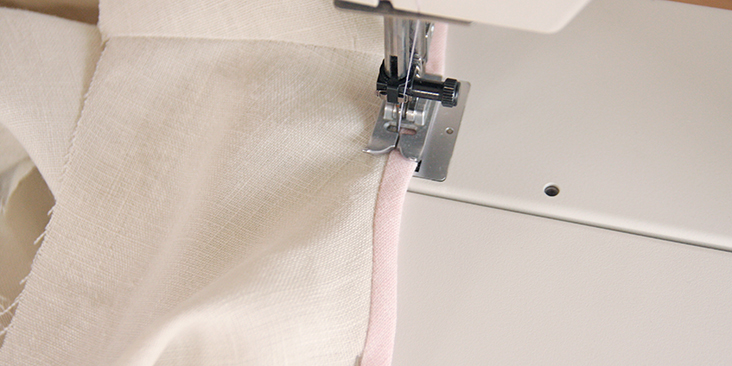
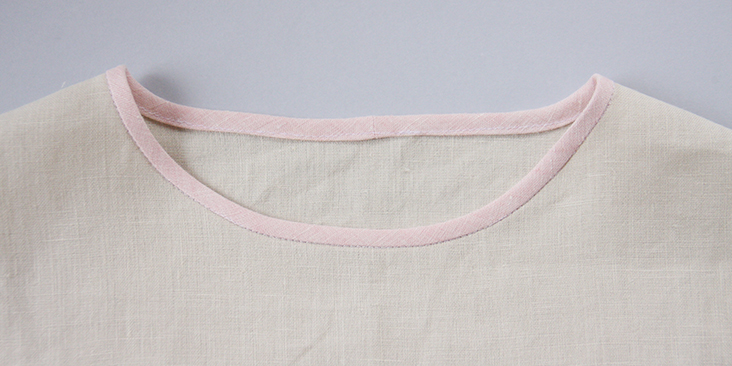
Joining The Ends
When you need to join two ends of a continuous bias strip, there are two ways to do so that work great with both methods.
The first technique consists in unfolding your bias tape and stitching both ends right sides together. You’d want to pin the tape in place first but leave the tails unpinned. And then stitch them together where they meet.
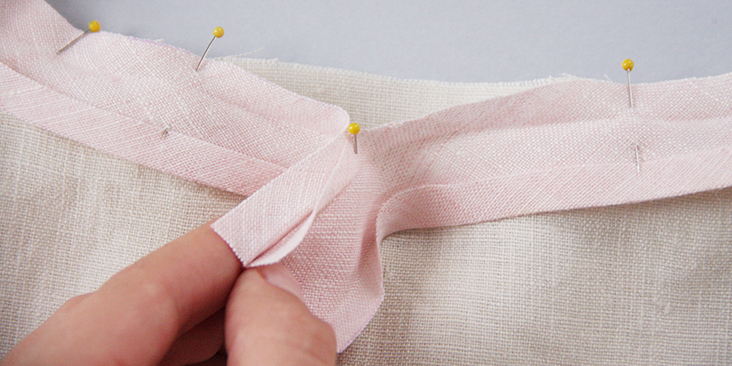
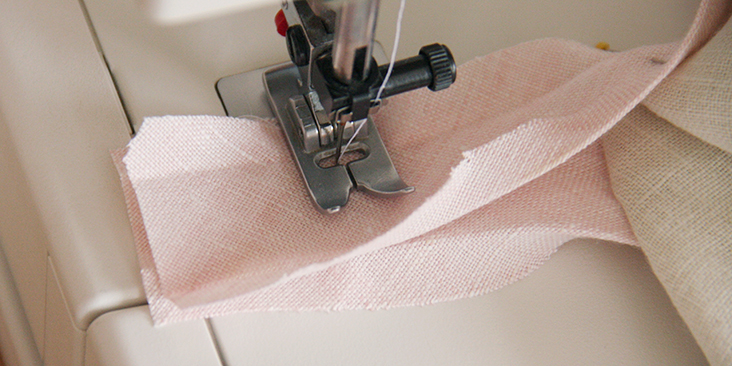
Trim the ends and finger press the fold.
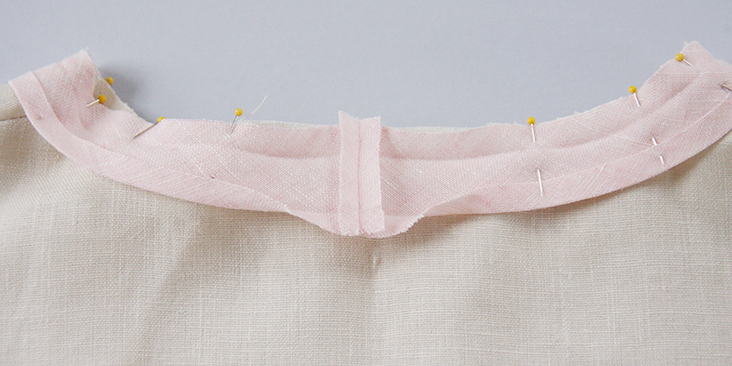
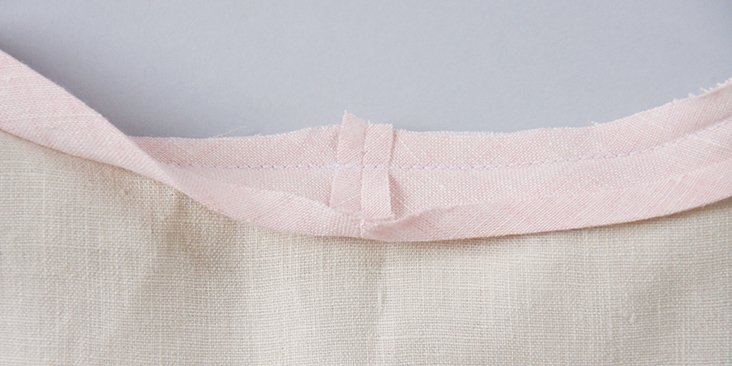
Then you refold the bias tape and continue stitching over the bottom edge to attach it to your project.
This technique is our preferred method since it’ll give you the cleanest finish and best results.
However, there’s another technique which is much easier and faster. The only disadvantage is that it makes a small lump that might get caught and torn open unless it is sewn shut.
With this second technique, you simply fold over a small seam allowance on one end and then slip the other raw end inside, overlapping the two.
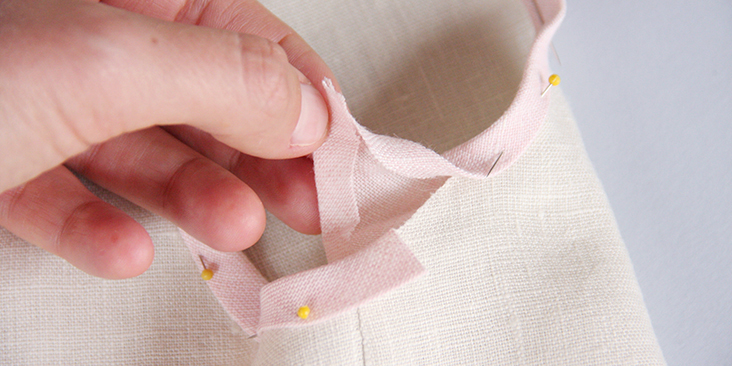
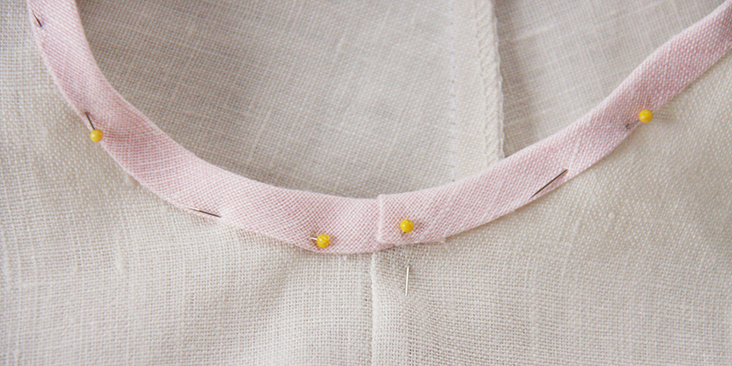
Then you refold your bias tape and continue stitching over the bottom edge to attach it to your project.
Note: It’s recommended to join the ends an inconspicuous place: center back for the neckline, underarm for the armholes, the back of your project where it’s less visible or by matching the join to an already existing seam.
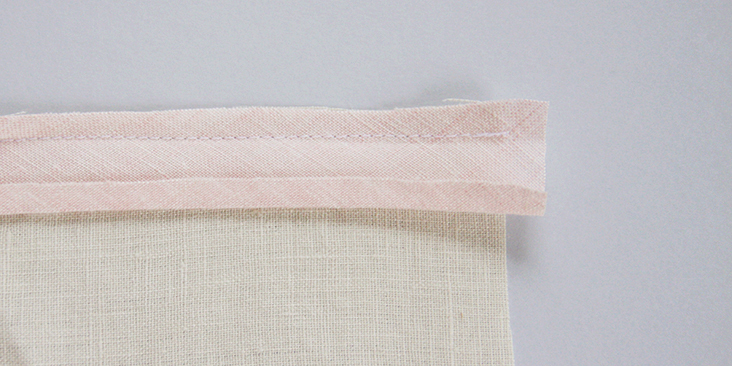
If you are applying bias tape to an edge that is not joined to anything, you simply extend the end of bias strip 1/4” beyond the edge to which it is being applied, trim the corners to reduce the bulk, fold the trimmed end over to the right side, re-fold the long edge and stitch over. Remember to backstitch to secure the end.
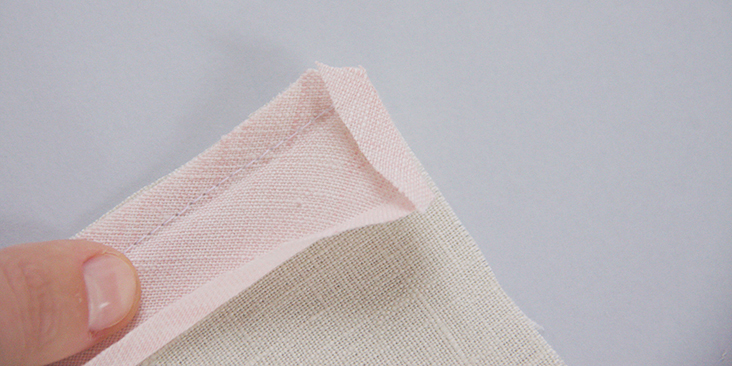
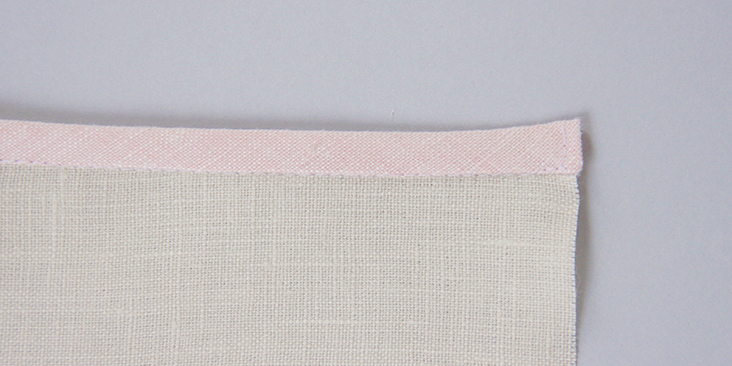
Bias Tape Facing Method
Did you know that you can use bias band to finish the edges in place of facings? It is an excellent binding technique often used for necklines and armholes, that will give you a nice and clean finish and will keep any curves from standing away from your body. You can use whatever color fabric you like since it will not be visible on the outside of your garment.
The steps are the same as in the single fold method; the only difference is that instead of folding your second raw edge of the tape over to the right side to meet the seam line (basically, folding the middle section in two), you fold it all the way towards the wrong side and stitch in place.
You can check our binding tutorial HERE which will guide you through the process. Even though in the tutorial we are using just a simple bias strip, the steps are all the same.
The Double Fold Method
What is double fold bias tape you might ask? Well, it’s very simple: a double fold bias tape is basically a single fold bias tape which has been folded in half lengthwise and pressed, with the single folds to the inside.
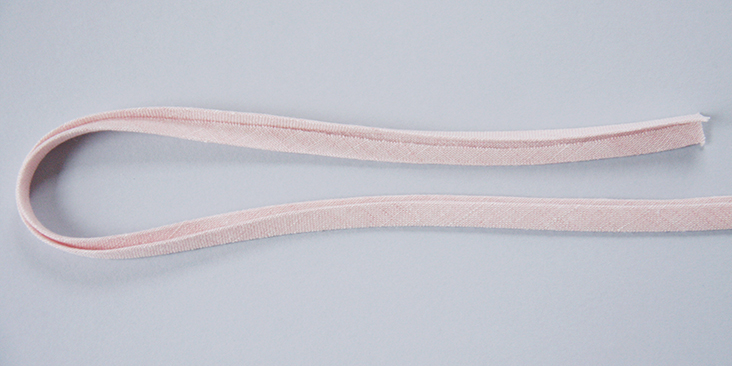
However, if you look closely at the store-bought double fold bias tape, you’ll notice that one side is slightly wider than the other. This is done on purpose so that when you pin the wider edge to the wrong side of your project and then topstitch both layers at one from the right side, you’ll be sure that the back section is caught in the seam.
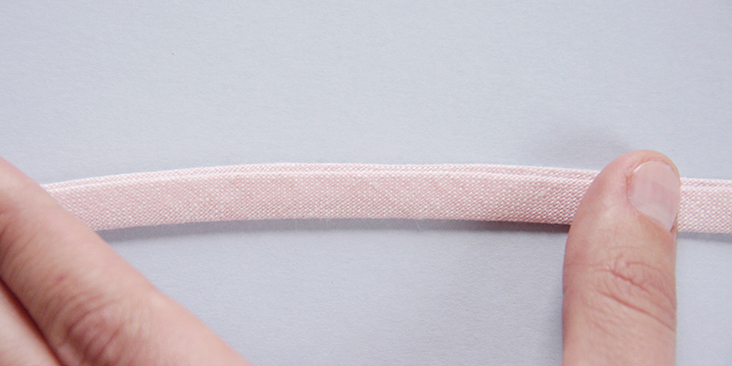
Which is why it is very important when using your own custom-made bias tape, you press the tape in half lengthwise having one folded edge extending 1mm beyond the other.
1. So, with the double fold method, you simply slip the edge of the fabric between the folds of a bias tape, placing the raw edge against the center crease and the wider folded edge of the tape on the inside of your garment
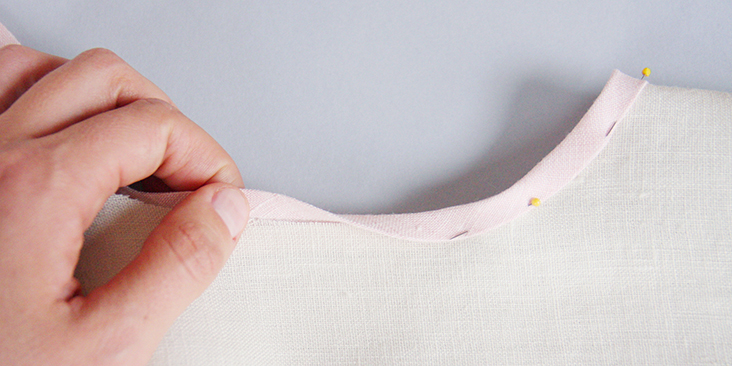
Use pins to help hold the fabric and the bias tape together. This way, when you start sewing on the machine, nothing will slip out of place.
2. Follow the edge of the bias tape as you stitch it in place.
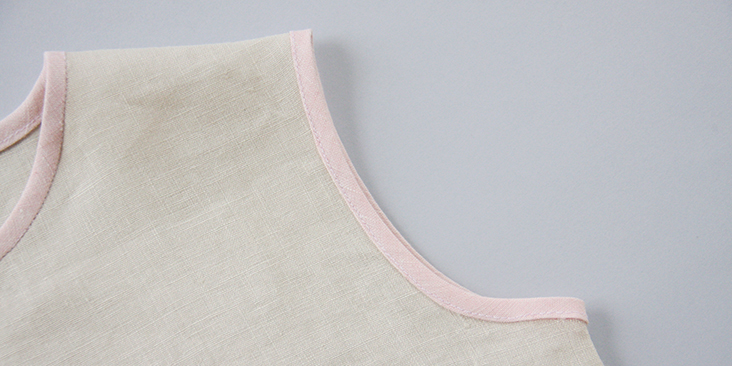
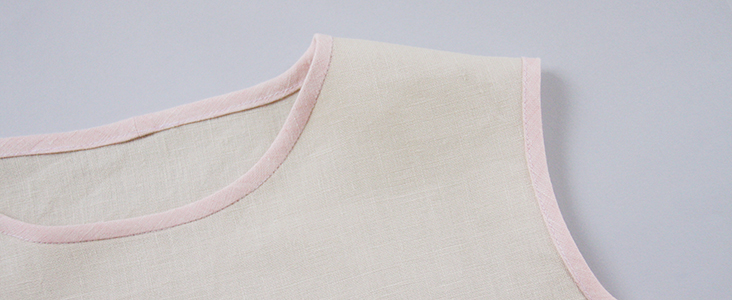
Give it a good press and admire your nice and clean finished edge!
Here’s an extra little tip: bias tape is stretchy if you have to go around a curve, use your iron to press the curve in place before you get to the machine. It will give you a nice edge both on the front and the back as you go around those curves.
We hope that these tips on attaching bias tape will help you with your future projects! Next week we are going to show you how to bind mitered and inverted corners with your bias tape.













21 Comments
Pingback:
Cloud-ixTaryn Yamane
With your collective tutorials on bias tape making and application, I feel I know everything I need to know about bias tape! LOVE your tutorials. They are so clear and helpful. They’ve benefited me greatly! Thank you so much!!
Meredith B
An alternate (and for me, better, although more labor-intensive) technique is: after folding the bias tape to the back side of the garment, tack the bias tape in place by hand into the seam that was used to sew down the front. This results in a clean finish in which no stitching is visible.
Rima Khusainova
Thanks for the tip Meredith!
Sarah
Thanks! Very helpful!
Rima Khusainova
Thank you Sarah! Glad we could help!
Barb
Thank you for the tutorials. Very informative.
Rima Khusainova
Thank you Barb!
Darlene Mcbride
Thanks for sharing this tutorial.
Rima Khusainova
You are welcome Darlene!
Madeline E. Ross
I have been following the previous lessons and find them so easy …thank you..
Rima Khusainova
Thank you so much Madeleine! Great to hear that you found the instructions easy to follow.
Gloria Hilton
I have been sewing for a hundred years…OK, it just seems that way. I am old and have always sewn everything and as a result I have lots of young women asking me questions. I find that forwarding them the tutorials saves me lots of work, headaches and time. They are excellent. Well thought out and clearly explaned with great pictures. THANK YOU!!!!!
Rima Khusainova
Thank you so much for your kind comment Gloria!
Madeline E. Ross
it has been many years that I have been sewing but overtime I had forgotten the easy correct 2 ways of sewing the bias tapes to the pattern I am working on………..thank you for the great and easy turoial…
3 no 7
Love there tutorials — great photos, clear explanations, easy to follow directions. Thanks
suzy
Thank you, so much for the tutorials; they are a big encouragement, and help. And they are inspiring.
Suzy
Molly Baross
Thank you. I look forward to future sewing explanations.
Judy Tepley
Can you add to this with a tutorial on making a 90 degree corner as one would to install quilt binding? Please? Just wondering about a ”best” way you might have.
Judy Barnett
Very good instructions that I can understand. THank you.
kathryn capps
very instructive, easy to follow. my bias tape edgings will look better now!