María Paula Open Back Dress Tutorial and Pattern
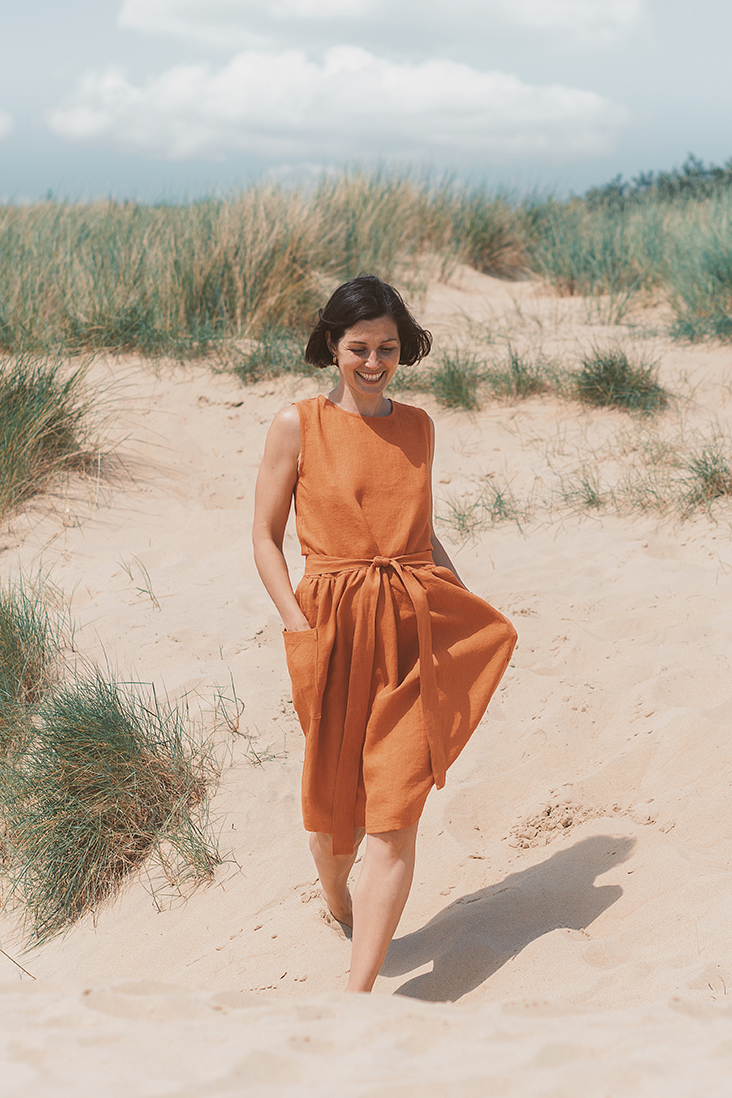
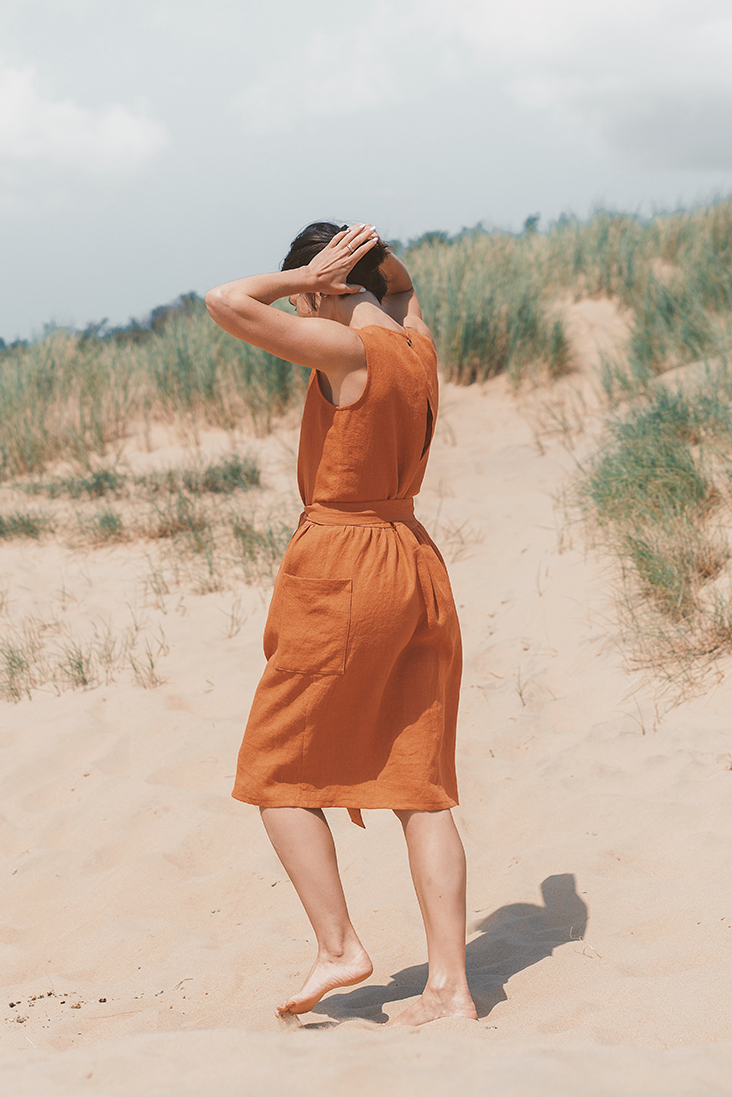
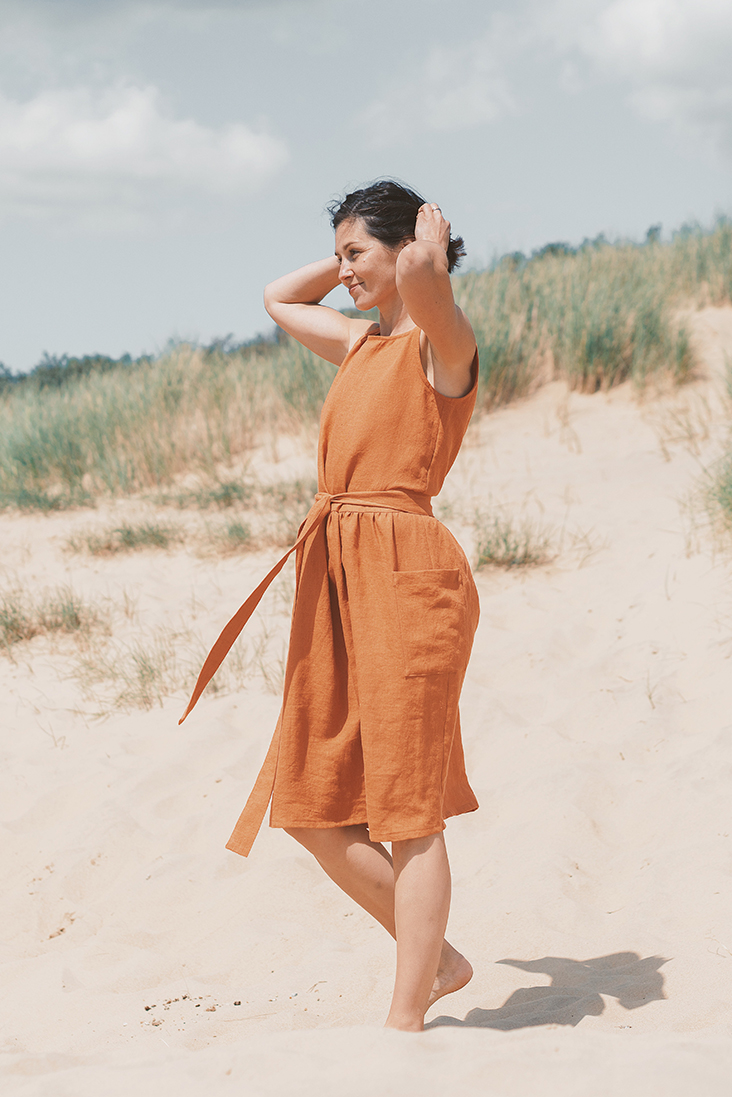
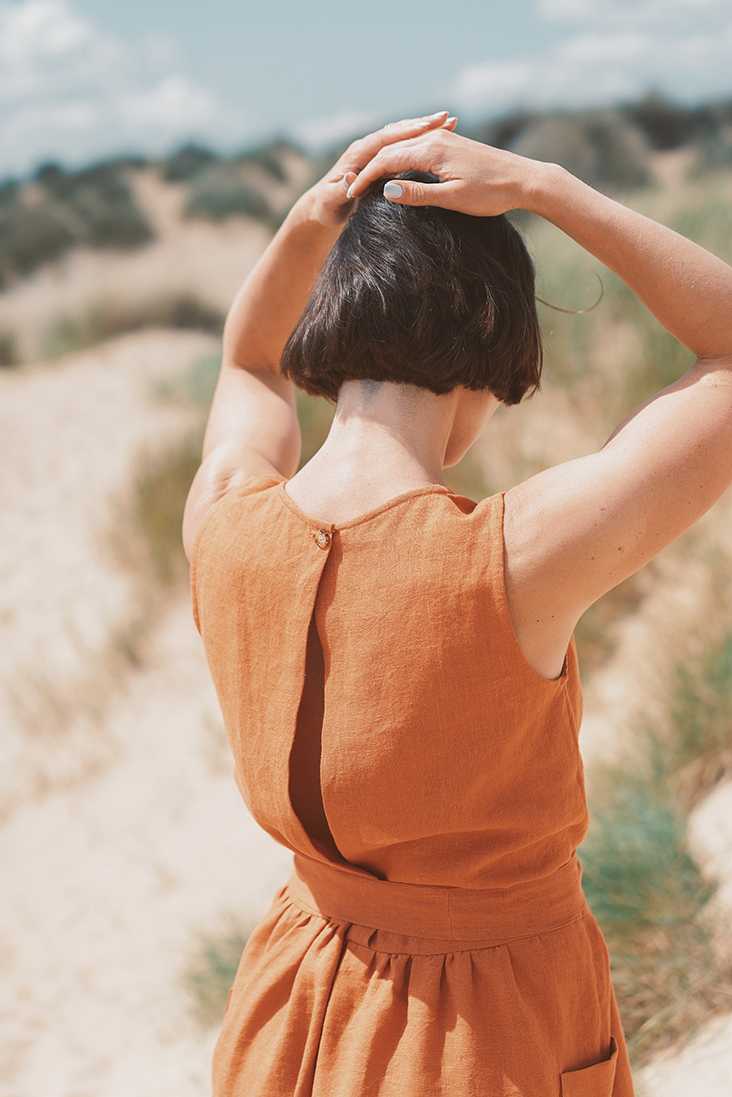
We found your new go-to dress for summer! María Paula looks effortlessly chic with just the right amount of sexy. The sleeveless bodice, softly gathered midi skirt and a sensual open back give this simple silhouette a certain luster that can be dressed up or down for any occasion. Crafted from our pure linen in earthy rust color, this dress looks so modern and feels good on the skin. It’s such a warm color and compliments many skin tones.
You don’t need to show a lot of skin to feel sexy and the María Paula dress is here to prove it. When you feel good about yourself and what you are wearing, especially if this something was handmade by you, it’s going to reflect on the outside and make you look feminine and beautiful.
Follow this easy step-by-step tutorial and make a dress that will turn heads this summer!
Materials
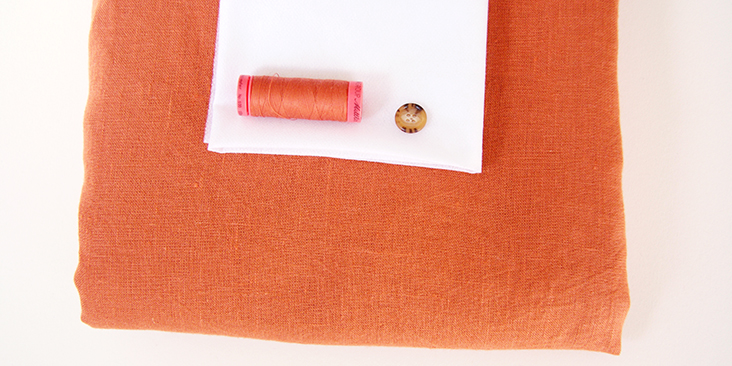
For our sample size S pictured in this tutorial, we used 2 yards of IC64 RUST Softened Medium Weight Linen
For other sizes, please refer to the yardage table in the PDF pattern to determine the required amount of fabric.
Matching sewing thread, a small piece of lightweight fusible interfacing, one 1/2″- 5/8″ wide button
Tools
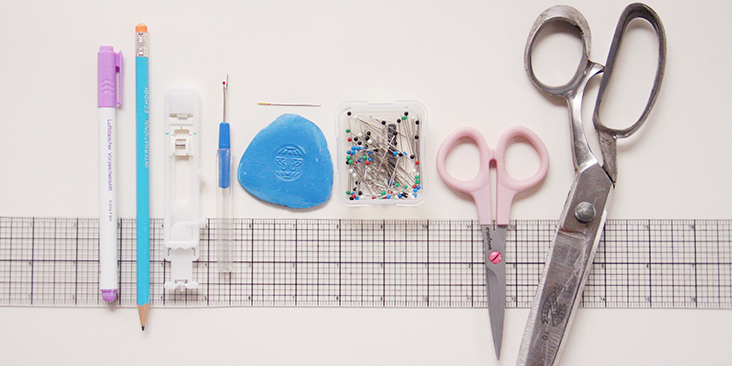
Scissors, pins, ruler, chalk, measuring tape, fabric marker, buttonhole foot, seam ripper, needle, sewing machine
Difficulty
Beginner
Sewing Time
4-5 hours
Pattern
You can access the multi-sized printable PDF pattern by following this link HERE. All seam allowances are included and are 3/8” unless otherwise specified. The model is wearing size S.
Remember to transfer all the notches onto your fabric.
Steps
Note: Prewash your fabric and tumble dry it until it is still slightly moist, dry at room temperature. Iron the fabric so it is easier to work with.
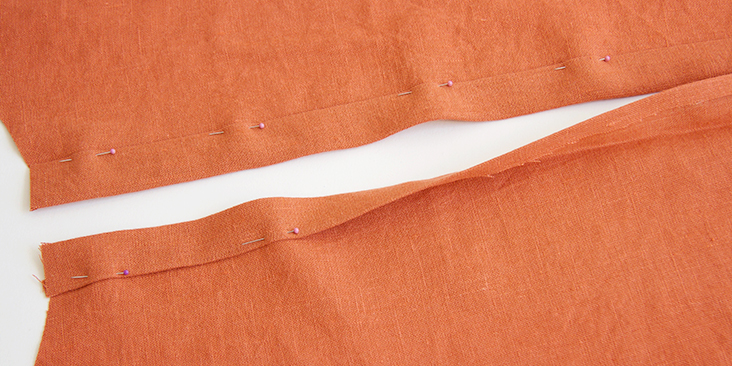
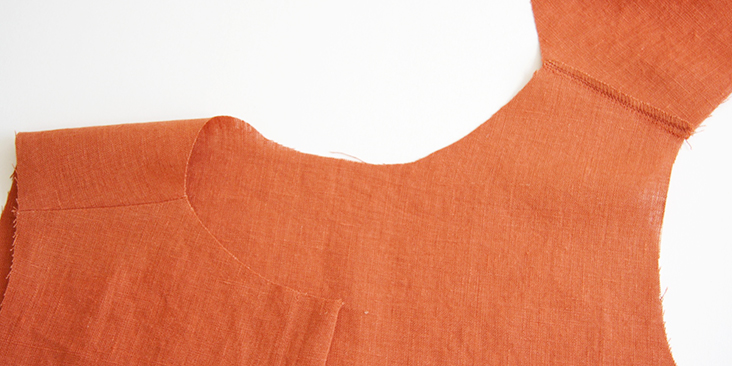
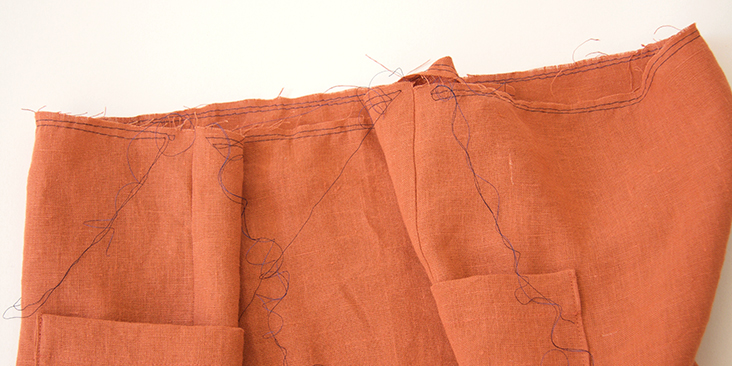
1. To start, fold the button band extensions on the back pieces twice to the wrong side: first 3/8”, then another 1”. Press and pin.
To give some support to the button/buttonhole area, apply a small square of fusible interfacing at the upper edge of your button bands.
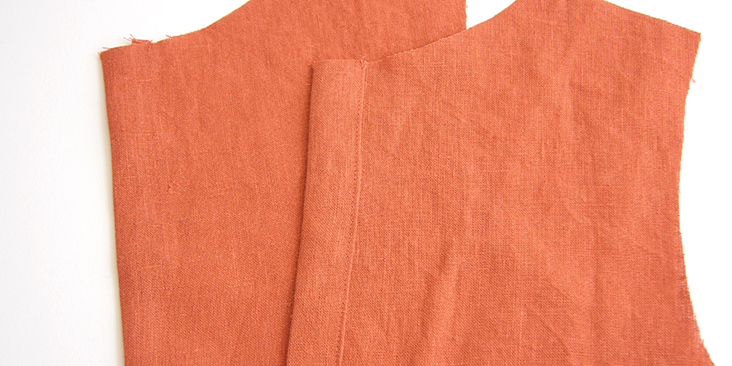
2. Edgestitch the folded button bands in place.
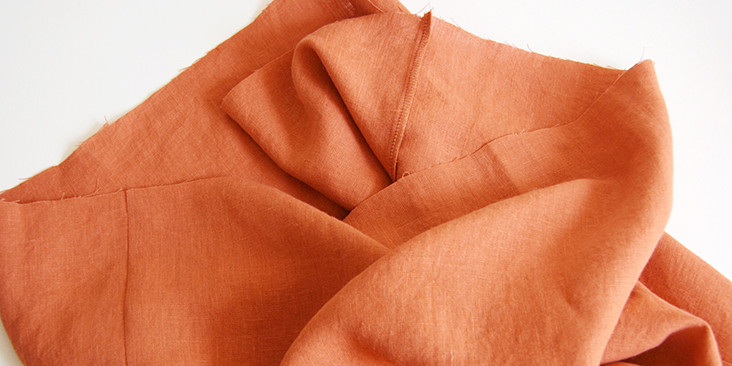
3. Pin the front and back bodices right sides together at shoulders and stitch at a 3/8” (1 cm) seam allowance. Finish the seams with your preferred method (serge or zigzag the raw edges together) to prevent fabric from fraying. Press towards the back.
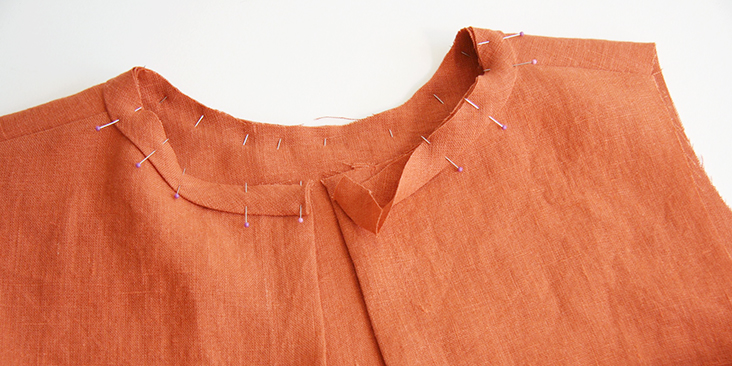
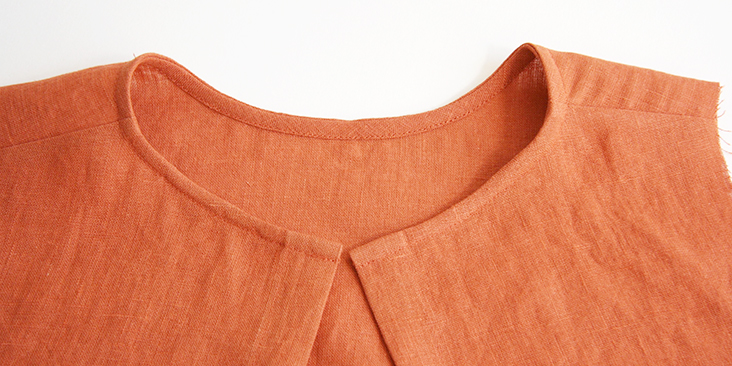
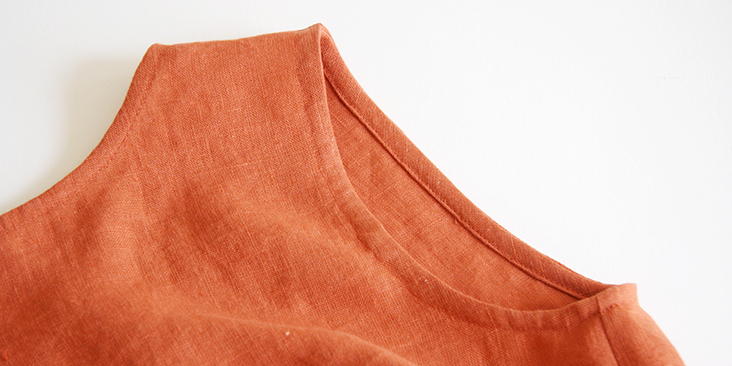
4. Bind the neckline as explained in this detailed tutorial.
Tuck in the short ends like so:
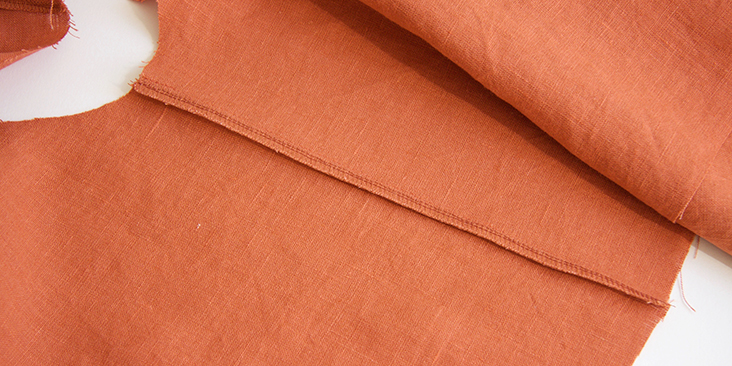
5. Pin and sew the side seams. Finish the edges and press towards the back.
6. Bind the armholes as explained in this detailed tutorial.
7. At the neckline, sew the buttonhole on the left back and attach the button to the right back.
For the buttonhole, you can follow our detailed tutorial HERE. As for the button, check our tutorial HERE for instructions. Overlap the button bands and place a pin into the center of the buttonhole. This is where you’ll need to attach the button.
8. Lap left back over right at the waist and baste the two button bands in place.
The bodice is now complete, time to sew the skirt.
9. Take your front and back skirt pieces and sew the two together at the side seams using a 3/8” (1 cm) seam allowance. Finish the seams and press towards the back of the dress.
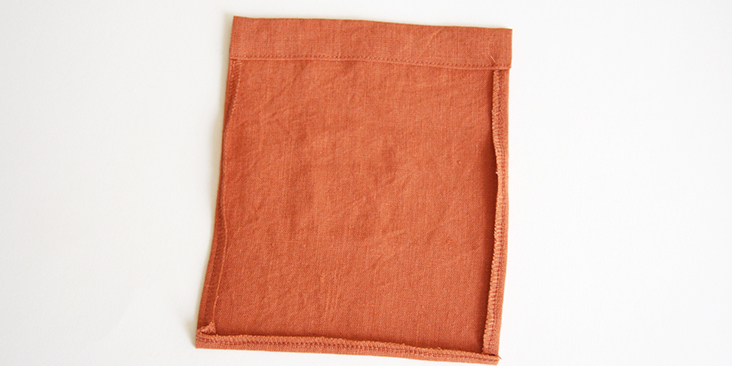
10. Prepare your patch pockets. Fold the top edge twice to the wrong side (first 3/8”, then another 1”) and edgestitch. Serge/zigzag the other edges and press them 3/8” to the wrong side.
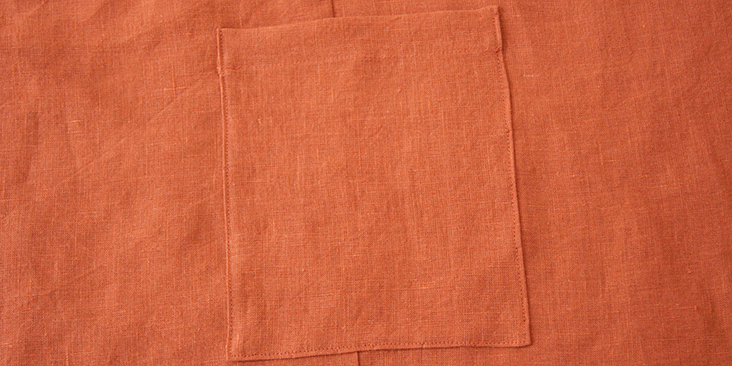
11. Attach your pockets 5 ½” below the waist at the side seams (shift your pockets slightly towards the front skirt). You’ll find step-by-step instructions in this tutorial.
12. Run two lines of basting stitches along the waist edge of your skirt (back and two fronts separately). Use contrasting color thread and leave long tails.
Please check our detailed tutorial if you don’t know how to gather fabric.
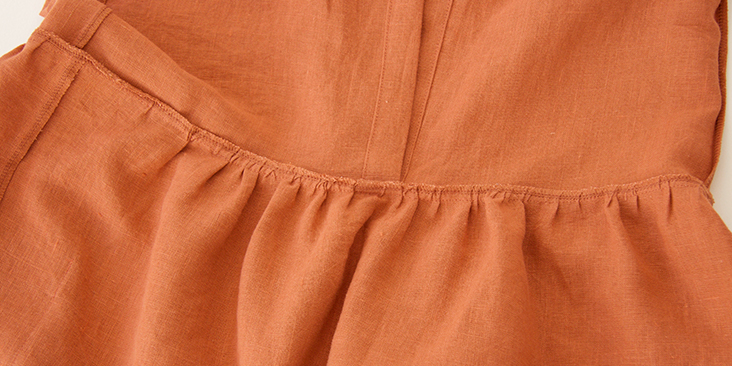
13. Pin your skirt to the bodice matching the side seams and center notches and gather your fabric evenly in between these notches.
14. Sew the pinned edges at a 3/8” seam allowance, remove basting stitches and finish raw edges with a serger or a zigzag stitch. Press seam towards bodice.
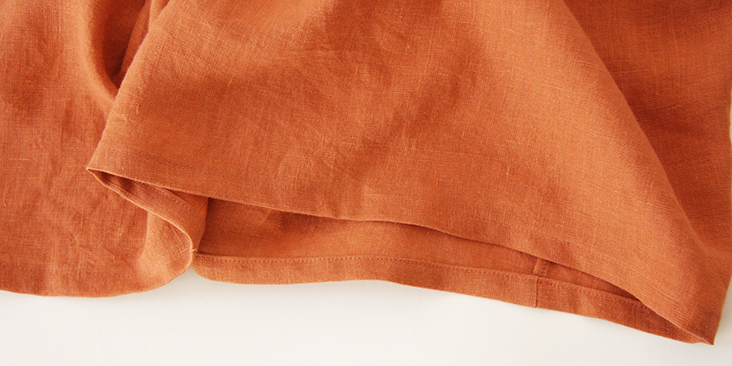
15. Finish the hem with a rolled hem. First, fold your fabric 3/8” to the wrong side and press, then press another 1/2” and edgestitch.
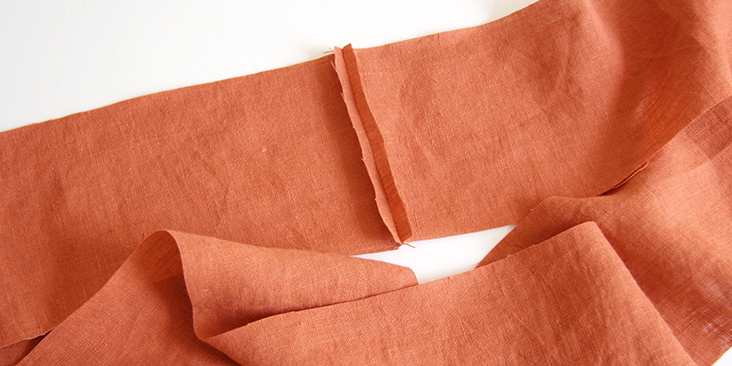
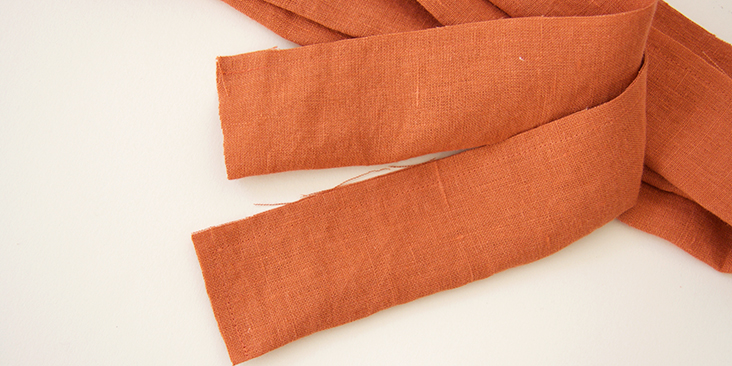
16. To sew the belt, join the two short ends of your rectangles right sides together. Press the seam open.
17. Then fold your fabric in half lengthwise with right sides touching. Leaving one end open, stitch along the long edge (1/4” away from the raw edge) and then pivot at the end corner and finish the end. Backstitch at the start and finish of the seam. Clip the corner.
18. Turn the belt right side out, use a sharp tool or a chopstick to turn the corners and press. Tuck in the raw edges into the opening, then stitch along the perimeter of your belt 1/8” from the edge to close the opening and prevent the belt from twisting in the future.
19. Give your dress a good last press and you are all done! We love seeing what you make! Don’t forget to share your pictures and tag your creations with #FabricsStoreMaríaPaulaPattern hashtag.







9 Comments
Mayan Narciso
Can I use a cotton fabric instead of linen? Thanks
Lauren Linen
This will depend on the type of cotton fabric you have chosen. Ideally, you will want it to be similar to a plain woven medium weight linen to get a similar effect.
Polly Lindsay
Thank you so much for this incredible pattern – I just finished it and I love love it so much, I can’t wait for the weather to get warmer now so I can wear it! I would recommend going down a size, i’m usually a size UK 12/14 but I made the size 8/10 which is perfect – still oversized, but in a nice way. I am still a newbie sewer but found this quite easy to follow along with. Once you properly read the instructions of how to access the pattern, it is pretty straight forward 🙂 Thanks again!! Polly
Gemma Shi
Size 4/6 of the pattern is more like a size 6, it looks so big on me. so you wear 4-6, you might want to downsize.
Sashanna Hart
I just want to say that I have NEVER sewn an item of clothing in my life before this dress and my dress turned out gorgeous. This is due to the absolutely wonderful pattern as well as these easy to follow and very detailed instructions. I printed out just the 4-6 size pattern, which was a great feature of the pdf. I managed the binding and the gathers (first time for both of them) and my husband loves the dress. I do too. It looks completely like I bought it from some expensive Etsy boutique. Thank you SO much!
Dominika Lehocka
Hello, I’m looking forward to sew this wonderful dress very much, although the PDF file doesn’t include attachement this time. I know how to search for it and how to find it from the previous ones I downloaded, but this one includes only the basic description PDF. It is possible to check this please?
Thank you very much.
All the patterns are lovely,
Dominika
Catina Ferraine
I just downloaded and checked… the pattern pages are there in the “attachements” section. For further help, you can write to customer service Ask@Fabrics-Store.com and we can see why it is not working for you and find a solution. 🙂
Darlene Watson
Hello;
I am unsure where this pattern is. I have downloaded the Adobe suggested and am unable to find the pattern.
I wonder if you could direct me to the link for the dress. Maria Paula. Thanks so much, Darlene
Masha Karpushina
Hello Darlene, you can find the pattern here: https://fabrics-store.com/sewing-patterns/maria-paula-open-back-dress-pattern/ Hope this helps.