Alejandra Elastic Waist Jumpsuit Tutorial and Pattern
Do you have that one outfit you want to live in all summer long? Our Alejandra jumpsuit is one of those one item essentials that makes getting ready in the morning a breeze and is so comfy that you’ll never want to take it off.
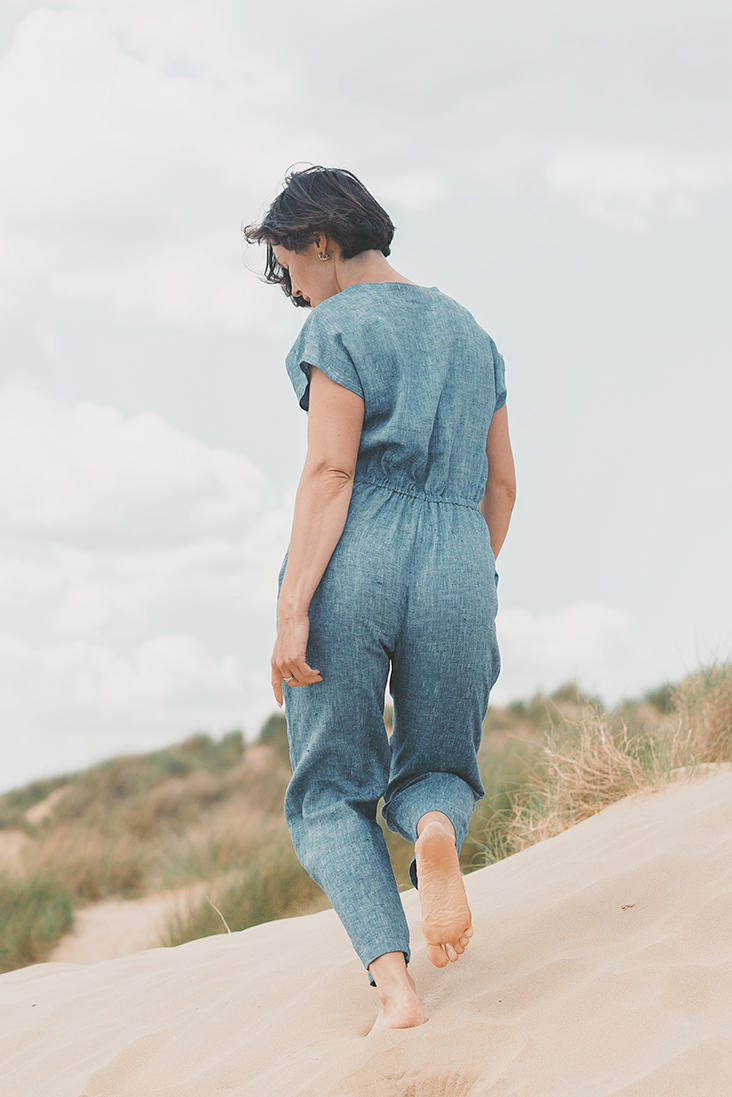
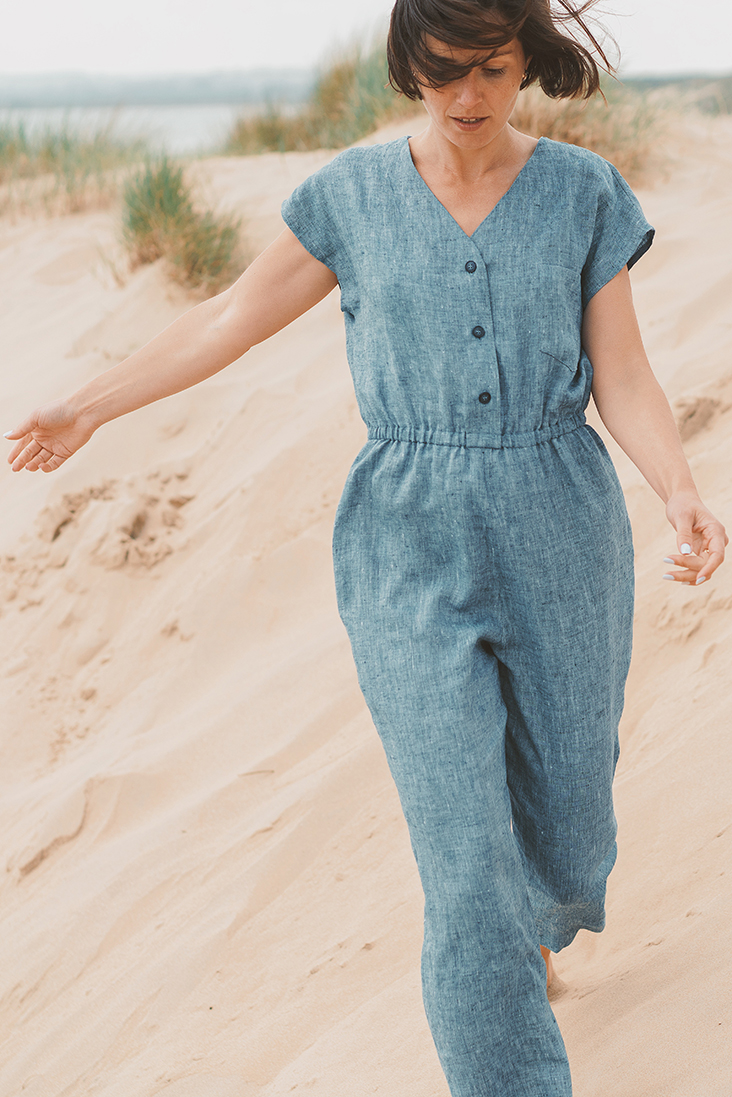
Alejandra is a relaxed pull-on jumpsuit with elastic waist, button front, two inseam pockets and slightly tapered legs. A comfy weekend piece made in our signature chambray linen that is great for those days when you have nothing to wear.
Materials
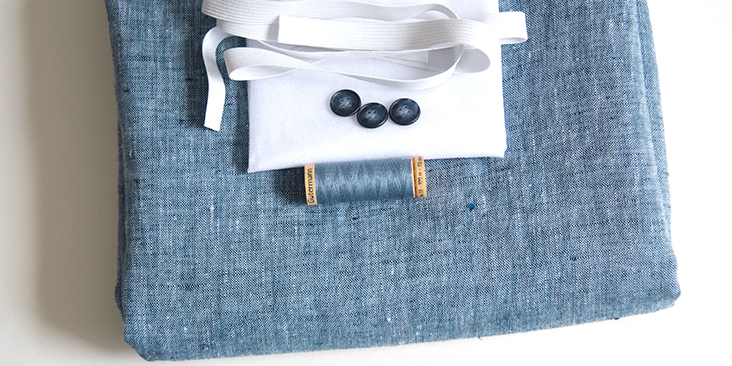
For our sample size S pictured in this tutorial we used 2 yards of IL042 909 FS Premier Finish Medium Weight Linen.
For other sizes, please refer to the yardage table in the PDF pattern to determine the required amount of fabric.
Matching sewing thread, fusible interfacing, three 5/8”-wide buttons, 1 yard of ½”-wide elastic
Tools
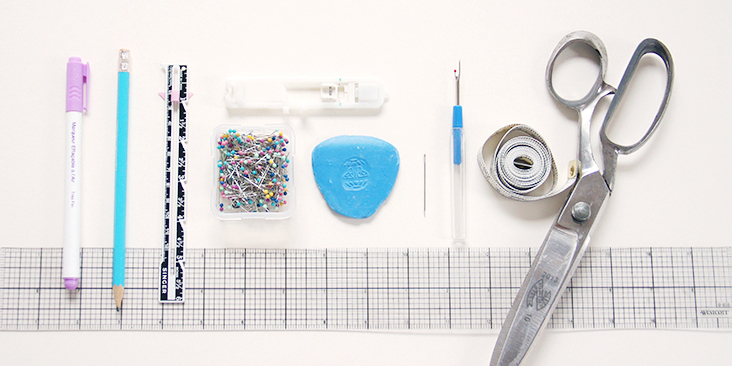
Scissors, pins, ruler, chalk, measuring tape, fabric marker, buttonhole foot, seam ripper, needle, safety pin, sewing machine
Difficulty
Beginner
Sewing Time
5-6 hours
Pattern
You can access the multi-sized printable PDF pattern by following this link HERE. All seam allowances are included and are 3/8” (1 cm) unless otherwise specified. The model is wearing size S.
Remember to transfer all the notches onto your fabric.
Steps
Note: Prewash your fabric and tumble dry it until it is still slightly moist, dry at room temperature. Iron the fabric so it is easier to work with.
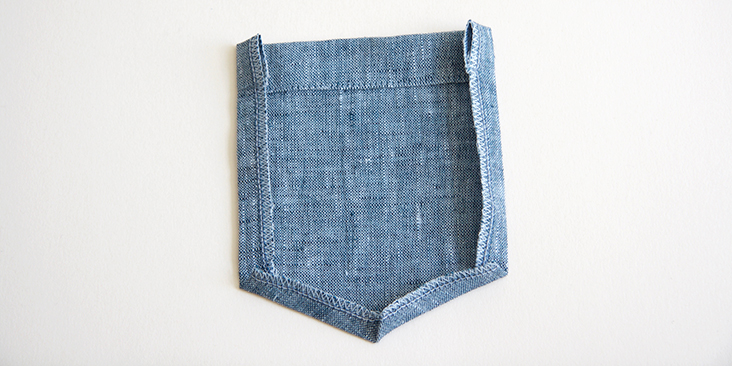
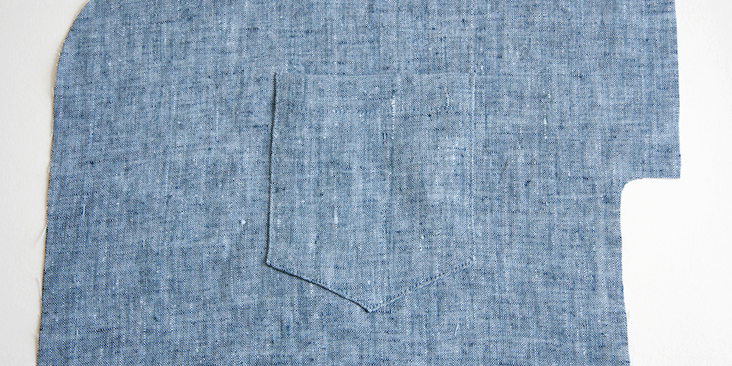
1. To start, sew and attach the patch pocket to the left bodice front. Follow the instructions in this detailed tutorial and prepare the pocket using the first method. The top edge of the pocket is pressed twice to the wrong side (first 3/8”, then another ¾”) and topstitched in place. Place your pocket along the placement line indicated on the pattern and topstitch 1/16” from the edge.
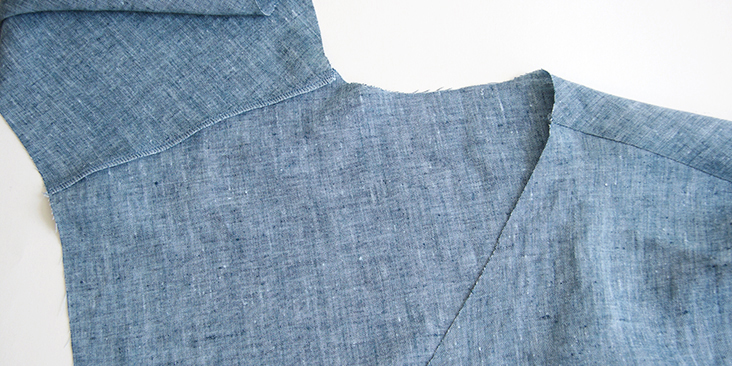
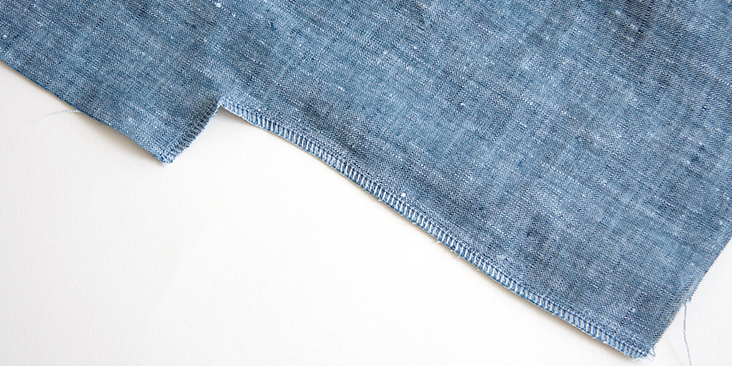
2. Pin the front and back bodices right sides together at shoulders and stitch at a 3/8” (1 cm) seam allowance. Finish the seams with your preferred method (serge or zigzag the raw edges together) to prevent fabric from fraying. Press towards the back.
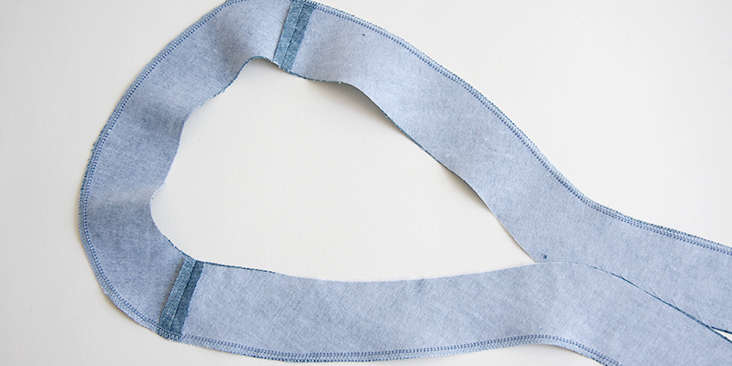
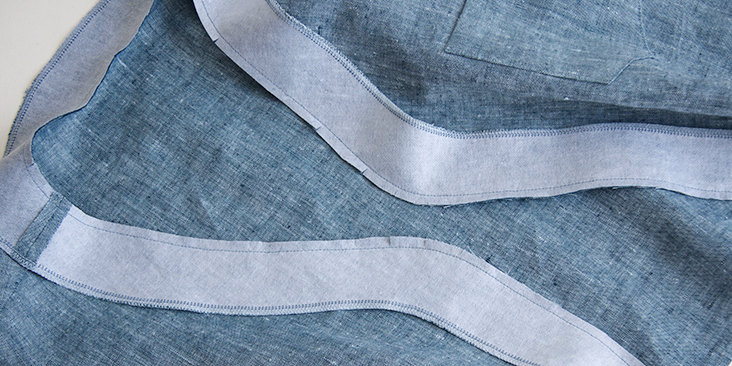
3. Apply fusible interfacing to the wrong side of your front and back facing pieces. Pin them right sides together at the shoulders and stitch at a 3/8” seam allowance. Press the seams open and finish the entire outer raw edge using your preferred method.
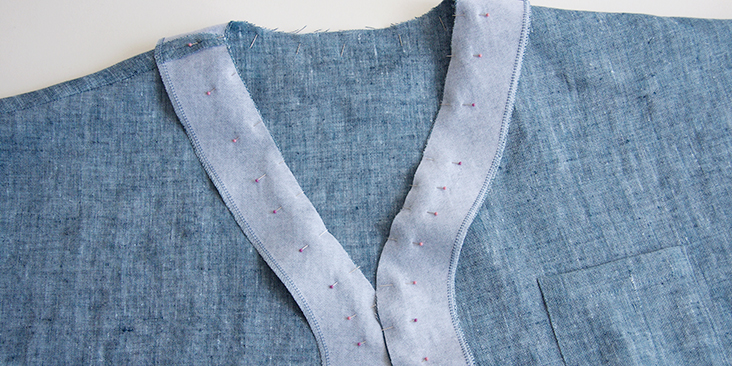
4. With right sides together, pin the facing to the bodice along the entire neck/front opening matching the notches and the shoulder seams.
5. Stitch the pinned edges with a 3/8” seam allowance. Then grade the seam down to ¼” and clip the curves to release tension.
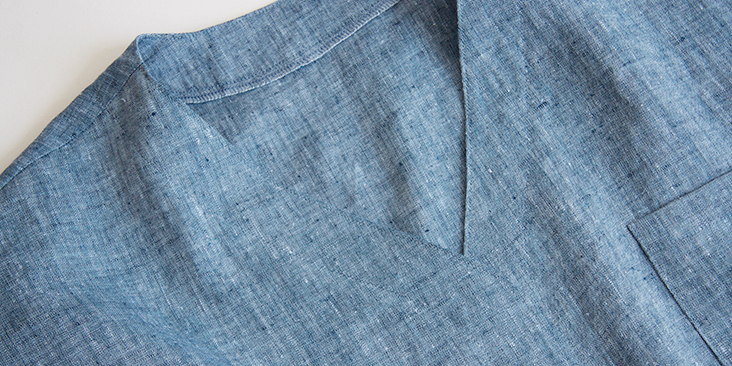
6. Flip your facing to the inside of your bodice and press the seam flat rolling the seam line slightly to the inside. Run two lines of topstitching: first 1/8” from the center front/neck edge, the second – along the outer curve of your facing. This will secure the facing in place and create decorative detail.
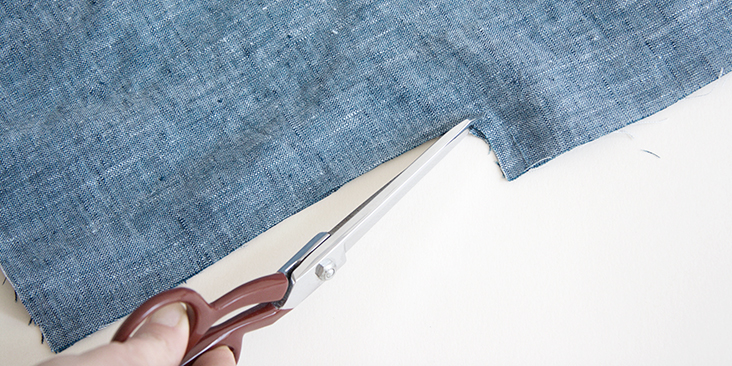
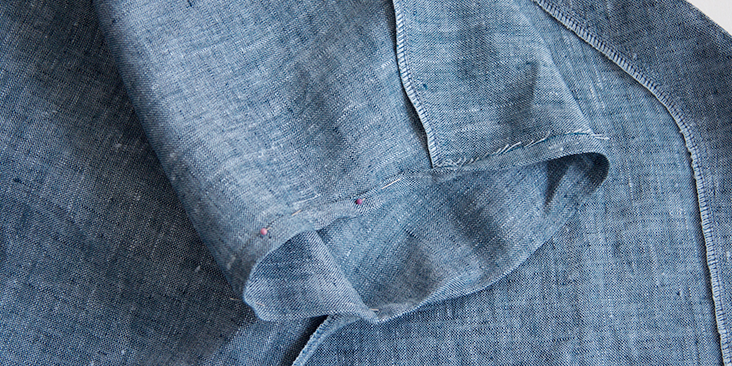
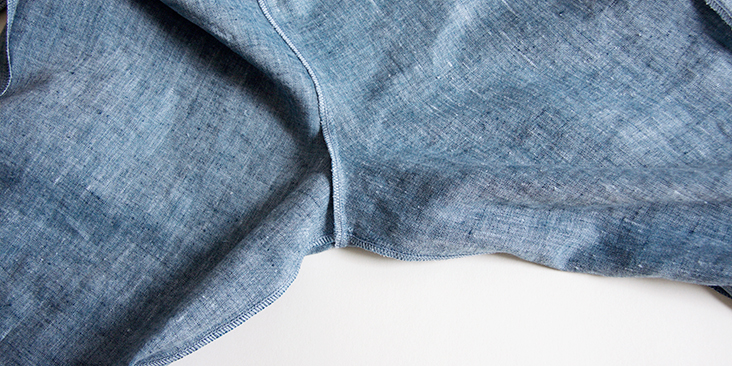
7. Pin and stitch the side seams right sides together at a 3/8” (1 cm) seam allowance. Clip at the armpit to release the tension, then finish the seams and press towards the back.
8. Finish the sleeve openings with a narrow rolled hem: first, fold the fabric ¼” to the wrong side and press, then press another ¼” and edgestitch.
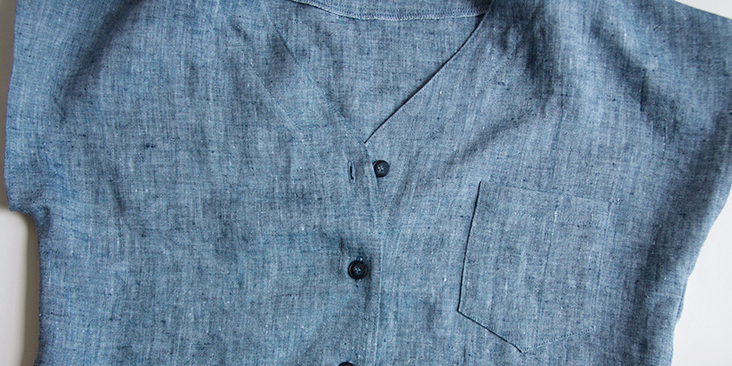
9. To complete the bodice, sew the buttonholes and attach the buttons. Remember, that the buttonholes are sewn on the right button band and the buttons – on the left.
For the buttonholes, you can follow our detailed tutorial HERE. As for the buttons, check our tutorial HERE for instructions.
Refer to the buttonhole placement lines on the pattern, then overlap the bands and place a pin into the center of each buttonhole. This is where you’ll need to attach the button.
Time to sew the pants.
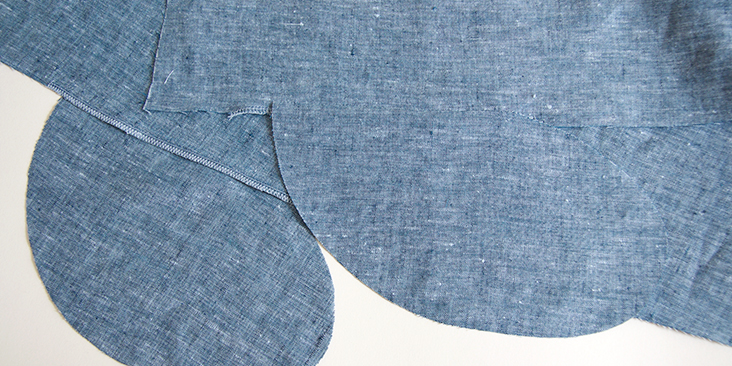
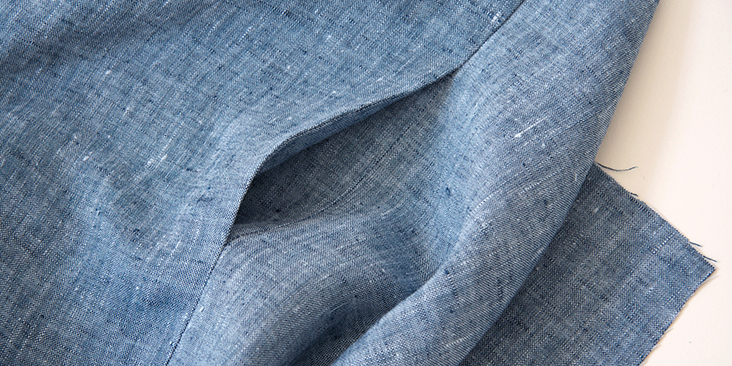
10. The very first thing to do is to attach the inseam pockets. Follow this step-by-step tutorial and place your pockets between the two pocket notches provided in the pattern.
Note that each pocket should be “sandwiched” between front pant and the corresponding back pant. Notice how the front and back are a little different. The back is cut a little longer in the crotch to allow for sitting.
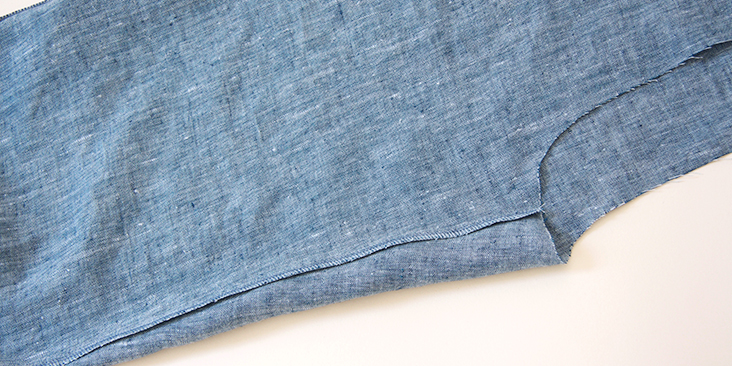
11. Sew along side seams and the pockets all in one seam at a 3/8” (1 cm) seam allowance. Serge or zigzag the raw edges together to prevent the fabric from fraying. Press the finished seams and pockets towards the front.
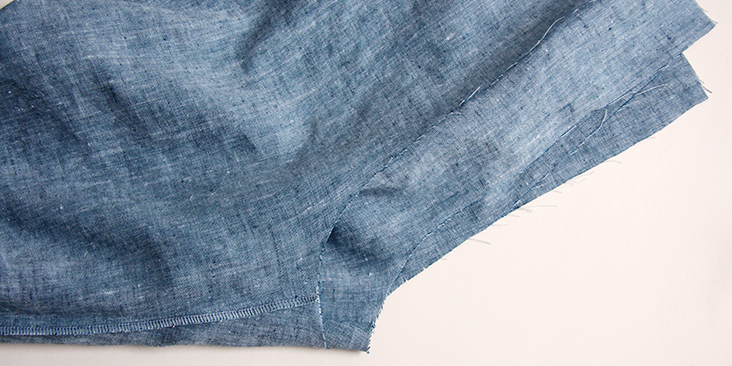
12. Once you’ve attached your pockets and finished sewing the side seams, pin and stitch front leg to the corresponding back leg at the inseam right sides together. Finish the seam using your preferred method and press towards the back.
13. Turn the right leg right side out and slip it into the left leg.
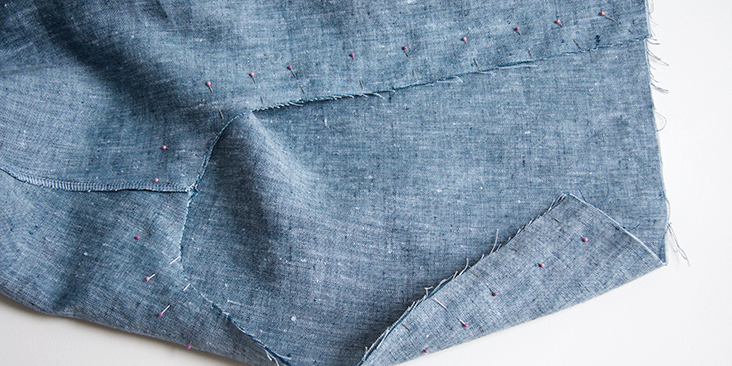
14. Pin the crotch seams together matching the side seams and inseams.
15. Sew along the crotch seam at a 3/8” (1 cm) seam allowance. Serge or zigzag the raw edges together and press towards the left leg.
16. Finish the legs with a rolled hem. Fold the fabric twice to the wrong side (1/2” to 1”), press, pin and edgestitch.
Now that your pants are finished, you can attach them to the bodice.
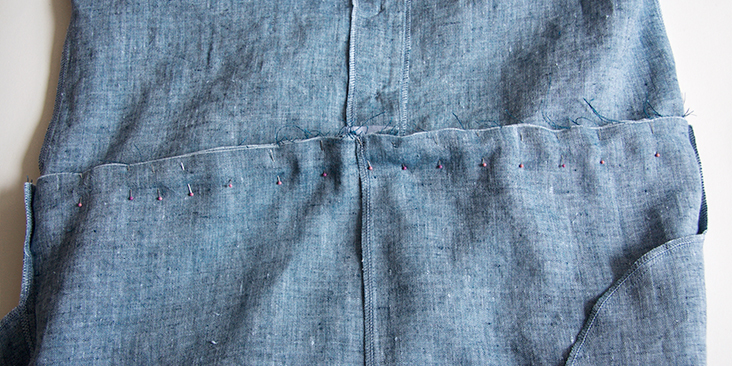
17. Pin the pants to the buttoned bodice right sides together at the waist and matching the side seams.
18. Stitch at 1” (2.5 cm) seam allowance. Trim the bodice seam allowance down to 1/4” (6 mm) but leave the pant seam allowance intact. Press its raw edge 1/4? (6 mm) to the wrong side.
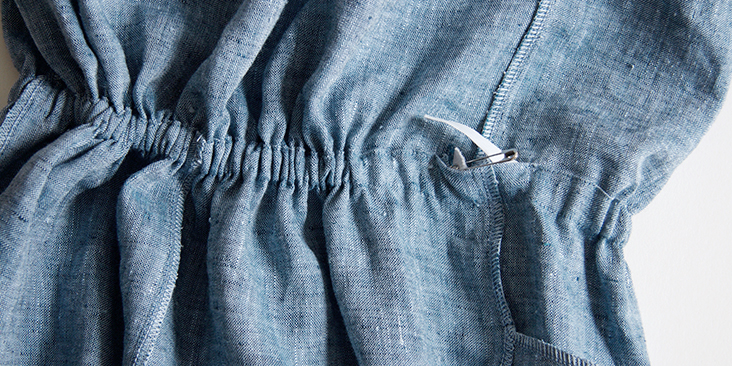
19. To form the casing for the elastic, press both seam allowances up towards the bodice and pin in place. Edgestitch through all layers at once, leaving a small opening to insert the elastic.
20. Cut elastic to comfortable waist measurement plus 1” (2,5 cm). Using a safety pin, insert elastic through the opening, then lap the ends and stitch them in place securely.
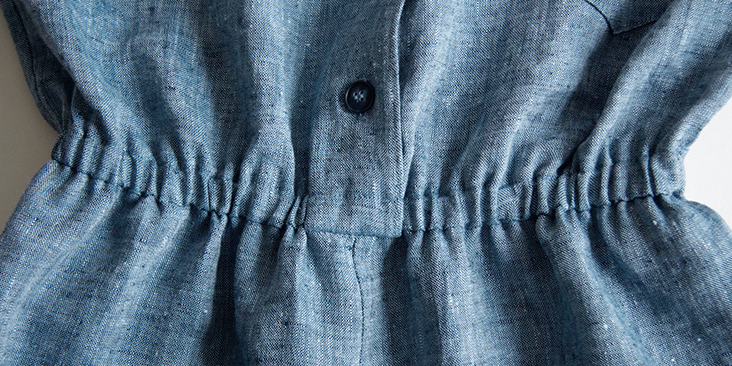
21. Stitch the opening, stretching the elastic while stitching.
22. Give your finished jumpsuit a good press and you are all done!
We love seeing what you make! Don’t forget to share your pictures and tag your creations with #FabricsStoreAlejandraPattern hashtag.















16 Comments
Pingback:
18 Free Jumpsuit Sewing Patterns : Sewing InsightAngela LaBoda
Hi Lauren, I see that you made a pajama top from this pattern. I would like to make a top (not pajama) as well. Can you give me some advice on how to go about this?
Angela
Lauren Gates
Sure Angela, I simply used the front and back top patterns from this pattern, and sewed it up with the facings. Before cutting the fabric, I compared the side lengths to a top I have that I like the length of, and adjusted the pattern to my ideal length. I added a little extra to the hem for the hem allowance.
Eiskje Clason
I am just on the smalller side of size 8-10.
Could I make french seams? My choice of linnen Frays a lot and I think this would make it more durable.
Lauren Gates
Hello, Yes, french seams are a nice strong option for finishing your seams for this jumpsuit 🙂
Eiskje Clason
So sad, made the jumpsuit but now the fit is not flattering. (Always a risk with a jumpsuit I guess).
There is something going on with the seat and front that is off and I think I chose a size too big. I was very proud of the finishing of my work but this way I can’t wear it.
Lauren Gates
Hello Eiskje,
if you’d like some assistance with adjusting the jumpsuit for a better fit, I’d be happy to make some recommendations for you. Please email us: Ask@fabrics-store.com
Vinolin Anbalagan
I’ve made this and the top is a bit big on me (I made the size 0/2). Is there a way to take it in so it fits better? Would front or back darts help? Any advice is appreciated.
Lauren Gates
Hello Vinolin, I’d be happy to help you size down your Alejandra Jumpsuit. Please look out for an email from me 🙂
Sooyoung Hwang
I have the same issue if you could share the tips as well! 🙂
C Griffiths
Hi, would you mind helping me with this as well? I am having the same issue!
R Graham
I would also appreciate the ideas! I made a 0/2 for my daughter but it is so big on top.
Sarah Beard
Thanks for a great pattern!
Karen Walters
Will this pattern work for someone who is long waited? In scanning the pattern I did not see measurements for waist to crotch. Thanks
Diana Cowan
I came here to ask this, too!
Kammy Wesley
as with any pattern, you may need to make adjustments to different parts based on your own body measurements.