Mariana Linen Notched Collar Jacket Tutorial and Pattern


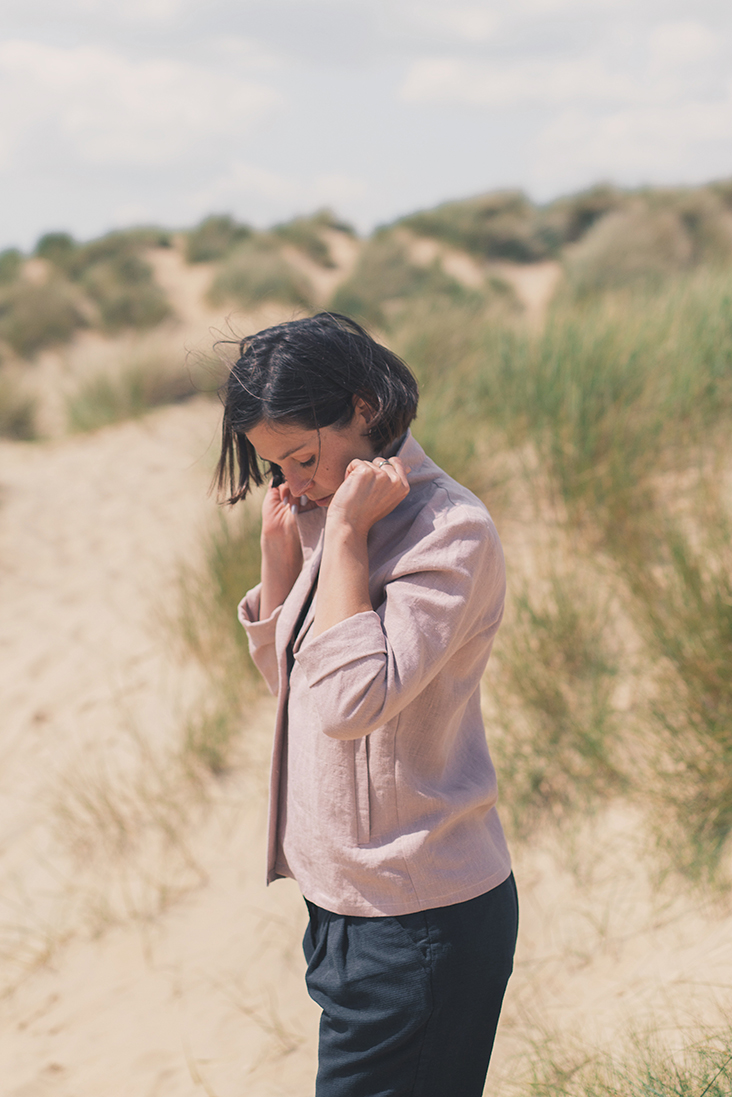 When it comes to looking and keeping cool, a linen jacket is an absolute must-have. Thanks to linen’s breathability and lightweight texture, a jacket made out of linen not only looks comfortable and laid-back but also provides the ultimate armor to see you through the warmer months. To wear linen confidently is to embrace all its wrinkles and crumples, and the easiest way to do this is with our Mariana jacket.
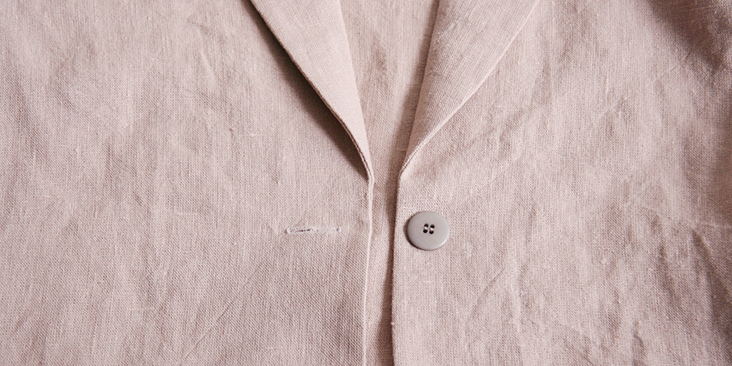
The Mariana jacket has all the nonchalance we want. It’s unlined and has a relaxed fit with single button closure, slightly cropped sleeves and two welt pockets for your essentials.
An off-duty essential, the Mariana jacket will become your best companion for casual dinners, relaxed summer gatherings and exotic travels. Follow this step-by-step tutorial and make a linen jacket for any occasion.
Materials
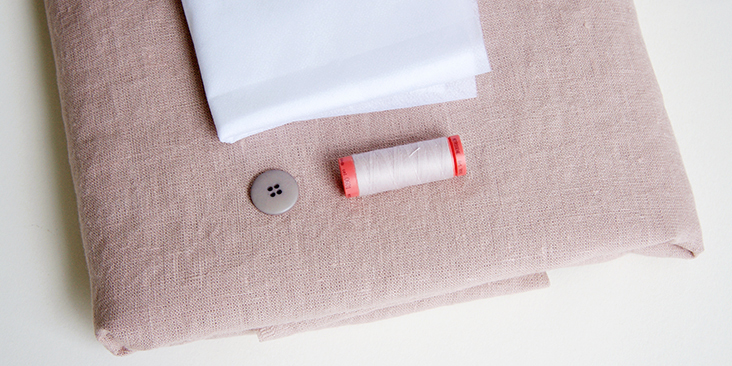
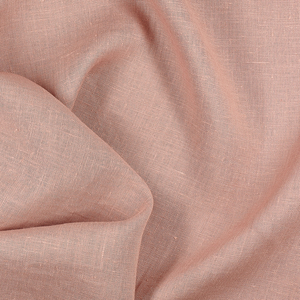
For our sample US size 6 pictured in this tutorial we used 2 yards of 4C22 DESERT TAUPE Softened heavy weight linen.
For other sizes, please refer to the yardage table in the PDF pattern to determine the required amount of fabric.
Matching sewing thread, one 1”-wide button, fusible interfacing.
Tools
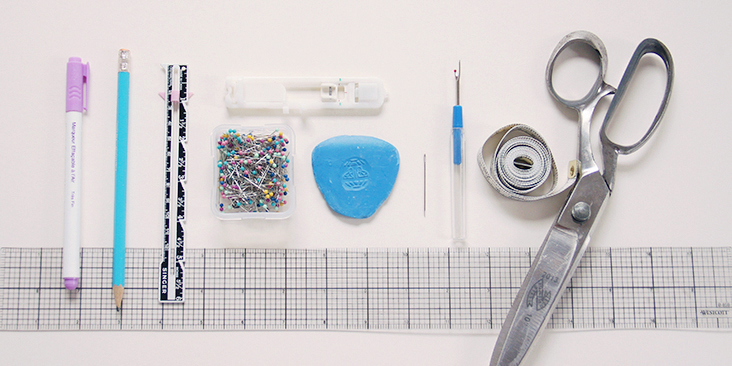
Scissors, pins, ruler, chalk, measuring tape, fabric marker, buttonhole foot, seam ripper, needle, sewing machine
Difficulty
Intermediate
Sewing Time
6-7 hours
Pattern
You can access the multi-sized printable PDF pattern by following this link HERE. All seam allowances are included and a standard 3/8″ (1 cm) unless otherwise specified. The model is wearing US size 6.
Remember to transfer all the notches onto your fabric.
Steps
Note: Prewash your fabric and tumble dry it until it is still slightly moist, dry at room temperature. Iron the fabric so it is easier to work with.
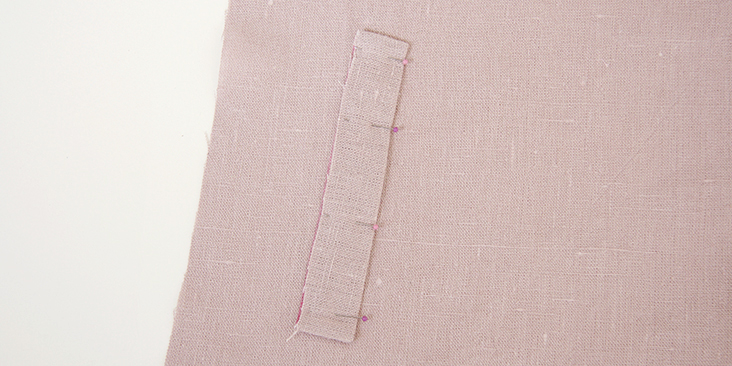
1. Start with the front welt pockets. We have a very detailed tutorial about sewing welt pockets that will guide you through the construction process. The only difference is that in the tutorial the welt is horizontal, whereas here it is vertical.
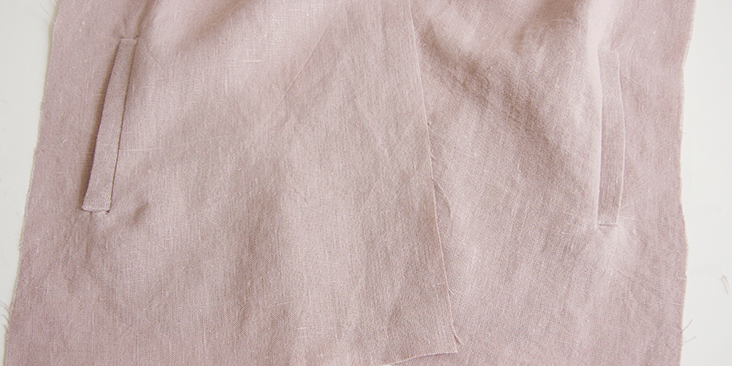
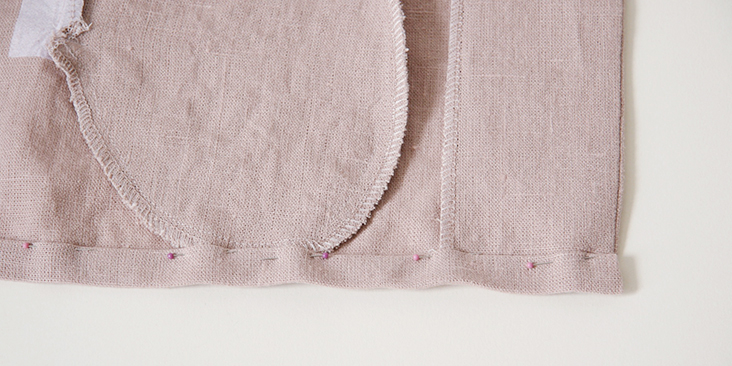
You can still follow all the steps but place your two pockets bags as shown in the photo below. When you fold the pockets to one side, one pocket bag may be slightly longer than the other. Simply trim them down so they match.
When the pockets are completed, you can assemble the bodice and sew the notched collar.
2. With right sides together, pin the two fronts and the back of your jacket at the shoulder seams. Sew at a 3/8” seam allowance and finish the seams with a serger or a zigzag to prevent the fabric from fraying. Press the seams flat folding the serged/zigzagged edges towards the back. Remember to backstitch at the start and finish of the seams.
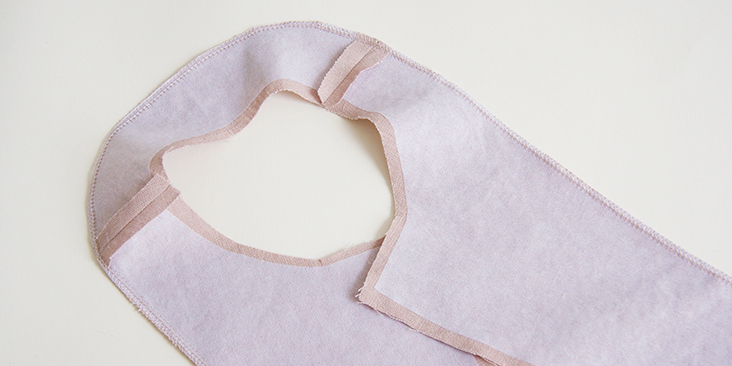
3. Apply fusible interfacing to the wrong side of your facing pieces.
Note: To reduce bulk, you can trim the shoulder/neckline seam allowances of your interfacing.
4. Assemble the facing pieces right sides together at the shoulders. Stitch at a 3/8” seam allowance, press the seams open and serge/zigzag the outer raw edge.
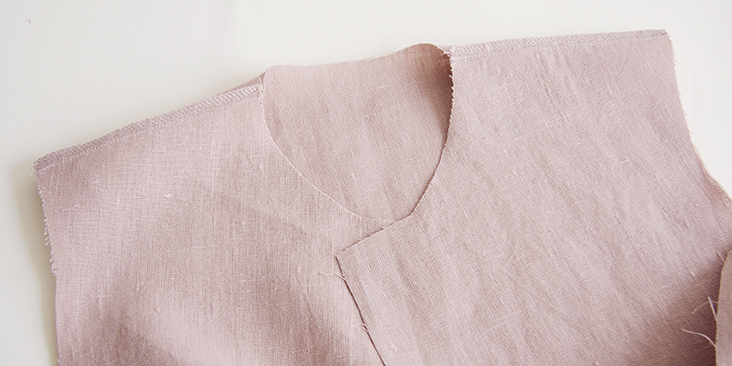
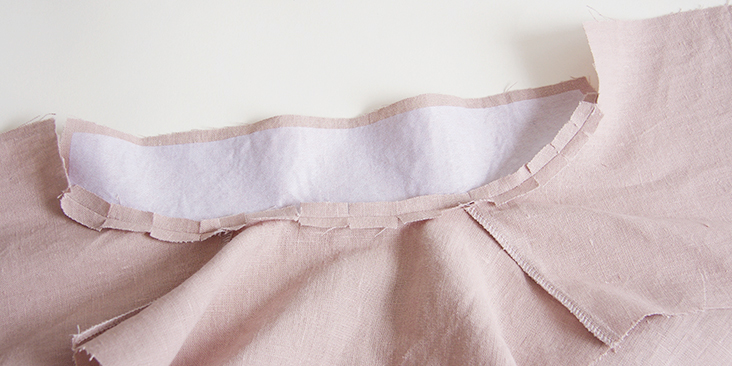
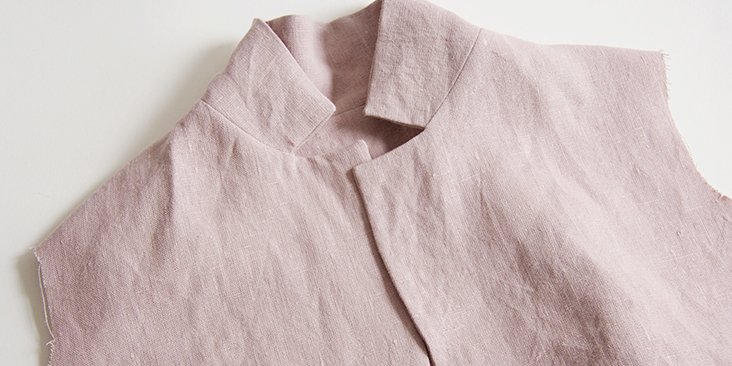
5. Interface the under collar and attach it to the jacket, along the inner edge and between the notches. Attach the upper collar to the facing. Clip the seam allowances to release the tension of the fabric and press the seams open.
6. You can now sew the collar and finish the front opening with the facing. To guide you through the process as best as we can, we have prepared a very detailed tutorial on how to sew a notched collar. Follow the steps and complete your notched collar and front opening.
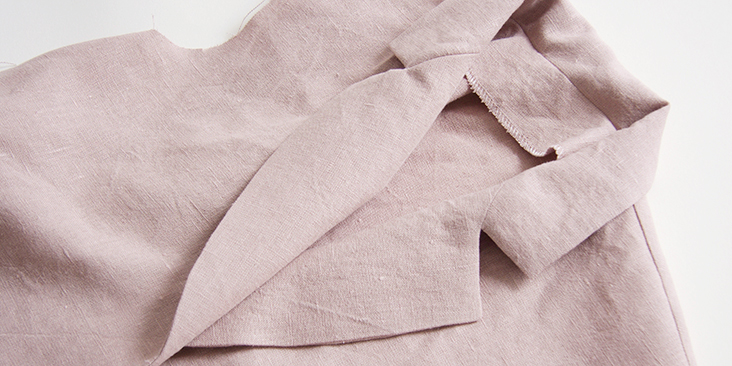
Notice how the facing is shorter at the bottom than the front fabric. We intentionally made it shorter in order to avoid bulky corners when hemming.
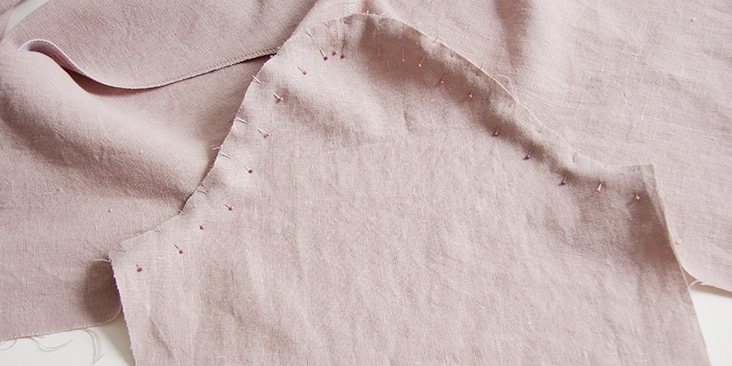
7. Pin and stitch the sleeves to the armholes right sides together at a 3/8” (1 cm) seam allowance. Grade and finish the seams. Press the seam allowance towards sleeve.
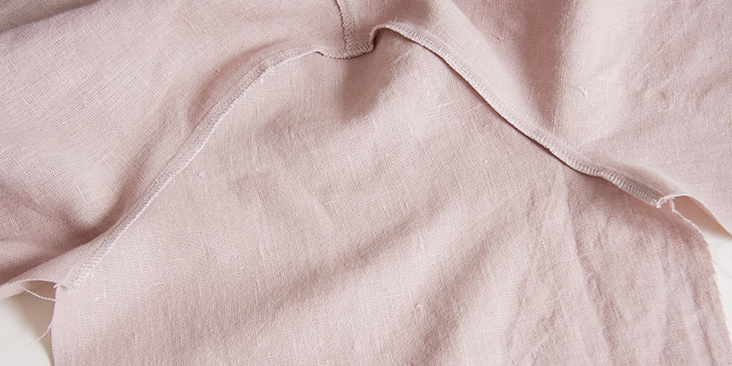
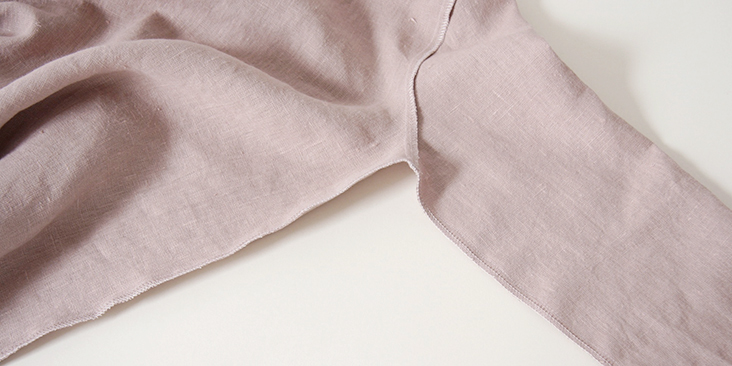
8. Pin (matching underarm seams) and stitch the side seams and the underarms all in one seam at a 3/8” (1 cm) seam allowance then grade and serge/zigzag the raw edges together. Press the seam allowances towards the back.
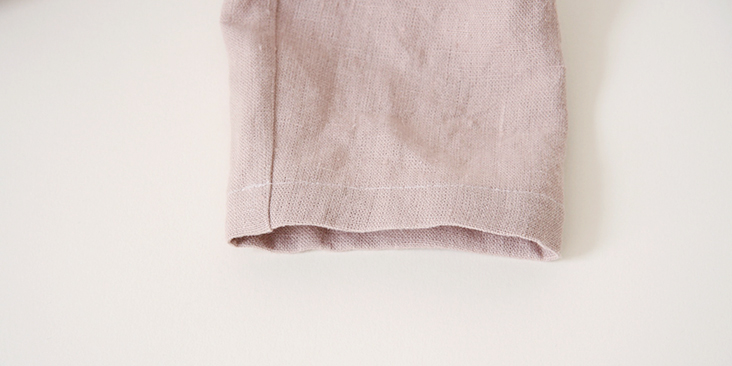
9. Finish the sleeve opening with a rolled hem. Fold the fabric twice to the wrong side (3/8” to 1/2”). Press, pin and edgestitch.
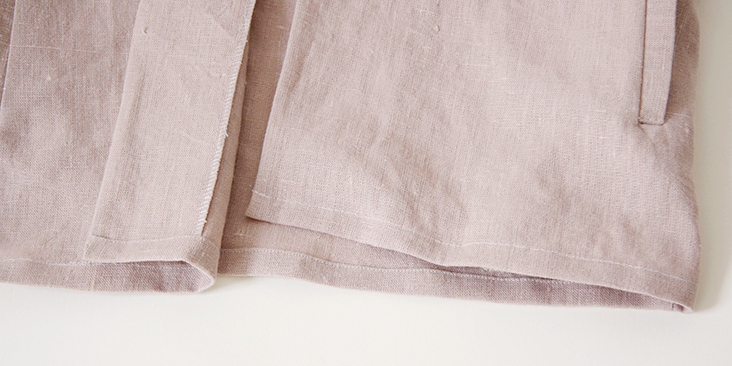
10. Hem the bottom of the dress: fold the fabric twice to the wrong side (3/8” to 1/2”), pin and press. Fold your hem over the facing and pin catching the pocket edges in the hem.
11. Edgestitch the hem.
12. Now that your bodice is assembled, you can sew the buttonhole and attach the button. Note that in women’s clothing, the buttonholes are sewn on the right button band, and the buttons – on the left.
For the buttonhole, you can follow our detailed tutorial HERE. As for the button, check our tutorial HERE for instructions. You’ll find the exact placement of the button/buttonhole on the pattern.
12. Give your jacket a good last press and you are all done! Wear it for any occasion from the sun-baked office to laid-back holidays and keep your style fresh. And don’t forget to share your pictures and tag your creations with #FabricsStoreMarianaPattern hashtag. We love seeing what you make!
Next week Sarah Kirsten will show you how to add lining to the Mariana Notched Collar Jacket pattern, so stay tuned!














40 Comments
Beal Taine
Hi could I make this in a soft velvet instead of linen? I’d love to know if anyonehas tried with a softer fabric than linen.
Catherine Pearce
Just finished the Mariana jacket. Thank you so much for this free pattern. Was absolutely no problem to sew. All worked perfectly and I am so pleased with the result. I followed the tutorial to line it and it’s fabulous. Thank you so much.
Catherine Pearce
Anna Tocz
Hello, Is it possible to add pads to the shoulders? Is there enough ease for adding them or will it look bulky?
Büsra Gök
Hi,
Is it possible to send also A0 pattern sizes?
Thank you in advance!
Lauren Linen
Hello, our free patterns are only available in A4/Letter format
Jena Chamberlain
I just finished my Marianna jacket in heavier weight linen In Lagoon. New skills were the welt pockets and the notched collar. The instructions in the tutorials were good. The notched collar turned out well. I need more practice with welt pockets as mine were not the best even though I practiced. Sizing was great. I made the 8/10. I will add pics if you’ll let me know how to do that.
Lynn Dauterman
I don’t have a serger and would like to bind the seams instead zig zag. Can you recommend a fabric that would be appropriate for that. Also, looking at the comments, will you be issuing some further instructions??
Lauren Linen
Hello Lynn. If you are using our 4C22 fabric you may like to use our Il019 or IL020 fabrics for your binding.
The other comments are about one of our contributors who will be sharing a method for lining this jacket in an upcoming post.
mary easley
I use “processed” old men’s ties.They make a fun, unexpected interior. Here’s how to process: take the tie apart, save the bias interlining (more on that later), throw the silk in your washer, put in dryer, once washed, press if needed. Use your ties to make bias strips for a Hong Kong finish. This is one of those times you don’t need to stress about matching the silks; just go with it. Advantage: it’s already cut on the bias and the silk used in ties is high quality.
About that Interlining: Bias interlining is so valuable in sewing and not the easiest item to source for sewists. If you get into jacket sewing, a cut strip of the bias interlining is a great way of easing in a sleeve head and it gives shape and support for jacket sleeves with or without shoulder pads. Cut it about an inch wide, center between the notches of the sleeve head and pull slightly as you ease stitch the cap of the sleeve. I think I got that tip from the inventive Sandra Betzina.
Yolanda Wilkins
Great tips, thank you!
Faith Mathingsdal
I’ve just finished making a toile of this pattern and I feel so proud of myself as it was my first attempt at welt pockets and a notched collar. I did read through the comments on here first and saw that several were struggling with the instructions for the collar. I almost let this deter me from trying but instead, I dived in and took the initiative of looking up some tutorials on youtube on how to do a notched collar to support the pattern instructions. When I had a clear idea of what my goal was, I went ahead and did it, and it was pretty straightforward and very satisfying. Just required accuracy and patience. The welt pockets didn’t really line up properly in the end, they came up a bit short, which was a bit disappointing, but overall, I’m super happy with this toile and am eager to make a ‘proper’ version. I would encourage others to make this pattern and if you’re unsure of something, there are so many resources available online, I’m sure you’ll be able to fill in any gaps that the pattern instructions may appear to be leaving. Thanks so much for these free patterns!! I’ve made several and am always learning new skills and techniques from them. 🙂
sheena callage
Did you have to make any changes to the pieces for the collar? Things aren’t matching up for me
Lauren Linen
Hello Sheena, No changes are needed to your collar pieces, I would make sure they are cut out the same and haven’t stretched out of shape by comparing them to your paper pattern
Sharon Vaccaro
After successfully completed 4 of your free patterns which fit me perfectly, I decided to try the Mariana jacket and I must agree with other comments that the notched collar really posed a problem for me. I also read, re-read, sewed and unpicked several times but after many, many hours of trying to meticulously follow the instructions, i landed up tossing everything in the bin. I wish I had read the comments first, I might not have attempted this project.
I live in South Africa so practically speaking, I cannot purchase the gorgeous linens available from Fabric Store but I would like to take this opportunity to thank you for the benefit of your free patterns and tutorials and the courteous manner in which you address comments.
Rebecca Schlough
I was hoping to love this pattern…but that didn’t happen. The welt pocket tutorial was good (would have been better if the fabric color was not so light it was difficult to see what the photos were representing) and the second pocket looked great. I then spent 4 hours on putting the collar, notches, facing to no avail. I have basted, read and reread the directions. It feels as if that was the most difficult way to assemble this jacket.
I am an expert sewist and have used many of the FS patterns and tutorials. I threw it all in the garbage, a real waste of 2 yards of beautiful linen. So disappointed!!
Lauren Gates
Hello Rebecca, I’m so sorry your project didn’t work out for you. I’ve sent you an email, please look out for it.
Emydee Hannon
I’m glad I decided to do a mock up on my first attempt with this pattern. Welt pockets were a first for me but a nice challenge. I learned that the next time I will baste the welt pieces in place on the jacket front before sewing down the pocket bags. I need more practice with this but I’m reasonably pleased with the finished result. My bigger problem was that after using the 3/8 seam to attach front to back and then adding the under collar, the entire piece did not line up with the facing piece and collar. After checking (and ripping) the seams and collar sections, I found the only solution was to make a deeper seam a the shoulder. Now this of course has thrown off my sleeve and has caused me to use a slight gather at the top of the shoulder. I still think it will all turn out fine, but if there are any suggestions as to why the main and the facing didn’t line up I’d love any help suggested. I also think this entire jacket could be done in a lighter weight linen and fully lined-which could result in a reversible jacket maybe? What do you think?
Elaine Hofer
Hi there! I’m excited to try this jacket, but I can’t find a size guide anywhere. Can you please help me? I’m reluctant to try it without knowing the finished measurements first. Thank you!
Jennifer Titus
this is a really cute jacket. i am almost done but getting hung up on the notched collar. the tutorial shows a collar with a different shape where there is a definite angle to show where to attach to lapel. the curved collar on the mariana jacket does not have this extra angle. i have attached upper and under collars to jacket and facing. not sure if i need to do this extra step. not sure if this makes sense but i am confused.
Lauren Gates
Hello Jennifer,
I’m going to send you an email to help out 🙂 please look out for it.
sheena callage
I am having the same issues with the notched collar. I can usually figure things out, but I’m a bit stuck. Any insight would be much appreciated.
Lauren Linen
Please send me an email and I’d be happy to help. ask[at]fabrics-store.com
Karen Walters
HELP! I’m stuck. The tutorial for the welt pocket is helpful to a point. This pattern has curved pockets rather than rectangle. When I line things up to sew over the little triangles it throws off the match to the pockets. It is possible that I have lined up the welt in the incorrect way? Should the top edge of the welt match the seam where it was sewn or should it over lap it? When I match the top to the seam it lies flat and smooth on the outside. If I overlap it the pocket linings line up but I have puckering on the outside.
Thanks,
Confused Karen
Lauren Gates
Look out for an email from me Karen, I’d be happy to help.
Rachel Kirby
I’m in a similar boat! It seems to me that the two pocket pieces shouldn’t be identical; the facing needs an extra 1/2″ to cover the pocket opening when it’s folded over, doesn’t it? If you look veeery closely at the welt pocket tutorial pictures, you can see that the rectangle-shaped pockets there don’t fully line up there either (the picture under the one showing the triangle).
Ginette Bisaillon
I am really looking forward to making this jacket, also some matching pants and a sleeveless blouse!
Negina Kolesar
Has anyone attempted to sew this on a bias? I’m intrigued by the idea of a slightly less constricting jacket.
Sarah Dombrowsky
I am sorry to be replying so late; perhaps you have tried it and have been successful.
Unfortunately, I have found that using the bias with garments with sleeves is tricky, because cutting the front and back bodice on the bias means that you will actually have straight grain at the underarm part of the scye, which leads to more constriction at that critical point. The traditional orientation uses the curve of the armscye to create a bias there which gives more ease naturally.
I have had good results with cutting sleeves on the bias, for less constriction, and also with cutting yokes and collar bands on the bias.
megan priestley
Hi,
Ive started making this jacket I’m pretty excited to see how it turns out!
Is there any reason a lining couldn’t be added using the bagged lining method?
Thanks
Ginette Bisaillon
Try it!
Alice Elliot
Hoping to love this pattern. The shoulder seams of the front and back neck facing are unequal. The directions say to hem the sleeves and bottom edge differently from the notes on the pattern pieces. So this could make a difference to novice sewists. I’ll post the results.
Alice Elliot
Also a center front marking would have been helpful.
megan priestley
Any luck Alice?
Melissa Dryden
Hi Masha This is a beautiful jacket. I’ve downloaded it in Adobe but it only has the first five pages, with no actual pattern. What am I doing wrong? Melissa
Melissa Dryden
I worked it out! Thanks.
Katherine Ryan
The link to the pattern is in the section labelled ‘Pattern’ in the instructions – you click the word HERE. 🙂
Masha Karpushina
Thank you Katherine 🙂
Bobbie Wallace
There’s no link to the pattern and it’s not listed in the pattern pages. I’d love a linen notch lapel jacket for spring summer and have linen just waiting to become something!
Masha Karpushina
Please try again Bobbie, it should all be there now. Thank you! Hope its what you’re looking for.
Alice Jackson
The pattern pieces are not there