Salome Sleeveless Shirt Dress Tutorial and Pattern
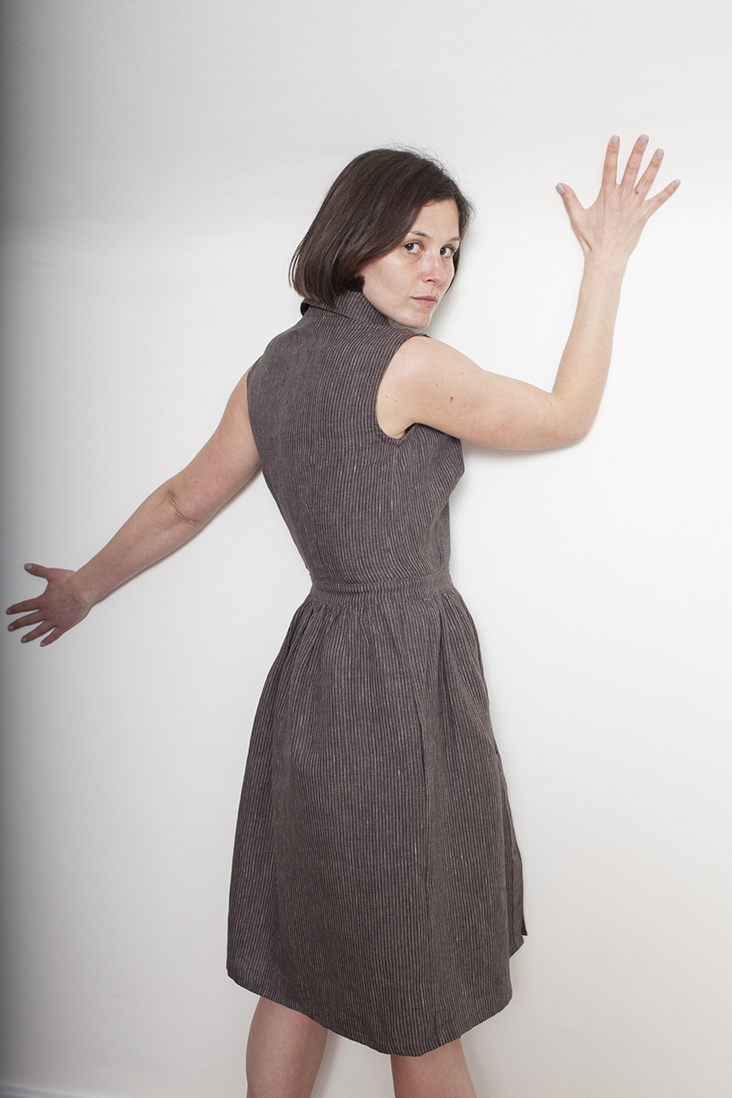
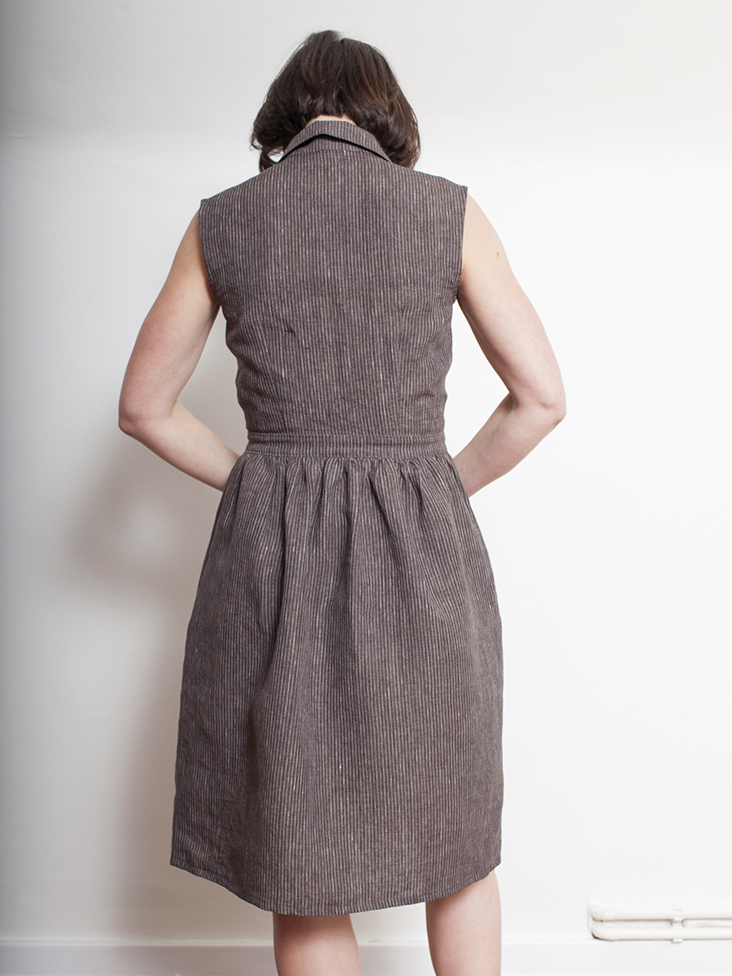
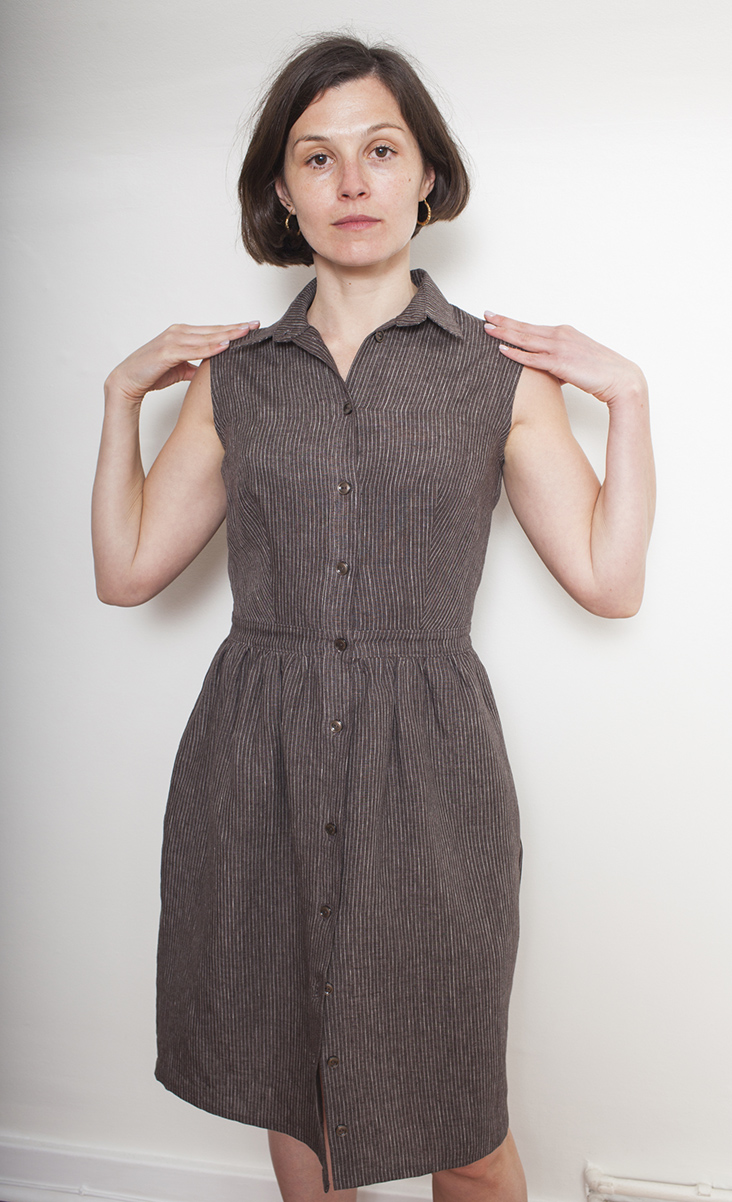
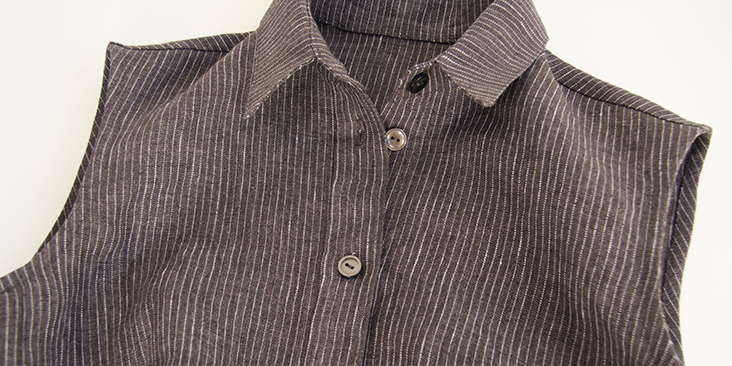
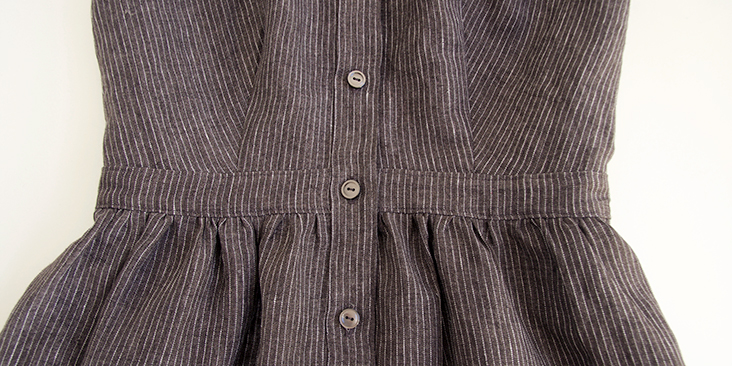
When it comes to comfort and versatility, few garments can compare to the elegant simplicity of a shirt dress. Our Salome sleeveless shirt dress is the perfect little button up dress to take you through the summer with chic and style. It has a fitted bodice, a gathered skirt and all the best features of a tailored shirt dress: a pointed collar with a collar stand, separate waistband and sewn-on button bands. So if you are looking for a project to perfect all these sewing techniques, this dress is the one!
Salome is one of those patterns that you’ll want to make over and over again. Add patch pockets, use contrasting fabrics, lengthen or shorten the skirt – do whatever your imagination tells you to and make this dress your very own!
Materials
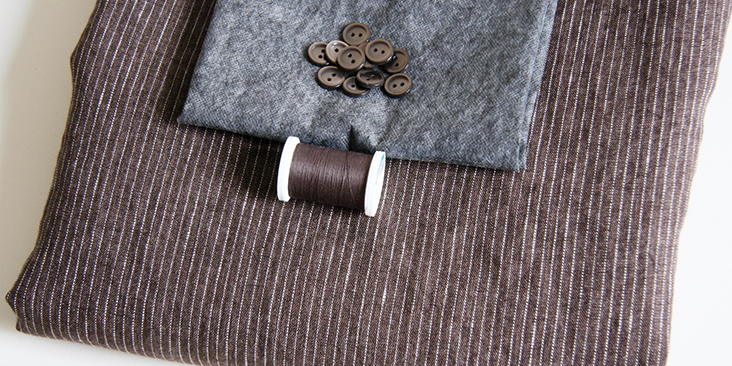
For our sample US size 6 pictured in this tutorial: 2 yards of IL045 869 STRIPES Medium Weight Linen
Refer to the yardage table in the PDF pattern to determine the exact amount of fabric you will need to make this dress.
Matching sewing thread, fusible interfacing, twelve 1/2-5/8”-wide buttons
Tools
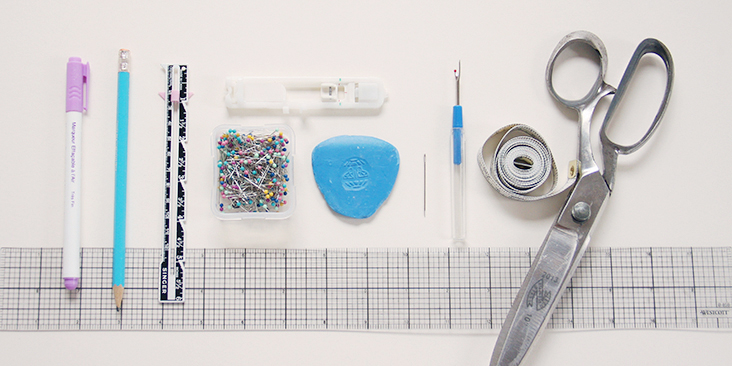
Scissors, pins, ruler, seam ripper, fabric marker, chalk, buttonhole foot, measure tape, needle, sewing machine
Difficulty
Intermediate
Sewing Time
6-7 hours
Pattern
You can access the multi-sized printable PDF pattern by following this link HERE. All seam allowances are included. The model is wearing US size 6. If you need help adjusting the pattern for a fuller bust, we have a great Full Bust Adjustment tutorial HERE.
Remember to transfer all the notches onto your fabric.
Steps
Note: Prewash your fabric and tumble dry it until it is still slightly moist, dry at room temperature. Iron the fabric so it is easier to work with.
1. Sew the front waistline darts following the instructions in this tutorial.
Press the darts towards the center front.
2. Sew the back waistline darts and press towards the center back.
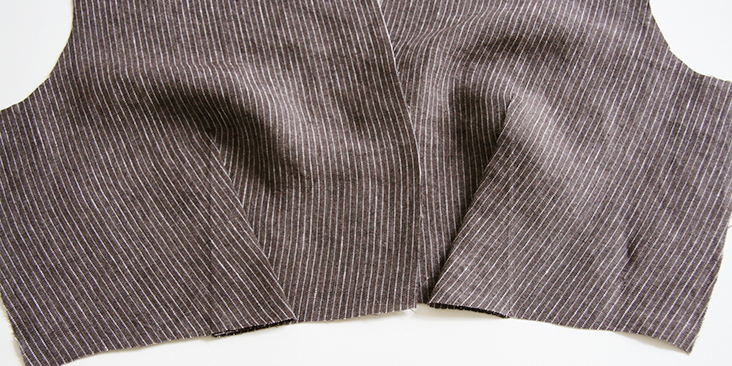
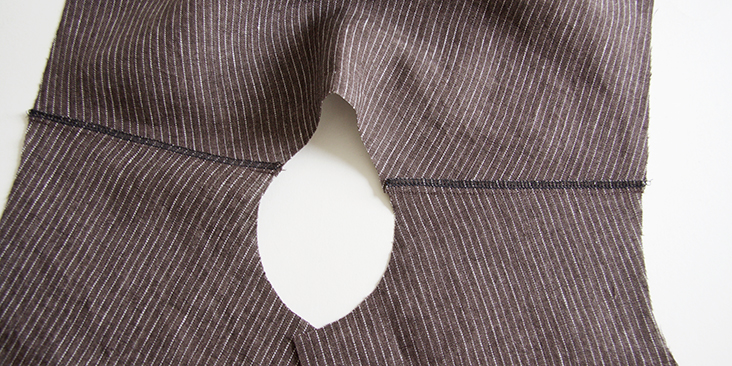
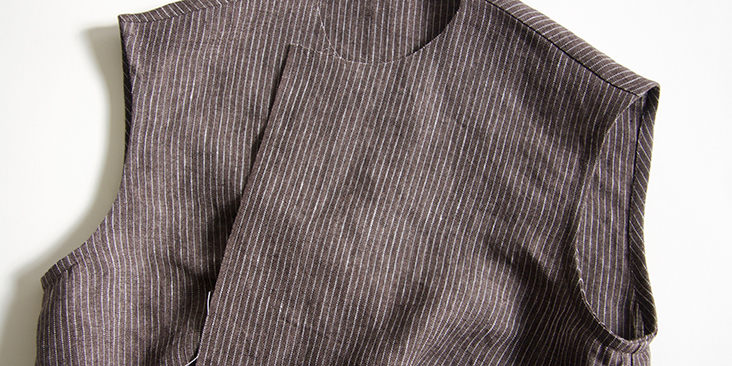
3. Pin the front and back bodices right sides together at shoulders and stitch at a 3/8” (1 cm) seam allowance. Finish the seams with your preferred method (serge or zigzag the raw edges together) to prevent fabric from fraying. Press towards the back.
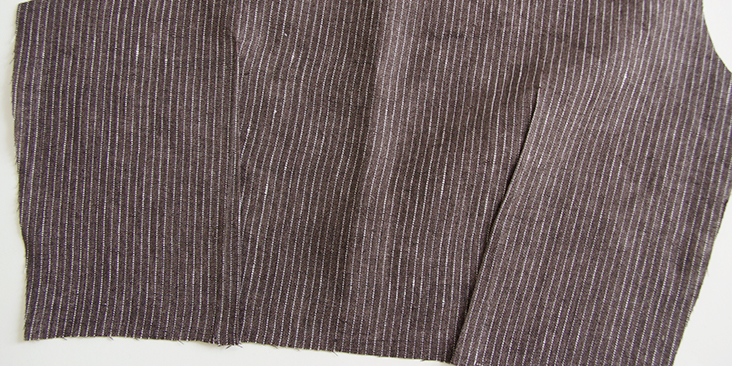
4. Pin and sew the side seams. Finish the edges and press towards the back.
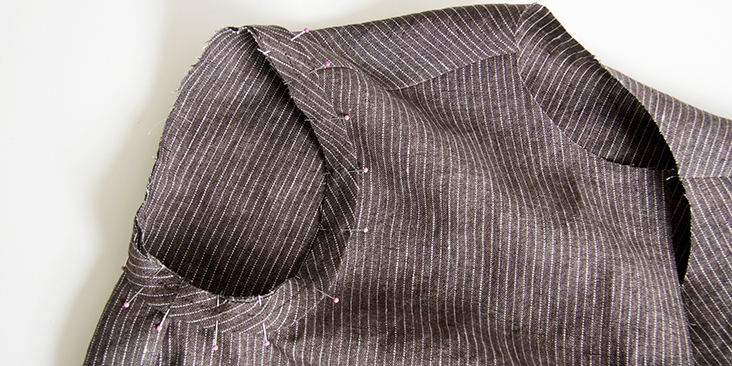
5. Bind the armholes as explained in this detailed tutorial.
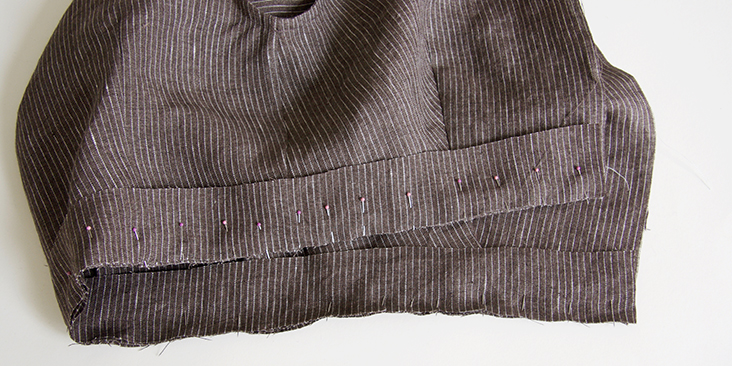
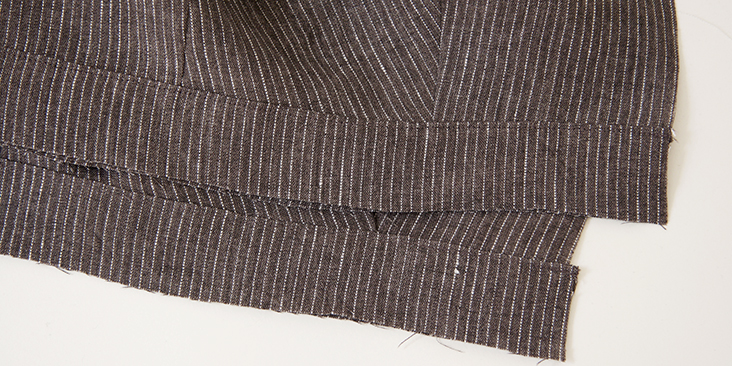
6. Sandwich the bodice waistline between right sides of outer and inner waistband pieces. Pin aligning short ends to center front edges.
7. Stitch along the waistline through all three layers 3/8” from the raw edge. Grade the seam allowance and press waistband down and away from the bodice. Topstitch 1/8” from the seam.
Now let’s sew the skirt.
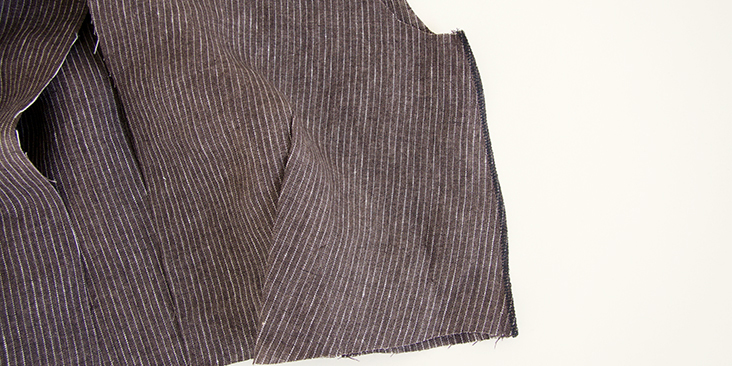
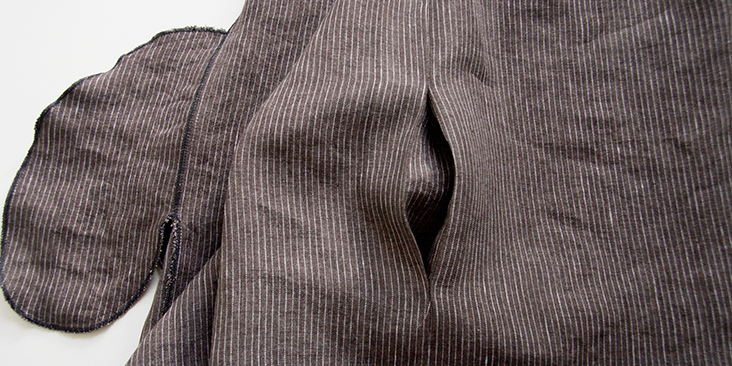
8. Take your front and back skirt pieces, attach the inseam pockets and sew the side seams by following the instructions in this step-by-step tutorial. Refer to the notches on the pattern for pocket placement. Finish the seams and press towards the front of the dress.
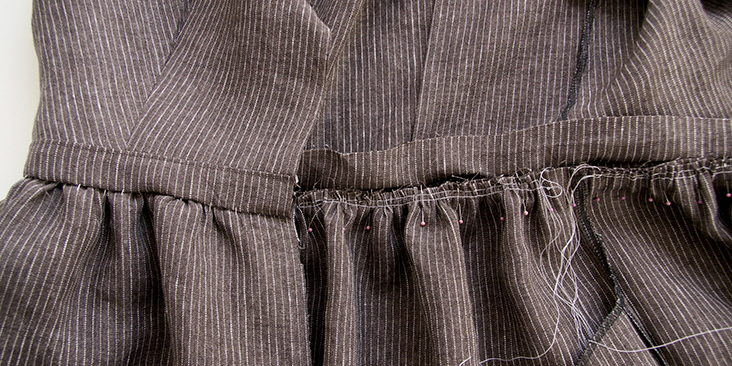
9. Run two lines of basting stitches along the waist edge of your skirt (back and two fronts separately). Use contrasting color thread and leave long tails. On the front pieces, stop your basting lines 2” away from Center Front to leave enough space for button bands.
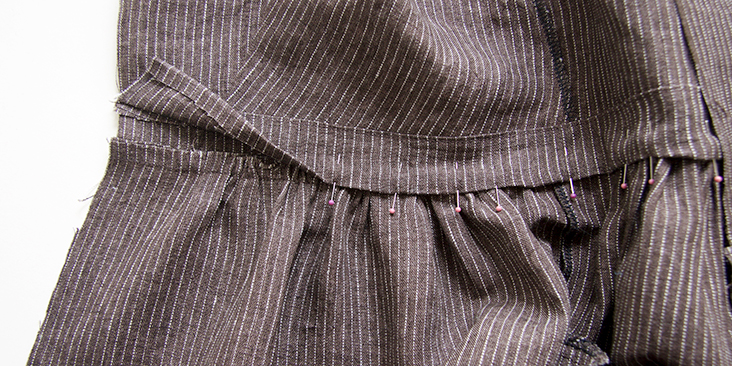
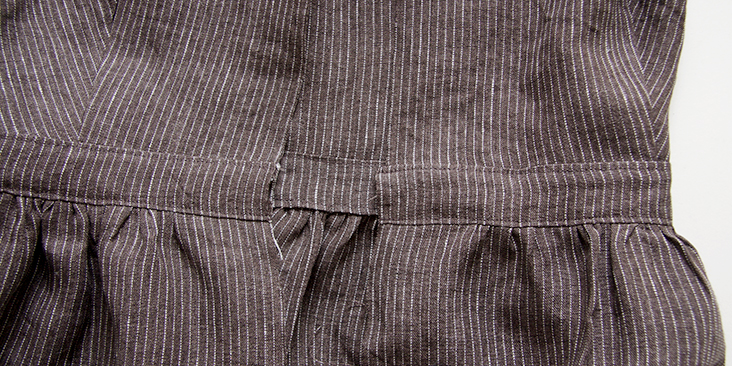
10. Pin your gathered skirt to the outer waistband right sides together. Gather your fabric evenly in between side seams.
11. Stitch skirt to outer waistband, remove basting stitches and press the seam allowances up towards the waistband.
12. Press the long raw edge of the inner waistband 3/8” to the wrong side and pin it to the skirt aligning the folded edge to the seamline.
13. Working from the right side of the dress, topstitch 1/8” from the lower edge of the outer waistband catching the inner waistband.
Now that you have full length of your dress, you can sew the button bands.
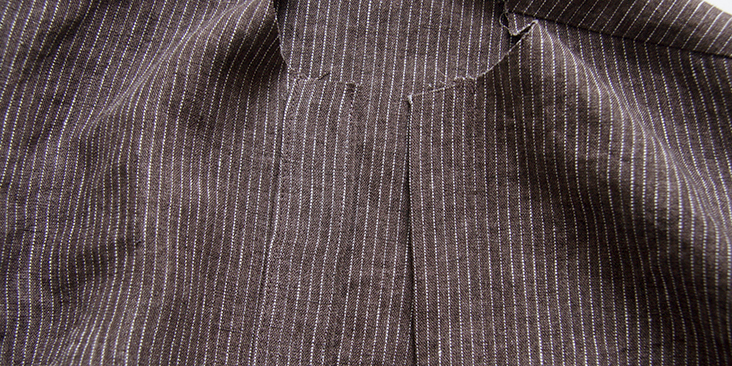
14. Follow the instructions in this step-by-step tutorial and attach right button band to right front and fold down twice the left button band on left front.
Remember to interface the button bands for more structure and support. Do not sew the buttonholes and attach the buttons yet, we’ll do it at the very end of our tutorial.
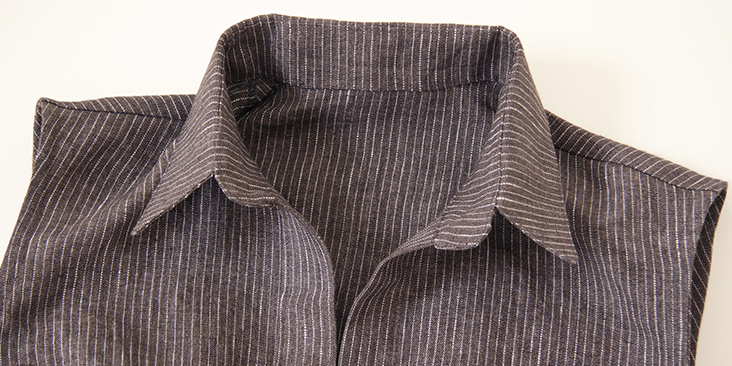
15. Time to sew and attach the collar. You’ll find the step-by-step instructions in this tutorial.
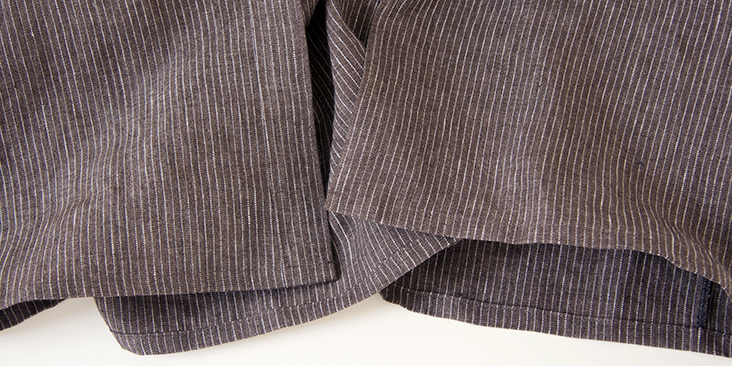
16. Finish the hem with a rolled hem. Fold your fabric twice to the wrong side (first 3/8”, then another ½”), pin and edgestitch.
17. Lastly, sew the buttonholes on the right front and attach the buttons to the left front. Place one button on the collar, one – on the waistband.
For the buttonholes, you can follow our detailed tutorial HERE. As for the buttons, check our tutorial HERE for instructions. Overlap the shirt and place a pin into the center of each buttonhole. This is where you’ll need to attach the button.
13. Give your dress a good last press and you are all done! We love seeing what you make! Don’t forget to share your pictures and tag your creations with #FabricsStoreSalomePattern hashtag.
This pattern is a go-to garment for any season that can be dressed up or down and looks great in many different fabrics. Browse our selection of linen fabrics and find the fabric that inspires you for this project!







16 Comments
Rebekah Fredrickson
Hello, love the pattern, but having a bit of trouble understanding how the button band, bodice, and skirt fronts fit all together. The left front bodice is cut wider, to allow for the folded-over button band. But the two front skirt pieces are the same width. The instructions say to attach bodice to waistband, and skirt to waistband, before doing the button band steps. How do I do the fold over step to bodice only, if the skirt is already attached? Or do I fold over the waistband and skirt, too? Just not sure how to put it all together and keep the skirt front pieces symmetrical. Thanks for your help!
Judith Potwora
Has anyone made this without the collar? I was thinking of modifying to be v neck.
Marian Ellwood
Thank you for this lovely pattern. I’m struggling with the right button band for Salome.. The pattern piece is 2 inches wide., if I follow the instructional link for the right button band (two 3/8 inch sides), the final button band is too wide (1 and 1/4 inch). I could fix this but I need to know where on the Salome bodice the Center Front is. Is it where the buttons are marked? I want to be sure that the collar will fit properly. Thank you.
LEIGH STANTON
Hi, This is a super cute pattern, and am making a blouse with it but I’m having trouble with the front darts. I am not as busty as the darts and the fabric pooches out funny. How should I adjust this?
Lauren Gates
Hello Leigh, If your bust is smaller than the bodice was drafted for, you may need to complete a small bust adjustment to remove some of the excess fabric.
Here is a great tutorial I found for this:
https://madetosew.com/how-to-small-bust-adjustment/
If you have already sewn up your dress in your desired fabric, you may need to pull in more fabric at the darts. To do this, put your bodice on inside out, and pinch away excess fabric at the darts until you have your desired fit. This isn’t the ideal method, but will work in a pinch if you haven’t sewn a test garment also known as a muslin.
Kelly Morrissey
Hello! I am about to launch into this gorgeous dress pattern with your linen and need to know if the questions from Stacey, Christine, and Elizabeth–addressed privately through email–ended up being user error or a problem with the pattern that I should be aware of before I begin. Thank you!
Lauren Gates
Hello Kelley, these questions have been addressed, and the pattern is undergoing an update right now for clarity. Please double-check the measurement of the waistband piece and if it matches up with the bodice. Otherwise, the rest of the pattern is ok 🙂
Sam Marshy
Hi there, thanks for this tutorial! Are we supposed to sew a button band on both sides? The pattern only calls for one button band.
Lauren Gates
Hello Sam,
Yes, there is one button band for the right-hand side, and the left side is simply folded over twice, and top stitched using the measurements in the tutorial.
Stacy Dougan
I have a question about the waistband. Is it supposed to be equal length around with short ends matching up with the ends of the top? My waistband is shorter.
Christine Mouw
I’m having the same problem with the size 8/10. How did you solve it Stacy? I’m only making a muslin, so I can cut new waistbands, but it’s very odd.
Lauren Gates
Sending you an email Christine 🙂
Elizabeth Bolin
Hi Lauren,
I am encountering the same problem on Sz 16/18. The two waistband strips are about 2.75″ short. Simply cut new waistband strips to fit the bodice? Thank you
Lauren Gates
Sending you an email 🙂
elo gu
hi, no pattern available … is it normal ? thancks
Leann Runge
First, Download the tutorial, (you’ll find it at the end of the tutorial). On page 6, you click on “HERE” and it will go to the download pattern page. This is in my queue! So cute!