Lois Paperbag Waist Pants Tutorial and Pattern
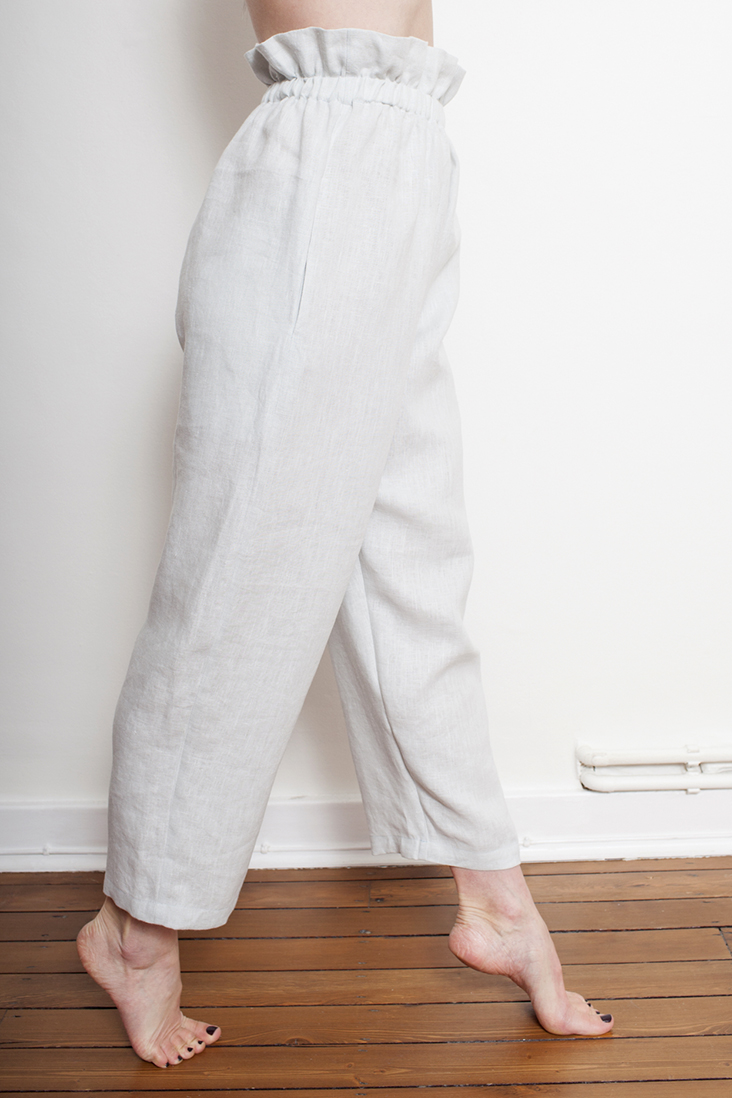
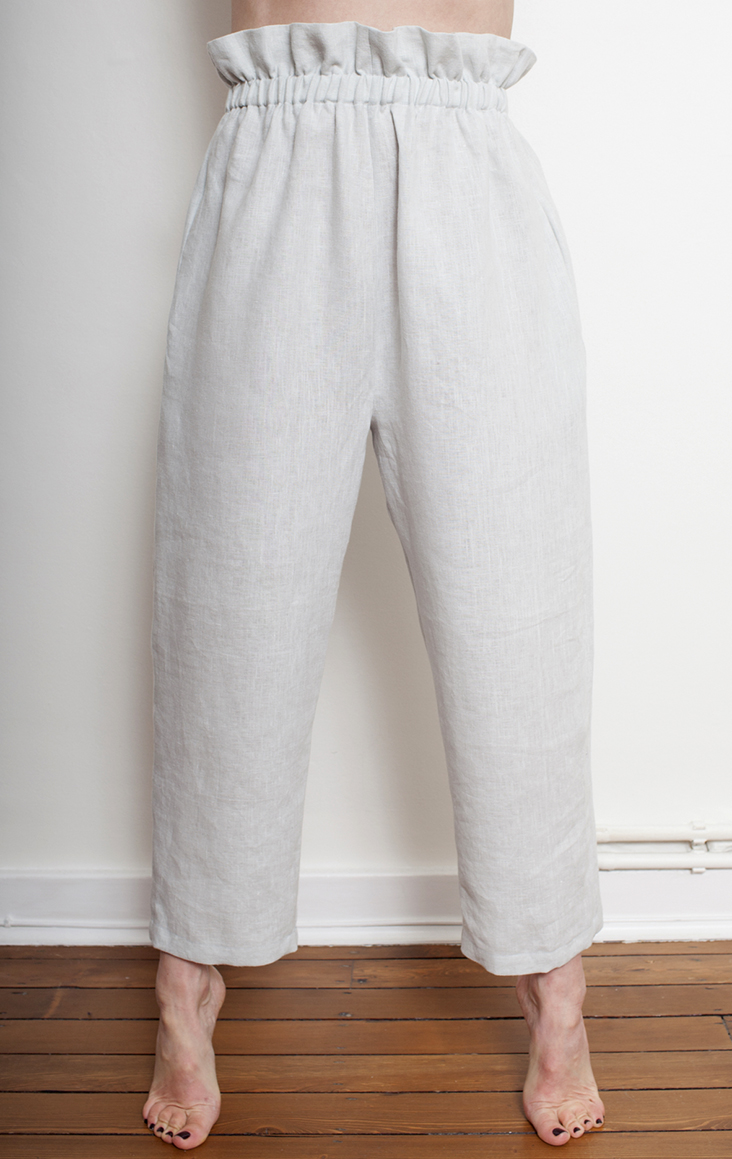
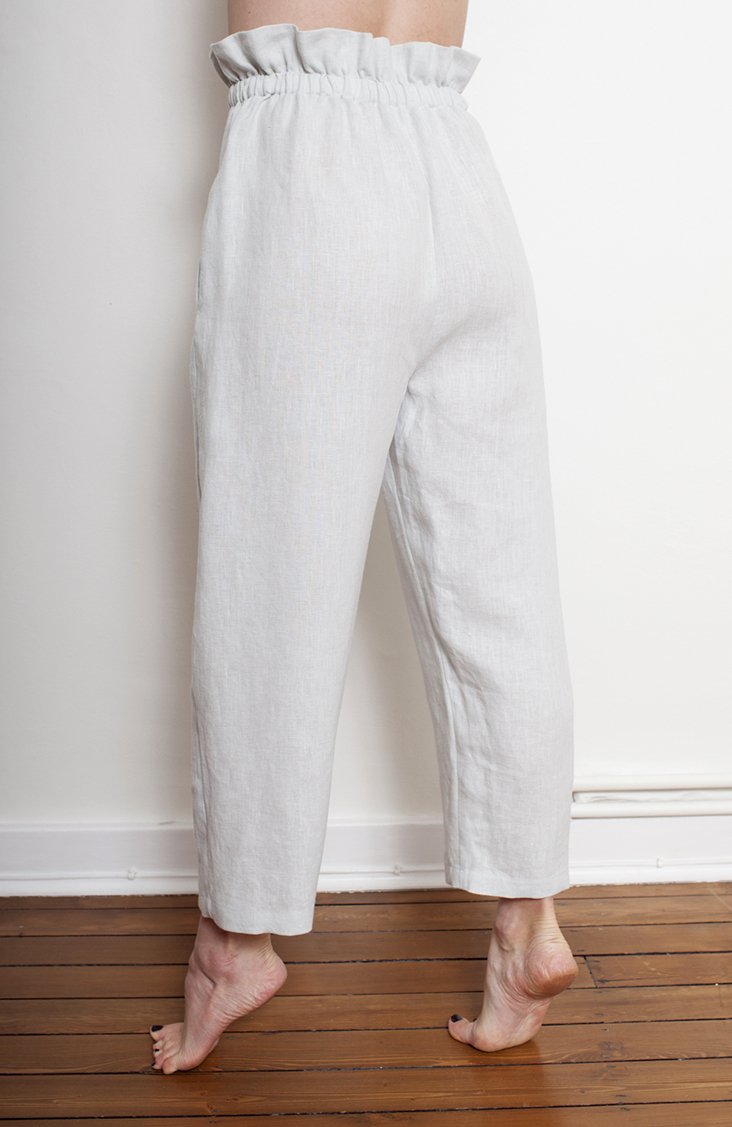
If you are looking for a trouser style which is both comfortable and feminine, then you’ll love our high-waisted Lois pants with a beautiful paperbag effect around the waist. They are like your favorite pull-on trousers, only prettier.
On top of being versatile, sexy and comfortable, they are flattering and ideal for accentuating an hourglass shape. The cinched waist is balanced by the elongating effect of the pant legs allowing the fabric to flow and cling gently to curves.
With their looser fit, these paperbag pants looks gorgeous when styled with more fitted tops for balance and a more proportioned look. It helps the paperbag-waist detail stand out and you don’t want to hide it, you want to show that off!
Download your free multi-sized pattern, pick your fabric and follow this super easy tutorial to make your own pair of Lois pants!
Materials
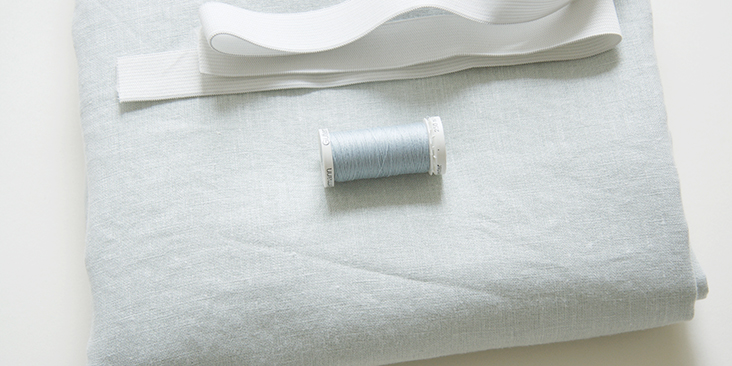
For our sample size S/M pictured in this tutorial, we used 2 yards of IL019 DOVE Softened Medium Weight Linen
Refer to the yardage table in the PDF pattern to determine the exact amount of fabric you will need to make this pair of pants.
Matching sewing thread, 1 yard of 1”-wide elastic
Tools
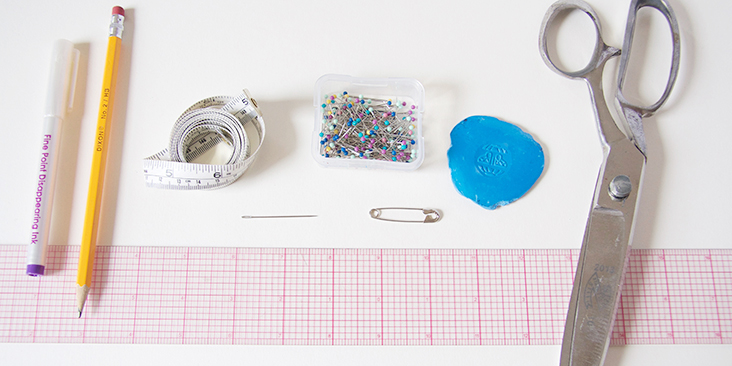
Scissors, pins, ruler, chalk, fabric marker, safety pin, measuring tape, sewing machine
Difficulty
Beginner
Sewing Time
3-4 hours
Pattern
You can access the multi-sized printable PDF pattern by following this link HERE. All seam allowances are included. The model is wearing size S/M. Please note that these pants have an intentionally roomy fit.
Remember to transfer all the notches onto your fabric.
Steps
Note: Prewash your fabric and tumble dry it until it is still slightly moist, dry at room temperature. Iron the fabric so it is easier to work with.
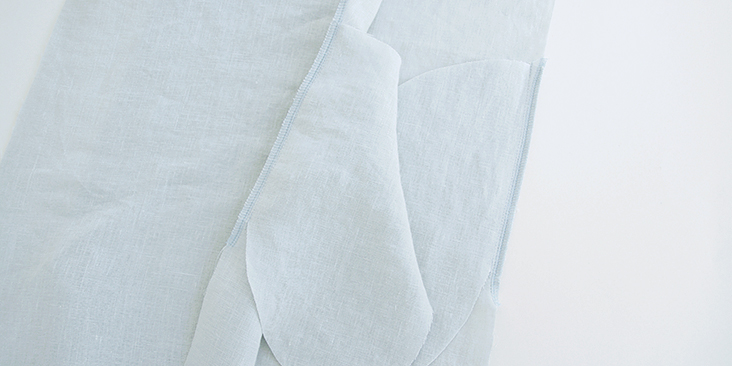
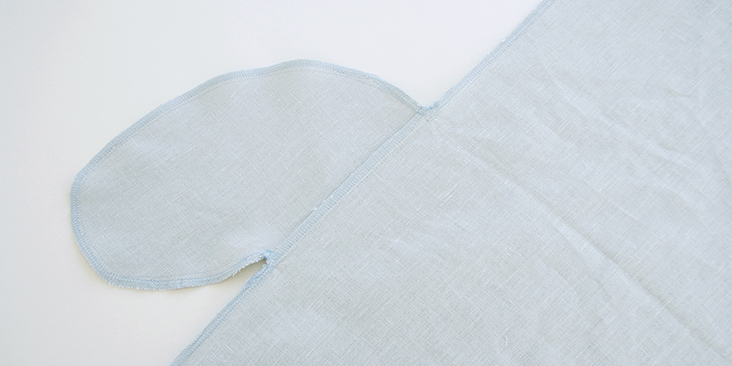
1. The very first thing to do is to attach the inseam pockets. Follow this step-by-step tutorial and place your pockets between the two pocket notches provided in the pattern.
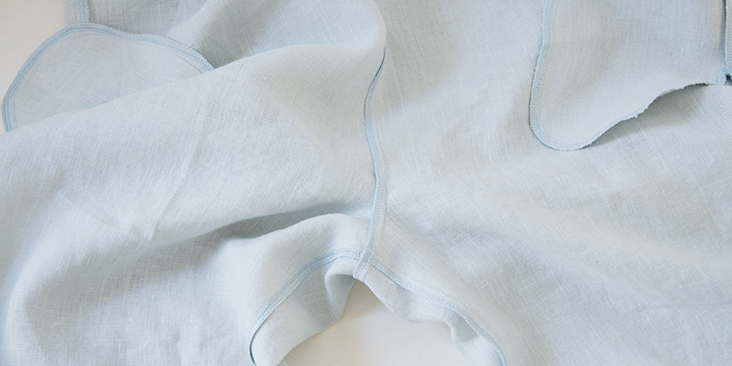
Note that each pocket should be “sandwiched” between each pant front piece and the corresponding pant back. Notice how the front and back are a little different. The back is cut a little deeper in the crotch to allow for sitting.
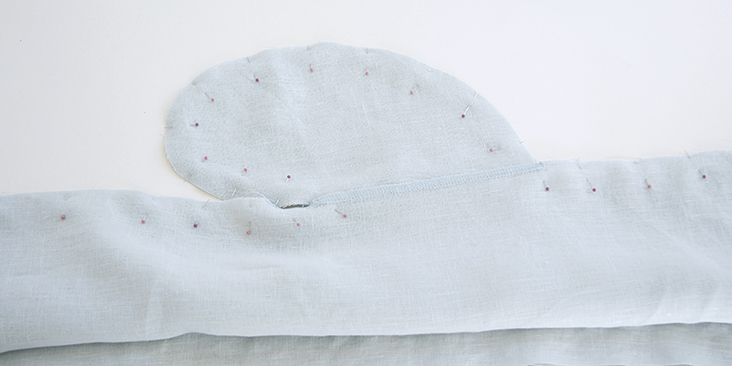
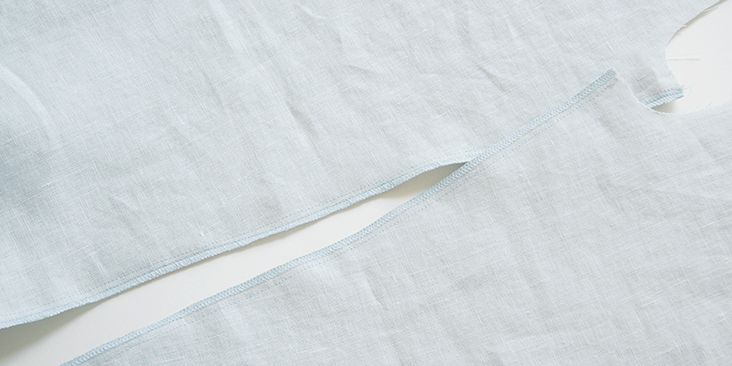
2. Pin right sides together and sew along side seams and the pockets all in one seam at a 3/8” (1 cm) seam allowance. Serge or zigzag the raw edges together to prevent the fabric from fraying. Press the finished seams and pockets towards the front.
3. Once you’ve attached your pockets and finished sewing the side seams, pin and stitch front leg to the corresponding back leg at the inseam right sides together. Finish the seam using your preferred method and press towards the back.
4. Turn the right leg right side out and slip it into the left leg.
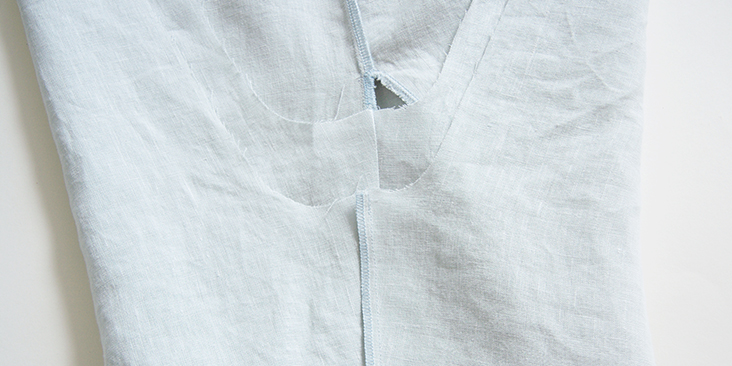
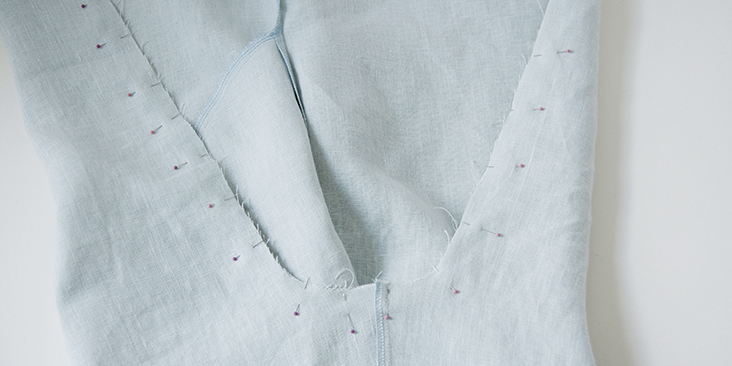
5. Pin the crotch seams together matching the side seams and inseams.
6. Sew along the crotch seam at a 3/8” (1 cm) seam allowance. Serge or zigzag the raw edges together and press towards left leg.
Now that your legs are assembled, you need to create a paperbag waistband with an elastic casing. We have a great tutorial about different types of elastic waistbands HERE that you can consult for more detailed instructions.
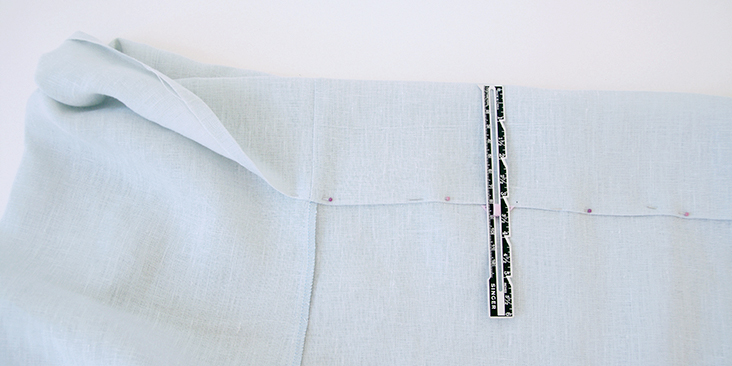
7. Press the raw edge of your fabric under 3/8” (1 cm) to the wrong side.
Then measure 3 ¼” from the waist edge and fold down the fabric and pin.
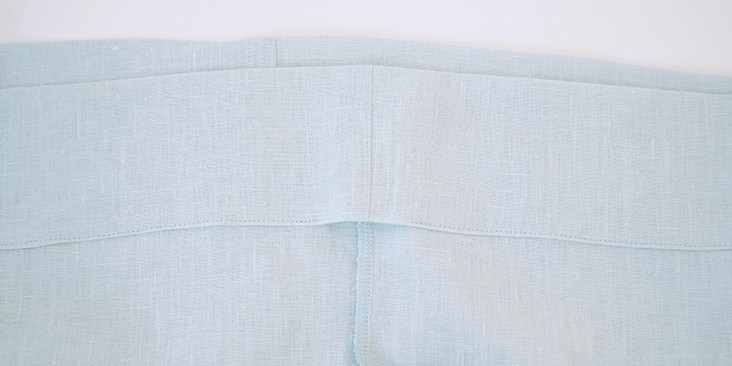
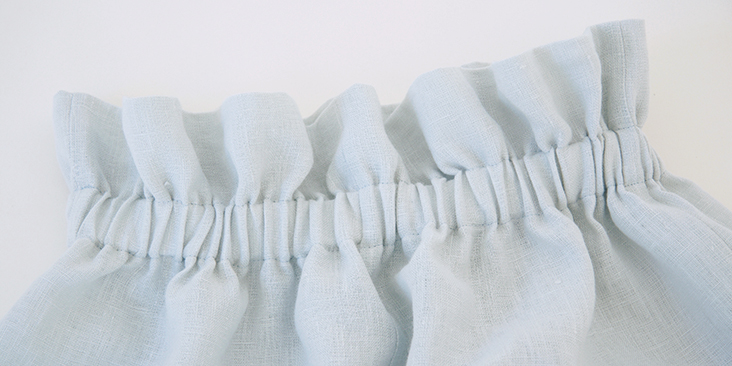
8. Stitch around the lower edge of the casing, 1/8” from the bottom edge, leaving a small (about 2” wide) opening for the elastic to be inserted. Remember to backstitch at both ends.
9. From this stitchline, measure up 1 1/8” and run a line of stitching there around the entire casing, no opening needed. You can either draw a line on the wrong side of your fabric, or follow the crossgrain to keep the same level around the entire waist.
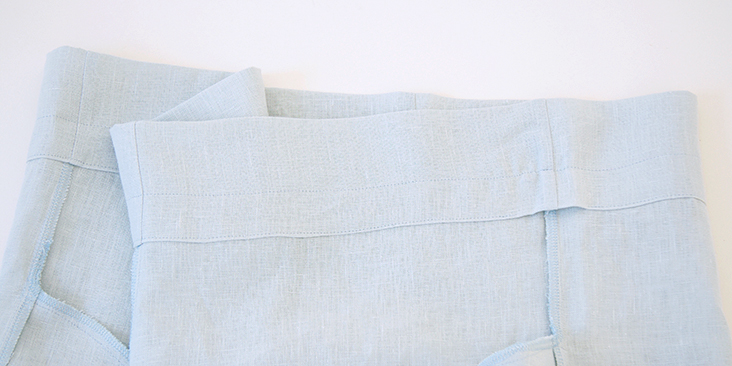
10. Using your safety pin, insert the elastic (cut to a comfortable length plus 1” seam allowance), stitch the elastic ends together and close the opening.
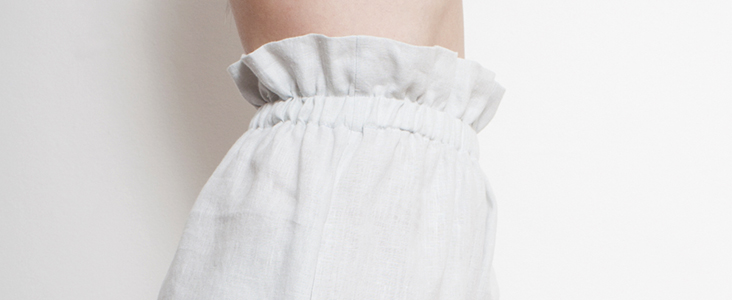
Here is your pretty paperbag effect!
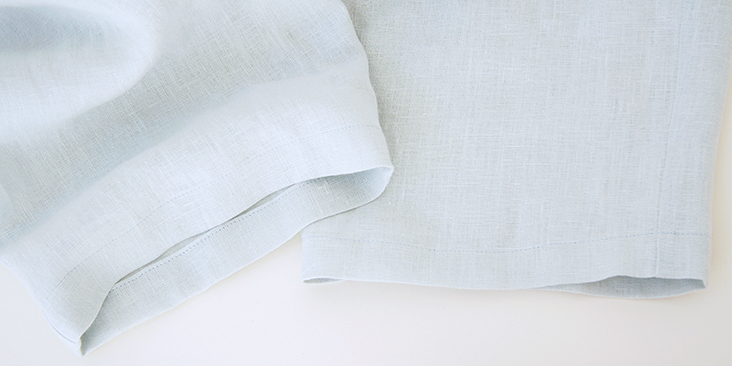
11. Lastly, finish the legs with a rolled hem. Fold the fabric twice towards the wrong side, 3/8” to 1 inch, press, pin and stitch.
Et voila! You are all done!
We love seeing what you make! Don’t forget to share your pictures and tag your creations with #FabricsStoreLoisPattern hashtag.









17 Comments
Kelly Potocki
Hi,
Can I use your heavy weight linen 4C22 for this pattern?
Thank you,
Kelly
Lauren Gates
Yes absolutely Kelly 🙂
Kelly Potocki
Hi Lauren,
I made these pants with your heavy linen. I love how it turned out! The inseam fit me perfectly. I liked the shape too. The only thing that wish to be different is that the hip ares is too roomy so much so that when I sit down, there is too much fabric in my tummy area. What should I do to eliminate the bulkiness? I am planning to make another pair. Appreciate your help!
I was thinking of trying your Cass pattern instead because it seems to be more fitting. But I like the tapered leg of Lois pattern. So I wanted to stay with Lois pattern for my 2nd pair.
Kelly
Lauren Linen
Hello Kelly,
I’m so glad your Lois pants turned out great 🙂 For your next pair, I would use your first pair as a guide to removing some excess from the hip area. Put on your first pair, and pin away any excess.You can do this at the side seams first, but you may even like to pinch in a dart if there is a bubble in the center. Be sure to sit down and walk around to make sure you haven’t pinned away too much.
Once you have the desired amount removed transfer the pin lines to your pattern, then add seam allowance. Be sure to blends the new lines into your perfectly fitting leg and waist sections.
As always if you need extra assistance send me an email 🙂
Kelly Potocki
Hi Lauren,
Thank you for your reply. Do you think I can remove the extra fabric from the crotch seam on the front pattern piece? That way the shape of the legs won’t be altered.
Thank you. I wish to be able to send you a pic to show you what I mean.
Thank you,
Kelly
Lauren Linen
Yes of course, You can play around with shortening the crotch depth. If you’d like to send an email with photos just email me Ask@fabrics-Store.com and Att: Lauren 🙂
Frances Switala
I am in the UK so very confused what size to make as US and UK sizes are not the same. I wear a UK size 16 so what size should I make in US size?
It doesn’t state its US sizes so I made the Chelsea Linen Tee in what I thought was UK size 10 for my sister and its huge! Obviously a US size 10 – Can you provide a size conversion chart please.
Lauren Gates
Hello Frances, I would recommend using the measurements given in our patterns as a guide for choosing your best size.
Unfortunately, there isn’t a size conversion chart we can provide since clothing brands and pattern companies all use different measurements to determine their sizes, there is no one size guide that is accepted and used! This is why when you go to one store, you’re a size 16, then go to another and you’re suddenly a 12!
If you’d like assistance finding your perfect size for a particular pattern, please email me with your measurements and I’d be happy to help: ask@fabrics-store.com
Sloane Buschman
I have loved working with this pattern! It is so easy and works with many different body sizes and fabric styles. I added a top stitch to the top of the paper bag part to keep the line crisp after washing. I also added elastic cuffs at the ankle cause I like that look better, but thats a personal preference. Overall another great pattern!
Maria Checo
Hi! I tried downloading the pattern but only received a 6 page booklet with out the pattern pieces. Is there a way for me to get it? Thanks!
Lauren Gates
Hello Maria, The instructions for accessing the pattern are on the first page of this 6-page booklet. The link below will take you to our Help Center article which includes a photo tutorial for accessing the pattern.
https://support.fabrics-store.com/hc/en-us/articles/360057105032-Downloading-and-Opening-Free-pdf-Patterns-on-a-Computer-PC-and-Mac-
Sierra Whittle
These pants are so lovely and I like them more the more I wear them. I was a little surprised that they were a bit wider than I expected, but I am still really happy. I’m going to make them again but probably one size smaller and taper in the legs just a tiny bit.
Sarah Jones
My waist is 29 1/2 inches. If I make the waist elastic “comfortable plus 1 inch seam allowance,” will the XS fit me? The finished waist measurement says 42. I know they are supposed to be roomy, but I don’t want them to fall off!
Rebecca De la paz
Oh but wait…on the digital download page it says “coming soon” and I’m unable to download the pattern. Is there a release date that I missed?
Rebecca De la paz
These are so lovely! I can’t wait to make my own 🙂
Lynn Boorady
What are the measurements for the sizing?
Kimberly Wright
The size chart is included in the download. The range is from XS to 4X.