Noor Wrap Dress Tutorial and Pattern
You all know that we here at the Thread just love making dresses! So it is no surprise that with the spring days finally around the corner it is time for a new dress, a wrap dress! This is our first wrap dress on the blog which is a bit strange because what better way to emphasize the effortlessly chic spirit of linen than turning it into a wrap dress?
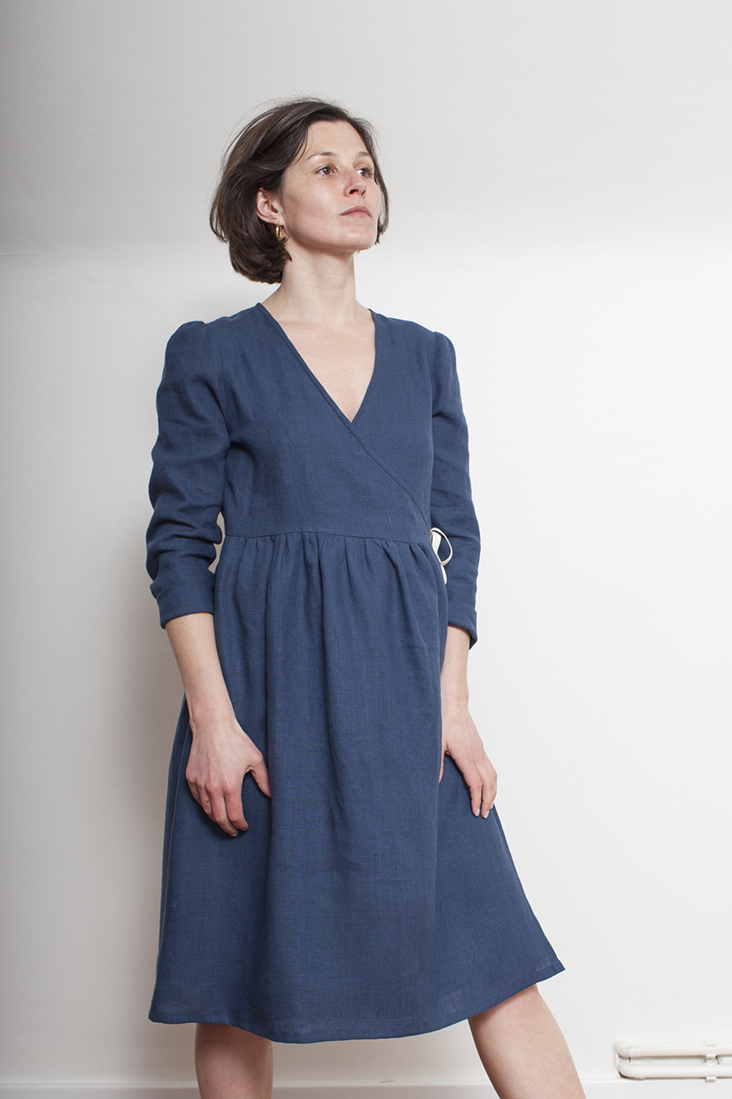
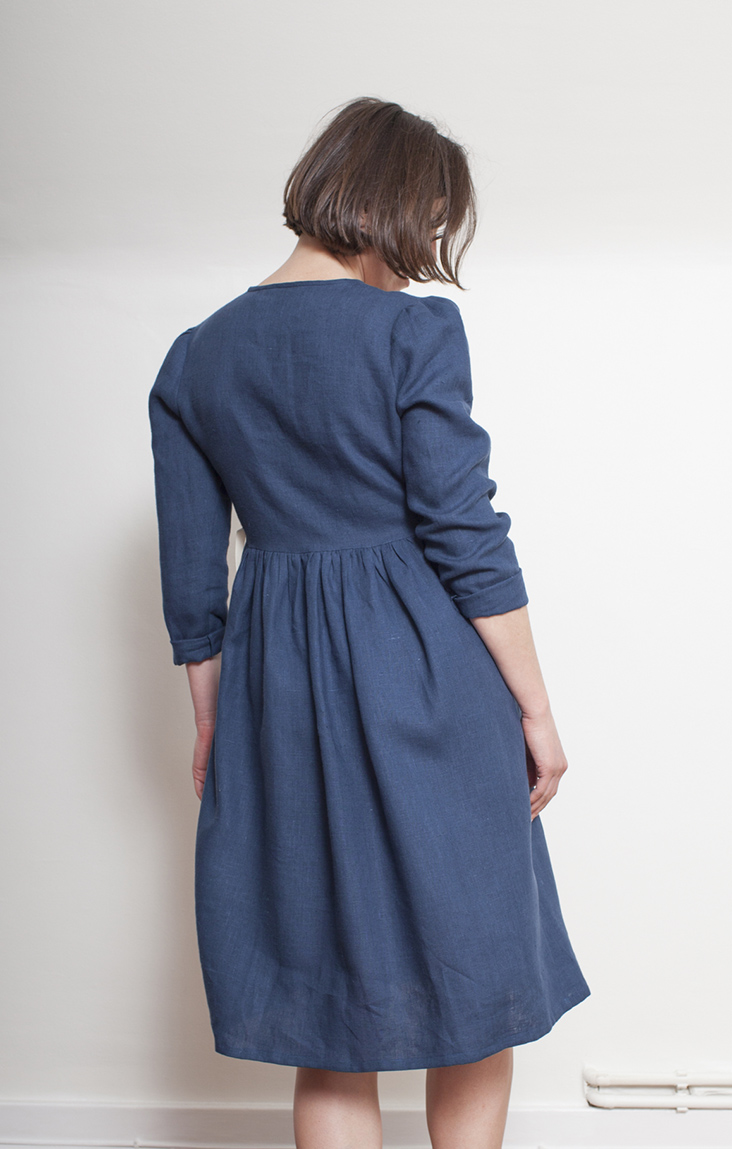
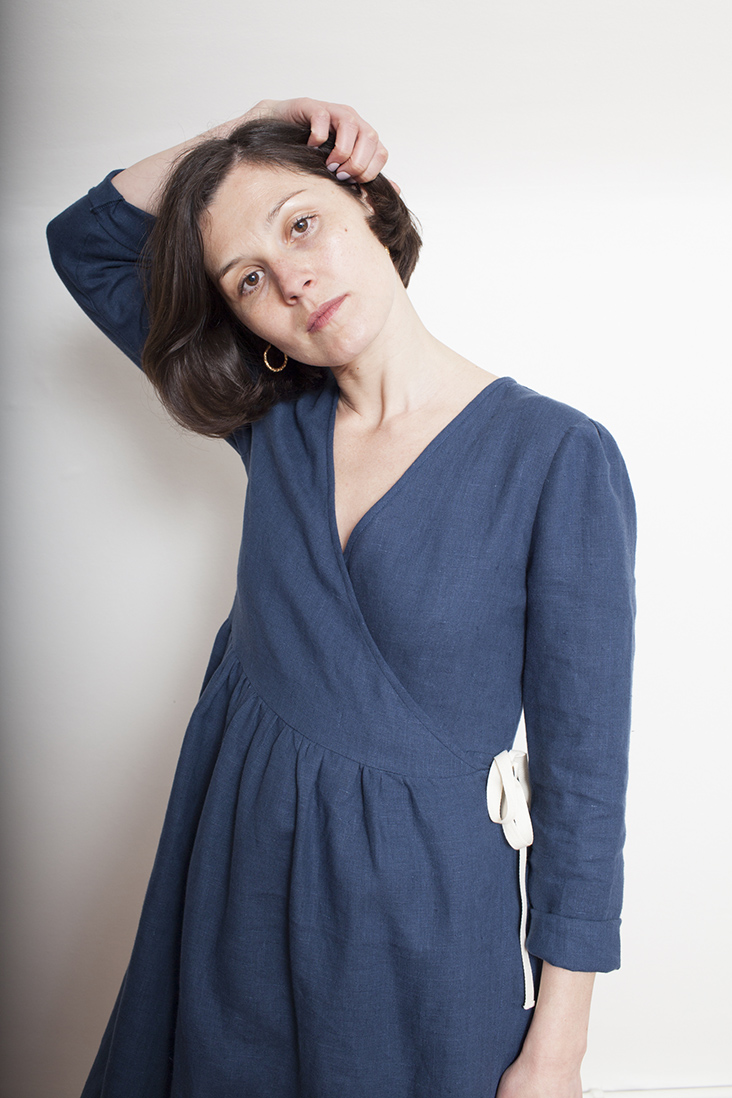
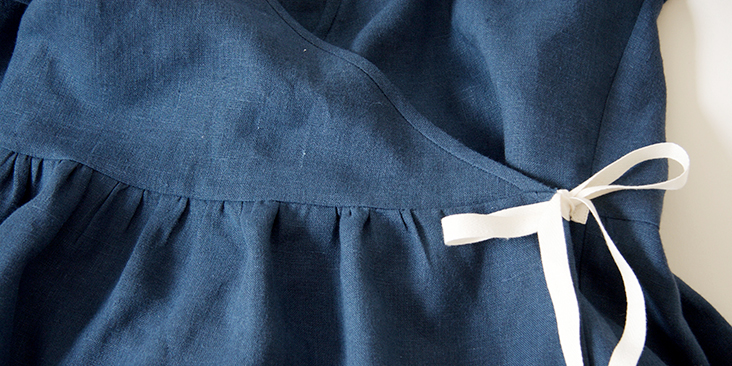
Most feminine yet versatile clothing piece a woman can have in her wardrobe, a wrap dress flatters many figures, looks great in any color and is ideal for any occasion, from fancy dinners to casual weekends. Our version of the iconic wrap dress has long slightly puffed sleeves, gathered skirt and pretty ribbon ties.
Follow this step-by-step tutorial and make this pretty linen wrap dress!
Materials
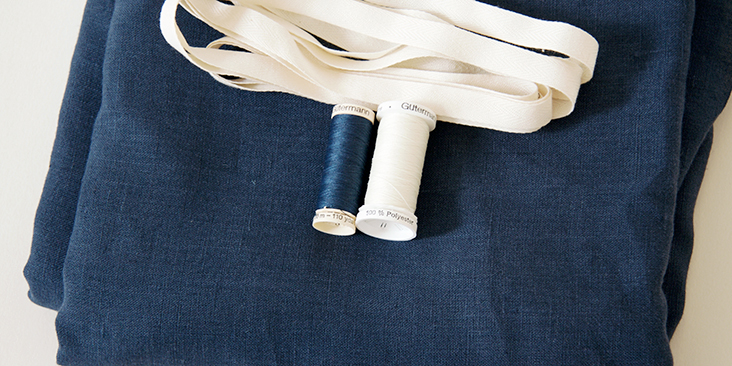
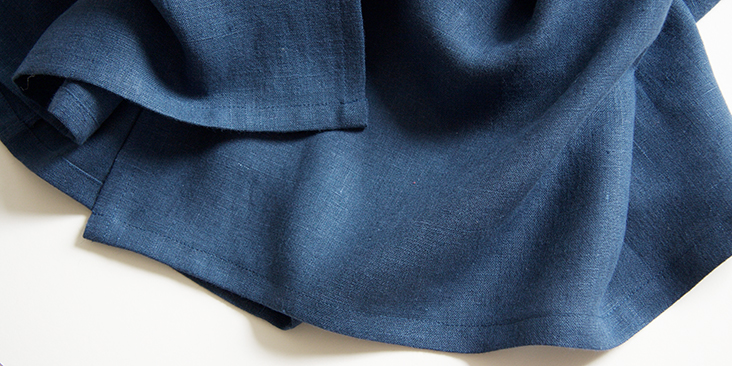
For our sample size S pictured in this tutorial: 3 yards of IL019 COBALT FS Signature Finish Medium Weight Linen
Refer to the yardage table in the PDF pattern to determine the exact amount of fabric you will need to make this dress.
2 yards of ribbon of your choice, matching sewing threads
Tools
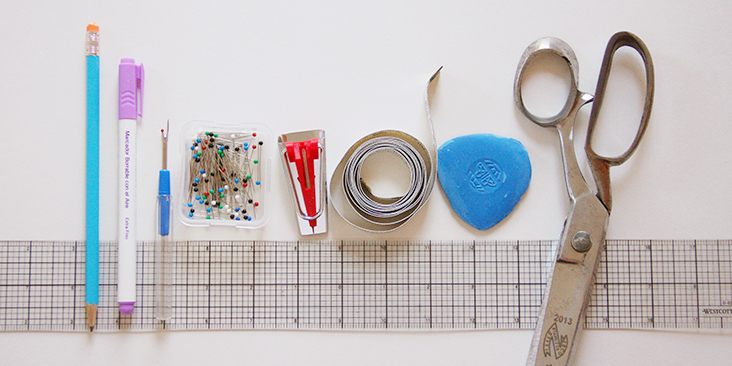
Scissors, pins, ruler, chalk, measuring tape, fabric marker, 18 mm bias tape maker, sewing machine
Difficulty
Beginner
Sewing Time
3-4 hours
Pattern
You can access the multi-sized printable PDF pattern by following this link HERE. All seam allowances are included. The model is wearing size S. If you wish to add inseam pockets to your dress, you’ll find the pocket template and the instructions in this tutorial.
Remember to transfer all the notches onto your fabric.
Steps
Note: Prewash your fabric and tumble dry it until it is still slightly moist, dry at room temperature. Iron the fabric so it is easier to work with.
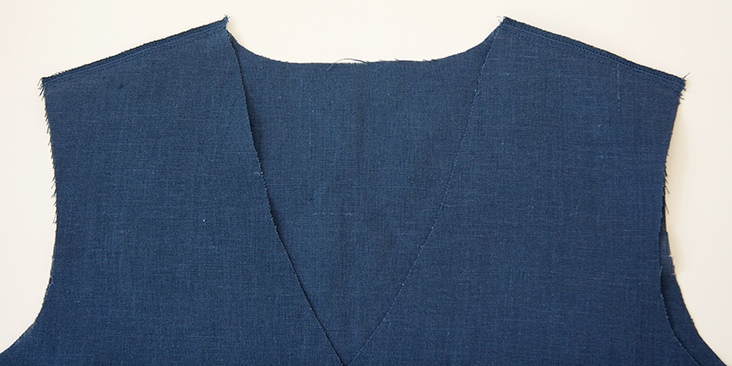
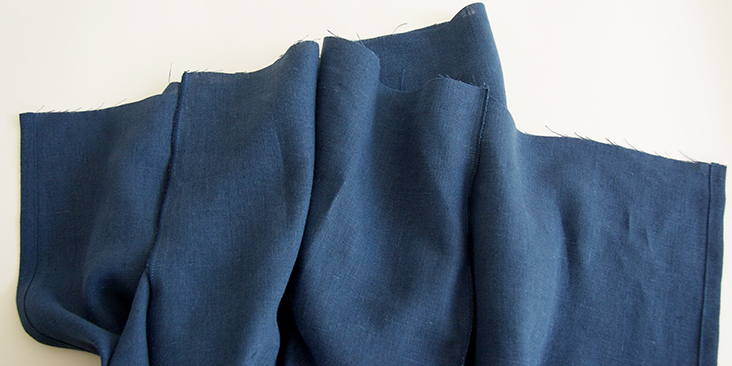
1. Pin the bodice front and back panels right sides together at shoulder seams and stitch at a 3/8” (1 cm) seam allowance. Finish the seams with your preferred method (serge or zigzag raw edges together) to prevent the fabric from fraying. Press towards the back.
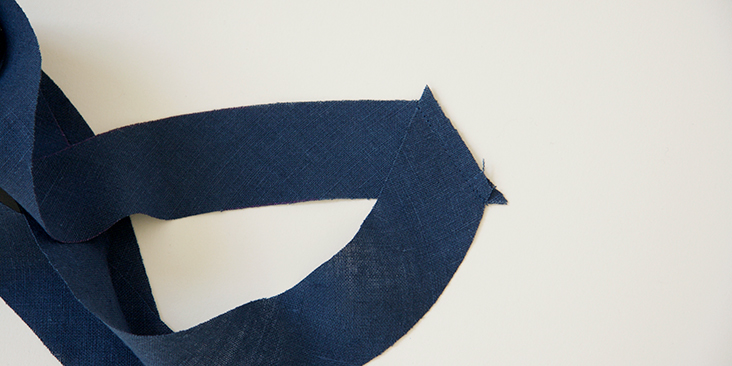
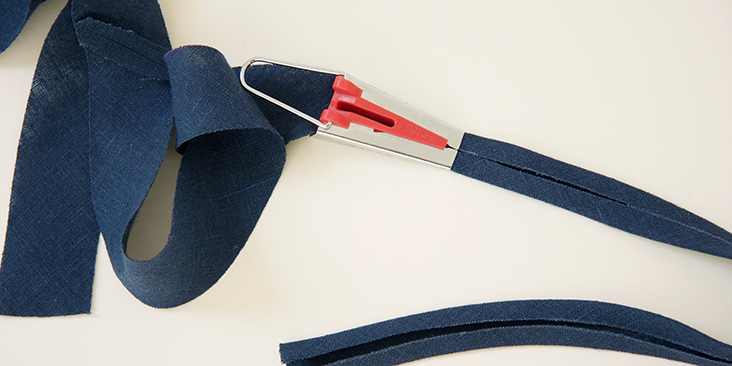
2. Join the two bias-cut rectangles diagonally to create one continuous piece. Then feed it through the tape maker to create bias tape. You can find detailed instructions in this tutorial.
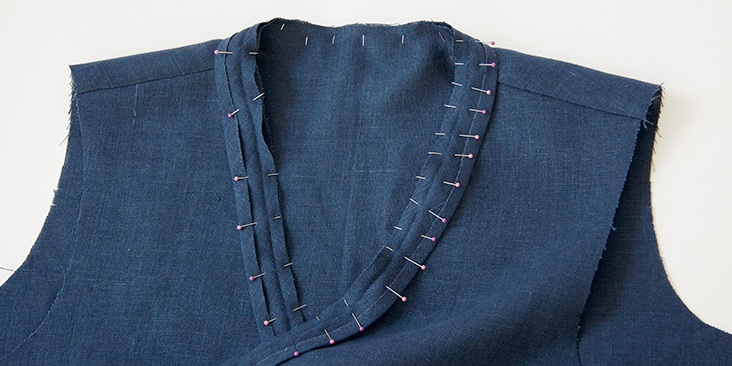
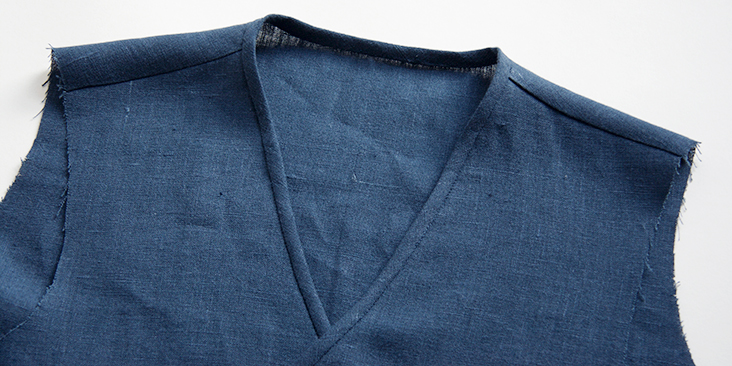
3. Following this tutorial, attach the bias tape all around your front opening matching the joint on the tape to the center back neck. Pin bias tape to neck and front edges, starting at the center back and placing outer crease along seamline.
Stitch along crease, trim the seam allowance down to 1/4” and press the tape away from the bodice. Turn bias tape to the wrong side of your dress and pin the other edge of the bias tape to the bodice. Topstitch the tape in place (from the right side) in the crease or as close to the bottom edge as you feel comfortable.
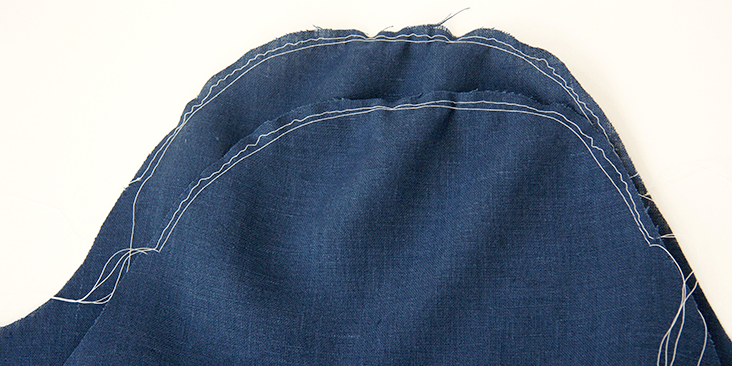
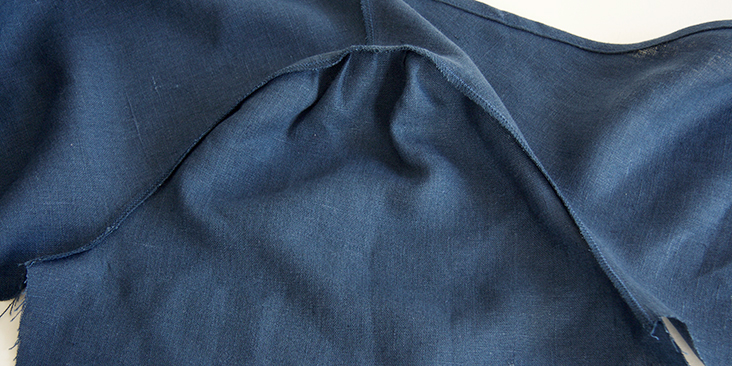
4. Prepare your sleeves for gathering. Run two lines of basting stitches on each sleeve cap, 1/2″ away from back armhole notch to 1/2″ from front armhole notch. If you don’t know how to gather, please check our detailed tutorial HERE.
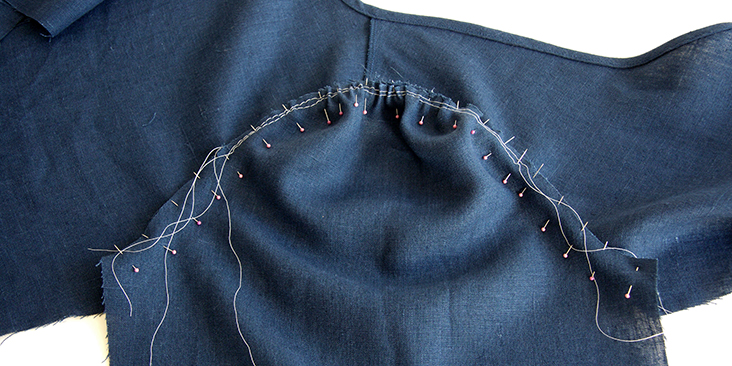
5. Pin sleeves to corresponding armholes right sides together and matching the notches. Pull basting threads to gather sleeve cap. Distribute fullness towards center of your cap and pin to bodice.
6. Stitch sleeve to bodice (3/8” or 1 cm seam allowance) gathered side up, trim seam allowance to 1/4” and finish using your preferred method. Press toward sleeve.
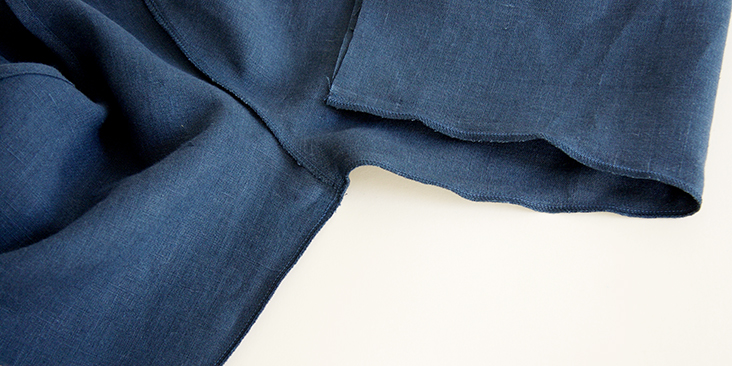
7. Pin (matching underarm seams) and stitch the side seams and the underarms all in one seam at a 3/8” (1 cm) seam allowance, then grade and serge/zigzag the raw edges together. Press seam allowances towards back.
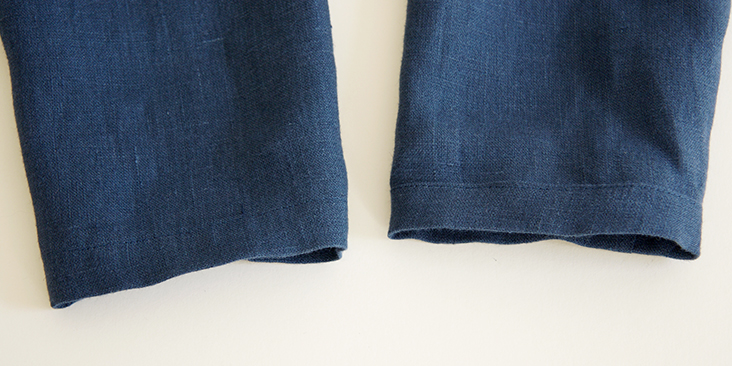
8. Finish the sleeve opening with a rolled hem. Fold the fabric twice to the wrong side (3/8” to 1/2”). Press, pin and edgestitch.
Time to sew the skirt.
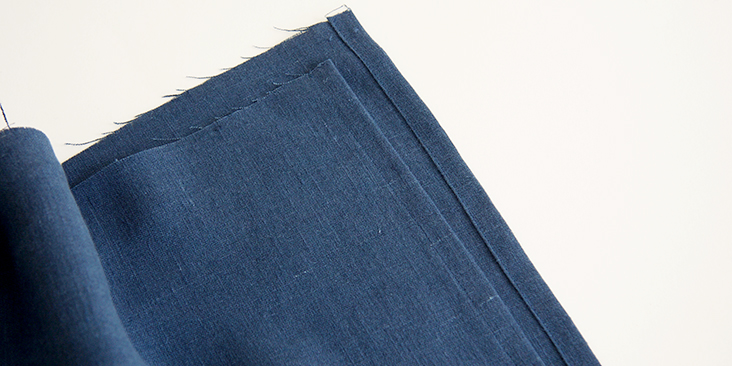
9. Take your two front skirts and fold the straight center front edges twice to the wrong side (first 3/8”, then another ½”), press, pin and stitch in place. Remember to backstitch at beginning and end of seam.
10. Pin and sew front and back skirts right sides together at side seams. Finish the raw edges and press towards back.
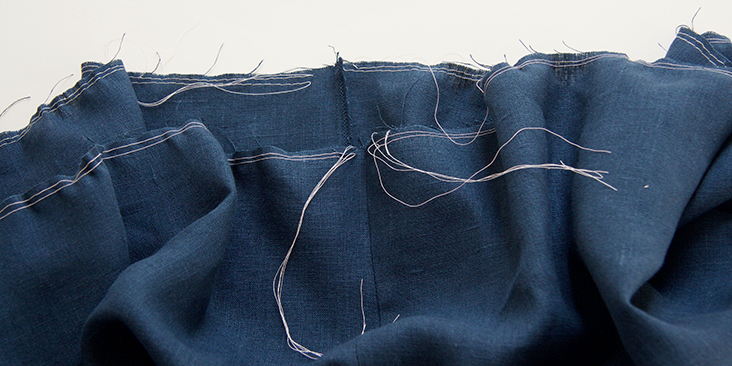
11. Run two lines of basting stitches along the waist edge of your assembled skirt. Each skirt panel should have its own basting stitches so stop before each side seam. Use contrasting color thread and leave long tails.
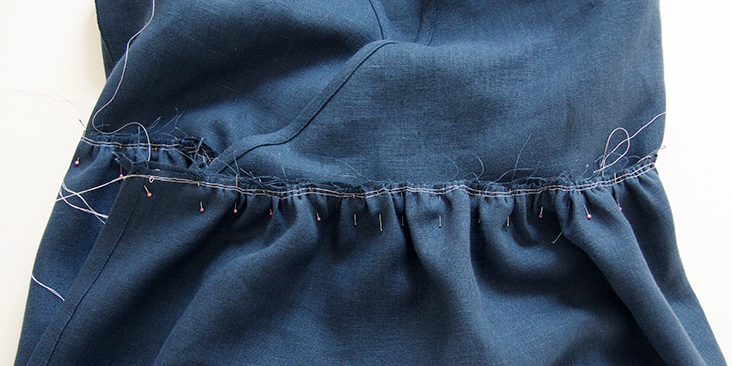
12. Pin your skirt to bodice right sides together matching side seams and the two center backs. Gather your fabric evenly in between the pins.
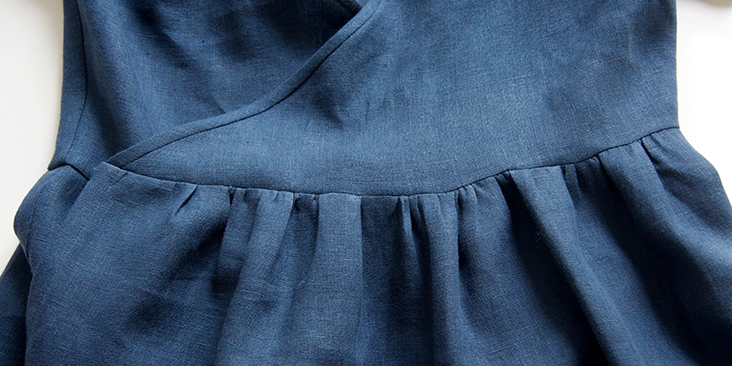
Stitch skirt to bodice at a 3/8” seam allowance, trim and finish the seam. Press towards bodice.
13. Finish the bottom hem. Fold fabric twice to wrong side: 1/2” to 1”. Press, pin and edgestitch.
Time to attach the ties.
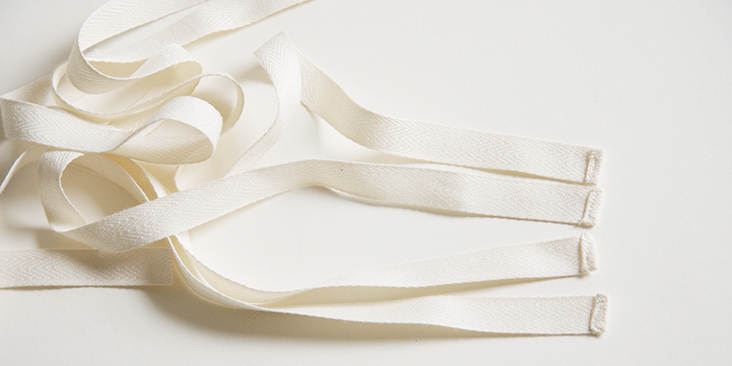
14. Cut your 2 yards of ribbon into four equal pieces, around 18” long.
15. Create a narrow rolled hem at one end of each tie. Stitch in place to secure.
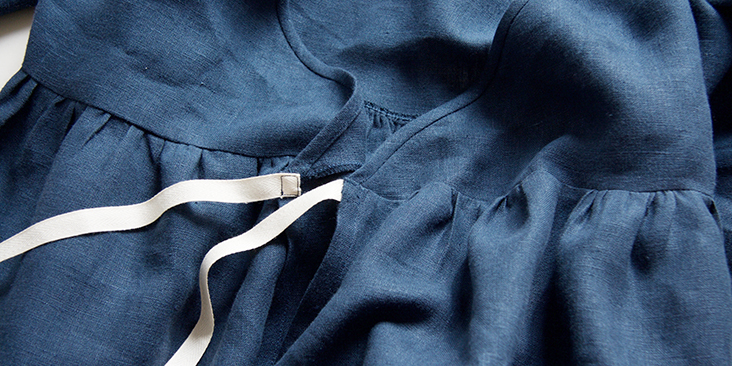
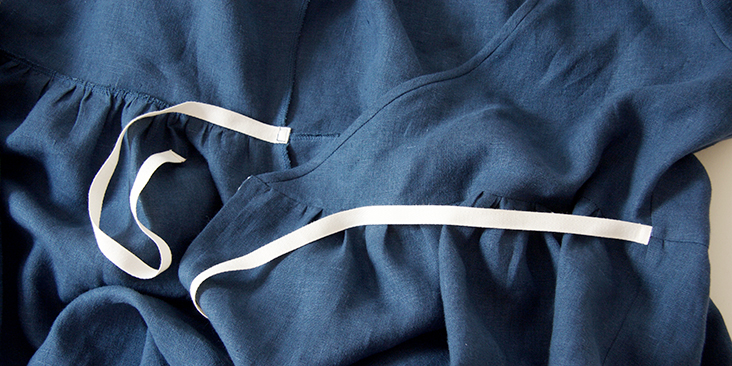
16. Take two ties, tuck in the other raw end and attach them to the inside of the dress, at the right and left waistline edges (where the skirt and bodice seam allowances meet). Sew a few extra times over the tucked in ties to extra secure them.
17. The third tie is attached to the inside of the dress, at the right front side seam at the waistline edge. The last tie is attached to the outside, on the right fabric side of left front side seam at the waistline edge.
Et voila!
We love seeing what you make! Don’t forget to share your pictures and tag your creations with #FabricsStoreNoorPattern hashtag.














18 Comments
Martine Deschamps
bonjour,
il y a un problème de numérotation des pages (de 41 à 46); c’est perturbant, j’ai cru que mon imprimante me jouait des tours ….mais en lisant les autres commentaires, j’ai compris que non; j’ai pu rectifier les numéros des pages sans les imprimer à nouveau.
pensez y si vous choisissez de coudre cette robe.
Marta
Good morning,
there is a problem with page numbering (from 41 to 46); it’s disturbing, I thought my printer was playing tricks on me….but reading the other comments, I understood that it wasn’t; I was able to correct the page numbers without printing them again.
think about it if you choose to sew this dress.
Marta
Lisa Cupery
Is the a fabric cutting layout for the pattern pieces ?
Debbie Conrad
I’d like to see that, too. I’ve been sewing for over 50 years and there was no way I could get all of the pattern pieces on 3 yards of fabric. I had to buy another yard and a half!
rebekah Moran
Love this pattern. The instructions were very clear and easy to follow! I’m hoping to enjoy this new dress for years to come. I found that the amount of material/supplies listed were exactly what I needed to finish the project. Thank you for making this pattern available!
Miriam Carvalho
Thank you for your generosity in sharing it!
Chelsea Vetter
Reached out about the link in “here” not working but its still not fixed it seems. Would love to sew this pattern!
Lauren Linen
hello Chelsea, When we click the link “You can access the multi-sized printable PDF pattern by following this link HERE it links straight to the pattern on the website. Is there another link we are missing?
Patricia Kempken
Hi, thank you for the free pattern. I would like to do a sleeveless version of this lovely wrap dress. Do I need to change the arm opening in the pattern?
daisy cody
Love this dress pattern! Made it to practice setting sleeves and I can see this fast becoming one of my favourite casual summer dresses
Stephanie Saccone
Agreed on the page numbering wrong – several pages repeat numbers, causing me to print quite a few extras — and the yardage. Nice to provide this pattern but does need updating.
Erin McCracken
For future reference: this is ABSOLUTELY a minimum of 3 yards, and that’s for smaller sizes. I’m cutting in a size 12, and I had to shorten the skirt length to make sure I had enough fabric. I would recommend a minimum of 3 yards for smaller sizes, 3.5 for medium sizes, and 4 for larger sizes.
Ellen Merchant
Hi,
Im really disappointed, there is no way that 2 yards is enough to make this dress! whichever way you arrange the pattern. Im not left with not enough fabric and will have to pay for extra to be sent… very annoying.
Alžb?ta Jileckova
There is a mistake in this pattern! I ordered 2 yards and it is not enough. Now I have a problem because I don’t want to pay extra postage for only one yard of fabric :/ . Please, correct a mistake for future buyers.
Lisa Bentz
Thank you for the PDF instructions! I didn’t understand either till I read this tutorial but once I did, then I found the instructions within the PDF as well. Duh. Now that I have printed my pattern, I will attempt to make this cute dress. Thank you for the tutorial as well. I am a beginner when it comes to sewing with linen so here’s hoping I can make this dress!
elo gu
hi, no pattern available … is it normal ? thancks.
Laurie Wisbrun
First, thank you so much for sharing such a lovely pattern! I am excited to get sewing. I have downloaded the pattern and the instructions and have a few questions!
1. The pattern states sizes 0-14 require 2 yards of fabric but your tutorial states 3 yards for a size small Can you confirm which is correct? Based on the pattern piece sizes, I suspect it’s 3!
2. Is there a diagram to show how to layout the pattern pieces on the fabric?
3. There is something a bit wonky in your PDF.., Page numbers all of the pieces from 40-50 are mis-numbered when printing sizes 8-10 and 12-14. I was able to piece it together just fine once printed by matching up lines but just wanted to point that out as you may want to update your pattern.
Many thanks for your help!
keri brunskill
I’m interested in sewing this and wondering if you figured out if it actually requires 2 or 3 yards? How did it turn out? I’m a bit confused in the instructions on how to add pieces of ribbon as the ties. Are 2 tied inside and 2 tied outside of the dress?
Rachel Quihuis
Yes , that’s exactly it.
And it seems it does need 3 yards plus a bit more depending on how long you want it.