Devin Linen Pajamas Tutorial and Pattern
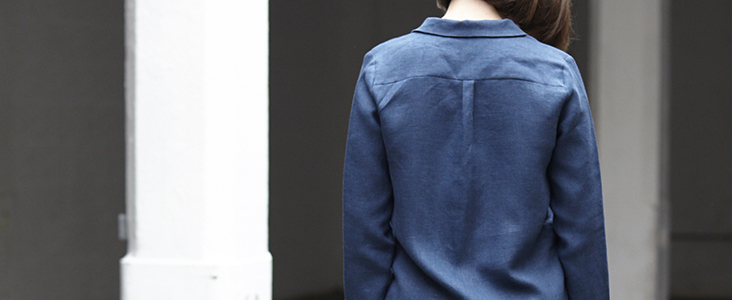
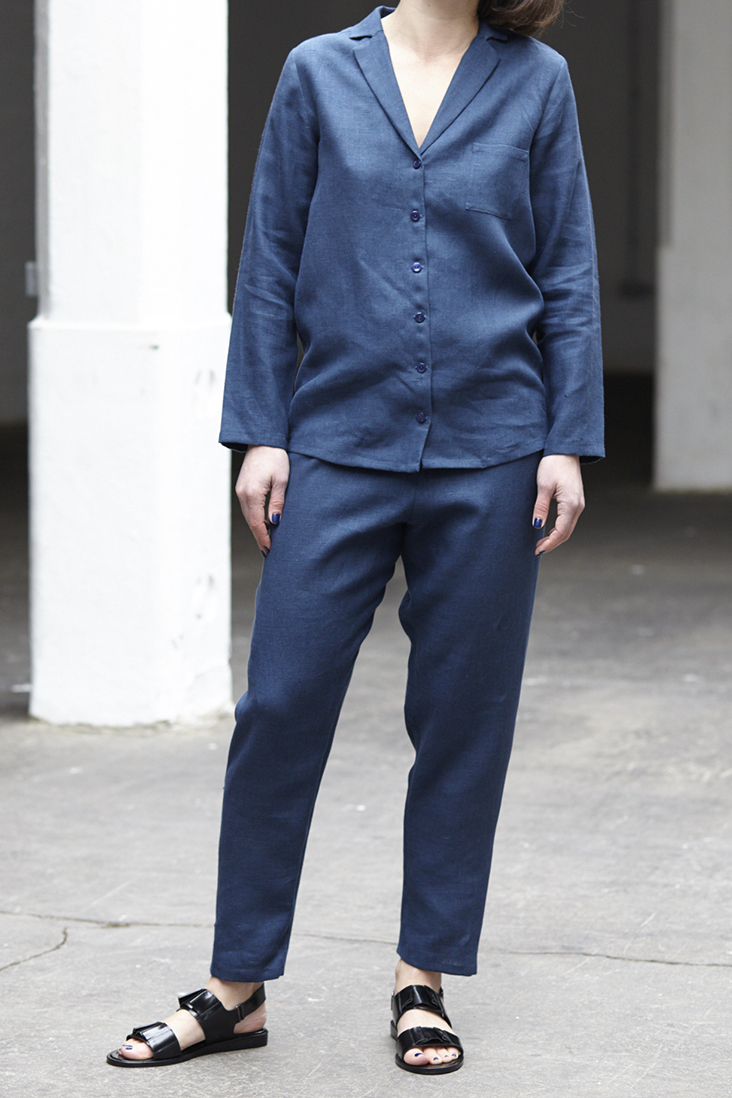
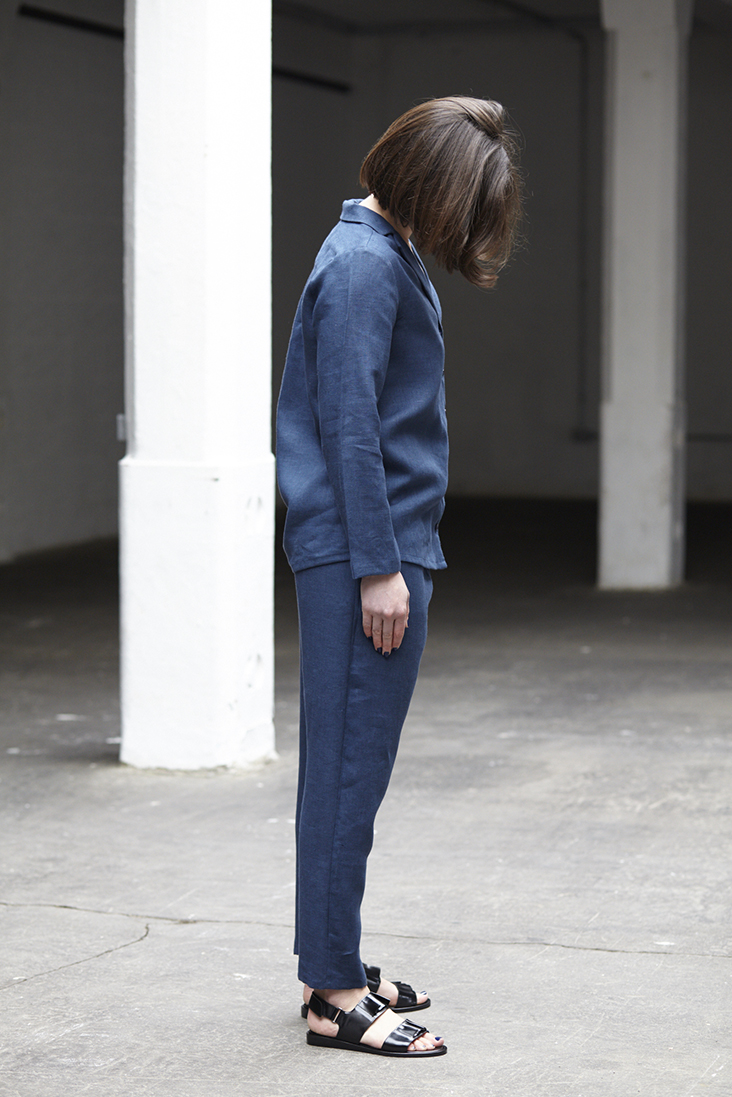
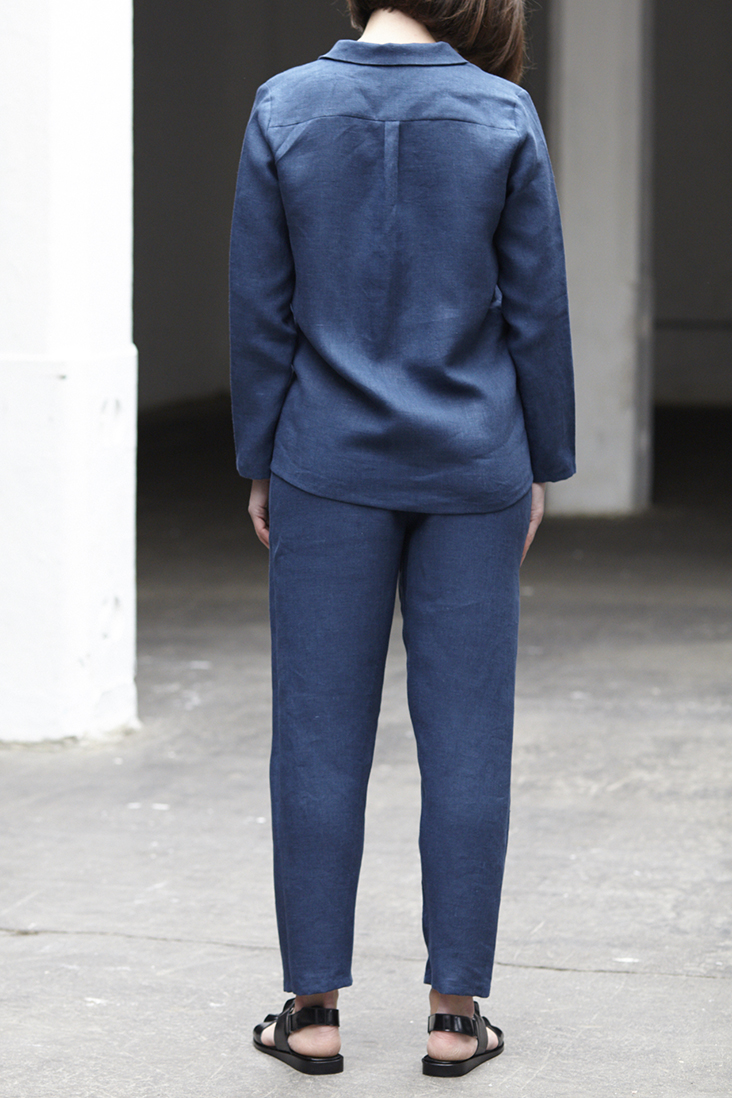
We can hardly believe it, the year is almost up! But before we get ready to party our way into 2019, we are indulging in a little bit of laid-back lounging with our linen pajamas! This timeless two-piece set is cut from our softest linen that’s been hot washed to enhance the linen’s natural softness and a lived-in look, qualities that improve with every wash.
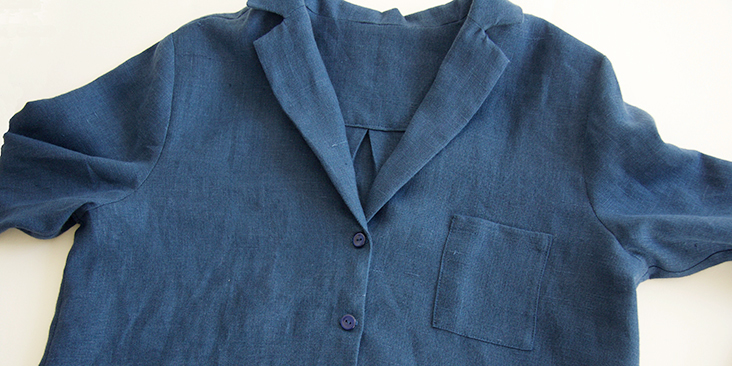
The classic top has a notched collar, button front, long sleeves and single patch pocket. The pants are elasticated at the waist for the most comfortable, flexible fit. Loungewear doesn’t get more luxurious than this handmade 100% linen pajamas.
Materials
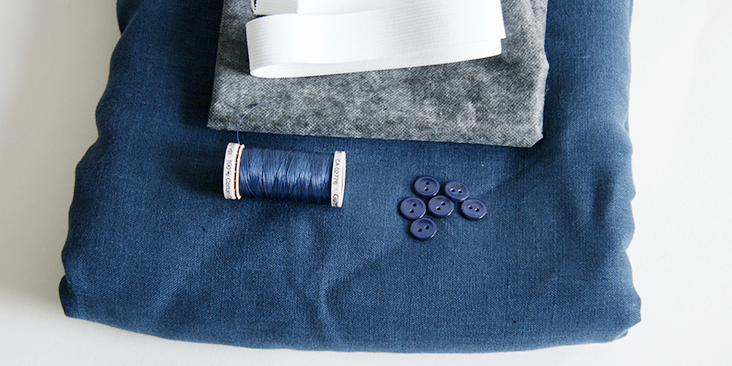
4 yards of IL019 COBALT FS Signature Finish Medium Weight Linen
Matching sewing thread, fusible interfacing, 6 small (18L) buttons, 1 yard of 1”-wide elastic
Tools
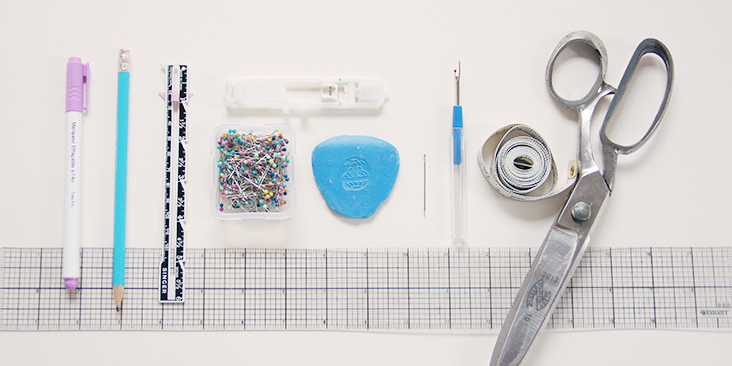
Scissors, pins, ruler, chalk, measuring tape, fabric marker, safety pin, buttonhole foot, seam ripper, needle, sewing machine
Difficulty
Advanced Beginner
Sewing Time
6-7 hours
Pattern
You can access the multi-sized printable PDF pattern by following this link HERE. All seam allowances are included. The model is wearing size US size 6.
Remember to transfer all the notches onto your fabric.
Steps
Note: Prewash your fabric and tumble dry it until it is still slightly moist, dry at room temperature. Iron the fabric so it is easier to work with.
1. To start, sew and attach the patch pocket onto the left front piece following the first method explained in this tutorial.
Fold top edge of the pocket twice to the wrong side, 3/8” to 1/2″ and edgestitch. Refer to the pocket placement notches in the pattern to pin and stitch your pocket in place.
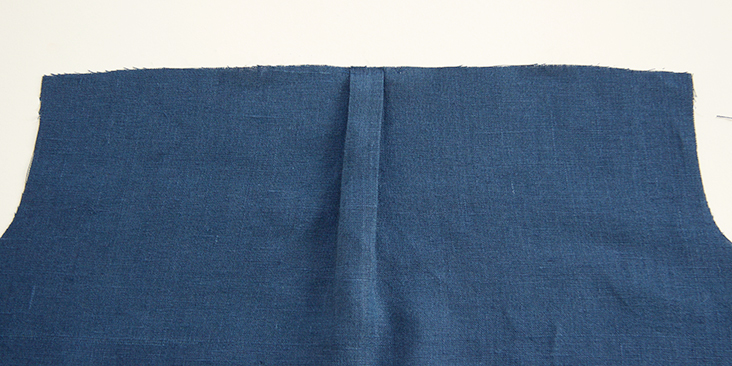
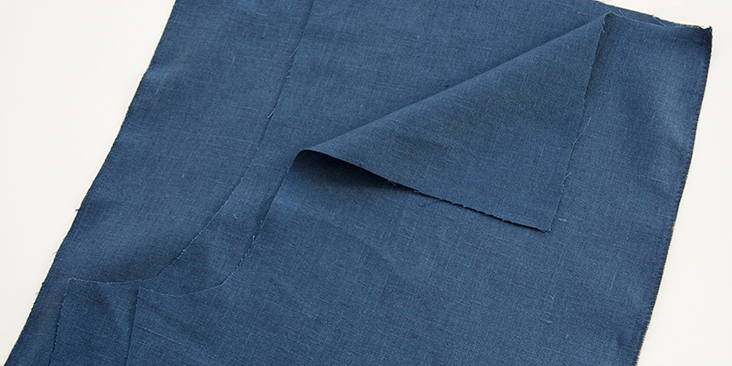
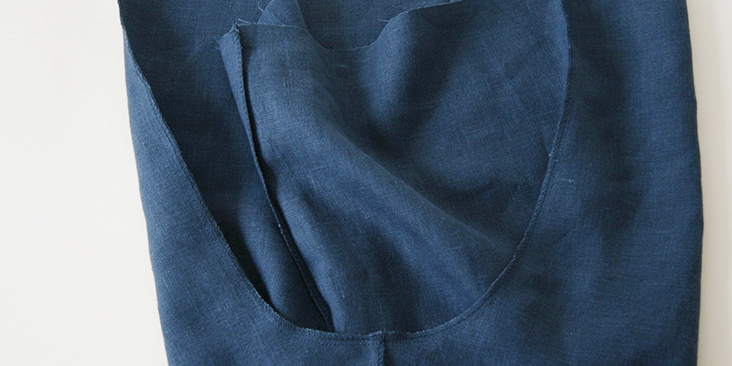
2. Take your lower back piece and with your fabric’s wrong side facing you, accordion pleat your back at the Center Back matching the notches (the two pleats should meet at the center) and baste across the pleat (1/4” or 6mm from the raw edge) to secure. Press lightly to create a box pleat.
3. We’ll start the construction of pajama top with the notched collar. To guide you through the process as best as we can, we invite you to follow this very detailed tutorial on how to sew a notched collar. Follow the steps and complete your notched collar and front opening. The process is exactly the same but since the pajama top features a back yoke, you should consider your outer yoke as back, and the inner yoke as back facing.
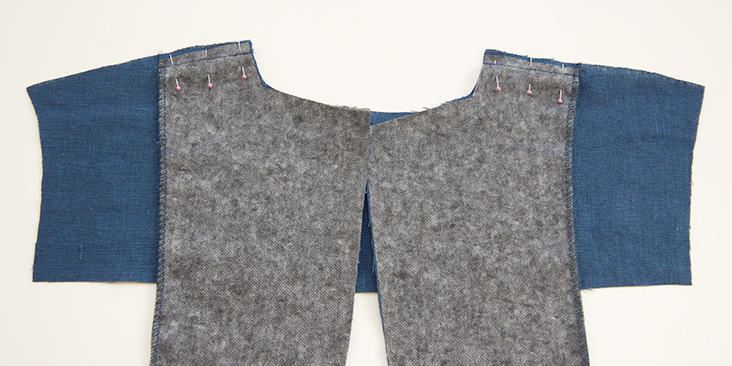
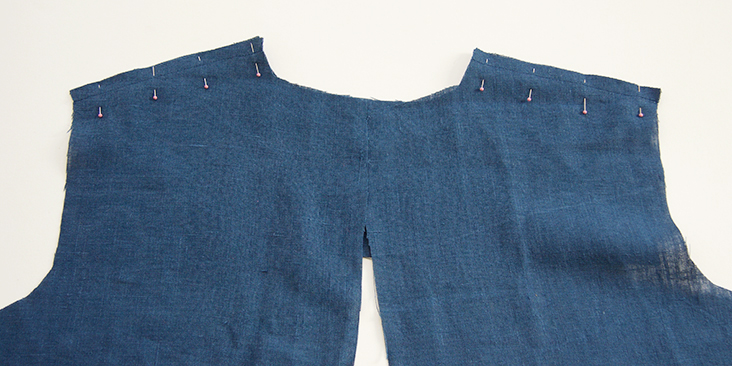
So here’s a little recap of the steps: first, finish the outer raw edges of two front facings with your preferred method (serge or zigzag) to prevent the fabric from fraying in the future. Interface your two front facings and under collar. Pin and stitch the front facing pieces to the inner yoke at the shoulders right sides together. Pin and stitch two pajama fronts and outer yoke at shoulder seams right sides together. Press seams towards yoke.
Then attach the under collar to the facing, and the upper collar to the main fabric. If you wish to make your pajamas stand out, you can even add some contrasting piping along the collar/front opening edges for a pop of color. We have a great tutorial about making and sewing your own piping HERE.
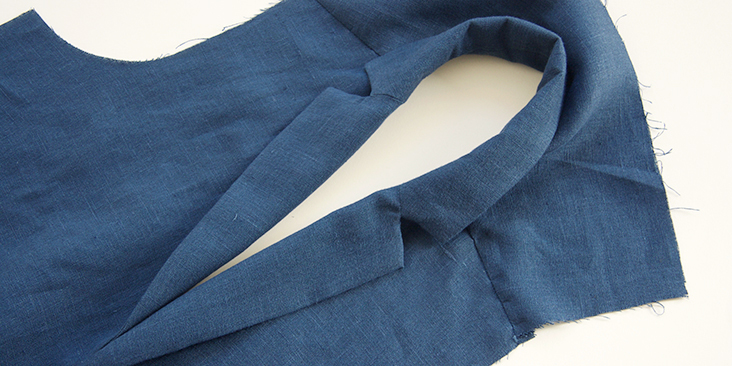
Stitch the facing to the garment right sides together. Trim the seam allowances down to ¼”, clip corners and press. Turn fabric right side out and you have your collar!
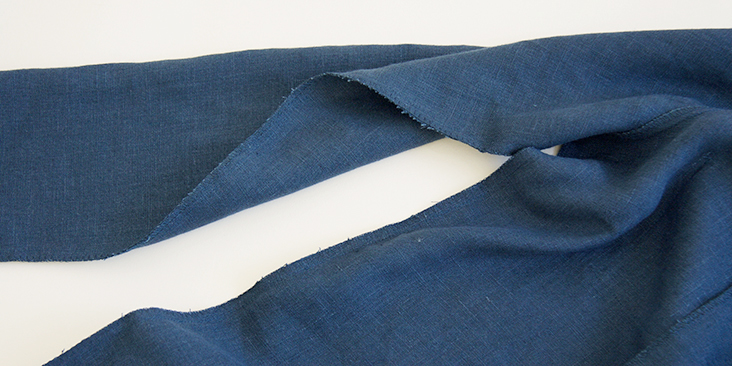
After you’ve completed the construction of your notched collar, you’ll notice that the facing is shorter at the bottom than the front fabric. We intentionally made it shorter in order to avoid bulky corners when hemming.
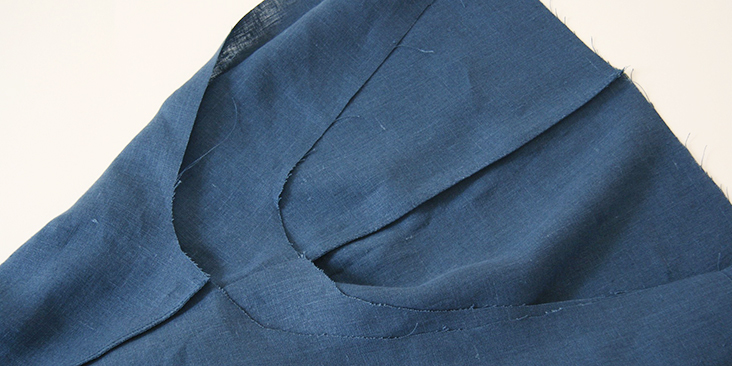
4. Press the inner yoke shoulder edge 3/8” to the inside and pin it to the garment, overlapping the seam line by a couple of millimeters so that when you stitch from the front it catches all layers neatly. Make sure to smooth out any wrinkles before you pin.
5. Working from the right side of your garment, topstitch along the shoulder yoke seam in the crease of your outer yoke making sure to catch the edge of the inner yoke. Run a line of topstitching 1/8” away from the seam line.
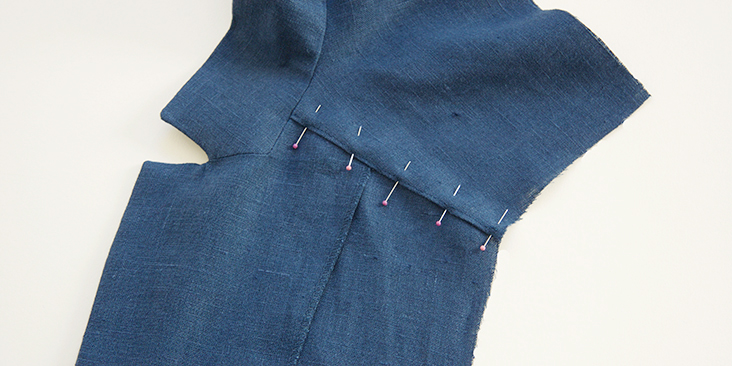
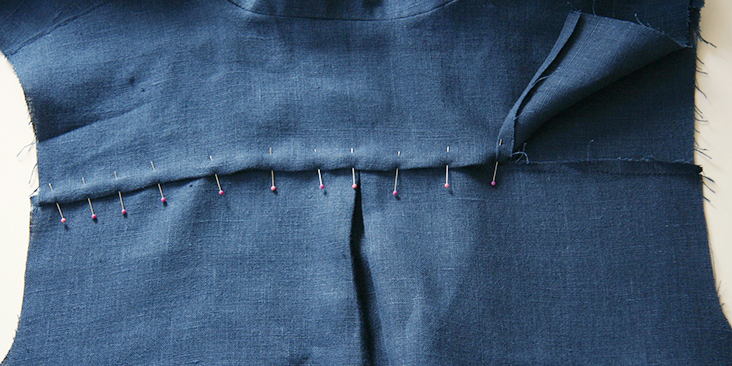
6. Attach the pleated lower back panel to the outer yokes to assemble the back. To do so, first pin and stitch (at 3/8” or 1 cm seam allowance) lower back to outer yoke right sides together matching the centers. Trim the seam to 1/4” and press towards yoke.
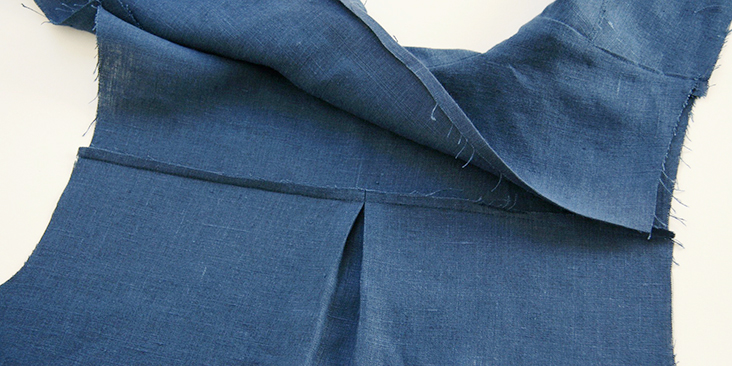
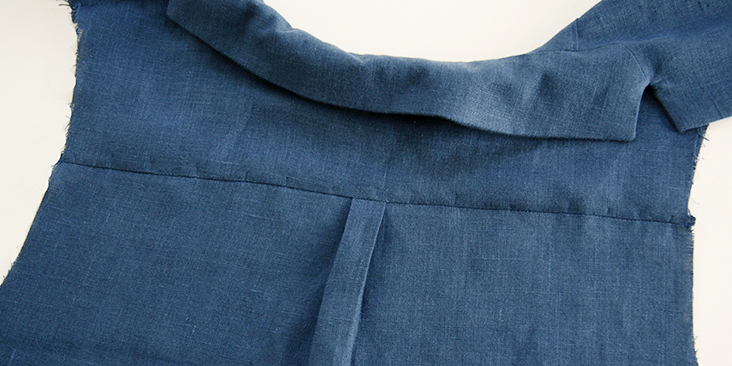
Then press the seam allowance of inner yoke 3/8” to the wrong side and pin it to the lower back. Make sure that the folded edge covers the seam line.
7. Working from the right side of your garment, topstitch along the yoke seam in the crease of your outer yoke making sure to catch the edge of the inner yoke.
Time to attach the sleeves.
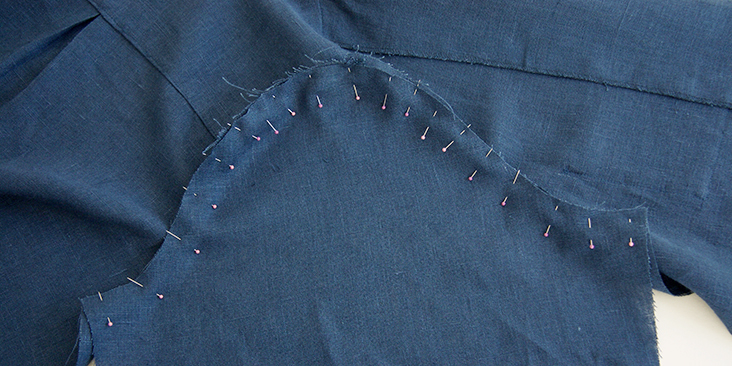
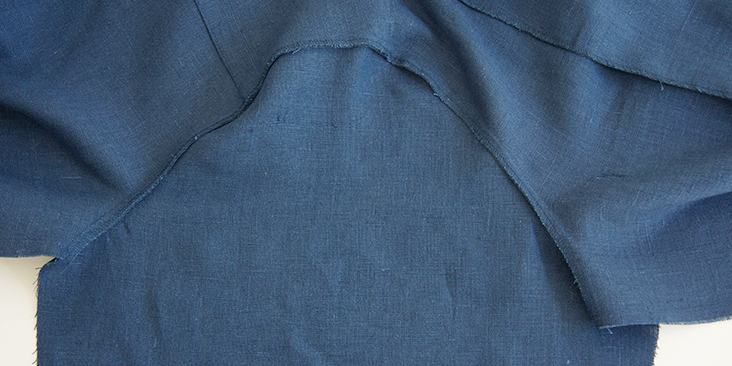
8. Pin and stitch the sleeves to the armholes right sides together at a 3/8” (1 cm) seam allowance.
Finish the seams and press the seam allowance towards sleeve.
9. Pin (matching underarm seams) and stitch the side seams and the underarms all in one seam at a 3/8″ (1 cm) seam allowance then grade and serge/zigzag the raw edges together. Press the seam allowances towards the back.
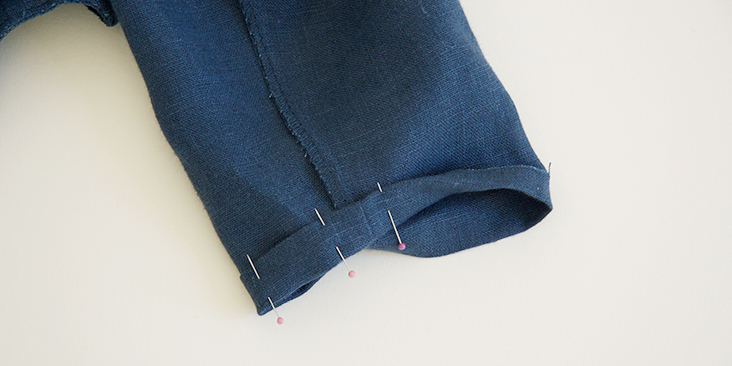
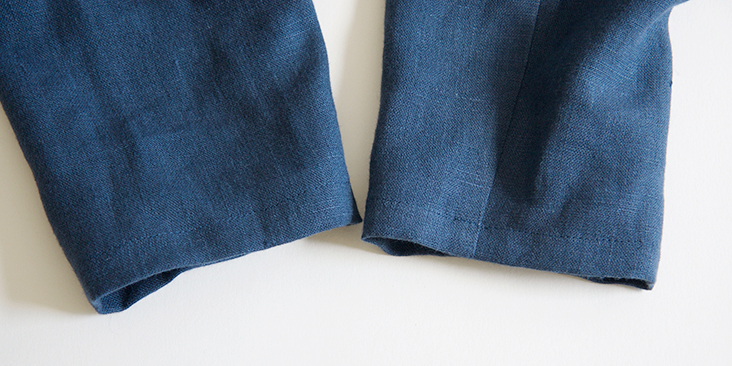
10. Finish the sleeve opening with a rolled hem. Fold the fabric twice to the wrong side (3/8” to 1/2″). Press, pin and stitch.
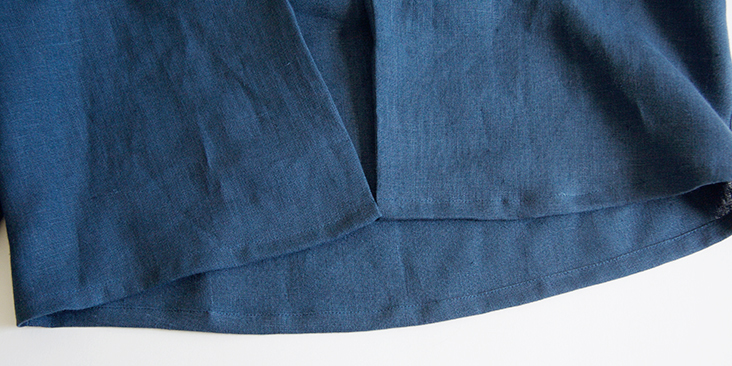
11. Fold the hem twice to the wrong side (3/8” to 1/2″), folding your hem over the facing. Press, pin and stitch.
12. Lastly, sew the buttonholes and attach the buttons. Remember, that the buttonholes are sewn on the right front, whereas the buttons – on the left front.
For the buttonholes, you can follow our detailed tutorial HERE. As for the buttons, check our tutorial HERE for instructions. Overlap the pajama top and place a pin into the center of each buttonhole. This is where you’ll need to attach the button.
The number and the spacing are really up to you. If you want your buttons closer, just leave smaller gaps between them. We decided to space our buttons 2,5″ (6 cm) apart.
Now that your pajama top is complete, let’s sew the pants!
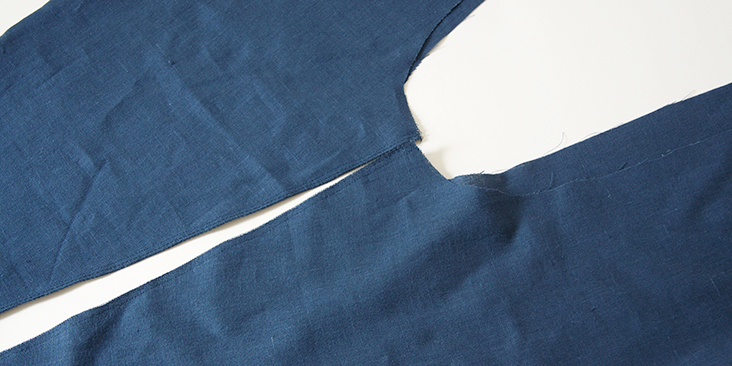
13. With right sides together, pin and stitch each pant front piece to the corresponding pant back at the side seams using the standard 3/8” seam allowance. Grade the seam down to 1/4″, serge or zigzag the raw edges together to prevent the fabric from fraying, then press the seams flat folding the serged/zigzagged edges towards the back of the pant.
14. Repeat the same steps for the inseam edges. With right sides together, pin and stitch each pant front to the corresponding pant back at the inseam. Then finish the raw edges and press towards back leg.
15. Turn the right pant leg right side out and slip it into the left pant leg. Pin the crotch seams together matching the side seams and inseams. Sew along the crotch seam at a 3/8” (1 cm) seam allowance, then serge/zigzag raw edges together and press towards left leg.
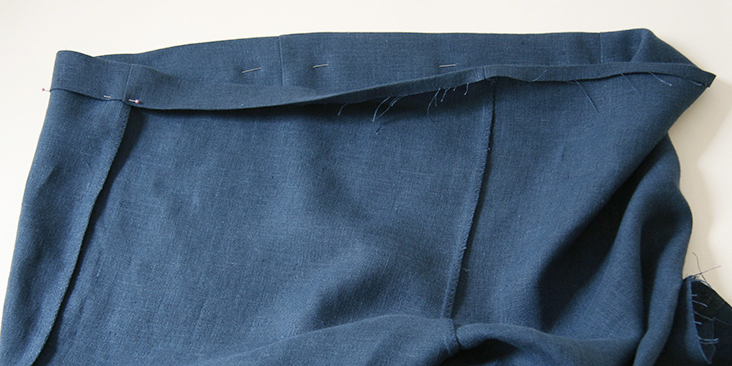
16. Now that you have assembled the legs together, you can form the casing for the elastic waistband. To do so, fold the upper edge 3/8” (1 cm) to the inside and press. Then fold again 1.25” (3 cm), press and pin.
If you wish to make your pajama pants a little extra special, you can even add a drawstring to the waist. More instructions HERE.
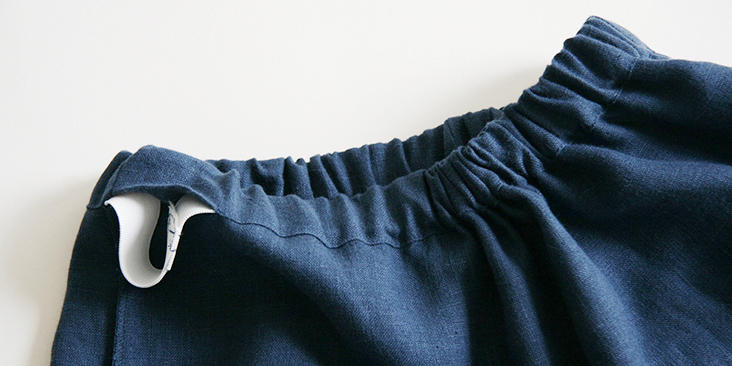
17. Stitch around the lower edge of the casing, 1/8” from the edge, leaving a small (about 2” wide) opening for the elastic to be inserted. Remember to backstitch at both ends.
Attach a safety pin to one end of the elastic and pull it through the casing. Try on the pants and decide how tight you want your elastic to be. Lap one elastic end over the over and anchor the edges with several lines of stitching (create a box) through all layers. Trim the excess.
We have a great tutorial about elastic waistbands where you can find tips and techniques for inserting and securing elastic ends.
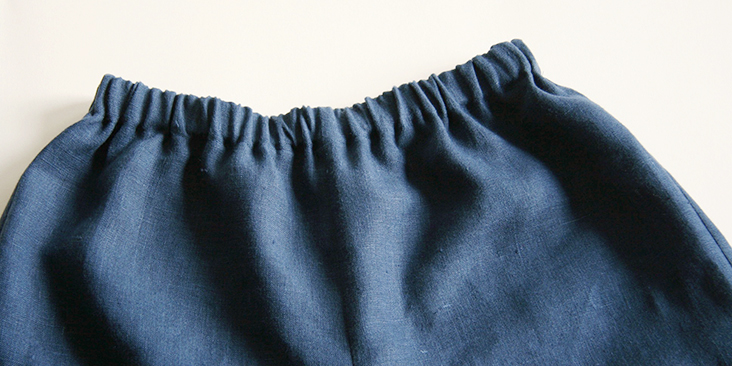
18. Then sew the opening closed with the same seam allowance used before. Make sure not to sew into the elastic itself!
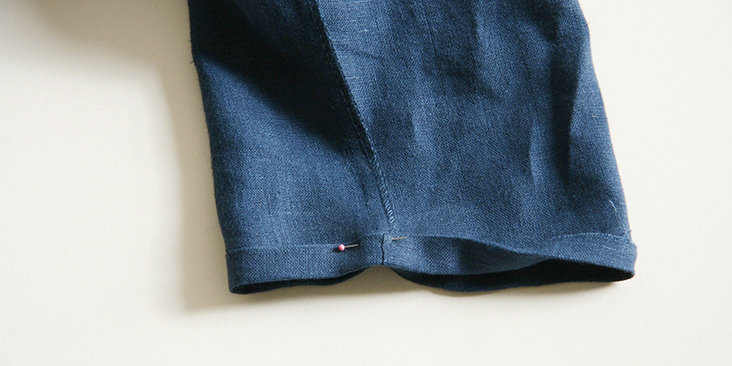
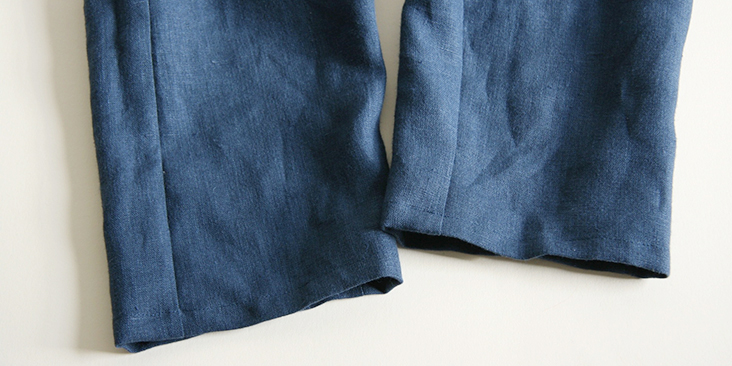
19. Lastly, hem the pants. Fold the bottom edge under first 3/8” (1 cm) then another 1/2? (1.25 cm) and press. Pin and edgestitch starting and ending at the inseam. Remember to backstitch and press when you’re done.
Et voila! After all this hard work you can finally rest in your super comfy linen pajamas!
We love seeing what you make! Don’t forget to share your pictures and tag your creations with #FabricsStoreDevinPattern hashtag.





4 Comments
Lora Mesiano
Is there a size chart or finished measurement chart? Fabric amount required?
Aj Ford
I am making pants in 8-10, but need pattern pages 40-41 for bottom of back legs
Lisa Molloy
Hi – Also in the Size 0/2 the numbers get mixed up. There are no 41 – 46 (inclusive) are missing. The pattern has duplicates of 25 to 30 instead. Please help me!
Stine Dahlberg
I just made these pants as my second ever sewing project and I LOVE them. They were easy to make, and look great. I am actually planning to wear them as normal pants, not pajamas. Thank you! Ps. in the size 12-14 pattern the numbers get a bit mixed up in the PDF at around 40ish, they go down to no 32 and then return back to finish on 50. It was pretty easy to understand how to do it right, but thought I would mention it. I LOVE these pants.