Leena Ruffle Sleeve Dress Tutorial and Pattern
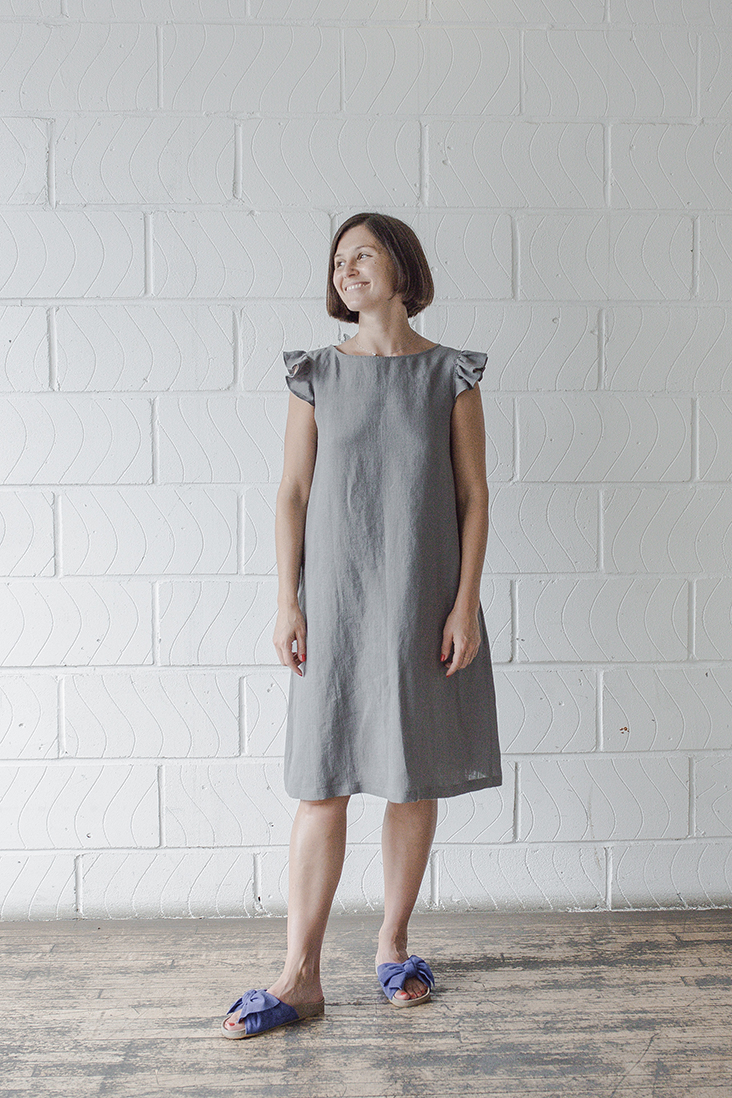
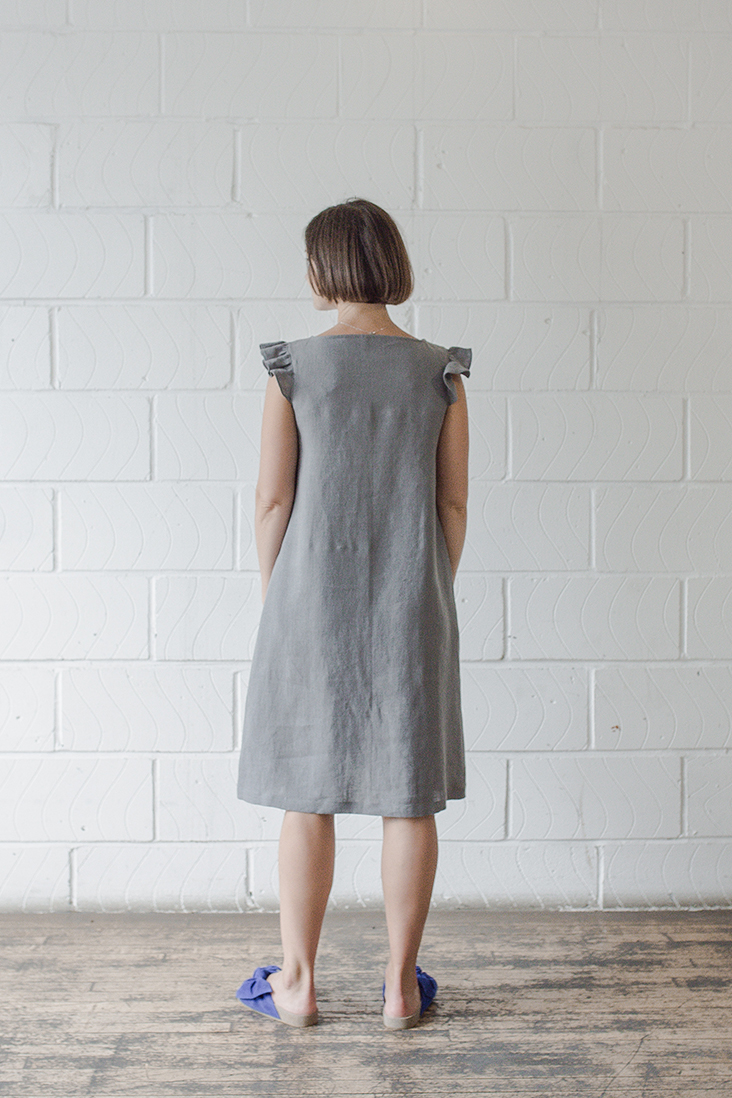
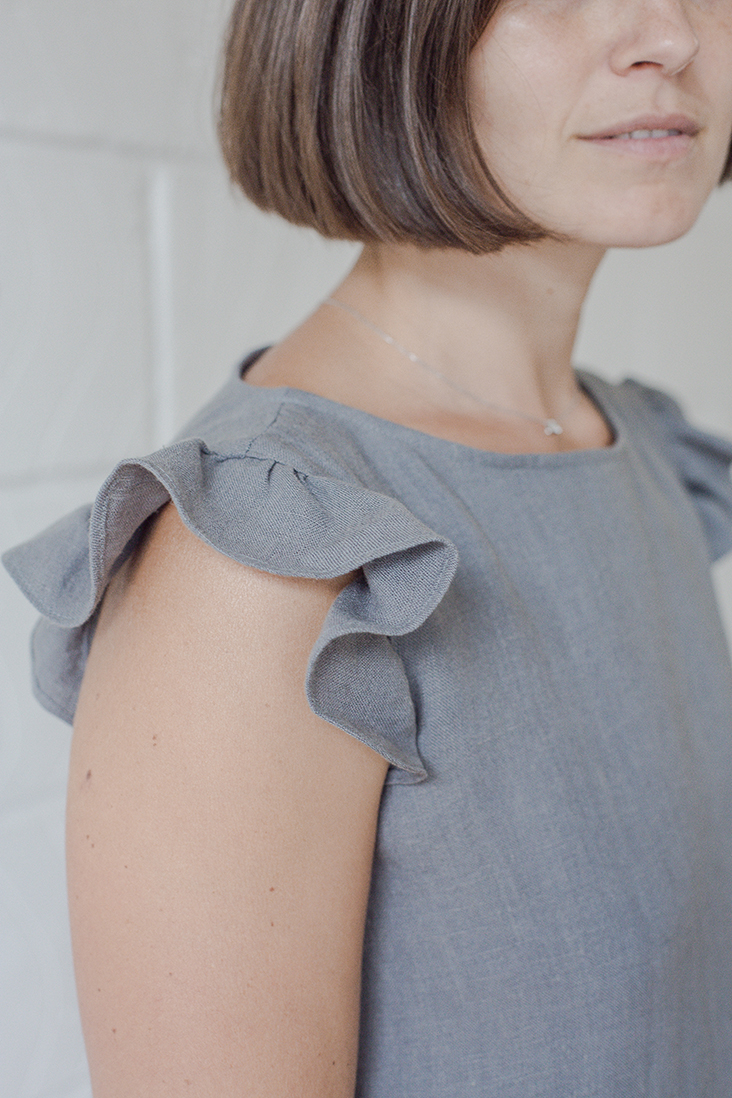
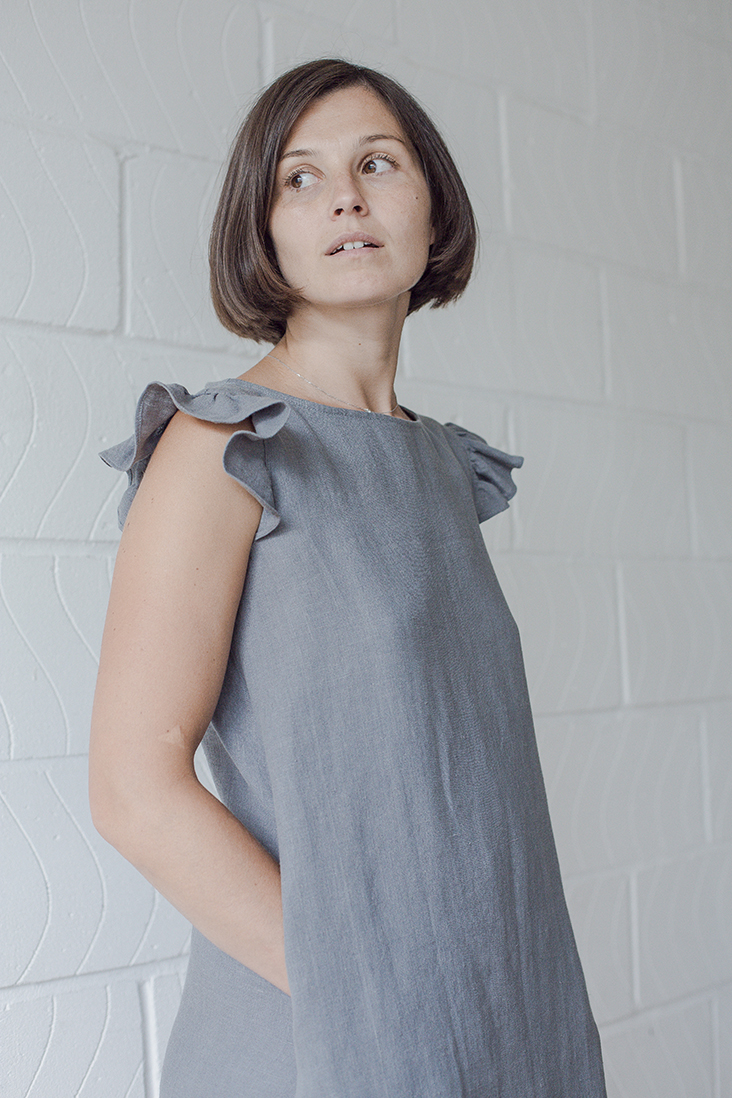
Our mid-calf linen Leena dress with flirty ruffle sleeves is perfectly simple yet romantic and sophisticated. There’s something so delicate and precious about the dainty movement of ruffles that flutter in the breeze… Perfect for everyday wear or special occasions, the Leena dress will make a delightfully feminine wardrobe addition.
Learn how to make this cute ruffle sleeve dress with this easy to follow sewing tutorial.
Materials
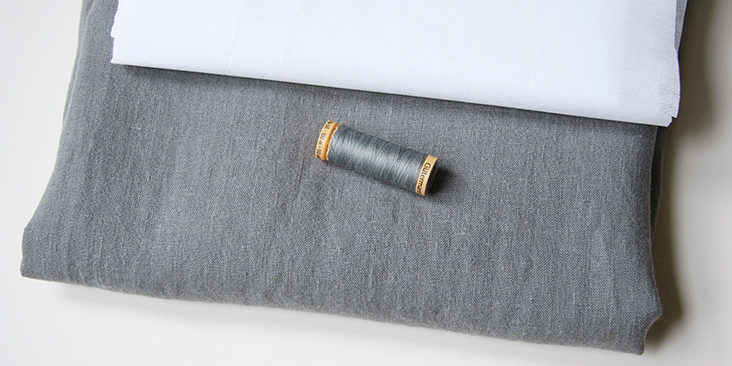
For US size 6 pictured in this tutorial: 2 yards of IL019 ASPHALT FS Signature Finish Medium Weight Linen. For larger sizes, please refer to the yardage table in the PDF pattern.
Matching sewing thread, lightweight fusible interfacing
Tools
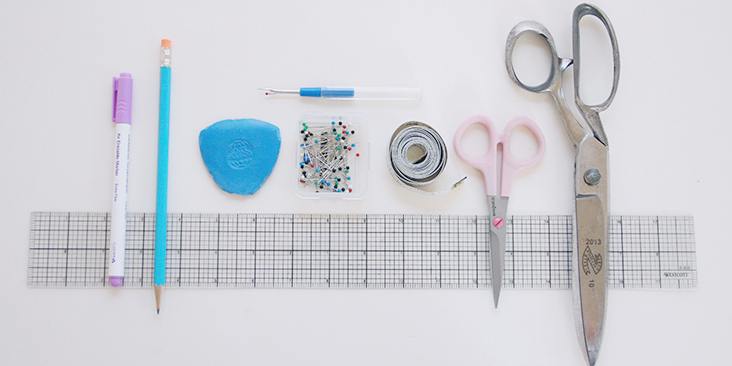
Scissors, pins, ruler, chalk, fabric marker, measuring tape, seam ripper, sewing machine
Difficulty
Beginner
Time
3-4 hours
Pattern
You can access the multi-sized printable PDF pattern by following this link HERE. All seam allowances are included. The model is wearing size US size 6.
If you need help adjusting the pattern for a fuller bust, we have a great Full Bust Adjustment tutorial HERE.
Steps
Note: Prewash your fabric and tumble dry it until it is still slightly moist, dry at room temperature. Iron the fabric so it is easier to work with.
1. Pin front and back bodices right sides together and stitch at a 3/8” (1 cm) seam allowance. Trim the raw edges down to 1/4″ (6 mm), serge or zigzag them together to prevent the fabric from fraying. Press the serged/zigzagged seam allowances up towards the back of your dress.
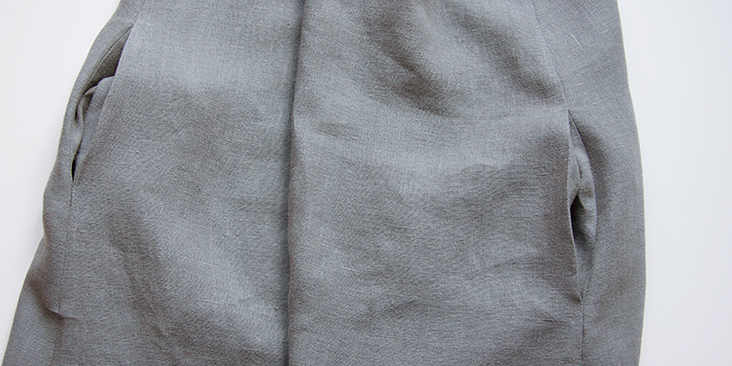
2. Follow this step-by-step tutorial and attach the inseam pockets and sew the side seams. Finish the seams and press towards the back of the dress.
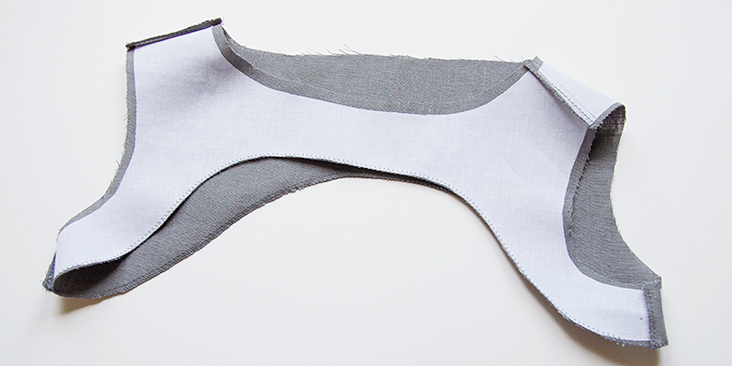
3. Apply fusible interfacing to the wrong side of front/back facing. To avoid bulky seams, you can trim off the interfacing’s seam allowances. Finish the bottom edges with a serger or a zigzag stitch to prevent the fabric from fraying.
4. Pin the shoulder and side seams of your front and back facing pieces right sides together and stitch at a 3/8” (1 cm) seam allowance. Then trim the raw edges down to 1/4″ (6 mm), serge or zigzag them together and press towards the front.
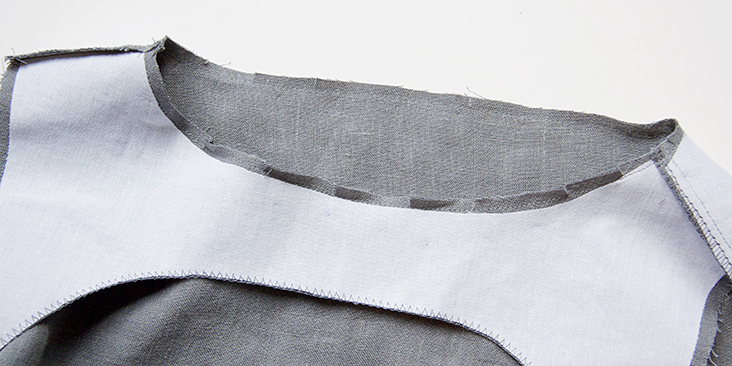
5. Matching the neckline and armhole raw edges, pin the facing to the dress right sides together along the neckline.
6. Starting at the shoulder seam, stitch the facing to the dress along the entire neckline edge at a 3/8” (1 cm) seam allowance. Remember to backstitch. Trim the seam allowance down to ¼” (6 mm) and clip the curves (clip to but not through the seamline).
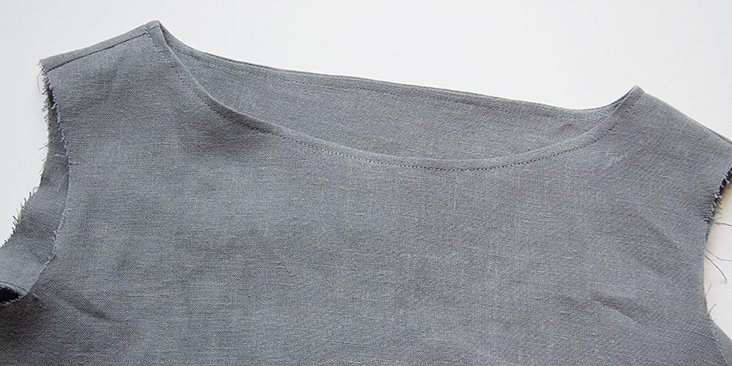
7. Pull the facing to the inside of the dress and press the seam flat. Topstitch along the neckline (1/4″ from the edge) to keep the facing in place.
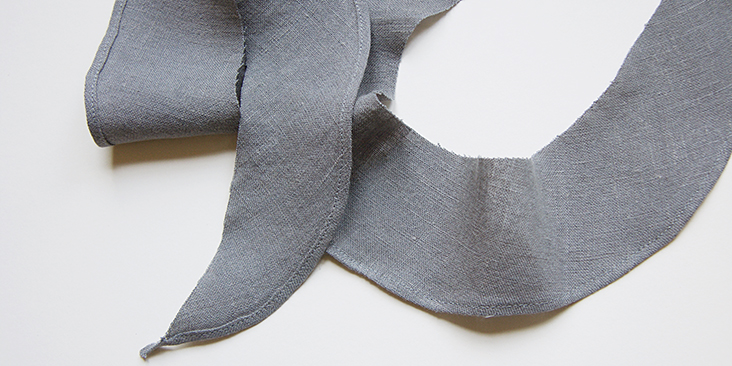
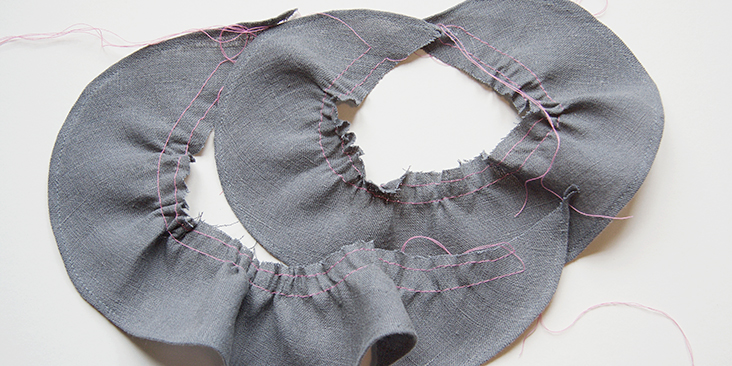
8. Take your ruffle pieces and finish the bottom edge with a baby hem.
9. Gather the upper edge as explained in this tutorial.
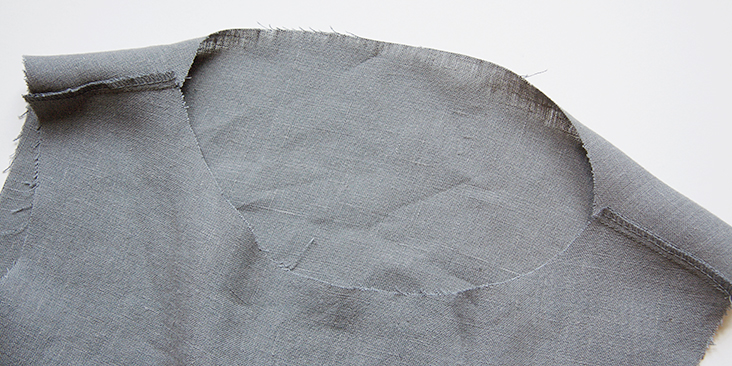
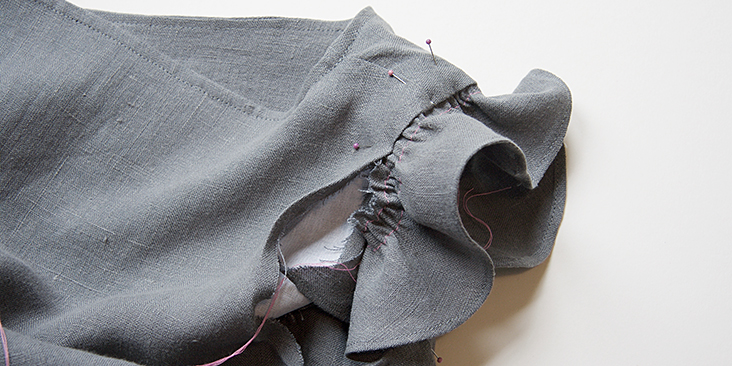
10. Tuck in the raw edges of your dress and facing armhole seam allowance and sandwich the ruffle in between. Place your ruffle between the two notches on either sleeve and pin.
11. Topstitch around the entire armhole starting and ending at the underarm. Remember to backstitch. Pull out the gathering stitches.
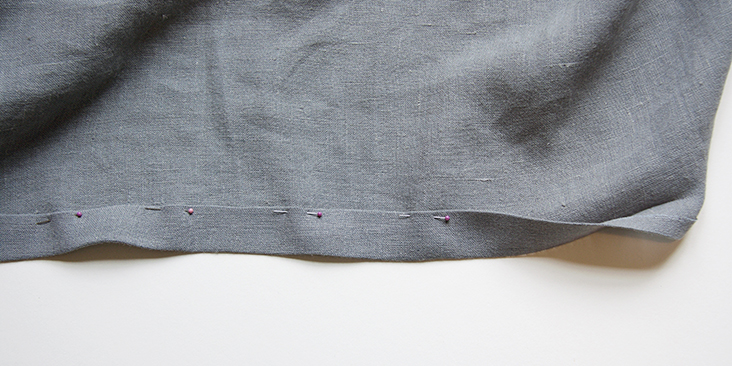
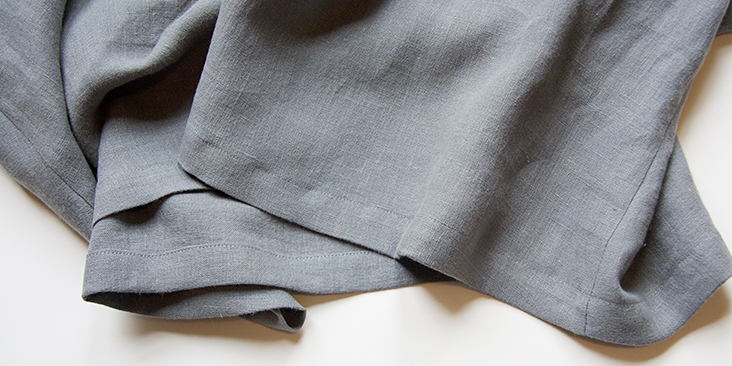
12. Lastly, finish the bottom edge of your dress with a rolled hem: fold your fabric twice to the wrong side (3/8” to 1”), press, pin, and edgestitch.
13. Give your finished dress one last press and you are all done!
We love seeing what you make! Don’t forget to share your pictures and tag your creations with #FabricsStoreLeenaPattern hashtag.








13 Comments
Julie Miller
Step 10 – the sleeves – I need help please…….not sure how to proceed – it was all coming together so smoothly until this……..HELP please – better direction on how to attach the sleeves
Jacinthe Bergeron
I love the style/design of this dress, and an’t wait to try this project! Quick question: has anyone attempted to switch out the ruffled cap sleeve for a bit of a longer sleeve? Would love to hear from you — thank you!
Paula Priour
Love this design and its simplicity, but I have to say that the directions for finishing the armhole opening are woefully inadequate. First off, there are no “notches” on the bodice to tell you where to expect the ruffle to start and stop. OK, I can estimate that sort of from the picture, But “tuck in the raw edges” of the bodice and facing? That’s it for finishing the entire armhole?? Luckily I could figure it out, but a real beginner would make a mess out of this.
Julie Miller
I AM about to ask about this – I’m kinda a beginner and can’t figure what to do!
Kathy Rosen
How do I download the tutorial?
Lauren Linen
Hello Kathy, there is a button at the end of the tutorial which looks like a document with a red arrow pointing down labelled “PDF” click on this button to download the tutorial 🙂
Kathleen Muller
. . .
in search of the above mentioned “button”. Any help would be appreciated. Thanks!
Helene Roueche
I really love this pattern I already did it twice ! it suits perfectly, easy to sew and very confortable.
I did it with a simple cotton and the second one in linen, a fabric I bought many years ago but it looks really nice with this pattern you can see there http://www.latelierdesmarronniers.fr/
Many thanks for sharing
Kim Markey
Love this. I think this would be really cute to wear into fall with a lightweight striped turtleneck & tights.. I think I’d like to see a ruffle on the hem too or pockets on the front with a top ruffle. So many possibilities!
July
Would it be possible to add full length sleaves without gathers to this?
Audrey
Sorry, but this dress is so home made looking. Poor fitting, looks like two sizes too big, and just not becoming, I think the sleeves look good however.
Sam Sangermano
Audrey, I’m not sure if you realize, but it actually *is* homemade.
love this pattern, simple to make, but can dress it up and dress it down. perfect for a beginner or someone looking for a quick weekend project. I love the roomy-ness of it and the frilly sleeves. Thank you!!
Angela palenchuk
? ? ?