Ida Bias Wrap Skirt Tutorial and Pattern
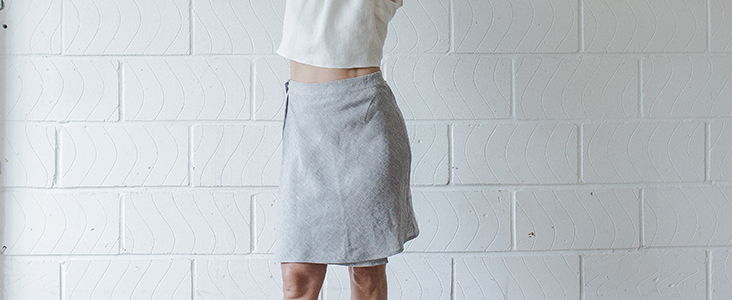
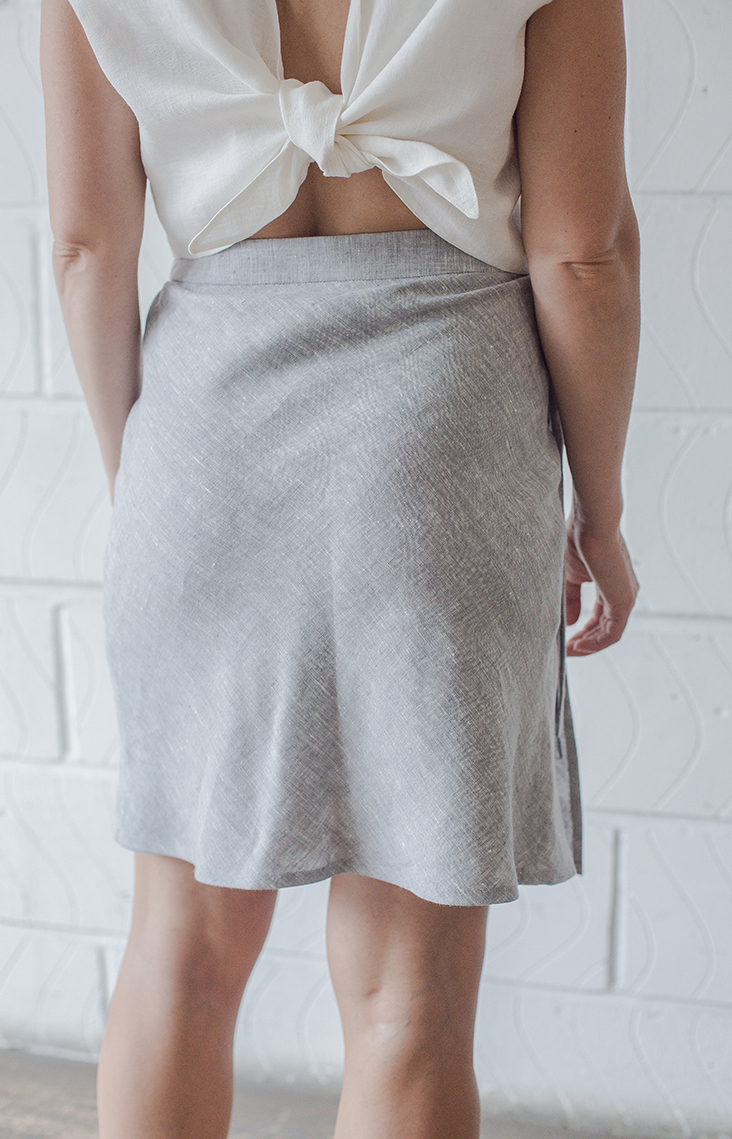
Wrap skirts are among the easiest and most comfortable garments to sew and a very versatile style to wear. It goes with everything and everywhere, all year long. Our version has a little something special: it is cut on the bias and offers a beautiful drape while hugging your body in all the right places.
We chose to make Ida in our signature yarn-dyed medium weight linen. Not only because of its soft and luxurious feel, but also the texture: yarn-dyed threads cut on the bias give this simple skirt a distinctive appearance.
Materials
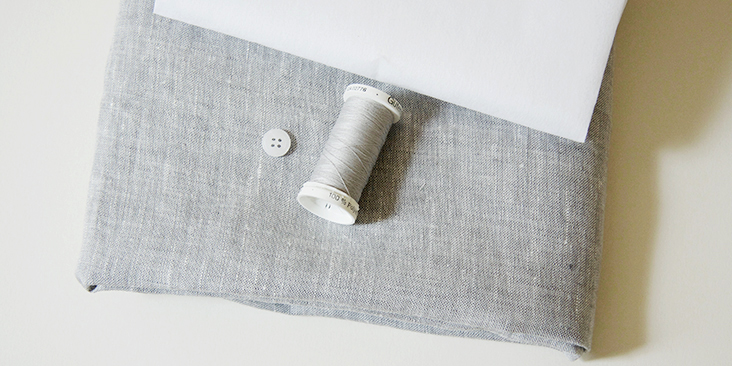
For US size 6 pictured in this tutorial: 2 yards of IL042 900 FS Premier Finish Medium Weight Linen
For larger sizes, please refer to the yardage table in the PDF pattern.
Matching sewing thread, lightweight fusible interfacing, one small button
Tools
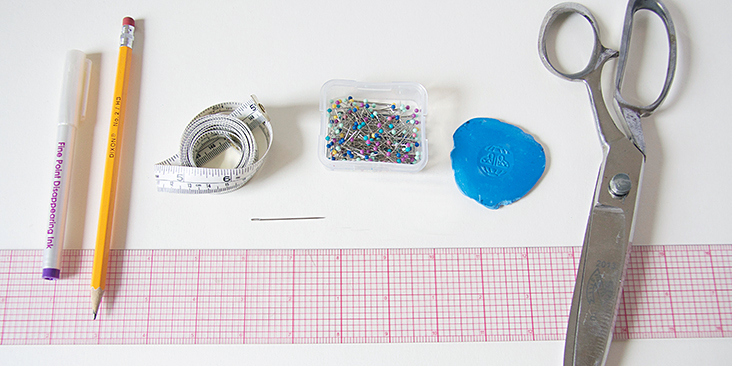
Scissors, pins, ruler, chalk, fabric marker, measuring tape, needle, sewing machine
Difficulty
Beginner
Time
3-4 hours
Pattern
You can access the multi-sized printable PDF pattern by following this link HERE. All seam allowances are included. The model is wearing size US size 6.
Steps
Note: Prewash your fabric and tumble dry it until it is still slightly moist, dry at room temperature. Iron the fabric so it is easier to work with.
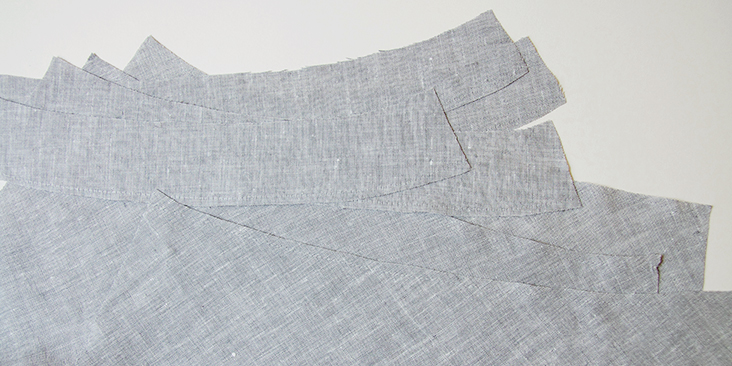
1. Since we will be working with fabric cut on the bias, the very first thing to do is to stabilize the waist edges to avoid stretching. Staystitch along the waistline edges of the front/back skirt pieces and all six waistband pieces (the bottom edge) at a ¼” seam allowance.
2. Take your two fronts and finish the edges that will overlap with a rolled hem. Fold the raw edge ¼” to the wrong side and press. Then fold again 3/8” to the wrong side, press and pin. Make sure your two fronts are mirror images to each other.
3. Edgestitch the folded edges backstitching at the beginning and end of the seams.
4. For a clean finish on the inside of the skirt, the side seams are finished with French seams. We have a great tutorial about this technique where you’ll find detailed instructions.
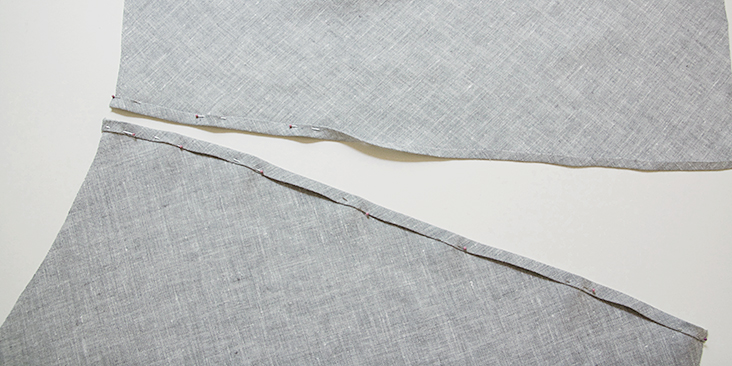
Pin the skirt’s two fronts to the skirt back at the side seams wrong sides together and sew at a 1/4” (6 mm) seam allowance.
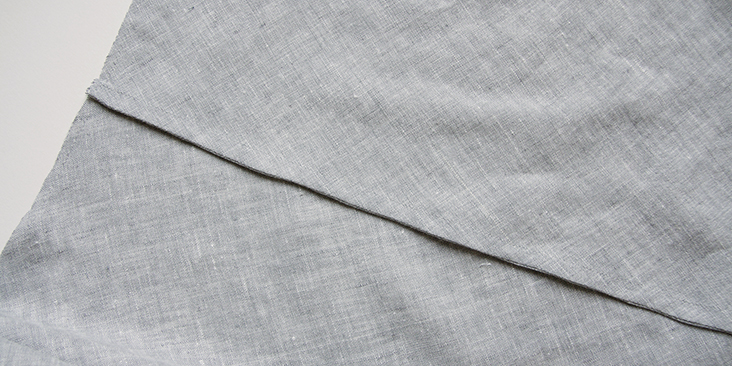
5. Then press the seams open, fold right sides together and press again Pin the right sides together and sew 3/8″ from the folded edge, enclosing the raw edges and finishing your seam. Press the finished seams flat to one side.
6. Take your two tie pieces and fold them in half lengthwise right sides together. Press.
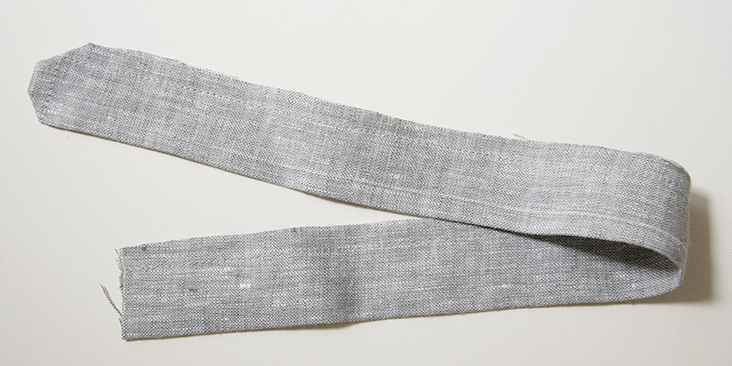
Stitch the length of the tie then pivot at the end corner and finish the end leaving the other end open. Remember to backstitch at the start and finish of the seams. Clip the corners.
7. Turn the ties right sides out through the opening, use a sharp tool to turn the points and press.
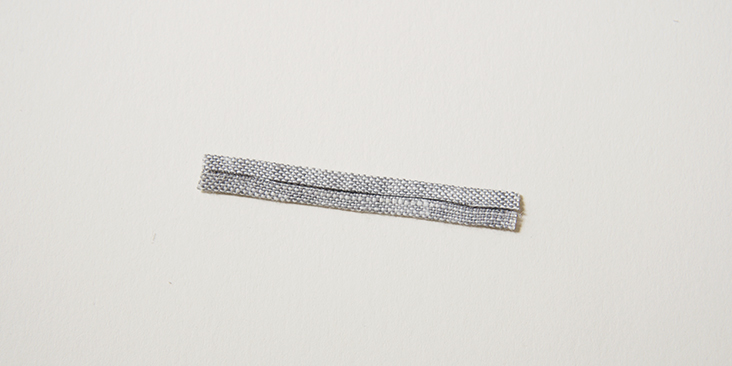
8. Take your belt loop rectangle and press the two seam allowances to the wrong side. The two raw edges should meet at the center.
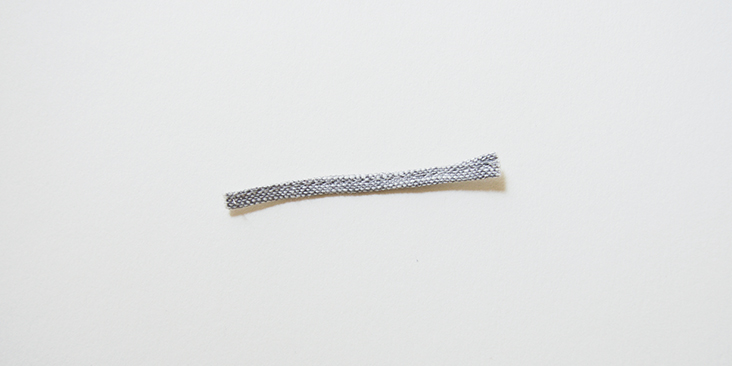
9. Fold it in half wrong sides together and edgestitch.
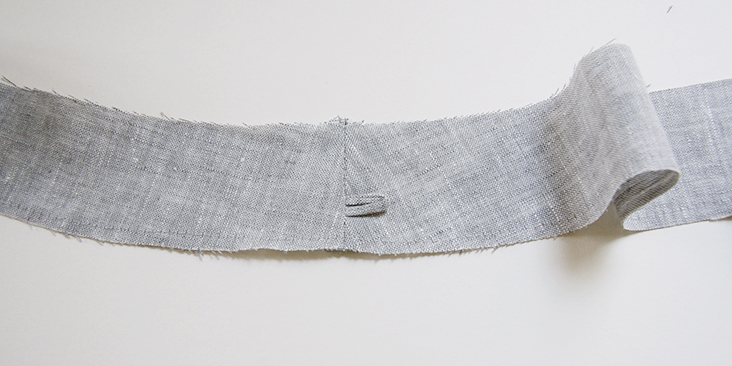
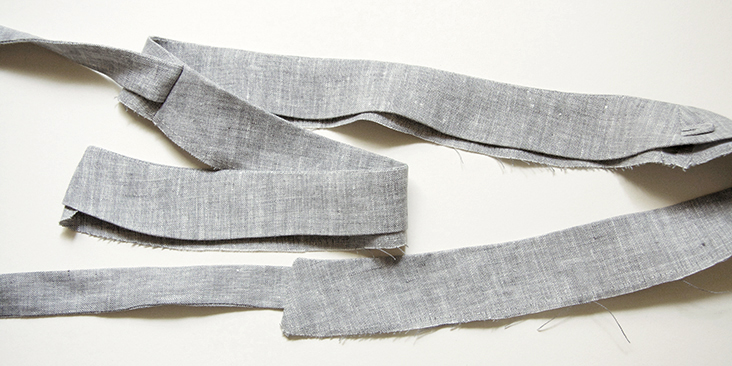
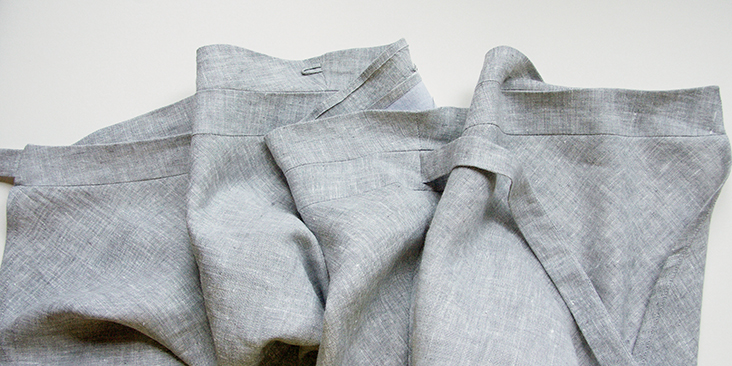
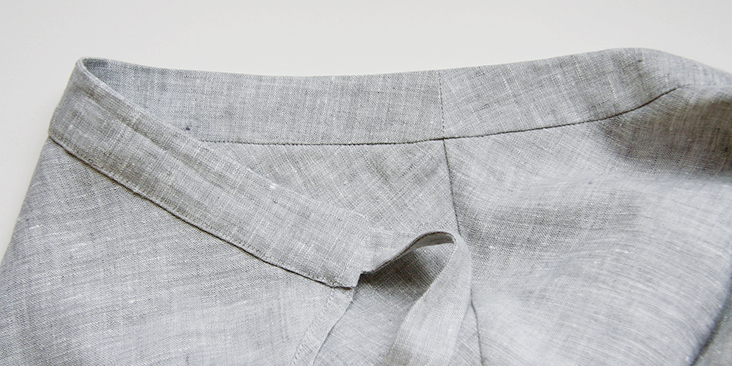
Time to assemble the waistband. It is a bit complicated since you need to figure out what goes where before sewing all the pieces together. The skirt ties on the right, so, there’s one tie that is attached to the waistband end of the left skirt front. The other tie is sewn into the side seam between the right skirt front and the back, on the outside of the waistband. And lastly, there’s a small button loop that is sewn into the other side seam (between the left skirt front and the back) on the inside of the waistband.
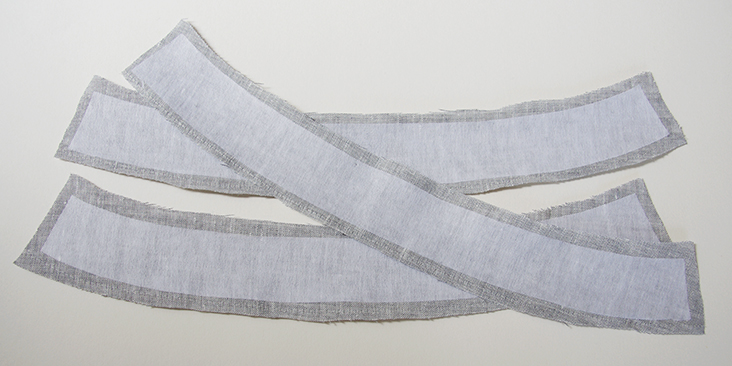
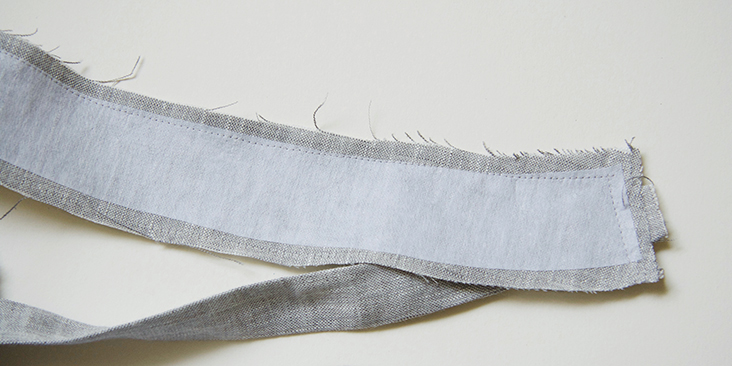
10. First, apply fusible interfacing to the wrong side of the three outer waistband pieces. To avoid bulky seams, you can trim off the seam allowances of the interfacing pieces.
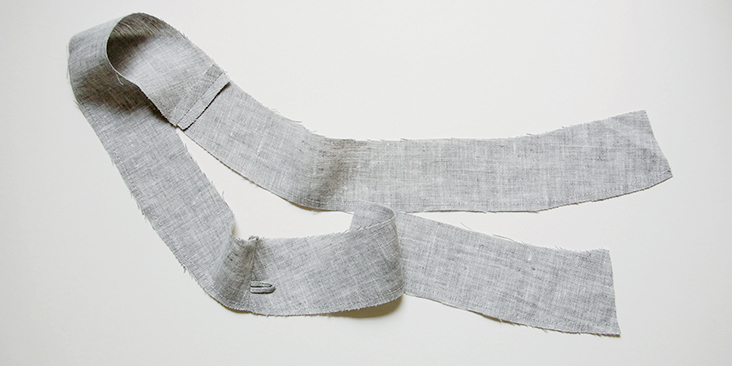
11. Pin two of the three outer/interfaced waistband pieces (we are going to call them #1 and #2) right sides together and insert the raw edge of one of the ties between the two layers. Stitch together at a 3/8” seam allowance.
12. Trim the seam down to ¼” and press it open.
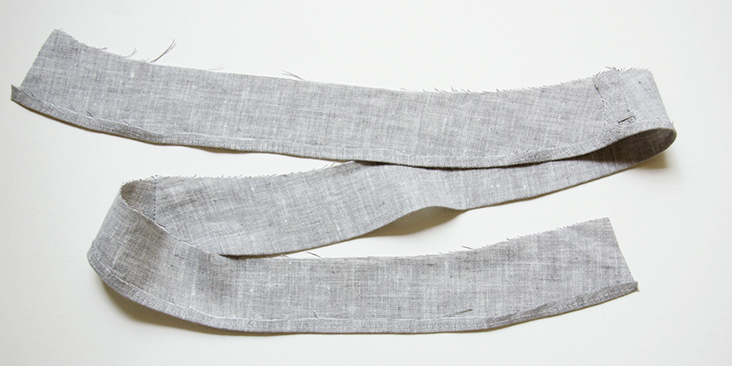
13. Take the third outer waistband piece (#3) and attach it to the raw end of the waistband (#2). Refer to the images below for the right order.
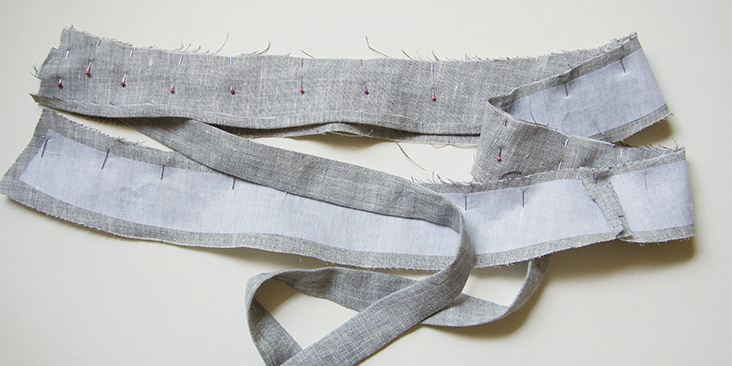
14. Take your two of the three inner/non-interfaced waistband pieces (we are going to call them #1 and #2) right sides together and insert the raw edge of the button loop between the two layers, ½” from the bottom edge. Stitch all the layers at a 3/8” seam allowance, trim and press.
15. Attach the third piece as shown below:
16. Press the bottom raw edge of the inner waistband 3/8” to the wrong side.
17. Now pin the outer waistband to the inner waistband along the top edge and the side seams right sides together and matching the raw edges and the seams. Insert the second tie raw edge between the layers of the end farthest from the first tie (the left front skirt).
18. Stitch around the pinned edges with a 3/8” (1 cm) seam allowance leaving the bottom edge open.
19. Clip the corners, finger press the seam allowances and turn the waistband right side out. Press.
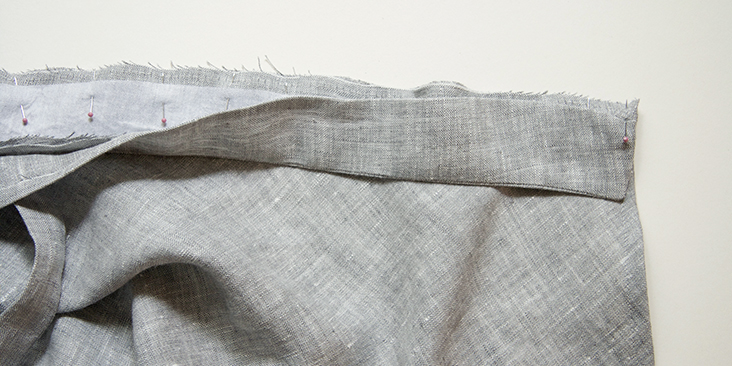
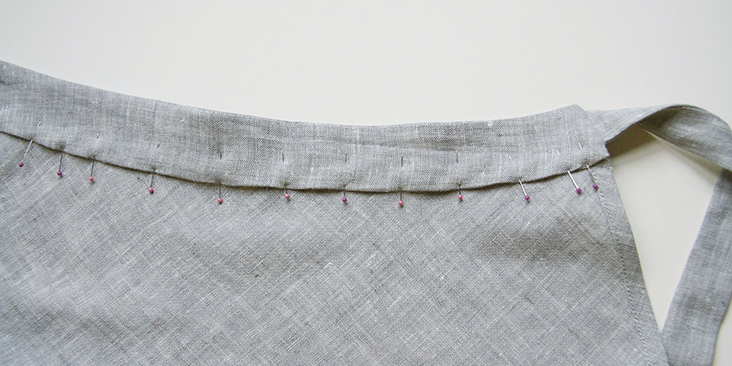
20. Pin the right side of the outer waistband to the right side of your skirt matching the seams and the raw edges.
21. Stitch at a 3/8” (1 cm) seam allowance backstitching at both ends. Press the waistband and the seam allowances away from the skirt.
22. Pin the inner waistband to the wrong side of the skirt covering the stitchline and matching the side seams.
23. Working from the right side of the skirt, topstitch in the ditch of the outer waistband catching the pinned/inner folded edge.
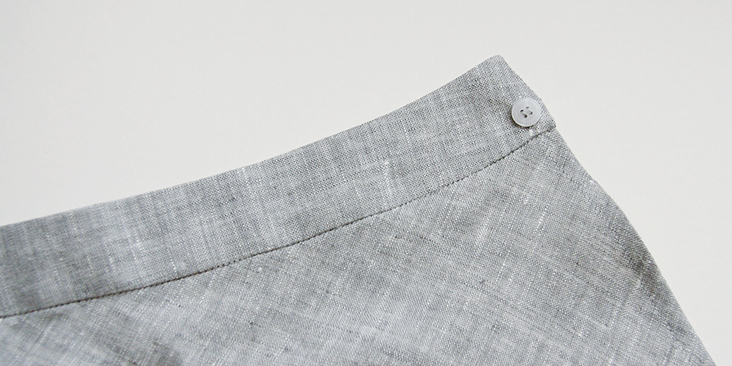
24. Last thing to do – attach the button on the outside of the waistband, on the right front skirt. Place it at the same level as your button loop, towards the bottom edge.
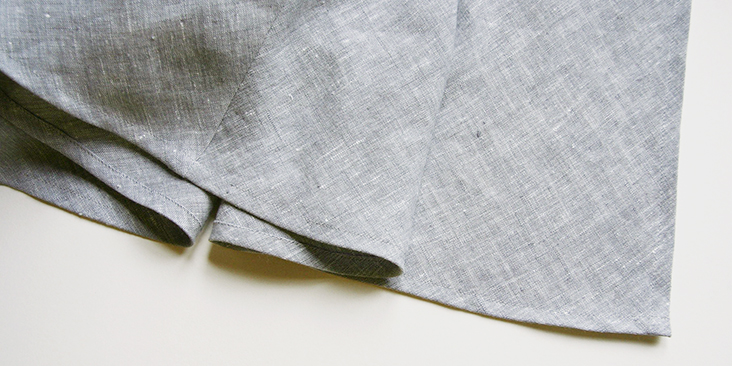
25. And finally – hem the skirt following the instructions in this tutorial.
Give your skirt one last press and you are all done! Simple and refined, this skirt will make a great addition to your wardrobe!
We love seeing what you make! Don’t forget to share your pictures and tag your creations with #FabricsStoreIdaPattern hashtag.












15 Comments
Pingback:
Maître l’artwork de l’appliqué avec ce information ultime – Couture – ETHAN PIKEPingback:
Vous voudrez coudre les 25 jupes enveloppantes – élégantes, flatteuses et étonnamment faciles! – Couture – ETHAN PIKEPingback:
You’ll Want to Sew All 25 of These Wrap Skirts – Stylish, Flattering And Surprisingly Easy! – SewingValerie
Cute skirt! I like that it is more streamlined than most wraps. Very clean looking on. Thank you as always for the great patterns, tutorials & inspiration
Rima Khusainova
Thank you so much Valerie!
Teresa Impson
PDF I download does not have any pattern pieces, just photos of skirt?
Catina
Hi Teresa… the printable pages are included as “attachments” when opened with Adobe Reader. There are instructions on the first page. 🙂
Linda A
Looks like the skirt doesn’t fit well. Wrinkles badly above her butt/below the waistband. Needs a better fit. Darts? More ease in the hip? This really isn’t working on the model.
Andrea Andre
Tricky alignment, couple tips…
First let me say, I have finished this project and like the outcome just fine. I gave it 4 stars for a couple little things I will explain below.
1. Link in PDF to instructions should be https://blog.fabrics-store.com/2018/09/12/ida-bias-wrap-skirt-tutorial/ (this page)
2. For the band, I put it together as instructed BUT then when I tried to sew it long-ways (tops together) I just could not get the seams to align so I took it apart and sewed the tops together first and then the short sides with the ties and loops and got much better results.
3. I put an extra tie at the end instead of a button because I like a little give in my clothing and the button was likely going to get pulled off. I used the same technique as the loop but made it a little longer than 12″, sewing the folded side into the seem allowing 2 ties to dangle out, knotting the ends to tie through loop like a robe.
4. The skirt ended up being about 1″ too long at each seam so I sewed from the end, inwards, stopped at the seam, pinned it. Sewed from the other end, inwards, pinned it, sewed the middle, direction didn’t matter, up to the pinned skirt seams and altered the side seams the entire length of the skirt about an 1″ evenly all the way down. Then I sewed those seams into the band like instructed.
4. My fronts don’t align as in the flap corners stick out the bottom because I have a little front girth. I plan on altering the bottom hems later to rectify that.
All together I like this wrap and it is comfortable. I plan on making more of these in the future. Thanks for the patterns, they are lovely. And I hope my comments come off as helpful to others. xx
Kathy
Great skirt. Where is the link to the pattern?
Rima Khusainova
You can access the multi-sized printable PDF pattern by following this link https://fabrics-store.com/sewing-patterns/ida-linen-bias-wrap-skirt-pattern/ .
Teresa Impson
PDF does not include pattern pieces, just shows photos.
Rima Khusainova
Hi Teresa… the printable pages are included as “attachments” when opened with Adobe Reader. There are instructions on the first page. ?
Em
I’m not able to access it either – even through that link. Is is still available? It’s such a nice skirt!
Rima Khusainova
Dear Em, so sorry to hear you are having trouble downloading the pattern. I’ve just checked and everything seems to be working. Could you maybe give me your email and I’ll send the pattern to you directly?