Rhea Tiered Sundress Tutorial and Pattern
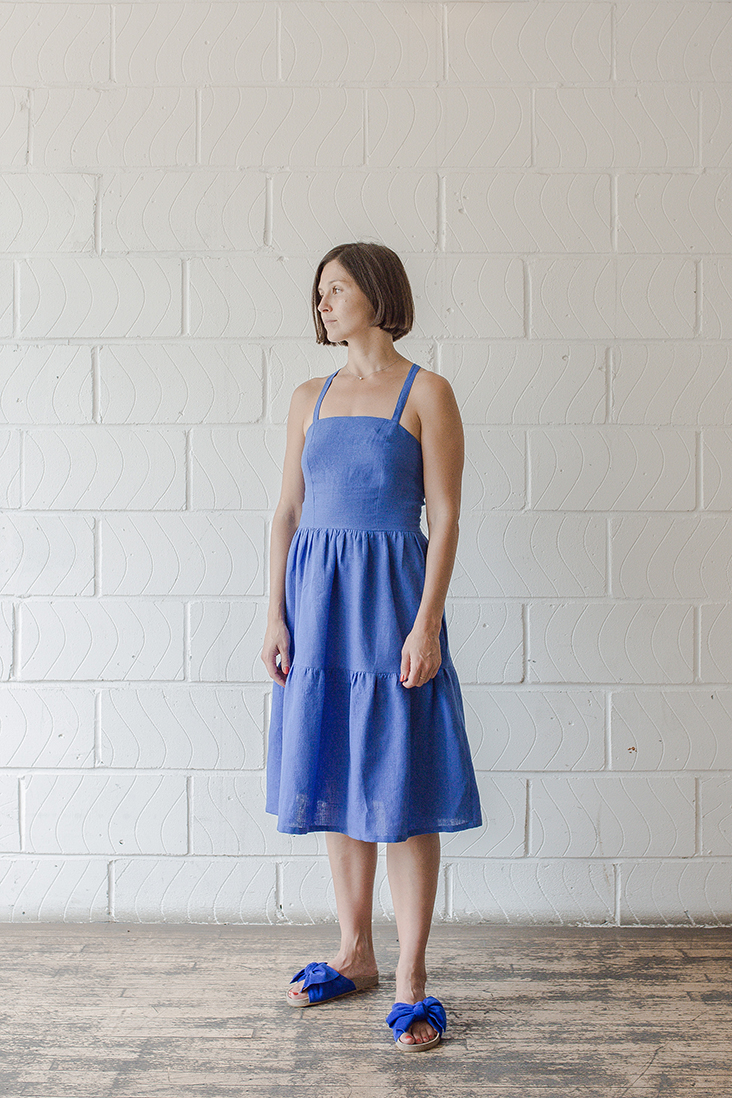
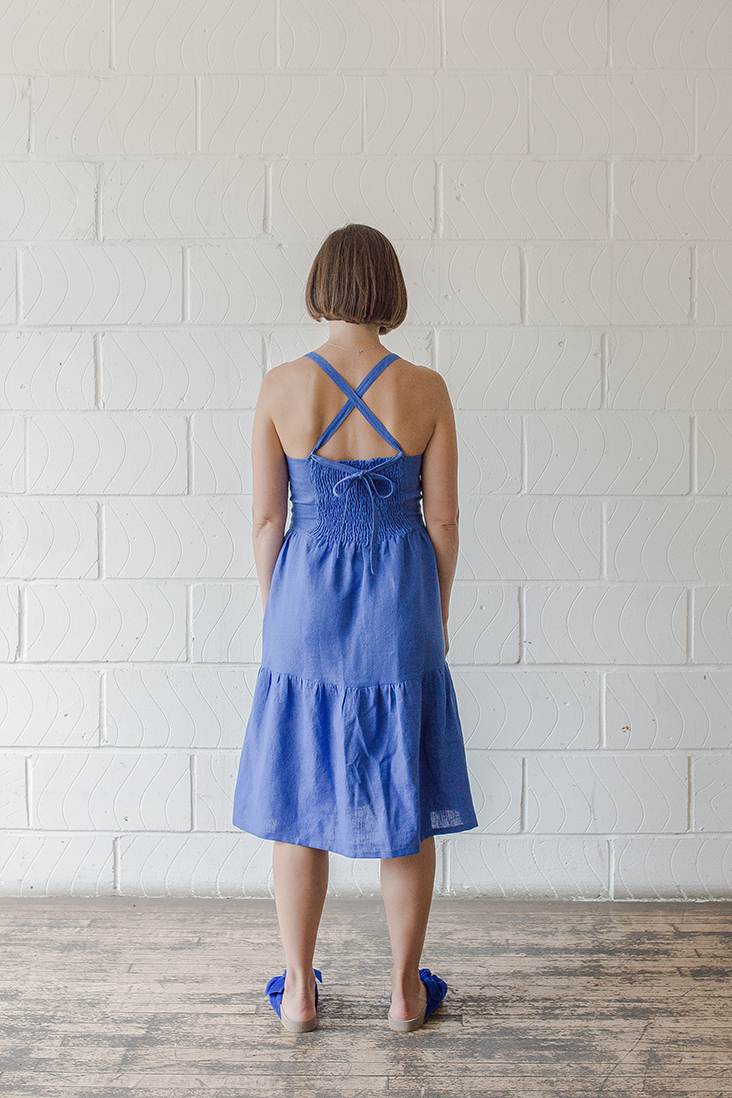
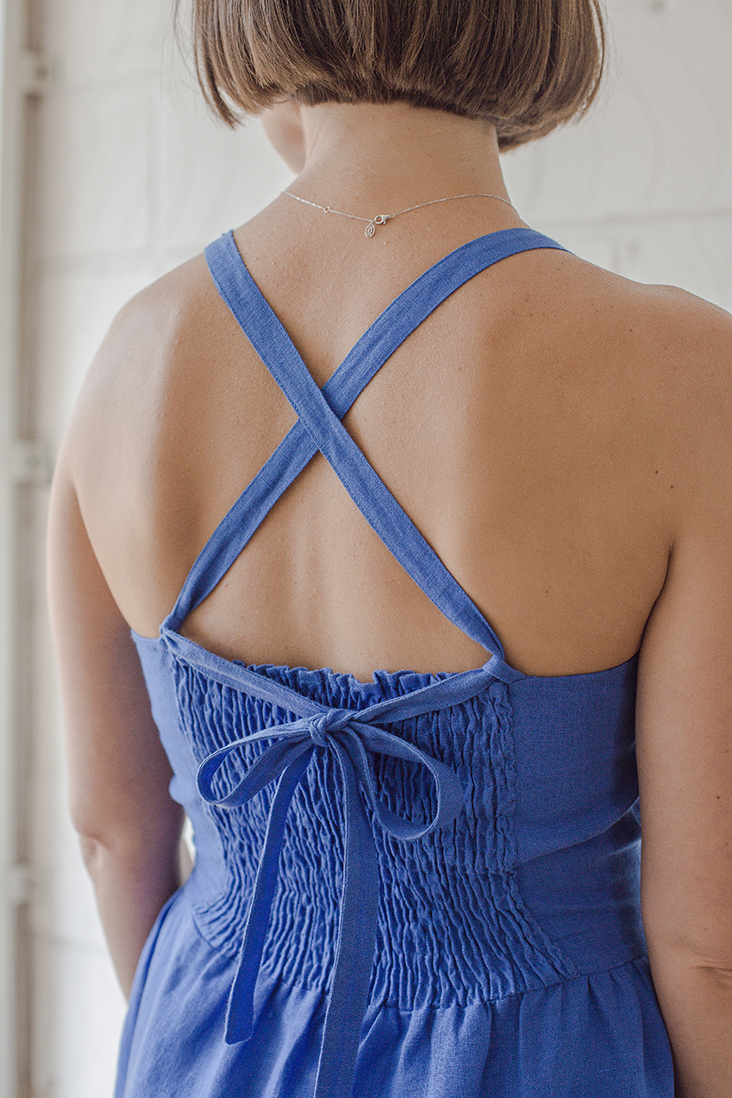
As a woman can never have too many dresses, our new pattern is this gorgeous linen sundress with tiered skirt, shirred back and two long straps that cross and tie in the back.
The tiered dress has been an eye-catcher in many spring and summer fashion shows this year, so we too decided to explore this trend and offer you a pattern that will take you through the summer in style. Made entirely out of linen, our Rhea dress is elegant, breezy, and, best of all, will make you look perfectly put together for any occasion.
Materials
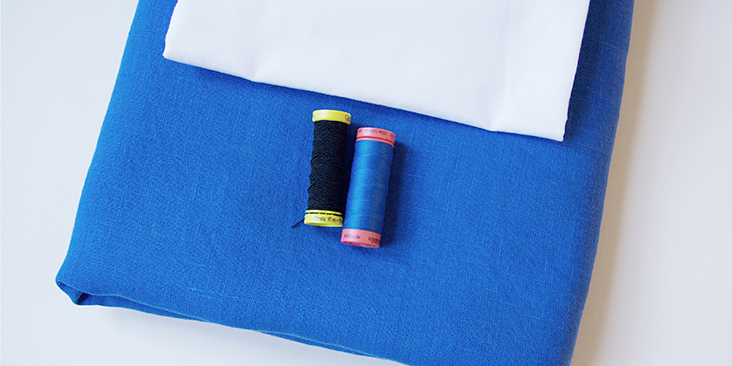
For US size 6 pictured in this tutorial: 2 yards of IL019 ULTRAMARINE Softened Medium Weight Linen.
For larger sizes, please refer to the yardage table in the PDF pattern.
Matching sewing thread, elastic thread, lightweight fusible interfacing
Tools
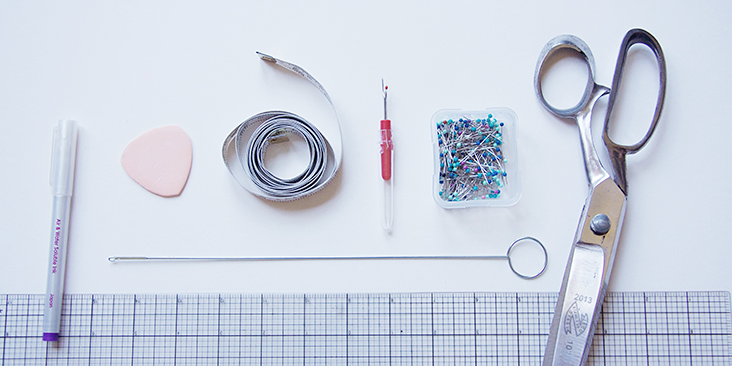
Scissors, pins, ruler, chalk or fabric marker, seam ripper, loop turner (optional), measuring tape, sewing machine
Difficulty
Intermediate
Time
6-7 hours
Pattern
You can access the multi-sized printable PDF pattern by following this link HERE. All seam allowances are included. The model is wearing US size 6.
Steps
Note: Prewash your fabric and tumble dry it until it is still slightly moist, dry in room temperature. Iron the fabric so it is easier to work with.
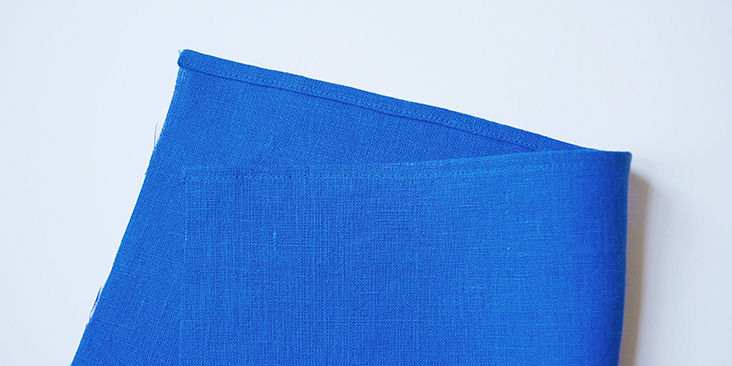
1. Let’s start with the most time-consuming step: shirring the back. Take your center back panel and finish the top edge with a narrow turned hem. Fold your fabric twice ¼” to the wrong side, press pin and edgestitch backstitching at both ends.
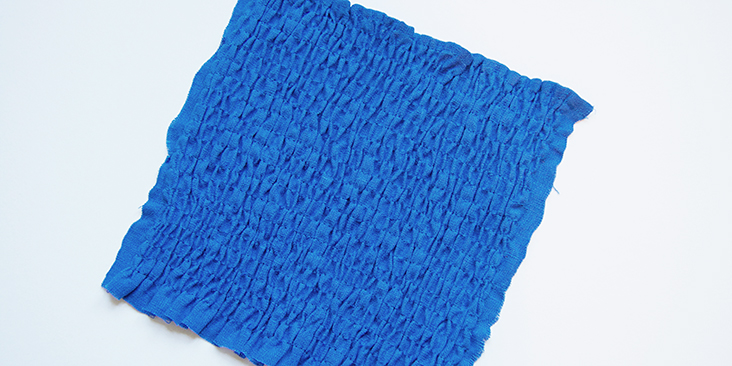
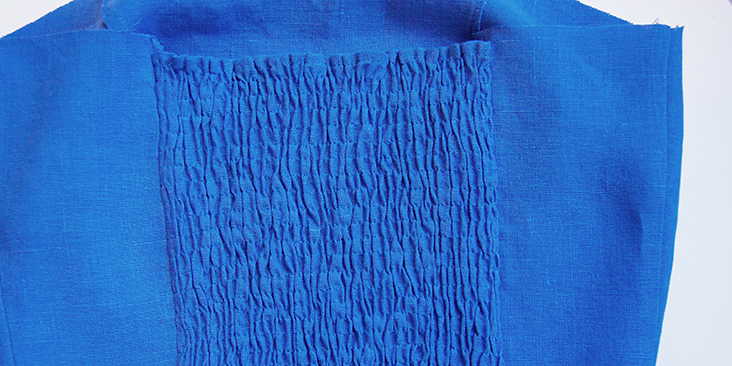
2. Follow this detailed tutorial and shirr your fabric by running the lines 3/8” apart.
Now that the back is shirred, you can assemble the bodice pieces together.
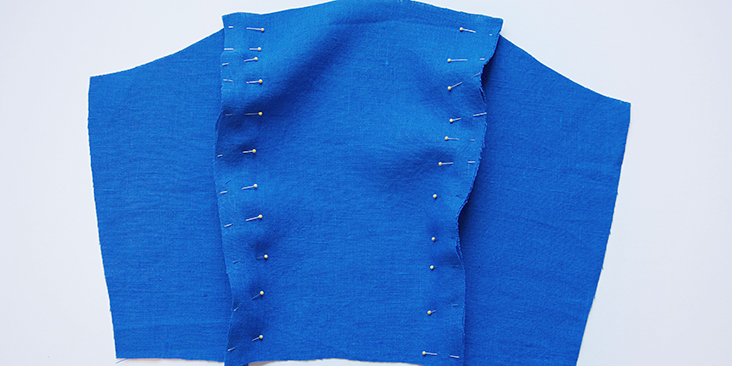
3. Pin the two side front panels to the center front panel right sides together and matching the notches.
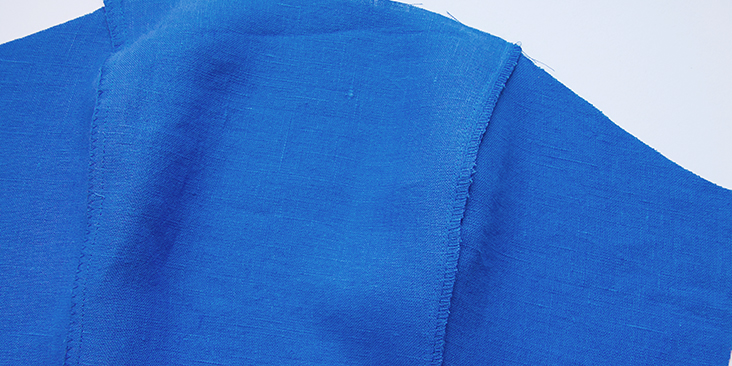
4. Stitch the pinned edges at a 3/8” (1 cm) seam allowance and finish the raw edges together using a serger or zigzag stitch to prevent the fabric from fraying. Press flat towards the side seams.
5. Pin and stitch the two side back panels to the side front panels at the side seams right sides together. Finish and press the seams to one side.
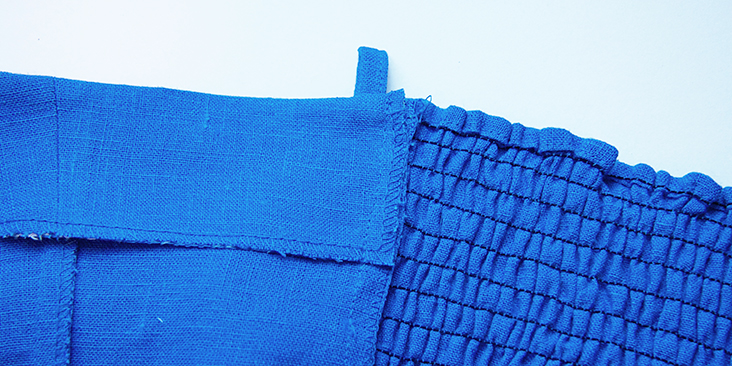
6. Lastly, attach the shirred panel to the two side back pieces right sides together. Remember that since the shirred panel is already finished at the top edge with a turned hem but not the rest of the bodice, you need to pin it 3/8” lower than the rest of the bodice. Finish the seams and press.
Now that your bodice is assembled is time to prepare the facing.
7. Apply fusible interfacing to the wrong side of your facing pieces, then repeat steps 3-5 and assemble them right sides together. You don’t need to finish the seams, just leave then raw and press open.
Note that the shirred panel doesn’t have a facing. Serge/zigzag the bottom and side edges of your facing
Before attaching the facing to the bodice, you need to sew the ties and the tie loops as they will be placed and stitched between the two layers.
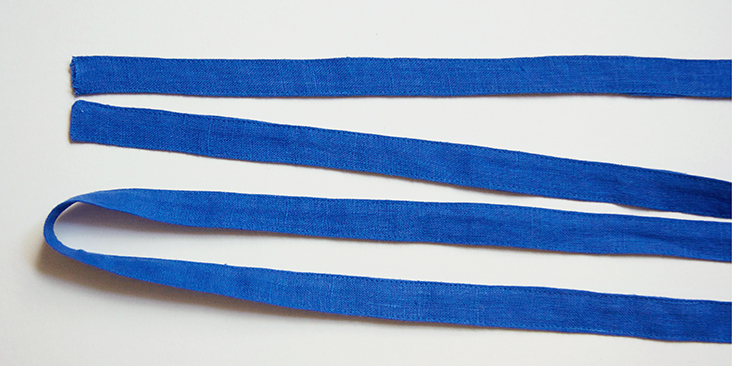
8. With right sides together, fold your tie piece in half lengthwise and press. Leaving one short end open, stitch (1/4” or 6 mm seam allowance) the length of the tie and then pivot at the end corner and finish the end. Backstitch at the start and finish of the seams. Clip the corners.
9. Use your preferred method and turn the ties right side out. We are using a loop turner as the ties are pretty narrow and are a bit tricky to turn inside out. It is a great little tool that saves time and makes the turning process so much easier!
10. Press and edgestitch along the finished edges (1/16” away) leaving the end open.
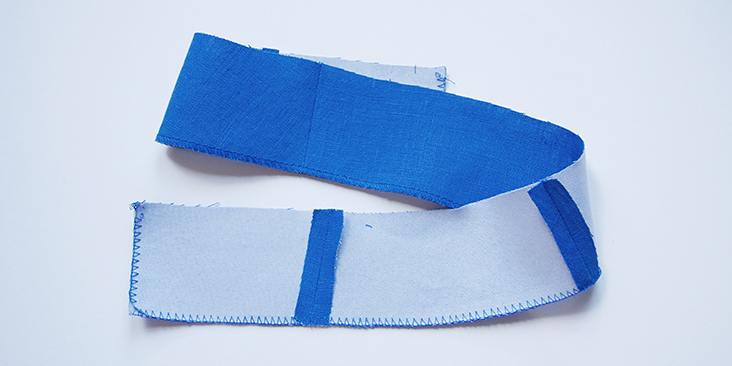
11. To make the tie loops, press the two seam allowances to the wrong side. The two raw edges should meet at the center.
Then fold it in half wrong sides together and edgestitch.
Now that you have your ties and tie loops, it’s time to attach the facing.
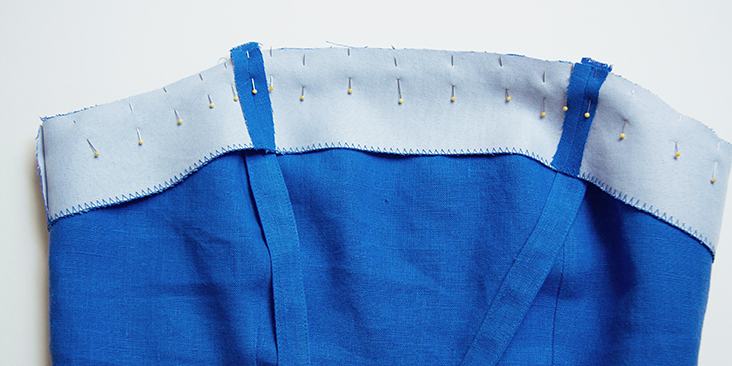
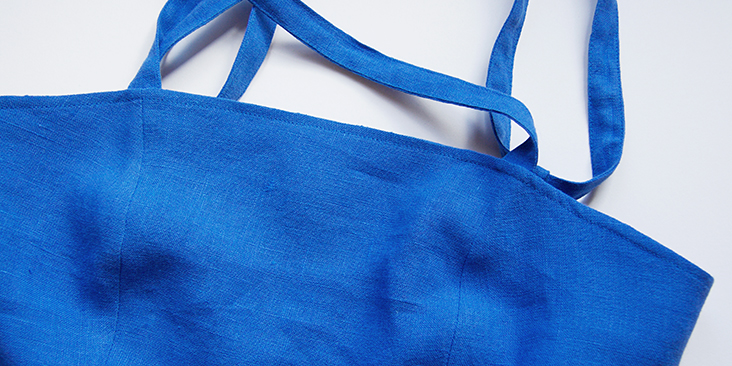
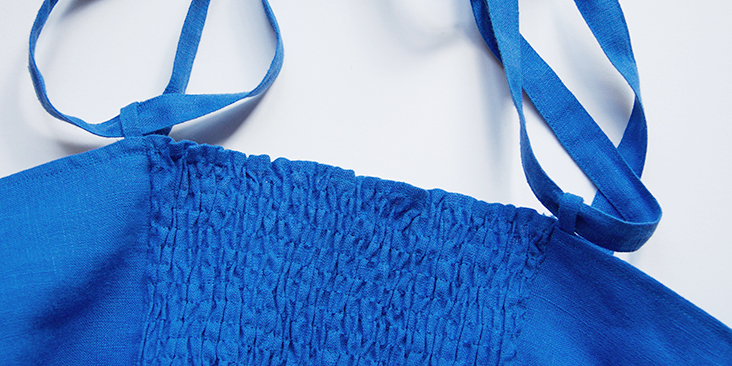
12. Pin the facing to the bodice right sides together and insert the raw/unfinished edges of your ties between the two layers at the seams where the center front bodice meets the side fronts.
As for the tie loops, insert the raw edges just outside the seams where the shirred panel meets the side back pieces.
13. Starting and ending 3/8” from the serged edges of your facing, stitch the facing to the bodice at a 3/8” (1 cm) seam allowance.
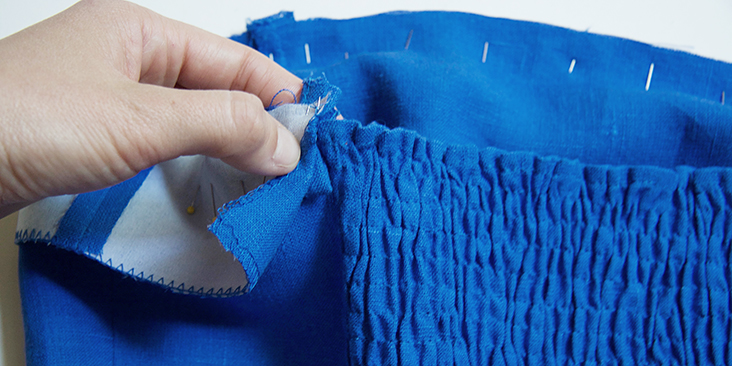
14. Trim the seam allowance down to ¼” then fold the facing towards the inside and press flat.
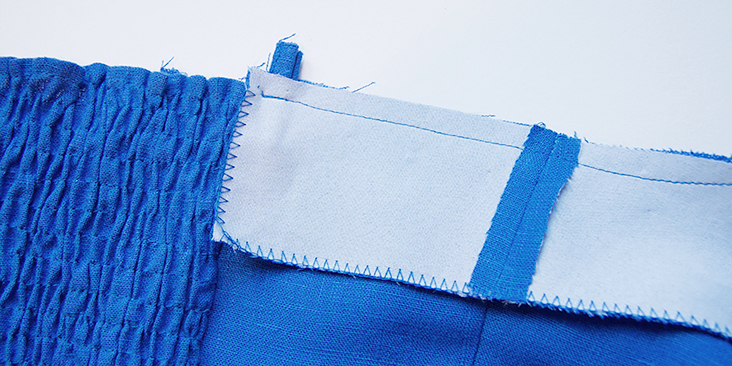
15. Working from the right side, stitch the short finished edges of your facing to the bodice at the ditch of the seam where the shirred panel meets the side back pieces.
16. Lastly, topstitch along the neckline edge ¼” from the edge to secure the facing and keep it in place. Remember to backstitch.
Your bodice is now complete and it’s time to sew and to attach the skirt.
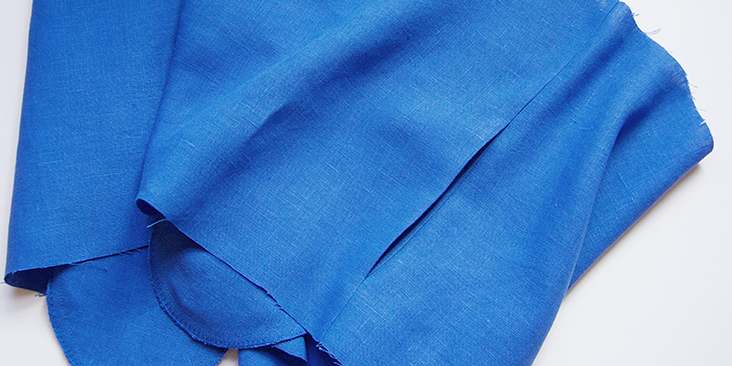
17. Take your upper skirt front and back pieces and attach the inseam pockets and sew the side seams by following the instructions in this step-by-step tutorial. Refer to the notches on the pattern for pocket placement. Finish the seams and press towards the back of the dress.
18. Now take your lower skirt and pin, sew and finish the side seams right sides together. Press the seams towards the back of the dress.
19. Gather the upper edge of your lower skirt as explained in this tutorial.
20. Pin the gathered edge of your lower skirt to the bottom of your upper skirt right sides together and matching the seams. Stitch the two skirts together at a 3/8” (1 cm) seam allowance, then remove the gathering stitches using your seam ripper.
Finish the raw edges and press to one side.
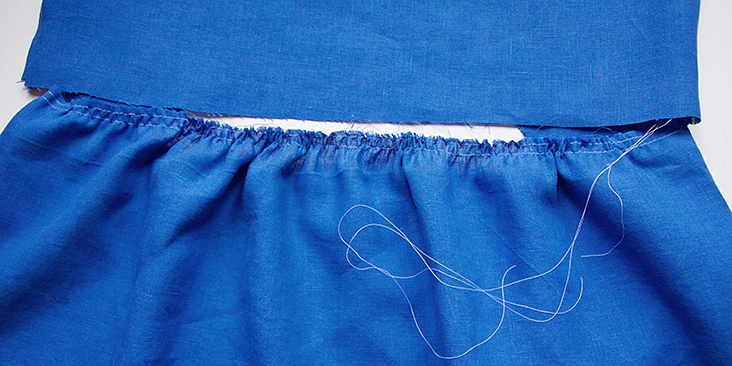
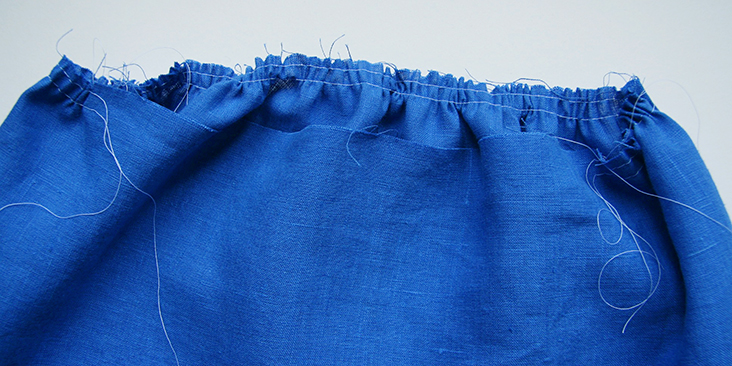
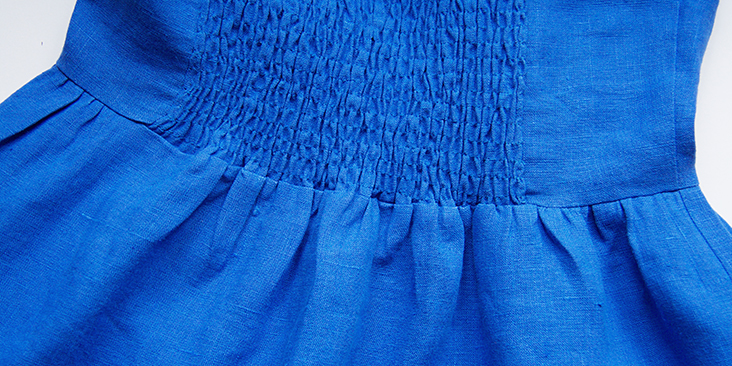
21. Following the same tutorial, gather the waist of your tiered skirt from one notch to the other. Note how the center back section of the skirt is left ungathered. Once you’ve attached it to the bodice, it will be gathered by the elasticated section at the back and leave enough room for the dress to be pulled on.
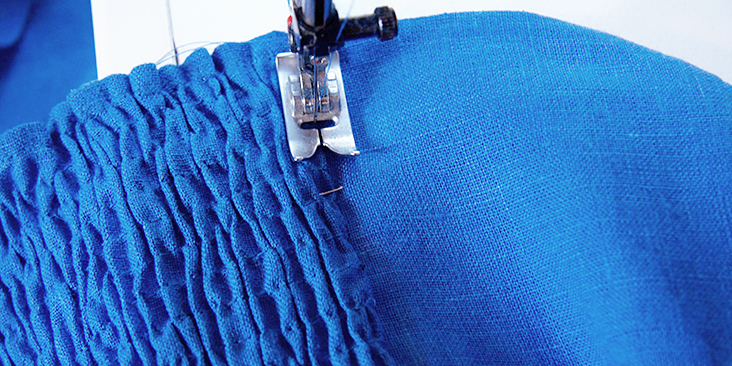
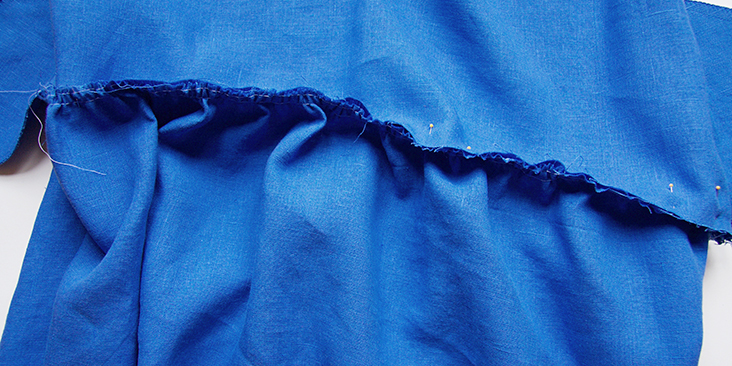
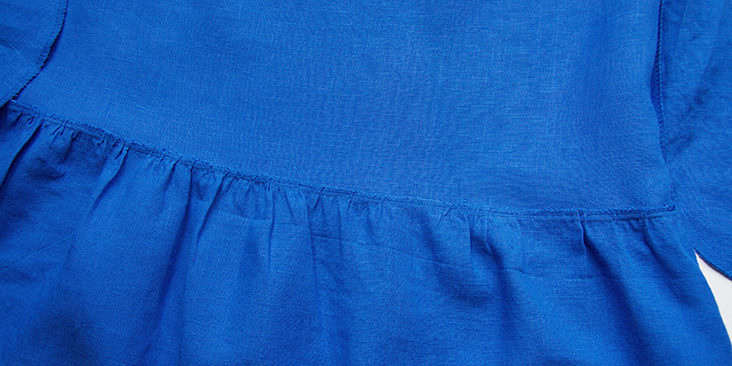
22. Pin the skirt to the bodice right sides together at the waist matching the side seams. Stretch the shirred back section of your bodice and pin the ungathered skirt. Stitch the two together at the usual 3/8” seam allowance stretching the back section as you sew.
Remove the gathering stitches, finish the seams and press to one side.
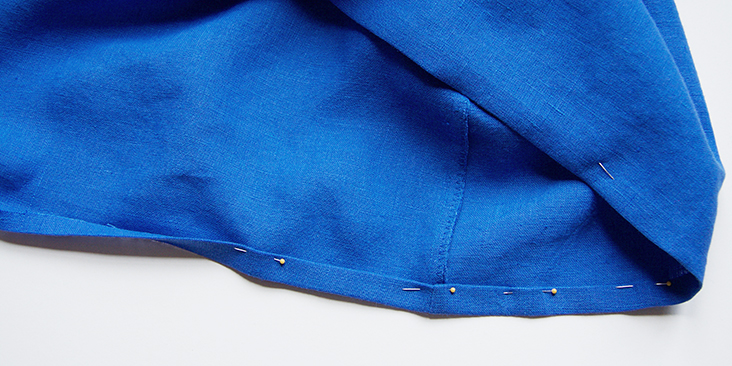
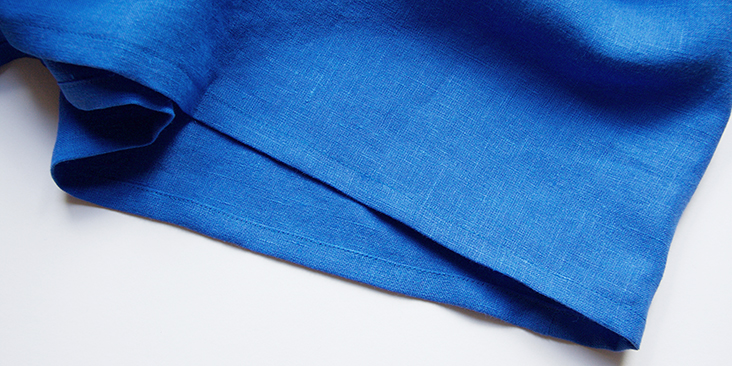
23. Lastly, finish the bottom edge of your skirt with a turned hem. Fold your fabric 3/8” to the wrong side and press. Then fold another ½”, press and pin.
24. Edgestitch the hem backstitching at both ends.
25. Give your dress one last good press and you are all done!
We love seeing what you make! Don’t forget to share your pictures and tag your creations with #FabricsStoreRheaPattern hashtag.





















10 Comments
Aya Templeman
The link to how to shirr the fabric is missing.
2. Follow this detailed tutorial and shirr your fabric by running the lines 3/8” apart.
Can you help?
Thank you!
Lauren Linen
Hello Aya,
Thanks for reporting the broken link. I have fixed it up and it now links to the shirring tutorial for you.
Happy Sewing!
Marie-Louise Troelsen
The link to this tutorial from the pattern download is broken, fyi 🙂
Stephanie Hunt
This is a fantastic pattern and tutorial! I did have to make a small adjustment on the bodice which I probably could have avoided if I went down a size on the top, but otherwise my dress turned out perfectly. Thank you Rima!
Liepa
Sewing this today! It’s beautiful! 🙂
Rima Khusainova
How exciting! Please share the pics of your finished dress with us using the #FabricsStoreRheaPattern hashtag, we’d love to see what you make! Happy sewing!
Delphine
This is beautiful. Looks like it would only fit an A cup even in the larger sizes?
Rima Khusainova
Dear Delphine, it would fit up to B-cup and if you need to adjust the pattern for larger a bust, you can find some online instructions on how to do a full bust adjust on princess seams. Craftsy has a great tutorial about that – https://www.craftsy.com/sewing/article/how-to-make-a-full-bust-adjustment/
Anastasia
This is great tutorial! Thanks!
Rima Khusainova
Thank you Anastasia!