Sewing Glossary: How To Sew Single Welt Pockets Tutorial
Welcome back to our pocket workshop! After inseam pockets, patch pockets and cargo patch pockets, we want to show you how to sew single welt pockets.
The main characteristic of this type of pocket is that in a welt pocket the actual pocket is on the inside of the garment, with a strip of fabric on the outside of your garment used to cover the pocket opening.
You can find single welt pockets in almost any type of garments: vests, jackets, pants, skirts and even dresses. They are not only functional, but also a very elegant detail to add to your projects for a clean and professional look.
There are several ways to sew welt pockets and in this tutorial we’ll show you our preferred method. Even if you’ve never sewn single welt pockets before, after following these simple step-by-step instructions you’ll be able to construct and add this lovely detail to any garment you make. It is a pretty easy technique to master which results in professionally-looking pockets!
Materials & Tools
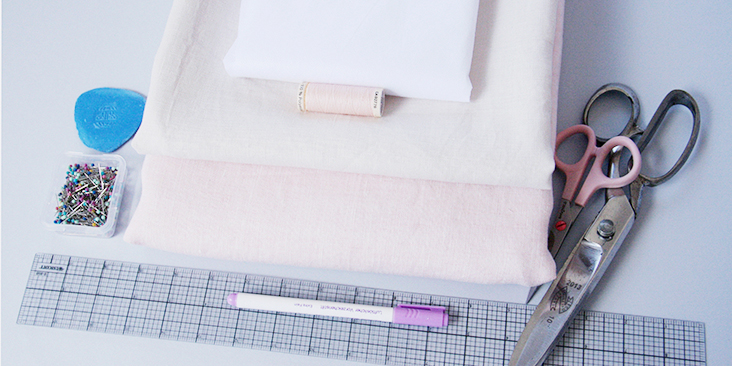
Fabric of your choice (we are using two contrasting medium weight linens: IL019 All-Purpose Soft Pink Fs Signature Finish for the outer fabric and IL019 PRISTINE Softened for the pocket.
Matching sewing thread, fusible interfacing, ruler, pins, chalk, fabric marker, scissors, sewing machine
Difficulty
Advanced Beginner
Time
1-2 hours
Drafting The Pocket Pattern
Before we start, you should know that a single welt pocket consists of the following pattern pieces:
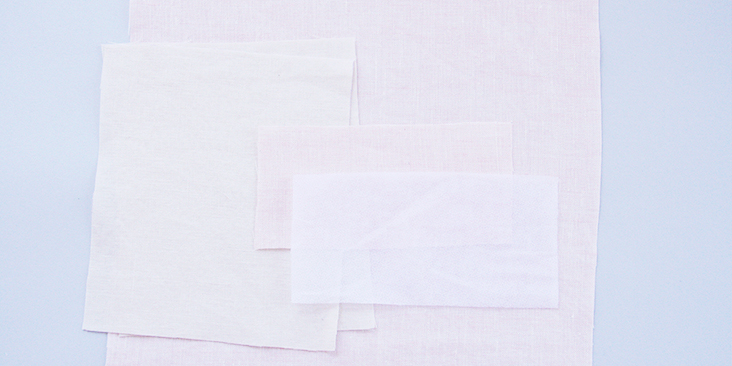
- welt (cut 1 in main fabric)
- interfacing (use the welt pattern)
- Pocket bag which consists of:
– pocket facing (same fabric as your garment. Cut 1)
– pocket lining (could be the same or any other fabric as your garment. Cut 1).
All these pieces are cut on the grainline.
First, calculate the size of finished pocket pieces & welt that would work best with your project. There’s really no rule, the size totally depends on your particular garment/design. The only thing you should know is that the width of the welt should be the same as the width of your pocket pieces.
For example, we wanted our finished welt to be 5” wide and 1” tall. Double the welt width, add your usual seam allowances (3/8” in our case) and you’ll get a rectangle that is 5 3/4” wide and 2 3/4” tall. Use this pattern to cut the welt piece in your main fabric and one rectangle in fusible interfacing that we’ll apply to the wrong side of our garment to secure the area.
The pocket pieces are simple squares, rectangles or rounded shapes (whichever you prefer) cut to the same length as your welt piece and to any length you want. In our case, we decided to cut our pocket panels 5 3/4” wide and 8” tall (all seam allowances included).
Now that we have our pattern pieces, let’s start sewing!
Steps
Note: Prewash your fabric and tumble dry it until it is still slightly moist, dry in room temperature. Iron the fabric so it is easier to work with.
1. Unless your pattern provides the instructions, you need to decide where on your garment you want to place your welt pocket(s). The great thing with this type of pockets is that it doesn’t have to be straight; it can be set in at an angle.
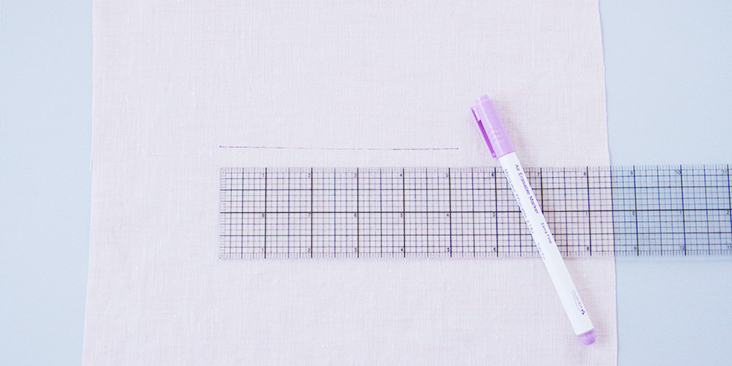
Use a disappearing ink fabric marker and mark your 5” pocket opening (or whatever width you chose) on the right side of your garment.
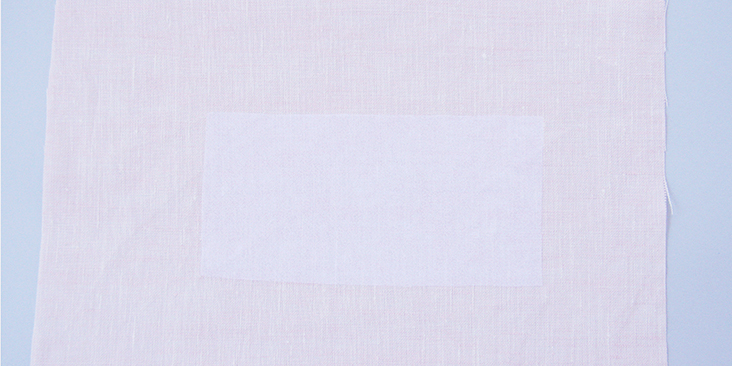
2. Apply your interfacing strip to the wrong side of your fabric, approximately centered over the location where your welt pocket opening is.
3. Fold the welt flap in half with right sides together and raw edges matching at both short ends. Sew the ends using 3/8” (1 cm) seam allowances. Diagonally trim the corners to eliminate bulk. Trim the seam allowances to ¼” and finger press them open.
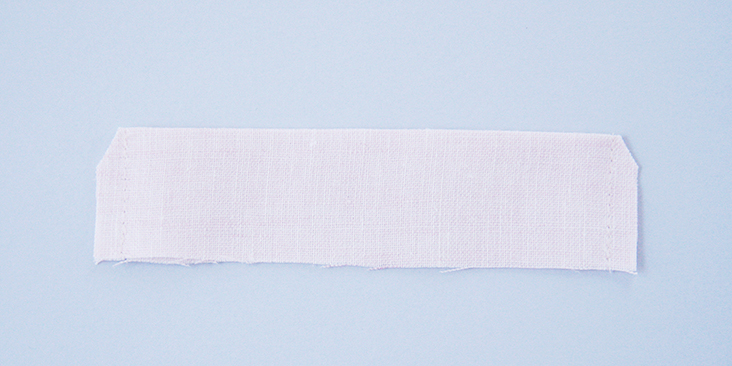
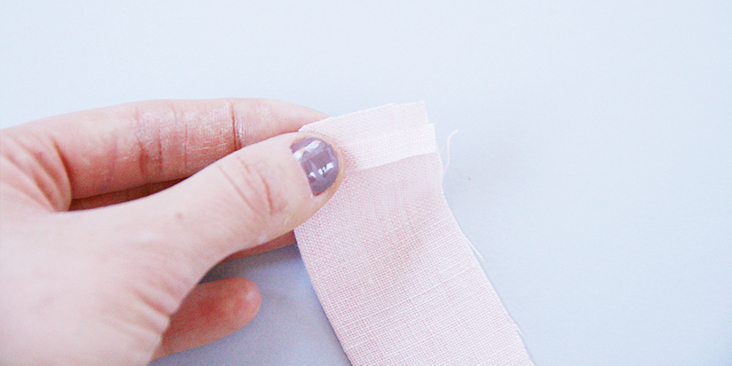
4. Now turn your welt right sides out using a dull pointed object to get the corners out and press.
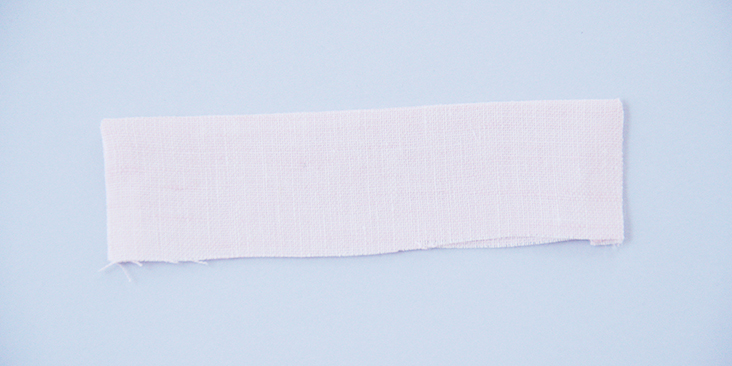
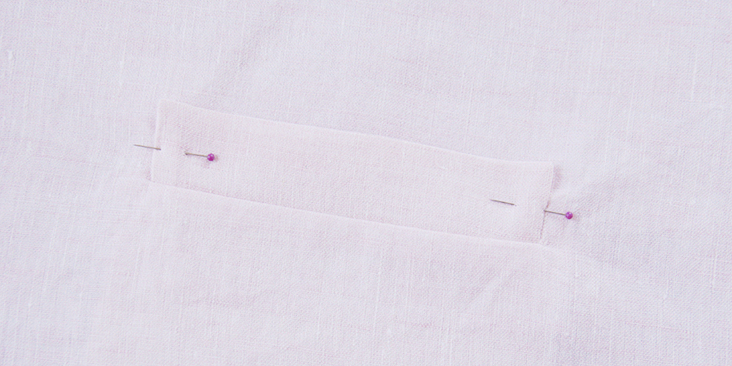
5. Working from the right side of your garment, position the welt’s raw edge on top of the pocket mouth aligning the two. Make sure that the folded edge is looking towards the hemline. Pin in place.
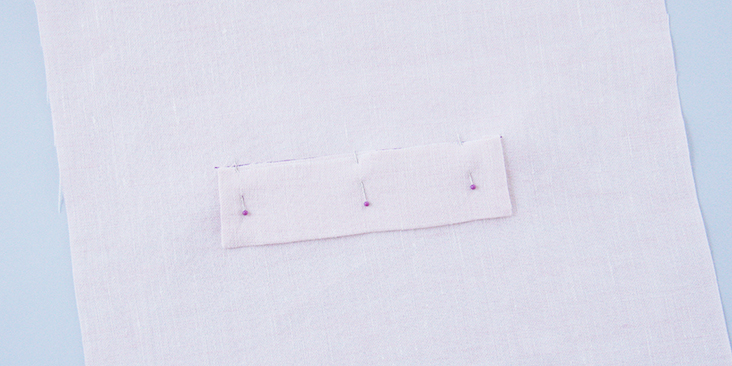
6. Take your pocket lining and position it on top of the welt (right side facing you) aligning the top edge with the raw edge of your welt and the pocket opening mark. Pin in place.
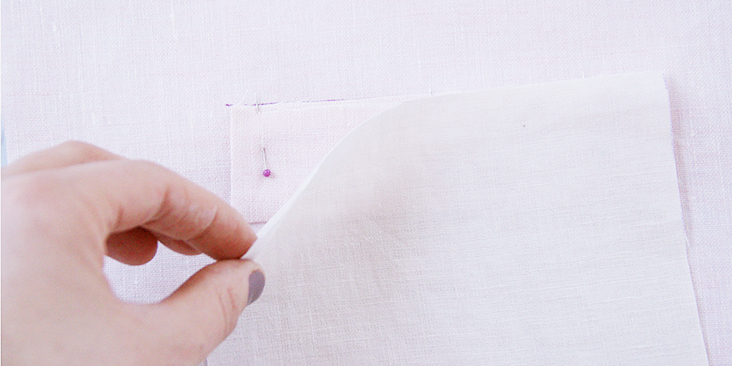
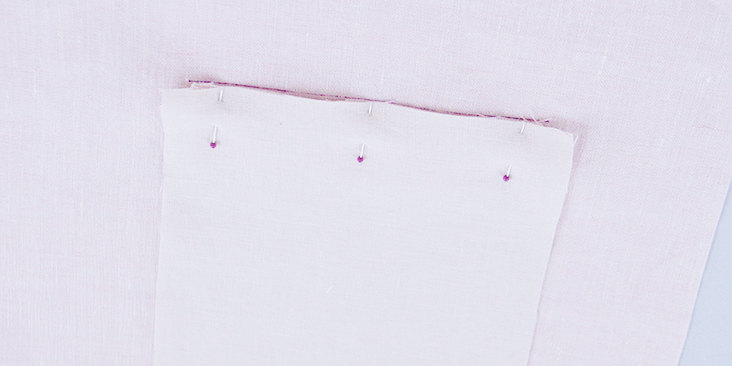
7. Now take the other pocket piece (pocket facing) and position its raw edge along the opposite side of the pocket mouth (right side of the pocket facing you) so that the two pocket edges are touching. Pin in place.
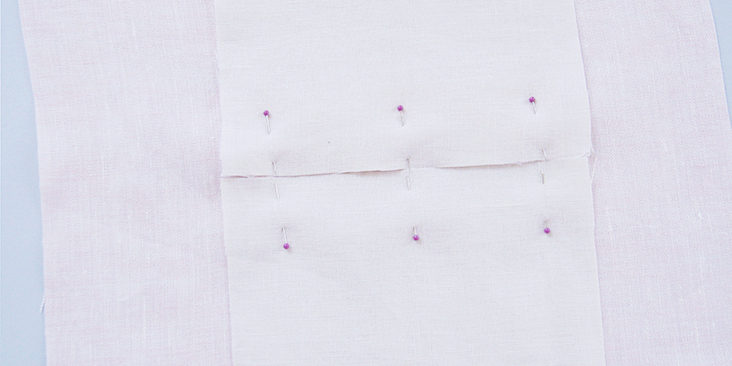
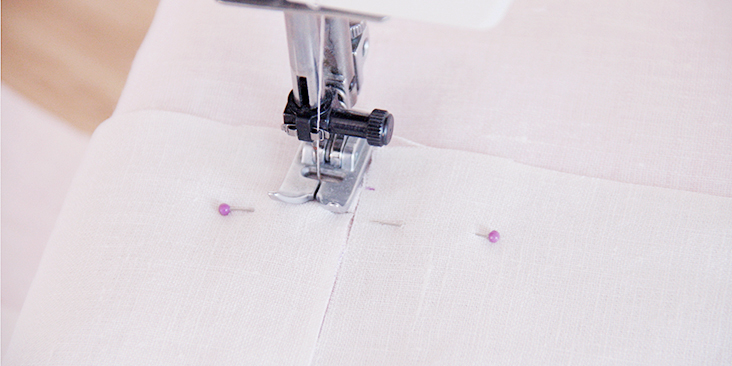
8. Next thing you need to do is to run two parallel lines of stitching 3/8” from the placement line. Feel where the welt’s folded edge begins and ends, mark these points with a marker or a piece of chalk and start sewing from one point and stop at the other. Sew through all the layers at once, remember to backstitch at both ends and try to go as slow as possible to make sure you don’t go over the welt’s edge.
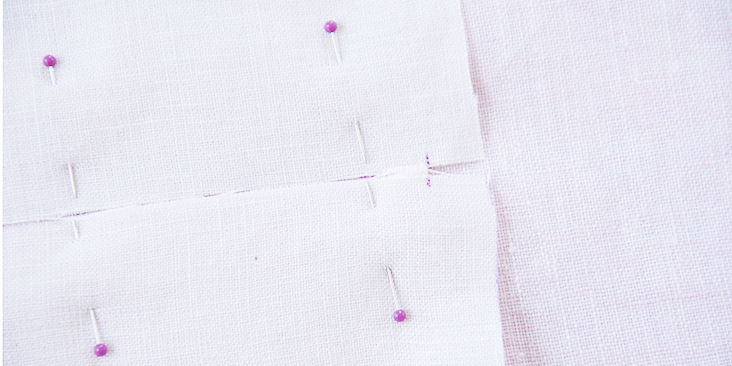
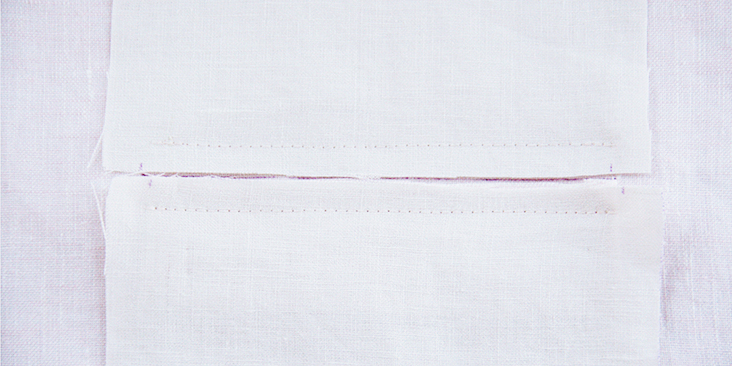
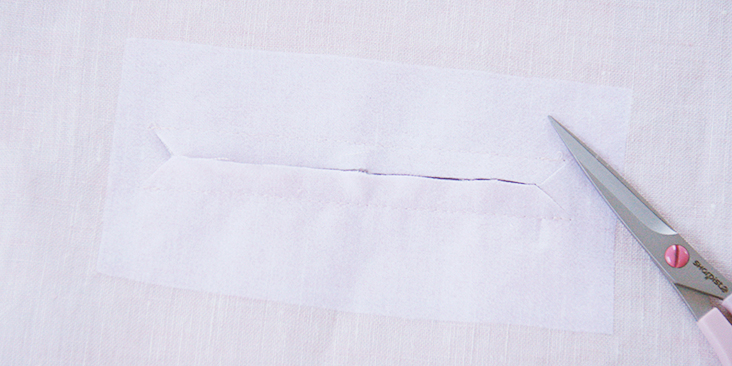
9. Turn your work over to the wrong side and slash the pocket mouth open in the middle, between the two lines of stitching. Stop 3/8” (1 cm) before the ends and cut diagonally to create a Y shape. Be careful not to cut through the stitches.
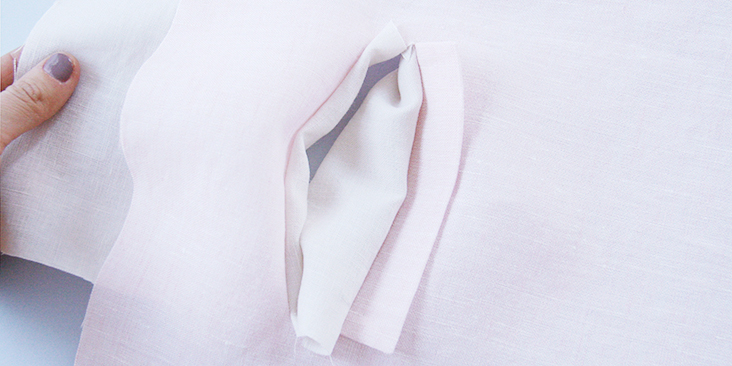
10. Pull the pocket panels through the opening to the wrong side, smooth out any pleats or bulk at the corners and press lightly.
11. Take the pocket piece that doesn’t have the welt attached to it (the pocket facing) and place it over the other aligning the raw edges. Pin around all edges making sure that the little triangle that we created when you slashed the opening are laying flat towards the direction of your garment.
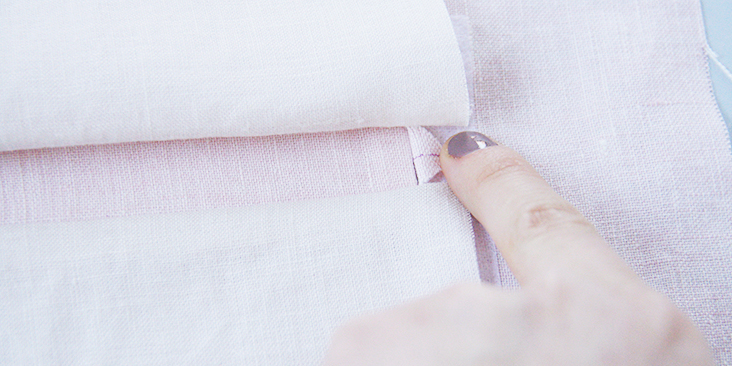
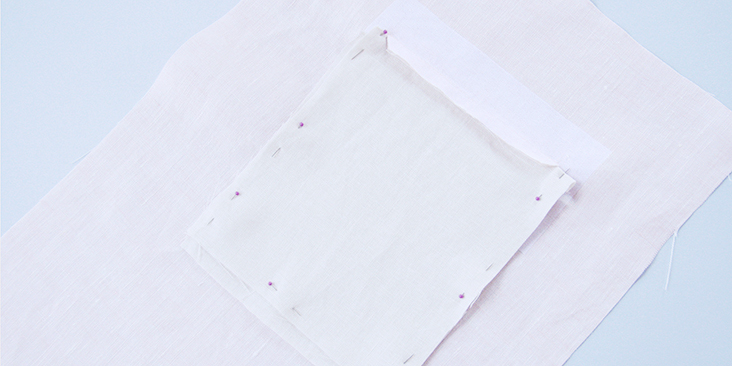
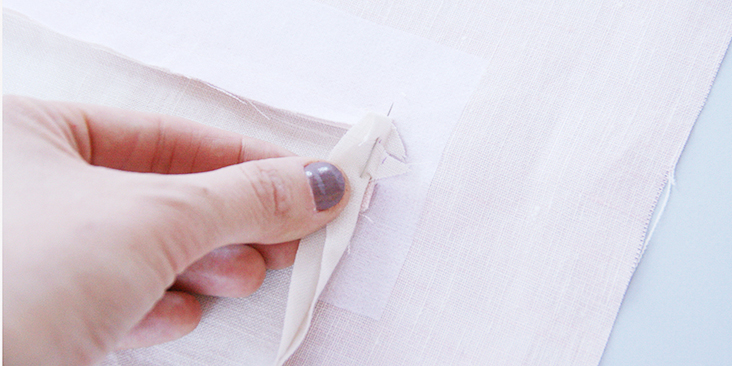
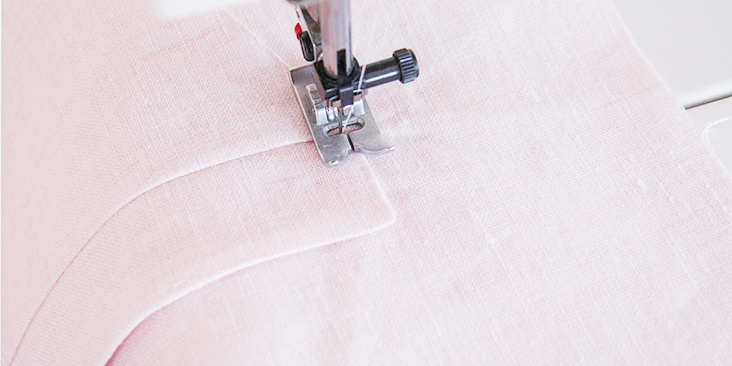
12. Now, starting from the top of the pocket edge, stitch around the pocket edges right over the little triangle seam allowance as close to the crease as possible. Make sure that you are only sewing the pocket edges together and not catching the actual garment. Trim the seam allowance if necessary and finish the raw edges with a serger or a zigzag stitch to prevent the fabric from fraying in the future.
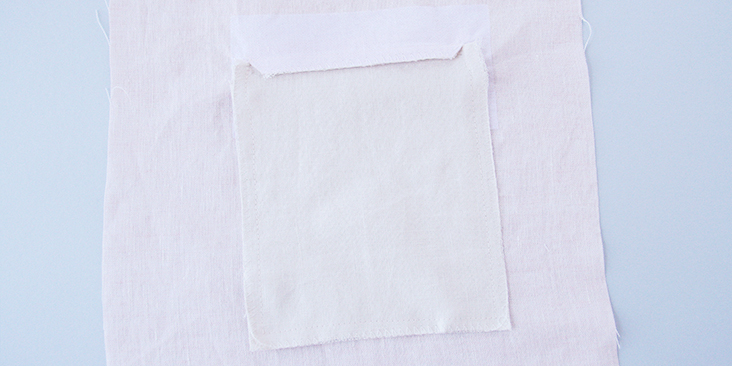
The last thing to do now is to topstitch the welt to the actual garment.
14. Pin the short edges of the welt to the garment hiding any gaps underneath and topstitch them in place as close to the edge as possible. Remember to backstitch at both ends.
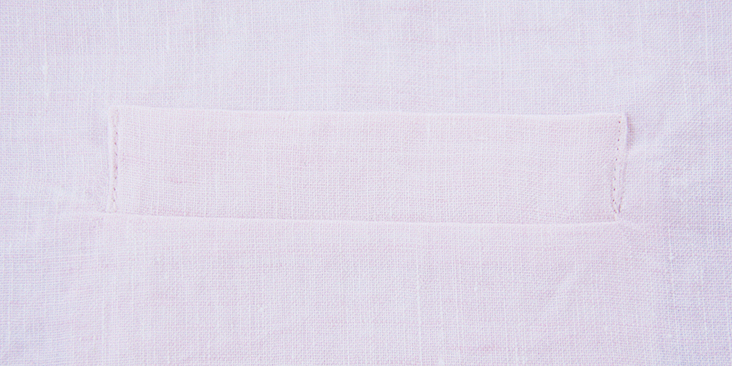
Et voila! Pretty easy, right?
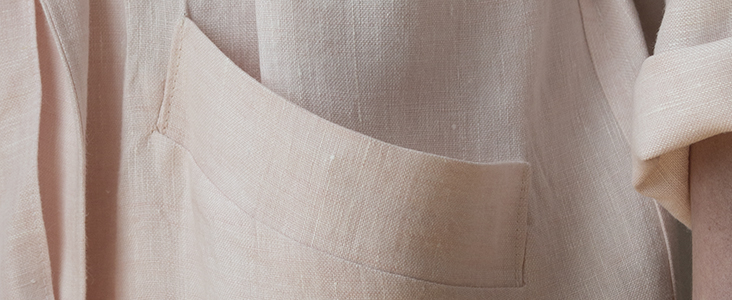
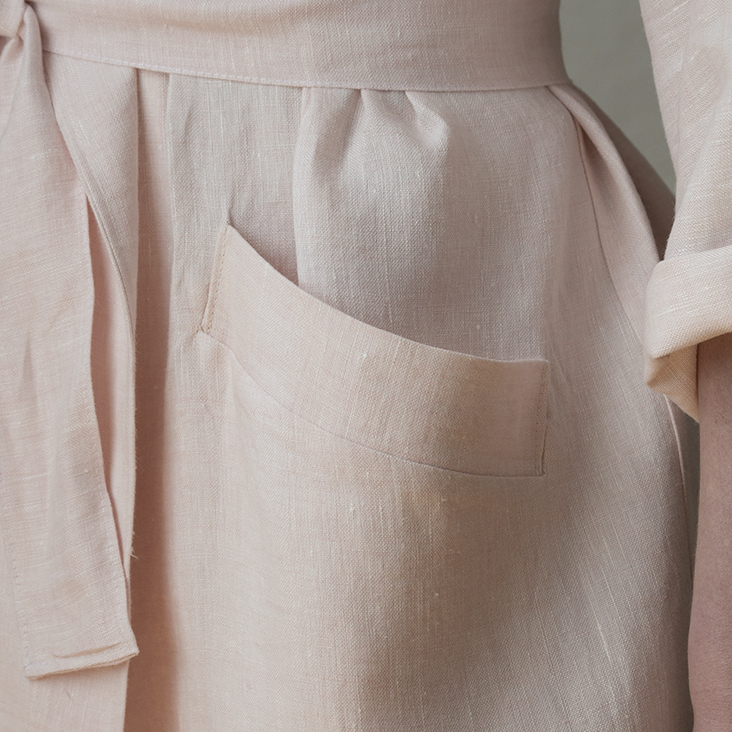
These welt pockets are featured in our Lola trench pattern, check out the tutorial and free pattern here.









14 Comments
Celeste Yanisch
These tutorials are so incredibly helpful. Thank you so much! I’ve been sewing for 50 years and have never attempted a bound buttonhole or a welt pocket yet, although I’ve done pretty much everything from wedding dresses to drapes. This will help me immensely. Please continue doing more of these, maybe a fly front or a shirt collar attachment?
Marjolijn Rietsema
Unfortunately this tutorial is not useful as it is too difficult to see. What a bummer. In the future would you use a fabric with a little more contrast? Thanks. (not black either…) Sorry to complain but I think it needs to be said…M
Lynn Ledger
Agree!
LORRIE AMES
I also agree. Although the written instruction seem to be understandable, the photos are frustrating.
If the background were darker the contrast would be better.
I have notices that may of the photos of completed pieces of clothing are very difficult to see details, because of poor contrast- (black fabric) or model position (photo taken at such a distance or position of model).
Cathy Gwozdz
This is great! I think I will have to try this on an apron our a few until i am confident enough to put the pocket on a pair of slacks!
Lorraine Rossi
Thanks so much for this tutorial. Beautifully done and very precise and helpful.
Rima Khusainova
Thank you so much for your kind words Lorraine!
Marcy Newman
Yes, I agree, a darker fabric would have helped but Well Done! Beautiful tutorial! Nothing like a welt pocket! You make me want to do one again. Been a long time.
Rima Khusainova
Thanks so much Marcy! Hope this tutorial will be helpful 🙂
Tam Crucey
I didn’t mean to use question Mark’s meant exclamation points geesh
Jane Bordzol
Would you, for God’s sake and the sake of my eyes, please use darker fabric with more contrast! I can barely see the fabric in the photos.
Rima Khusainova
Dear Jane, thanks a lot for the comment. This fabric was particularly hard to shoot indoors with low day light, the images turned out a bit pale but I hope you can still follow the instructions. I’ll try to do better next time!
Tam Crucey
It’s a good video! Tfs and nice reply??
Rima Khusainova
Thank you so much Tam!