Partial Placket Shirt Dress Tutorial and Pattern
In our previous tutorial we have shown you how to draft and sew a partial placket the easy way. So we thought that today would be a good time to practice your new skill and make a simple long sleeve placket shirt dress.
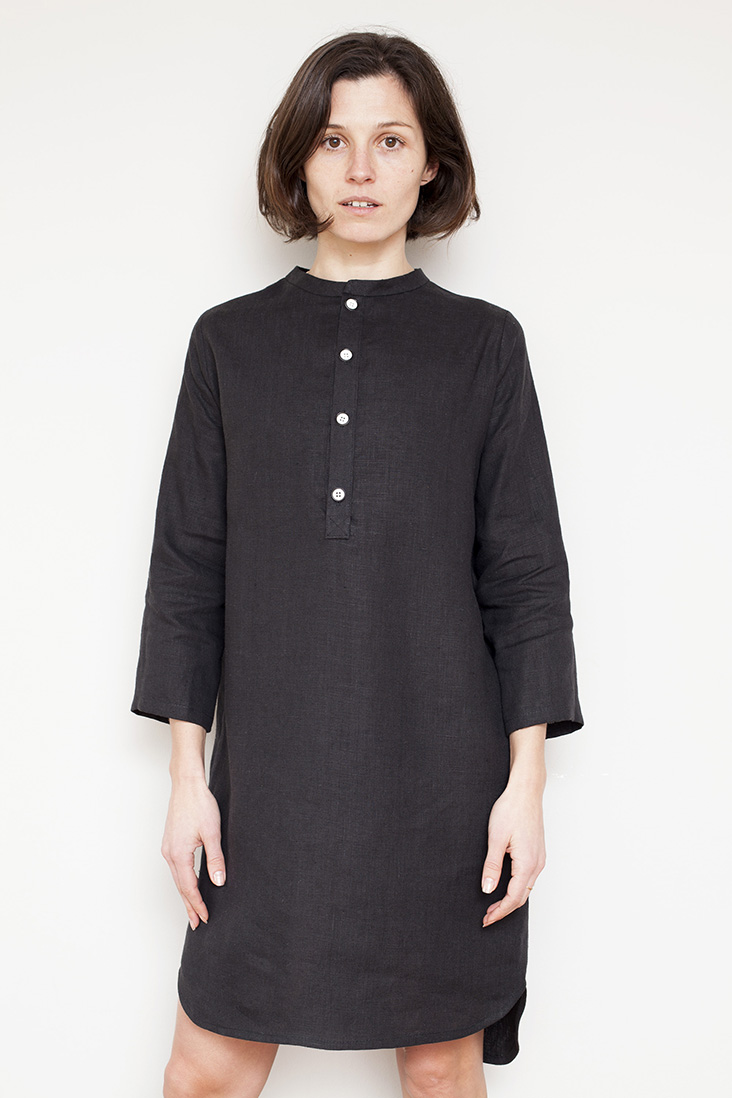
With its crisp mandarin collar, a high-low hem and contrasting buttons, this shirt dress is a great basic that you’ll want to wear season after season. Crafted from pure softened linen, this shirt feels luxuriously soft and is really comfortable to wear paired with your favorite jeans, leggings or as a tunic.
Materials
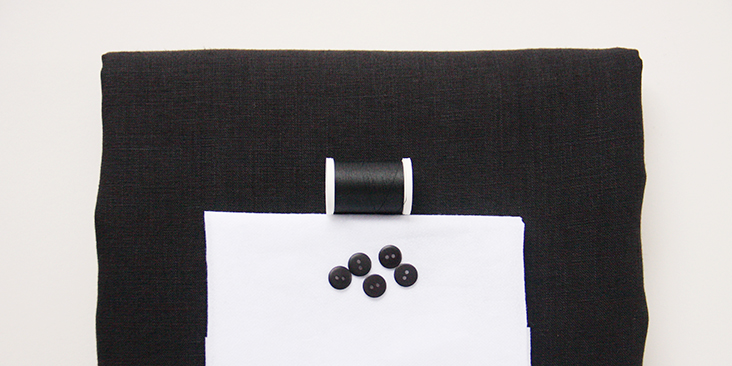
2 yards of IL019 BLACK Softened 100% Medium Weight Linen
Matching sewing thread, fusible interfacing, 5-6 buttons
Tools
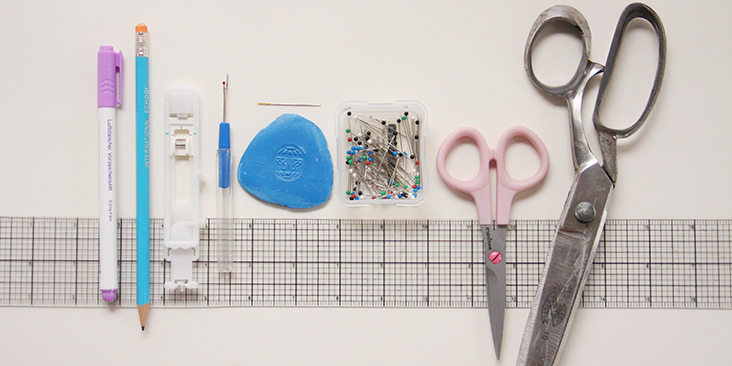
Pattern paper, scissors, ruler, pins, chalk, fabric marker, pen, buttonhole foot, needle, seam ripper, sewing machine
Difficulty
Advanced Beginner
Time
4-5 hours
Pattern
You can access the shirt pattern by following this link HERE. Remember to add seam allowances as indicated in the pattern. The diagram shows the pattern for US size 6-8 (UK size 10-12). If you need help grading your pattern, please follow this tutorial.
Please note that the mandarin collar pattern is not included in the diagram as we strongly recommend to draft your own collar to get it right. Follow the detailed instructions in this tutorial that will take you through the drafting process.
If you need help adjusting the pattern for a fuller bust, we have a great Full Bust Adjustment tutorial HERE.
Steps
Note: Prewash your fabric and tumble dry it until it is still slightly moist, dry in room temperature. Iron the fabric so it is easier to work with.
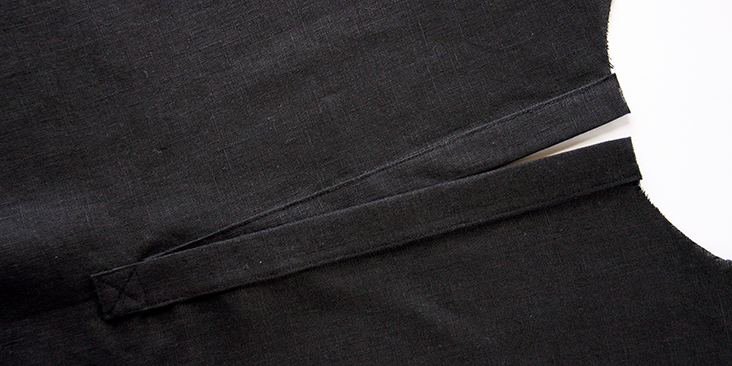
1. Sew the partial placket onto the front of your shirt by following this step-by-step tutorial. Don’t sew the buttonholes and attach the buttons yet, you’ll need to add the collar first.
2. Pin the front and the back of your shirt right sides together at the shoulders.
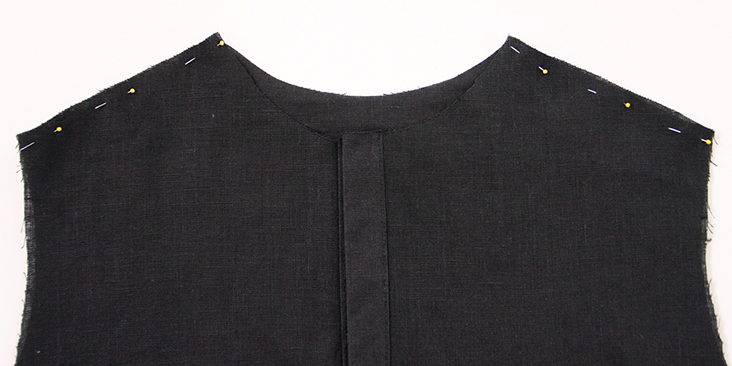
3. Sew the shoulder seams right sides together at 3/8″ (1 cm) seam allowance, remember to backstitch. Trim the seam allowance down to 1/4″ (6 mm) and serge or zigzag the raw edges together to prevent the fabric from fraying. Press the seams flat folding the serged/zigzagged edges towards the back of your shirt.
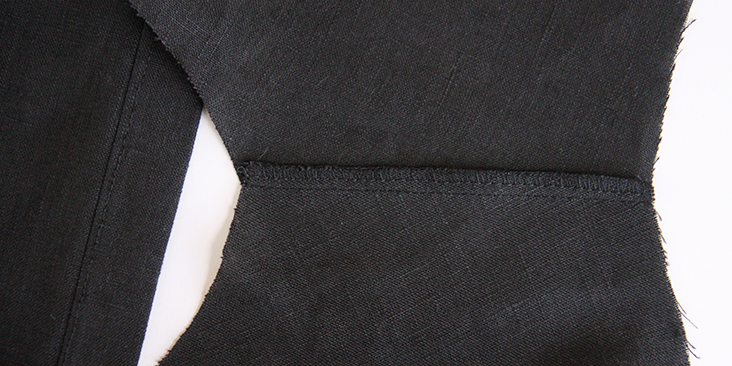
4. Attach the mandarin collar following our detailed tutorial HERE.
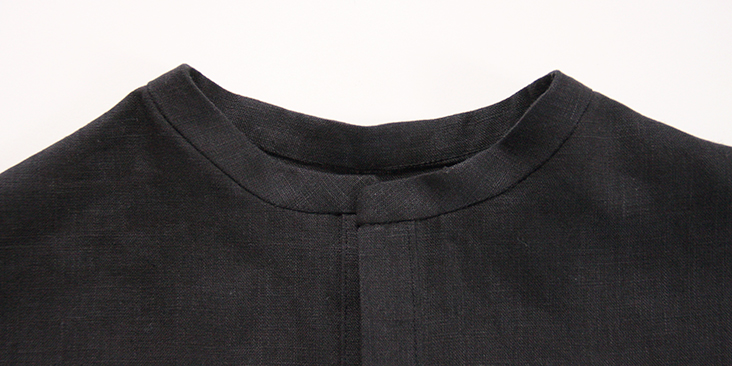
5. Now is the good time to sew the buttonholes and attach the buttons. Follow these easy tutorials HERE and HERE.
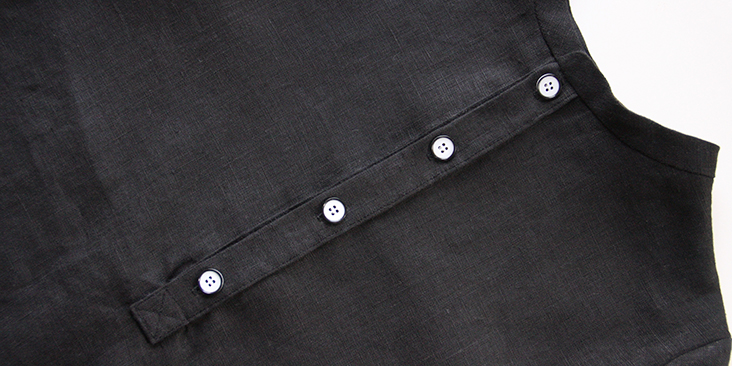
The spacing is really up to you but we recommend not to exceed 2,5″ interval between the buttons.
6. Pin the sleeves to the armholes right sides together.
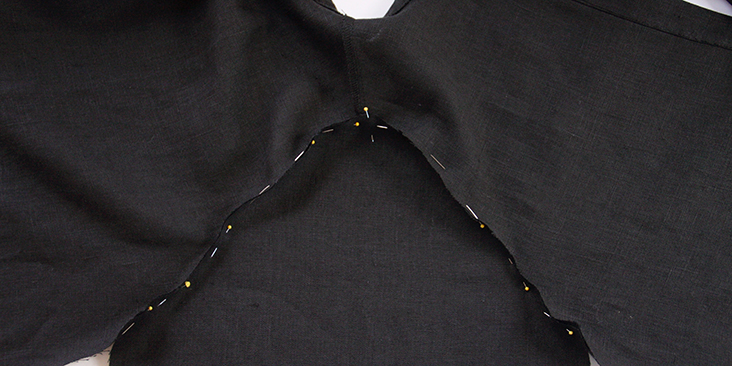
7. Sew at a 3/8” (1 cm) seam allowance. Serge or zigzag the raw edges together to prevent the fabric from fraying. Press the serged/zigzagged seam allowances up towards the sleeves.
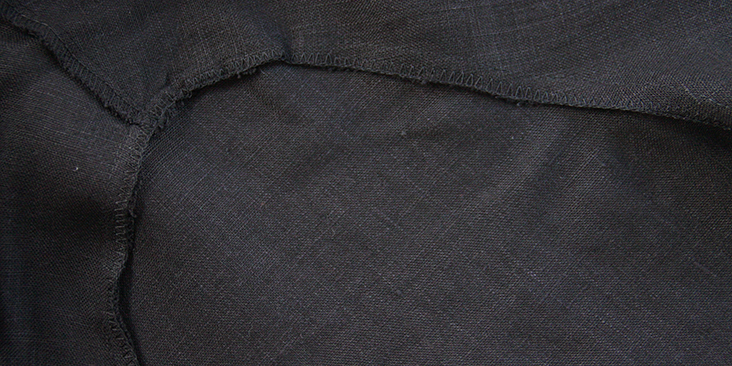
8. Pin the sleeves and the side seams right sides together. Sew the pinned edges at a 3/8” (1 cm) seam allowance and finish the raw edges with a serger or a zigzag stitch. Press the seams flat folding the serged/zigzagged edges towards the back of your shirt.
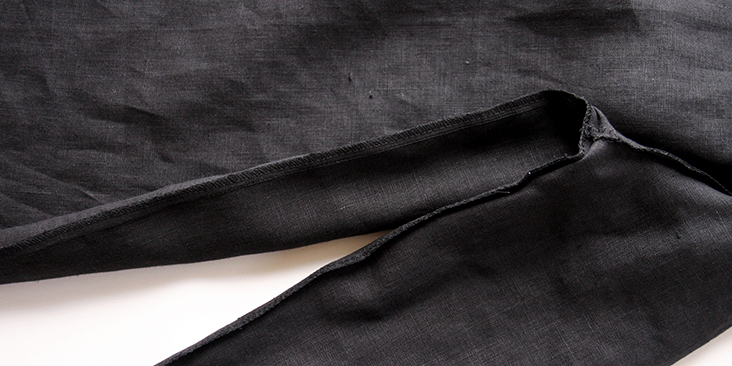
9. Finish the sleeve openings with a rolled hem. Fold the fabric twice towards the wrong side, 3/8″ to 1/2 inch, press, pin and stitch.
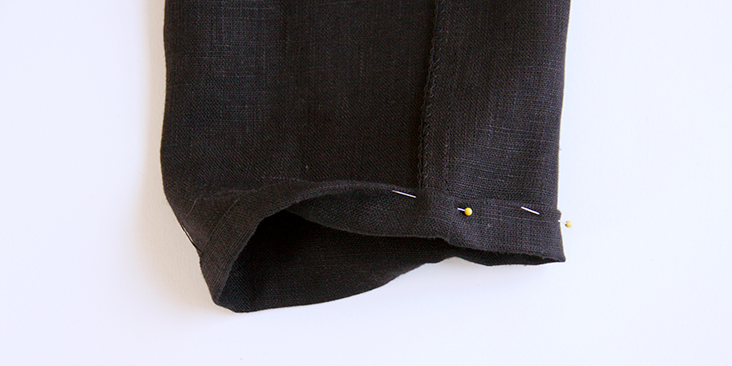
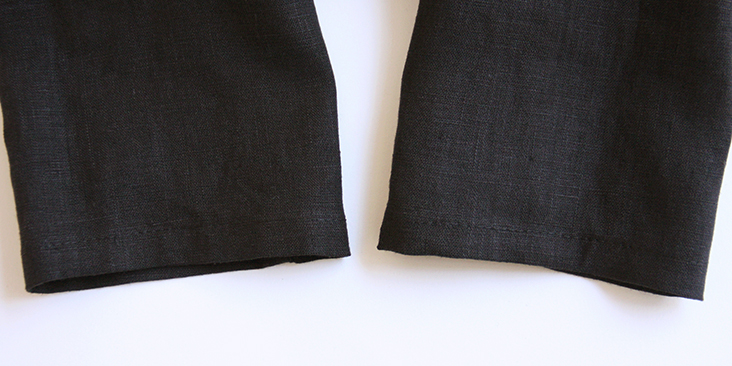
Lastly, you need to finish the curved bottom hem with a rolled hem. In order to maintain the perfect curve, we recommend a very simple trick, which consists in using a line of stitching as your guide.
12. Sew a line of stitching 3/8″ from the raw edge, all along the hemline.
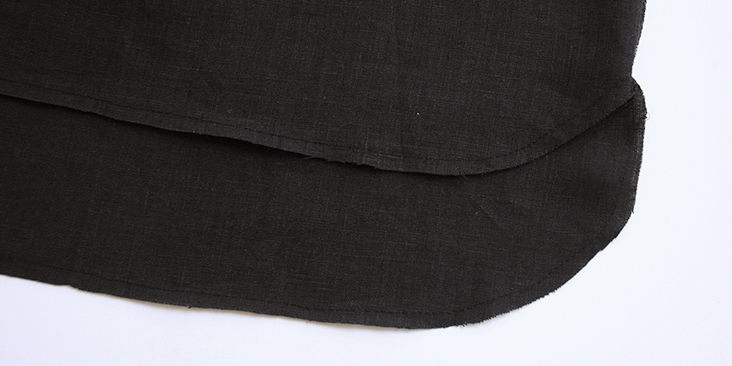
13. Using that line of stitching as your guide, press the hem in.
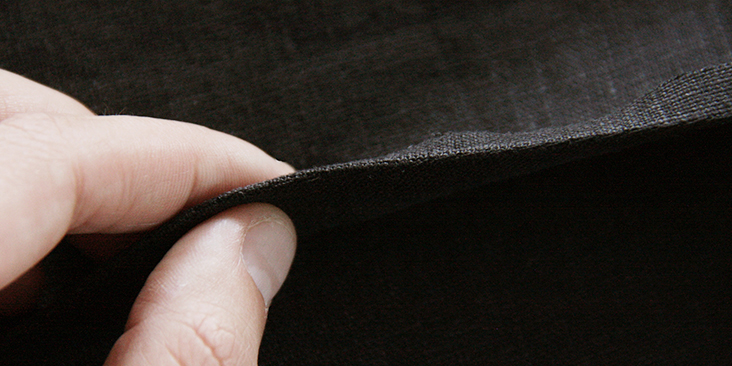
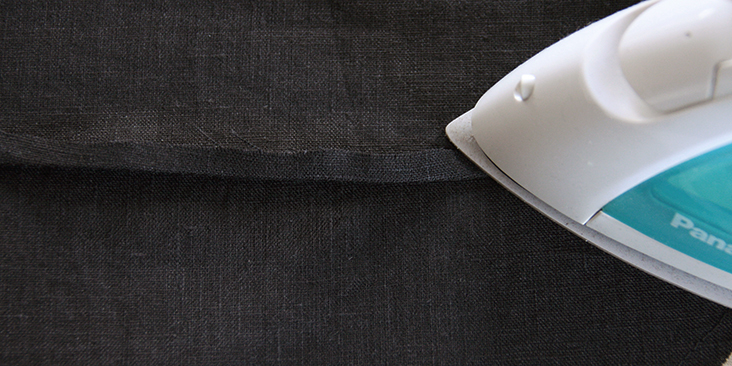
14. Now press the hemline in again, this time using the raw edge as your guide. Pin into place and stitch.
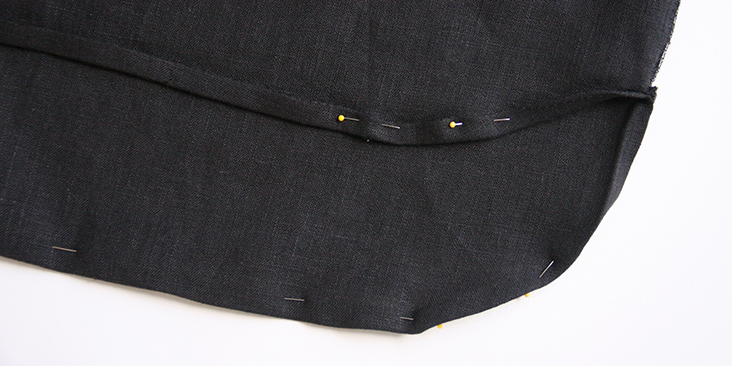
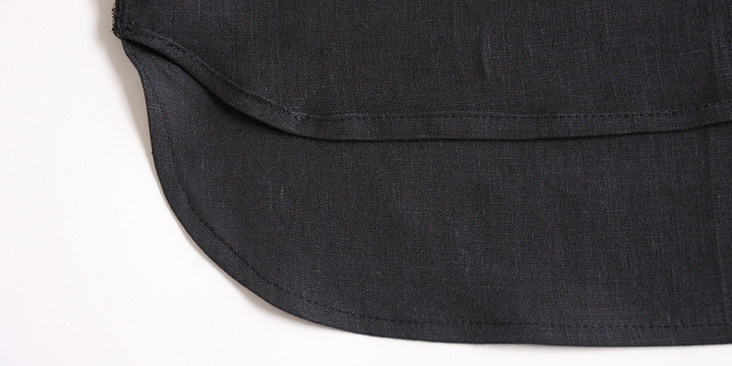
Give your shirt a good last press and you are all done!
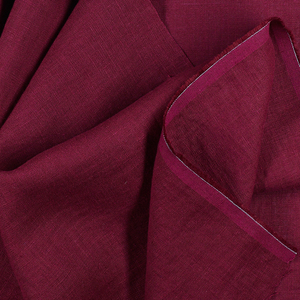
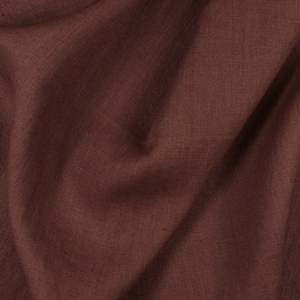
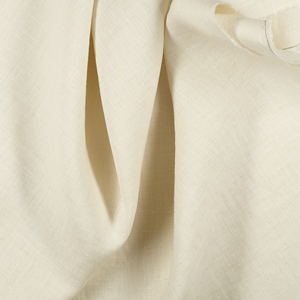
Check out our selection of linen fabrics and see which color inspires you for this beautiful project!













12 Comments
Kelly Potocki
Hi,
I like this shirt dress. I think it looks simple and cute. I need to make a size 4. Do you think if I sew it up without adding the seam allowance the shirt dress will turn out to be about a size 4? In other words, I will use the pattern as if the seam allowance has already been included. Will it work?
Also I am thinking alter the pattern to have the placket all the way down in the front so that it is more versatile. I could wear it as a dress or as a jacket. Is it workable? If so could you direct me to how I could alter the pattern. to have button placket all the way down?
Thank you so much!
Kelly
Lauren Gates
Hello Kelly,
I would recommend using the following multi-sized free patterns and using this pattern as a guide for adjusting it to be dress length. This way you can have a pattern designed for a full-length placket and a size 4.
Jade: https://fabrics-store.com/sewing-patterns/jade-jade-relaxed-linen-shirt-pattern
Genia: https://fabrics-store.com/sewing-patterns/genia-genia-tailored-linen-shirt-pattern
Sara
I think this dress is beautiful and I have no problem seeing the instructions on my computer.
Lanell and Madelyn, Please do not put your negative hurtful comments on-line, keep them to yourself. You only bring ridicule to your selves with such a display of rudeness. Your mothers would be embarrassed.
LaNell
Sorry, this dress is far from gorgeous. Looks like a sloppy long shirt to me. Whatever happened to STYLE? Where did it go?
Rima Khusainova
Dear LaNell, I appreciate your feedback but think that we all have different tastes which is great! Hopefully you’ll find some of our other patterns to your liking.
Diana Ilieva
Dear Rima,
This is my first time posting a comment ( without taking into account my answer to LaNelle ), but I am using a lot of your patterns and tutorials – perfect results every single time; which tells you a lot, because I am sewing just from an year….So big THANK YOU, appreciate every part of your hard work.
Please excuse my bad English, but it is not my native language. Greatings from Bulgaria.
Rima Khusainova
Thank you so very much for your kind words Diana! I’m so happy to hear that you like my patterns! It means a lot 🙂
Diana Ilieva
Dear LaNelle,
in my opinion to be rude is far from STYLE.
Every single tutorial or pattern is result of a hard work, which you receive for free….Let’s just be thankful and appreciate the efforts behind this ” sloppy long shirt “….There’s a lot of stylish paid patterns out there, you can use them any time you want.
Madelyn Lenard
Ridiculous to do such careful directions with black fabric. You can’t see a thing! Any other color than black would have worked better.
karen
@Madelyn Lenard – your ridiculous to ridicule. When were you last so inclined to do a such a nice tutorial? Even if you cant see the thread, it is very obvious where the stitching happens.
Thank you Rima, I appreciate all of these!
Rima Khusainova
Dear Karen, thank you so very much for your comment and kind words! I do put a lot of work into each of my tutorials and feel so happy when I get positive feedback! So it means a lot, thank you!
Rima Khusainova
Dear Madelyn, thanks for your comment. We really wanted to showcase our beautiful black linen here and sorry if the pictures are not sharp enough – I had to size them down considerably to be able to include in the post.