Drop Waist Ruffle Dress Tutorial and Pattern
With warm summer weather withering away, at least in London, this dress comes into it’s element as it is still summery, and yet made from our very durable medium weight Yarn Dyed 100% linen. This fabric feels very warm, and comforting and yet will keep you cool if the sun does decide to make an entrance.
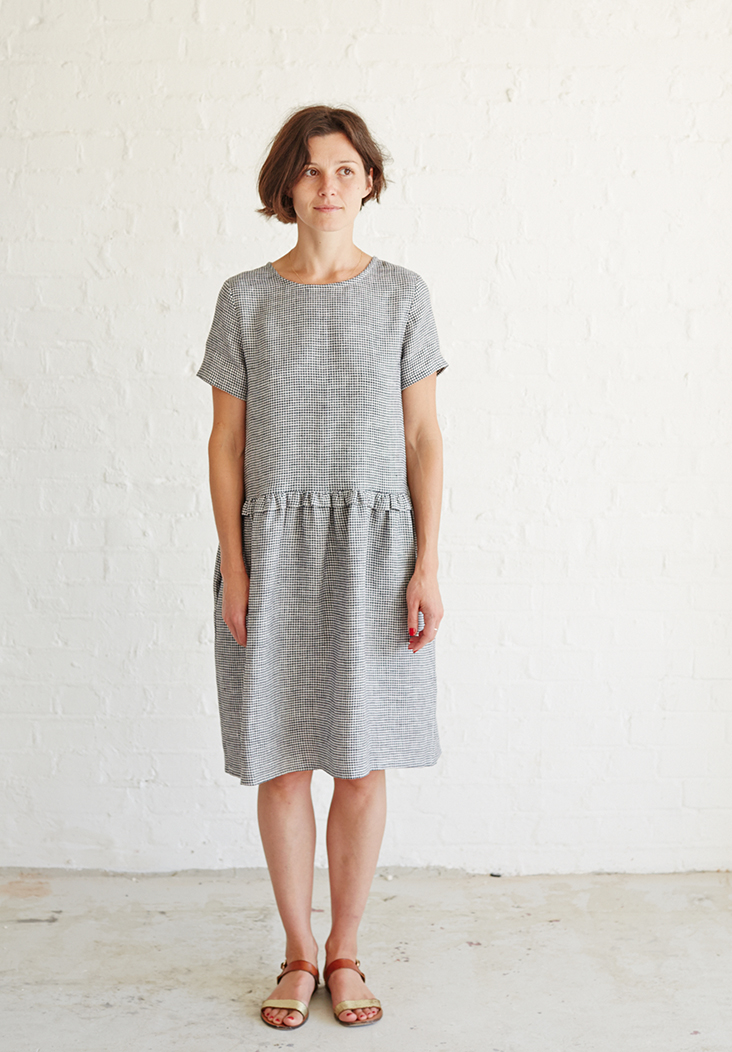
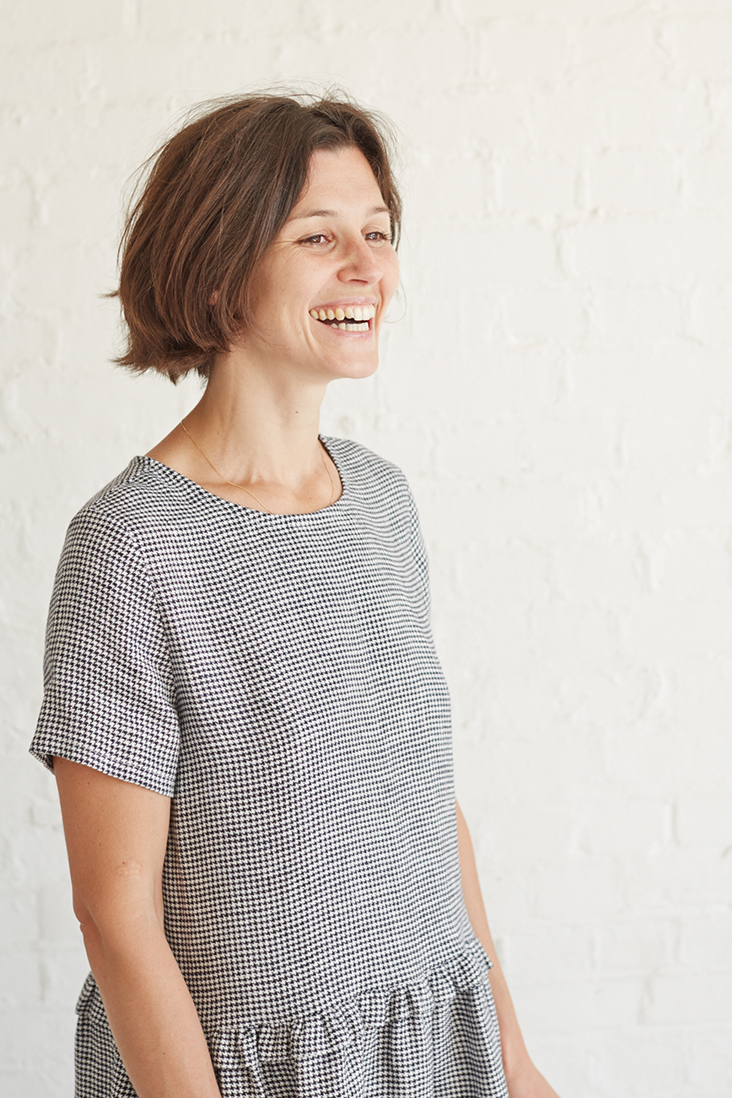
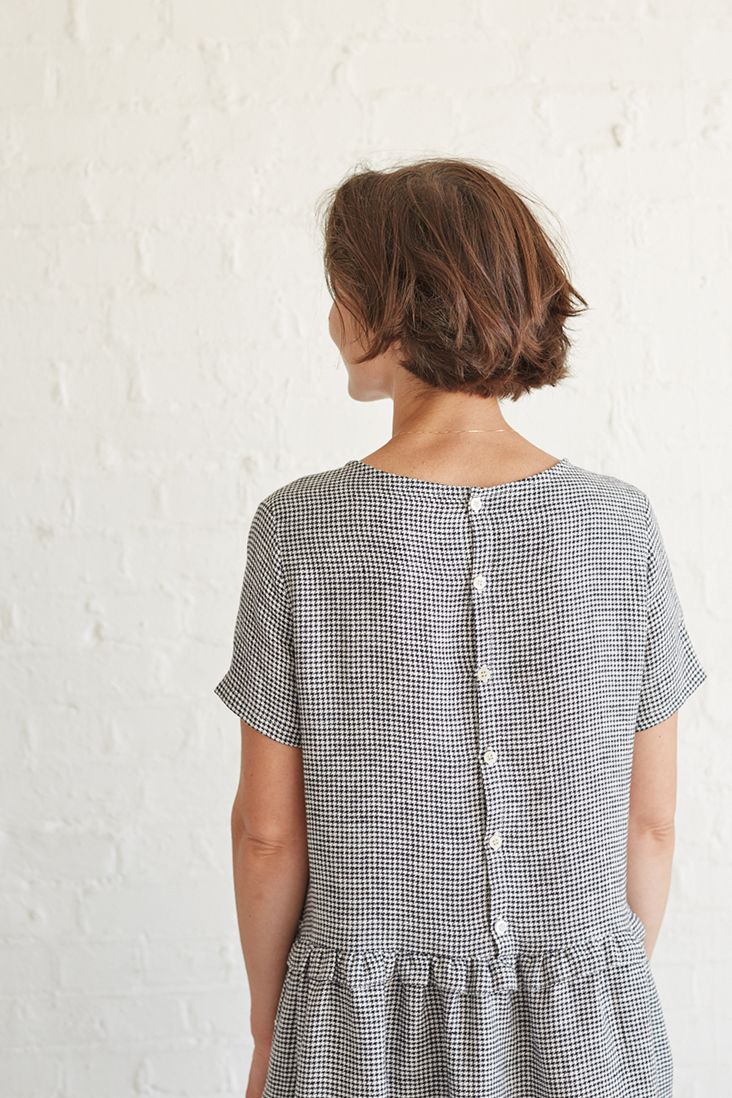
Make a lovely dress full of charm with our Gathered Waist Ruffle Dress Pattern. It features a simple boxy design with a gathered skirt, button up back and the adorable ruffle detail at the waist adding a touch of femininity to this classic design.
Follow our detailed step-by-step tutorial to create a new and versatile addition to your wardrobe in as little as a few hours.
Materials
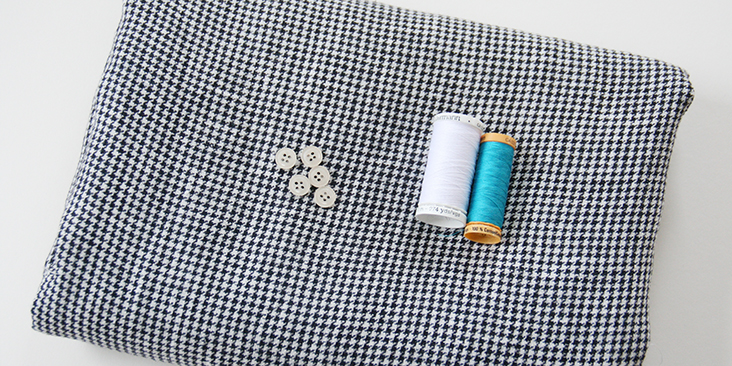
2 yards of IL042 922 FS Premier Finish Medium Weight Linen
Matching sewing thread, contrasting sewing thread for gathering, 5-6 medium sized buttons
Tools
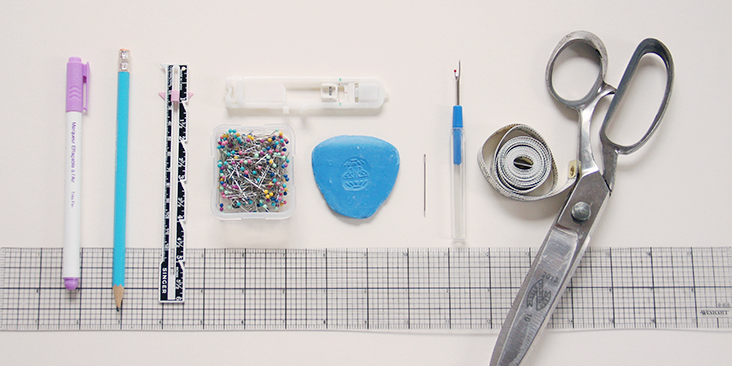
Pattern paper, scissors, ruler, pins, chalk, pen, seam ripper, needle, buttonhole foot fabric marker, measuring tape, sewing machine
Difficulty
Intermediate
Time
4-5 hours
Pattern
You can access the dress pattern by following this link HERE and the printable pocket template can be found HERE. Remember to add seam allowances as indicated in the pattern.
Note that you’ll also need to make one continuous strip of bias band (1,5″ wide) for the neckline. For detailed instructions on how to cut fabric on the bias please follow this tutorial.
This dress is extremely loose and will fit quite a range of sizes – from XS to M. If you need help grading your pattern, please follow this tutorial. Also, if you need help adjusting the pattern for a fuller bust, we have a great Full Bust Adjustment tutorial HERE.
Steps
Note: Prewash your fabric and tumble dry it until it is still slightly moist, dry at room temperature. Iron the fabric so it is easier to work with.
1. Let’s start with the button bands. First, fold the 3/8″ (1 cm) seam allowance to the wrong side of your back panels and press. Then fold another 3/4″ (2 cm) so that all raw edges are concealed inside the button band. Press and pin.
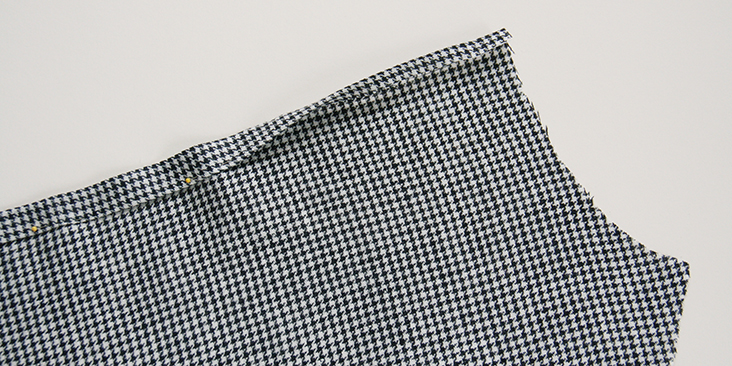
Note: When you fold/pin, make sure that your back pieces are mirror images of each other.
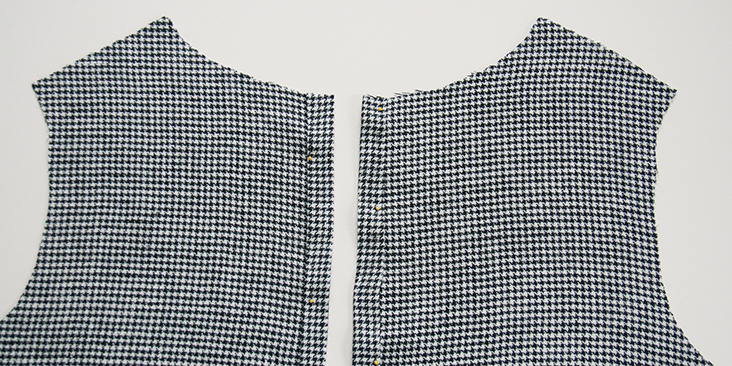
2. Stitch as close to the folded edge as possible (remember to backstitch). Press the finished button bands to ensure the fabric sits flat.
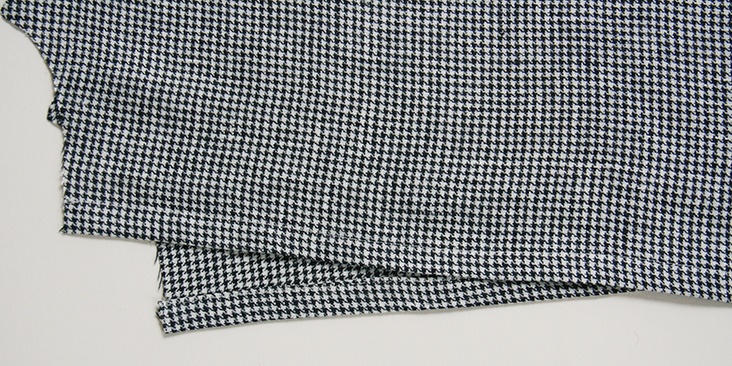
Repeat with the other button band.
3. Sew the buttonholes as explained in this detailed tutorial HERE.’ Please note that in women’s clothing the buttonholes are traditionally placed on the right, and the buttons – on the left. The number and the spacing are really up to you. If you want your buttons closer, just leave smaller gaps between them. We decided to space our buttonholes 2,5″ (6 cm) apart. However, be mindful of the neckline and waistline seam allowances and place your buttonholes at least 1/2″ away from the top and bottom edges.
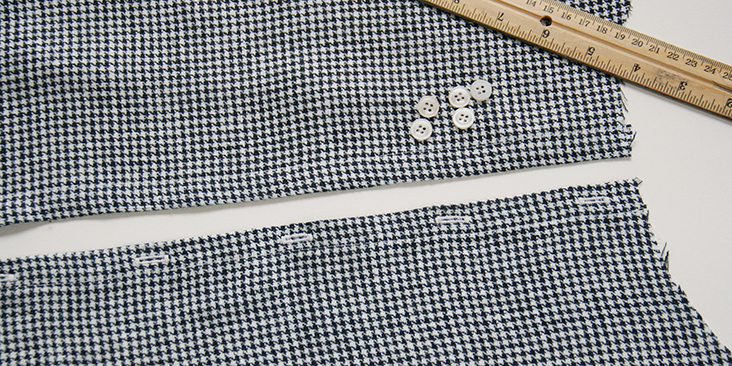
4. Open the buttonholes with your seam ripper. Then overlap the button bands’ and place a pin into the center of each buttonhole. This is where you’ll need to attach the buttons. Here’s a very easy tutorial on how to attach the buttons.
You can either do this now or at the very end – it’s your choice!
5. Pin the front and the two back panels of your bodice right sides together at the shoulders.
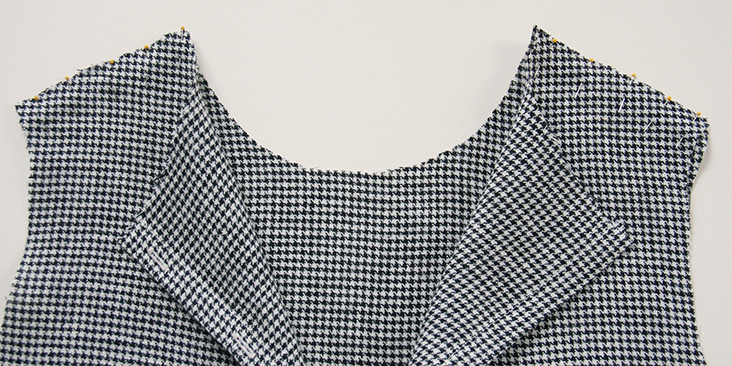
6. Sew the shoulder seams right sides together at 3/8″ (1 cm) seam allowance, remember to backstitch. Trim the seam allowance down to 1/4″ (6 mm) and serge or zigzag the raw edges together to prevent the fabric from fraying. Press the seams flat folding the serged/zigzagged edges towards the back of your dress.
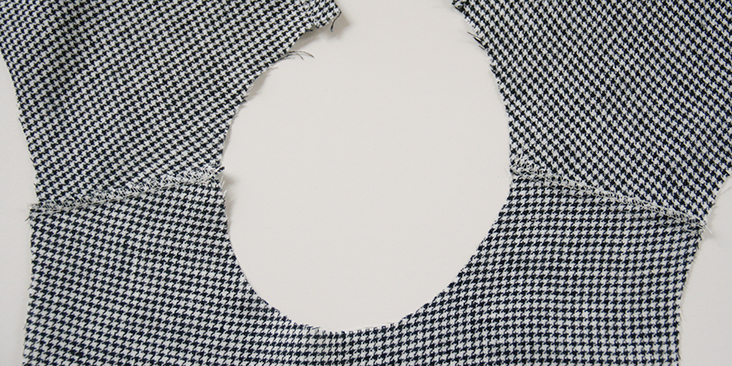
7. Bind the neckline following this tutorial. Make sure that when you attach the binding the serged/zigzagged shoulder seam edge is folded towards the back of your dress.
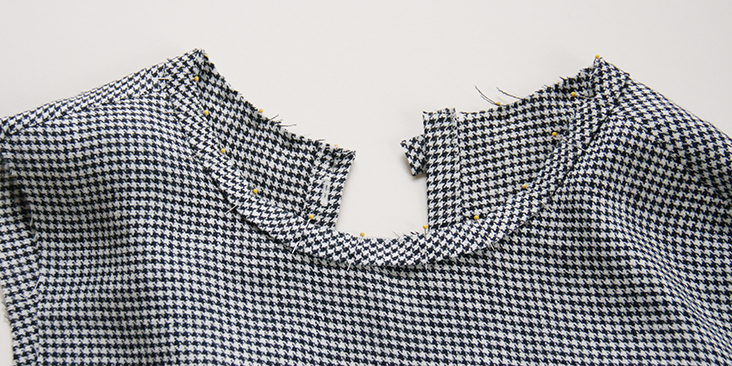
When you come to the back opening, tuck in the ends of your bias band as shown below:
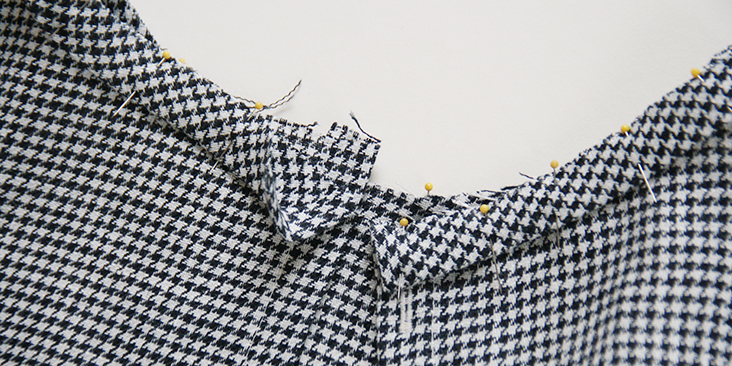
Here’s what your finished neckline will look like:
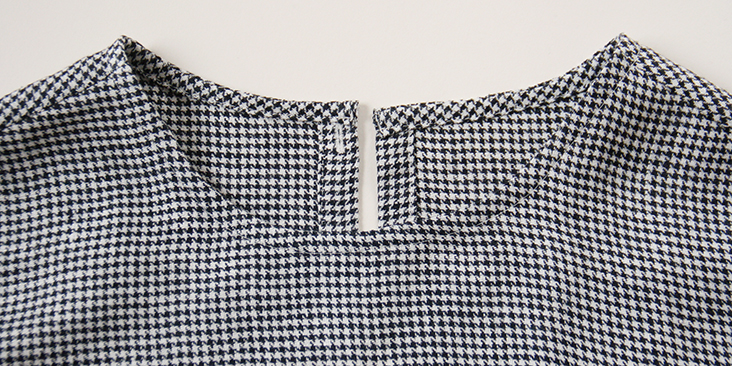
8. Time to attach the sleeves. Pin the sleeves to the armholes right sides together.
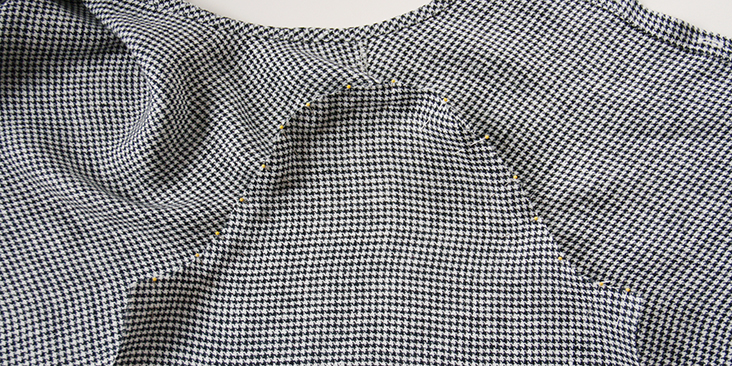
9. Sew at a 3/8” (1 cm) seam allowance. Serge or zigzag the raw edges together to prevent the fabric from fraying. Press the serged/zigzagged seam allowances up towards the sleeves.
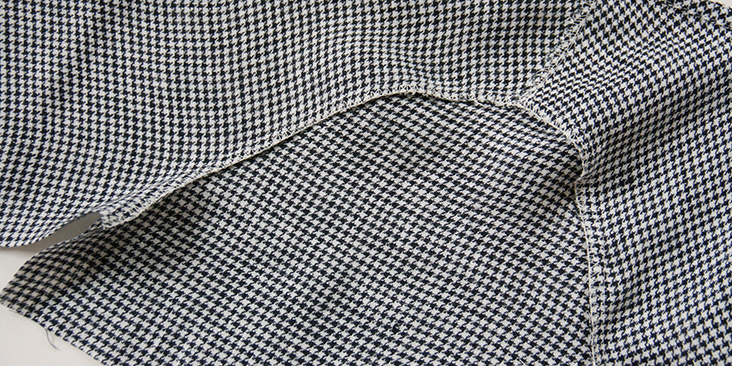
10. Pin the sleeve and bodice side seams right sides together.
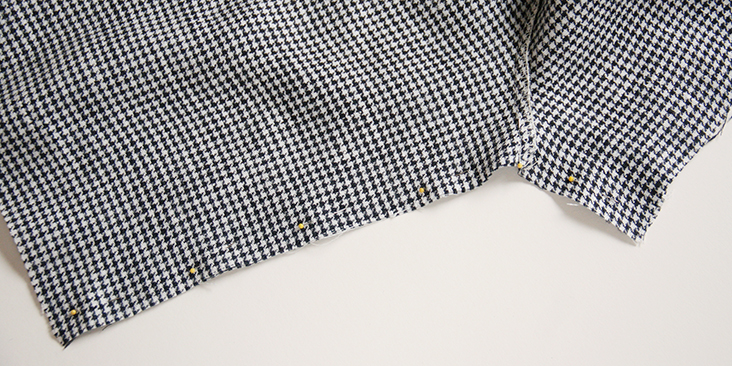
11. Sew the pinned edges all in one seam at a 3/8” (1 cm) seam allowance. Finish the raw edges with a serger or a zigzag stitch and press the seams flat folding the serged/zigzagged edges towards the back of your dress.
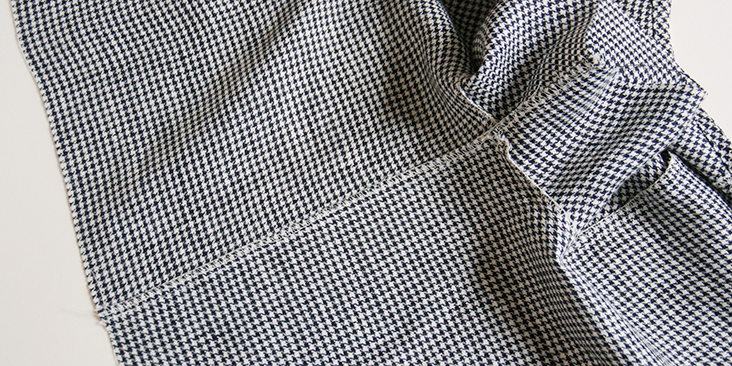
12. Finish the sleeve openings with a simple rolled hem. Fold the raw edge first 3/8″ (1 cm) to the wrong side, then another 1/2″ (1.3 cm) and press. Pin the fold.
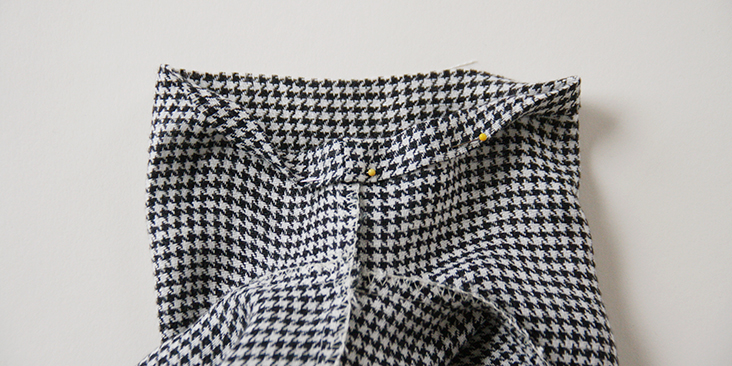
13. Working from the wrong side, topstitch as close to the inner fold as possible. Remember to backstitch and press the seams when you’re done.
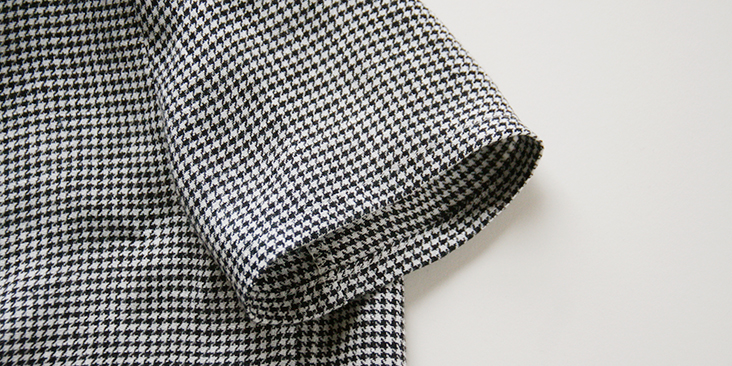
Put your assembled bodice aside and let’s construct the skirt.
14. Following THIS tutorial, attach the inseam pockets and assemble the front and the back of the skirt together.
Place your pockets 5″ away from the waistline.
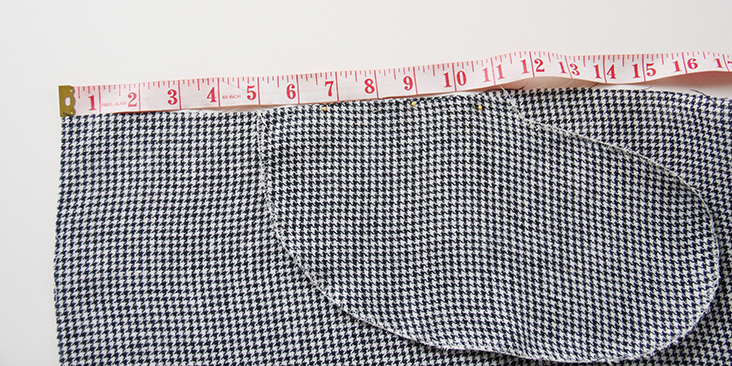
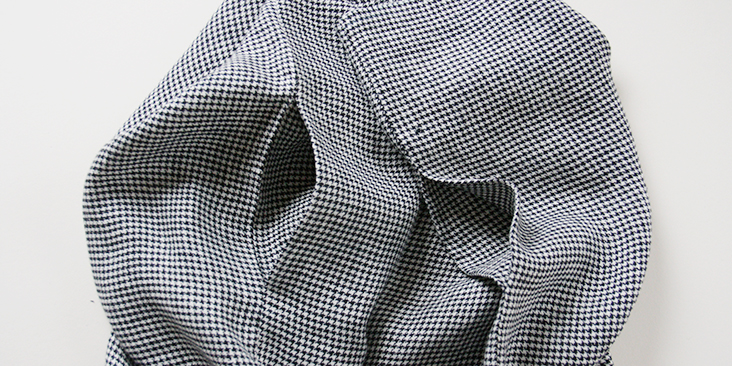
15. Finish the bottom of your dress with a simple rolled hem. Fold the bottom edge under first 3/8″ (1 cm) then another 0,5″ (1.3 cm) and press. Pin the fold.
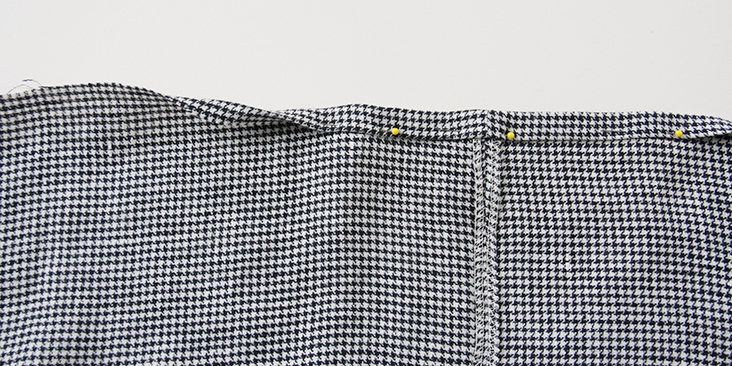
16. Working from the wrong side, topstitch as close to the inner fold as possible. Remember to backstitch and press the seams when you’re done.
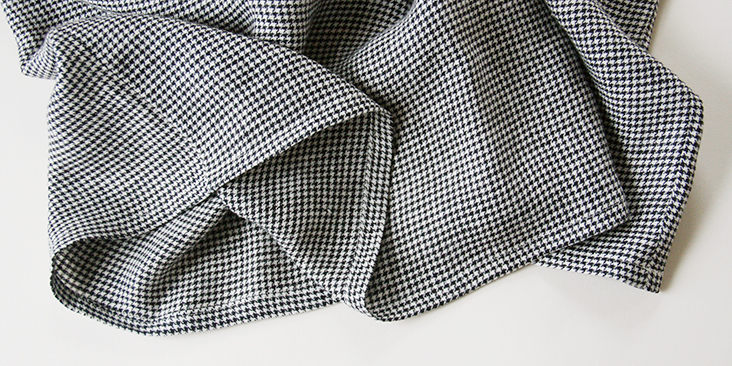
Now comes the tricky part: form a ruffle, gather and attach the skirt.
17. To create a 1″-wide ruffle, fold your skirt’s raw edge at waist 1.5″ under to the wrong side and press. The 3/8″ is the seam allowance that we’ll use to attach the skirt to the bodice and the 1/8″ is to account for the fabric lost in the fold.
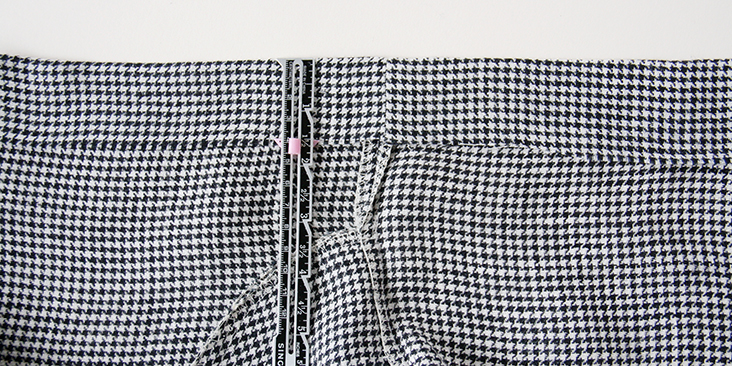
18. To make sure that your future ruffle keeps its form after washing, run a line of topstitching 1/8″ from the folded edge.
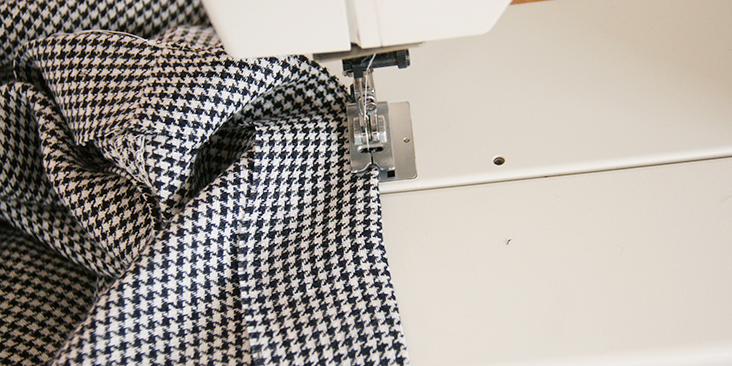
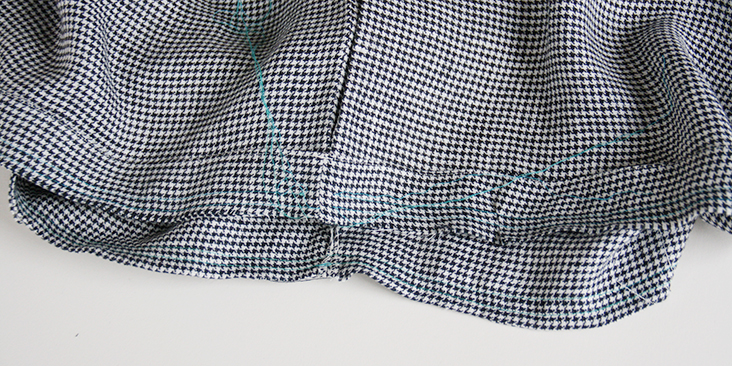
19. Now accordion fold your fabric again (1.5″ to the right side) so that your new fold and the raw edge of your fabric are at the same level. Press and pin all three layers together.
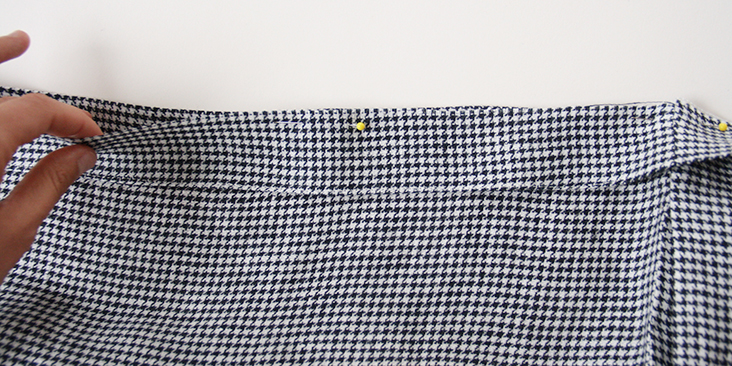
As you can see, we’ve now created a double-folded strip of fabric that will become our ruffle after gathering.
Now it’s time to gather the skirt and the ruffle (all in one).
20. Set your sewing machine on the longest stitch, use a contrast color thread and run two parallel lines of stitching all around the skirt opening and through three layers at once. Leave long thread tails that we will later use to gather the fabric. HERE is a step-by-step tutorial on how to prepare your fabric for gathering.
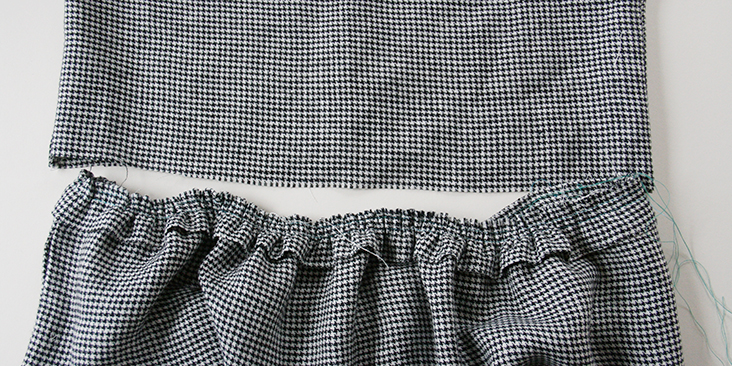
21. By pulling your threads, gather the skirt/ruffle to the measurement of your buttoned-up bodice. Space the gathers evenly.
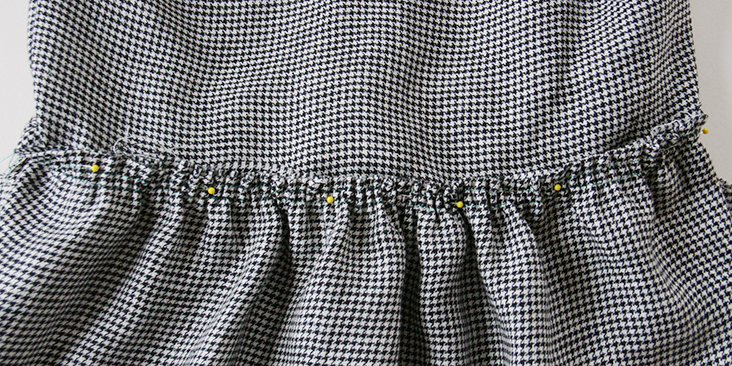
22. Lastly, pin the gathered skirt to the bodice right sides together and matching the side seams.
23. Sew at a 3/8” (1 cm) seam allowance. Remove the gather stitches using your seam ripper. This is why it’s recommended to use a contrasting color thread – so that you don’t make a mistake and rip out wrong stitches.
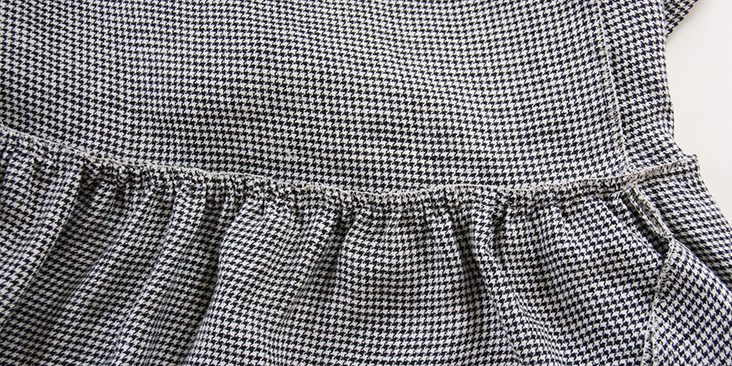
24. Trim the raw edge if necessary and serge or zigzag all three layers together. Press the seams flat folding the serged/zigzagged edges to one side and you are all done!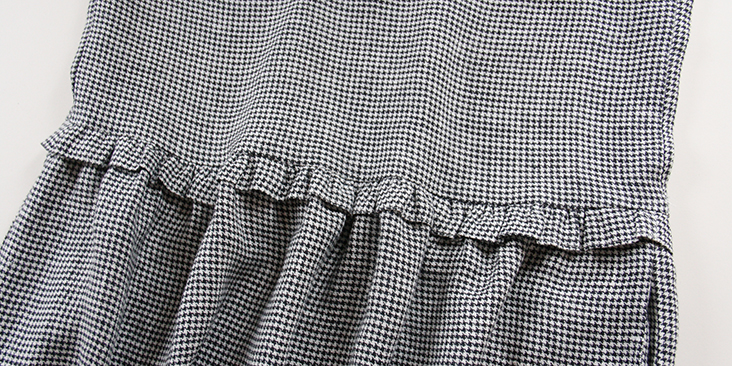





26 Comments
Pingback:
Upcycled Denim Pear Doorstop – Free Sewing Pattern – Sewing – cybercraftworks – Cyber CraftsPingback:
20 superbes patrons de couture de robes à volants pour un stylish sans effort – Couture – ETHAN PIKEPingback:
20 Delightful Dress Sewing Patterns With Ruffles for Effortless Chic – Sewing – cybercraftworks – Cyber CraftsPingback:
Ruffle Up Your Wardrobe: 20 Delightful Dress Sewing Patterns With Ruffles for Effortless Chic – SewingJoanna Ackroyd
Hello. The download link for this pattern takes me to a file showing the pattern pieces but not to scale. Is there a full scale printable pattern please?
Pingback:
Get Ready to Ruffle: 20+ Gorgeous Women’s Dress Patterns That’ll Make You the Queen of Ruffles! - Artesanato CriativoPingback:
Get Ready to Ruffle: 20+ Gorgeous Women’s Dress Patterns That’ll Make You the Queen of Ruffles! – SewingSophia Wang
I would love to sew this too, please update the link to the pattern download !
Lauren Gates
Hi Sophia, The main pattern link should be working now, and I’ll have the pocket link fixed up asap
Lauren Gates
Hi Sophia, That link to the pocket is all fixed up 🙂 Happy sewing!
Alexandra Luncasu
Hello! The link to the patterns don’t seem to be working.
Natalie M
Hello! Do you offer a downloadable pattern for this dress?
Catherine Sleyer
The link to the patterns don’t seem to be working. Is there another way to receive the pattern? So looking forward to getting my teeth into this gorgeous dress!!!
Chanelle
Hi Rima, I love this dress and can’t wait to make it. I have read and understood the tutorial for for grading the pattern and understand how to draw the body, however I can’t get my head around how to do the curve for the sleeve cap. Is there an easy way? I have a pattern curve but I could draw this so many different ways I fear it wouldn’t even fit in the sleeve. Many Thanks
Rima Khusainova
Dear Chanelle, thank you very much for your comment and I totally understand your fear 🙂 The only way to do it, is to draw your curve, measure it and see if it fits your armhole (make sure you are measuring the right one, back or front). And if you see that your measurement is different, adjust the curve until you reach the amount you need. You can also drop the bicep line or extend side seam. There are some excellent pattern drafting tutorials online that could provide you with more detailed instructions.
M
Hello. I’m so looking forward to trying this out! I just have a quick question about the sleeve piece. What is the measurement from the bottom of the sleeve to the beginning of the curve? I hope this makes sense.
M x
Rima Khusainova
Hello and thank you for your comment! It’s 2″ from the hem of the sleeve to the underarm (inner edge of the sleeve) and 7,5″ from the hem to the cap (outside edge). Hope this makes sense too 🙂
Suellen Naughton
Does this mean that the 5.5 inches written vertically on the sleeve pattern is the measurement just to the horizontal dotted line from the sleeve cap and that from the dotted line to the bottom edge is another 2 inches?
Thank you for your help.
Sue
Susan
I hope you offer a downloadable pattern for this dress soon!
Melissa Hizy
Hi, this looks so comfy! I was wondering why the buttonholes are vertical rather than horizontal, they do not ‘pop open’ that way! In that case, the folded area might need to be wider?
Thanks for your good tutorials.
Rima Khusainova
Dear Melissa, thank you for this great question and your kind words! There’s really no rule when it comes to sewing your buttonholes. You can always change or customize the buttonhole placement to suit your design. We opted for vertical buttonholes as they take less room on the dress and if they perfectly fit your buttons it won’t open. If you do prefer horizontal buttonholes then yes, I think you should add an extra 1/4″ to your button bands.
Angela
Do you have the finished garment measurements? I just sewed up the Linen Swing Blouse and it was much shorter than I envisioned. No big deal, I just sewed another ruffle band onto it, but it would be nice to know measurements before starting!
Rima Khusainova
Dear Angela, you can find all the measurements in the pattern diagram. Just add the measurements of the bodice to the measurements of the skirt (minus the ruffle fold and the hem) and you’ll get the total length of the dress which is 41″ from high shoulder to the bottom hem. I hope this helps!
M.
Woo-hoo! Thank you for such a quick and accurate response. My DD will be happy to learn that omitting the buttons makes the dress that much more do-able! Yes, happy sewing to you, too.
M.
Good Morning, Rima! Thank you for this lovely dress pattern and detailed tutorial. One of my daughters and I simply fell in love with this dress. We have small frames. We were wondering if the buttons were absolutely necessary. The neckline seems generous enough to be able to put on and take off the dress without difficulty should the button opening be omitted. Thank you for your consideration in this. Have a good day.
Rima Khusainova
Hello and thank you so much for this kind comment! Yes, you can totally omit the button opening, the neckline is wide enough to allow the head to fit through. Have a great day too and happy sewing!