Alexandra Linen Morocco inspired Pants Tutorial
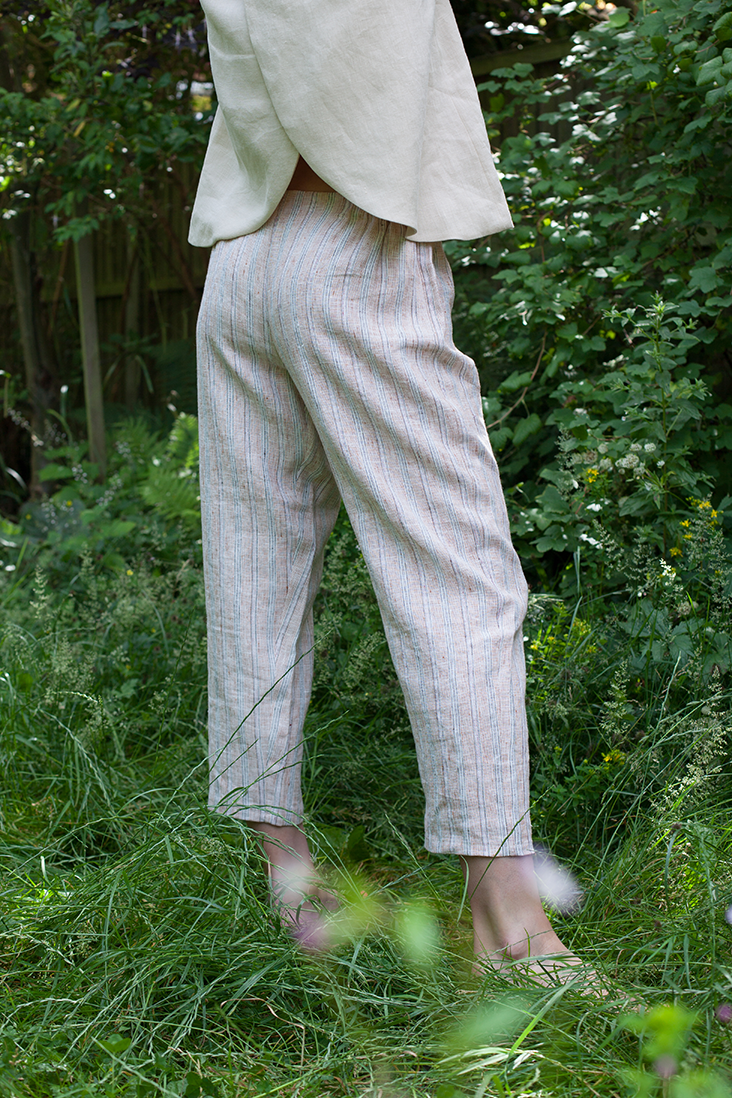
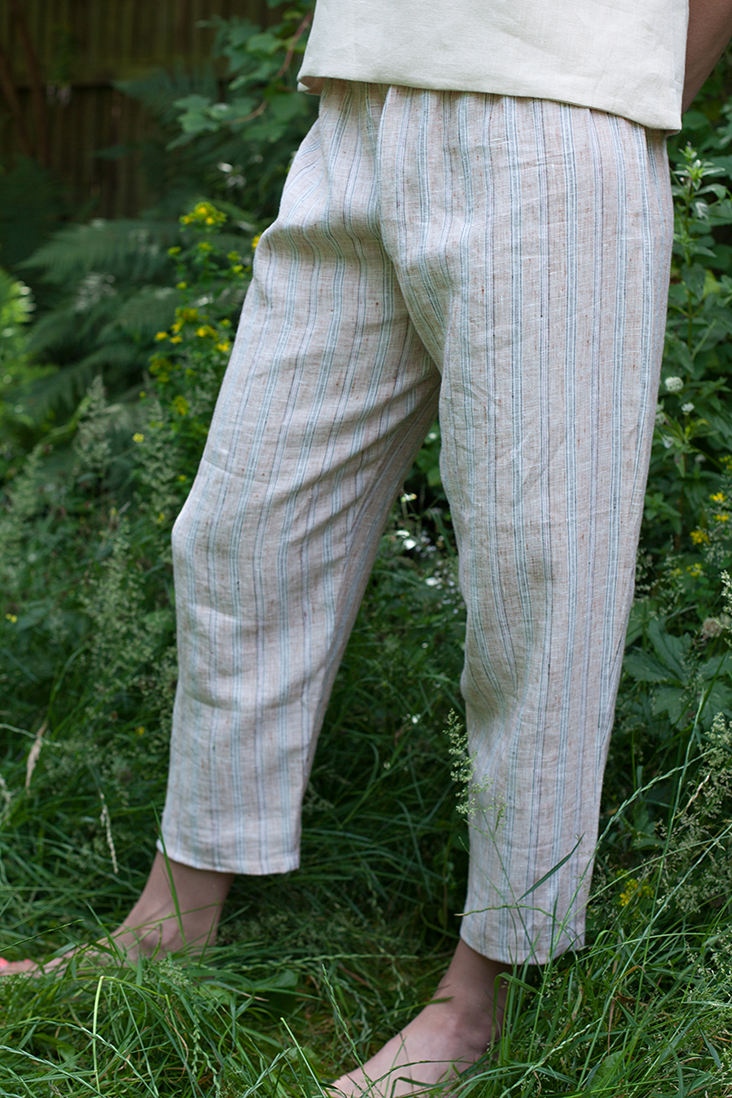
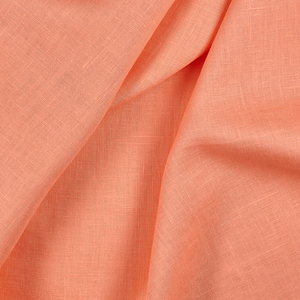
Comfortable and feminine, Alexandra Moroccan style striped pants are a dream to wear out or alternatively guaranteed to become your perfect pajama pair. Cut from our beautiful Premier Finish 100% linen, they are very smooth, breathable and soft to the touch featuring a loose-fitting, slightly cropped style with an elasticated back section on the waistband and a flat front. Such a great design that would fit every shape perfectly.
Alexandra is also a perfect beginner sewing project. These pants are so quick and easy to make that you’ll probably wonder why you ever were so afraid of sewing pants!
Materials
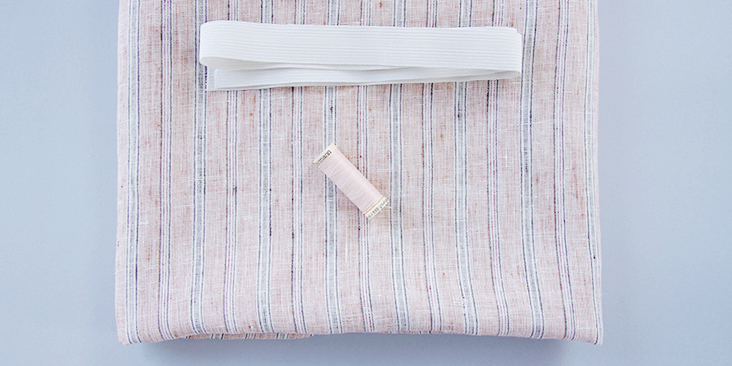
2 yards of IL042 899 – FS Premier Finish 100% Linen Middle Weight – Sizes 4-10, 2.5 yards for sizes 12 – 22.
Matching sewing thread, 1 yard of 1″- (2.5 cm-) wide elastic
Tools
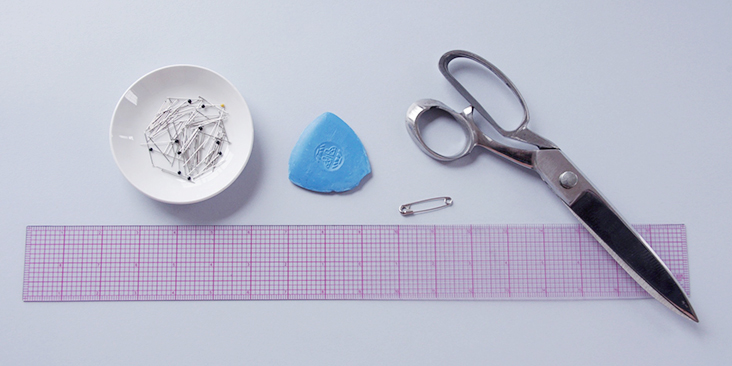
Pattern paper, scissors, pins, ruler, chalk, safety pin, sewing machine
Time
2-3 hours
Difficulty
Beginner
Pattern
You can access the pants pattern by following this link HERE. All seam allowances included. The model is wearing US size 6. Please note that these pants have an intentionally roomy fit.
Steps
Note: Prewash your fabric and tumble dry it until it is still slightly moist, dry at room temperature. Iron the fabric so it is easier to work with.
Cut: To get two mirror pieces of each leg, fold your fabric in half parallel to the grain line, pin your paper pattern pieces an inch away from the fold and cut including the seam allowances.
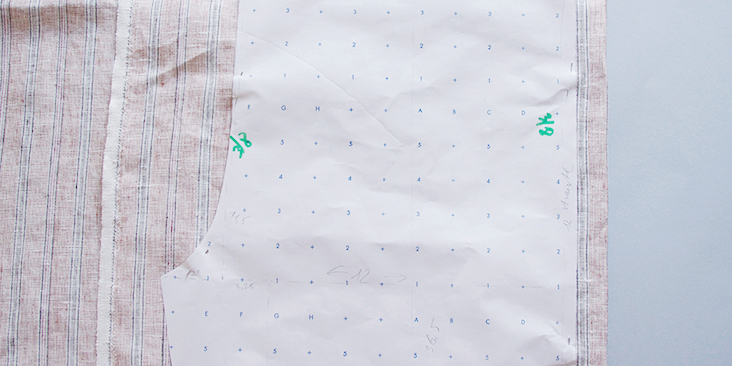
1. With right sides together, pin each pant front piece to the corresponding pant back at the side seam. Notice how the front and back are a little different. The back is cut a little deeper in the crotch to allow for sitting.
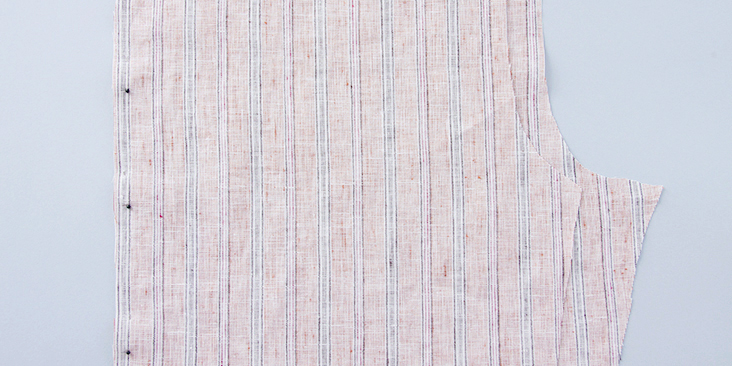
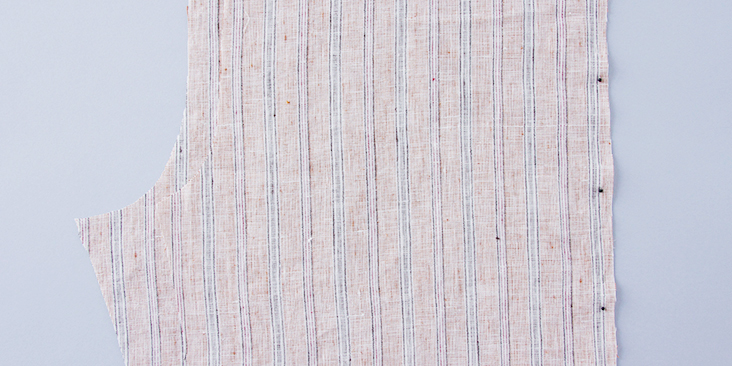
2. Stitch the pinned edges at the side seam together for both left and right legs at a 3/8” (1 cm) seam allowance.
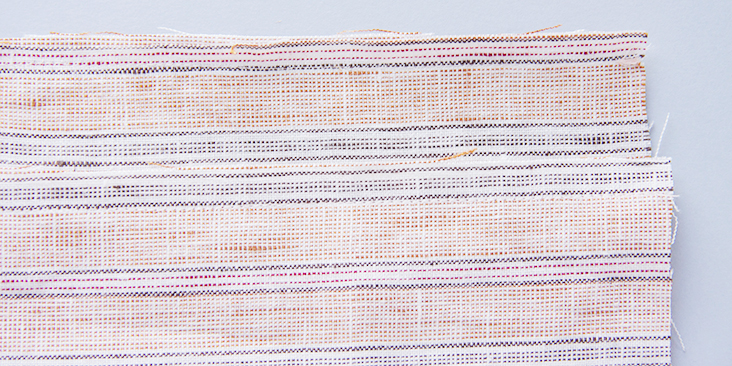
3. Serge or zigzag the raw edges together to prevent the fabric from fraying.
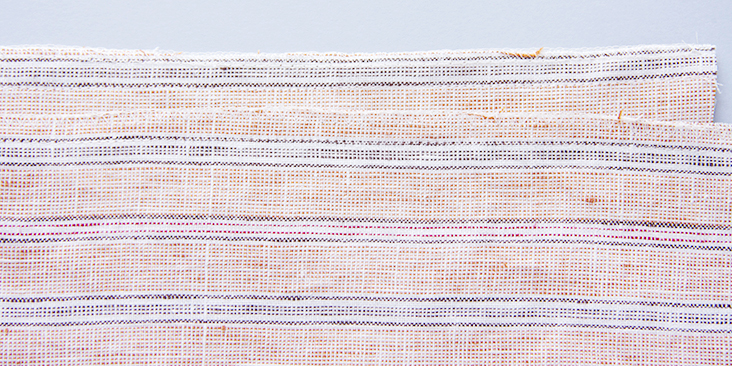
4. Press the seams flat folding the serged/zigzagged edges towards the back of the pant.
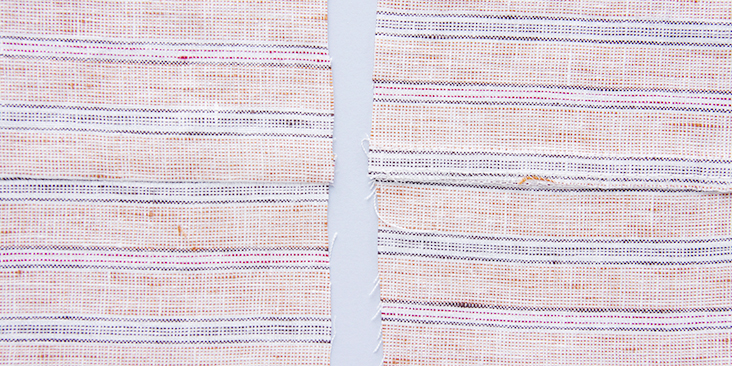
5. Repeat the same steps for the inseam edges. With right sides together, pin each pant front to the corresponding pant back at the inseam.
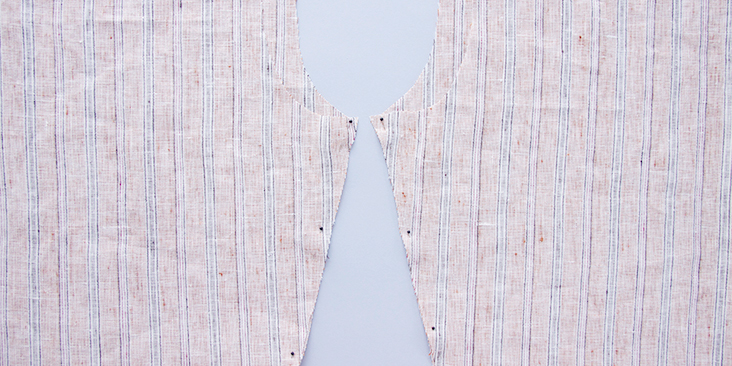
6. Stitch the pinned edges together at a 3/8” (1 cm) seam allowance. Serge or zigzag the raw edges together to prevent the fabric from fraying. Press the seams flat folding the serged/zigzagged edges towards the back of the pant.
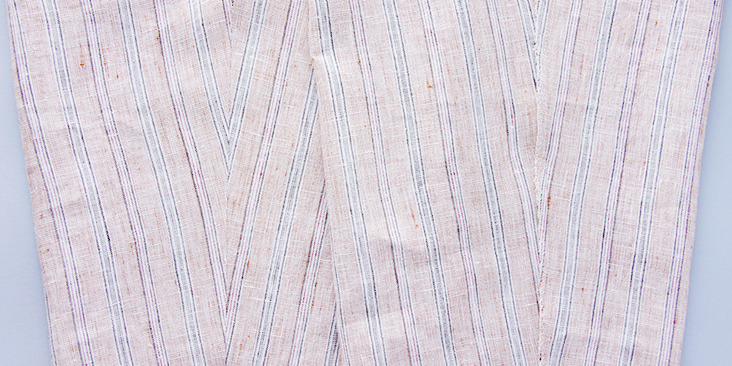
7. Turn the right pant leg right side out and slip it into the left pant leg.
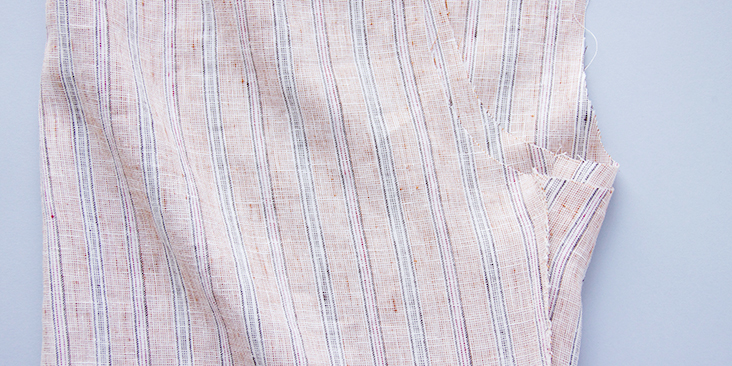
8. Pin the crotch seams together matching the side seams and inseams.
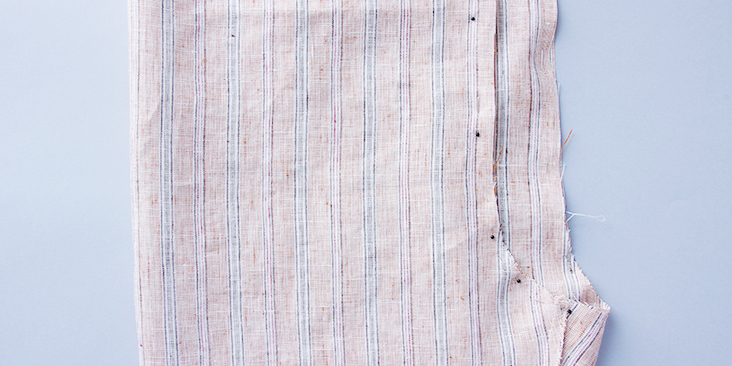
9. Sew all along the crotch seam at a 3/8” (1 cm) seam allowance.
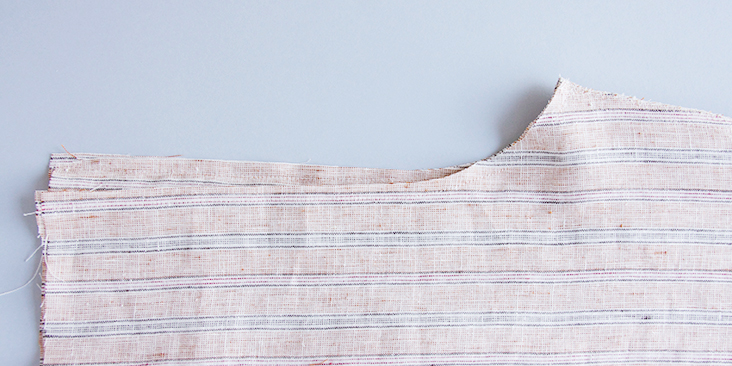
10. Serge or zigzag the raw edges together and press the seam flat.
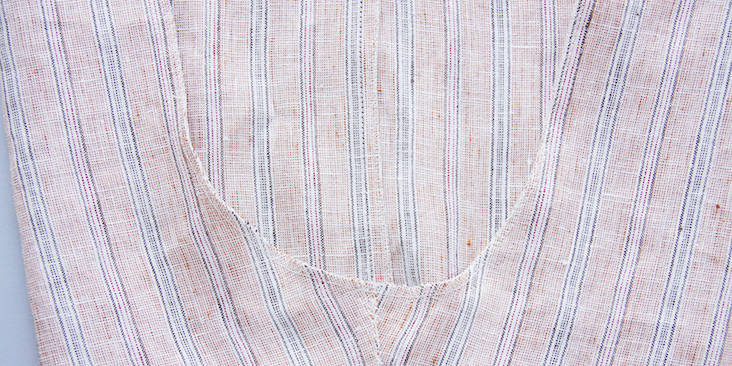
Here’s what your pants look like from the right side at this point:
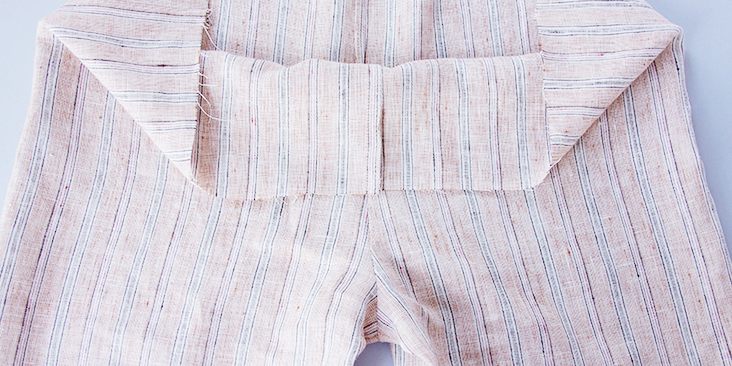
11. Now that you have assembled the legs together (this is what your pants look like at this stage), you can form the casing for the elastic waistband. To do this, fold the upper edge 2” (5 cm) towards the inside (wrong side) and press. Then fold the raw edge again 3/8” (1 cm) towards the inside, press and pin.
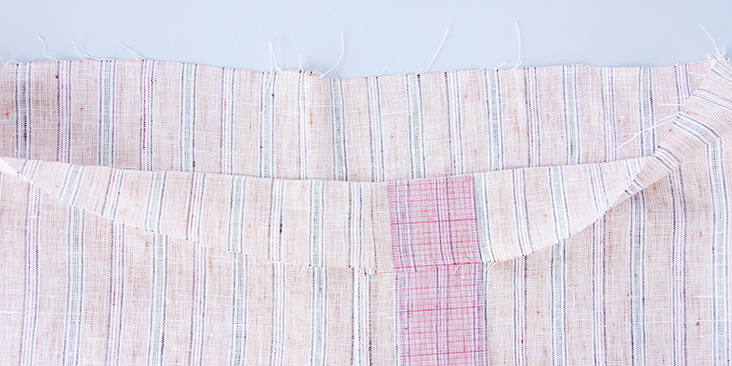
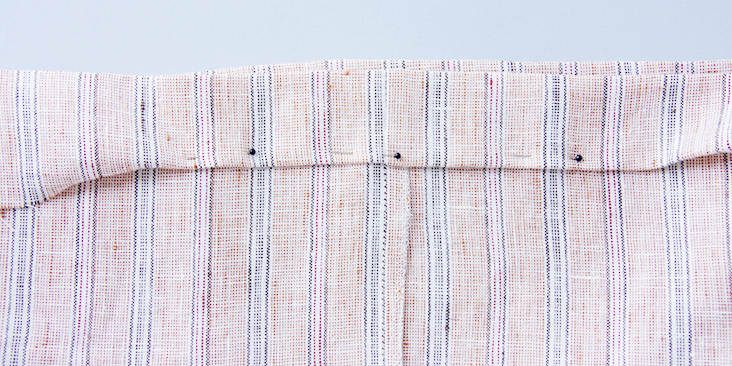
12. The pants feature a flat front in order to avoid excessive bulk in the area and as a nice decorative element. Using your ruler, measure 3,5” on each side from the center seam and make marks (use a pin or a fabric marker). This section will not be elasticated.
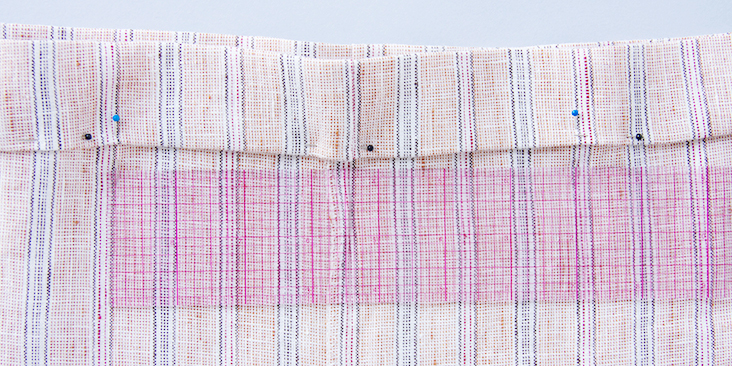
13. Topstitch as close to the lower fold as possible, from the casing mark at the left side to the casing mark on the right side. Remember to backstitch at both ends.
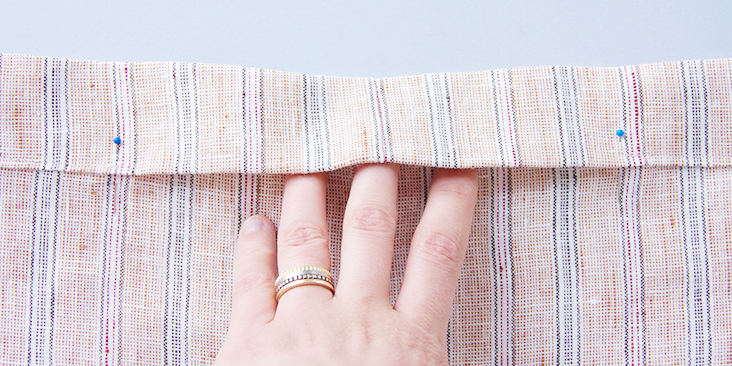
14. Attach a safety pin to one end of the elastic and pull it through the casing.
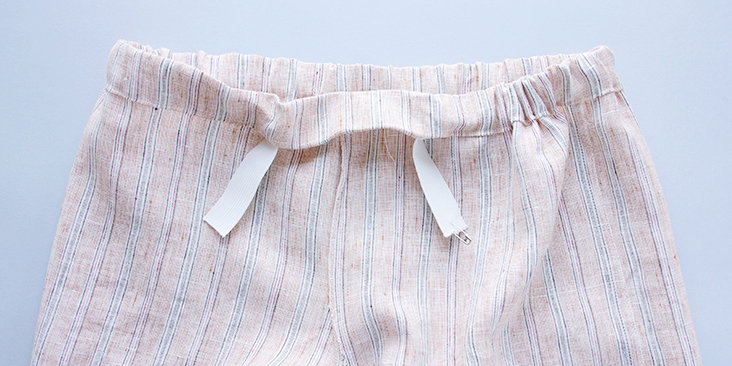
15. Stitch one end of the elastic in place (from the upper edge to the bottom of the casing mark). Backstitch to reinforce. Trim the excess of the elastic. Try on the pants and decide how tight you want your elastic to be. Make a mark and stitch the other end of the elastic along the second casing mark. Trim the excess.
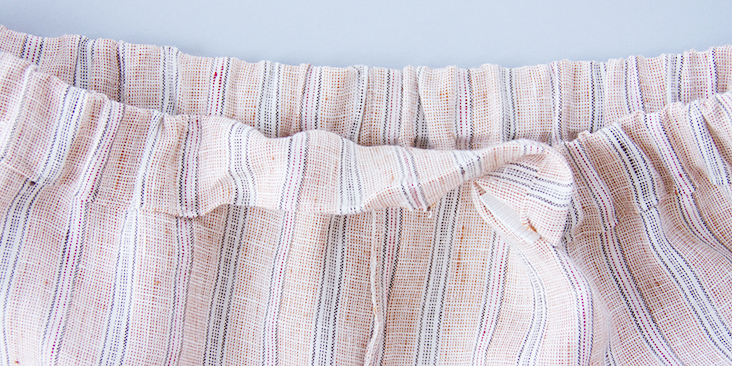
16. Close the opening by topstitching the lower edge of the flat casing.
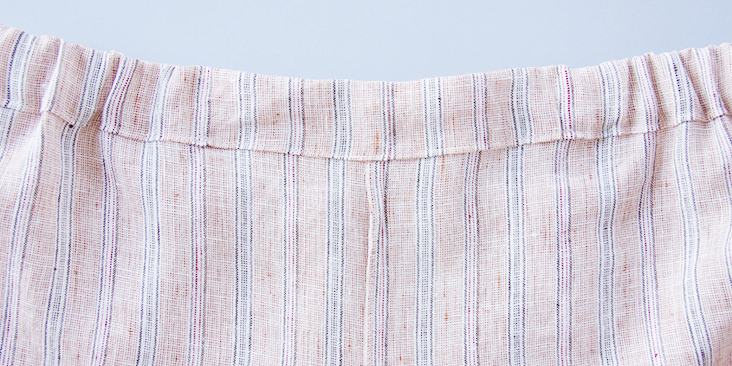
Your waistband is now finished.
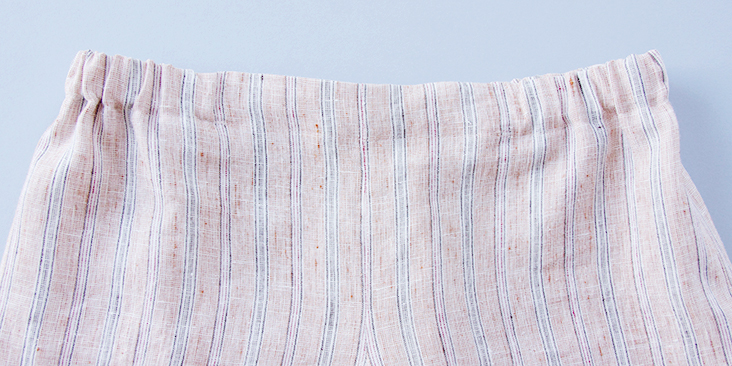
17. The final steps will be to hem your pants. Fold the bottom edge under first 3/8” (1 cm) then another 1/2″ (1.25 cm) and press. Pin the fold.
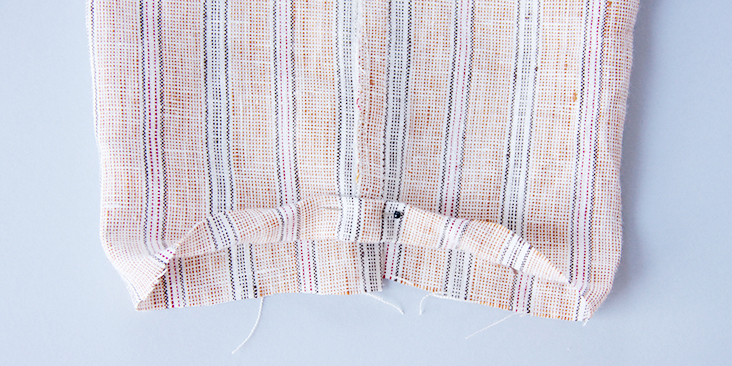
18. Topstitch as close to the inner fold as possible. Remember to backstitch and press the seams.
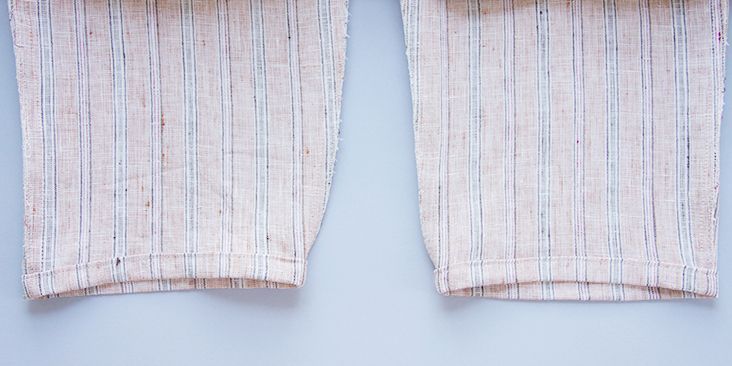
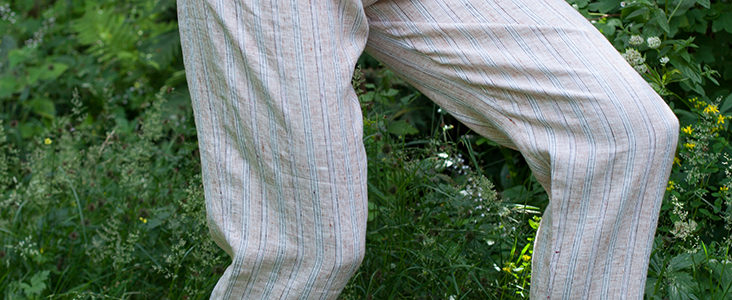
Et voila! In just a few easy steps and a couple of hours of your time you have a pair of comfy pants that you wouldn’t want to take off!













58 Comments
Emily Evans
Two questions… Can these also be made with quilting cotton (for pajama pants)? And if I’d like them to go down to my ankles, I just cut longer legs, right (by about 2″, it seems)? …These are beginner questions, I know. But I’ve never sewn with linen and would like to try out the pattern, first, on something that almost nobody will see me wear!
Xan Williams
Just to be sure that I am interpreting the sizing correctly… My hips measure 46″ at their widest point, so I should be making size 16/18?
Olga Konovalova
Hello:) is it possible to have this pattern? Link is not active anymore. this pants looks very nice and simple!
Thank u!
Kind regards,
Olga
Lauren Linen
Thanks for letting us know about the broken link. You can find this pattern on our website at this link here, and I will fix the broken link now 🙂
https://fabrics-store.com/pants-and-shorts/alexandra-linen-morocco-pants-pattern-type-pdf
Sandra Feldman
I made a shorts length muslin over the weekend. I expected to need to lengthen the rise, but cut to size for the first attempt. Even as the back was clearly too low, the front was “pouchy.” I’m a complete beginner on sewing clothing, so I spent a few hours puzzling. Simply adding more length would fix the back but not the front. I eventually realized that I need add a few inches all around to raise the waist AND I need to cut the back waist on a gentle angle so that the rise on the center back is about 1 inch (maybe a wee bit more) higher. I think that this would also explain the observation that someone made earlier about the front of the pants on the model looking a little less flat than expected.
Amanda Galbe
Hi! Sorry to be stupid but does “cut including the seam allowances.” mean they are included in the cutout pattern or do you add them or is the fabric fold distance from the paper pattern actually the seam allowance?
Thank you!
Lauren Linen
Hello, This pattern includes seam allowance, so no need to add it on:)
Amanda Galbe
Thank you! Now another question! I want to add about 7 cm to the back rise but if I use the method of cutting the pattern and adding a V-shaped area to maintain the outside hem as it is, that takes away the basically straight outside seam line from that point up to the waistline. What impact will that have on how the pattern falls when worn? Can I use this method? Thank you!
Lauren Linen
Hello Amanda,
I’m going to send you an email. Please look out for it.
Susan Dyer
This might sound like a dumb question, but the directions say to cut out the pattern pieces, then to wash and mostly dry, and then iron, and THEN sew. Is that really right? Cut the pattern out and THEN wash?
Lauren Linen
Hello Susan, Sorry for this mix up there, the tutorial seems to have put the first step under the wrong heading. Please wash your fabric first, then cut 🙂
Margaret Walker
Hi, thanks for the free pattern! I’m trying to print it but don’t have the option to select an individual layer/size – has the pdf been changed to no longer allow this? (I’m opening the pdf on a regular Windows PC and have been able to see the layers/sizes for another of your patterns)
Thanks,
Margaret
Shirley Francis
These pants were very easy to make. My only issue is they seem low on the back rise (especially when I sit down). Did I make them to loose or the wrong size?
Lauren Linen
Hello Shirley,
If the rise is too low for your body, you can increase this in the next pair you make. If the rest of the pants fit you correctly, and the back rise is your only fitting issue, then I believe you have selected the correct size, and only a small alteration to the pattern needs to be made for your perfect fit.
Karen Caron
Has this pattern been removed from your site? It doesn’t show up with the link.
Patricia Gallo
Hello, this is a nice pattern. Thank you! Where can I get the body measurements for this pant?
Georgia Cottle
Hi there, these look like great pants! I’m wondering about the finished sizing, 42 inches hip measurement seems quite big for size 4/6 – is that correct? Or is because they’re loose fitting?
Thanks!
Margaret Hardaway
Did you ever get a response???
Lauren Gates
Hello Margaret, I’m happy to provide a public answer, Georgia may have received an email reply.
The finished hip measurement for a size 4/6 is 48″, this information can be found in the .pdf booklet size guide. These pants are designed to be loose-fitting at the hip and gathered in via the elastic waistband at the waist.
If you have any further questions feel free to email us at ask@fabrics-store.com
Eveline Lee
I made these pants with navy linen, added in seam pockets and lengthened the hems for work. They are so comfortable. Thank You for sharing.
Emily Evans
Eveline, how far below the waist did you place the pockets? Is there a rule of thumb? (Since they have to go on before I can try on the pants, I’m wondering how to work it out…)
Kirsten Clay
Hello! I was curious, is it possible to simply use a drawstring instead of an elastic? I have a very short supply of elastic, but I can easily re-use or make more drawstrings. Would that affect the ease or movement of this garment?
Kathleen Kunysz
I’m thinking of using French seams on these pants. Will it get too bulky in the the folded waistband or in the crotch? I’m using mid-weight linen.
Also, can you recommend a measurement to determine if the pants will fit my large derriere. How would I adjust the pattern if I need to enlarge the seat of the pants? Thank you.
M Catherine Schaefer
Nope. French seams are perfect with linen.
Ella Smith
any tips on making these wide legged?
Rima Khusainova
Hello Ella! Yes, you could transform the tapered legs into wide legs by making them straight from hip level down to hem on the outseam, and from crotch level on the inseam.
Audrey Witman
Just finished these pants in the midweight linen. It was such wonderful fabric to work with, and the pants fit perfectly. They will be my new go-to pattern for summer pants. Thank you!
Rima Khusainova
Thank you Audrey!
Donna Tiringer
My hip measurement is 37 I’m thinking the finished hip is going to be way too big, even if they are meant to be baggy! Did you find this with yours?
Jane Weisbaum
Did you get a response? my hip measurement is the same so I wonder the same! It’s says under specifications that it has size 0/2, but the actual pattern starts at 4.
Pingback:
#memade Reviews, Part 3 - Sustainable Fashion ChatFay
I forgot to mention it but the instruction were very clear and to the pount. Thanks
Fay
I decided to do this pants up in a muslin material just to check to see if i had done it in the correct size and i am totally shocked that it fitted perfectly although it could have just extended upwards about an inch i think at the back but otherwise no complaints here. I’ll be doing a lot more of the Moroccan pants this week. If there’s anyway that you could tell me if that problem can be rectified i would appreciate it but i will go ahead and sew it anyway
Rima Khusainova
Dear Fay, thank you very much for your comment! So glad to hear that you are having fun with the Moroccan pants pattern, it is my personal favorite 🙂 If you wish to extend the crotch a bit, what you could do is slash the front and back pieces around the hip level, raise it as much as you need (an inch or so) and then paste the gap with a piece of paper. Something like here: https://www.paulinealice.com/port-trousers-alter-crotch-artesane/
Fay
Thanks very much for the information I will be checking it out but I actually did finish it and it fitted fine. I am now making to the one yard tank top to go with it. So thank you for the information and I am proud of myself also because I actually didn’t feel confident with sewing but I also don’t like clothes shopping so I don’t think that you guys realize how much your site have actually helped me. At least I am killing two birds with one stone by knowing your site.
Dana B
Thank you so much for this free pattern. It was a very easy sew with clear instructions.
I made the size 8/10 and for my body the back seam is too tight/ high. Is this pair beyond alterations since I would need to add more space? Next timw, would I have to increase the back butt seam up to a 12/14 but keep the rest of the pants at a 8/10.
Thanks so much !
Dana
Sunbun
It really a great and useful piece of info. I am glad that you shared this useful info with us. Please keep us up to date like this. Thank you for sharing.
Alice Boudreaux
I made my first pair of Morocco pants. The fit was perfect! This is the first pair of pants I have made and it was so gratifying that they fit!
Rima Khusainova
Dear Alice! We are so pleased to hear that! This pattern is so simple and versatile. Now that you’ve tested it and are happy with the fit, you can make so many different versions of it. In a couple of weeks we’ll have a post on the blog about different types of elastic waistbands (paperbag, tiered, drawstring). You could totally alter the pattern and add a new touch to it! 🙂
Pingback:
UPDATED — These Free Patterns Look Amazing – Basic StitchesNatalya
Why pictures show flat back and bulky front while tutorial highlights flat front as design element?
Barb
Pretty sure she’s got the pants on backwards.
Carol Green
Rima, you mentioned these are “pretty low rise” so I’m wondering what the rise measurement is? I’m older and a bit rounder so I like a mid rise, or a waistband fairly close to or at the navel. About how much should I add to the waist to get it up to that point?” I love this pattern and am excited to make these with pockets. I cant wait to get started on a muslin mock up. I have a feeling I’ll be making a lot of these!
Rima Khusainova
Dear Carol, thanks so much for your comment and kind words! So yes, these pants are what you’d call “low-rise” and they sit a couple of inches below the belly button. The crotch measurement is 11″ for the back and 10.5″ for the front. It’s hard for me to say how much exactly you should add as I don’t know your measurements etc, but the way best way for you to find out would be to take a pair of your favorite loose-fit pants and measure the crotch at the front and at the back, and then use these measurements to alter the pattern. Just be mindful of the elastic and keep in mind that you should add additional 1.5″ for the elastic casing + the required seam allowances. Hope this helps!
Carol Green
Thank you for the suggestion! I’m a little stuck with trying to grade the pattern up. Your grading tutorial is for tops, so it can’t be used to grade pants. I hope you will consider offering a multi-size pattern for this pant, and/or a tutorial for grading pants. I (as many others) love the simple pull-on style of tops, pants, and dresses, so your patterns are very much appreciated! Please keep up the good work! Without these patterns and tutorials, I would not have bought all the linen I’ve received lately! LOL
Carol Green
I found the multi-size pattern! Time to print it off and get busy! I have 6 pieces of linen arriving tomorrow for tops and pants! I LOVE your tutorials! Thank you so much!!!
Kim
Carol,
Where did you find the multi-size pattern? When I open the pattern and direct download, I can only find the 1 layer with size 10 pattern. (I didn’t use dropbox, because I have dropbox!)
Thanks,
Kim
Rima Khusainova
Dear Kim, there’s no multi-size pattern for this project, only the diagram for US size 6-8. However, these pants are pretty loose and you can easily adjust the pattern for a larger size. We have a great grading tutorial https://blog.fabrics-store.com/2015/06/01/how-to-grade-a-pattern-tutorial/
Robynn Bryar
What is the linen T-shirt pattern?
Rima Khusainova
Dear Robynn, it’s our split back linen tank. You can find the pattern and the sewing tutorial HERE.
Mary M
I’m new here and I’m so impressed! You have great patterns and lovely fabric. Thanks for offering free patterns. I know they took work to design.
Rima Khusainova
Dear Mary, thank you so much for your kind words! So happy to hear you like our patterns 🙂
Brenda Pierson
I am slightly confused by the instructions, and though I am able to decipher what I’m pretty sure is the method, it might be helpful to clarify the waistband instructions slightly. Am I to assume that you sew down the waistband in the front, and then insert the ends of the elastic into the front slightly so it is secure? I am trying to discern how the front stays completely flat when the next photo shows the elastic being place all around the waistband. Do you see my question? Can you explain this portion slightly better for beginners and dense folks (like me)? Thanks!
These are such cute pants!
Rima Khusainova
Hi Brenda, sorry if the instructions are not very clear. So what you need to do first is to turn the waistband section to the inside of your pants and topstitch close to the lower fold, from the front casing mark at the left side to the front casing mark on the right side. So basically you leave 3,5″ on each side of the center front of your pants unstitched. Then you pull the elastic through the casing and secure it at one of the flat casing’s ends so that it doesn’t move: topstitch the elastic vertically from the top of the waistband section to the bottom edge and cut the excess of the elastic. Then try your pants on, adjust the width and pull the other, free end of your elastic at the other end of the casing and topstitch vertically again. And lastly, topstitch the lower edge of the casing at the pants front to close the opening and you’ll get your flat front and elasticated back. Hope this helps!
Stacy
If I wanted to add a pocket to these pants how far down from the waist band would I measure. I think this would be a great addition to the pattern! I have to have pockets!
Rima Khusainova
Dear Stacy, it’s a great idea to add pockets to these pants! They are pretty low-rise so I’d recommend placing them 2.5-3 inches down from the finished waistband. However, since you’ll first need to attach the pockets (we have a great tutorial on inseam pockets by the way) and only then fold and sew the waistband, measure 4.5-5″ down from the top of your fabric. Hope this helps!
Stacy
Rima, Ahhh, great! Thank you so much for the advice! I have the perfect rust colored linen to use for these pants. I am almost done with the Linen Tshirt pattern that you guys have for us to download, so it will be a perfect match. 🙂 Can’t wait to sew these!
Regards,
Stacy
Rima Khusainova
Thank you so much for your kind words, Stacy. You’ll love these pants! I made two pairs of these for myself and they are just sooo comfy! Share some pics with us when you’re done, we’d love to see how it turns out in rust (beautiful, I’m sure) 🙂