Sewing Glossary: How To Sew a Button Loop Tutorial
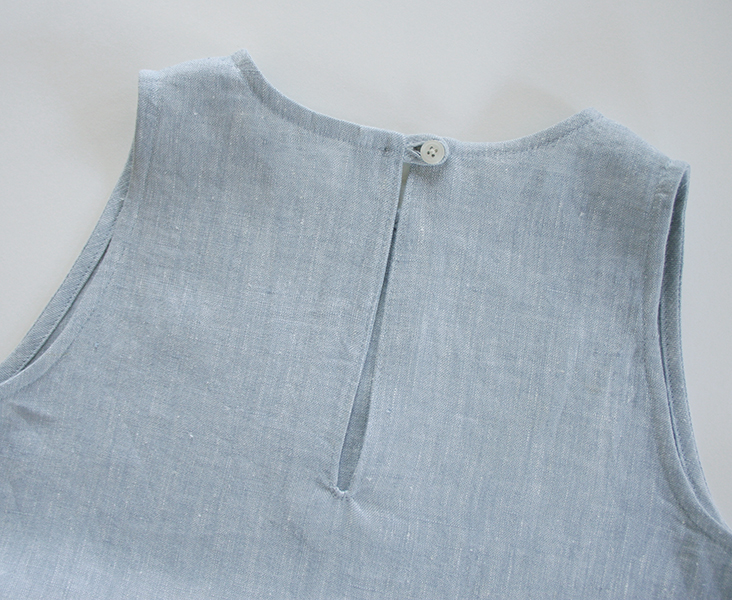
In this easy tutorial we are going to show you how to sew a back slit and add a fabric button loop for closure. It is a really simple way to add a little interest to a closed up back of a top or a dress.
Materials
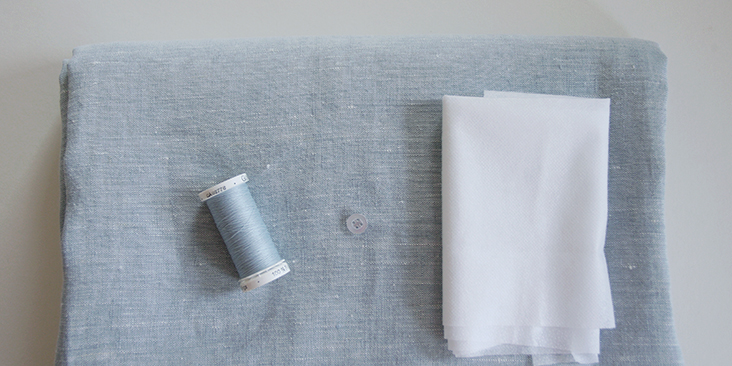
Fabric of your choice (we are using our beautiful IL042 903 FS Premier Finish 100% linen)
Matching sewing thread, one button, fusible interfacing
Tools
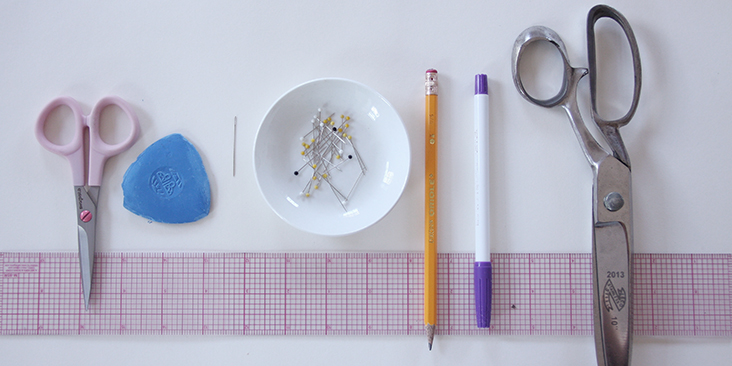
Pattern paper, ruler, pen, scissors, pins, fabric marker, needle, chalk, sewing machine
Time
1 hour
Difficulty
Beginner
Pattern
Draw your own pattern for the back slit facing in a few easy steps:
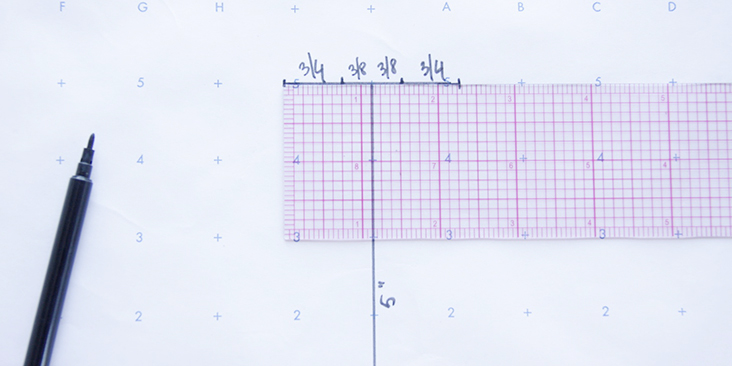
1. First, you need to decide how long you want your back opening to be. Let’s say we go for 5 inches. Draw a straight 5” line.
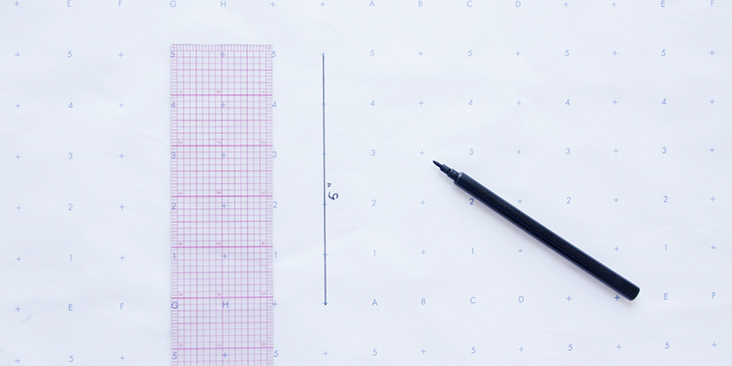
2. Add 3/8” on each side for the seam allowance and then another 3/4”.
3. Create a rounded shape respecting your measurements.
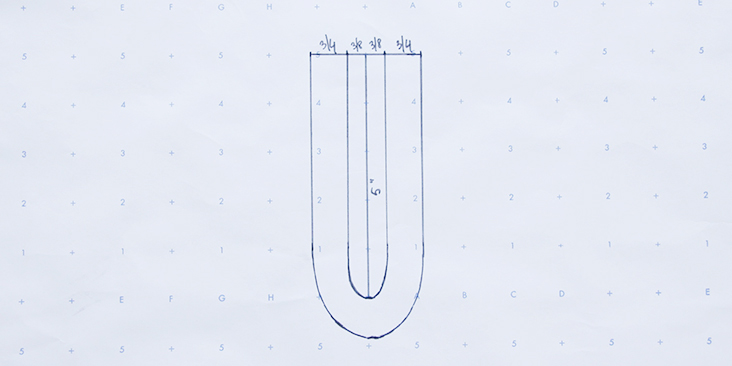
4. Using this pattern, cut one piece in fabric and one in fusible interfacing adding 3/8” (1 cm) seam allowance to the upper edge (so the final length of the middle vertical line would be 5 3/8”. Fuse both pieces together with your iron.
Steps
Note: Prewash your fabric and tumble dry it until it is still slightly moist, dry in room temperature. Iron the fabric so it is easier to work with.
Let’s start by making the fabric loop.
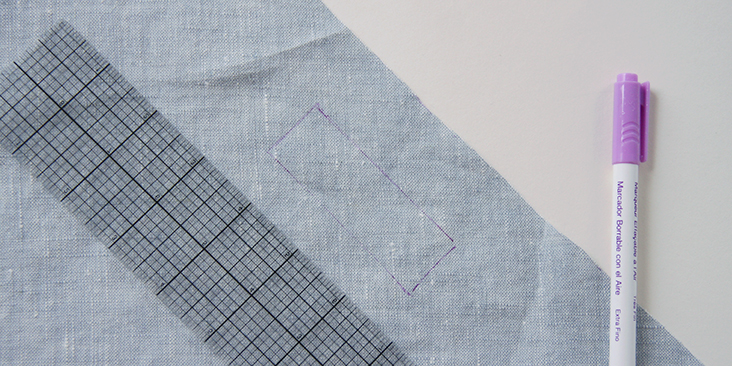
1. Mark out a small rectangle (1” wide and 3” long (2.5 cm x 7.5 cm)) on the bias of your fabric, in other words, at a 45 degree angle to the grainline. Cut it out.
2. Fold your rectangle in half lengthwise (right side facing out) and press. Then fold the raw edges in towards the folded center line and give it another press.
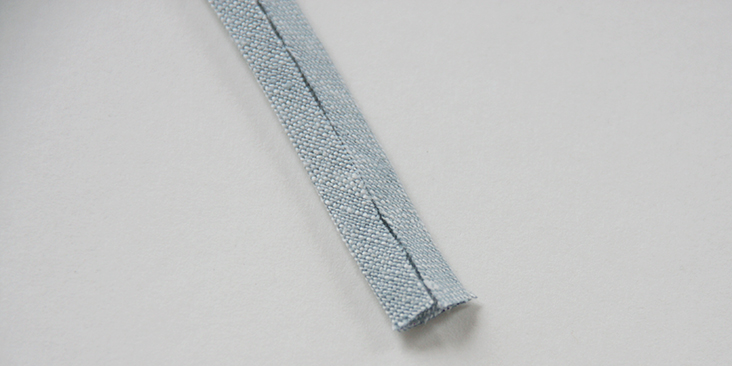
3. Fold it again in half lengthwise enclosing the raw edges and stitch over as close to the edge as possible.
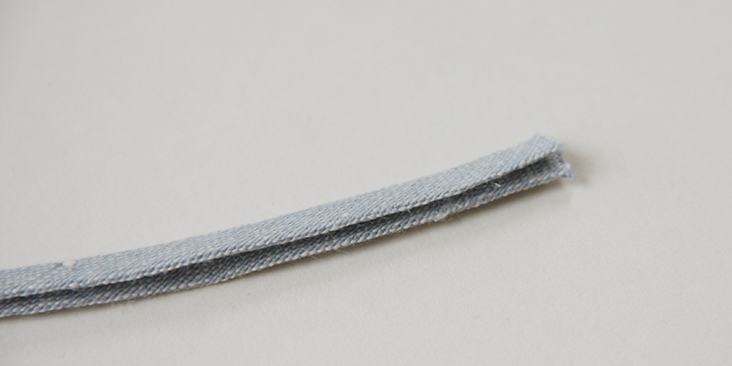
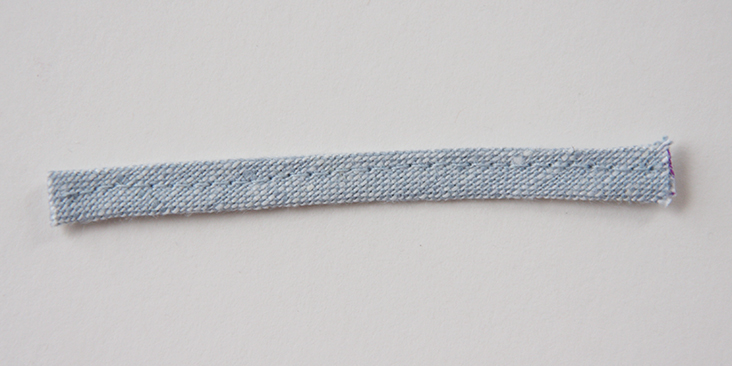
You button loop is now ready but before attaching it to the back of your garment, you need to assemble the facing.
4. Cut your facing pieces (one from fabric and one from interfacing) using the pattern you’ve drawn. Apply the fusible interfacing to the wrong side of the fabric. Serge or zigzag the outer edge to prevent it from fraying.
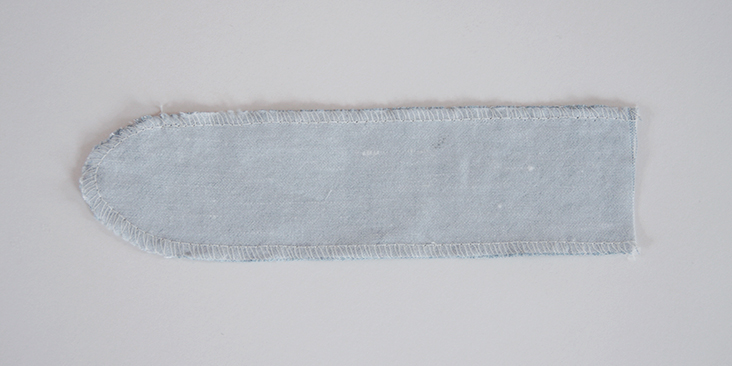
5. Fold your facing in half to mark the center. Do the same with the back panel of your garment and pin the two centers right sides together.
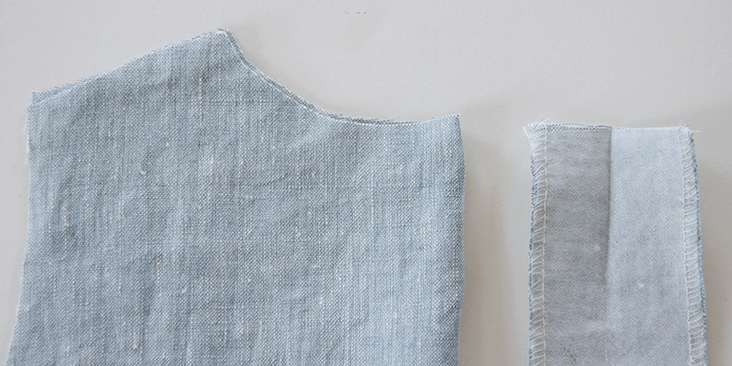
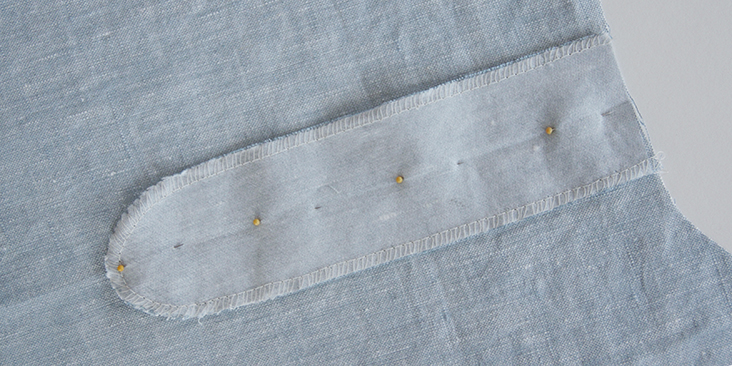
6. Slide the button loop folded in half (the seam line should be turned inwards) under the left side of your facing and pin. It’s important that you place it 3/8″ (neckline seam allowance) from the neckline edge (otherwise your loop will be caught in the neckline binding).
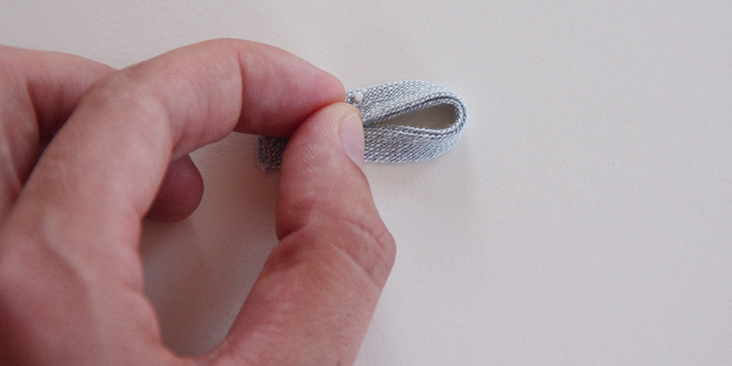
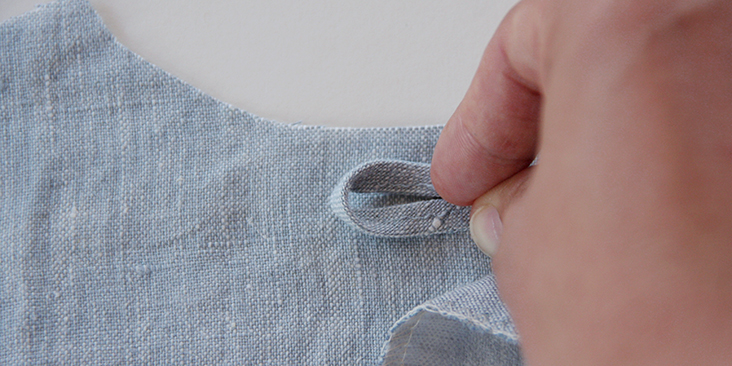
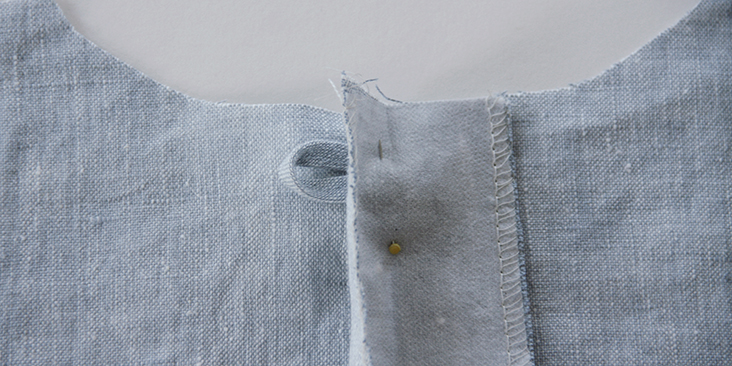
Basically, the loop is sandwiched between your dress/top and the facing. Adjust the length of the loop (make sure your button fits through) and leave 3/8” (1 cm) tails for the seam allowance
7. Topstitch the facing following the curved shape of your pattern.
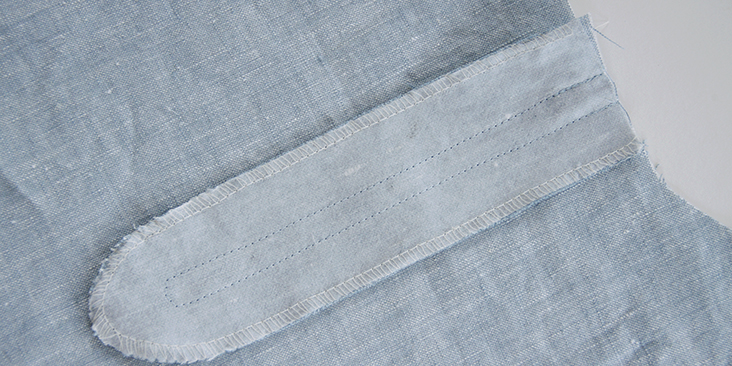
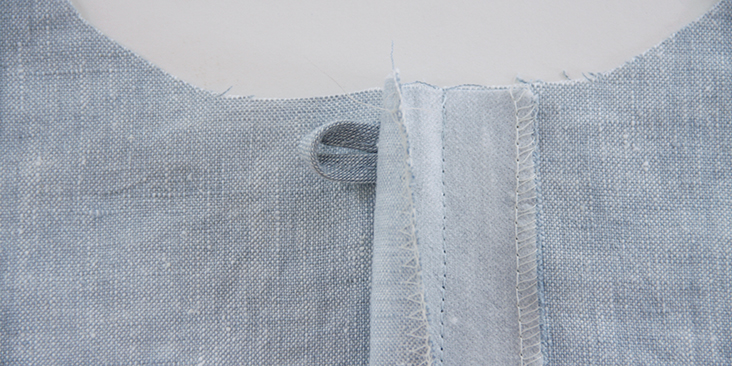
8. Make a cut in the middle and clip to (but not through) the stitched line.
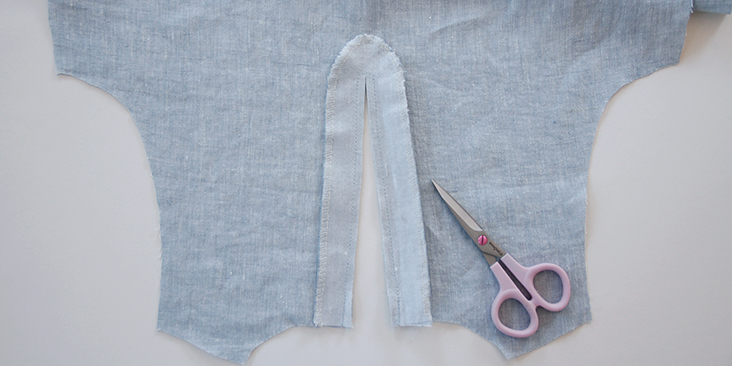
9. Press the facing away from the garment to open the seam.
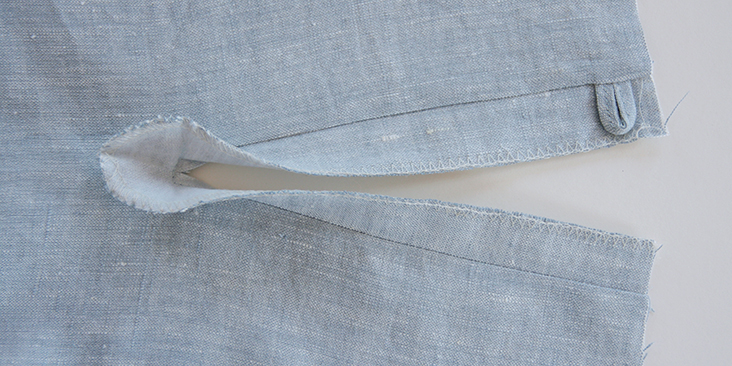
10. Turn the facing to the wrong side and press to create a flat fold. Pin in place.
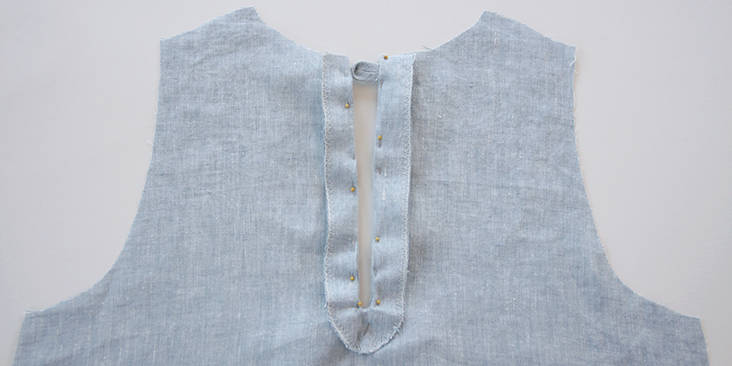
11. Edgestitch 1/4″ from the fold and give your back slit a good press.
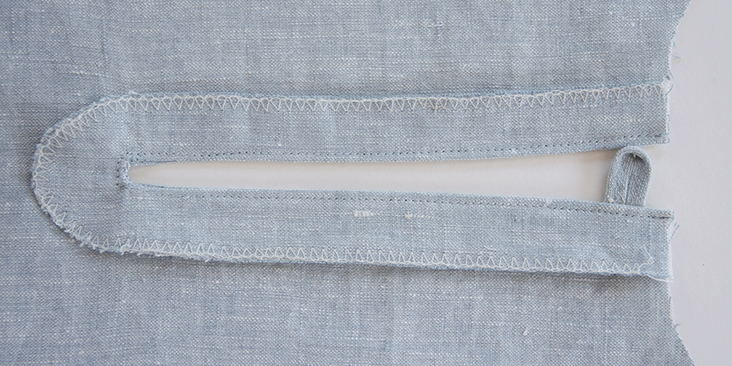
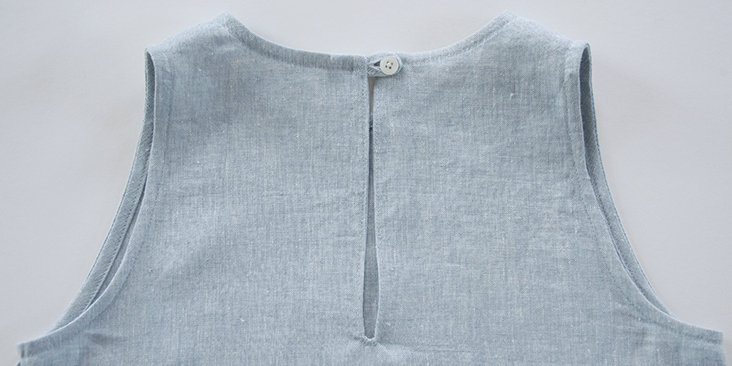
12. The last step is to attach the button and you are all done!
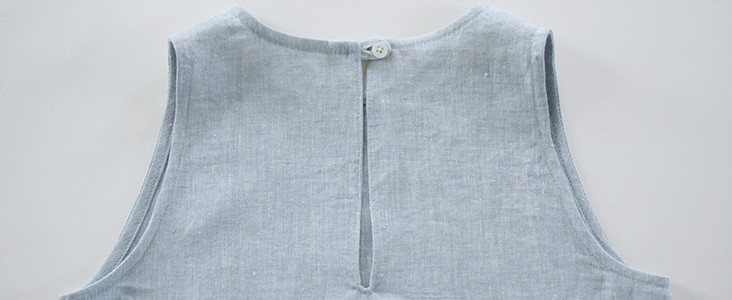
Now all that you need to do is to sew shoulder and side seams of your garment together and finish the neckline and the armholes. You can either follow your pattern instructions, use a bias tape or check our tutorials here and here about different binding techniques.















15 Comments
Susan Baggett
Why do you supply a pattern piece for the facing and then post these instructions also? Am I missing something?
Lauren Gates
Hello Susan, we supply the pattern piece so you don’t have to draft one yourself, this tutorial includes pattern drafting and sewing instructions. So you can just use the sewing instructions as a guide for sewing, and disregard the drafting steps.
Susan Baggett
Thank you “sew” much! At first I thought that was the case but wanted to check and make sure. And, thank you for all the wonderful tutorials. I love the linen and having these tutorials is such a wonderful addition to the Fabric-Store web page.
Kelly Potocki
What type of fusible interfacing would you recommend, light weight, medium or heavyweight? Where do you buy it? Thank you!
Lauren Gates
Hello Kelly, We recommend woven fusible interfacing for our patterns. Usually, these come in a light/medium weight. We like the ‘Heat n Bond’ and Pellon brands which can be found at most sewing and craft stores.
Jacquie Tinch
Question – in the pattern draft presumably the line at 3/8″ is the sewing line, and as the 2x 3/8″ (allowance each side of centre) makes 3/4″, the space between the sewing lines is the same as the two edges thus dividing the facing into three equal spaces.
However, when you have sewn it, the space between the sewn lines is much smaller than the two edges so what size seam allowance did you use each side of centre? 1/4″ or less? Thanking you in advance.
Rima Khusainova
Dear Jackie, I guess I used a slightly smaller seam allowance, 5/16″ or so. You can stitch at 3/8″ or 1/4″, it doesn’t really matter.
Asha
Thank you so much for this ! Very helpful.
Diana
thank you so much for the tutorial 🙂 tomorow will be doing this 🙂
Rima Khusainova
You are very welcome Diana! Hope it worked 🙂
Dianne
Excellent description, nice and clear!
Rima Khusainova
Thank you Dianne! Glad you liked it!
Rima Khusainova
Thank you so much Dianne!
Anne
Excellent tutorial!
Rima Khusainova
Thank you so much Anne!