Sewing Glossary: How to Sew a Facing to a V-Neckline Tutorial
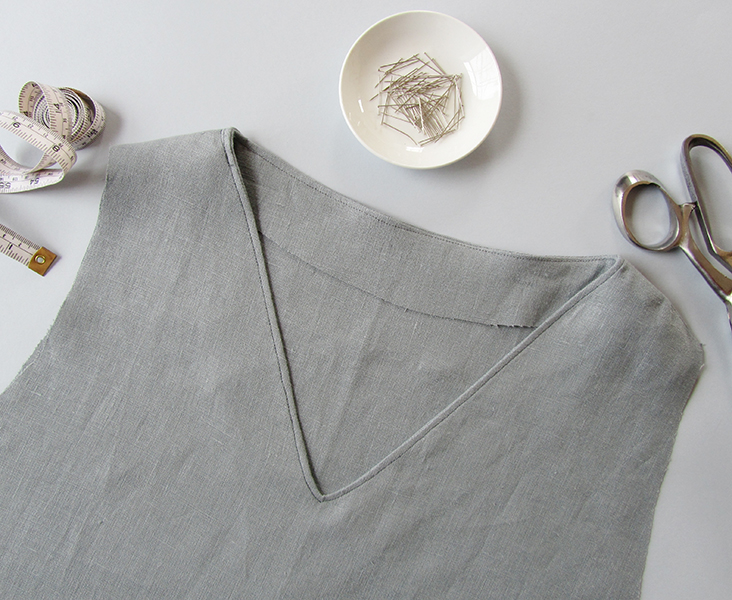
Facing is another great way to finish a neckline along with bias binding and lining. Facings are pieces of fabric that follow the shape of the neckline. They are usually reinforced with interfacing (fusible or sew-in) to add a bit of extra firmness and shape.
There are many different types of interfacing but the fusible version is by far the easiest to use on linen, especially for beginners. This is why we are going to teach you in this post how to apply fusible interfacing to a facing using your iron and then sew it to a V-neckline. Note that the process is exactly the same for the round or square necklines.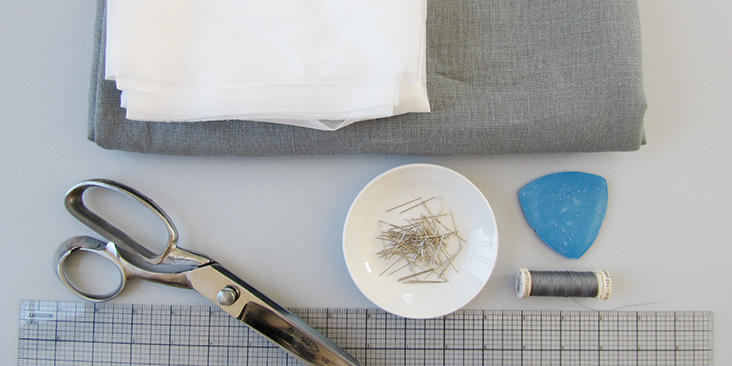
Tools
Fabric, matching thread (for the purpose of this tutorial we have used a darker colour thread), fusible interfacing
Pins, scissors, measuring tape, ruler, fabric pencil/marker, sewing machine
Steps
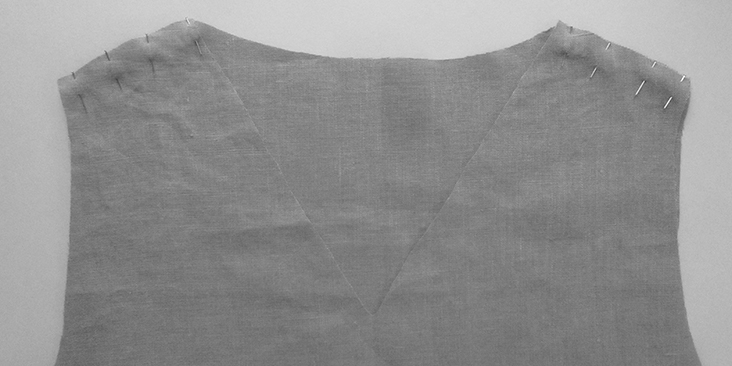
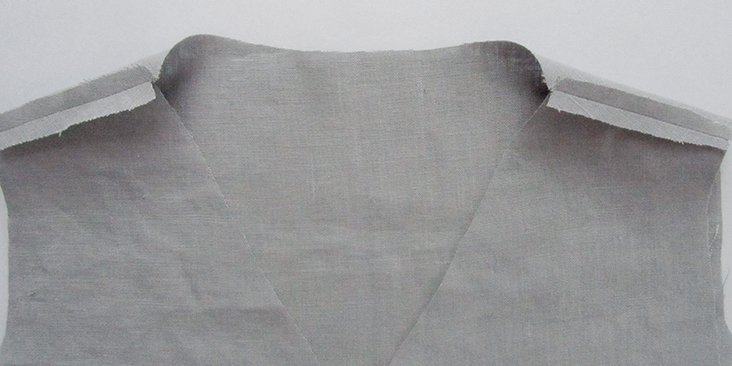
1. Prepare your garment by pinning and sewing your shoulder seams right sides together. Note that its best to leave the side seams open for now as it will be easier for you to attach the facing when you have an easy access to the neckline area.
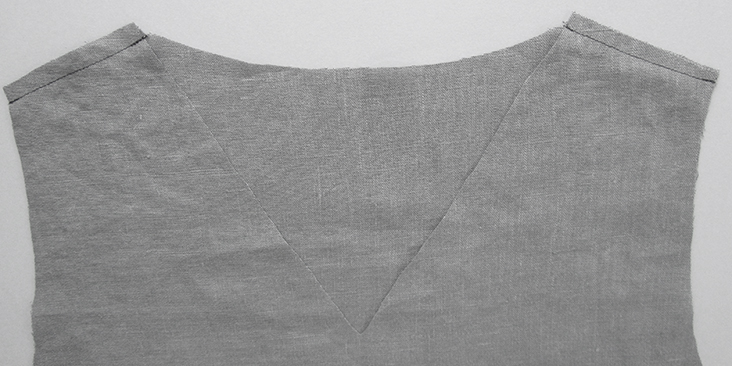
2. Press the seams open and turn your garment right side out.
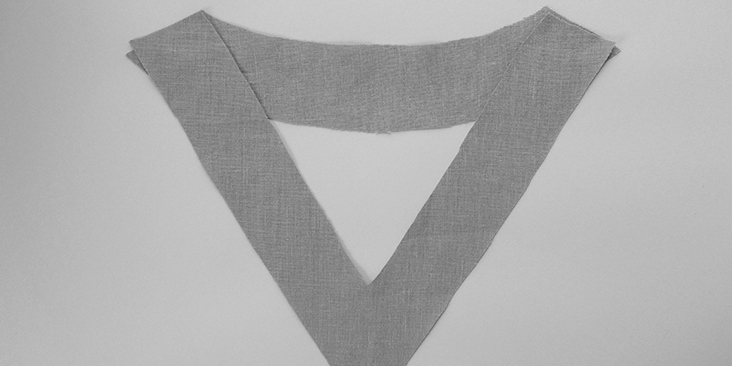
3. Now we need to make our facing and apply fusible interfacing. Using your pattern pieces as a template, lay the top of the front pattern on the fabric and trace the entire neck line from the center to the shoulder line. I usually go for a 2″ large strip for a nice wide facing but it really depends on the width of your shoulder line. The facing should not be wider than the shoulder line. Repeat for the back pattern piece.
4. Add a 3/8in (1cm) seam allowance around all panels and cut. You’ll get two separate pieces (front and back of the neckline) like this:
5. Place your facing pieces onto the interfacing (on the side that is not sticky), trace and cut.
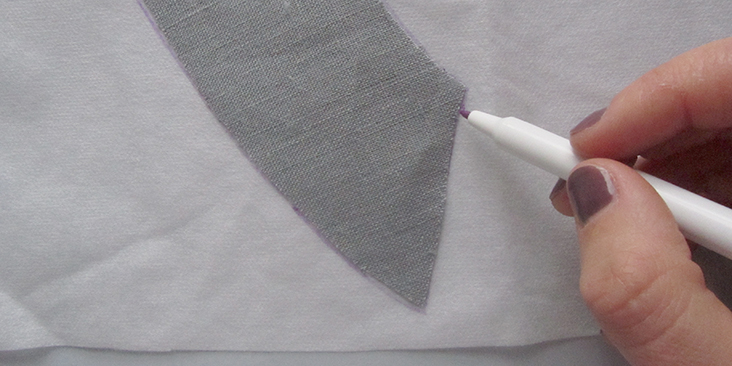
6. To apply the interfacing, lay it on top of the wrong side of your facing (fusible side down) and gently press down onto the fabric with a hot dry iron for several seconds to allow the glue to adhere to the fabric (remember to use a pressing cloth, otherwise you might end up with fusible interfacing stuck to your iron).
Note: The fusible side of the interfacing will be bumpy and the non-fusible – smooth.
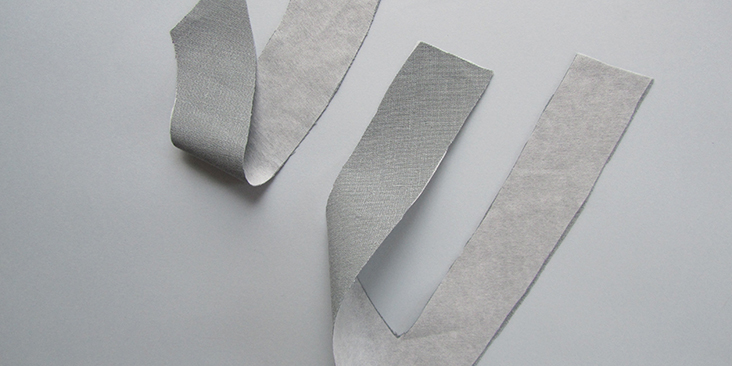
7. Pin your facing pieces along the shoulders with right sides together and stitch at a 3/8in (1cm) seam allowance. Press the seams open.
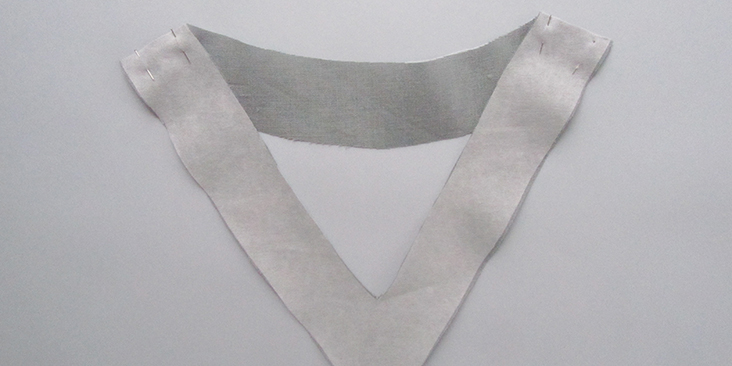
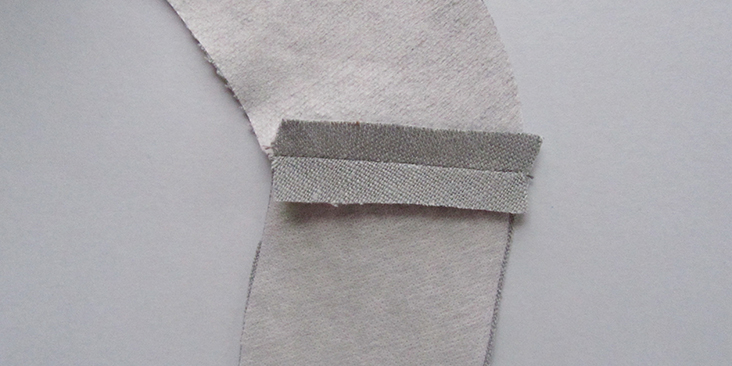
Note: Now would be a good time to finish the bottom edge of your facing with zigzags, overcasting or overlocking if you really want to make sure that your fabric doesn’t fray. I often skip this step as I believe that the glue from the fusible interfacing does the job.
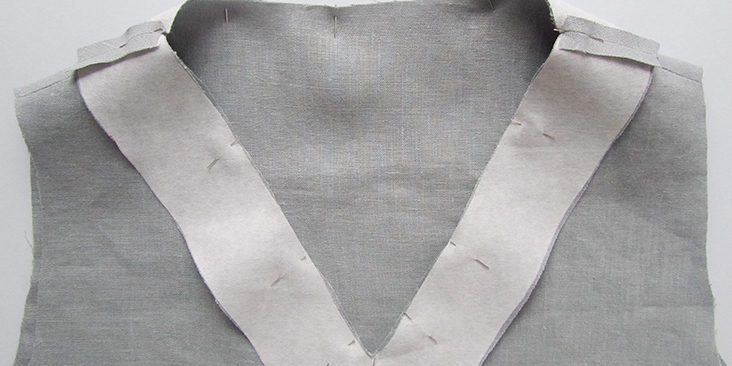
8. Place the right side of the facing on top of the right side of your garment matching up the shoulder seams and pin. Use plenty of pins to get the facing seated in the neckline as much as possible.
9. Stitch the facing onto the neckline at a 3/8in (1cm) seam allowance. When you come to the V, stop the machine with the needle still in the fabric, sew one or two stitches straight on and turn the fabric to sew the rest of the V.
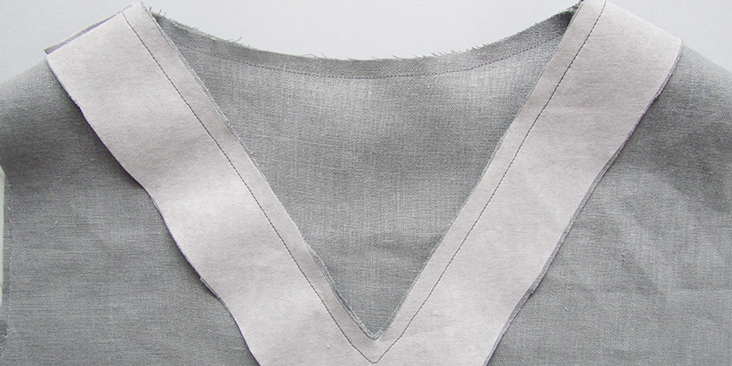
10. Now that you’ve sewn the facing to the garment, you need to release the tension by clipping the V as close to the stitch line as possible (be careful not to cut through). This will help us get our nice V-shape.
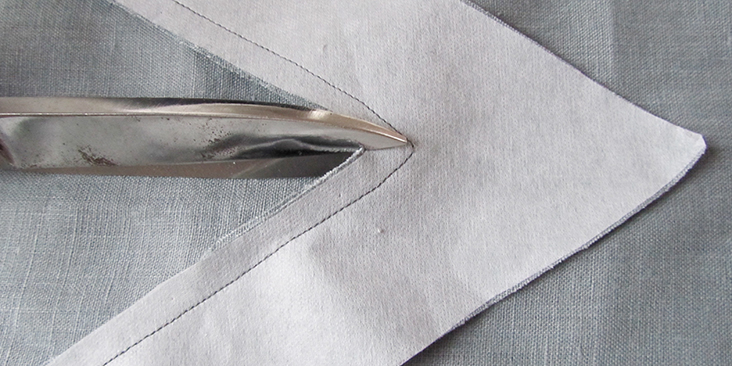
11. The next thing to do is to trim the seams to 1/4″, then clip to, but not through, the seam line all the way around the neckline. This will help us avoid excessive bulk.
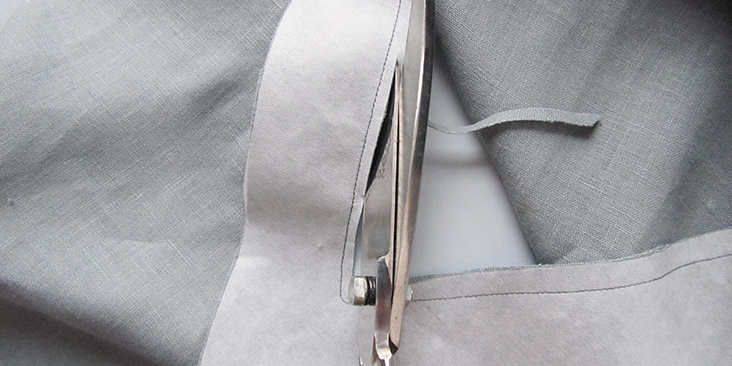
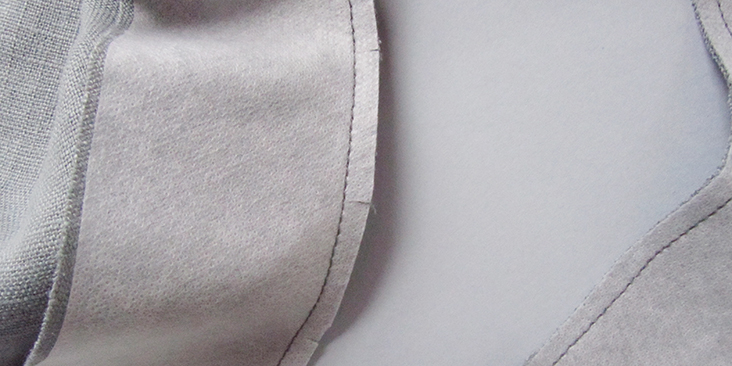
12. The next step is to pull the facing to the wrong side of the garment, pin the fold making sure that the seam isn’t showing on the right side and press it. Take a few seconds to really get in the corner of your V with your iron.
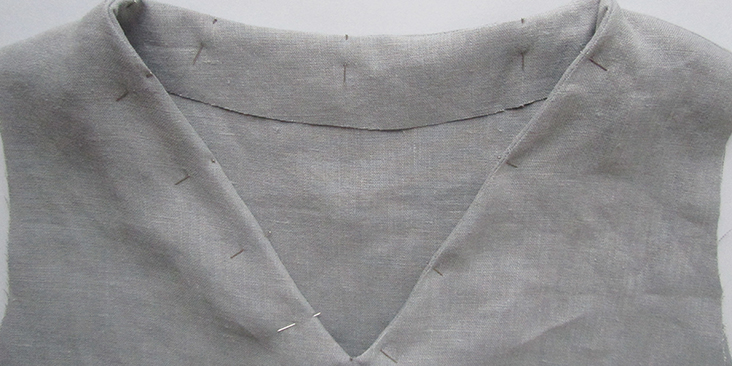
13. The last thing left to do is topstitching the entire neckline. It will help to prevent the facing from popping back out and lay flat on the inside. From the right side of the garment, stitch a straight line all around the neckline as close as possible to the seam (starting at the center back or at the shoulder seams).
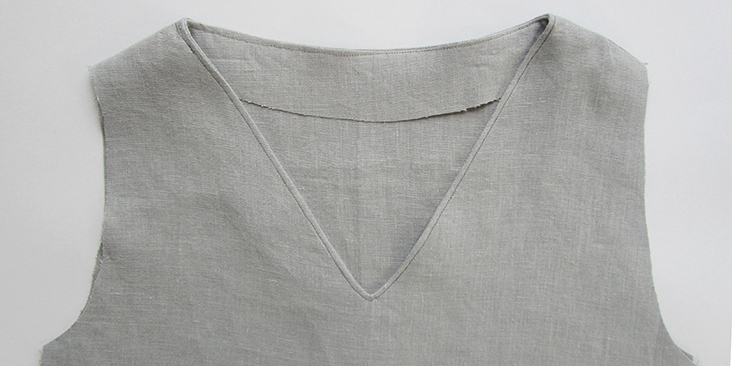
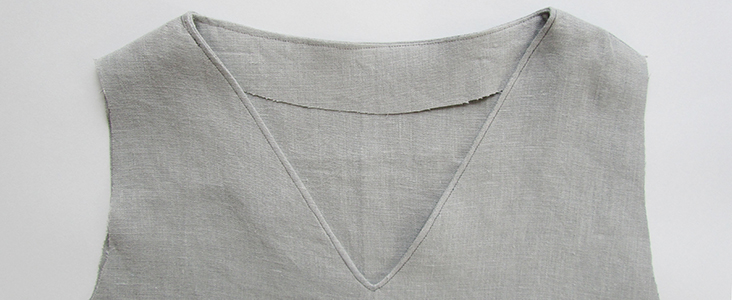
That’s it! Now you have your nicely finished interfaced V-neckline.










25 Comments
Erin Logan
How do you keep the garment edge of the seam from fraying out at the clipped point of the V? I love v-necks, and I love linen, but the two seem potentially problematic. With the seam clipped and trimmed I can see the un-interfaced linen of the garment side of the facing seam raveling past the stitches and giving you a hole right at the point of your v-neck.
Non
Hello Rima hope you are well love the way you explain it . But i would like to know how can i do that on round neck please . Thanks NON
Rima Khusainova
Dear Non! Thank you for your kind words! The steps for finishing the round neckline with a facing are pretty much the same as with the V-neck, but easier since you don’t need to bother with the V, you just stitch along the round edge of your neck. Hope this helps!
paulette hackman
Can you tell me how and where to fix a gap in a V-neck? I haven’t applied the facing yet either. Thanks.
Rima Khusainova
Dear Paulette, it’s hard to give you an accurate advice without seeing the actual project but what you could do is to to gather your facing slightly, so that it’s just about 3/8″ smaller than the actual V-neck. This way the fabric will lay flatter as it will be pulled slightly towards the inside eliminated the gaping. I hope this helps!
paulette hackman
I realize what I wrote was confusing. I added the line about the facing just so that you’d know the neckline was still “raw.” ( I haven’t made the facing yet). I am hoping for advice on how to correct the V-neck at this early stage. As the blouse sits on my shoulders where it should, the V-gaps. But if I were to spread the shoulders out (where they shouldn’t be) , the gap disappears. Does this clarify my problem at all? I hope so.
Rima Khusainova
Dear Paulette, from what you are describing I think the problem is due to the shape of your V-neck. Maybe it’s too narrow? Anyways, try to gather your facing a little bit so that it’s slightly smaller than the actual V-neck. The smaller facing will pull the gap towards the inside and will help it lay smoother.
Aish
Thanks it’s very clear information..
Rima Khusainova
Thank you Aish!
Diana B. Lauritzen
When I first saw your V neck I thought it looked so nice but I thought you had sewn binding there until I read your blog and saw it was topstitched. Beautiful job. I love V necks.
Diana
Rima Khusainova
Thank you so much for your kind words Diana! The key to successful V-necks is to go slowly as you stitch. Well, I sure do every time I sew one of these 🙂
shimaa
Thank you 🌷🌷
Rima Khusainova
You are welcome, Shimaa! Glad you liked the tutorial.
Jess
Why are you top stitching from the wrong side? Top stitching should be done on the top, or right side of the garment.
Rima Khusainova
Hi Jess! thanks so much for pointing this out, my mistake! Of course you topstitch from the right side! Already corrected it in the post!
Eileen
I would make a zigzag stich all around the facing to keep it from eventually fraying from wear on the edge of the cloth of the facing that will be inside the garment. Ttop stich or zigzag it before attaching the facing to the neck line . No ragged edges left inside the garment either way. After a few washings without doing one or the other of these details after certain amount of wearing will cause the facing to fray on the ragged edges left after it has neatly been sewn.
Cara
Very nice. I noticed however you topstitched rather than understitched. Nit sure if tgis is by design. But i find that sometimes the extra stitching in my garment is undesirable so after pressing neckline with facing sewn in i will open the seams and from the wrong side of facing i will stitch the seam allowance to the facing as close to the seam as possible. I have seen this done with a zizzag stitch and it seems to work well too.
Rima Khusainova
Hi Cara! Thanks a lot for sharing this useful tip with us. I’ve never tried to stitch the seam allowance to the facing before but it sounds like a great way to keep the facing in place!
Katherine Hix
I’ve learned, after 40+ years of sewing, that the way to get a point on a V neckline (or in sewing the points on collars) is not to sew the seam in an actual V shape. Rather, when you are at that V point, sew across for one or two stitches, instead of straight to the point. Sew down to almost the V, turn the fabric and sew across one or two stitches, and then turn the fabric and head back up. The fabric forms a much better V this way. Also, grading the seam allowance and making it wider will cause your facings to lie flatter. One-fourth of an inch is too close. Trim the seam allowance of the top itself to about 3/4″ and the facing seam allowance to about 1/2″. Then press and understitch, and then edge-stitch, as you have done.
Rima Khusainova
Dear Katherine, thanks a lot for sharing your experience with us! I’ve added your very useful remark to step #9. You can probably tell from the photos that this is exactly what I did – I sew one straight stitch (parallel to the V point) in order to get that nice V shape.
Katherine Hix
I wondered how you got the V to look so nice!
CONI SIMS
I’m older, been sewing 60 plus years. Curious about the term understitching, when I took classes in 60’s etc it was called “stay stitching “
Lauren Linen
Understitching and stay stitching are actually two different techniques. A stay stitch can help prevent fabric from stretching out, especially in the case of a piece cut on the bias, like sections of a neckline.
An understitch is when you will sew seam allowances down to a facing to ensure the facing doesn’t roll out when worn.
Libby
From the final photograph, it looks like you topstitched the neckline. The way I learned to understitch was to trim, clip and press the seam allowance toward the facing, taking care to make a flat seam. Using a straight stitch presser foot, or, in a pinch, a zigzag foot with the sewing needle adjusted to the farthest-left setting, position the foot opening with the left edge lined up along the edge (so that the foot can act as a stitching guide). Lower your needle and stitch the seam. The offset needle will sew just to the right of the neck seam, catching the seam allowance and the facing. You can opt subsequently for a decorative topstitch, but it is not necessary.
Rima Khusainova
Dear Libby, you are absolutely right, I topstitched (and not understitched) the neckline. I always mix up this two words so thanks a lot for your remark, I’ve made the corrections to the post.