Linen Kimono Top
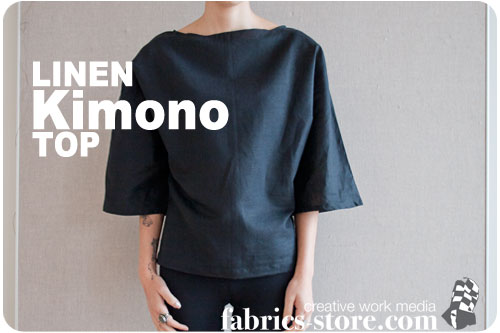
The kimono trend is popping up everywhere in fashion lately. This season, fashion designers have really embraced the large, kimono sleeve look. Various interpretations of the kimono popped up over major runways this season and can be seen in retail stores just about everywhere now.
Although the kimono is a classic style that has made reappearances throughout the evolution of fashion; it still manages to add a modern touch to any ensemble. The long, clean lines represent simplicity at its finest.
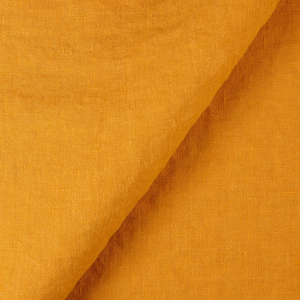
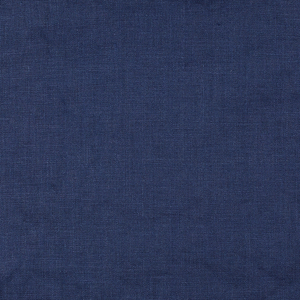
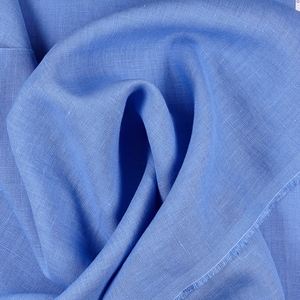
The flattering shape is both stylish and comfortable. I’ll show you how I made my kimono top, so you can make your own. Pick your favorite shade of linen and get started!
Materials:
- 2 yards of linen/cotton blend IS003
- Sewing machine
- Scissors
- Measuring tape or ruler
- Paper for the pattern
Once I had my fabric I prepped it by washing and drying it to preshrink it before I began cutting into it. I also ironed it so making precise measurements would be easier.
To be honest, I made really “loose” measurements when making my pattern. By that I mean, I didn’t stress about one or two inches when measuring the lengths of sleeves and such. As long as you create two patterns with the same measurements, your top will come out just fine. Just have fun with it!
Another element I decided on for my top, was a ¾ sleeve style. I thought a shorter sleeve would suit the kimono style nicely.
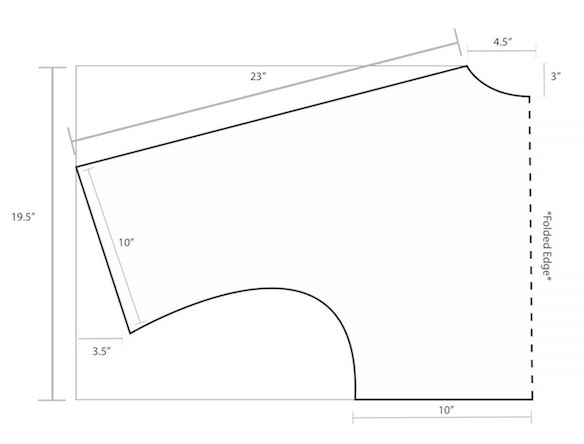
The image above shows the shape I drew out for my pattern. I have included the measurements I made for mine as a guideline.
For the length, a measured from the high point of my shoulder to down just below my hip bone. Just grab your measuring tape and don’t fuss too much with getting exact fits. It isn’t a tight top, so you don’t have to worry about precise numbers here.
For the sleeves, I measured from the high point of my shoulder to the ¾ length of my arm.I measure around my bust to get an idea of the width necessary for the area across my chest.
For the neckline line, I measured from the high point of my shoulder to the center of my collarbones.The pattern shows the measurements for the front of the top. The back is exactly the same with the exception of the neck measurement. The back will have a slightly shallower neckline, so subtract about 1 ½ inches from the depth of your neckline. This will leave you with a front neckline that is deeper than the back.
I measured my waist and then added 6 inches to it (for a looser fit). Linen does not have much stretch to it, so its a good idea to add a few inches to something like this that does not have a zipper or button closure. This way I can still pull it on over my head and have it fit just right!
For the pattern, I divided my total waist measurement (with the added 6 inches) by in half twice.
For example, I gave myself 40 inches for a loose waist measurement. I then divided this by 2 and was left with 20 inches. I need to divide this in half (leaving me with 10 inches) for my pattern. Once I unfold my cut fabric, I will have a 20 inch waist measurement for the front and the back piece. This will give me a total of 40 inches when the two pieces are sewn together.
An important note to keep in mind- you will need to add a ½ inch around the entire pattern for the seam. The ends of the sleeves will need an extra inch to create a ½ hem. The bottom of the garment will need an extra 1 ½ to create a 1 inch hem. Remember to add these seam allowances to all your measurements when making your pattern.
Once you have your patterns ready, you can trace them onto your linen. The left side of each pattern should align with the fold in your linen. This way, when you finish tracing and cutting the pattern out, you will be left with one whole front and back piece (rather than just half like the pattern).
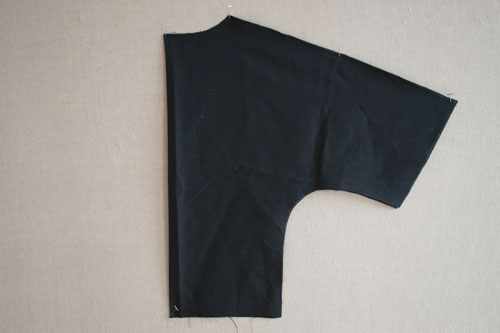
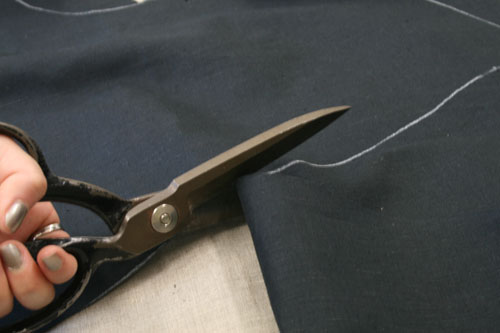
After I traced my patterns, I cut them out of my linen.
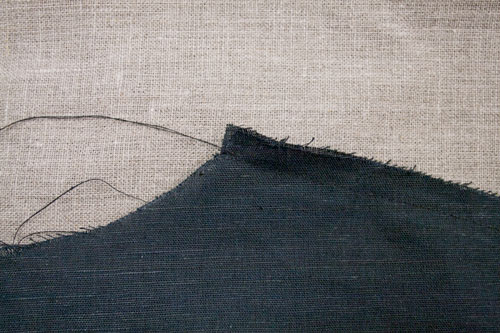
I sewed the top part of each piece together first. I just created a ½ seam that ran along each shoulder, down to the arms on both sides. This seam is technically on the inside because I plan on flipping this right-side out once I am done sewing it together. But not just yet….
Next, I created a ½ inch seam to run along each side.
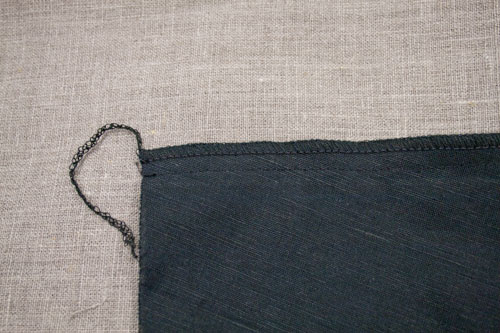
If you have an outerlock machine, you can finish all of the inside seams with it. This step is completely optional though, so don’t worry if you skip it!
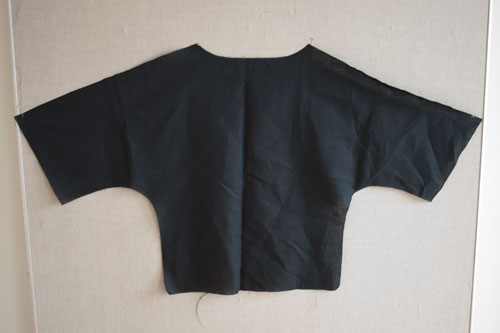
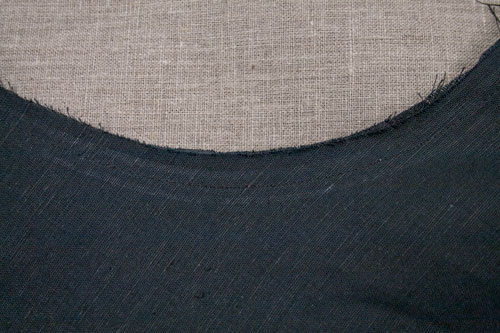
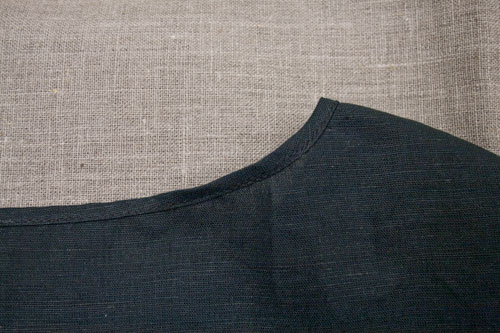
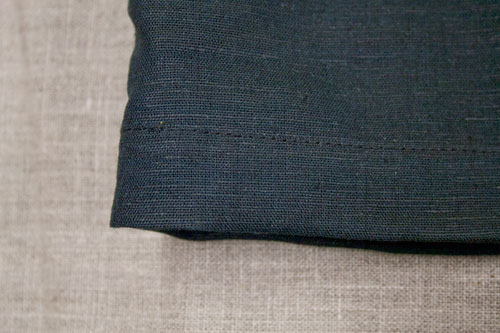
To finish the collar, I just sewed the same ½ inch seam. The top is essentially all sewn together.All that is left to do is to finish it up by hemming the sleeves and the bottom.
That’s the last touch to your kimono top! Now just flip it right-side out and iron your stylish kimono top!
Would you like to sew a kimono like the one in this tutorial? Order 2 yards of IS003 linen/cotton blend by following the link below:
*Tell us your thoughts! Comments are always welcome!
















17 Comments
Joni
also, please give the center front measurement. that’s a critical measurement that is lacking here. ive tried to go off of your measurements, but really, based on this grid, they are not right. for instance, what is the degree of the slant of the arm. that makes a HUGE difference, as the steeper the slant the more it will tug at the curve at the waist and create the pulling. Please be more precise about your measurements. Even a ‘loose’ top needs to be worked precisely, or it’s just a homemade top that is ill fitting.
Joni
This didnt work well for me at all. After several goes, when you lift your arms, it tugs at the underarm curve and looks ‘stressed’there. it only looks good with arms down at the sides or if you dont lift your arms very high. Lifting your arms hikes the shirt up horribly, and really, that underarm curve just does not work. It’s a critical part of the pattern, getting that right, so, to not have instructions how to create it (length, how deep/shallow) many people will struggle.
Olasumbo Adesegun
Thanks a lot,you explained it better.
Nicole
Beautiful kimono ,i am french ,i have to translate in centimetres . I try to do it . thank you ;
nicole
Terrie
I am planning on ordering the heavy bleached and softened white linen for a burial shroud.
It looks as though it will be rectangular with a leck opening. I have never worked with linen
and wonder if I could do this. Any help would be appreciated.
Masha Karpushina
Hello Terrie, I will ask our seamstress and will get back to you as soon as I get an answer. Thank you for reaching out.
Susanne T
I’ve been looking for a Kimono pattern for awhile, this looks great . And I love the way the sleeves are not so full on top.
I’de like to try a boatneck on this pattern, any suggestions on how to change the neckline,
I live in SW FL and it’s hot here all year long, that way I could make several different styles.
To add to my collection. Thank you so much.
Sheila A.
Really like this…I’ll be trying it!
Katie
I love this top! You made the directions seem very easy to follow, and I can’t wait to make one for myself!
nicole novembrino
To finish the neckline, I just created a 1/2 inch seam. Nothing fancy!
jOAANIE G
How did you finish the neckline, did you just turn the seam over?
Barbara Palumbo
I like this project! kind of reminds me of the 18th century undergarment they wore but longer and sleeves had a guzzett!!
nicole novembrino
@Elaine- I roughly sketched my pattern based on a few examples of kimono sleeves I found online. I then modified the measurements of my pattern. It does fit great though! The slant makes the sleeves fall just right at my shoulders, rather than creating unflattering peaks.
Thanks for the the great feedback everyone!
ELAINE B. FAVRE
The kimono sleeve is one of my go-to favorites, being stylish, comfortable, easy, and a real quickie. How did you determine the angle for the shoulder/sleeve? yours is at a slant whick would eliminate a lot of extra fabric at the underarm and probably give a better fit. The one i draft is from myn computer pattern drafting program and is straight across at the shoulder. Leaves a bit more at underarm than I like. Thanks for the pattern tip.
Cate Lund
This sounds great! Thank you for making it look easy and fun!
JWard.
I really like the Kimono look and will make it today.
I have some silk my husband brought home for me years ago. I have been waiting for just the right thing to make with it. I think this is it!
Thanks
carol scesa
thanks for the fun simple things to sew. i love it. keep up the good suggetions. carol scesa