Embroidered Wash Bag Tutorial
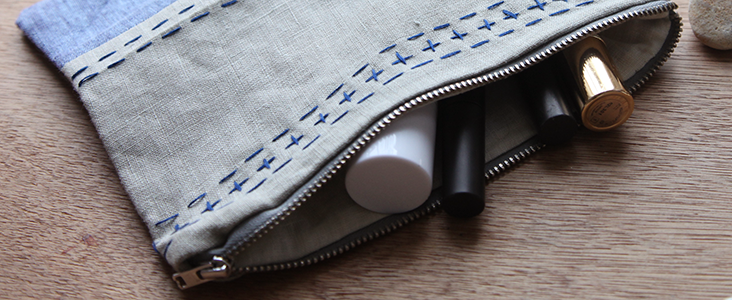
This week we will make a 7.6 in by 8.4 in’ pouch and take it a little further by’ adding a small personal touch with hand embroidery. It’s a great size to use as a’ small wash’ bag. The pattern we provide here is simply a guide to inspire you and we hope you will create something that’s extra special’ for you or someone close to you.
Materials
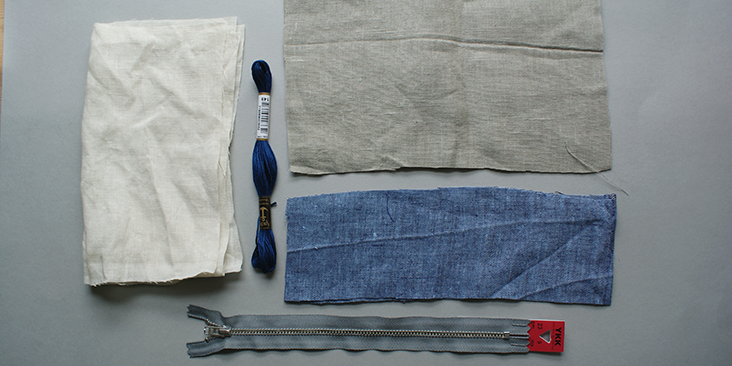
IL042 908 FS Premier Finish
IL019 Aluminium Softened
IL019 Bleached Softened
9 in (23cm) Close end zip
Matching sewing thread
Embroidery thread
Tools
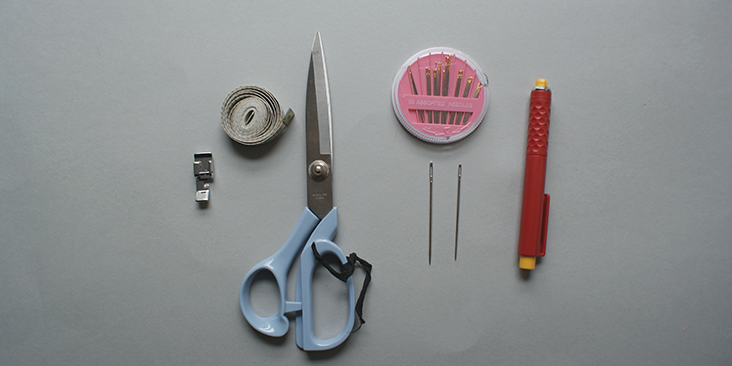
Pattern master, pattern paper
Paper scissors, fabric scissors
Fabric marker, pins, tape measure
Zip sewing foot
Hand sewing needles
Darning needle
Time
1-2′ hours
Difficulty
Beginner
Step
Note: Prewash your fabric and tumble dry it until it is still slightly moist, let this dry in room temperature.
1. Iron the fabric so it is easier to work with. (Again, we apologise for lack of ironing, this tutorial too was made 2 weeks ago when we had slight technical issues with our iron)
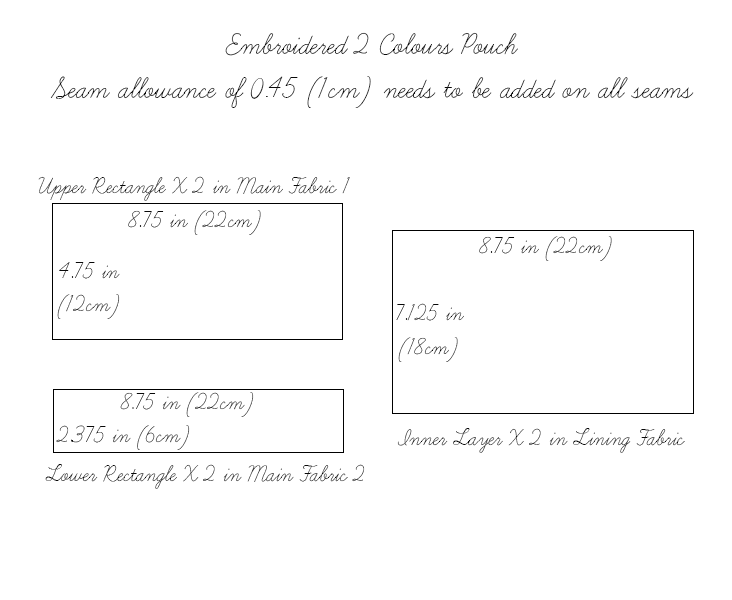
2. The diagram shows what you need to cut out for this tutorial. Very straight forward, just remember to add on 3/8 inch (1cm) of seam allowances around all seams.
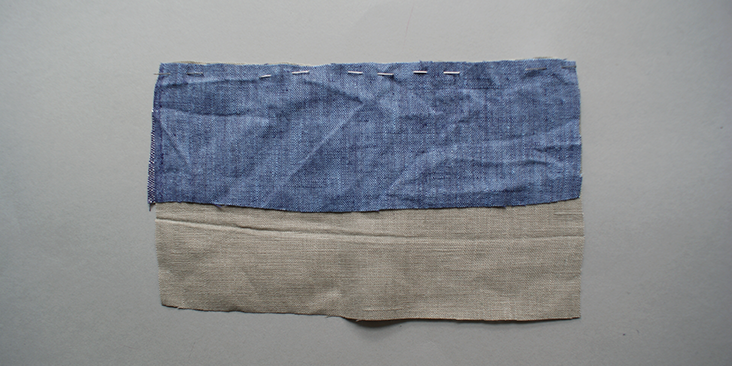
3. Pin the top and bottom rectangles together and stitch them together.
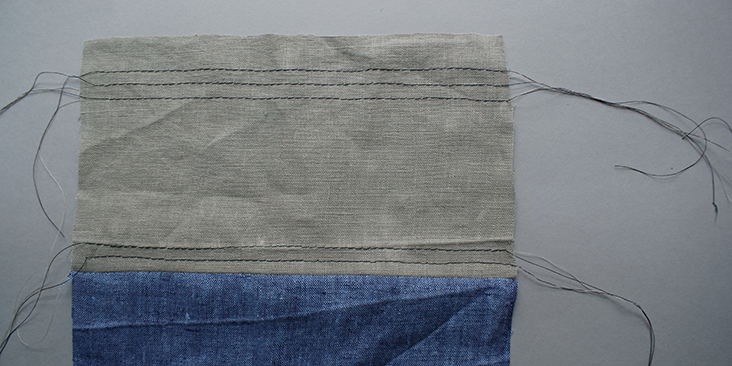
4. With a running stitch set at the widest width, stitch along the outer layer of pouch, leave a long tail at the beginning and end. This is to set measurement and help you with embroidery later on. Remember to not sew back and forth to set the stitching down.
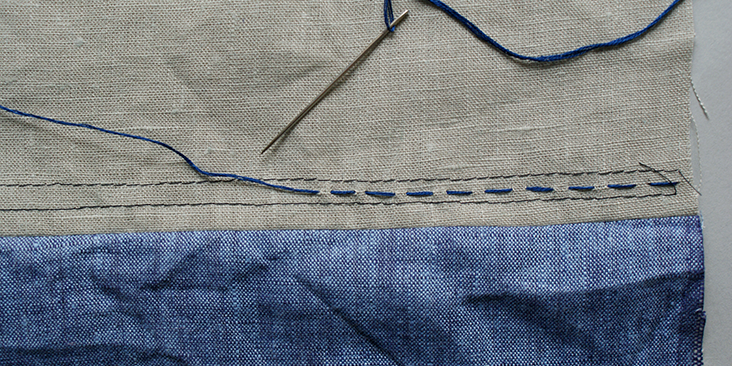
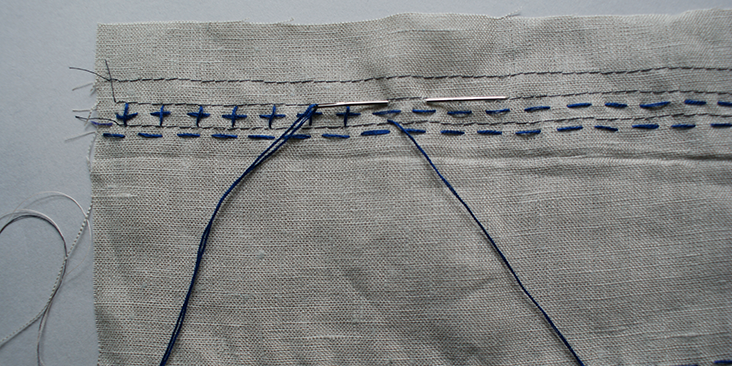
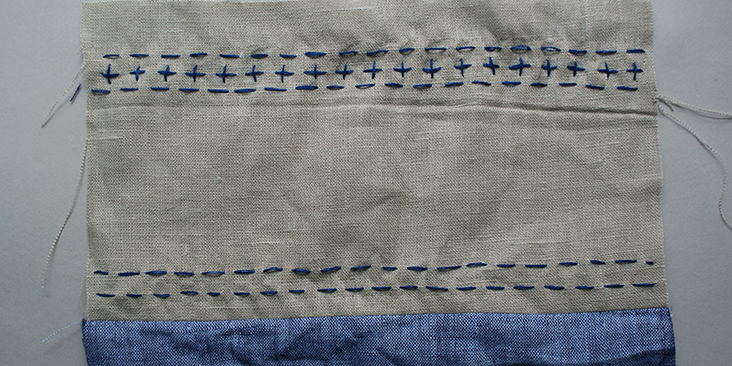
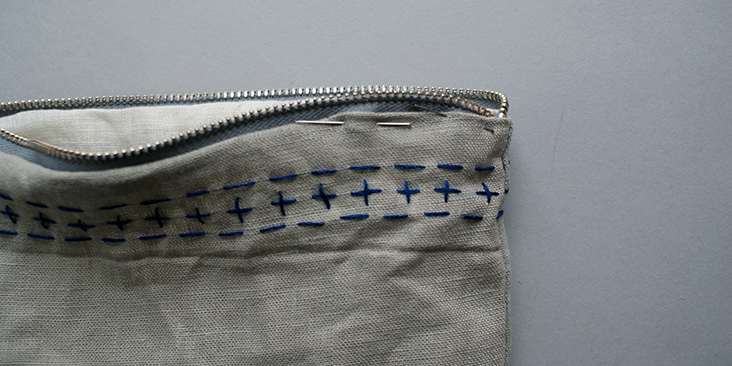
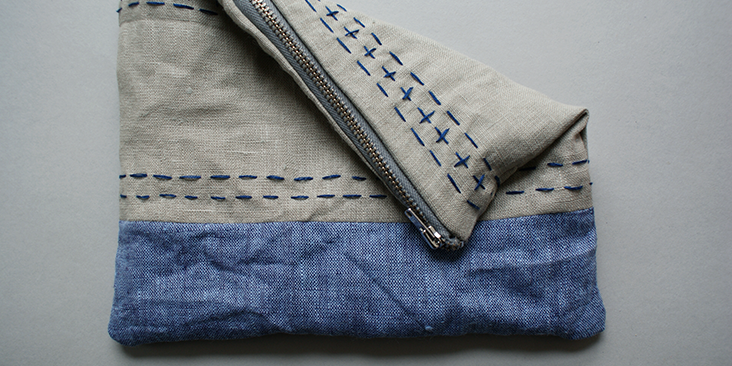
5. For this design, we have chosen to hand embroider running stitches, with one line of cross stitch at the top.
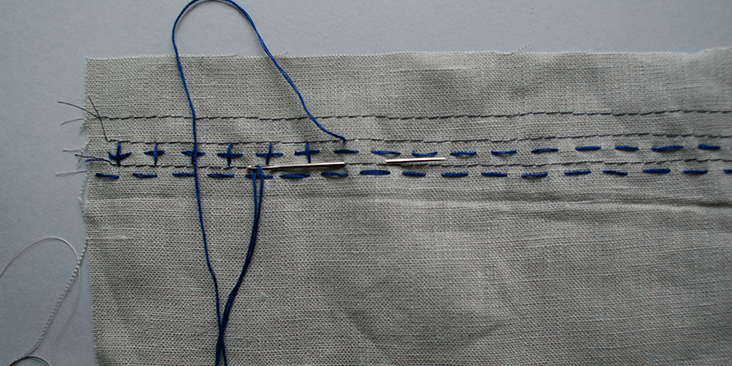
6. To create the cross stitch, embroider a line of running stitch and then stitch the vertical part of the cross as shown in the photo.
7. Once the embroidery is done, remove the machine stitch by pulling the bobbin thread at the end of the tail.
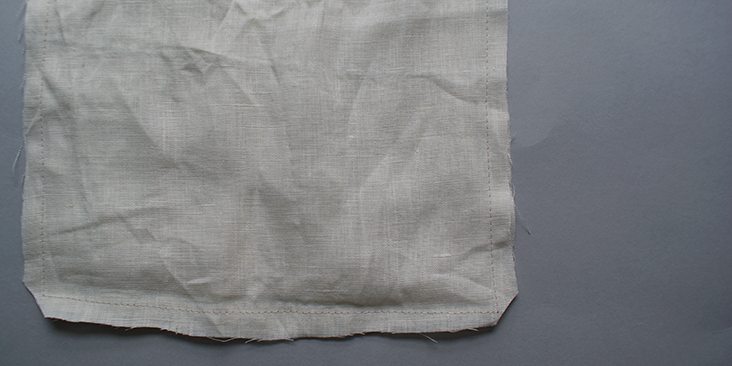
8. Place the outer layers on top of each other and pin along three of the edges. Leave one as the opening for the zip to be sewn on. Sew along the seam allowance.
9. Repeat the same for the inner lining layer.
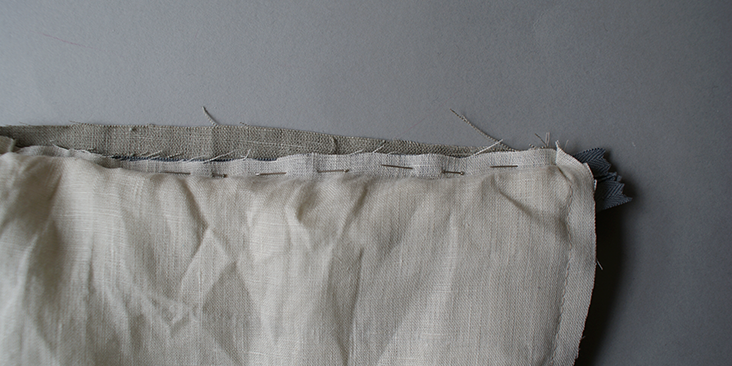
10. With the outer layer turned onto its right side, place the zip tape onto the open seam of the outer layer.
11.With the wrong side of the inner lining layer facing outwards, place the open seam along the newly pinned edge of the pouch. To test whether you have pinned all sides correctly, turn the fabric inside out so the lining layer sits inside the outer layer, as it will once you have finished the pouch. If you have done this correctly, you should have the zip teeth facing the centre of the pouch opening, and you won’t be able to see any pins you used to pin’ the edges together.
12. Stitch along this seam on the wrong side.
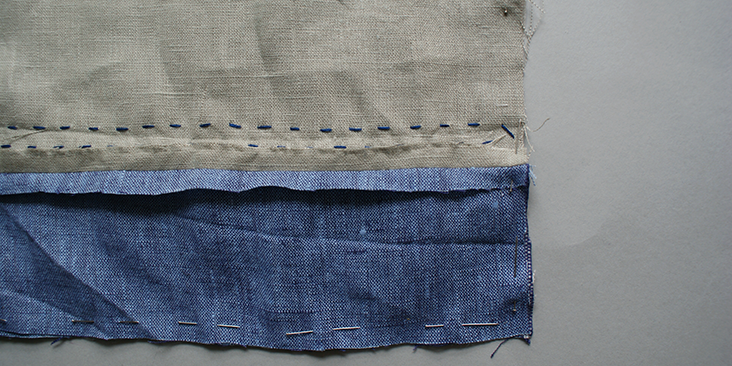
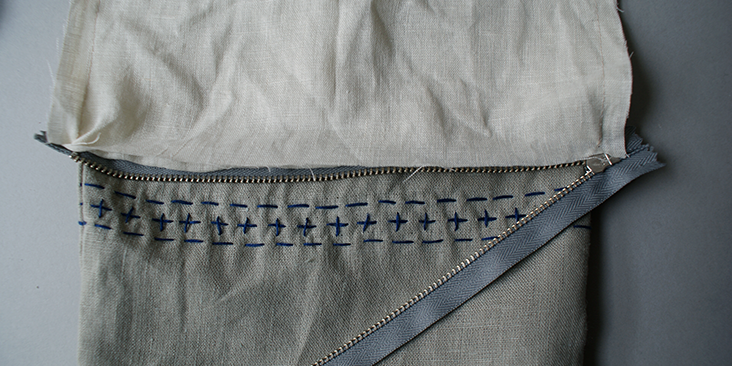
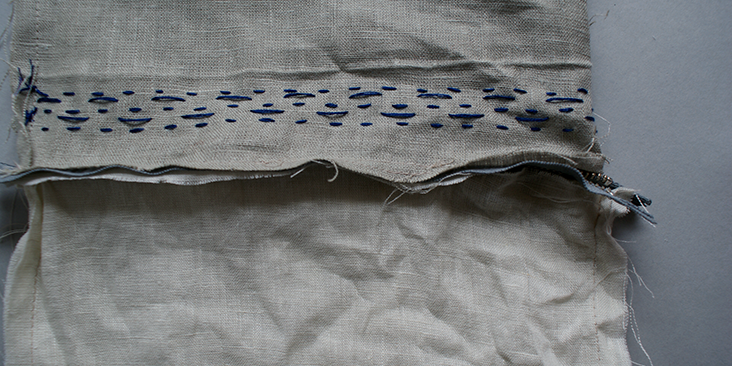
13. Then, repeat the same process on the other side of the zip. Once again this can prove slightly complicated. One of the easiest ways is to make sure the wrong side of both layers are facing outwards, and you sandwich the zip in between the two layers as shown in photo below.
14. Stitch along this seam, making sure there is an opening at the end of this edge to allow you to turn the pouch back onto its right side.
15. Once you have turned it onto the right side, manually fold the rest of the unsewn seam at its seam allowance and pin both the outer and inner layer onto the zip tape.
16. Hand stitch along this opening. Making sure you can’t see the stitches.
17.’ Great little personalised pouch, why don’t you give it a try.











2 Comments
Laurie
This is a darling pouch, and having a made a few, there are many, many uses for them. I love the addition of the embroidery. But if I may make a suggestion I have found helpful, put the zipper in before you sew the pouch together. I then use a serger to finish the inside seams when I sew it together. I makes it a little easier and a little faster to make, while still giving a finished inside.
Happy Sewing!!
Cynthia Fong
Hi Laurie,
Thanks for your comment, this is a great suggestion. Thank you for sharing.