Linen Gathered Skirt
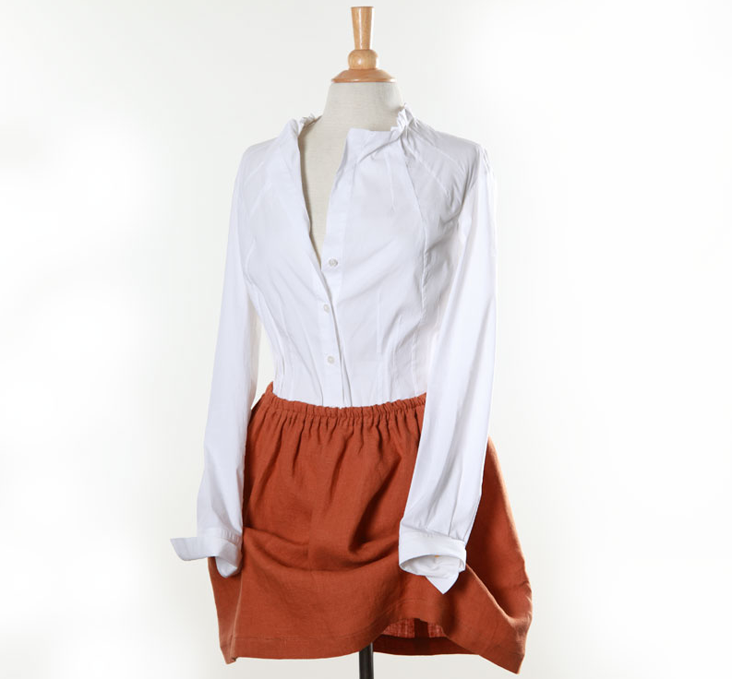
With the sun shining brightly and the temperature rising steadily, it’s time to admit that my favorite season has finally arrived; summer! What makes summer my favorite season? It’s finally time to break out my favorite sewing project – skirts! Every year when summer arrives, I bust out the sewing machine and some fabric and make a handful of skirts in different styles. Today, I’ll show you how to make a very simple, but very stylish skirt.
Materials:
1 yard of IL019 Adobe
Thread
Sewing Machine
Needle
Iron
1″ wide elastic
This skirt is made to fit a waist and hip measurement of 27″x37″.
Cut out a rectangle that measures 19 ‘½” x the width of the fabric (57″). This will be the length of your skirt plus the hem, by the width of your skirt.
Cut out a second rectangle that measures 2″ x the width of the fabric (57″). This will be your waistband.
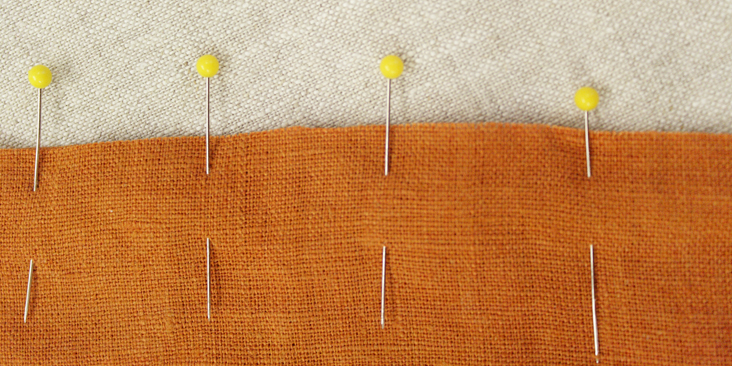
1. Start by pinning one edge of the waistband to the skirt, matching the long edges together.
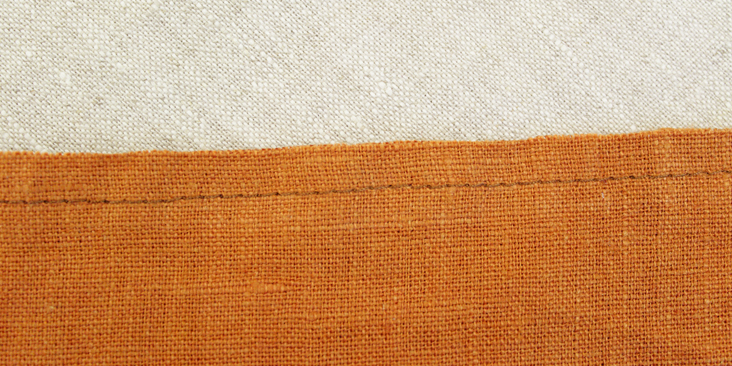
2. Sew using a ‘½” seam allowance.
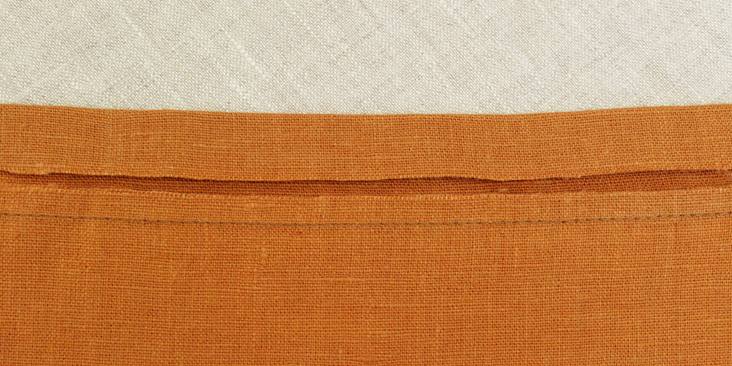
3. Press the seam upwards, towards the waistband, and iron. Here’s what this looks like from the “right” side of the skirt.
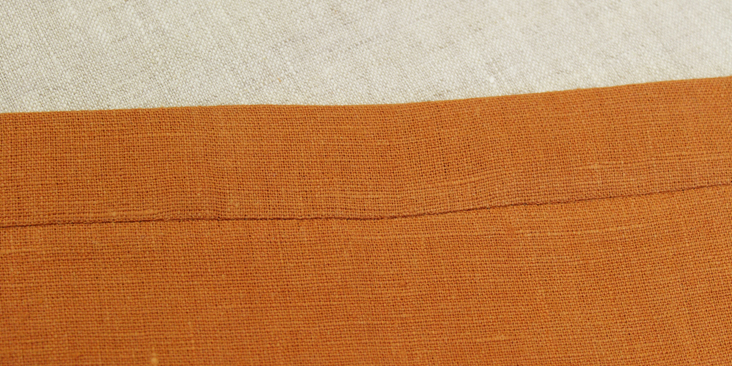
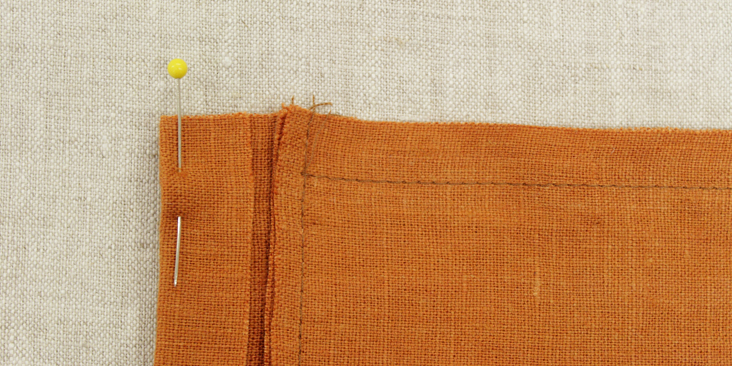
4. On the unsewn, long edge of the waistband, fold one edge down ‘½” and iron. You want to fold it towards the wrong side of the fabric, so that when you sew the waistband, all of the raw edges will be ‘trapped’ inside the waistband. This is shown from the “wrong” or inside of the skirt.
5. Pin the skirt together at the side edges, first matching the seam on the waistband together, and then lining up the side of the skirt. You want the seams on the waistband to match together as close as possible.
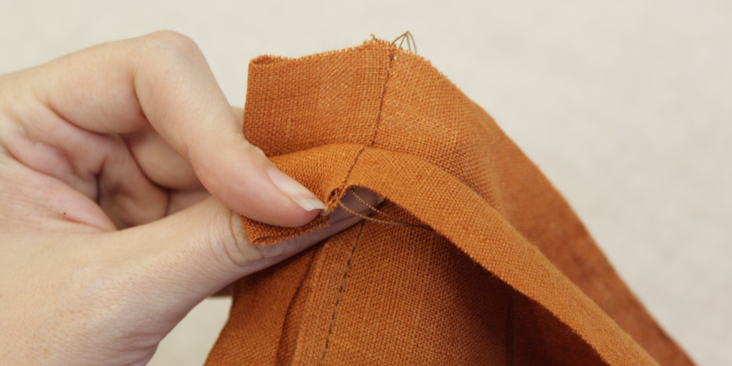
6. Sew the side of the skirt, starting from the seam at the waistband, using a ‘½” seam allowance. You do not want to sew the waistband together! You will need it to be left open for the elastic.
Here you can see that the waistband is not sewn:
7. Press the side skirt seam open and iron, also ironing the edges of the waistband down by ‘¼”.
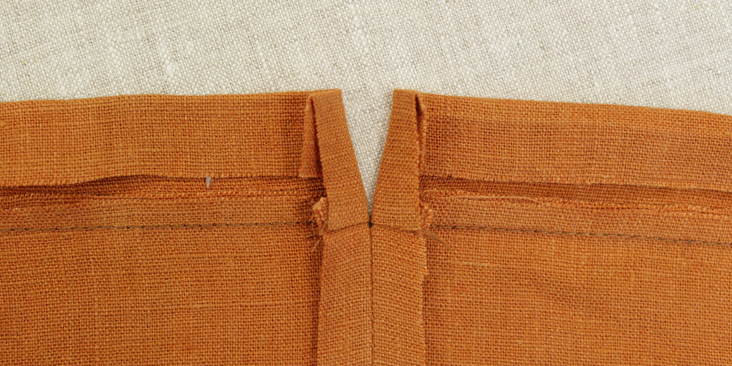
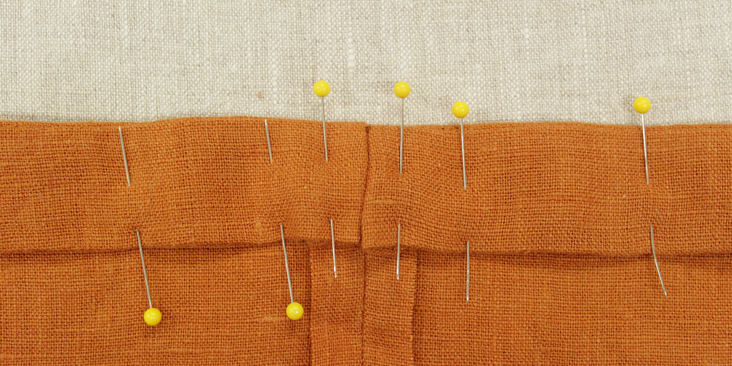
8. Now fold the waistband down, matching the wrong sides of the waistband and the skirt together. Pin into place. Here’s what the waistband will look like at that side seam when pinned.
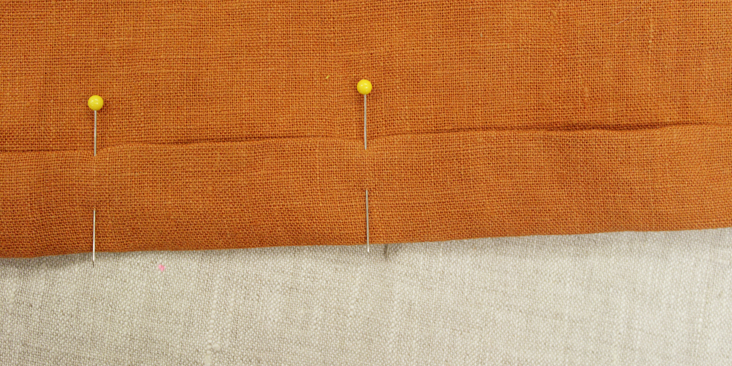
9. Sew near the edge of the fold, with a 1/8″ allowance. You’ll have to slide the elastic band through this channel that’s being created, so you don’t want to have your seam too far from the folded edge. If you make the channel too small, the elastic will be very difficult to pull through. Let’s leave the elastic part ’til the end.
10. Next, let’s do the bottom hem of the skirt. Get that iron warmed up, and fold and press the bottom hem by ‘½” towards the wrong side of the fabric.
11. Once that has been ironed, fold that edge towards the wrong side again, but this time by 1″. Iron into place. This skirt has a nice wide hem, matching the nice wide waistband.
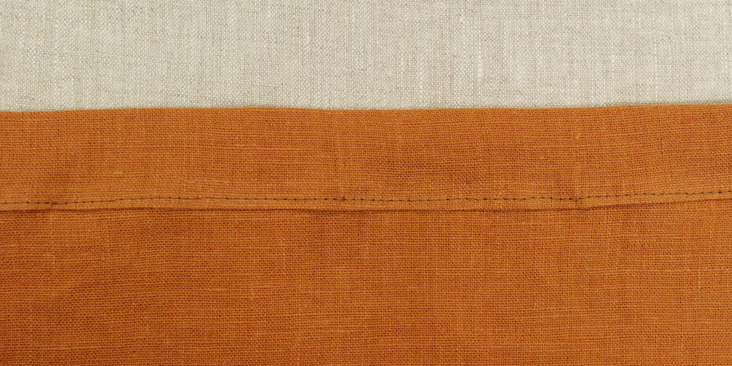
12. Pin the hem, and sew it down close to the folded edge, just like you did with the waistband.
13. When you’re done, iron the hem so it stays nice and flat.
Now we’ll tackle the elastic! If you have a bodkin, you can use that to pull the elastic through the channel in the waistband. They’re pretty awesome things and can be purchased at your local sewing shop or online. If you don’t (like me!) you can also use a safety pin!
14. Pin the end of the elastic with the safety pin and close the pin.
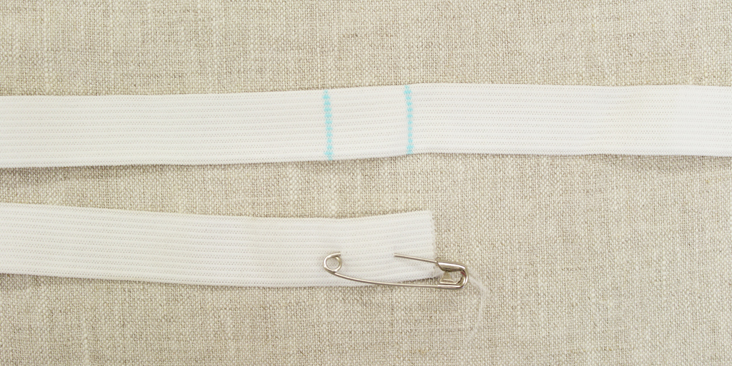
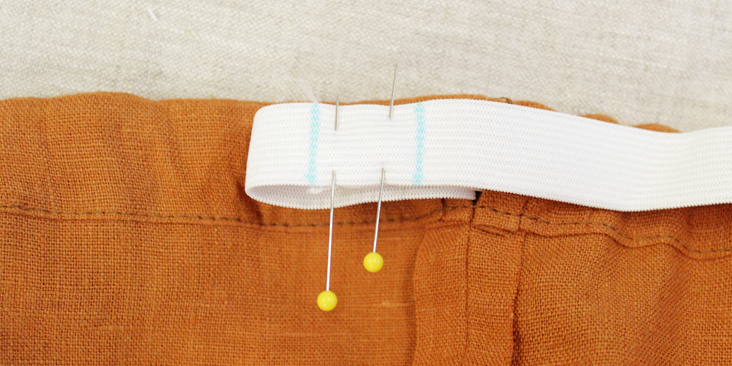
15. Before inserting the elastic in the waistband, wrap the elastic around your waist and find a tightness that is comfortable (not too tight!) around where the skirt’s waistband will rest. Mark this length on the elastic. This is where you will join the ends of the elastic together.
Here you can see how I marked the elastic (the area inbetween the two marks will be sewn to secure the elastic together) and secured the safety pin:
Tip!: I find it’s easier to mark the elastic, sew it together, and then cut the excess off after the marked ends have been securely sewn. Otherwise I often end up accidentally pulling the end of the elastic through the channel, and needing to run it through again. You could also pin the end of the elastic to the skirt to keep it from pulling through the waistband by accident, but I still find the extra length is more beneficial for sewing the ends together at the marked point.
16. Remember how we left the waistband open at the seam? Now, you’ll slide the safety pin into that opening and into the channel in the waistband. Continue slowly pulling it through until it comes through the other end.
17. Now pin the elastic together, overlapping at the marked points, and sew. Using a zigzag stitch and overlapping or using a backstitch is recommended here.
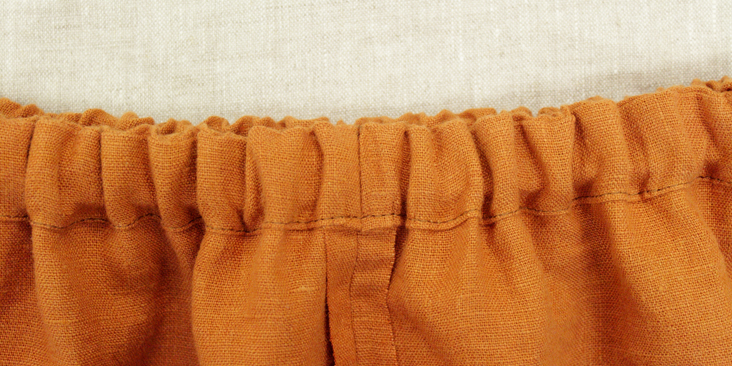
18. Cut off any excess elastic, and stretch the skirt’s waistband a couple times to make sure it’s secure and to allow the fabric to settle evenly over the elastic.
Done! A beautiful Adobe skirt has been born and is ready to wear, and do battle against the summer blaze!
At this point, you can hand-sew the opening in the seam if you want. Or you can leave it as is.
We have tons of other colors in our IL019 weight that you can check out by clicking here!
Don’t forget to show us your beautiful creations in the comments below! If you liked this or our other tutorials, let your friends know too.








3 Comments
AmyCat =^.^=
Ridiculously short… 🙁
Evil Ginger
Make it longer. That’s the point of seeing. 🙄
M.
Thank you for this tutorial and also for making it available as a pdf. I have limited access to the internet, but with the pdf, I can continue my “studies” without worry! Have a lovely day!