Pillow Sham with Border
Skill level: Advanced
Time: ~2-4 hours
Materials:
Pillow form
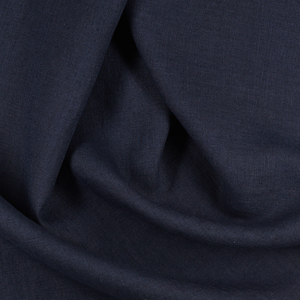
1 yard 4C22 Bleached
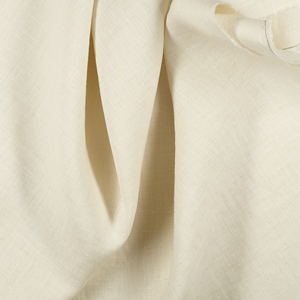
1/2 yard 4C22 Natural
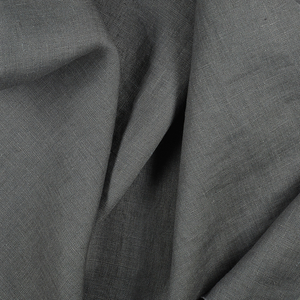
This was my first time handling the 4C22 Natural color and wow, it’s so incredibly beautiful! It handles wonderfully too. I just had to slide this little comment in here before getting onto the tutorial steps for this pillow because it’s really quite a wonderful fabric.
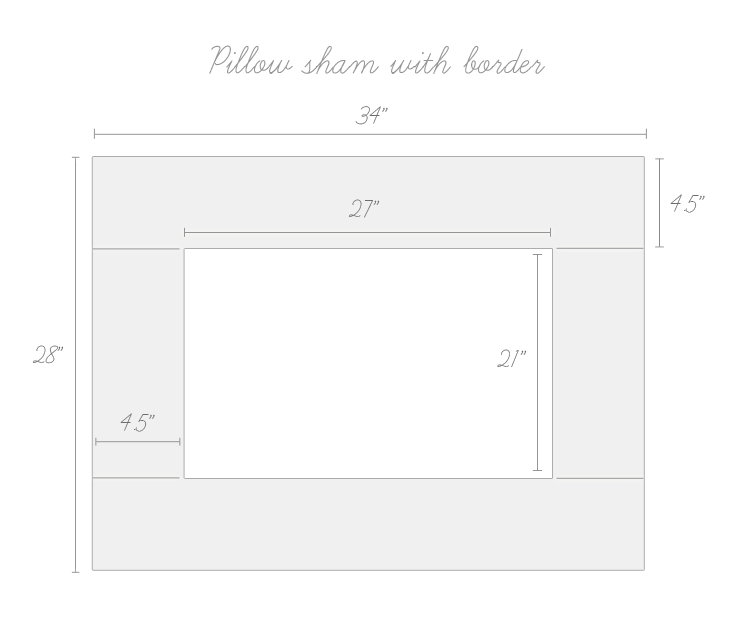
Start by finding the measurements for your pillow, and add 1″ to both the height and width. This is going to be the measurements for the rectangle you’ll cut for the center front of the pillow, as shown in the guide below. This pattern guide gives measurements for a Standard sized bed pillow. Your pillow form may be different, please make sure to adjust all measurements accordingly. This guide includes a 1/2″ seam allowance.
The pattern consists of the center front of the pillow, the top, bottom, and side borders (all cut at 4 1/2″ wide), and then two large panels for the back that will overlap to hide the pillow form.
For the back panels, I took half of the total length of the pillow (including borders) and added enough to overlap and hide the pillow (in this case, I used 10″). For example, the total length of my pillow sham is 34″. Half of that is 17″. Add 10″ so that the two back pieces overlap, for a total of 27″ for each of the back panels. (You could likely use as small as 5″ for the overlap.)
Once you have your pieces cut out, start by sewing the two short side borders onto the sides of the center front piece.
Iron the seams open where the borders are sewn to the front panel.
Sew the long border pieces to the top and bottom of this piece, sewing the borders together as well and making one large, front panel.
Iron the seams open. This is the front of your pillow sham.
Now for the two back panels. Start by folding one long edge on each panel over 1/2″, iron, fold another 1/2″, and iron again. Seam this fold down, securing the raw edges inside the folds.
You have two options on how to proceed. You can either sew on one panel (with right sides of the front panel and back panels together), and then the second panel with the edges overlapping, or you can pin both panels onto the front panel at the same time and join all three pieces with one long seam.
I chose the first option and overlapped the seams where the two back panel pieces overlapped. Sew around the entire outer edge of the pillow, securing the front panel and back panels together.
Clip the corners and turn the sham right-side out. Iron all the edges flat, and pin the front panel to the back panels where the borders are sewn to the Bleached front panel.
Once all the borders are pinned and secured in place, the next step is to perform a stitch called Stitch in the Ditch. This means sewing in the seam between the border and the center front piece, which will secure it to the back panel and allow it to have that flat border along the edge of the pillow.
Once you’ve completed this advanced step, you’re done! You should have a beautiful pillow sham ready to be added to your bedding collection (or thrown onto your couch). Make sure to share your completed shams with us in the comments below!












2 Comments
Inge
I have made several of these out of many types of fabric over the years pretty much the same way you have instructed with one difference. Instead of pressing the seams open where the border is attached to the center fabric, I prefer to press the seam to the outside edge on all four sides. By doing this when you do the stitch in the ditch step you contain all raw edges within the shams flange border. This allows for a much neater inside area where the pillow goes as well as more washer friendly. The technique accomplishes what a French seam does. I have picked up some of the doggie bags of different weights of linen and plan to make pillow covers similar to this but for a lumbar pillow (actually a travel pillow that you can find at Walmart in the craft section for just a couple of bucks). They can also be embroidered by hand or machine and make beautiful gifts.
Jodie
This makes a lovely sham. I have been sewing for my whole life and am glad to see you use the 4C22 weight linen in this manner. I have bought a lot of the lighter weight from you and very little of the heavier weights. I may try some of these.